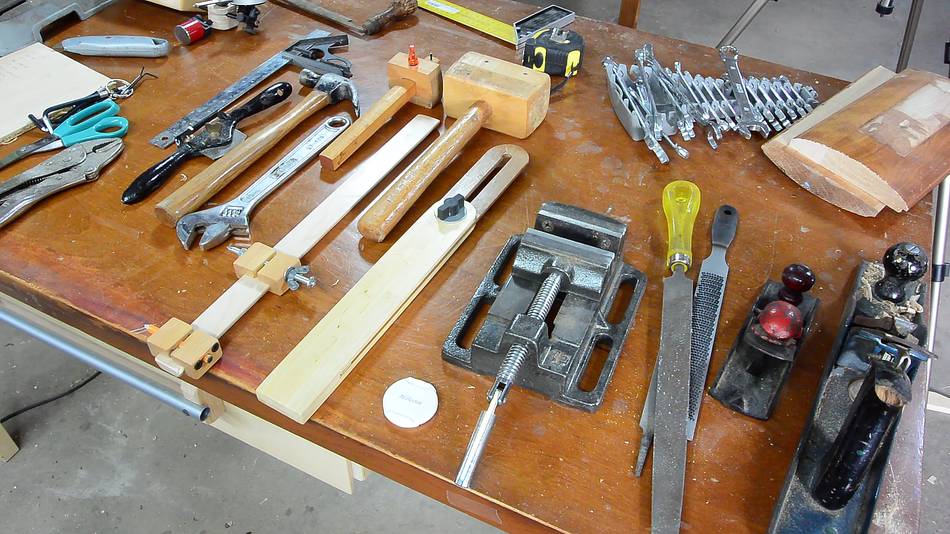
 After making some of the tool holders for
my big garage workshop, I still had
a lot of empty space on the plywood and various tools I wanted
within easy reach.
After making some of the tool holders for
my big garage workshop, I still had
a lot of empty space on the plywood and various tools I wanted
within easy reach.
After making some of the tool holders for
my big garage workshop, I still had
a lot of empty space on the plywood and various tools I wanted
within easy reach.

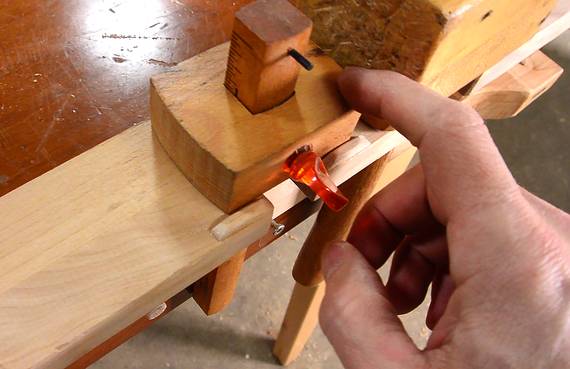
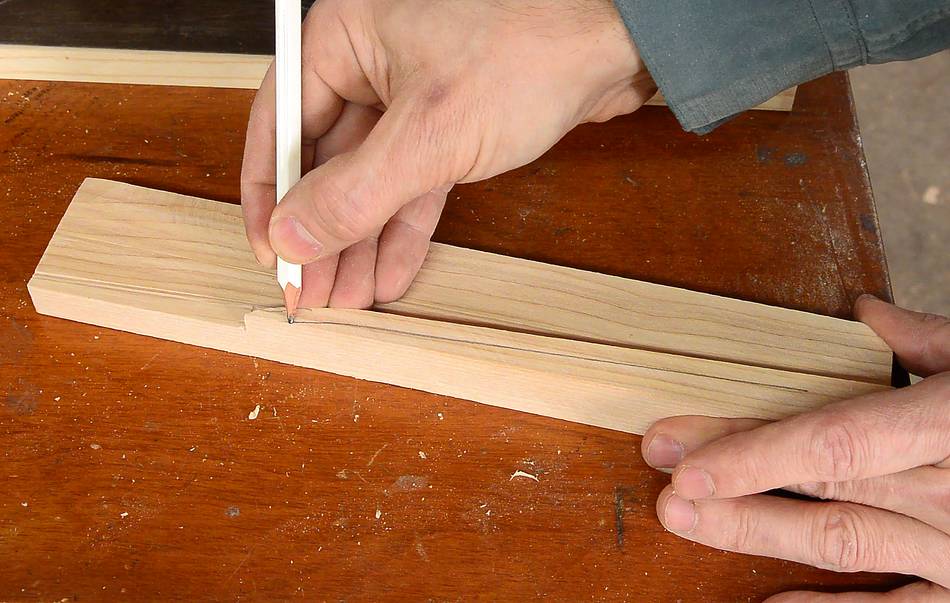
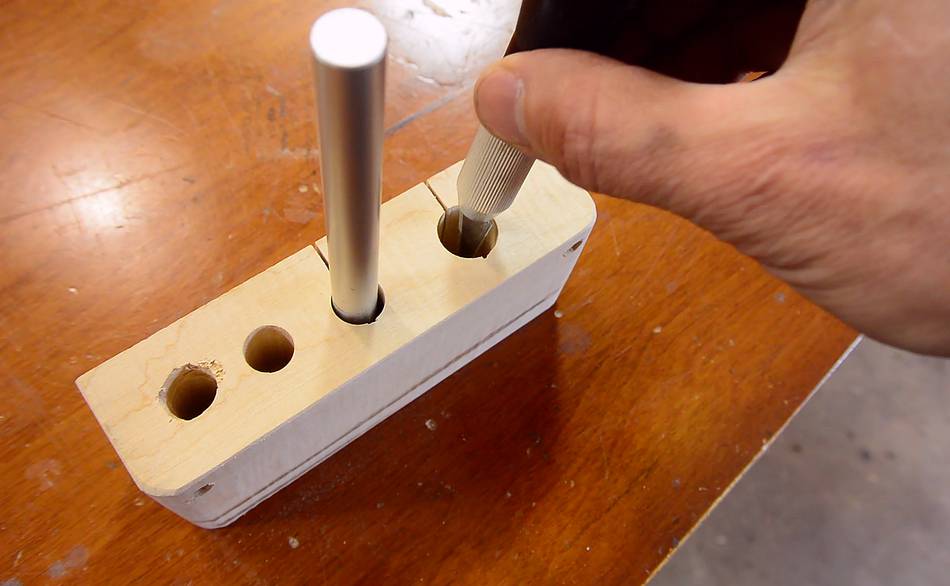
 I made a sort of shelf for my hammers, marking gauge and squares. Some of these
hang through the shelf. Here, I'm marking where I need to cut notches for
the mallet and marking gauge.
I made a sort of shelf for my hammers, marking gauge and squares. Some of these
hang through the shelf. Here, I'm marking where I need to cut notches for
the mallet and marking gauge.
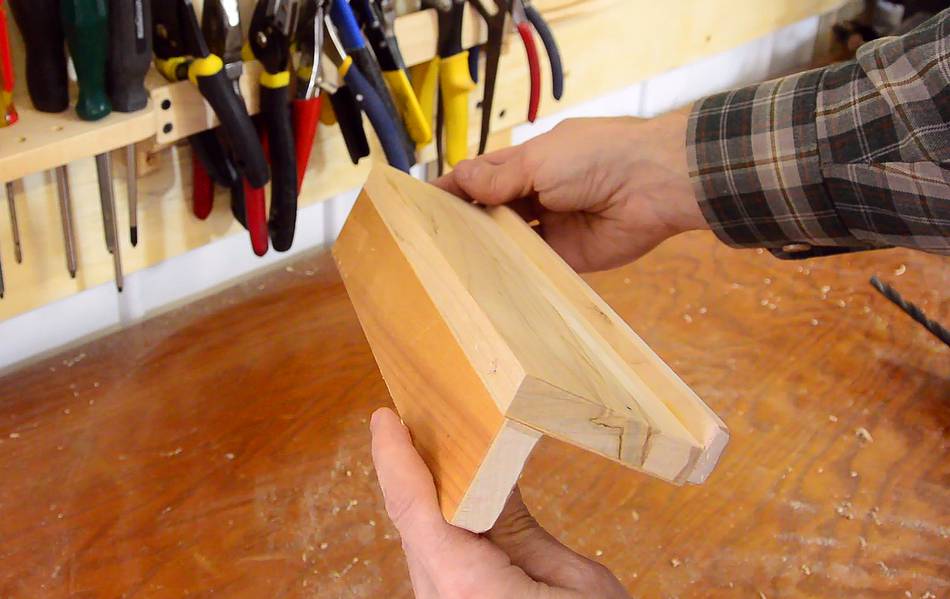
I then cut these out on a bandsaw, and glued it to another board that will attach to the wall.

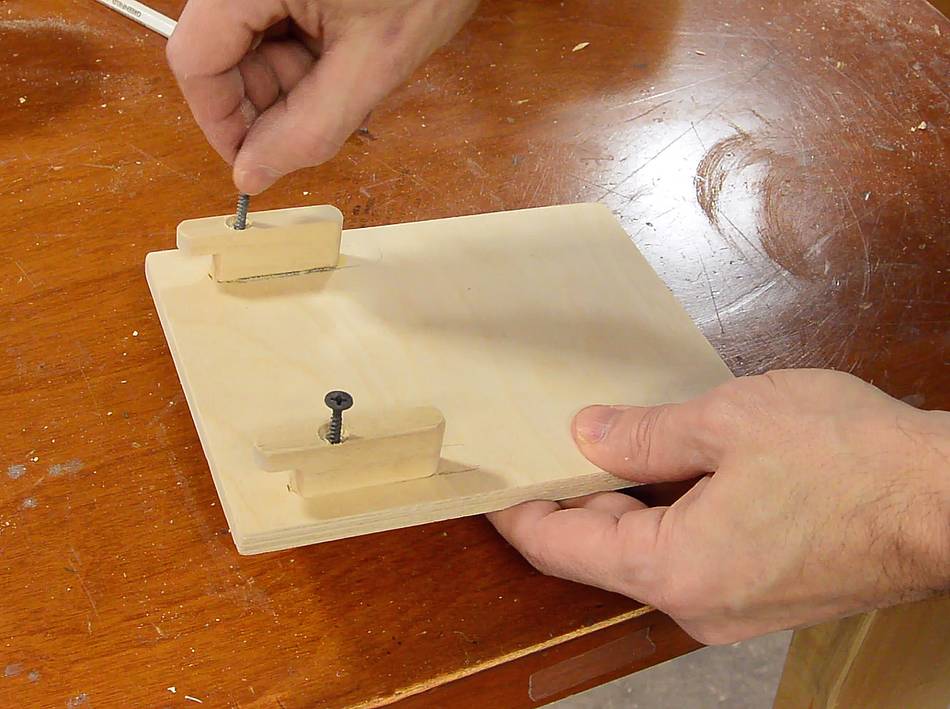
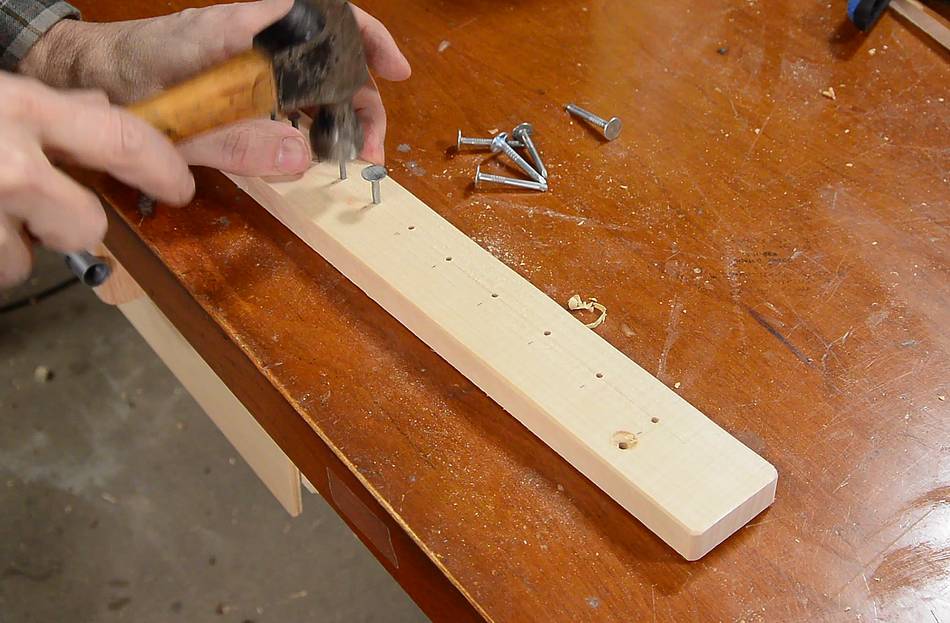
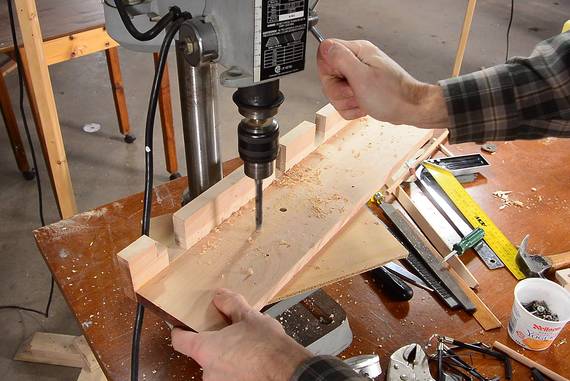 Arranging the tools. I punched divots where I needed to put screws.
I pre-drilled all the screw holes; with hardwood, you need to.
Arranging the tools. I punched divots where I needed to put screws.
I pre-drilled all the screw holes; with hardwood, you need to.
 My claw hammer is held by two dowels.
Another dowel helps hold the squares straight so they won't hang crooked.
 It's happened with my other tool holders
that, banging away at things on the workbench, eventually the mallet
or the marking gauge slies off the tool holders from vibrations.
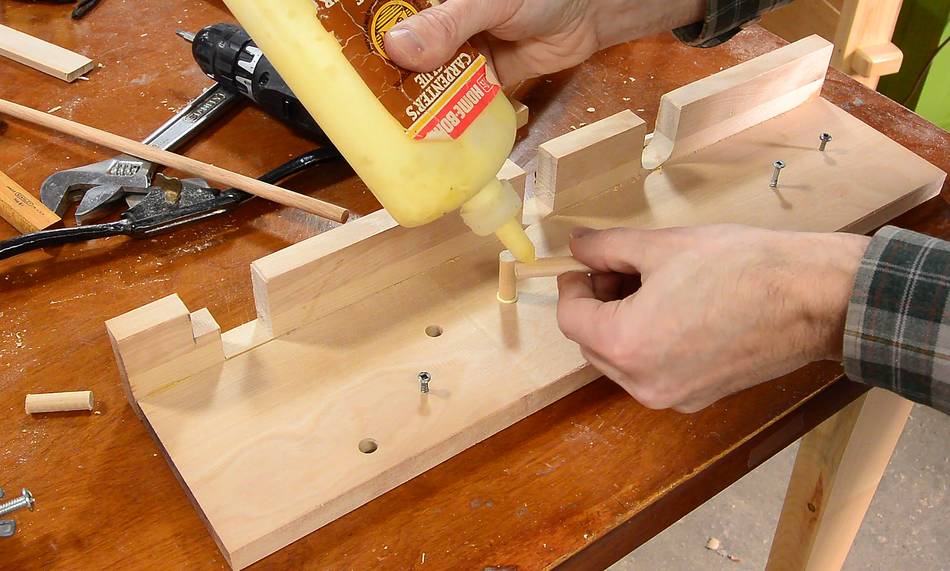
So I drilled two shallow holes in the bottom of the mallet,
and put two sheet metal screws in the shelf to interlock it.
It's happened with my other tool holders
that, banging away at things on the workbench, eventually the mallet
or the marking gauge slies off the tool holders from vibrations.
So I drilled two shallow holes in the bottom of the mallet,
and put two sheet metal screws in the shelf to interlock it.
A small ridge in front of the marking gauge keeps it from sliding off also.
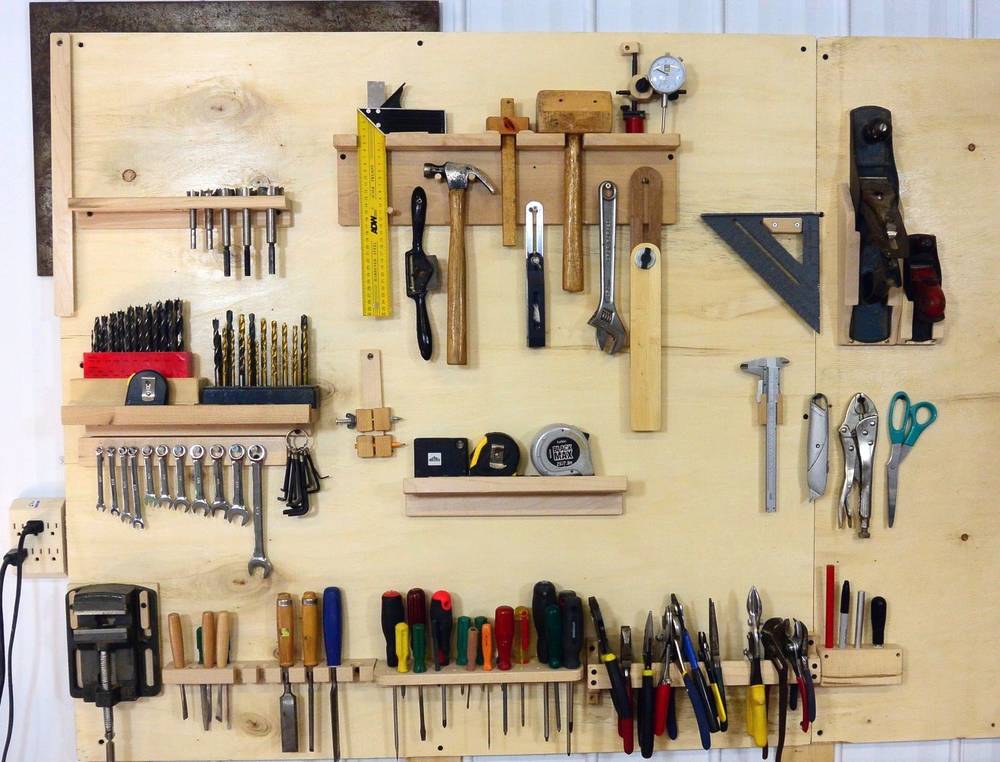
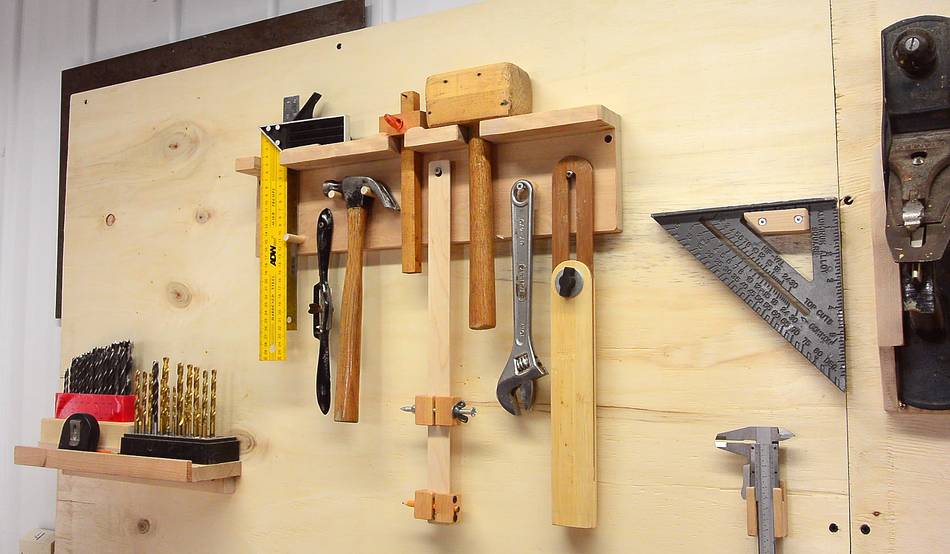 Hammers and such hung up.
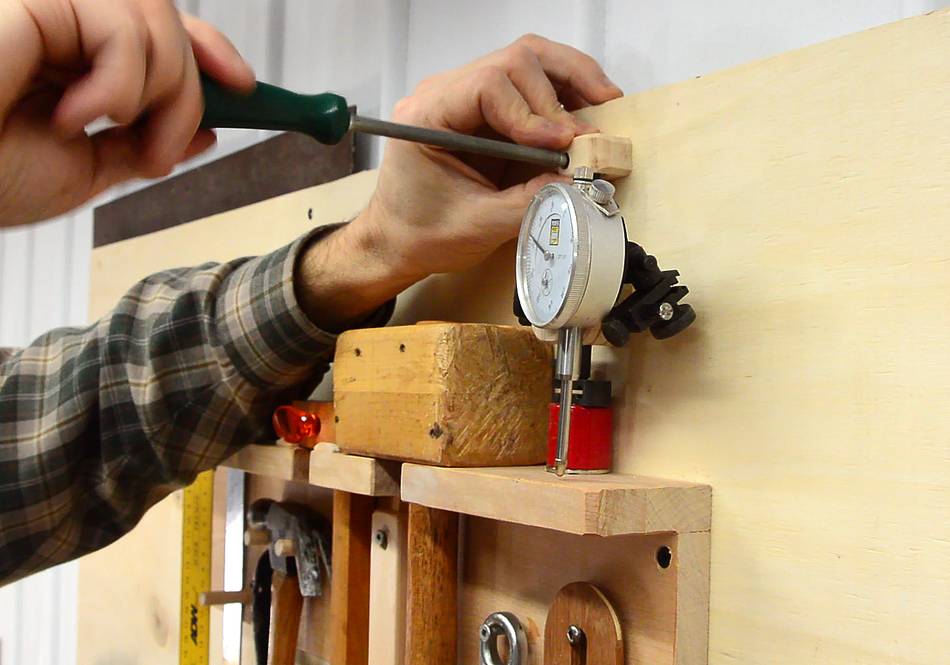 I figured the empty spot on the top right of this shelf would be perfect for
my dial indicator. I made a small block with a hole in it to
keep it from tipping off. The post of the dial indicator fits into it.
To remove it, I have to slide it out from under.
I figured the empty spot on the top right of this shelf would be perfect for
my dial indicator. I made a small block with a hole in it to
keep it from tipping off. The post of the dial indicator fits into it.
To remove it, I have to slide it out from under.
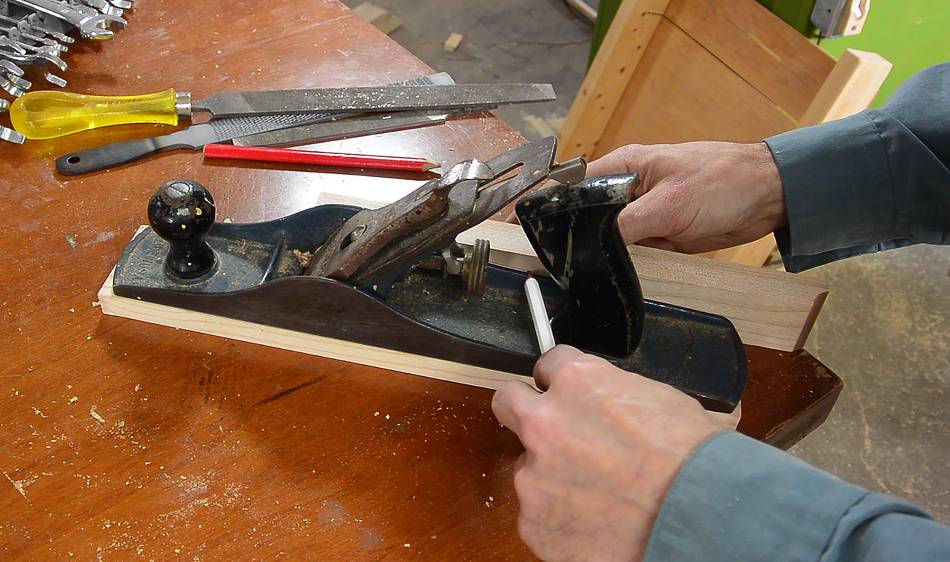
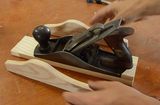
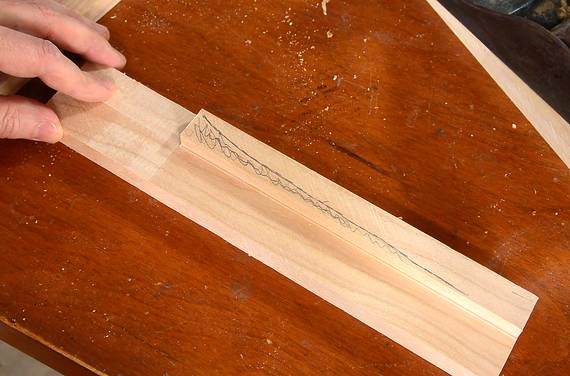 Here marking the outline of the sides of one of my hand planes
to make a holder for it.
Here marking the outline of the sides of one of my hand planes
to make a holder for it.
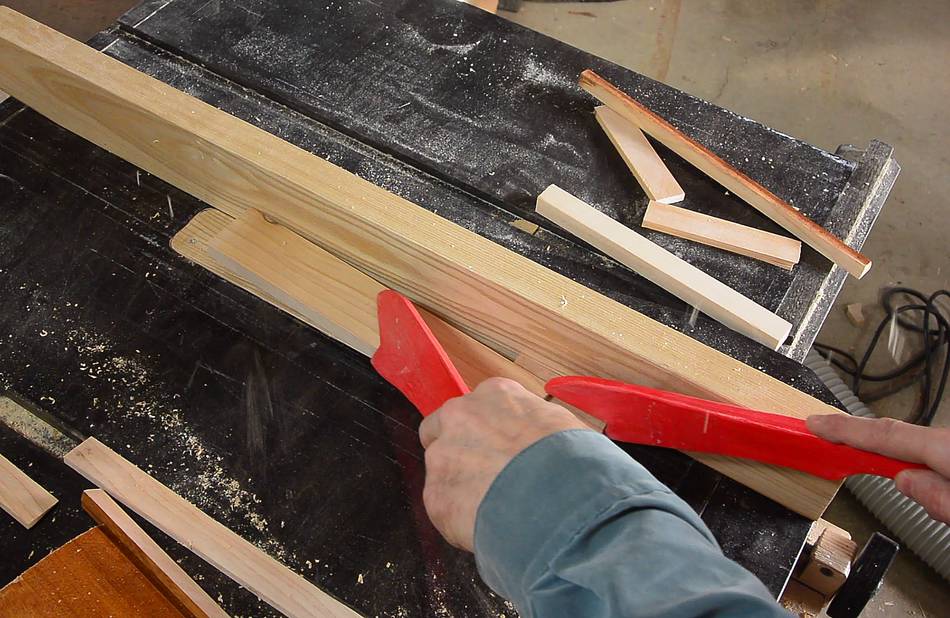
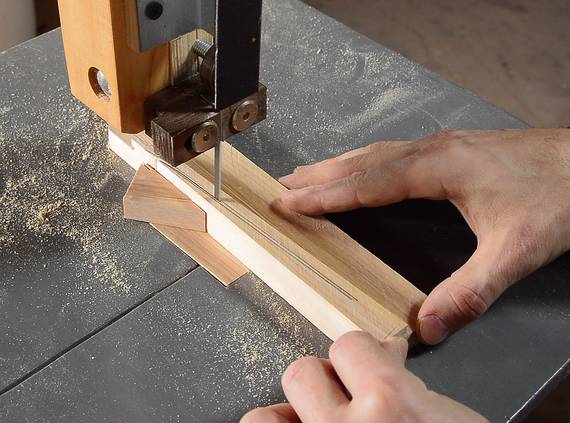
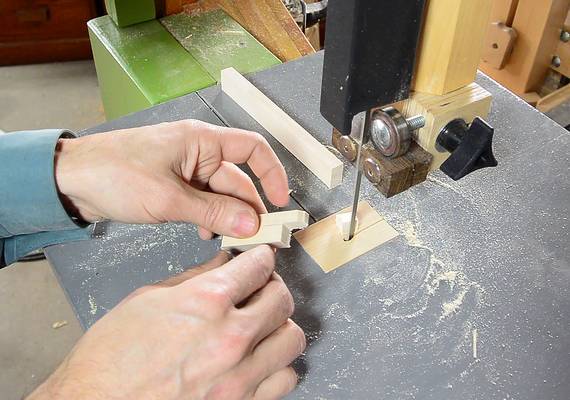
 To cut the angled part of the profile, I made a spacer block to hold the workpiece
on the saw at an angle.
Here, holding a strip of wood between the workpiece and the fence. It's just
the right width from the fence, so I need to set the fence to that.
To cut the angled part of the profile, I made a spacer block to hold the workpiece
on the saw at an angle.
Here, holding a strip of wood between the workpiece and the fence. It's just
the right width from the fence, so I need to set the fence to that.
This is really hard to explain with pictures. To get a better understanding, watch the video.
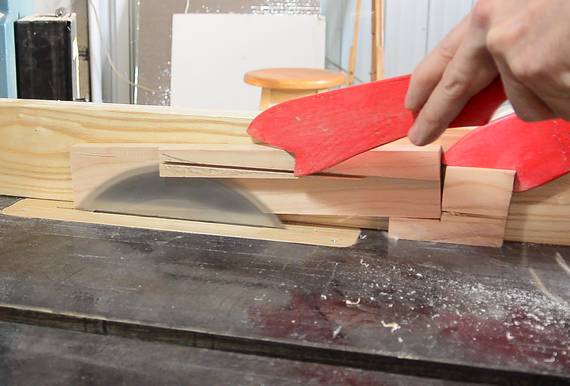 Then with the spacer behind the workpiece. I'm making an angled cut,
then another cut with the workpiece against the fence and the spacer under
it to finish the cut.
Then with the spacer behind the workpiece. I'm making an angled cut,
then another cut with the workpiece against the fence and the spacer under
it to finish the cut.
 I finished the curve by carving it with a chisel.
I then draw a line about 6 mm from the edge, and cut that with a bandsaw. Also, cutting some curves and corners on the ends to style it a bit nicer.
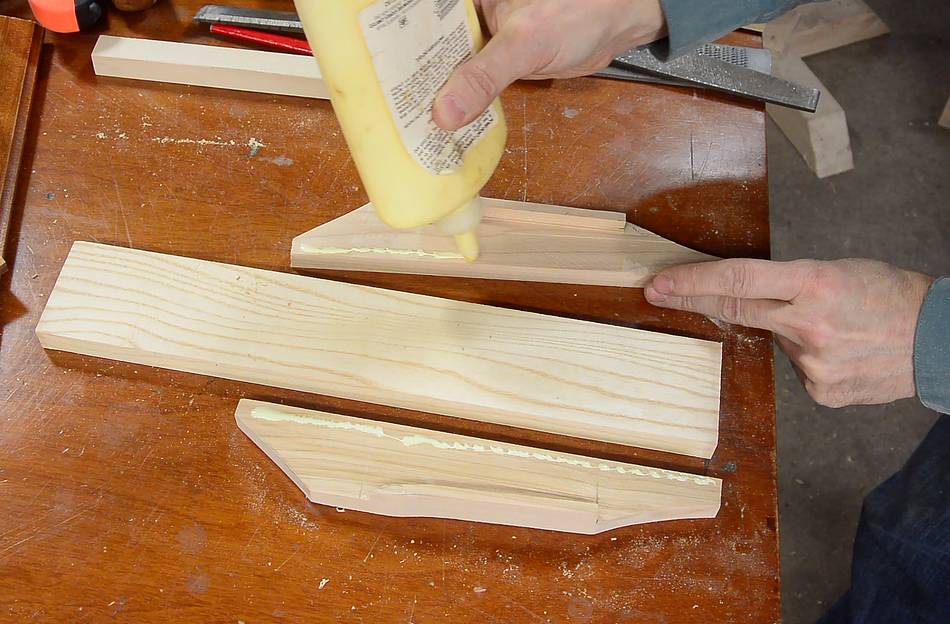 Ready to glue it together.
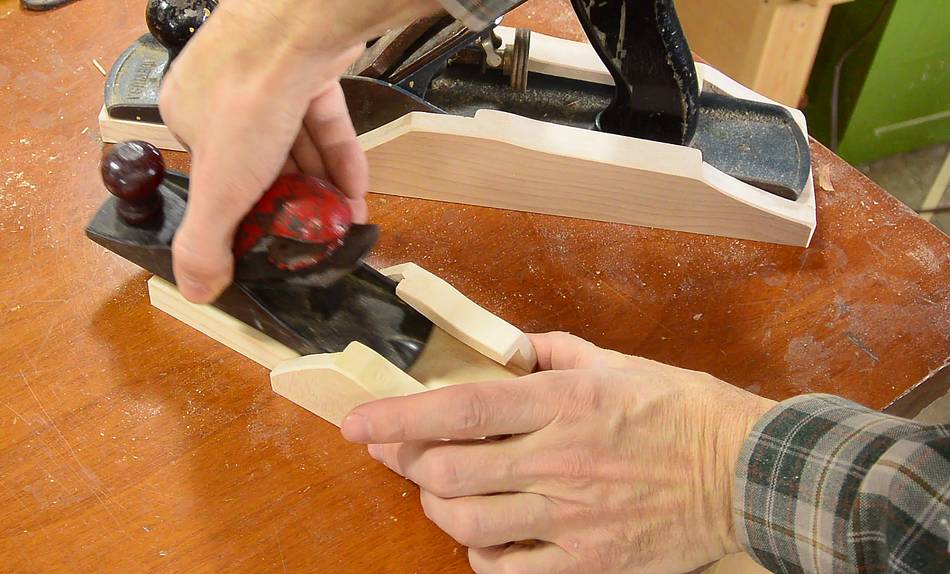 I used the same method to make a holder for a smaller hand plane as well.
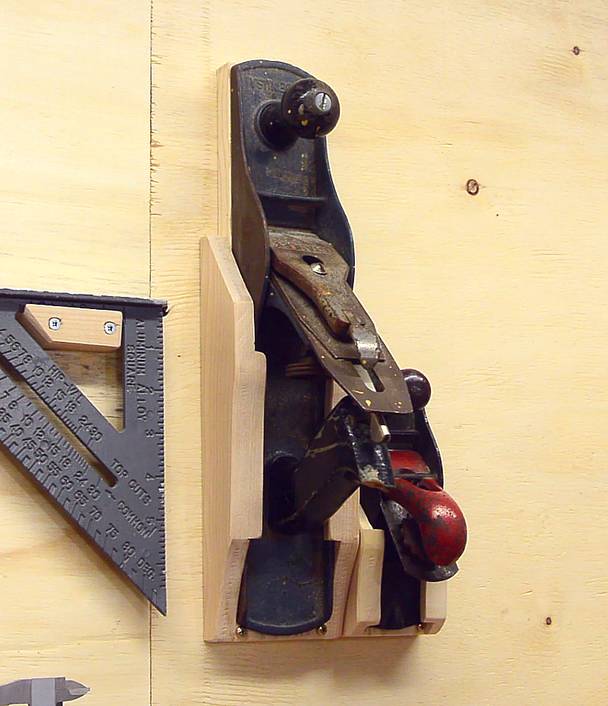
 The plane fits in the holder like a wedge, which can make the
plane hard to pull out. To prevent it from wedging in, I'm adding two
screws to the bottom of the holder to act as a stop, before it gets tight.
The plane fits in the holder like a wedge, which can make the
plane hard to pull out. To prevent it from wedging in, I'm adding two
screws to the bottom of the holder to act as a stop, before it gets tight.
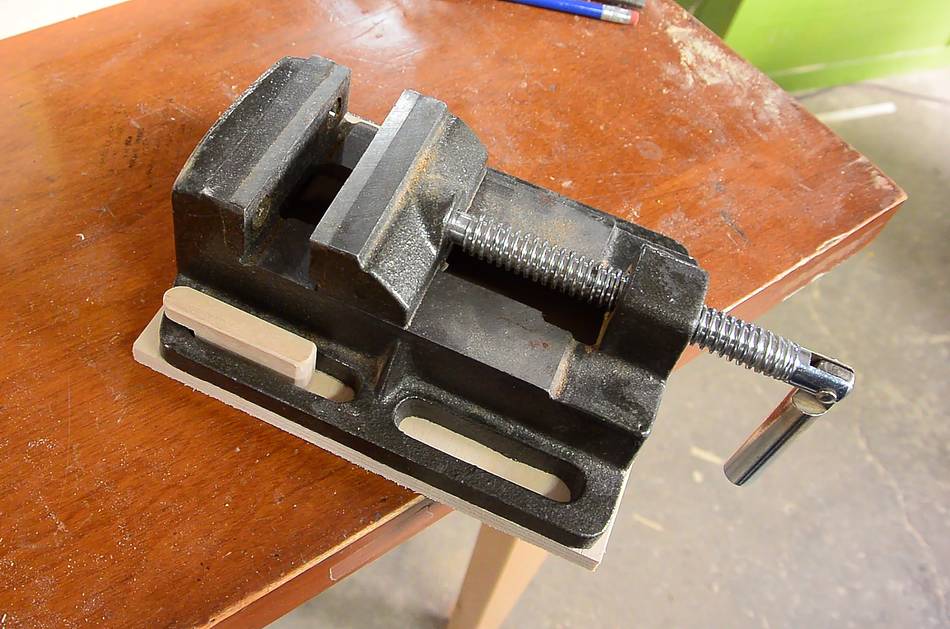
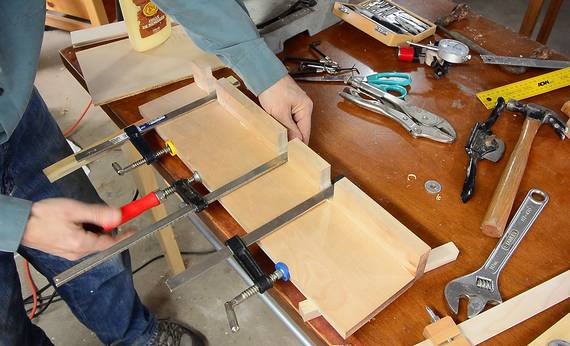
 The drill press vise is held by a piece of plywood with two hooks on it.
The hooks are cut out on the bandsaw.
The drill press vise is held by a piece of plywood with two hooks on it.
The hooks are cut out on the bandsaw.
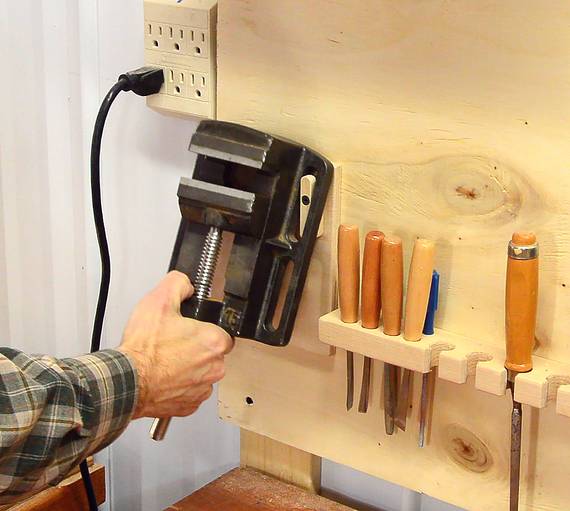 The mounting screws go straight through the hooks. It's the hooks that have
to hold the heavy vise, so I might as well reinforce them with the screw.
The mounting screws go straight through the hooks. It's the hooks that have
to hold the heavy vise, so I might as well reinforce them with the screw.
 Here, making a board with roofing nails on it to hold the crescent wrenches.
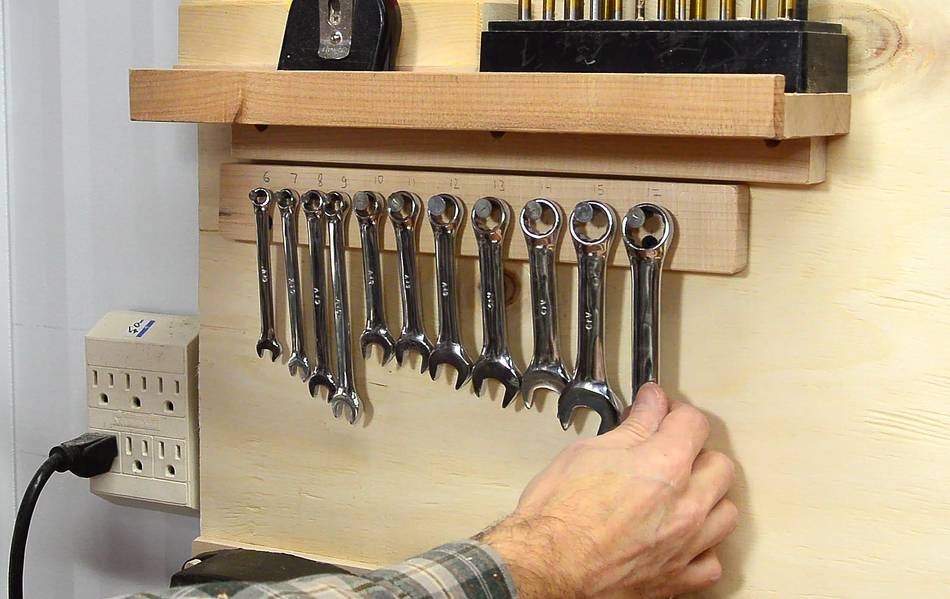 I guess I could have put the nails straight in the plywood, but this looks
nicer, and the wrenches are easier to grab. I'm only hanging the stubby
ones. If I need more torque, I have the full sized ones in a drawer.
I guess I could have put the nails straight in the plywood, but this looks
nicer, and the wrenches are easier to grab. I'm only hanging the stubby
ones. If I need more torque, I have the full sized ones in a drawer.
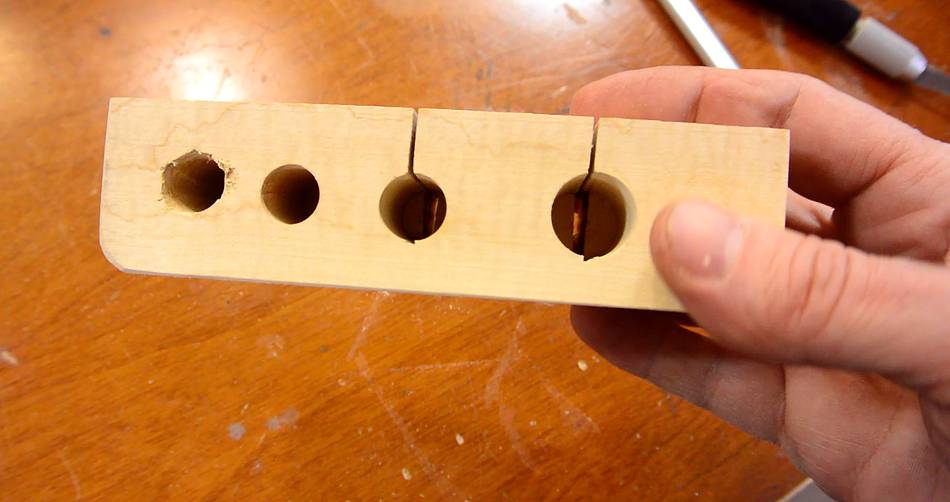 Another tool holder to hold some knives. First some holes drilled
to hold the handle, then a slot, cut with the bandsaw, for the blade.
Another tool holder to hold some knives. First some holes drilled
to hold the handle, then a slot, cut with the bandsaw, for the blade.
 I just have to make sure the knife is in the right orientation when I put it in.
 And a shelf made for my tape measures. I didn't take any pictures of
making this one - it's made a lot like the other ones.
And a shelf made for my tape measures. I didn't take any pictures of
making this one - it's made a lot like the other ones.
 Tape measures ready at hand, and some of the other tools already slightly
rearranged.
Tape measures ready at hand, and some of the other tools already slightly
rearranged.
I end up moving the tool holders from time to time, which leaves small screw holes. A french cleat system would make it easier to move stuff, but is much less flexible, and I find the few extra screw holes still less ugly than a french cleat system, and a lot less work.
 Making wall tool holders (part 1)
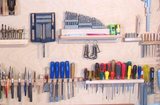 Wall tool holders
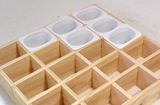 Parts sorting tray
 A better hand plane