Parts sorting with removable bins
Made using empty yoghurt cupsThis article also available in Spanish
 You can buy plastic trays with compartments, but I always find these
a bit frustrating. Sometimes, I just want to dump out one or two of the compartments,
not the whole tray.
You can buy plastic trays with compartments, but I always find these
a bit frustrating. Sometimes, I just want to dump out one or two of the compartments,
not the whole tray.
So I had the idea of using these small square-ish yoghurt cups for parts trays. All I need is a rack to hold them.
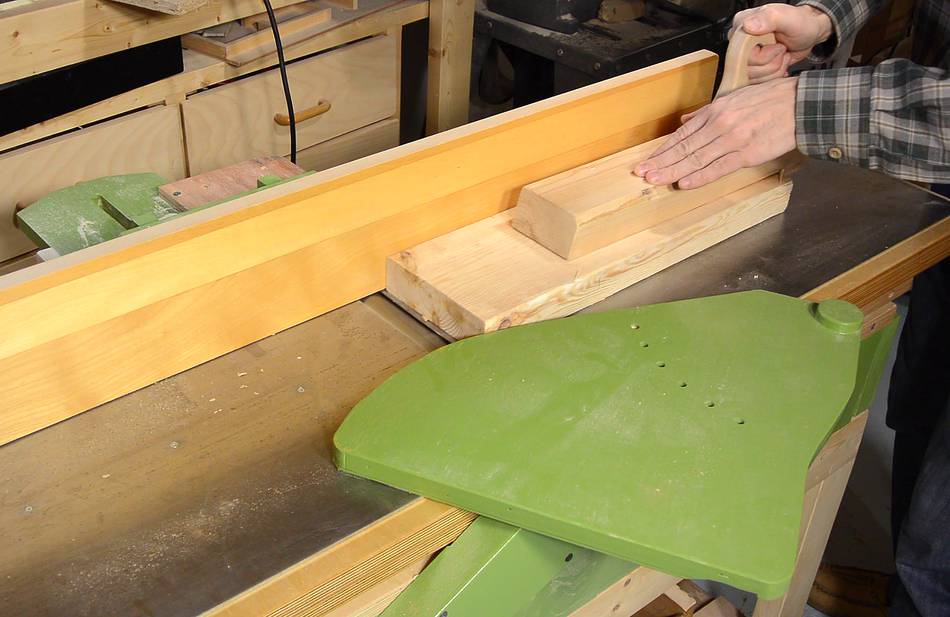 I started with some scraps of 2x4 and 2x6 lumber. As usual, the
first step is to mill two edges straight and flat on the jointer.
I started with some scraps of 2x4 and 2x6 lumber. As usual, the
first step is to mill two edges straight and flat on the jointer.

 The tray to hold the cups needs to be just a bit taller than the cups themselves.
Easiest to just set the fence to the cup, then rip the material to width.
The tray to hold the cups needs to be just a bit taller than the cups themselves.
Easiest to just set the fence to the cup, then rip the material to width.
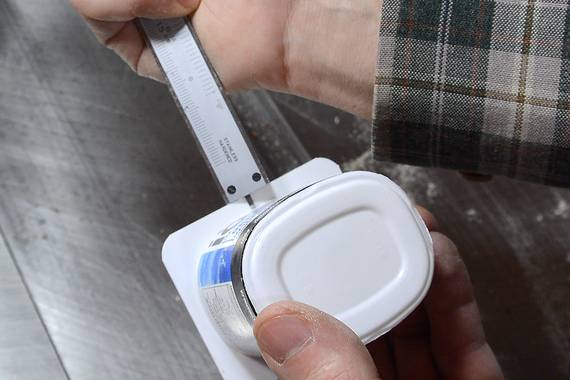 Next I measured how wide the lip, or flange of the cups is. Just over 4 mm, so I figured,
dividers 8 mm in width would be about right to support a cup on either side.
Next I measured how wide the lip, or flange of the cups is. Just over 4 mm, so I figured,
dividers 8 mm in width would be about right to support a cup on either side.
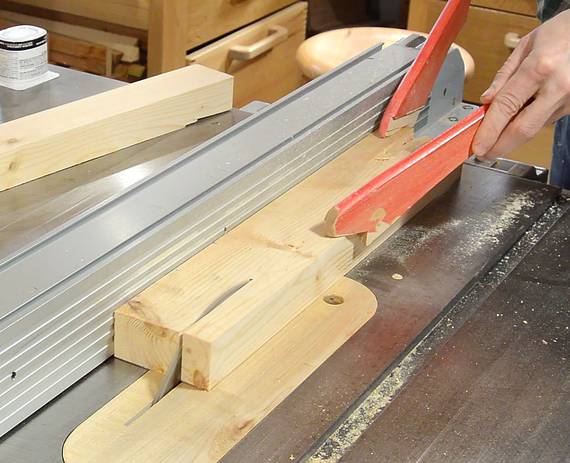
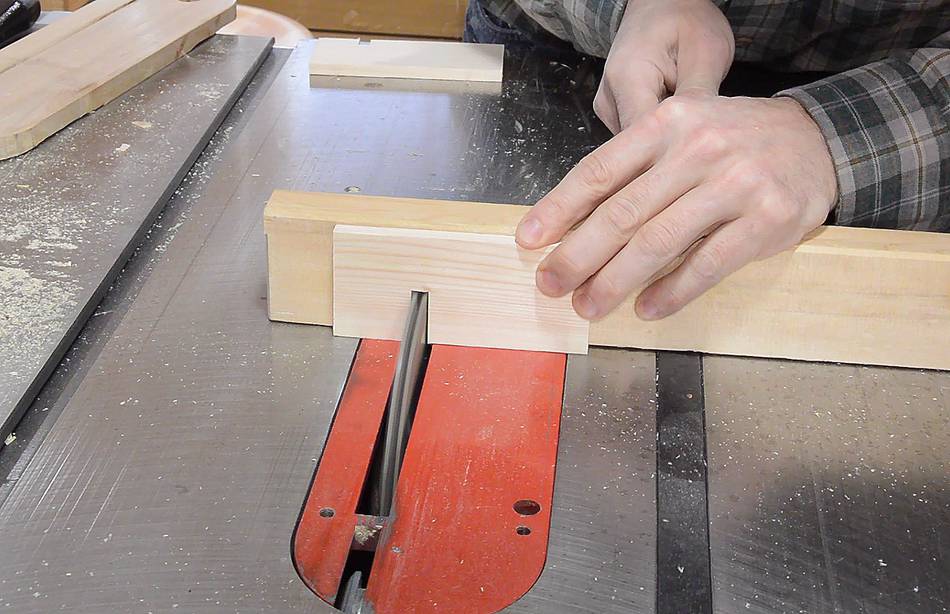
I resawed these on the table saw, using a thin kerf 7¼" skillsaw blade. I had to cut in from both sides.
2x4 lumber often has internal tension from how it was dried, so it sometimes pinches in on the blade. Cutting just half the depth from each side makes it easier to control.
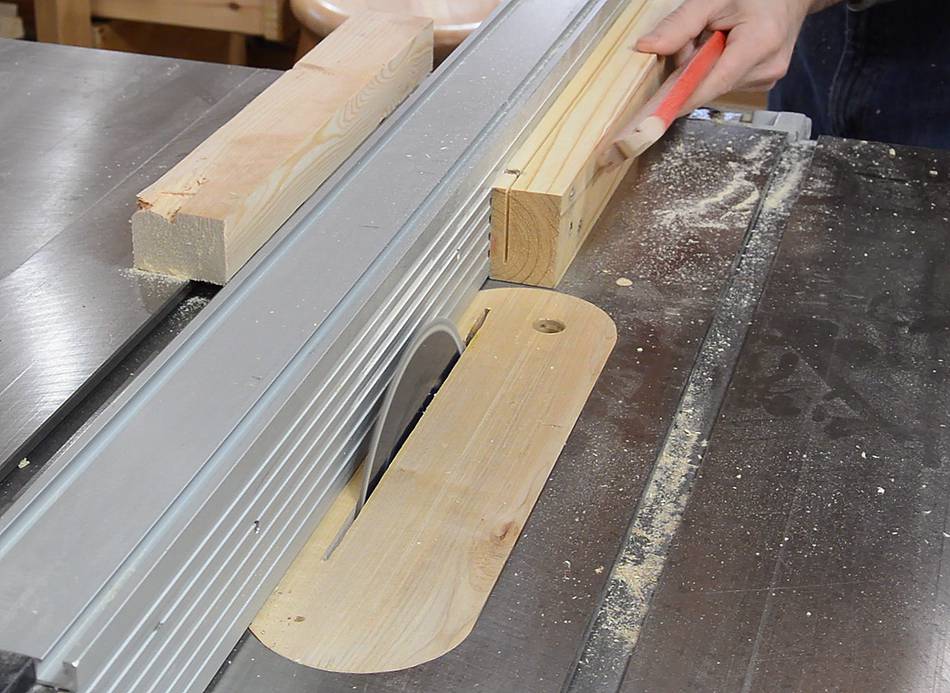
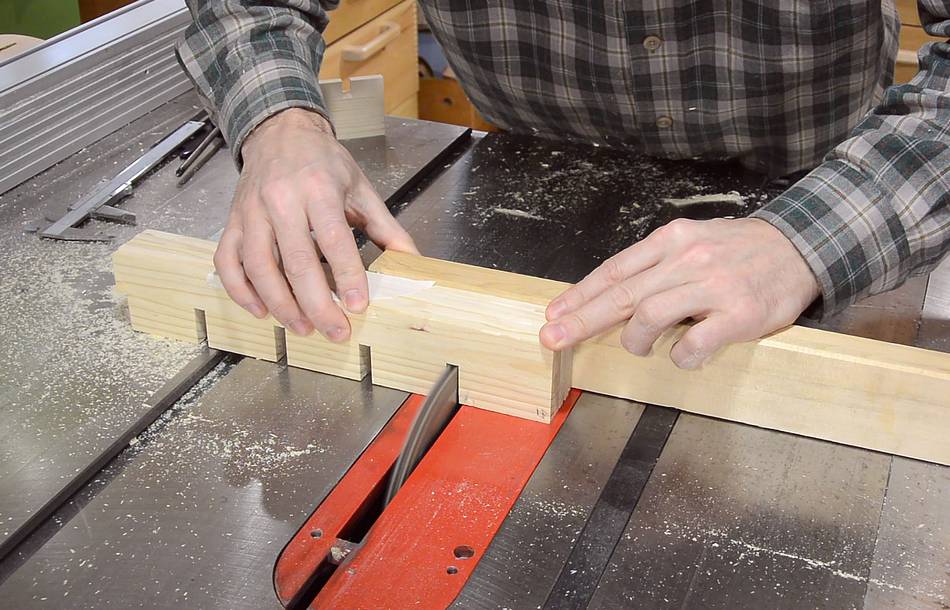
 Next, I set up my dado stack to cut an 8 mm wide slot. I hadn't used my dado set in years.
Mostly, I just make multiple cuts, but I needed to cut quite a few notches consistently
so, in this case, setting up the dado stack was worth it.
Next, I set up my dado stack to cut an 8 mm wide slot. I hadn't used my dado set in years.
Mostly, I just make multiple cuts, but I needed to cut quite a few notches consistently
so, in this case, setting up the dado stack was worth it.
 I cut notches in two scraps to test the fit. It was a bit tight,
but then again, that will help to hold it together.
I cut notches in two scraps to test the fit. It was a bit tight,
but then again, that will help to hold it together.
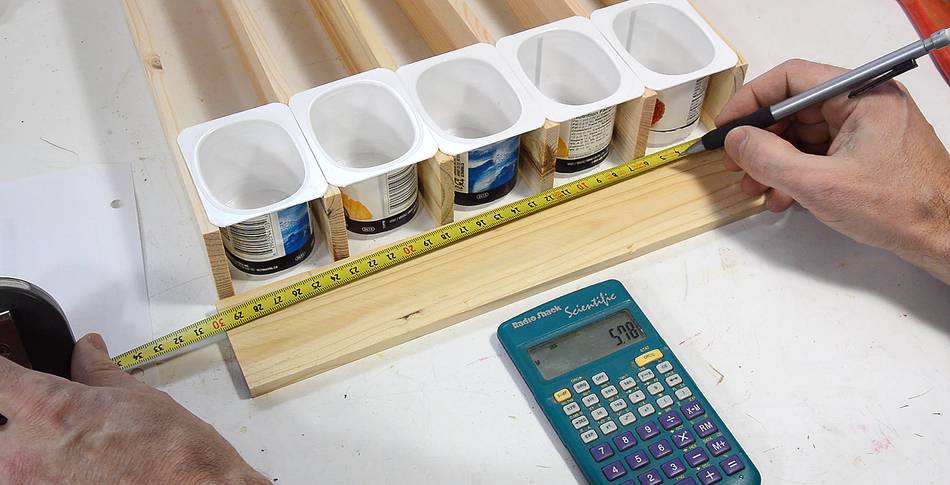 To make for five equal sized spaces, I used this
shop trick. Basically, subtracting the width of the final divider, that leaves the
remaining space for five cups and five dividers.
So after subtracting 8 mm from the total width, I divide what's left by 5.
Measuring from the right side, that tells me where all the right edges of the
dividers need to be.
To make for five equal sized spaces, I used this
shop trick. Basically, subtracting the width of the final divider, that leaves the
remaining space for five cups and five dividers.
So after subtracting 8 mm from the total width, I divide what's left by 5.
Measuring from the right side, that tells me where all the right edges of the
dividers need to be.
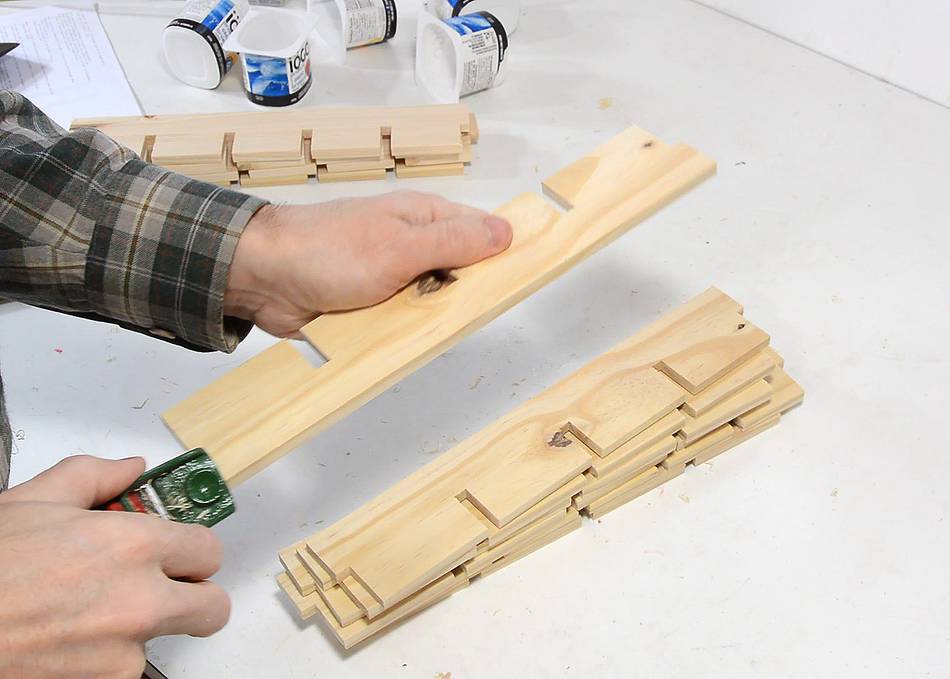
 I used a piece of masking tape to hold all the dividers aligned to each other as
I cut them.
I used a piece of masking tape to hold all the dividers aligned to each other as
I cut them.
I would have used a small clamp, but there was no place to put one.
 Cutting the slots. Once set up, this went pretty fast.
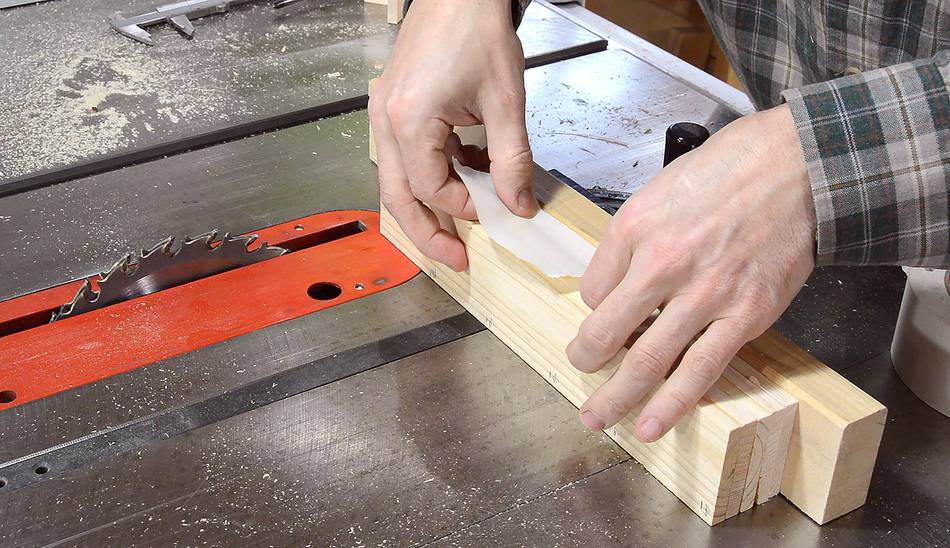
 I put a slight chamfer on all the edges with a palm plane.
This is much easier before assembly!
I put a slight chamfer on all the edges with a palm plane.
This is much easier before assembly!
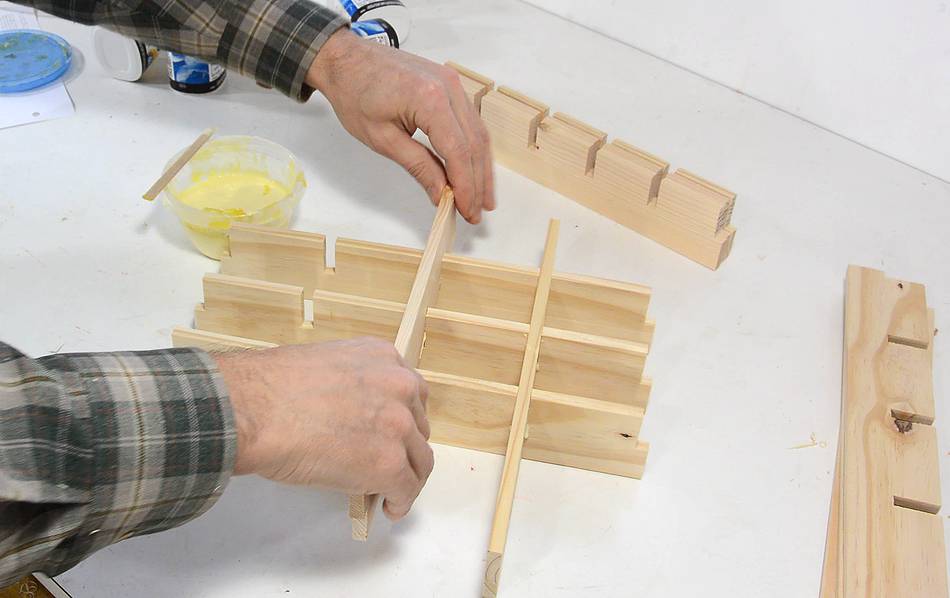 I started assembly with the inside part.
 I initially thought of starting with the outside, but the outside interlocks much less, and it's also
much easier to force the outside parts on after the inside is assembled. I didn't want to have to push
too many joints together at once.
I initially thought of starting with the outside, but the outside interlocks much less, and it's also
much easier to force the outside parts on after the inside is assembled. I didn't want to have to push
too many joints together at once.
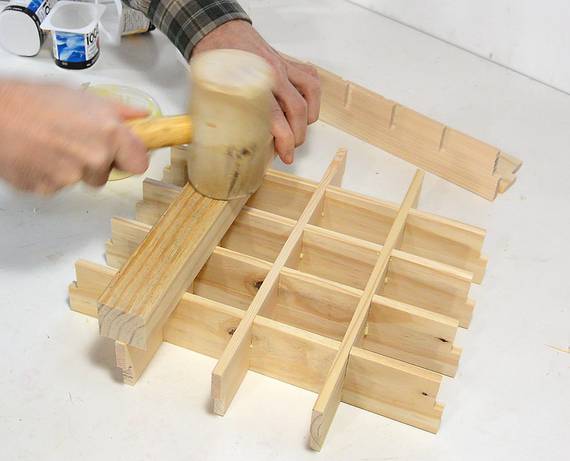
Even so, I did get stuck on one joint, and had to grab a mallet and another piece of wood to drive it all the way in.

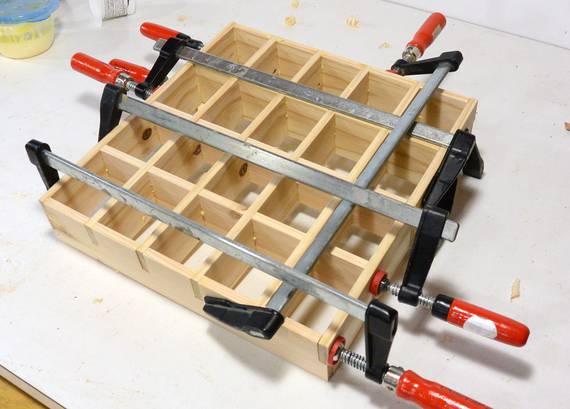 Outside edge pieces go on last.
I had marked the pieces to make sure I wouldn't flip any, but still ended up flipping one. With fraction of a millimeter errors in where I cut the notches, this meant the pieces of wood had to bend a bit to fit, and so I needed some clamps to force the outside joints all fully closed.
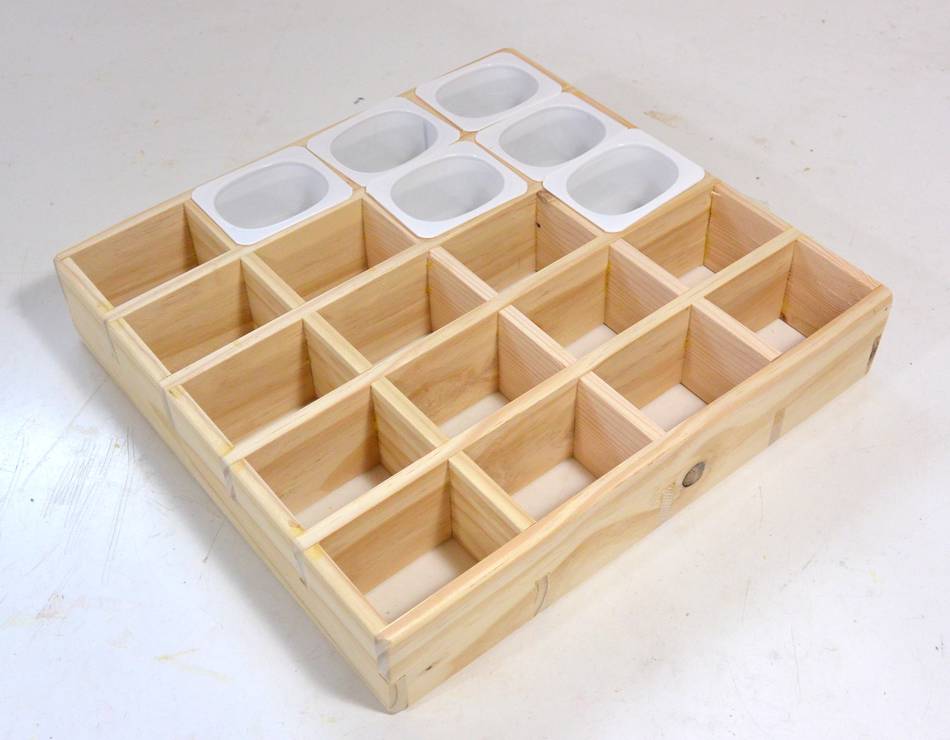 Finished sorting tray.
Now I just need to eat some more yoghurt to get enough empty cups!
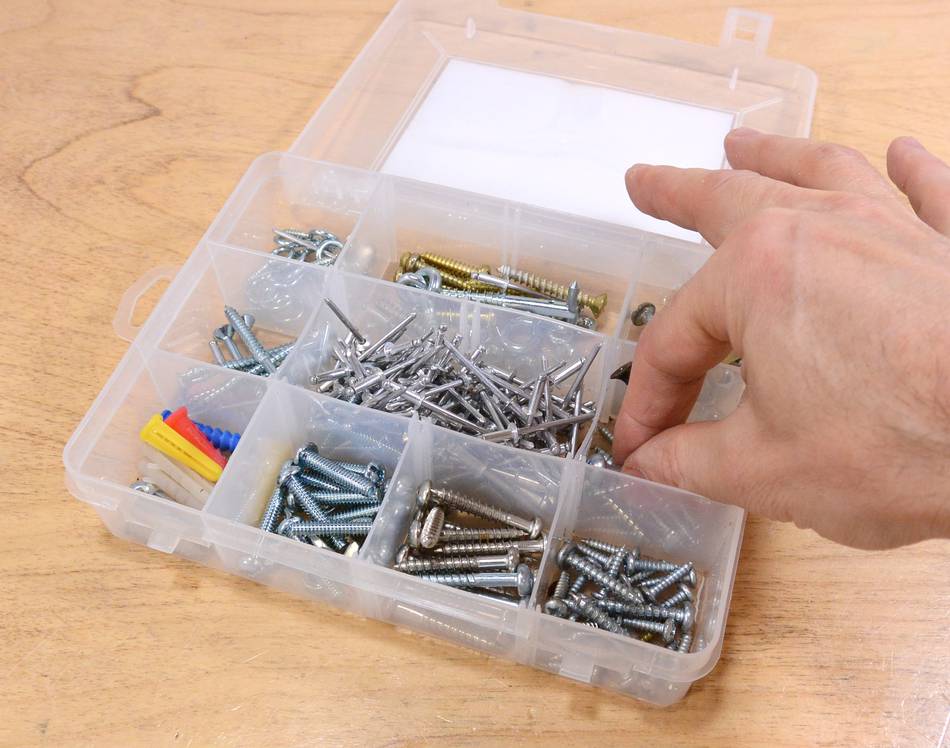
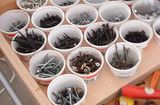
I have since come across
These plastic bins
that are very efficient at organizing space in a drawer.
See also:
 More yogurt cup
 Wall tool holders
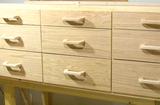 Workbench drawers
 Some nice homemade
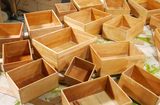 Small box joined boxes
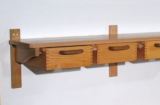 Shelf with drawers
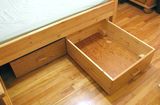 Under bed storage
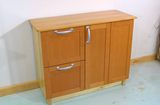 Basement storage cabinet
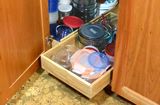 Kitchen cabinet
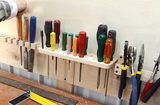 Making tool holders
To my Woodworking website