 I wrote several pages relating to Amogla camp, always referring
to an old page about
the camp that I wrote in 1999. I figure it's time
to write a newer page about the camp and make a video, of course.
I wrote several pages relating to Amogla camp, always referring
to an old page about
the camp that I wrote in 1999. I figure it's time
to write a newer page about the camp and make a video, of course.
I wrote several pages relating to Amogla camp, always referring
to an old page about
the camp that I wrote in 1999. I figure it's time
to write a newer page about the camp and make a video, of course.
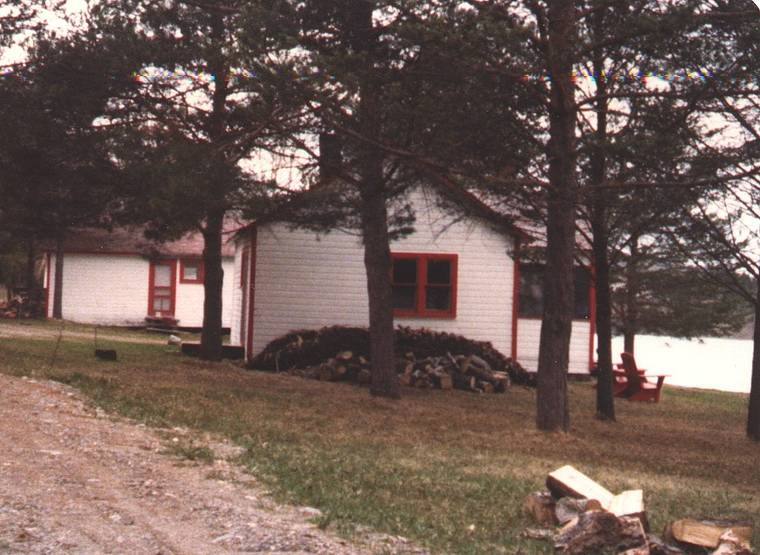
My parents bought the camp, in late 1979, even before moving to Canada. The previous owners still operated it for the summer 1980 season and we took it over, with existing reservations, starting summer 1981. The camp, as it was, had 8 cottages that were rented out. None of the cottages for rent had indoor plumbing. Even the main cottage only had a flush toilet and a kitchen sink with cold water (plus a bathtub, but no faucet on it). Still, it was a fun summer. I was 12 years old at the time.
 Towards the end of our first summer, my dad and a friend of his
from Germany started construction of the first two new cottages.
These would be much nicer, with wood paneling on the inside and
indoor plumbing.
Towards the end of our first summer, my dad and a friend of his
from Germany started construction of the first two new cottages.
These would be much nicer, with wood paneling on the inside and
indoor plumbing.
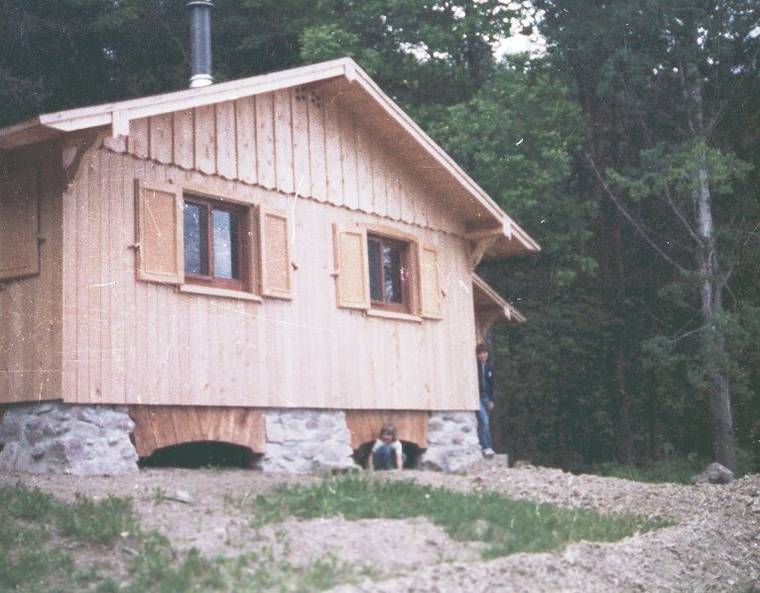
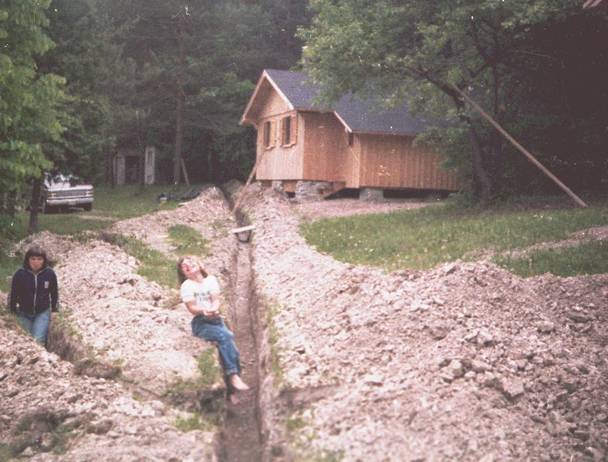
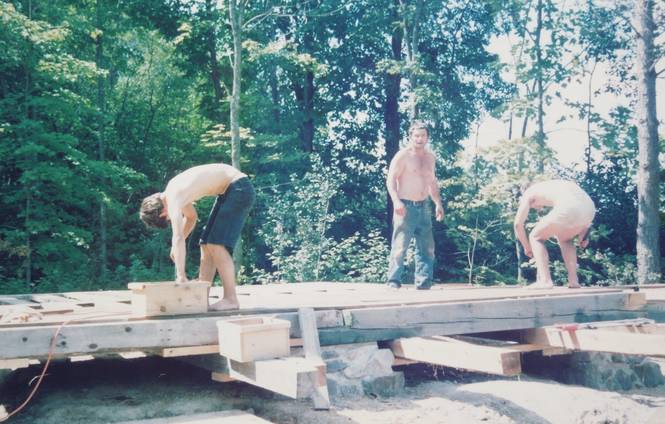
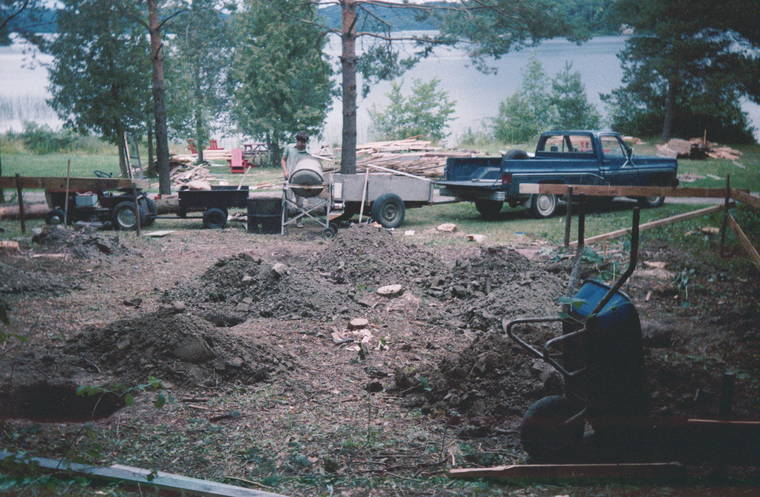
No heavy equipment was used for the construction. All the digging that needed to be done for the foundations was done by hand. Later my dad hand dug the trenches for connecting water and septic pipes together (photo at right, with my sisters).
The septic system itself was, however, done by a contractor who used a backhoe.
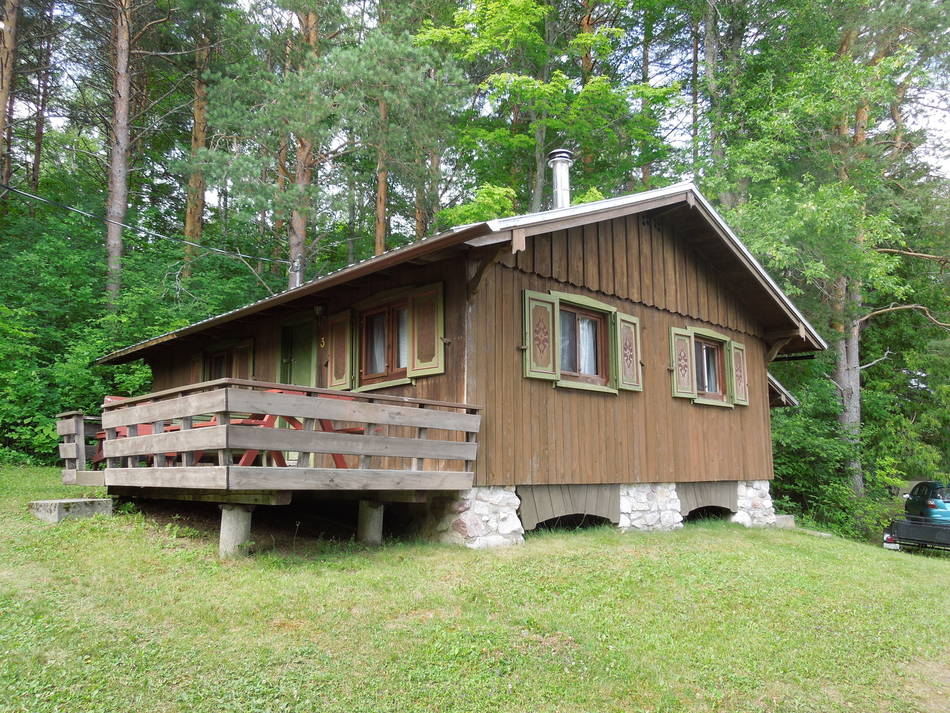
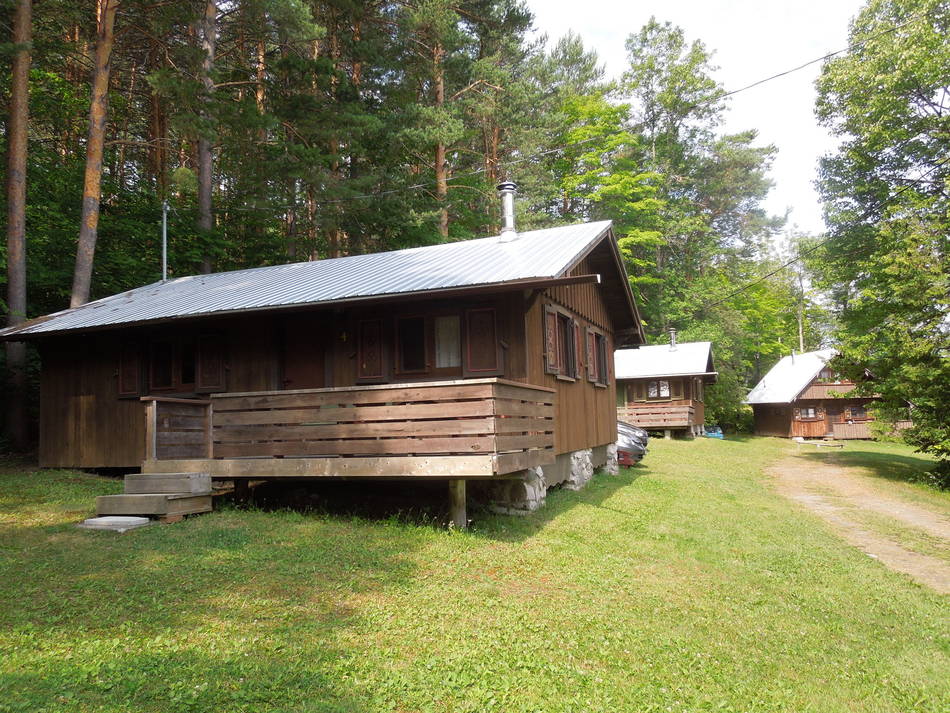
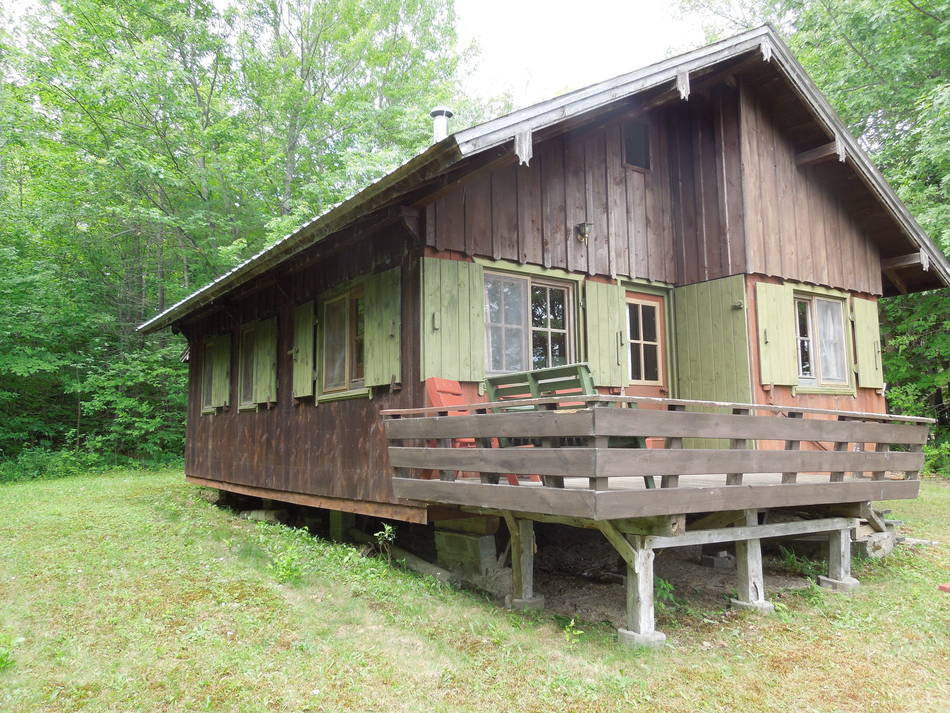
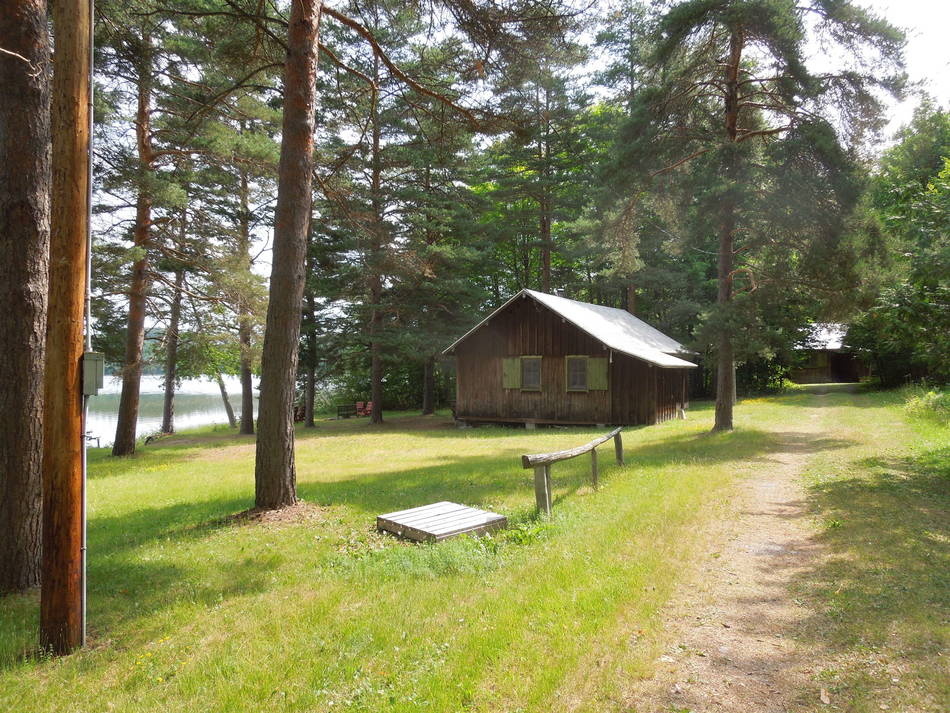
Above, you can see the first two cottages, as seen in 2016. These are cottages #3 and #4, though at the time mom referred to them as "green shutters" and "brown shutters" when making reservations. Being the new cottages, and nearly identical, that was the main distinction.
They were actually meant to be identical, but my dad and his friend drank a bit too much the night before they started to dig the foundation holes, and they made some measurement errors, so one is a bit wider and a bit shorter than the other. The cottages were completed towards the end of 1982 and first rented out for the 1983 season.
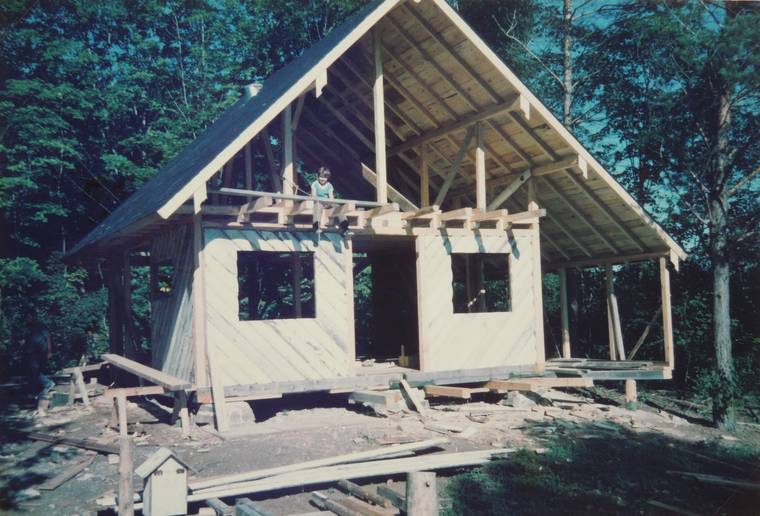
 At the end of 1983, my dad started with the next cottage, later named
cottage #2. My dad used some planks from one of the old cottages that we had
demolished that year as a layer to go inside the walls to add rigidity and
insulation. He put them in at a diagonal, which made the cottage very
stiff. This makes #2 the only one where the windows never stick from shifting
foundations. But I remember some camp guests asking timidly if he planned on
painting the planks (they had peeling white paint on them). I guess they thought
that was supposed to be the outside surface. At right, me, my dad and
my brother Markus nailing down the sub floor.
At the end of 1983, my dad started with the next cottage, later named
cottage #2. My dad used some planks from one of the old cottages that we had
demolished that year as a layer to go inside the walls to add rigidity and
insulation. He put them in at a diagonal, which made the cottage very
stiff. This makes #2 the only one where the windows never stick from shifting
foundations. But I remember some camp guests asking timidly if he planned on
painting the planks (they had peeling white paint on them). I guess they thought
that was supposed to be the outside surface. At right, me, my dad and
my brother Markus nailing down the sub floor.
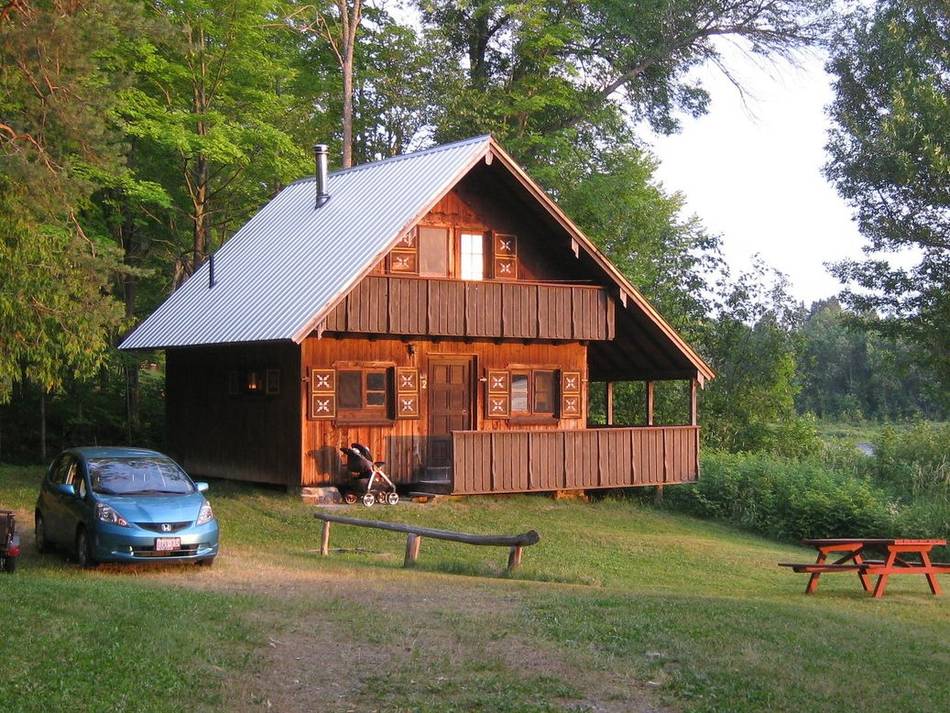
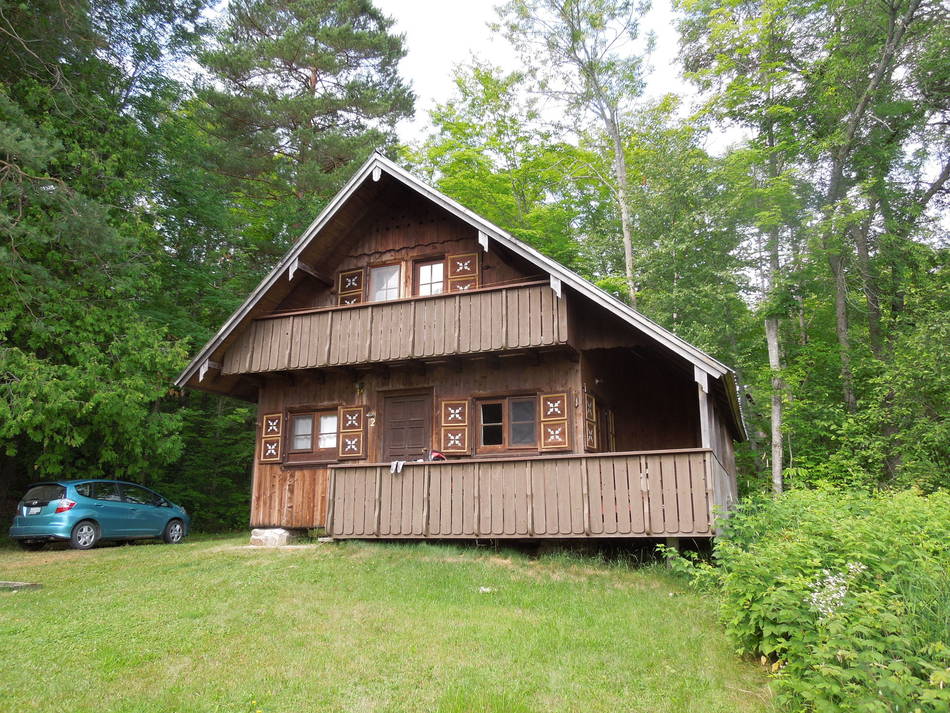
My dad continued working on it in the fall and next spring, and the cottage was first rented out for the 1984 season. My mom referred to it as the balcony cottage when taking bookings. #2 is, I think, the prettiest cottage at the whole camp. I did an online tour of it in 2012. But it only has two bedrooms, and you have to take the stairs down to go to the bathroom, so it wasn't a favourite with guests. Rachel and I quite like staying in this one. The main bedroom has a great view. After 33 years, the wood on the front now has the sort of weathering that one would associate with huts in the Austrian alps

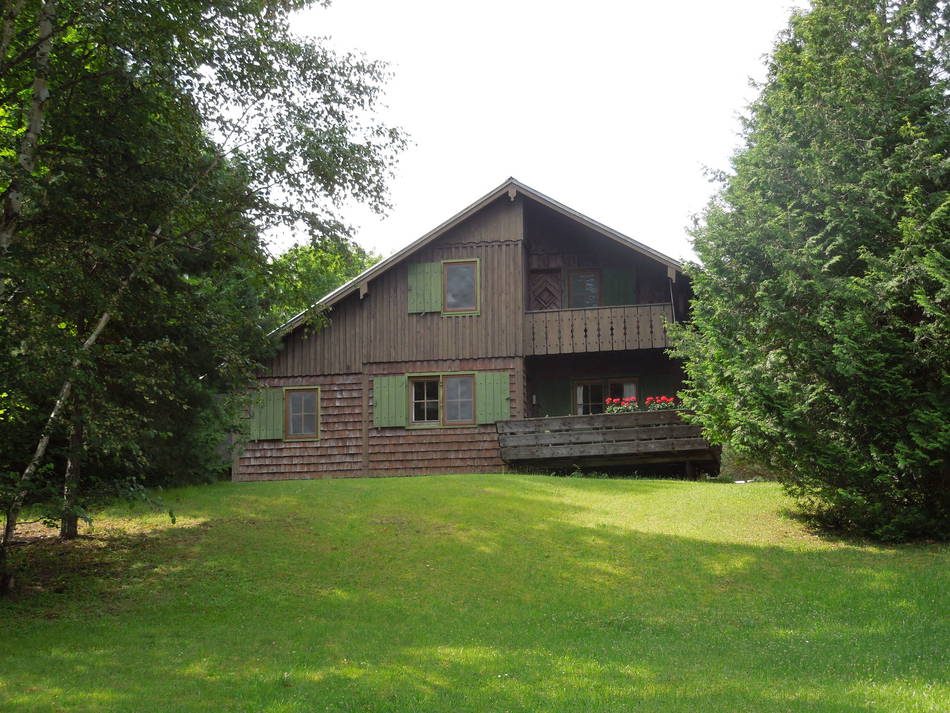
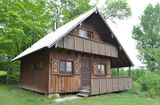
 The fall of 1984 saw the start of construction of cottage #1.
This is the western-most cottage at the camp. It was completed in time
for the summer 1985 season. It's separated from the rest of the camp by a
creek and ravine, which the previous owners used to use as a garbage dump.
The fall of 1984 saw the start of construction of cottage #1.
This is the western-most cottage at the camp. It was completed in time
for the summer 1985 season. It's separated from the rest of the camp by a
creek and ravine, which the previous owners used to use as a garbage dump.
With the completion of cottage #1, all the new cottages were assigned their present numbers.

 The main floor is clad in hand-split cedar shingles, these are nailed
onto old boards underneath. My dad split all these from blocks of cedar.
The main floor is clad in hand-split cedar shingles, these are nailed
onto old boards underneath. My dad split all these from blocks of cedar.
It's on a bit of a hill, and a short footpath leads down to where the dock for this cottage is.
The cottage, like several others, has suffered from shifting foundations. In 2010, I made a video about makeshift repairs to one of the foundations (the repair has held up since).
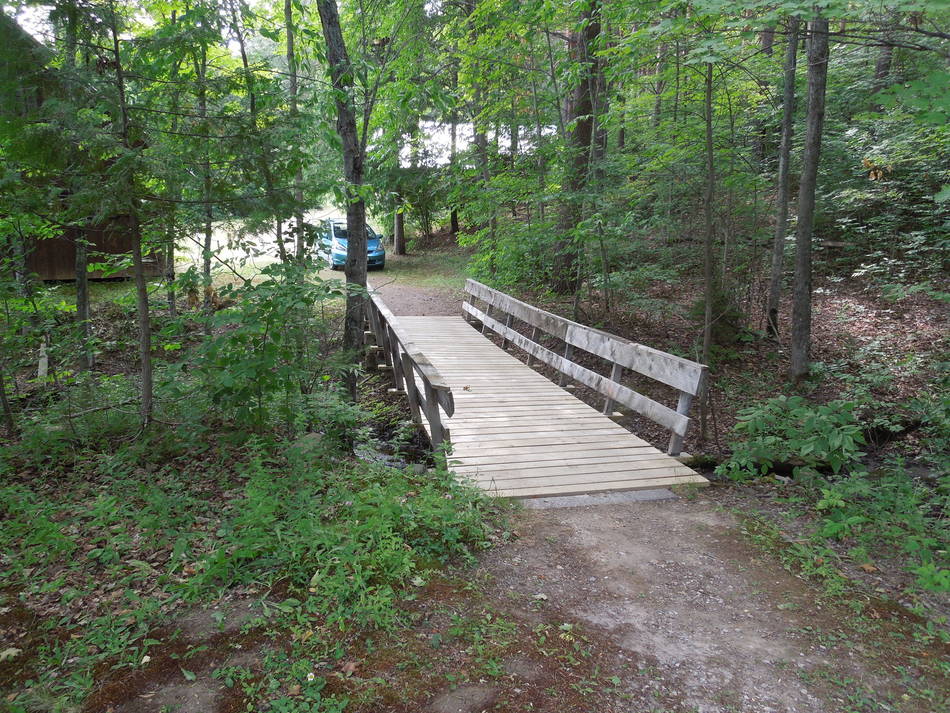 My dad built a wooden bridge to connect this cottage to the rest of the camp. For 20 years,
people drove their heavy SUVs across that bridge, but it required maintenance every
year. Some of the foundations would shift by as much as 10 cm in a year
and needed to be repositioned.
My dad built a wooden bridge to connect this cottage to the rest of the camp. For 20 years,
people drove their heavy SUVs across that bridge, but it required maintenance every
year. Some of the foundations would shift by as much as 10 cm in a year
and needed to be repositioned.
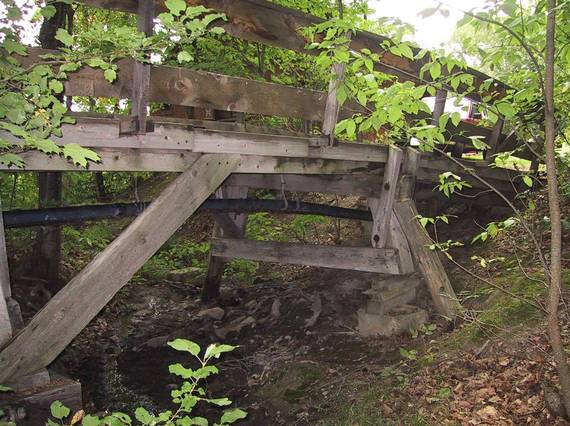 When my parents closed the camp to tourists in 2006, an alternate road was built to
the cottage. The bridge was closed to vehicle traffic and no longer maintained.
It became dilapidated. In 2011 we made an effort to
straighten it. By 2015, it was too far gone. But we kept two old power
line poles when they were replaced, and they were laid across the ravine and decking
screwed on. Good for ATVs and riding lawn mowers to drive across, but not for cars.
At left, the new bridge. At right, under the old bridge in 2000.
When my parents closed the camp to tourists in 2006, an alternate road was built to
the cottage. The bridge was closed to vehicle traffic and no longer maintained.
It became dilapidated. In 2011 we made an effort to
straighten it. By 2015, it was too far gone. But we kept two old power
line poles when they were replaced, and they were laid across the ravine and decking
screwed on. Good for ATVs and riding lawn mowers to drive across, but not for cars.
At left, the new bridge. At right, under the old bridge in 2000.
 In the fall of 1985 we started construction of cottage #5. By this time,
I was 16 and my brother 18, so we worked with more autonomy, such as working
out the rafter spacing given that we have this many rafters, then installing them.
Rather than go by a standard spacing, we'd always take the width of the roof, divided by
the number of suitable beams, then spaced them evenly with whatever
interval that worked out to. The sheeting on the roof was all from boards
of irregular lengths (many from dismantled
cottages), so there was no incentive to use standard spacings that work well
with 4'x8' sheets of material.
In the fall of 1985 we started construction of cottage #5. By this time,
I was 16 and my brother 18, so we worked with more autonomy, such as working
out the rafter spacing given that we have this many rafters, then installing them.
Rather than go by a standard spacing, we'd always take the width of the roof, divided by
the number of suitable beams, then spaced them evenly with whatever
interval that worked out to. The sheeting on the roof was all from boards
of irregular lengths (many from dismantled
cottages), so there was no incentive to use standard spacings that work well
with 4'x8' sheets of material.

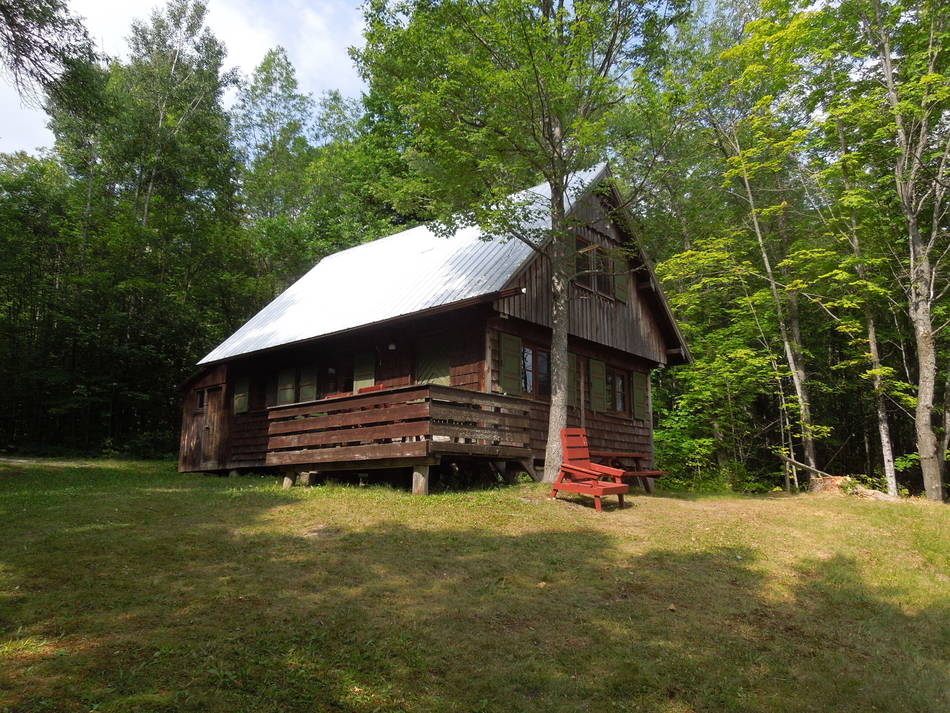
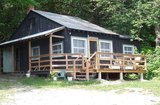
Having larger windows than earlier cottages gives #5 a more airy feel. #5 was one of the favourites with customers. And when the whole family went to the camp to work on weekends in the fall, we usually stayed in that one (we only lived full time at the camp during the summer).
The cottages were all originally roofed with asphalt shingles. The shingles lasted exactly as long as the warranty, and eventually we had the roofs covered with galvanized steel roofing, which lasts much longer and allows the snow to slide of. But in the winter of 2012-2013, the snow slid off #5 one big avalanche, destroying the deck railing and damaging the deck substructure. My brother and I were visiting for just a weekend in early 2013, so I did a quick hack job of reassembling the railing and fixing the deck supports, but it has held up since.
 With the customers staying in the nice cottages, and us living on the
primitive original main cottage, by 1986, it was time to tackle this one.
With the customers staying in the nice cottages, and us living on the
primitive original main cottage, by 1986, it was time to tackle this one.
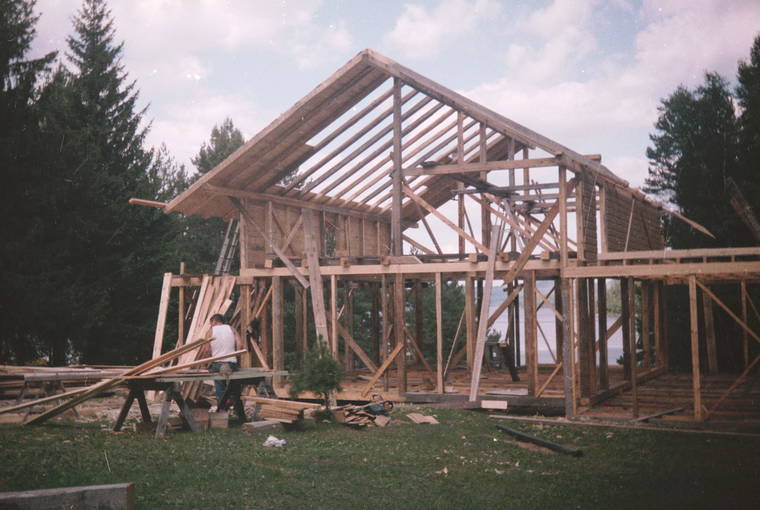
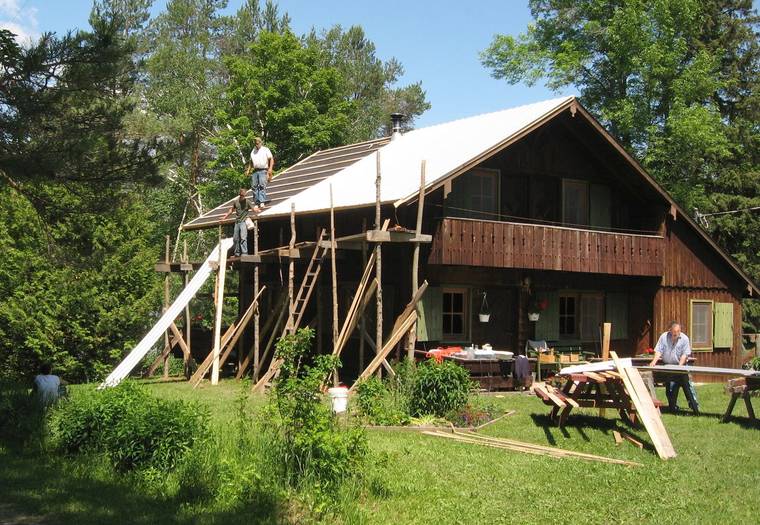
This one presented a bit of a design challenge, because, as you drive to the camp it's the first thing you see, so it had to look good from that side, but also from the lake, and look decent driving past it on the west side. My dad and I spent some hours on a 1:10 scale plan drawn on a piece of plywood. It was the only cottage at the camp where we went into this much design detail before starting construction.
 The outside was finished by the fall of 1986, again using hand split cedar
shingles, many of them split by me this time.
The outside was finished by the fall of 1986, again using hand split cedar
shingles, many of them split by me this time.
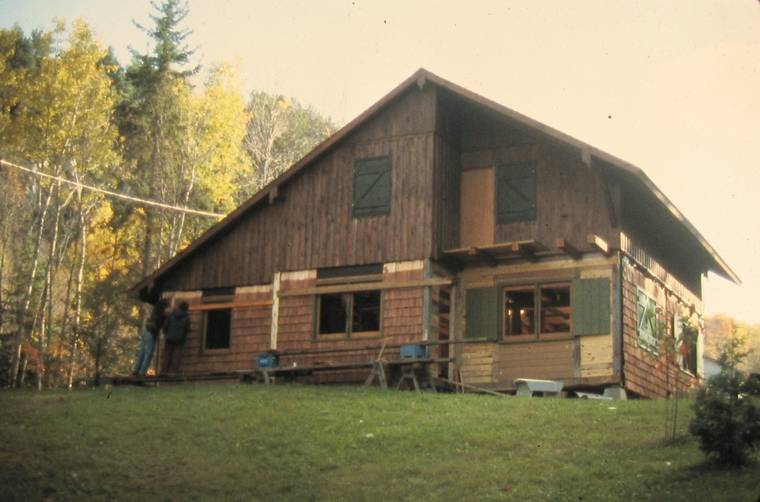
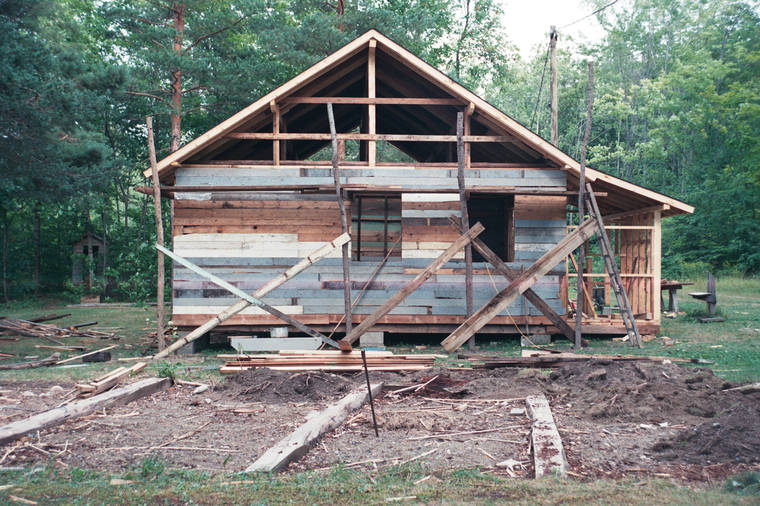
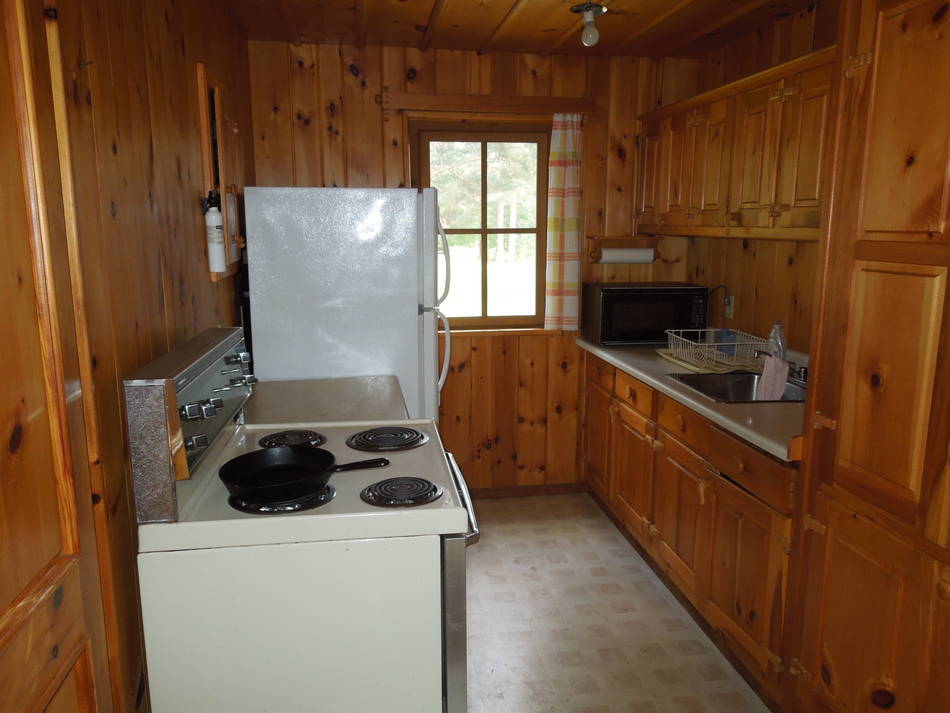
But then my dad's workshop shop burned down later that fall, and the rest of 1986 and 1987 was mostly spent rebuilding the workshop. So for the summer of 1987, we lived with a rather makeshift interior (at right, inside, with visitors).
My dad finished the interior in the fall of 1987 and early 1988, so
for the 1988 season we had a brand new nice looking cottage to live in.
 North side, in 2016.
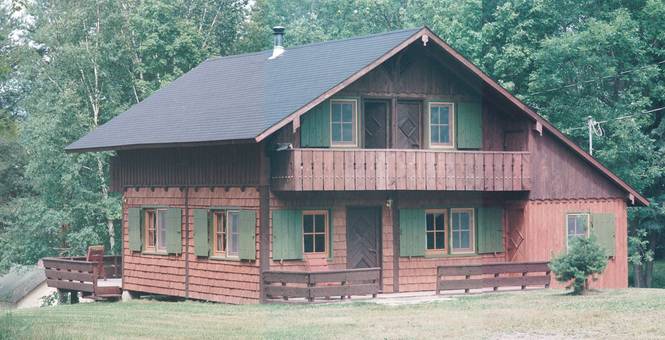 Right: south side in 1988 The cedar shingles were-stained in the interim at least once.
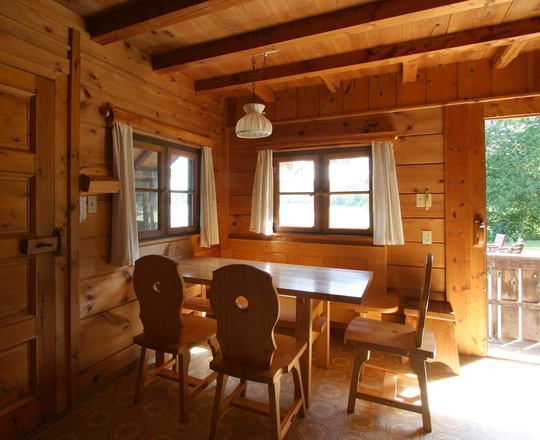
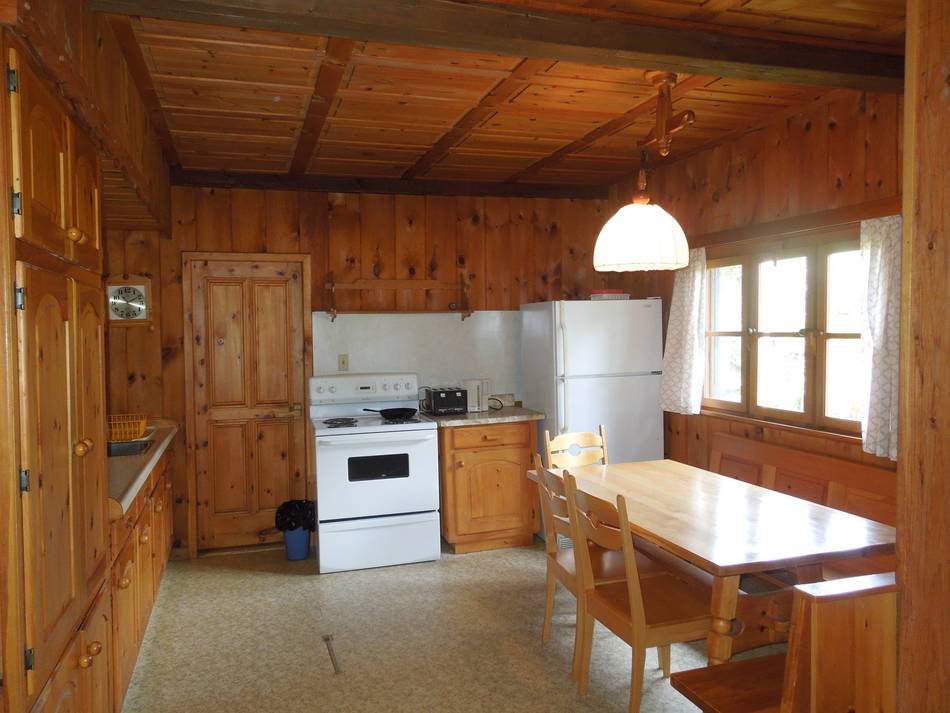
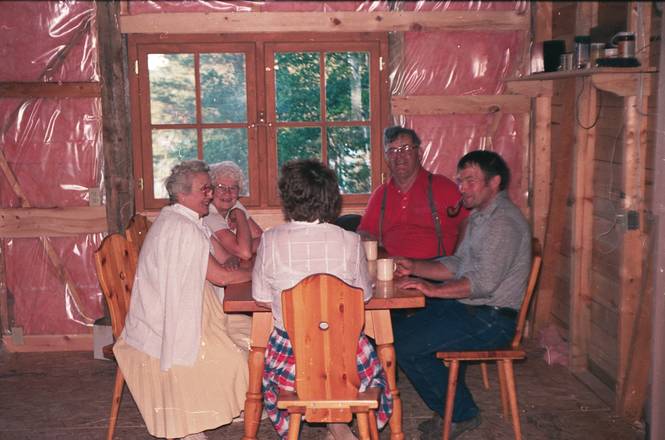
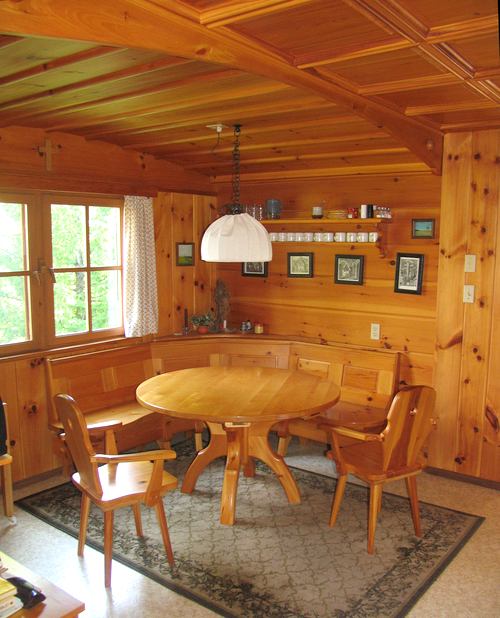
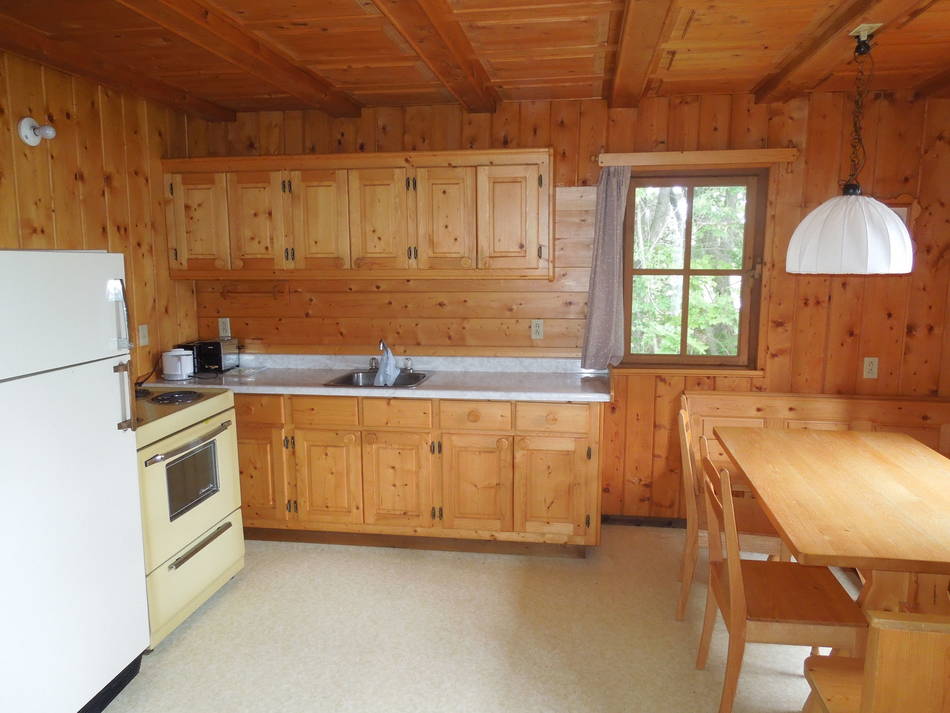
Left: Dining nook in the main cottage.
This was the last cottage where I helped a lot because I went off
to university in September.
I wrote about draining the plumbing of this one with compressed air.
Also a video of replacing the deck steps.
 In August of 1988, we started construction of cottage #7, the eastern-most
cottage at the camp. I had my own camera by then, so
I took lots of photos of its construction.
In August of 1988, we started construction of cottage #7, the eastern-most
cottage at the camp. I had my own camera by then, so
I took lots of photos of its construction.

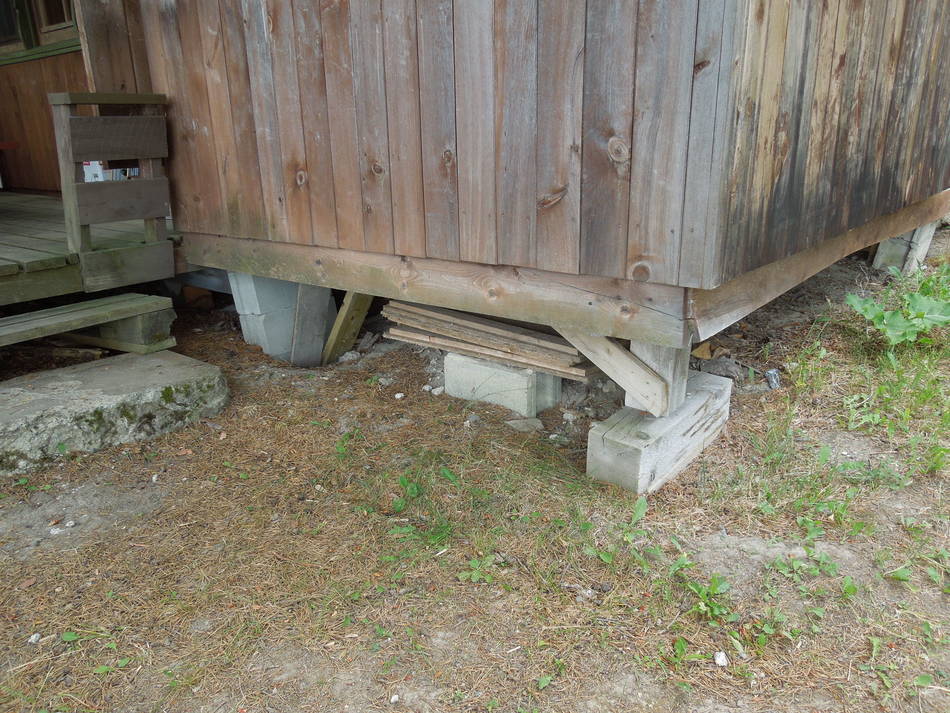
 The soil was soft clay, so it was relatively easy to hand dig the foundation
holes. But this cottage has had the most foundation problems of them all.
By 2009, the whole building was at a considerable slant. With nothing to lose,
I tackled it with a bottle jack, lifting it off the foundations and knocking
part of the foundations away to bring it as level as I could. It sits a
bit precariously on its footing, with wooden braces to keep the founcations
from tipping over. But the repair has held up since.
The soil was soft clay, so it was relatively easy to hand dig the foundation
holes. But this cottage has had the most foundation problems of them all.
By 2009, the whole building was at a considerable slant. With nothing to lose,
I tackled it with a bottle jack, lifting it off the foundations and knocking
part of the foundations away to bring it as level as I could. It sits a
bit precariously on its footing, with wooden braces to keep the founcations
from tipping over. But the repair has held up since.
At left, the shed door. At right, you can see how much of that door was carved away at some point to deal with shifting foundations. I put it back mostly into square in 2009, so the slanted door top now looks out of place.
 Cottage #6 was started in late summer of 1989. There weren't many pictures
taken of its construction. I took this photo when I visited home
between a summer co-op placement and the fall school term.
Cottage #6 was started in late summer of 1989. There weren't many pictures
taken of its construction. I took this photo when I visited home
between a summer co-op placement and the fall school term.
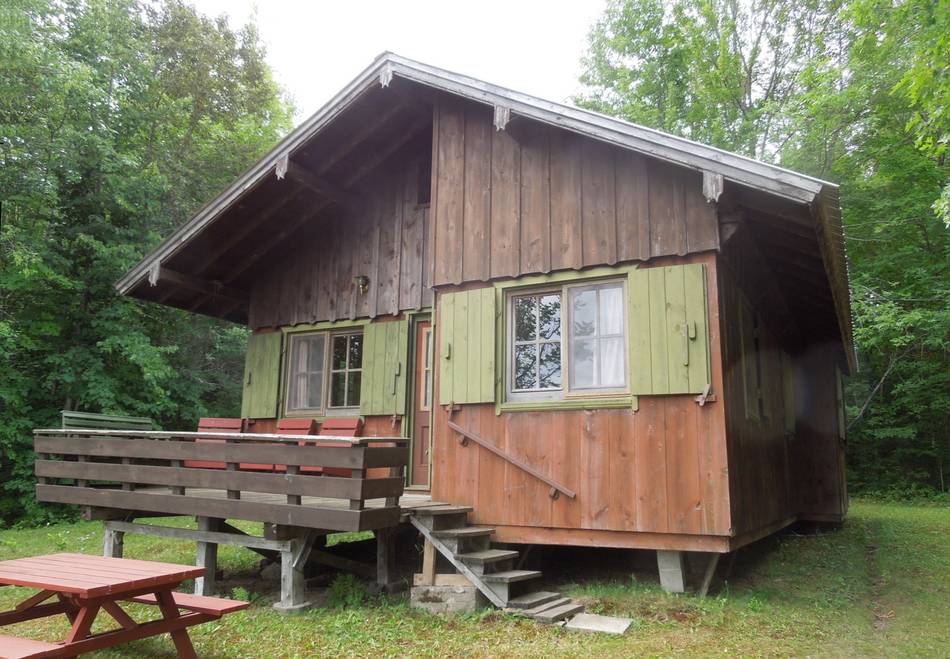
My dad also started building a guest house (for family and friends to stay in) that same year. Without me around to argue about how deep the foundations needed to be dug, my dad didn't dig them very deep at all. I only realized how shallow they were when levelling this one, working under it, I dug down with my bare hands to see how deep the foundations were, and I was able to get under them in no time. They were only about 20 cm into the ground!

 On the plus side, foundations that don't go too deep into the ground can't lift
too far out either. I'm thinking now, we might have done better if, for foundations,
we had just poured a 60x60 cm slab of concrete right on the ground
without digging any holes at all!
On the plus side, foundations that don't go too deep into the ground can't lift
too far out either. I'm thinking now, we might have done better if, for foundations,
we had just poured a 60x60 cm slab of concrete right on the ground
without digging any holes at all!
The foundation in this corner was beyond rescue. My dad had replaced it with a cedar post, but that seemed to have shifted to the side, so in 2012, I dug that out, filled the hole with dirt, put down two pier pads (pier pads are essentially double thickness patio stones), a horizontal beam on top, and a short beam to hold up the cottage. It's only been four years so far, but it seems to be holding.
Visitors admire the cottages and say what a wonderful job my dad did on them. He really did mostly. But I often deal with stuff that wasn't done right, such as foundations and plumbing. So my view is a bit more cynical.
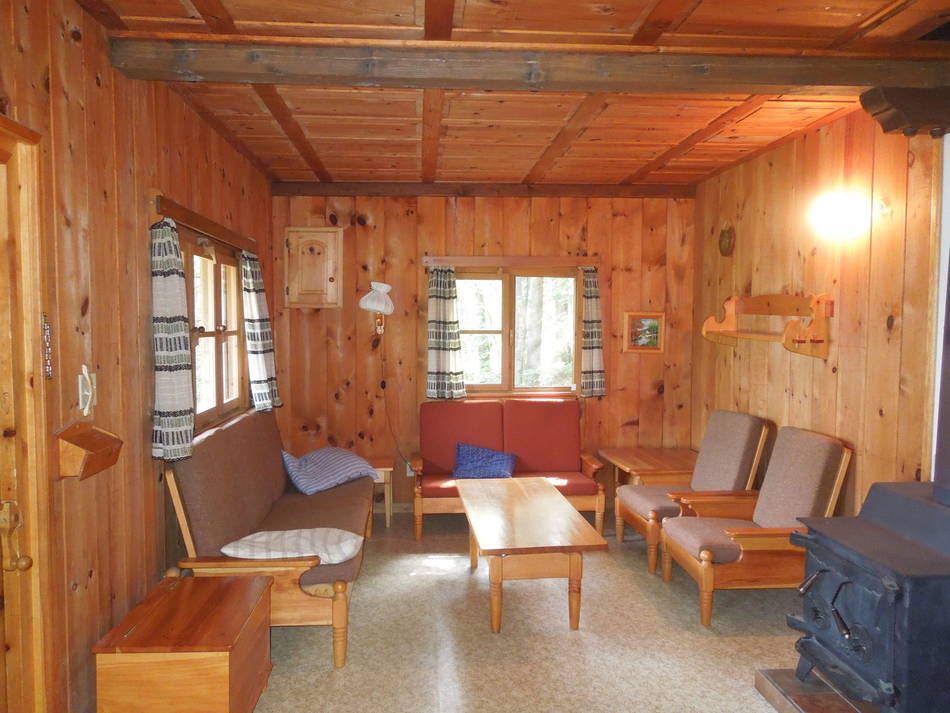
But #6 is a very nice cottage to stay in, especially on the inside. Its our favourite.


 I have gotten a number of questions about the arm chairs in cottage #6. These have an
adjustable amount of recline. However, the most reclined setting is about
a normal setting, so that's the only setting they are ever used at. These are
just one of many of my dad's original
furniture designs.
I have gotten a number of questions about the arm chairs in cottage #6. These have an
adjustable amount of recline. However, the most reclined setting is about
a normal setting, so that's the only setting they are ever used at. These are
just one of many of my dad's original
furniture designs.
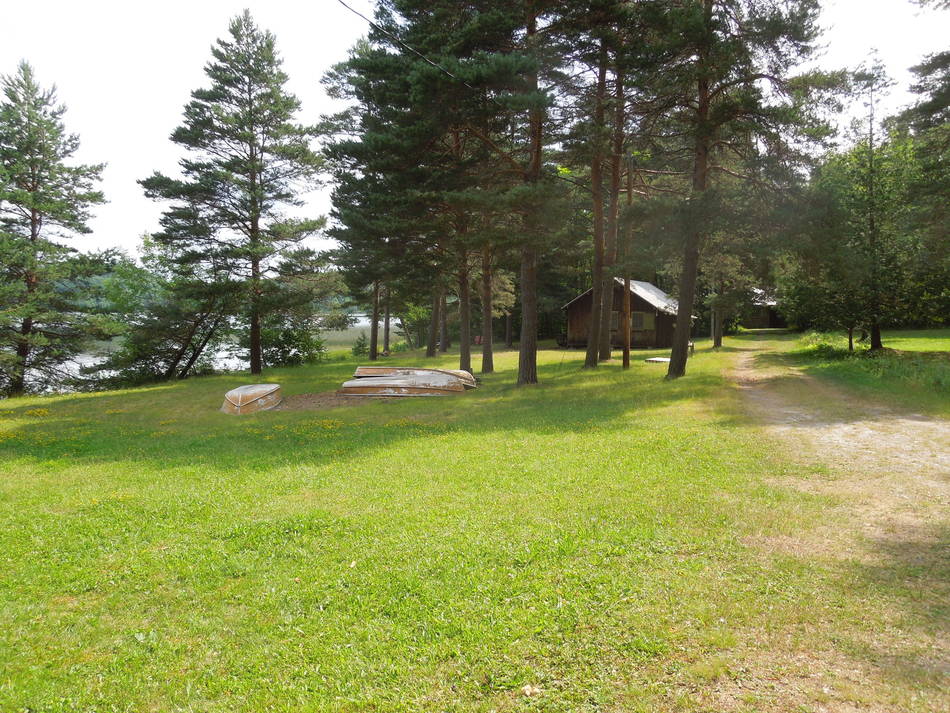
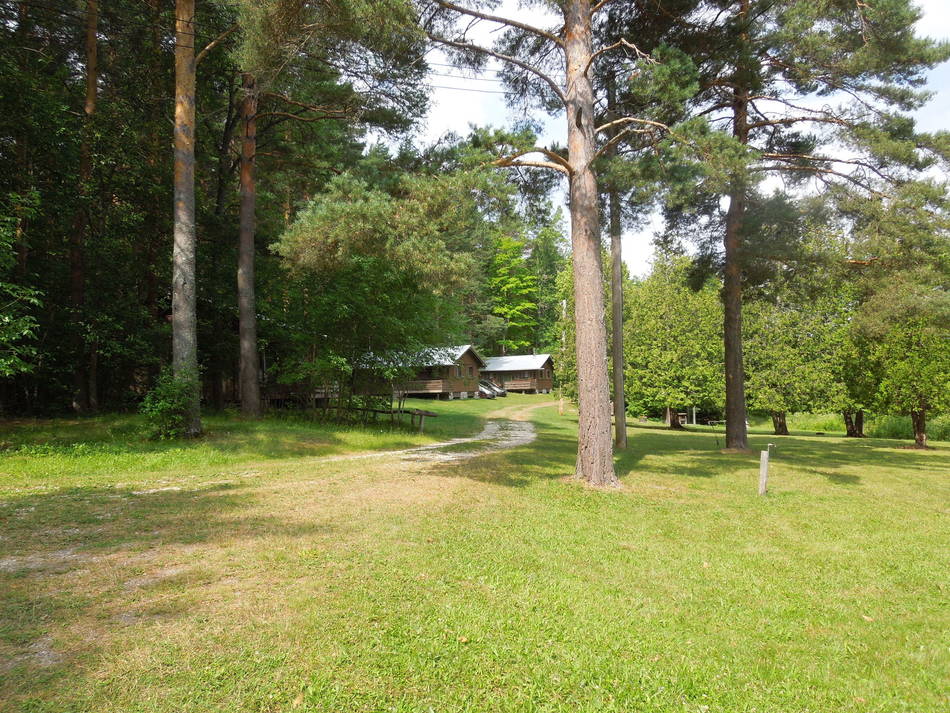
If you are curious how it all fits together, the photos below are taking standing north of the main cottage, near the lake. The photo below left is facing east towards cottage #6 and #7 (you can barely see part of #7). The photo below right is looking west. You can see cottages #4 and #3. On the left you can barely see the outline of the roof of #5 through the trees. #1 and #2 are hidden by the trees.
 The camp has been closed to tourists since 2006, when my parents got too old to be
able to handle it anymore, especially the turnover of 7 cottages every Saturday
Hiring someone to help is not as easy as it sounds,
because people with the range of skills needed tend to have full-time jobs that
pay more than the total rent for the camp in a year.
The camp has been closed to tourists since 2006, when my parents got too old to be
able to handle it anymore, especially the turnover of 7 cottages every Saturday
Hiring someone to help is not as easy as it sounds,
because people with the range of skills needed tend to have full-time jobs that
pay more than the total rent for the camp in a year.
But even with the camp closed, there is maintenance that needs doing. My mom has had people stay at the camp for free for a week or two in exchange for doing work. There was one group that put sheet metal on one cottage roof every year for a few years (see photo at left) in exchange for staying for free. There's still one roof that needs doing, but there are also a lot of other, less challenging things that need doing.
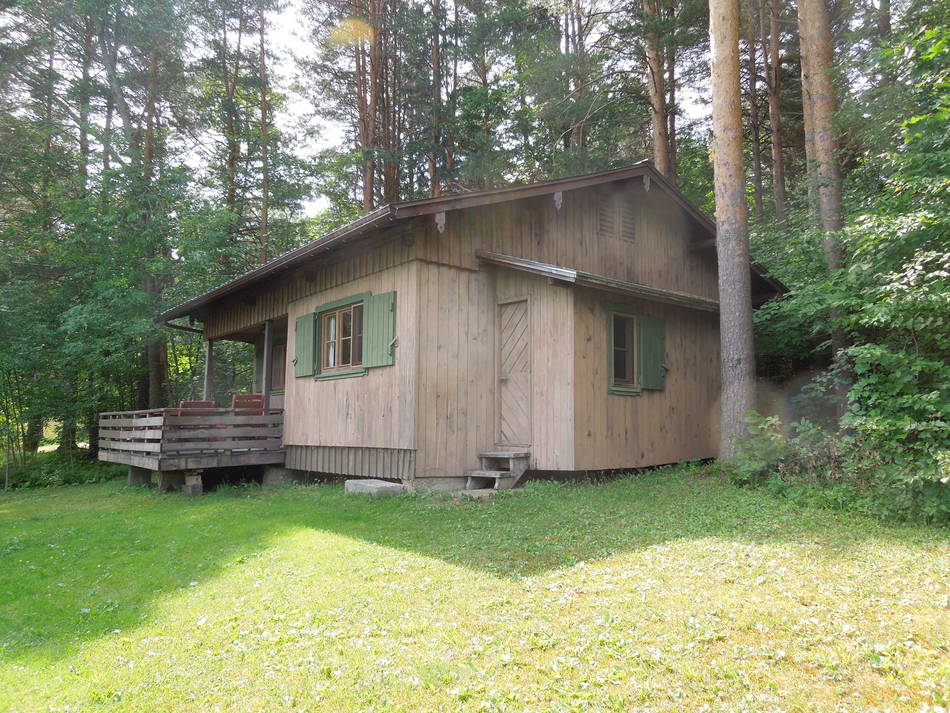
 Mackenzie cottage
More home improvement projects on my Woodworking website
 Touring cottage #2
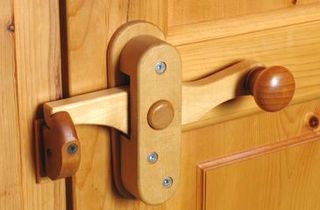 Wooden door knobs & latches
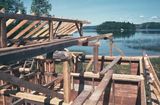 Building cottage #7
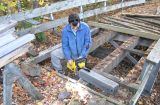 Bodging an old
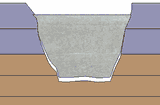 Foundation problems
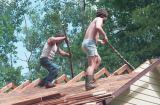 Dismantling old cottages
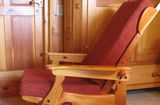
 Smashed deck repair
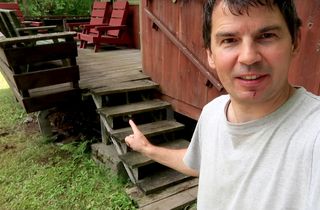 Making new deck steps
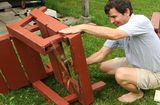 Fixing lawn chairs / wood rot
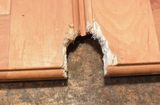 Fixing squirrel damaged cabinet doors
 Draining plumbing with compressed air
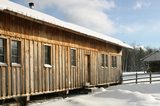 My dad's workshop
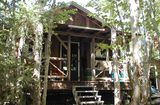
 A look at weathered wood