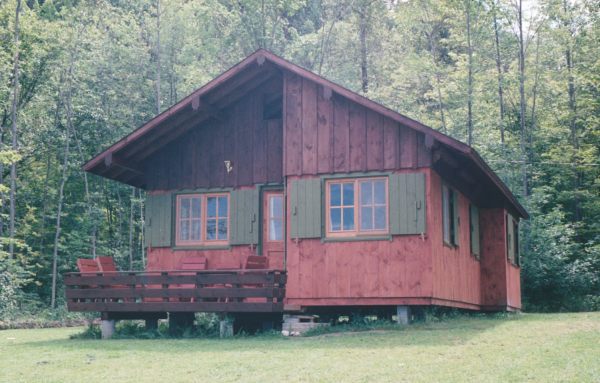
Over the course of the next decade, we tore down all the old cottages and replaced them with much nicer newer ones with indoor plumbing. In 1988, my last year before heading off to university, I finally had my own camera and took photos of various stages of the construction. I also kept a log of what we did every day, so based on the pictures and the log, I'll give you a chronicle of how we built one of the cottages.
|
|
|
On the day before we got started, I went into town to rent a weed whacker with a saw blade on the end of it. I used it to re-clear the building site. We had cleared the brush from the site a year earlier, but the brush had already grown chest high in the twelve months since then. The saw blade weed whacker worked amazingly well and was fun to use. The rental only came to $10 when I returned it because I only used it for half a day. I guess things were cheaper back in 1988.
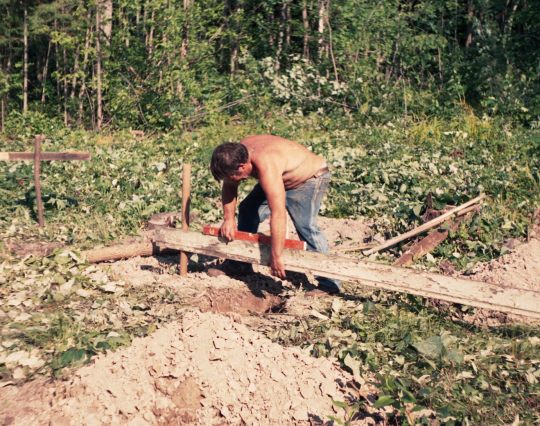
We dug the foundation holes by hand. We hit fairly hard clay in every hole. I argued with my dad that the holes should be deeper. He said, if you want them deeper, dig them deeper on your own. I proceeded to do that, but my dad stopped me soon after. It would take too much cement, and cement is expensive! Those foundations would later give us lots of problems. But digging them deeper probably wouldn't have helped all that much.
I drove to town and got six bags of Portland cements, four bags of masonry cement,
and fifty cinder blocks. I also got the cement mixer from our other place (the "farm")
and set it up.
Then drove to the gravel pit on our property and shoveled a heap of gravel onto the
back of the pickup truck.
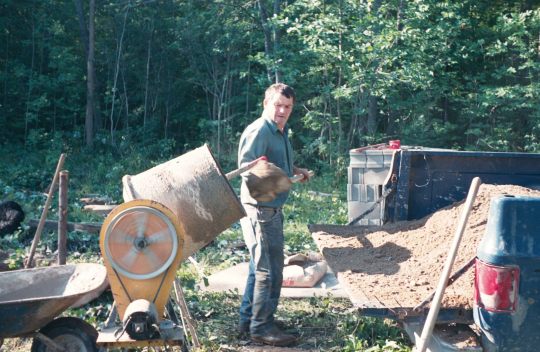
We used about one shovel of cement for every fourteen shovels of gravel for
our cement mix.
Ordering a cement truck was something that had never occurred to us. But living
in northern Ontario, the cement truck would have had to come from a fair distance away
as well.
 The above ground part of the foundation was mostly made by stacking cinder blocks,
with mortar in between. We used some beach sand as aggregate for the mortar.
The above ground part of the foundation was mostly made by stacking cinder blocks,
with mortar in between. We used some beach sand as aggregate for the mortar.
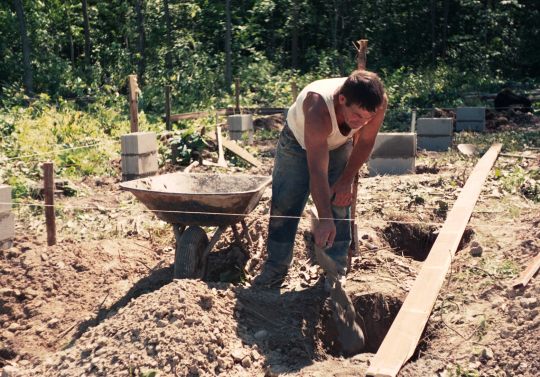
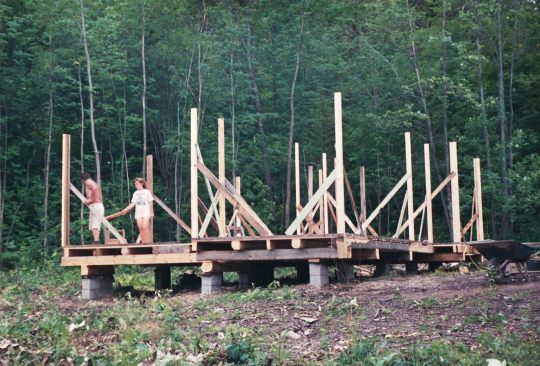
In this photo, I think my dad is adding a bit of mortar to the hole before placing
the first cinder blocks in the hole. You can see the wires strung that demark the
edges and approximate level of the cottage. With the wires in place, it's relatively
easy to ensure that the foundation comes up to the right spot.
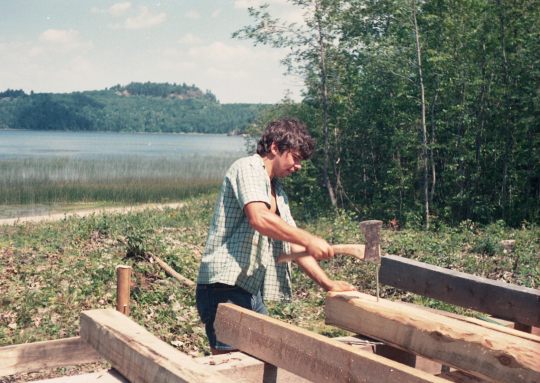
We used these really big nails to attach the beams to each other. A short
axe was just the right weight instrument to drive those in.
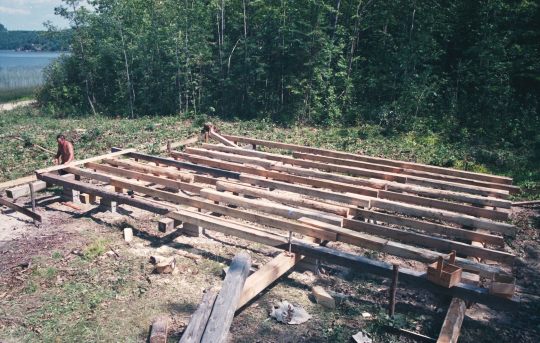 With the beams and joists in place, my dad and I drove to the "farm" - our
other property where the workshop was, and ran a lot of boards from our own
sawmill
through the thickness planer in my dad's workshop.
These would become the boards for the subfloor.
With the beams and joists in place, my dad and I drove to the "farm" - our
other property where the workshop was, and ran a lot of boards from our own
sawmill
through the thickness planer in my dad's workshop.
These would become the boards for the subfloor.
My job was always to pull the boards out of the planer. Not a fun job, seeing that there was no dust extraction system. Occasionally, a loose knot from one of the boards would also get shot out of the planer.
I rigged a chute and blower to where the shavings came out of the planer to at least
deflect the shavings sideways. This at least got the shavings out of my way,
but it didn't do much about the dust.
It didn't take all day to do the whole floor. After the floor was nailed down, my dad headed to the "farm" to his workshop to prepare more lumber.
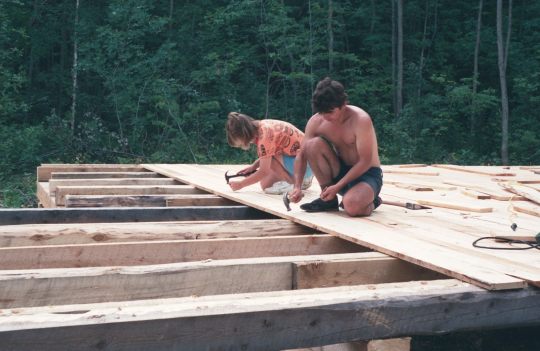
My sister Marlene and I cleaned up all the bits of scrap wood that accumulated around
the building site and then got the rest of the day off.
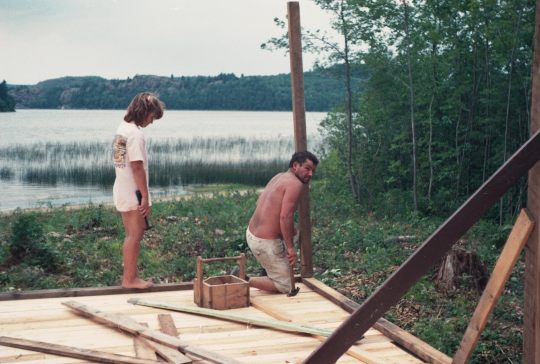
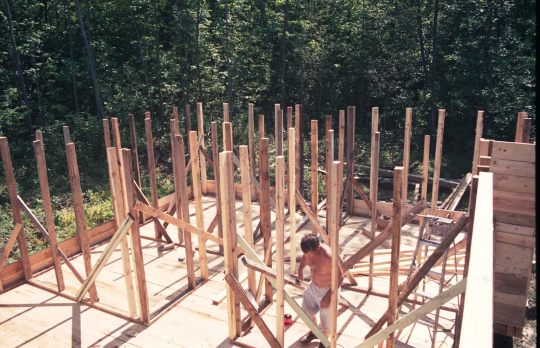
By the afternoon, my dad was back with more materials and started to frame the walls.
He needed an assistant to help set the vertical pieces in place and fetched my sister, who, after finishing her chores was already in the lake and thought she'd have the afternoon off. She was not enthused.
 I spent the afternoon replacing the starter pinion in the riding mower and renting
out a few outboard motors to camp customers.
I spent the afternoon replacing the starter pinion in the riding mower and renting
out a few outboard motors to camp customers.
Next I took the garbage to the dump. There was no municipal garbage truck at the time, and it seemed the American camp customers always produced a lot of garbage - paper plates and food packaging.
My dad also sent me to the farm to take
measurements of all the windows that he'd built for the cottage earlier in the summer.
The standard stud size is 1.5" x 3.5" (3.8 x 8.9 cm), but our studs were all 1.75" x 3.75", which was the standard size before the 1970s. With all the lumber coming from old cottages or my dad's sawmill, it made more sense to use the old dimensions. None of the studs were bought.
I also started nailing some boards to the outside walls that day.
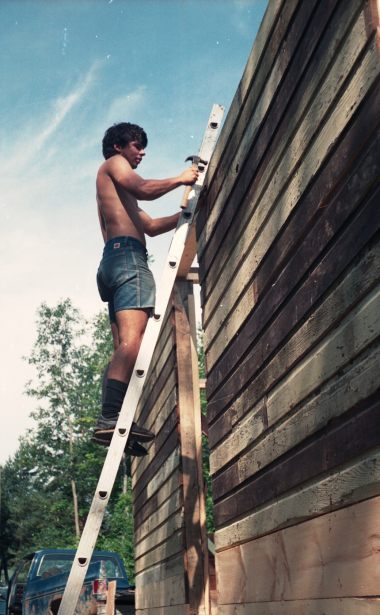
 The boards on the outside walls would later get covered with another layer of boards,
oriented vertically. These boards were there to provide
a little bit of extra rigidity and insulation. The way those boards
were shaped, and with the old paint on them, they weren't useful for
anything else, so this was a good way to make use of them.
The boards on the outside walls would later get covered with another layer of boards,
oriented vertically. These boards were there to provide
a little bit of extra rigidity and insulation. The way those boards
were shaped, and with the old paint on them, they weren't useful for
anything else, so this was a good way to make use of them.