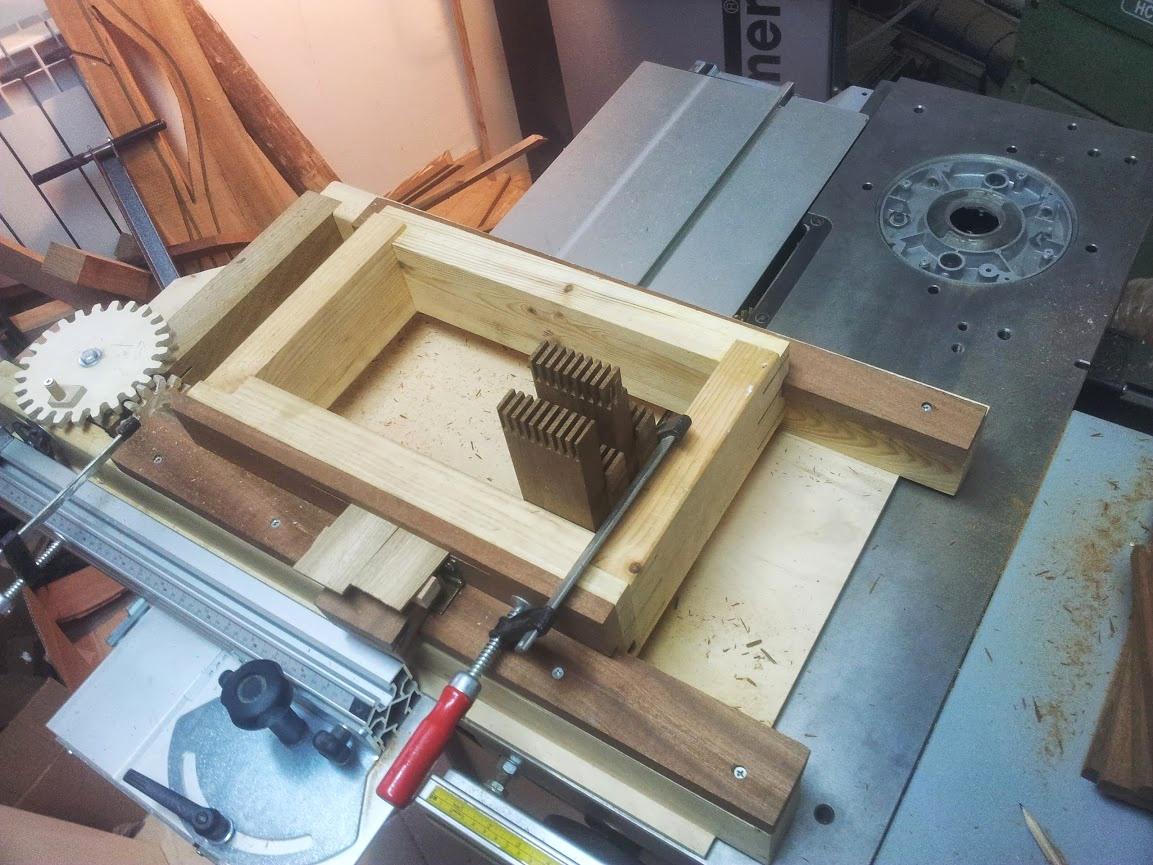
Elyasaf Shweka's box joint jig
Elyasaf Shweka, from Israel, made a screw advance box joint jig to use with his format sliding table saw. Instead of using a miter slot, Elyasaf just clamped it to the fence on the sliding table.

Elyasaf writes:
I just finished my screw advance box jig.
It works amazingly well. The hardwoods are mahogany and oak.
I made only the relevant gears (so I don't even have the 16 tooth gear).
The sliding table works fine with that. Extremely accurate and precise
(no metal bar or such).
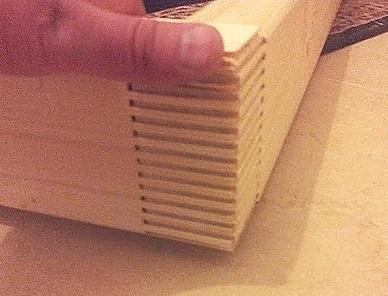
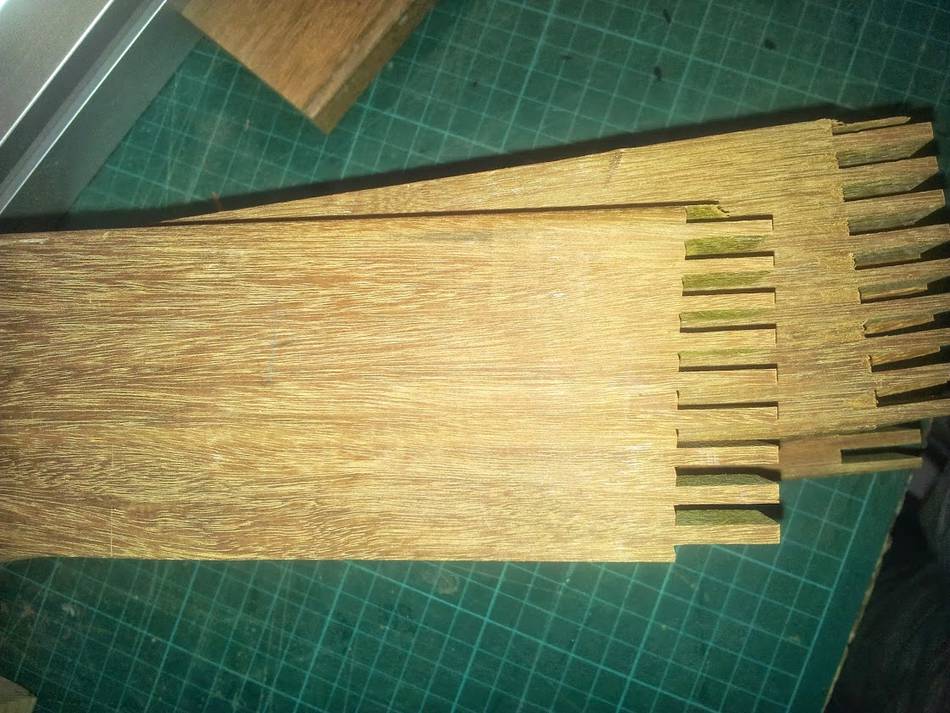
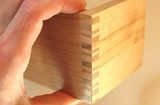
I am attaching a photo of the jig and my first try, with ipe(!) - without any setup - got perfect results.
I would like to express my gratitude for the comprehensive and very detailed material you attached to the plans. The four videos are very clear, and go over all the important details. The spacing calculator is very easy to use. Your plans are probably one of the most worthy purchases I ever made. I have been following your work for more than 3 years now, and your work is a true inspiration for me.


Elyasaf writes:
I have some difficulties clamping the wood pieces firmly:
It's true that I started off with 'extreme' conditions, because of the strength
and density of the ipe wood. Ipe is such a hard wood that it gets
a kick the first time it touches the saw blade. Since it's
clamped only at one point and around the middle of the piece, it
acts as a pivot and gets a slight angle. Due to that, the results were
not satisfying and the outcome depth is not equal. I ruined the pieces
that you see in the picture because of that, twice.... took me some time
to understand what was wrong.
Matthias comments:
For cases like that, I usually use more than one clamp to avoid the pivoting problem.
Also, I usually tighten the clamps pretty hard.
Also I noticed that making small boxes in this jig, less than 13cm in height, is problematic because of the clamping, unless I can find a very deep clamp with long jaws. I'm thinking of some kind of a clamp that will give pressure from the inner side of the box - maybe a block that would be against the piece - from the inner side of the box which is in front of the piece that needs to be clamped - to the piece itself. Any thoughts on that issue?
Elyasaf
Matthias comments:
For really small work pieces, I clamp them between two other pieces of wood
(See tiny box joints).
Deeper clamps wouldn't help that much because there is nothing to clamp to on
the outside. Some clamps pushing from the back of the box, as you suggest,
might be another solution.
Elyasaf later wrote:
Ok, so there was a little surprise waiting for me today...
 Since the first time that went surprisingly well, every try I did came
up awful. Every piece got a strong tilt and the joints got ruined over
and over again. I added clampss, tightened them firmly - but nothing
helped. After 3 or 4 turns - the piece was totally off.
Since the first time that went surprisingly well, every try I did came
up awful. Every piece got a strong tilt and the joints got ruined over
and over again. I added clampss, tightened them firmly - but nothing
helped. After 3 or 4 turns - the piece was totally off.
So I inspected the jig carefully, and then I found it. At the bottom of the jig, at the gap that was made by the saw in its first cut - there was some kind of small burning mark. I guessed that I left the jig steady on the same position with the saw running for too long. That burning made some burr on the right side of the gap. Not more than 0.2 mm thickness, but it was enough to hold the piece and prevent it from sliding. This was causing every piece to tilt. It actually never passed that line.
I sanded it quickly - and now we are back in the game.
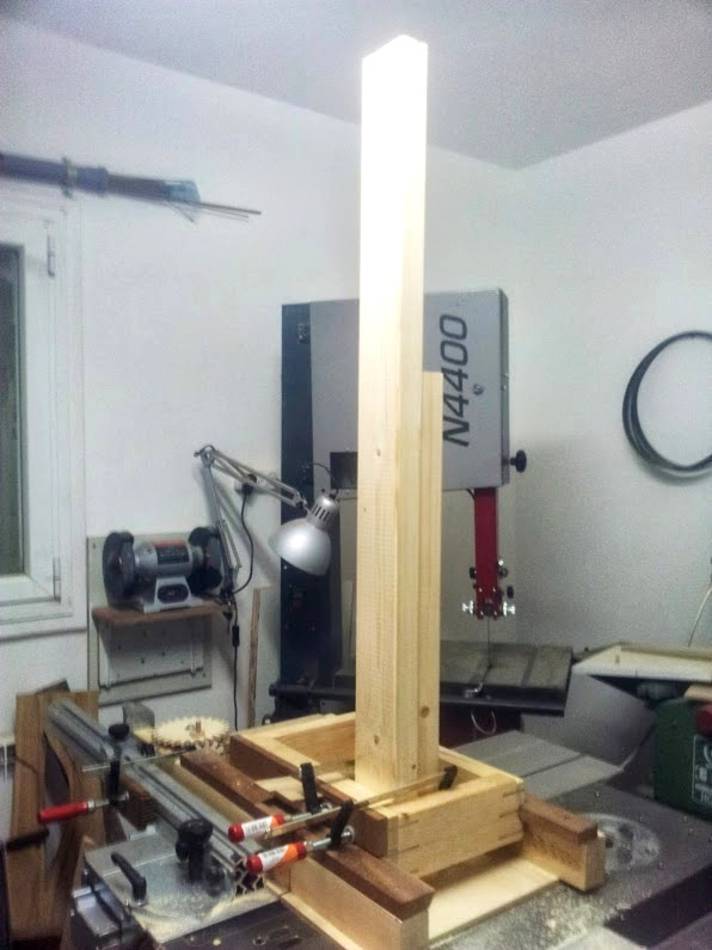
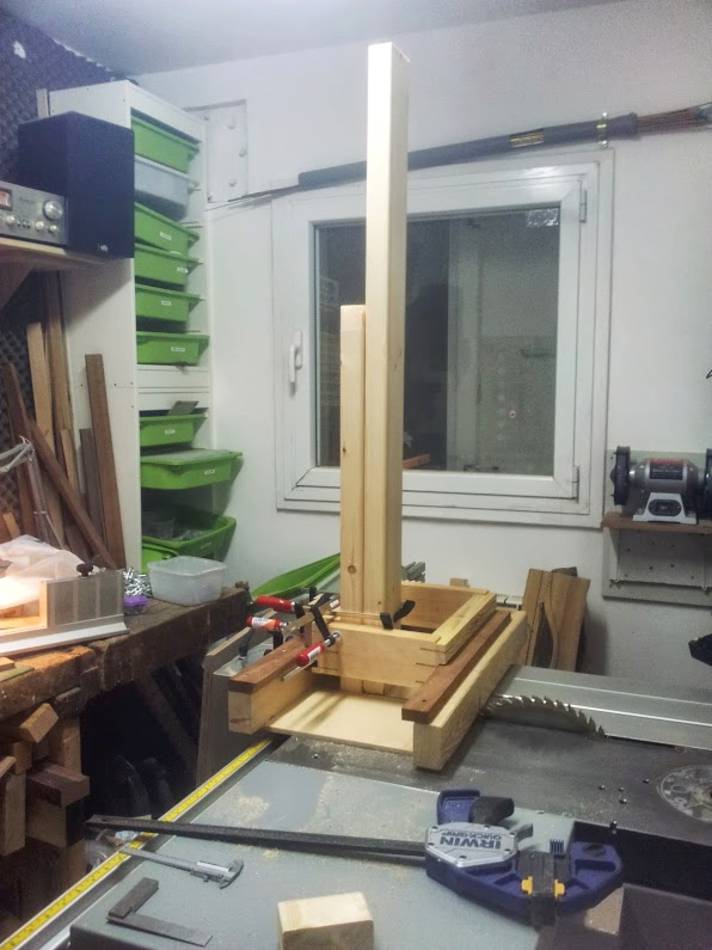
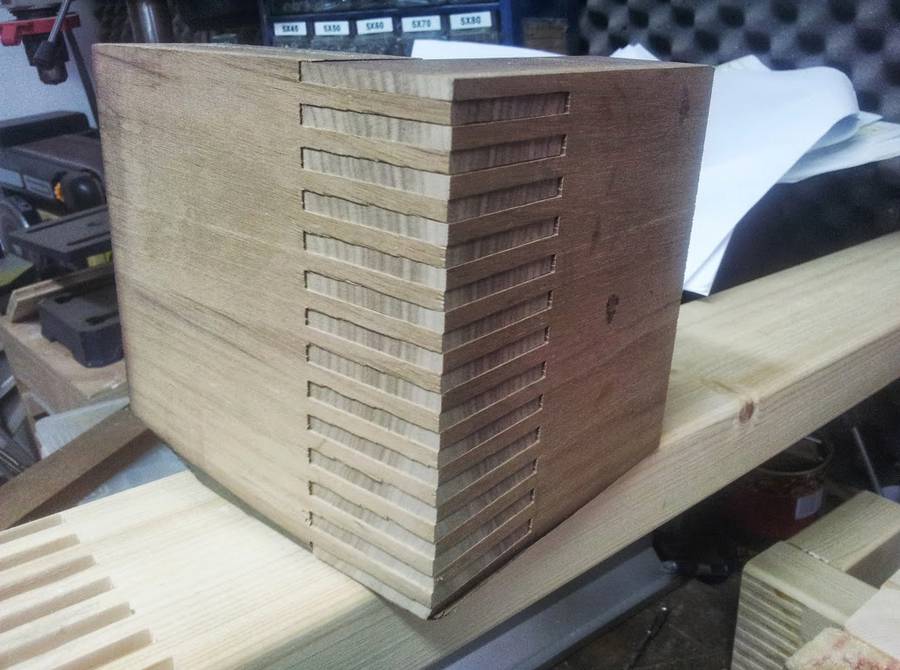
The jig was built mainly for a project I am working on now: building a stand-alone tilting base for a 50" touch screen. For this I'm making a walnut frame, 115X75 cm, with pieces of 5X10 cm. I'm working now on the test-model, which is made from the cheapest wood that is available here (pine) - . You can see the results of one joint.
regards
Elyasaf
Matthias comments:
I'm pretty sure the problem pictured here is caused by the stock getting progressively
pushed further up by the blade in each cut.
There is actually quite a lot of upward force on
the stock when cutting end grain like that.
Elyasaf later wrote:
After inspecting it more, I realized that it is not a burr. Actually, the heat caused the right side of the gap plywood to expand upwards. And it was like a barrier, which prevented to move straight on the jig - and this caused the tilt.
Matthias comments:
I have had that happen too. A warped floor will cause the piece to
bind. It helps to sand the edge of the slot a bit to prevent the stock
from catching. Or you could put a spacer under the wood
when you put it in so it's always off the floor a bit.
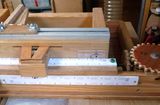
Here are some new examples of pine and walnut. Tooth width - 4.965mm. For this tooth spacing I use the 12 and the 25-tooth gears. The cut is a turn and a half (one pass on blade, then half a turn, then another pass on the blade) - and then spacing of 2.5 turns. The problem is that it is too narrow. It's attached now with high pressure (I used a mallet to get it in) and no space left for glue. The saw blade is 3.2 mm and with the 25-tooth gear I get 3.31 for each turn. I guess that if ill make a 26 tooth gear, which will give me 3.44 mm for each turn, it would be much better.

Matthias comments:
To make the joint looser, you actually need to reduce the spacing,
not increase it, so go from 25 teeth down to 24, not up to 26. The size
of the cut made by the blade stays constant, but if you put the cuts
closer together, the fingers will become narrower. It's a mistake I have
made myself too.
Thanks for that, you saved me so much frustration! :)
Elyasaf later wrote:
1 I feel that making a pictorial tutorial that discuss various aspects of operating the jig (not building) would be very helpful. Only for explaining the theory basics behind it, which now i know that are very confusing.
2 i published some photos on a Hebrew amateur carpentry forum, with reference to your site. got good feedback. I know at least about one guy who plans buying your plans now...
I showed the walnut joint to 3 different professional carpenters today (I work in the contraction field, I meet professionals daily as part of my job), and all of them weren't quite sure how I got such an impressive accuracy, tightness and strength. (btw - if the joint is very tight, would you recommend not putting glue at all?) further more, they estimated that this joint requested a digital saw table or CNC, and they assumed it took couple of hours (at least) to build. They didn't believe me that I did it in my house in less then 3 minutes, until I showed them the pictures.
Elyasaf
Matthias comments:
I think the joint is always better with glue, though if the joint is already
hard to assemble without glue, you might get stuck trying to assemble
it with glue.
I have been meaning to make more videos and such on using the box joint
jig, but it's hard to find the time. Too much time spent answering emails :)
 Shweka also sends along this link:
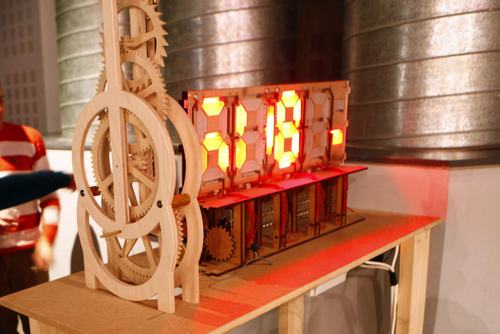
http://thoughtsdesign.blogspot.co.il/2012/03/analog-clock-in-digital-world.html
For a mechanical "digital" clock project he built.
See also:
 Elyasaf's double-width jig
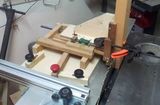 Elyasaf's tenon jig
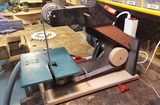
 Screw advance
 Box joint jig plans
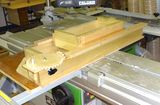 Gerald Finch's box joint jig
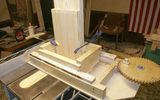 Jim Lundin's box joint jig
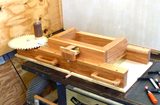
 More on making box joints
Back to screw advance box joint jig