Mike Bourbonnais writes:
Hello Matthias
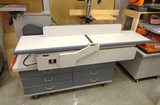
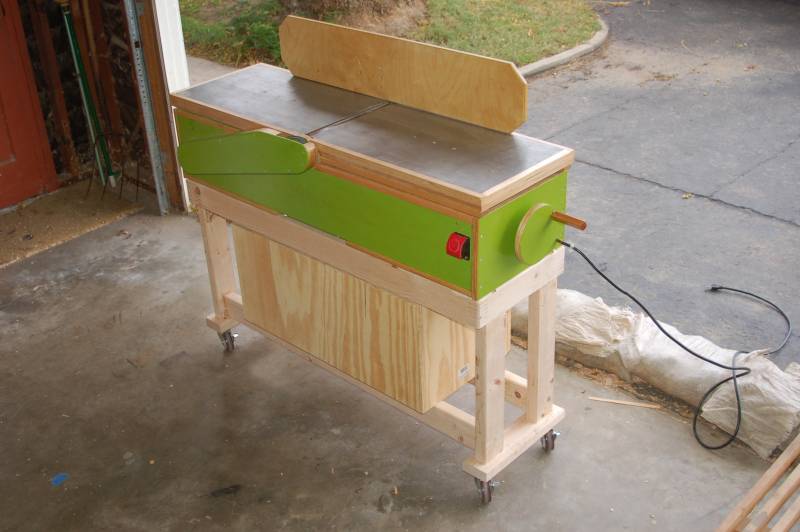
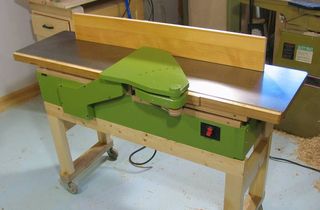
My name is Michael Bourbonnais. I'm writing from southern California, first of all to thank you for maintaining woodgears.ca. The work you put into the site shows, I always look forward to the weekly updates. Secondly, I'm writing to show off my new homemade 13" jointer, built from your design. I'm new to woodworking; about a year and a half ago, I was searching the internet for a method of making my own gears, and of course, I found woodgears.ca. It wasn't long before I had read every article, and, long story short, I now have a garage full of woodworking tools. Just a modest collection, but one which I can now boast includes a 13" jointer. Anyhow, I've included just one picture of it, but I've got tons more, and I can do a little write up of the construction too if you're interested. Thanks for all the inspiration! -Mike
That machine certainly looks nice, so I took Mike up on the offer to write more!

| 
|
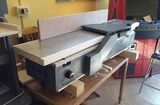
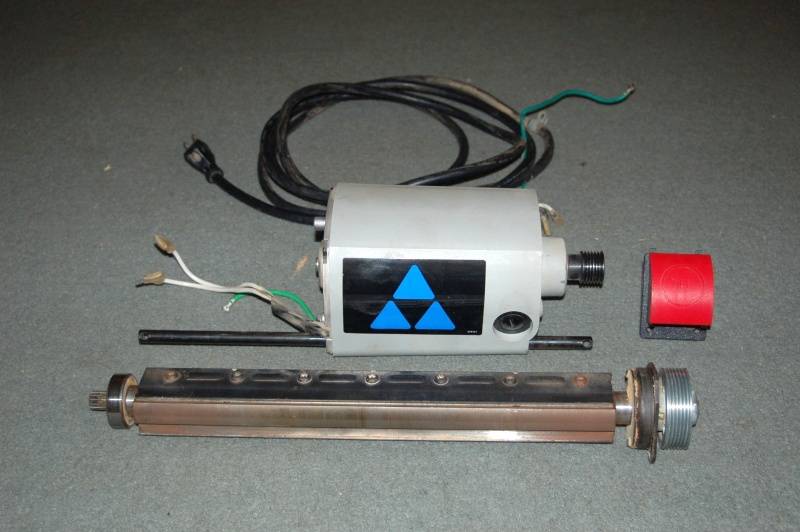
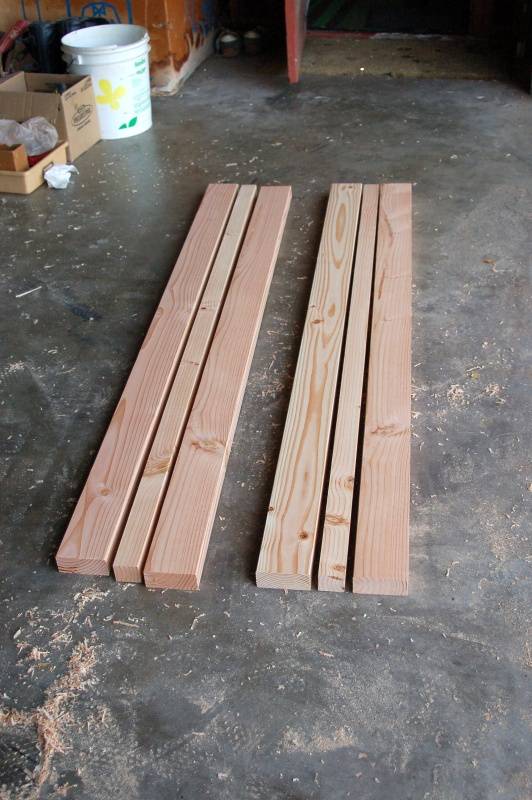
There are a few components I did a bit differently, but for the most part, I just used the pictures you posted as a guide. It started with a 13" Delta thickness planer, courtesy of a good deal on Craigslist. After planing every piece of wood I had, I stripped the planer down to just the good stuff.
After searching far and wide for a store that sells serpentine belts of the correct size, I finally found a washing machine repair shop (within walking distance of my house) that had a suitable belt, albeit about twice as long as I was looking for. But I gave the guy $5 for it, and he couldn't be happier about selling an old belt.
| 
|
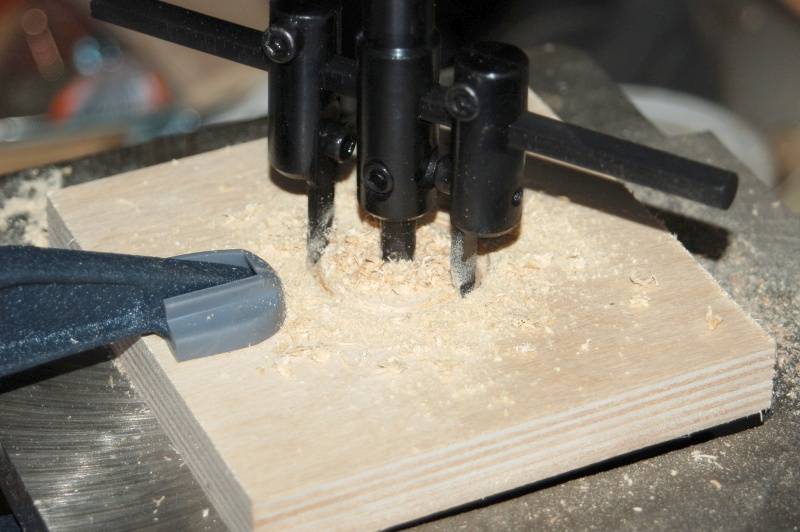
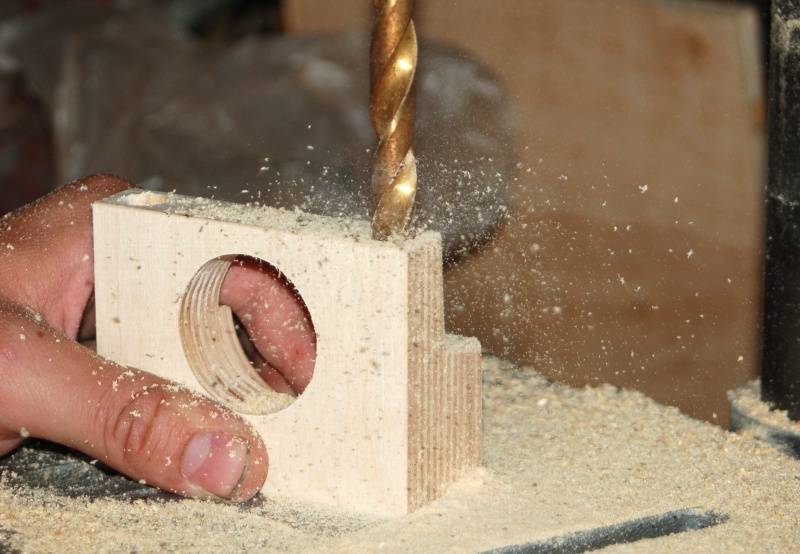
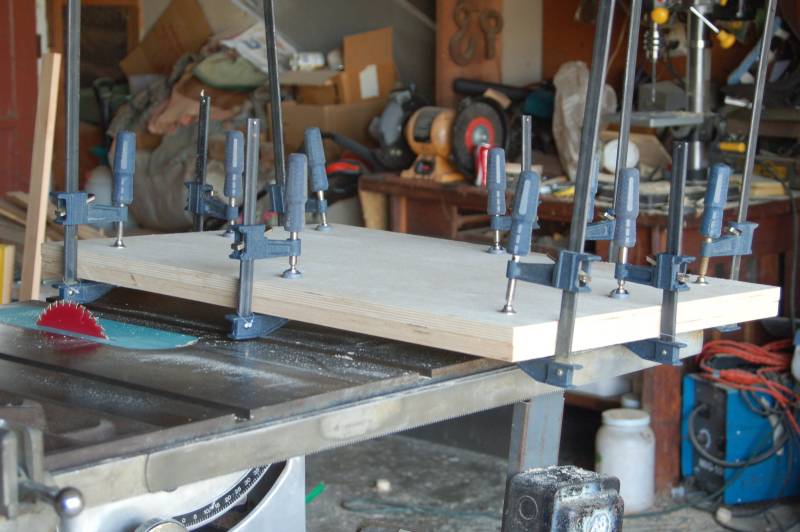
With all my parts gathered, my first challenge was making the bearing blocks. My circle cutter wouldn't cut a perfectly flat-sided hole, so I cut a template, and used it in conjunction with my router to refine the sides. I ended up with a nice, snug fit the very first time.
| 
|

I had some issues with belt fluttering on my jointer, and was curious if the Mike's longer belt made this worse. Mike answered:
Yes, my belt is borderline ridiculous, but it hasn't given me much grief. At first, I cranked the tensioner as hard as I felt comfortable doing. The belt would routinely hop over one notch, and I'd be warned by a faint rubber smell. But, I loosened the belt a bit, and haven't had it derail since, so I think I just had to find that happy tension. We'll see what happens when the belt wears... As far as fluttering, given the length of the belt, I assume there is a fair amount of funny business going on behind that guard, but as long as it stays on its side of the guard, I'll stay on mine. With a history of skipping, I'm not too keen to take the cover off and have a look. There is no noticeable noise from the belt, so I assume it's within reason. I believe it's a polyurethane belt, but I'm not 100% sure.
| 
|
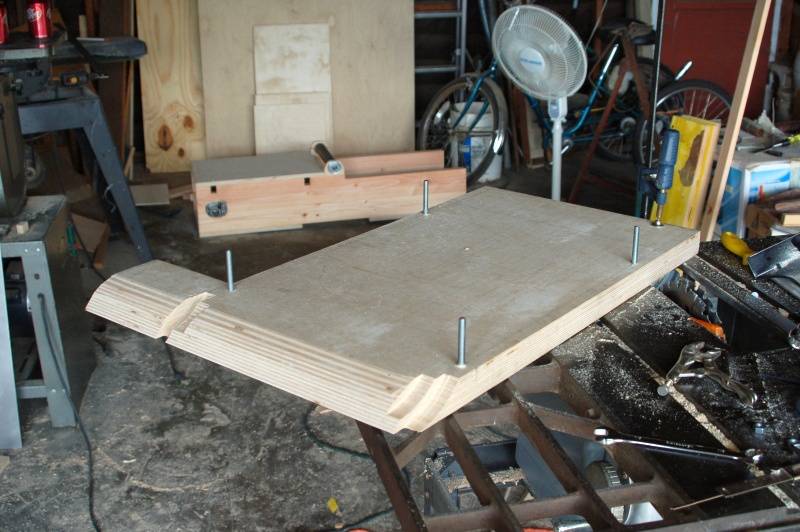
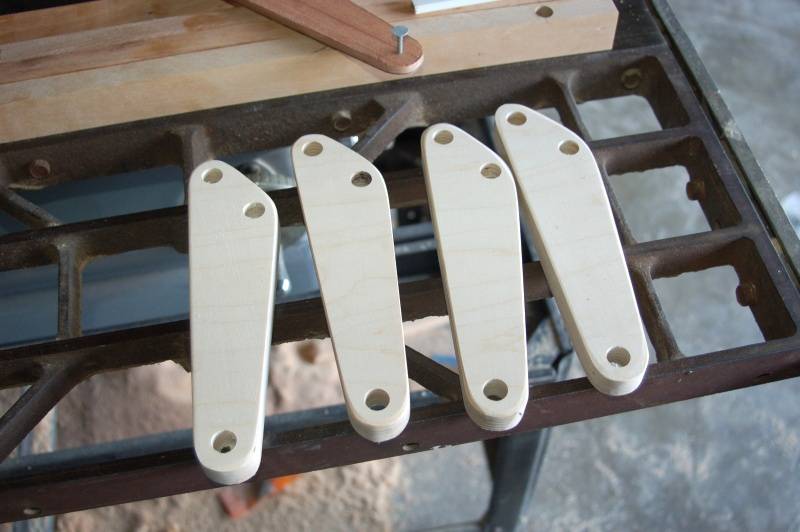
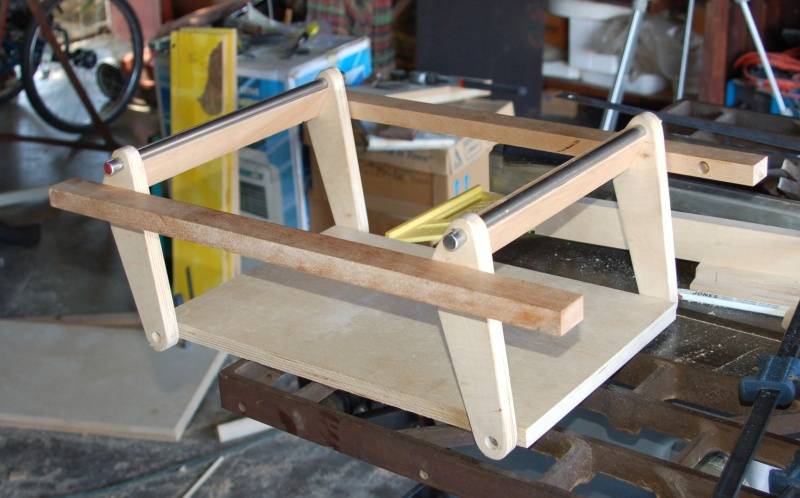
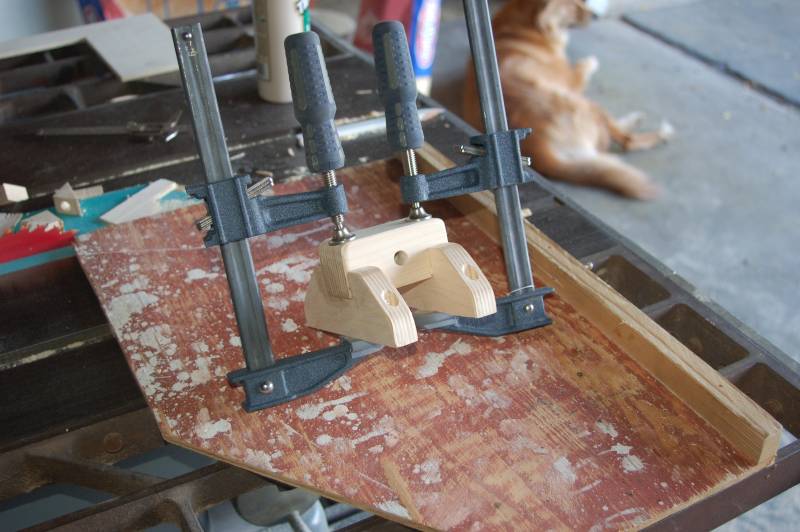
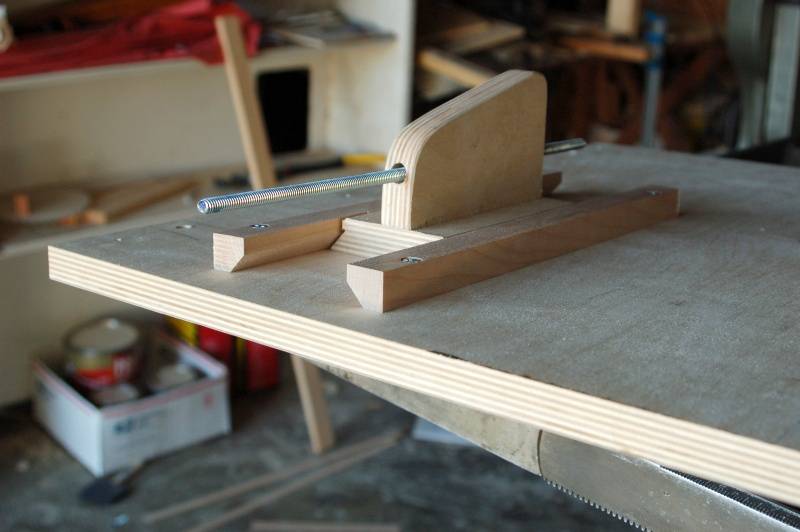
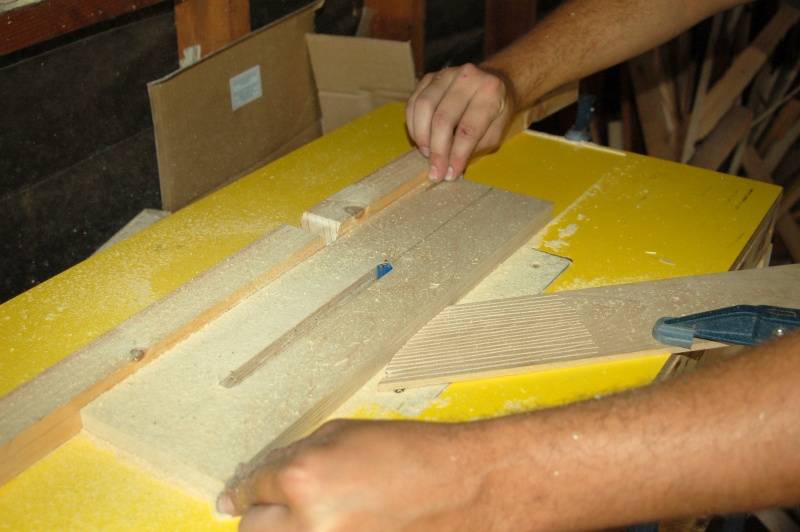
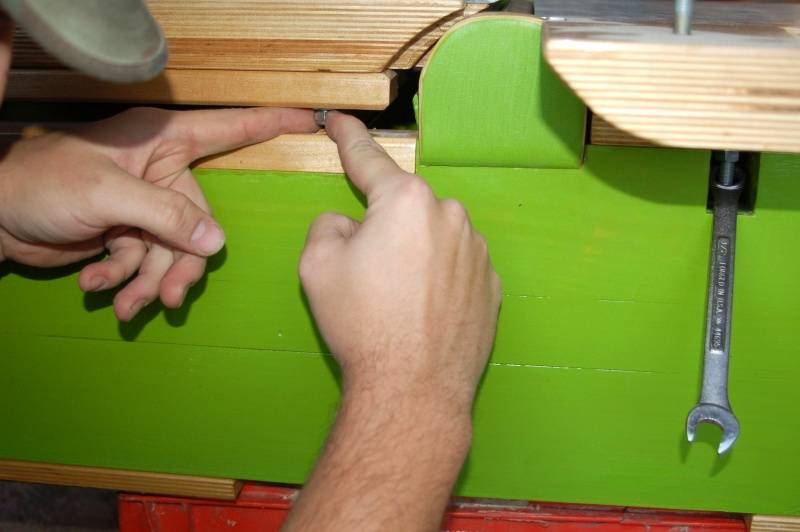
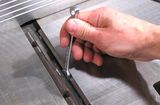
The next challenge was the parallelogram mechanism: the arms were laid out using a wooden template, and the side pieces were drilled using a doweling jig. Everything went together fairly smoothly, despite my less-than-perfect methods.
I must comment — that's a very clever trick for consistently marking the
centers of the holes of the brackets!
The paper templates worked out well enough for me,
but the three nails in one piece of wood eliminates another source of possible error.

| 
|
| 
|

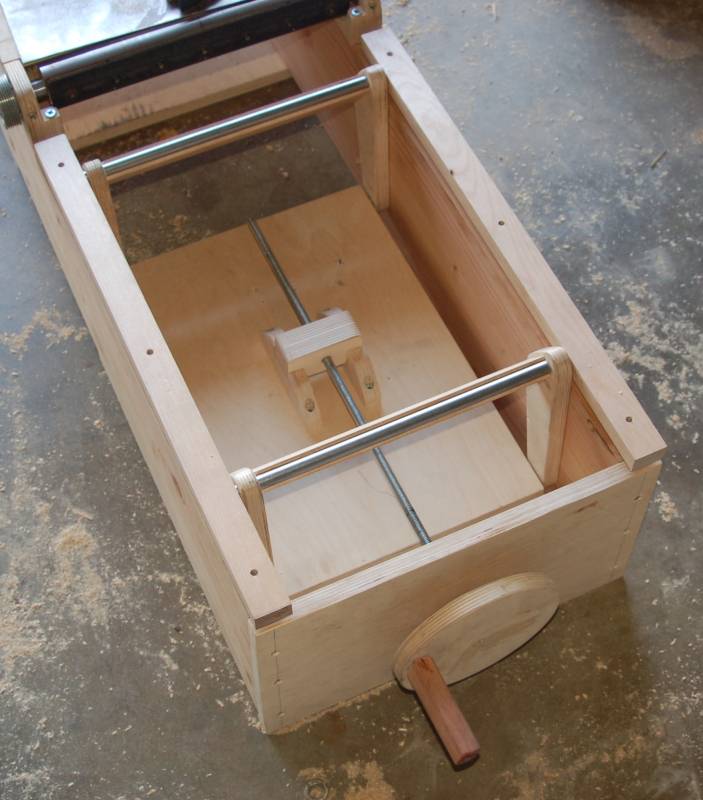

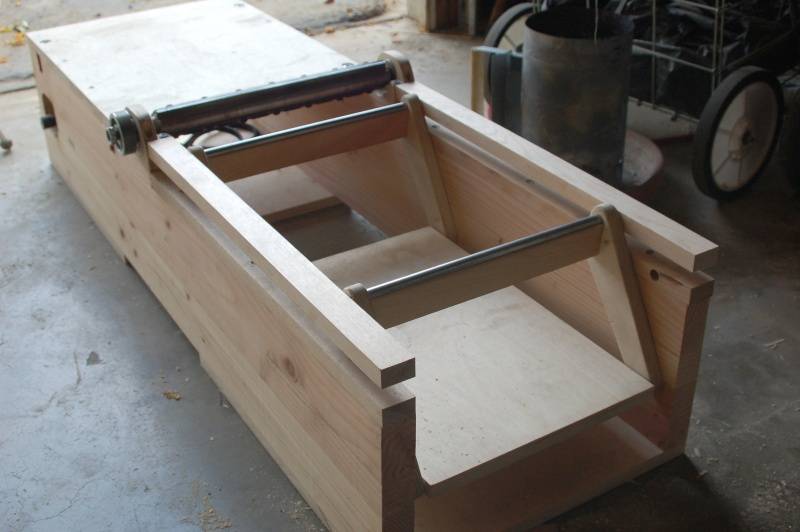
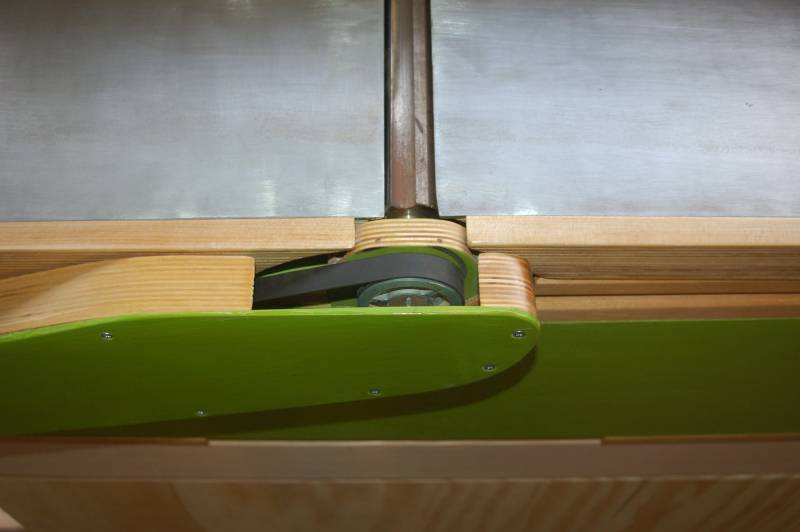
The infeed crank and the belt tension knob are installed with ball-bearings. After I got everything assembled, I gave it a try. A little bit of tweaking, and the machine worked quite well.
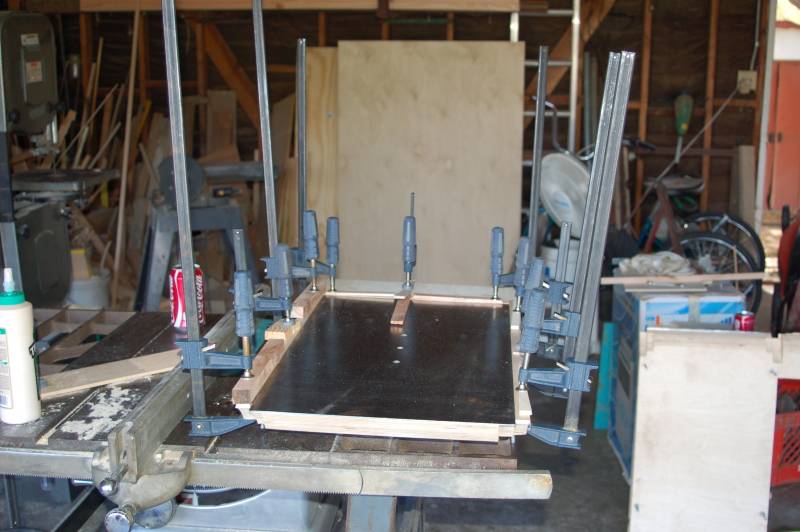
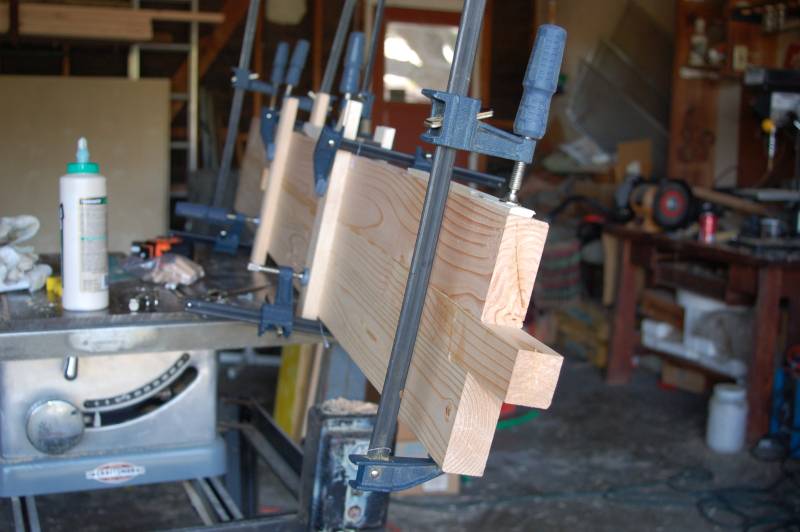
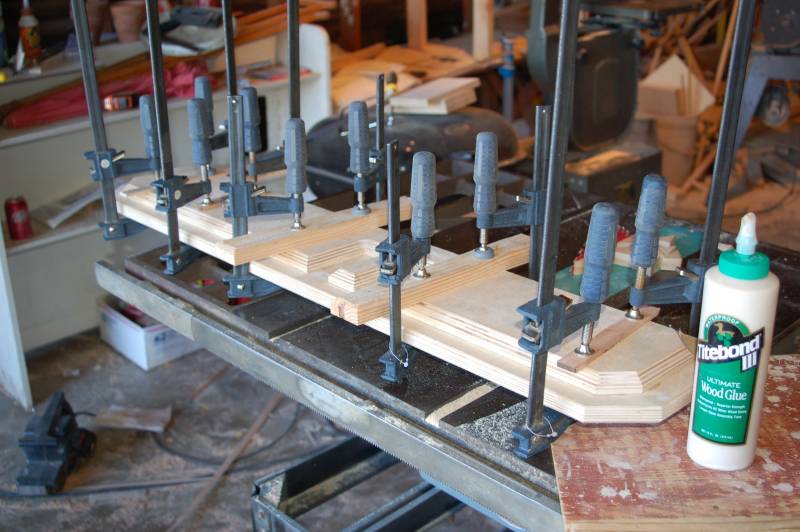
Gluing the trim around the table
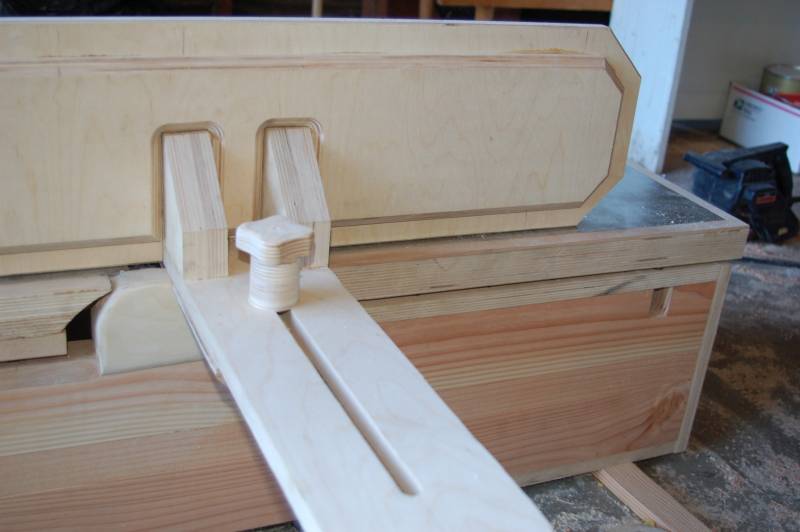
My belt tensioner is extremely hard to get a picture of while assembled, so you'll have to use your imagination, but it consists of a threaded rod which pulls a wedge, which pushes the motor down, which tensions the belt. The whole thing may be overkill, but I had fun making it, and it works well.
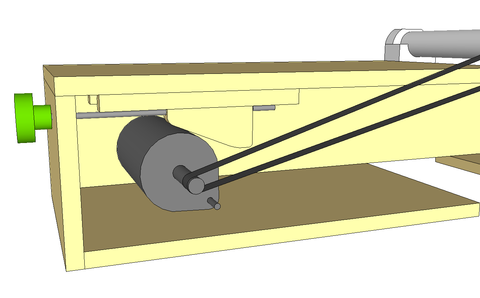
I went ahead and made a crude SketchUp model of the belt tension mechanism. It's very basic, as it's the first real model I've made in SketchUp aside from following tutorials, but I think it will be easier to understand with a 3d model, so I threw one together. I've included that model.
(I prettied up the CAD model of the tensioner slightly).
I thought long and hard about how to do the tensioner on mine. Given the circumstances, I might have come up with something similar. But the way the front of the motor was shaped, I wanted to keep it in the same orientation as in the planer on mine, and that meant the pivoting shaft had to be on the bottom left, which made things a little awkward.
| 
|
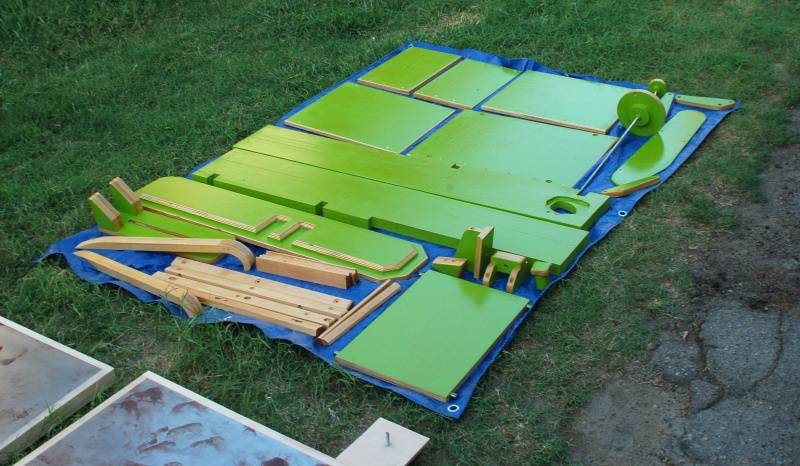
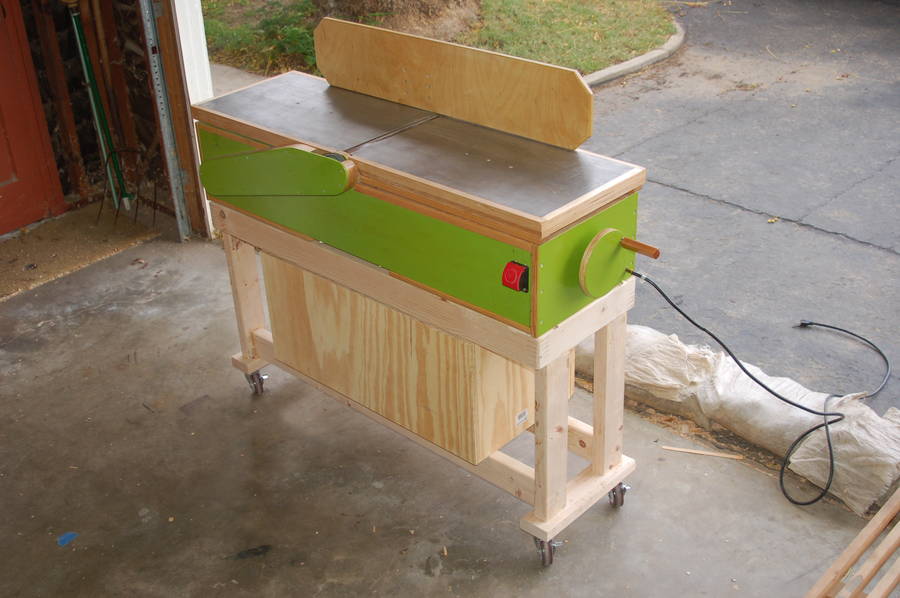
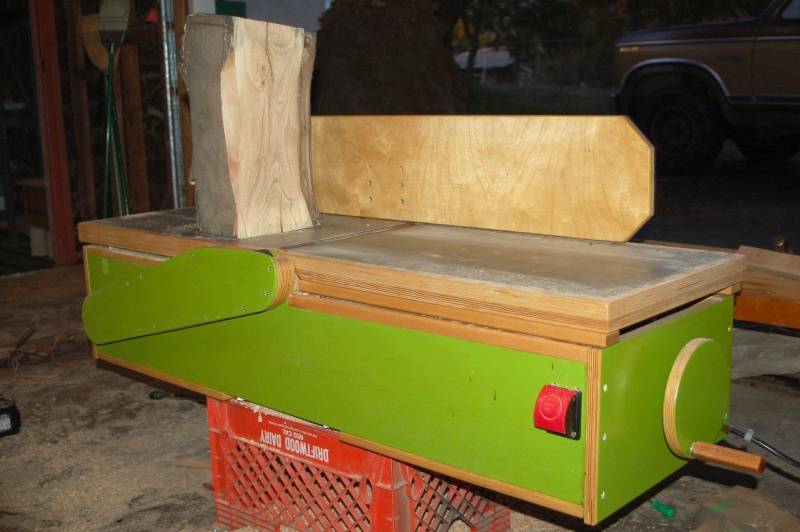
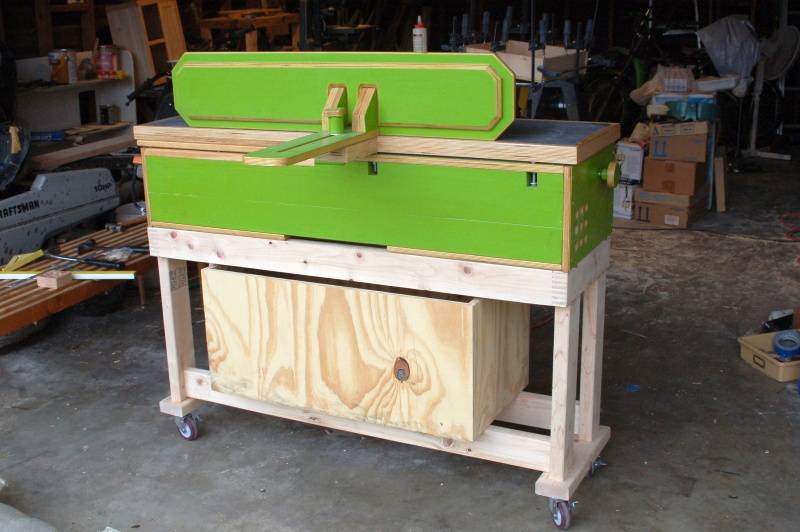
After I made a huge pile of shavings, it was time for paint and poly. Three coats of oil-based, and lots of green paint. I decided on green as a bit of an homage to its inspiration, and I also happen to think it's a suiting color for a homemade tool.
| 
|
| 
|
| 
|
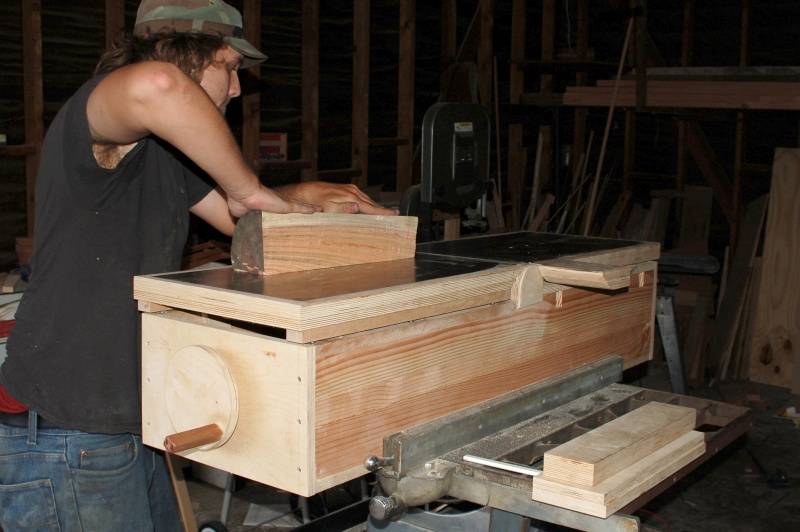
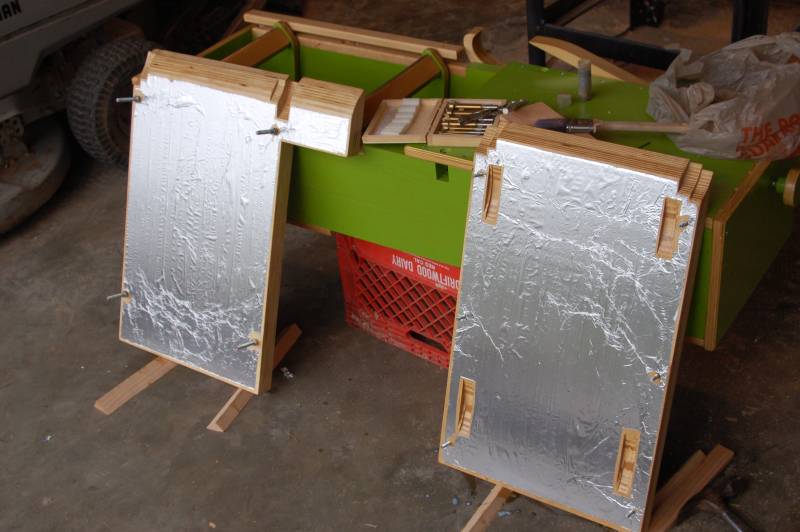
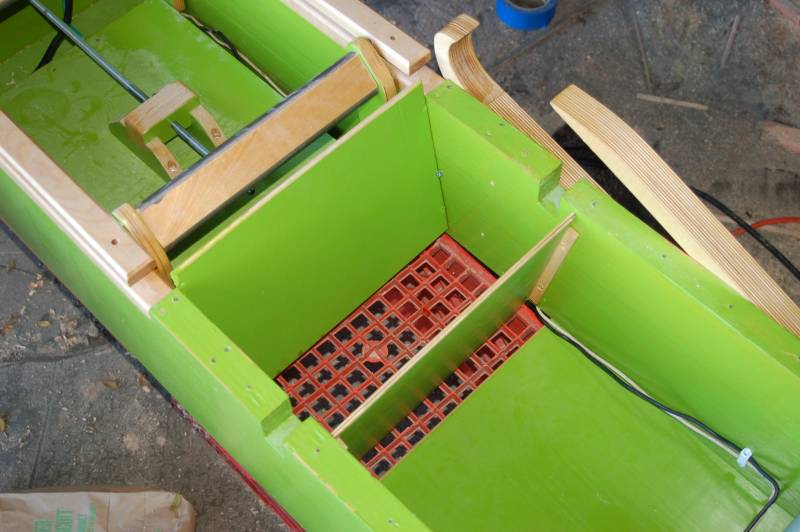
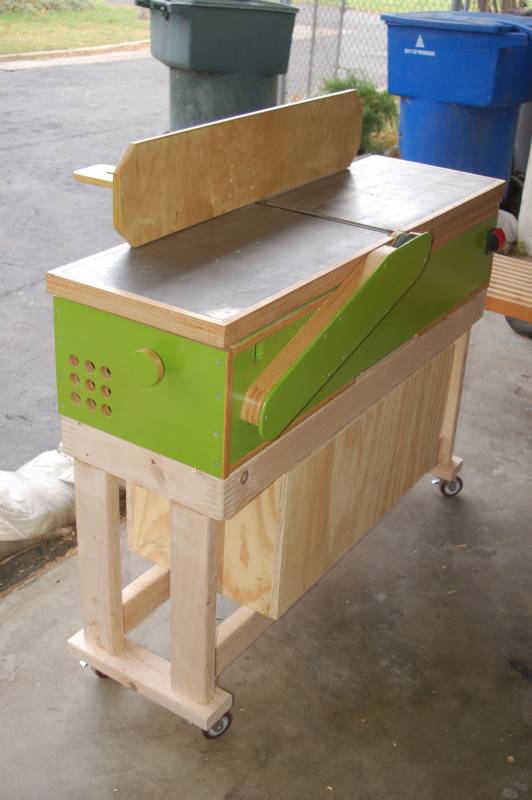
I also added a nice big chip collection box. As you can see, I skipped making the guard. I just pull the fence up to the width that I want to cut and the rest of the blade stays behind it. Well, that's about all I can think of at the moment.
Thanks for showing interest, I worked hard on it and I'm quite proud.
I'm very pleased with it, I use it almost every time I'm in the shop. I've emptied that chip catch about 4 times so far, so it's been pretty well broken in with no real problems so far.
It is a bit underpowered when cutting hardwood at full capacity, but it still gets the job done.
-Mike
 Setting and adjusting
 Homemade jointer
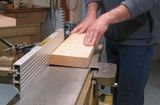 Squaring lumber on the jointer