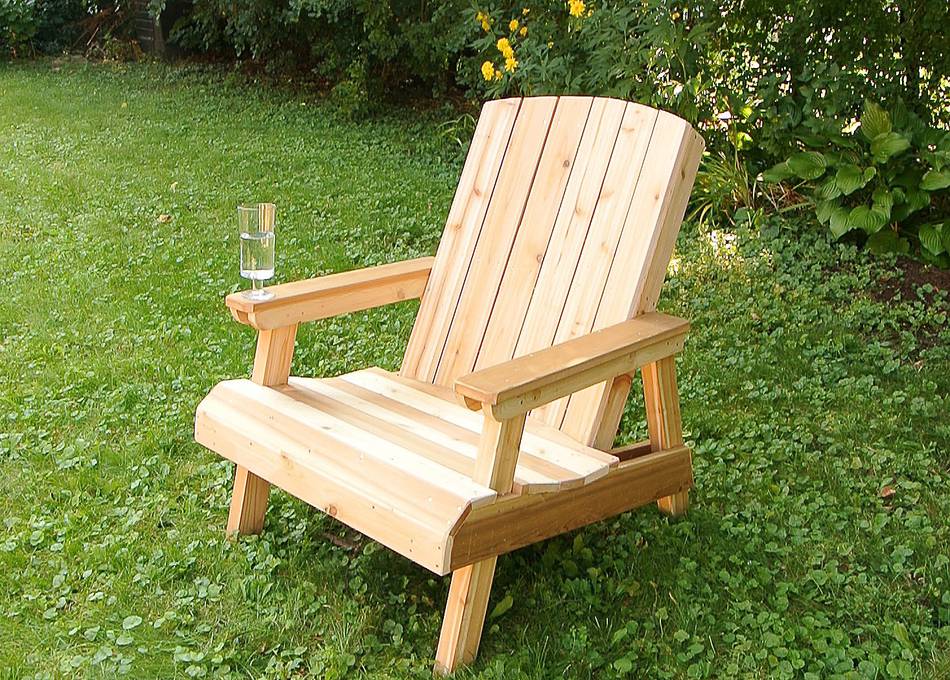
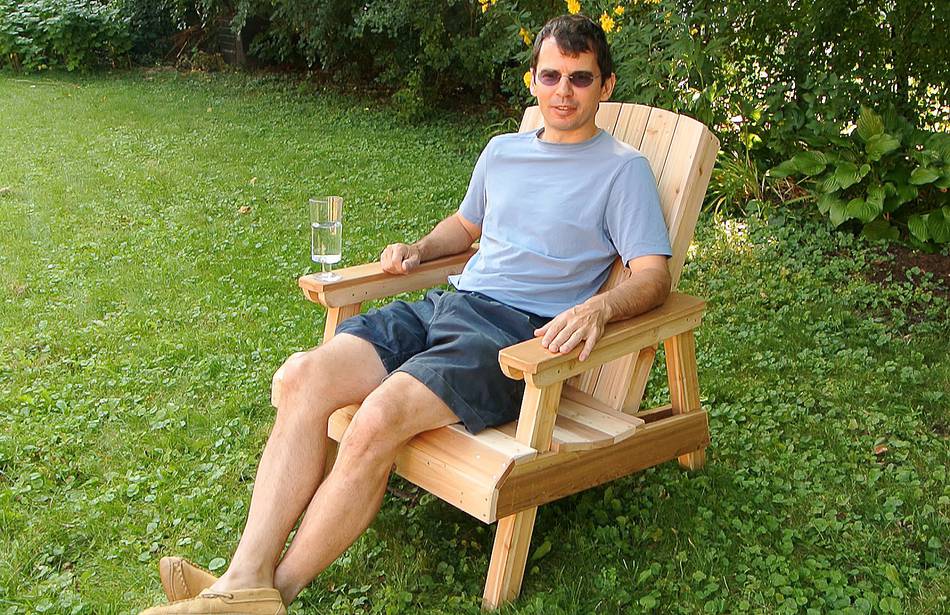
 This lawn chair meant to be used like an Adirondak chair.
But it has less recline and only the legs touch the ground.
The lesser recline makes it easier to interact with others or eat while
sitting in one of these chairs.
This lawn chair meant to be used like an Adirondak chair.
But it has less recline and only the legs touch the ground.
The lesser recline makes it easier to interact with others or eat while
sitting in one of these chairs.
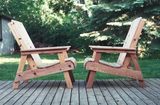
This lawn chair meant to be used like an Adirondak chair.
But it has less recline and only the legs touch the ground.
The lesser recline makes it easier to interact with others or eat while
sitting in one of these chairs.
With the nice weather, it's much more fun do build it outside than in my basement workshop.
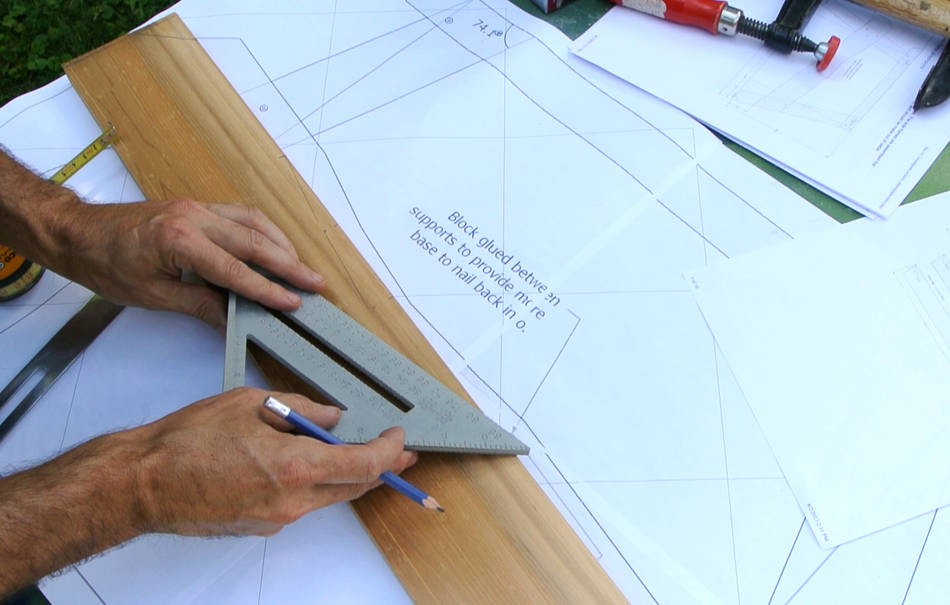
 I used my BigPrint program to make a large 1:1 printout
of the side frame. I'm using the printout to mark where to cut the board laid
on top of it. This saves on having to make measurements.
I used my BigPrint program to make a large 1:1 printout
of the side frame. I'm using the printout to mark where to cut the board laid
on top of it. This saves on having to make measurements.
I included a multi-page PDF with the enhanced lawn chair plans
 Enhanced plans (for sale)
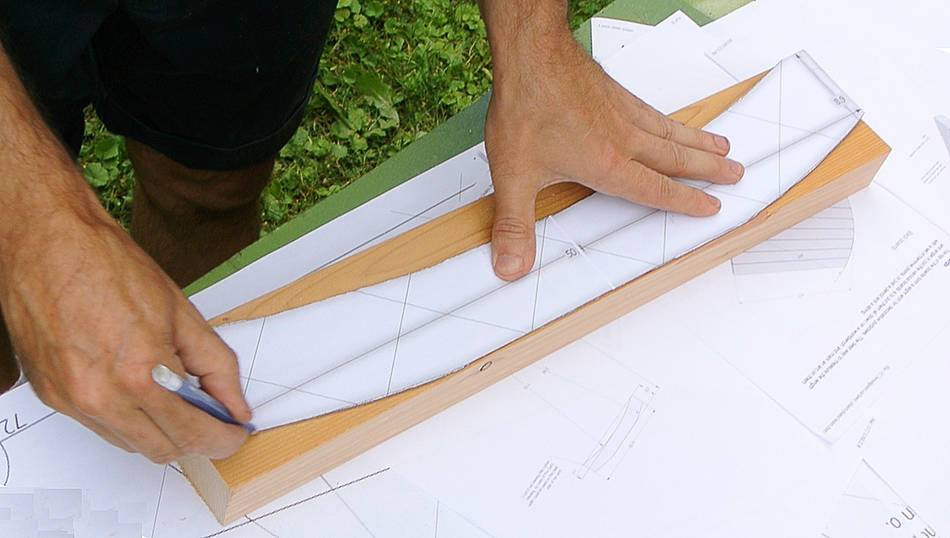
 There is a dip in the middle of the side rail for a curved seating profile.
Here I'm transferring the curve onto the board. I guess I could have made a paper
template to stick onto the board, but there's really just a few points to transfer,
so I just measure them.
There is a dip in the middle of the side rail for a curved seating profile.
Here I'm transferring the curve onto the board. I guess I could have made a paper
template to stick onto the board, but there's really just a few points to transfer,
so I just measure them.
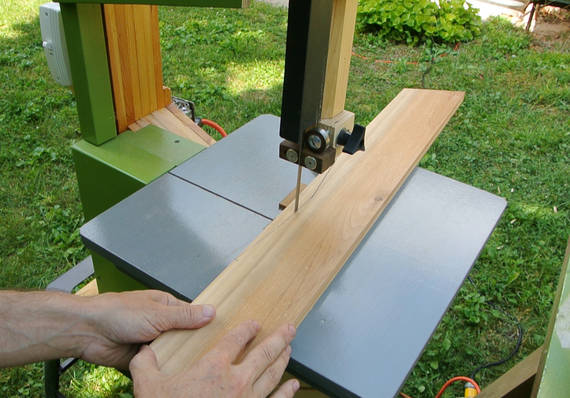
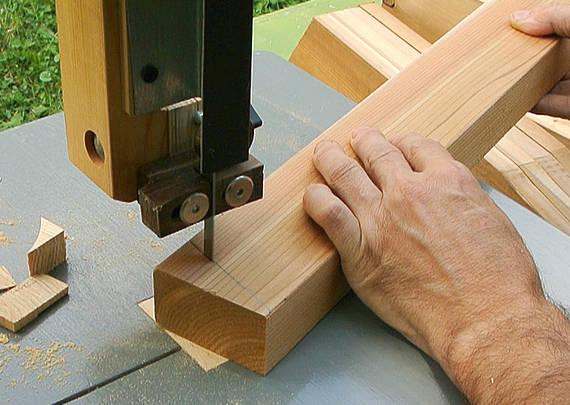
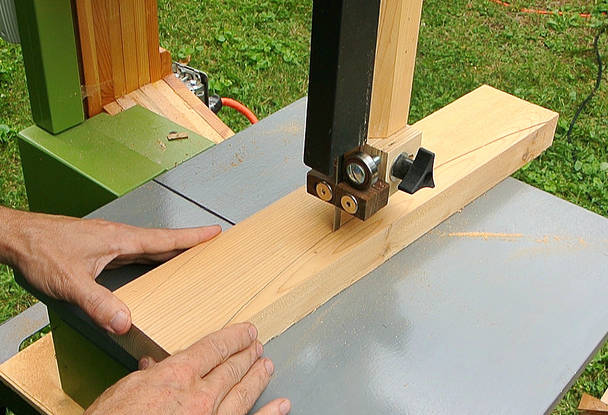
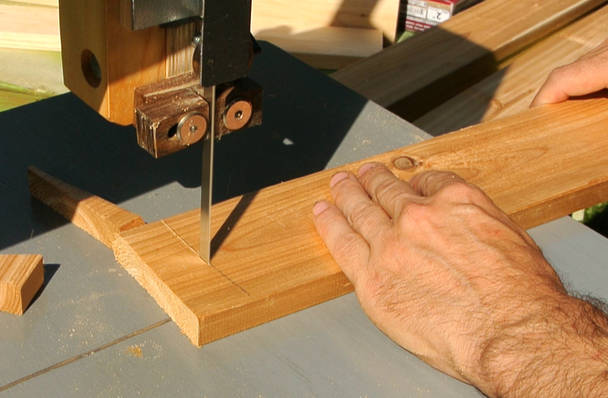
I set up my 14" bandsaw outside for this build. I kept that bandsaw in a small storage shed since I used it last. I already have two other bandsaws in the workshop.

 After I cut the first piece, I traced around it to mark the other three, then cut those out.
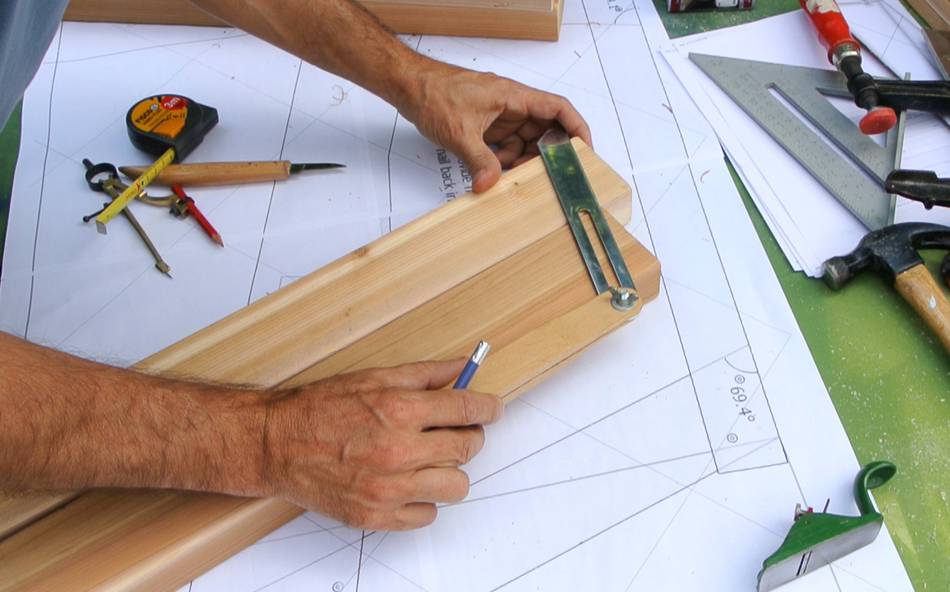
 Here I'm marking the angle for the legs. I just held the bevel gauge up to the drawing and set
it, then marked the wood and cut it on the bandsaw. If I was making a lot of chairs,
it would be worth using a miter saw.
Here I'm marking the angle for the legs. I just held the bevel gauge up to the drawing and set
it, then marked the wood and cut it on the bandsaw. If I was making a lot of chairs,
it would be worth using a miter saw.
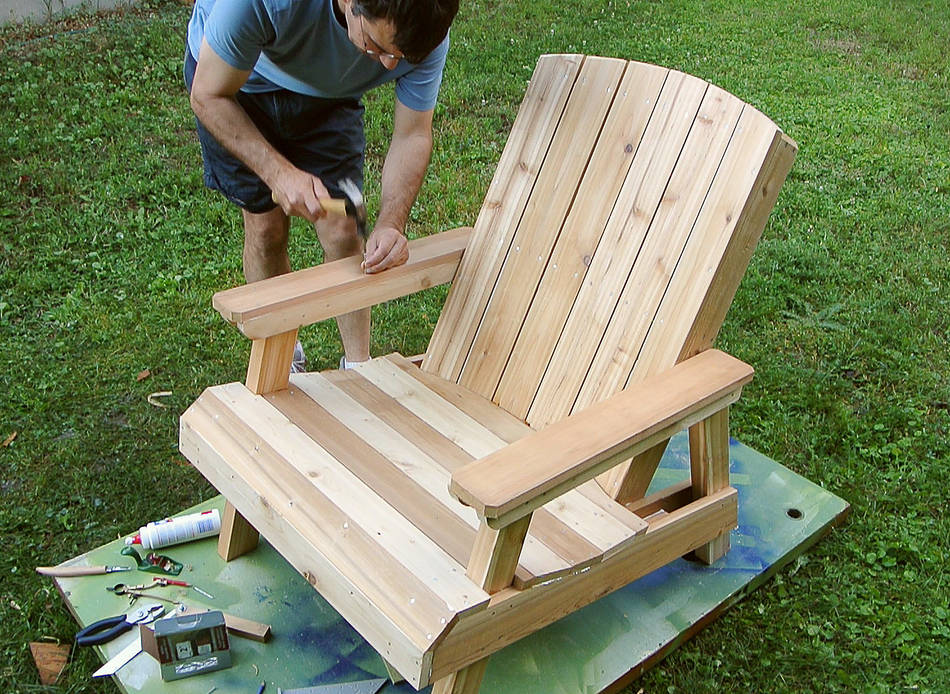
 Starting to assemble the side frame. I try to look straight down to make sure
everything lines up with the drawing. I start with nails driven most of the
way through the top board so one hammer blow should be enough to get them to
go into the lower piece and stop sliding.
Starting to assemble the side frame. I try to look straight down to make sure
everything lines up with the drawing. I start with nails driven most of the
way through the top board so one hammer blow should be enough to get them to
go into the lower piece and stop sliding.
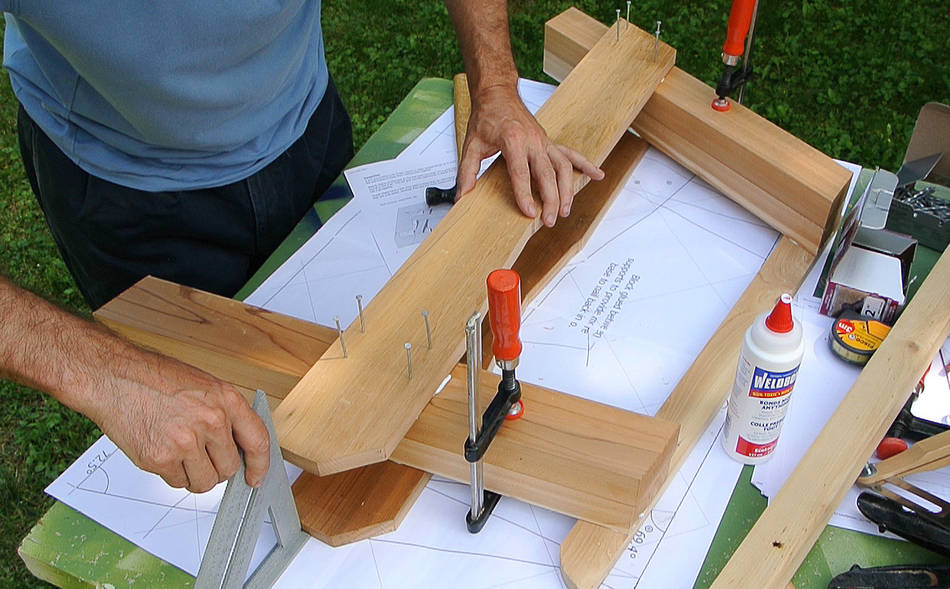 After nailing the boards to one side of the legs, I flip the assembly over and
clamp the other pair of legs to the legs I just nailed. I'm basically using
the partly built frame as a nailing jig for the other frame.
After nailing the boards to one side of the legs, I flip the assembly over and
clamp the other pair of legs to the legs I just nailed. I'm basically using
the partly built frame as a nailing jig for the other frame.
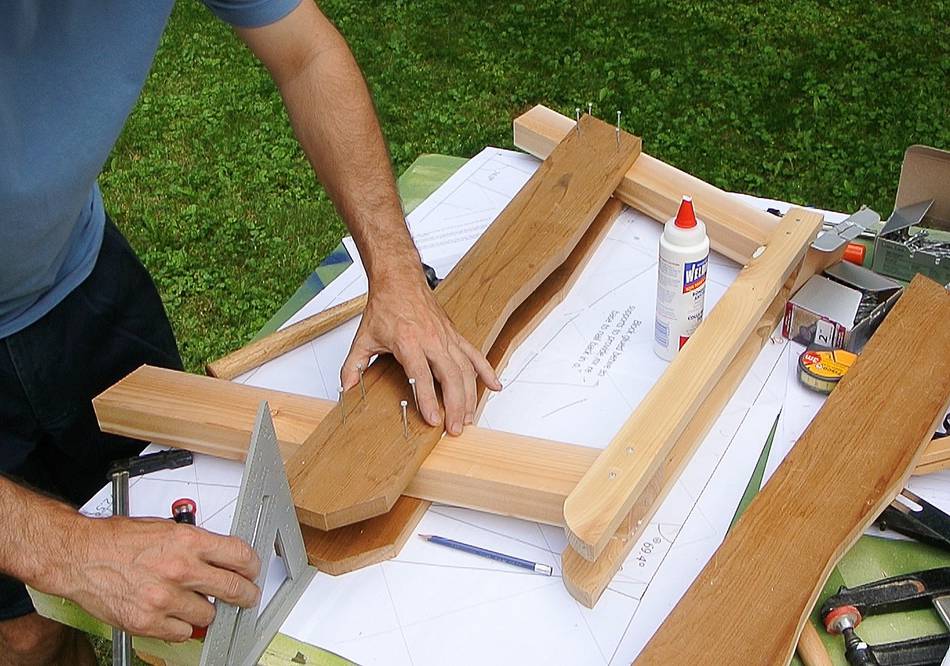
 After that, I add the boards to the other side of each side frame, being careful
to make sure the boards line up.
After that, I add the boards to the other side of each side frame, being careful
to make sure the boards line up.
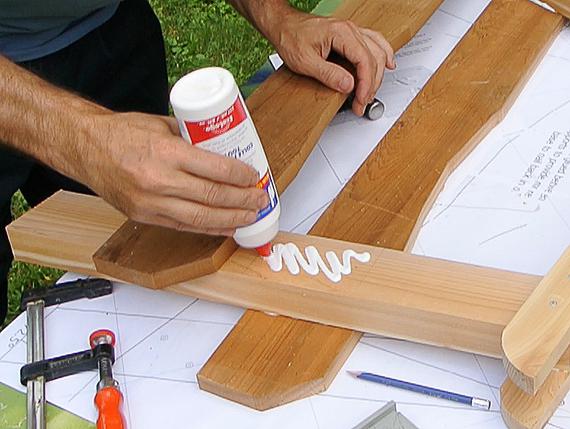
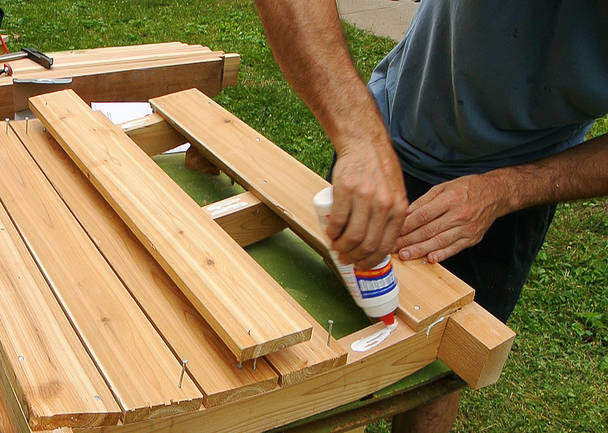
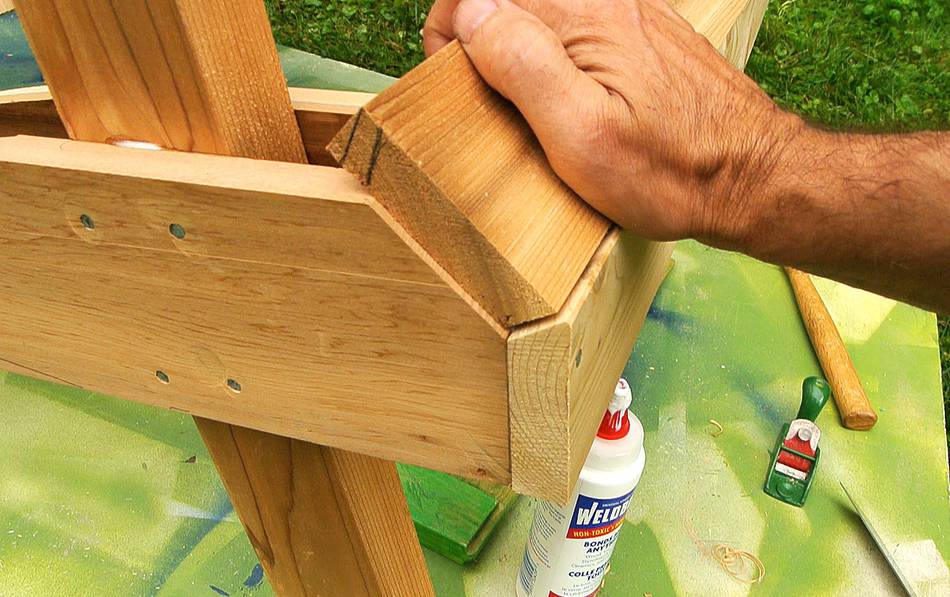
I put lots of glue in these joints. Where boards touch, moisture can accumulate and rot starts. But fixing various things at Amogla camp, I was surprised at how well a tight glue joint with WeldBond kept the rot out. That's not to say that WeldBond is better than other glues in this respect, just that my dad used WeldBond, and that held up for decades.
 Next, time to start working on the back frame. I have a drawing on how to
construct the shape of the arched piece, but instead of drawing large-radius
circles, I just used a 1:1 printout from the plans, again made with my
BigPrint program.
Next, time to start working on the back frame. I have a drawing on how to
construct the shape of the arched piece, but instead of drawing large-radius
circles, I just used a 1:1 printout from the plans, again made with my
BigPrint program.
Before I did this, I modified the CAD model to make the back arch a segmented curve with the same number of segments as I had back boards. That way, each board actually attaches to a flat part of the curve.
A PDF of the template is included in the enhanced plans that I have for sale.
 Cutting out the dadoes for the back frame with a circular saw. I put a guide on either
side of the slot, then made a series of cuts, and then moved the saw side-to-side
to flatten out the bottom of the dado.
Cutting out the dadoes for the back frame with a circular saw. I put a guide on either
side of the slot, then made a series of cuts, and then moved the saw side-to-side
to flatten out the bottom of the dado.
More on cutting dadoes with a handheld circular saw

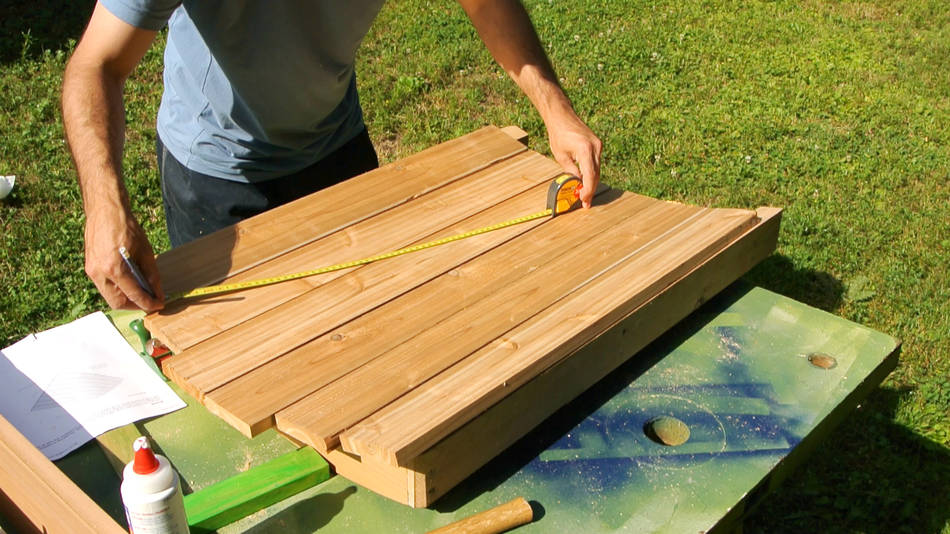
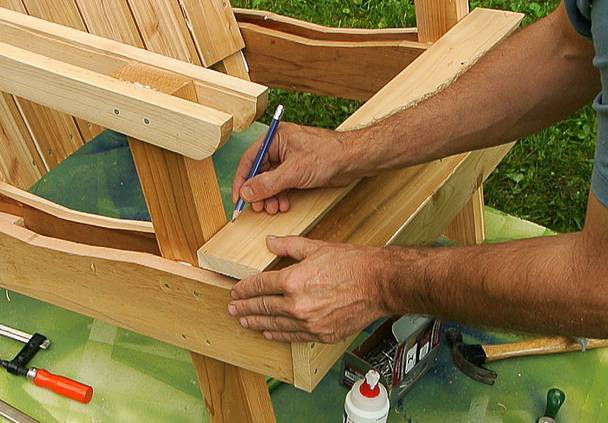
 The top of the back boards form a curve. Having laid them out on the back,
I'm using my tape measure to guide my pencil around an arc. A beam compass
or even a string would have worked better for this, but the tape measure
was close at hand and did the job.
The top of the back boards form a curve. Having laid them out on the back,
I'm using my tape measure to guide my pencil around an arc. A beam compass
or even a string would have worked better for this, but the tape measure
was close at hand and did the job.
After that, I cut each board on the bandsaw.
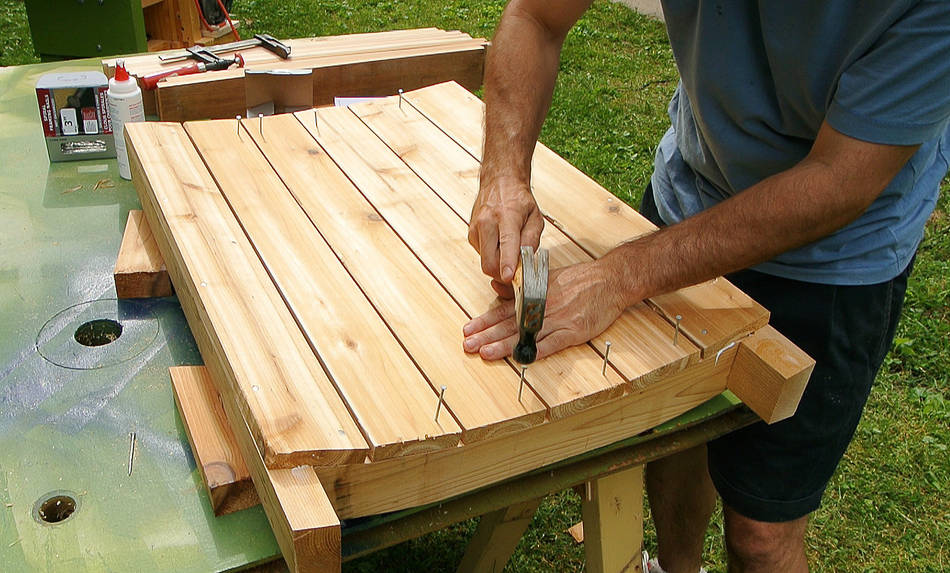
 A good way to ensure the back boards are spaced evenly would be to use spacers,
but it would have taken a few tries to make spacers of just the right width.
A good way to ensure the back boards are spaced evenly would be to use spacers,
but it would have taken a few tries to make spacers of just the right width.
I'm only building one chair here, so I just nailed the two outside boards down, then carefully laid out the remaining four boards and drove two nails in each board just far enough to keep it from sliding. I pre-drove the nails beforehand so it only took a few taps to fix them in place. After that, I took off each board, applied glue, and then fully nailed it on.
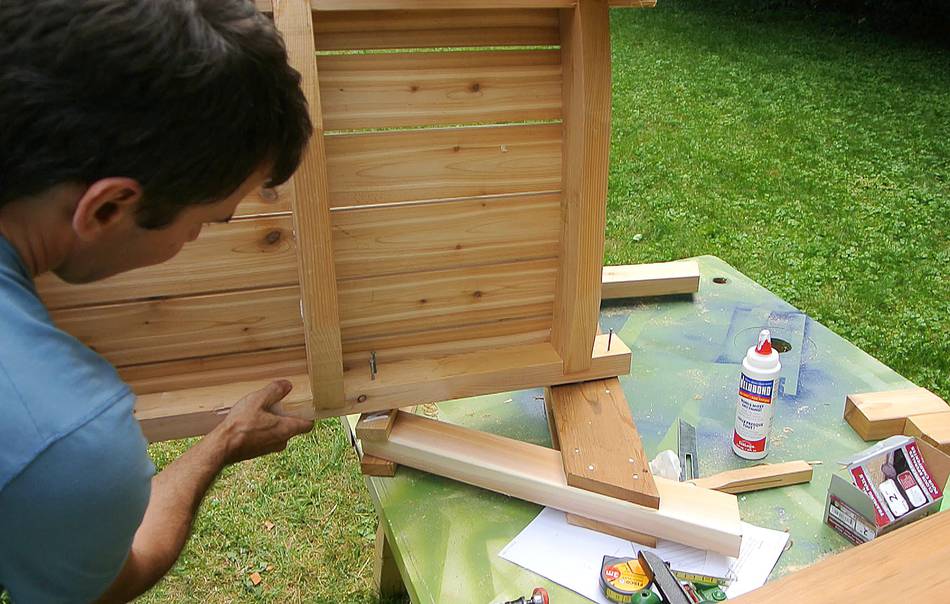
 I forgot to add a block to the side frames when I initially assembled them.
This block provides something bigger to nail the back frame to.
 If you are building your first chair, I recommend doing a trial fit, attaching the back
with just four clamps, and laying the seat boards down without nailing to see if you
like where the back is.
If you are building your first chair, I recommend doing a trial fit, attaching the back
with just four clamps, and laying the seat boards down without nailing to see if you
like where the back is.
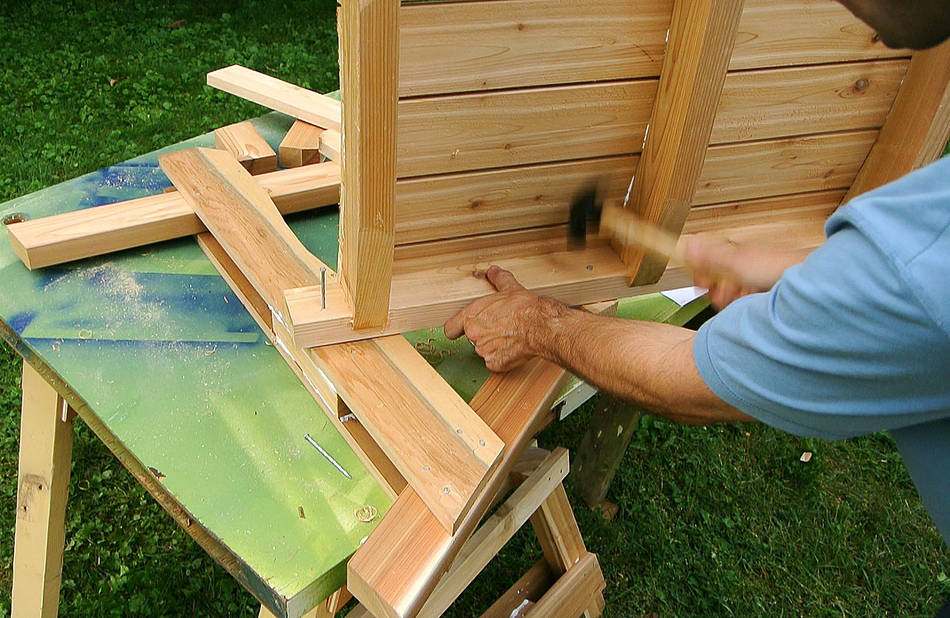
This wasn't my first one, so I already knew which angle I wanted for the back. I used a bevel gage and a ruler to mark where the back needs to go before gluing and nailing it on one side. More about that in the plans
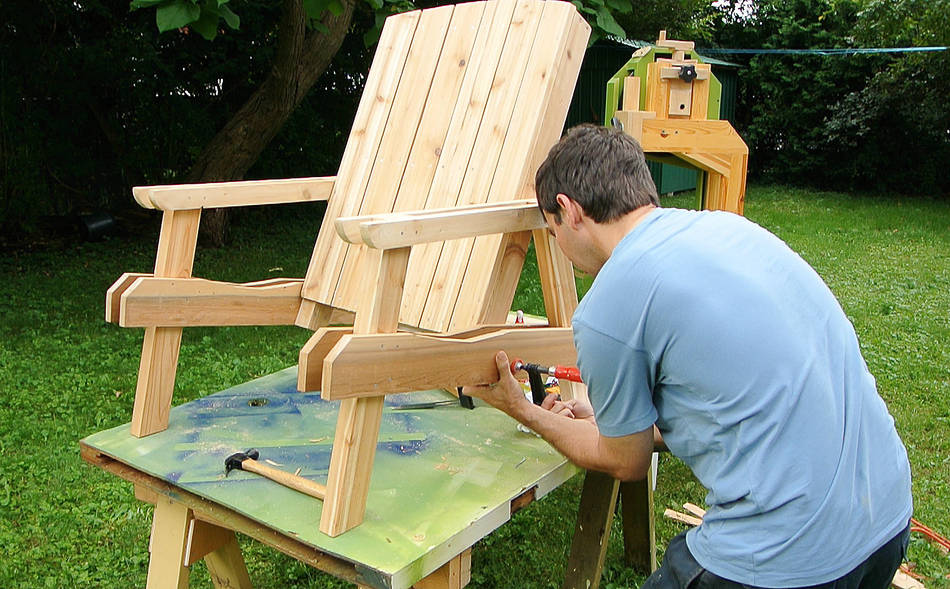
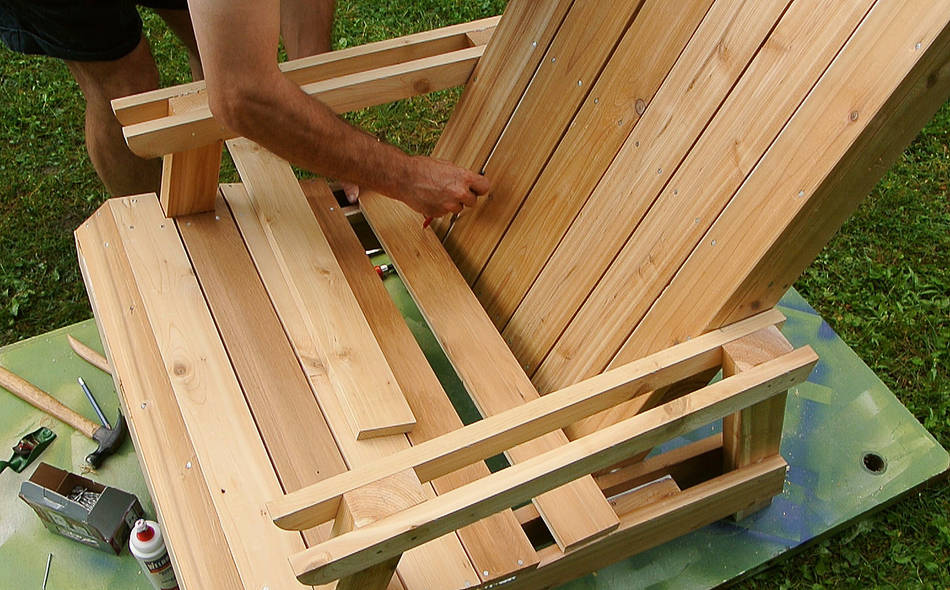
 Getting the other side lined up can be tricky. Here I'm just clamping it on.
Then I added two nails, nailed only far enough to penetrate the other piece
about 1/2 cm.
Getting the other side lined up can be tricky. Here I'm just clamping it on.
Then I added two nails, nailed only far enough to penetrate the other piece
about 1/2 cm.
 After that, I pulled the parts apart again, applied glue, and used the holes from
the nails to get the alignment back for nailing it all the way.
After that, I pulled the parts apart again, applied glue, and used the holes from
the nails to get the alignment back for nailing it all the way.
 The weather had been nice when I started the build early afternoon, but I had
a lot of interruptions with shooting video and taking breaks while
neighbours were making noise.
The weather had been nice when I started the build early afternoon, but I had
a lot of interruptions with shooting video and taking breaks while
neighbours were making noise.
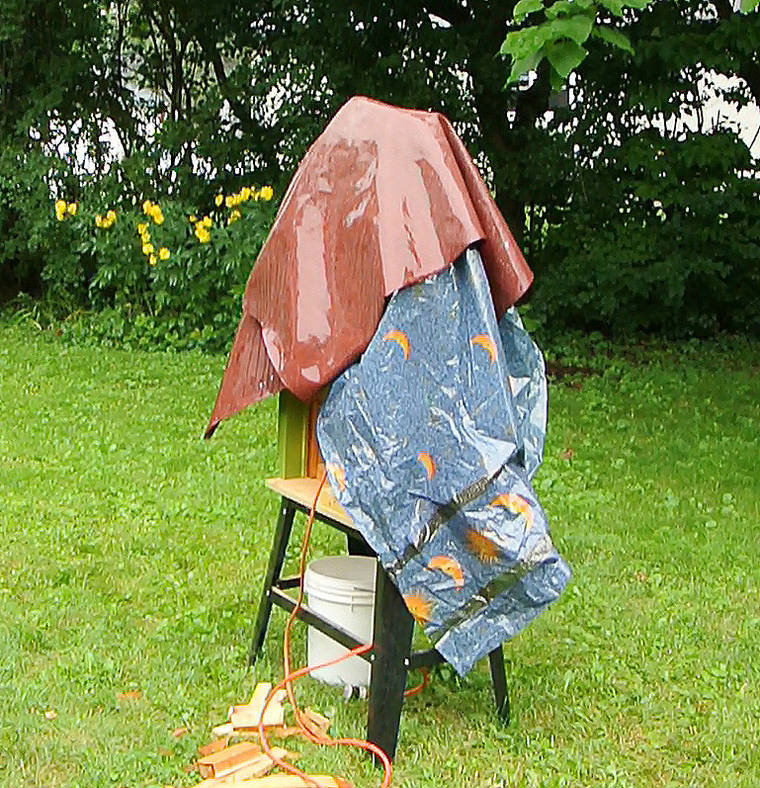
Later in the afternoon, I had to stop work twice for rain. I moved stuff under the roof, but only covered the bandsaw. I can carry it, but not any more than I have to!
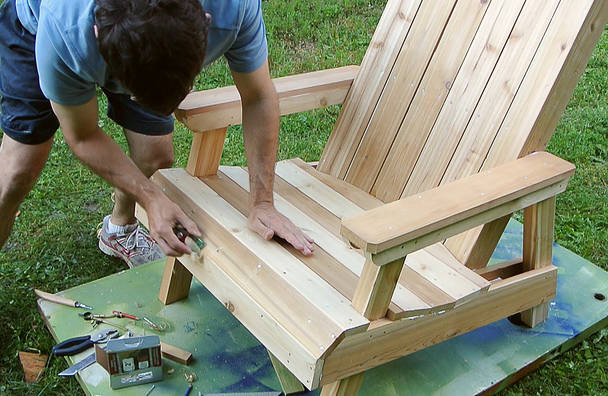
 After the rain, starting to install the seat boards.
The first three boards need bevels of 20 to 25 degrees because they join
at an angle. I cut the first board, then used a bevel gauge to figure
out exactly what angle the second board needed.
After the rain, starting to install the seat boards.
The first three boards need bevels of 20 to 25 degrees because they join
at an angle. I cut the first board, then used a bevel gauge to figure
out exactly what angle the second board needed.
 After cutting the first bevel in the second board, checking, and marking
where the bevel on the other edge goes.
After cutting the first bevel in the second board, checking, and marking
where the bevel on the other edge goes.
I cut the bevels inside on my table saw. Other than the initial sizing of materials, these were the only table saw cuts on the whole chair.
 I put glue in the bevels between the first three boards, then added some nails
at an angle to help tie them together.
I put glue in the bevels between the first three boards, then added some nails
at an angle to help tie them together.
 The third and forth boards need a notch cut out of them. I just mark this
on the chair and then cut it on the bandsaw.
The third and forth boards need a notch cut out of them. I just mark this
on the chair and then cut it on the bandsaw.
 Half the wood for this project was scrap wood, some of it white cedar (thuja)
and some western red cedar. I didn't have enough of either for the seat
area, so I alternated the two. Makes for a nice pattern.
Half the wood for this project was scrap wood, some of it white cedar (thuja)
and some western red cedar. I didn't have enough of either for the seat
area, so I alternated the two. Makes for a nice pattern.
 The last board needs a curve cut into it to match the seat profile. I'm using a compass to trace
the back profile onto the board, then cut it with a bandsaw.
The last board needs a curve cut into it to match the seat profile. I'm using a compass to trace
the back profile onto the board, then cut it with a bandsaw.
 Depending on what angle you mount the back, there may or may not be that much left of the
last board. One wider board instead of two boards at the end might have been better.
I glued the last two boards together to give that last partial one more support.
Depending on what angle you mount the back, there may or may not be that much left of the
last board. One wider board instead of two boards at the end might have been better.
I glued the last two boards together to give that last partial one more support.
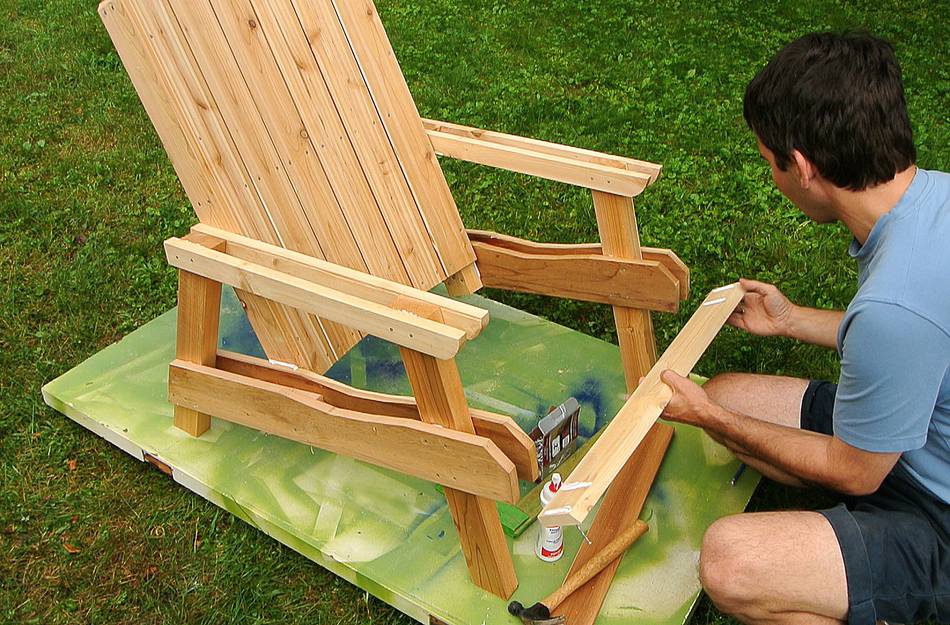
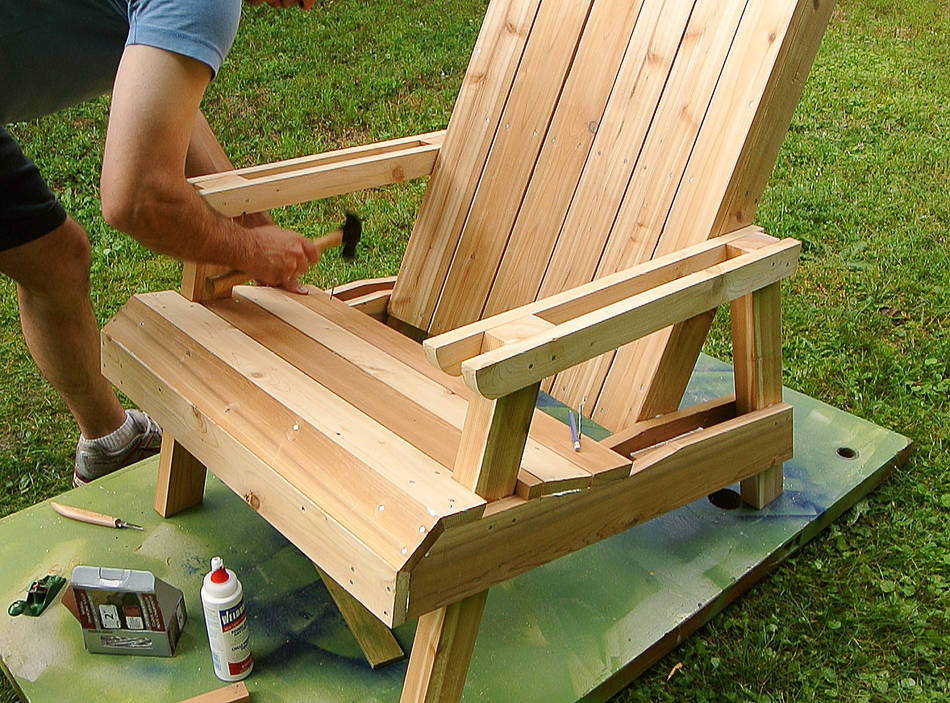
 Finally, nailing on the arm rests. These go on last because they would get in the way when
nailing on the seat boards.
Finally, nailing on the arm rests. These go on last because they would get in the way when
nailing on the seat boards.
After that, I chamfered all the edges with a small palm plane. Especially rounding the edges on the front where my bevels didn't line up perfectly.
|
I had enough outtakes from this one to put together a short video.
not that interesting, really, but in case you are curious. (the main video at the top of the article) |
Because I shot the video outside, I started with my materials already cut to the right width and thickness. So I later shot another video about preparing some of the materials
Lawn chair plans, 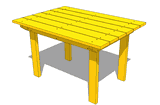 Patio table plans (free)
 Gunnar's teak chairs
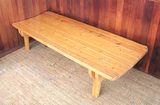 Patio bench
 More about the lawn chairs
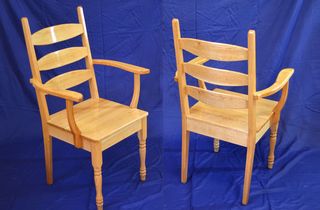 Building kitchen chairs
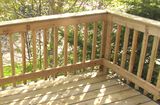 Building a small deck
 Building a sandbox
 Touring cottage #2 at Amogla camp
 Corner shelf for a barbecue
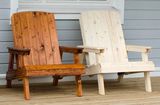 Dennis's lawn chairs