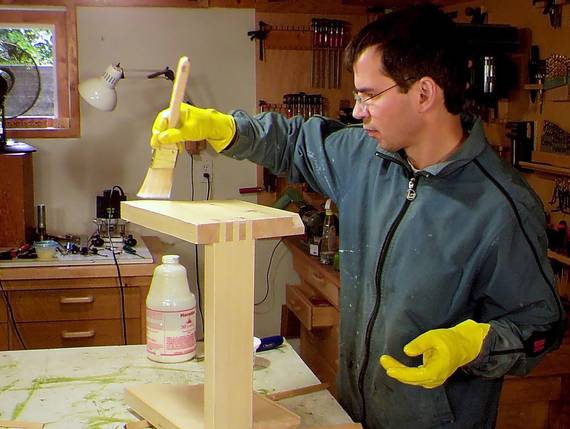
 I like to varnish a machine once it's done. It makes the sawdust easier to brush off,
prevents it from getting stained with dirt, and makes it look nicer.
I like to varnish a machine once it's done. It makes the sawdust easier to brush off,
prevents it from getting stained with dirt, and makes it look nicer.
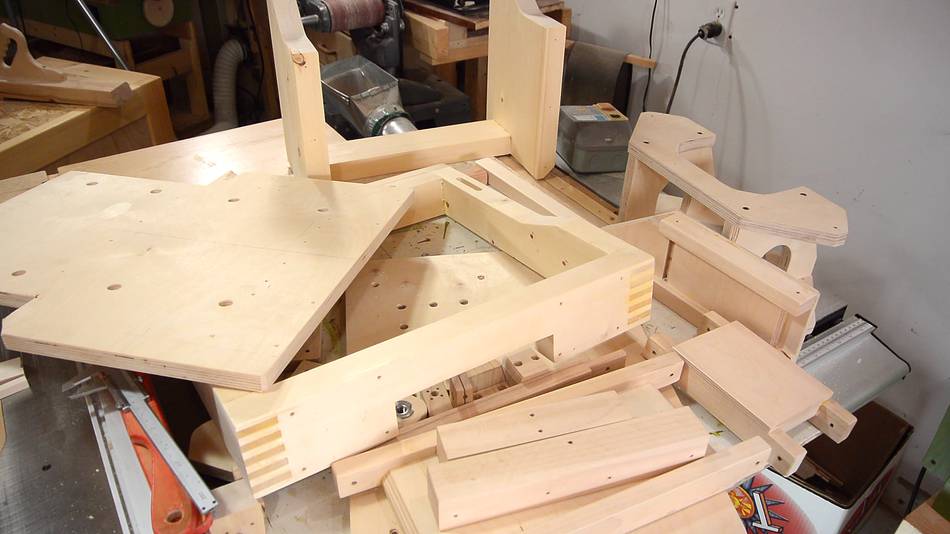
So I took the machine all apart again for varnishing and final touches.
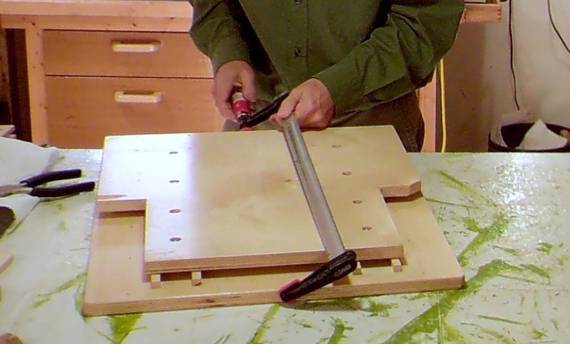
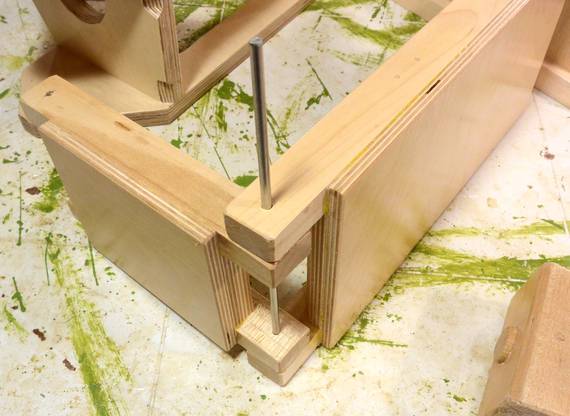
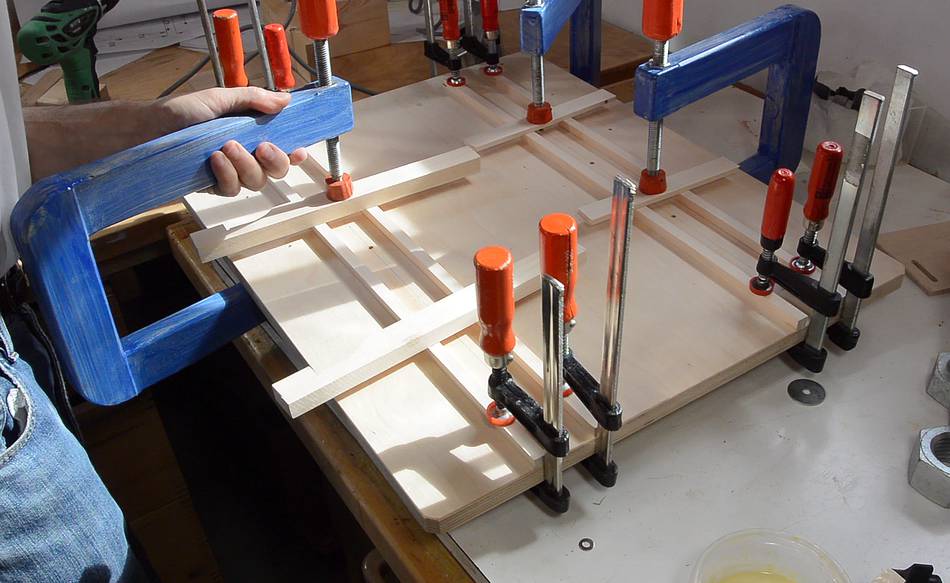 Before varnishing the base, I still needed to glue some dust guards
on. These are wooden rails, about a quarter millimeter (0.010") less tall than
the drawer slides. They prevent dust from getting into the glides from the sides.
Before varnishing the base, I still needed to glue some dust guards
on. These are wooden rails, about a quarter millimeter (0.010") less tall than
the drawer slides. They prevent dust from getting into the glides from the sides.
I clamped these on with some long clamps. If you don't have clamps long enough, you could put a screw through the mounting holes for the tracks to help push them down for gluing, or just weigh them down.
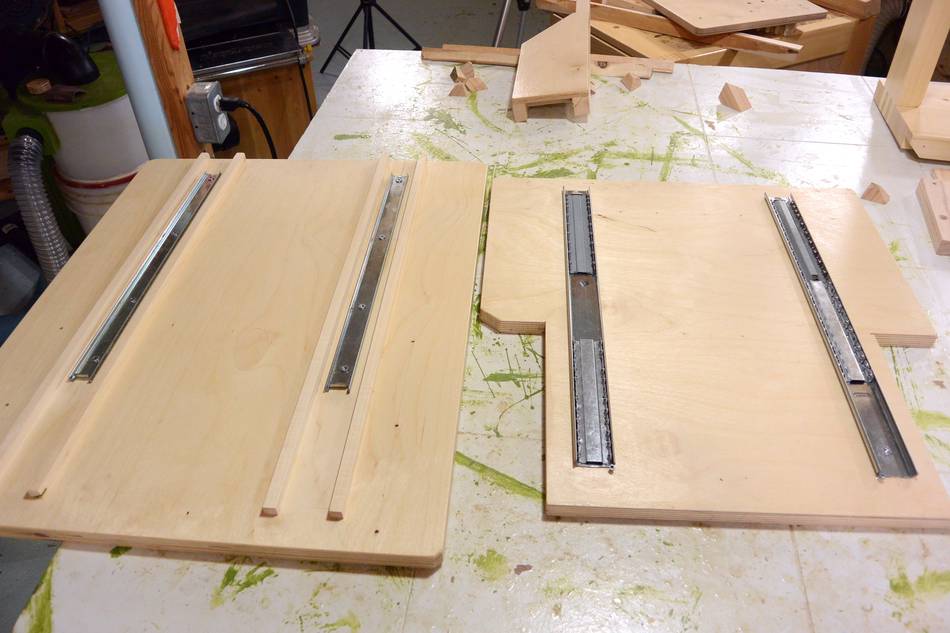
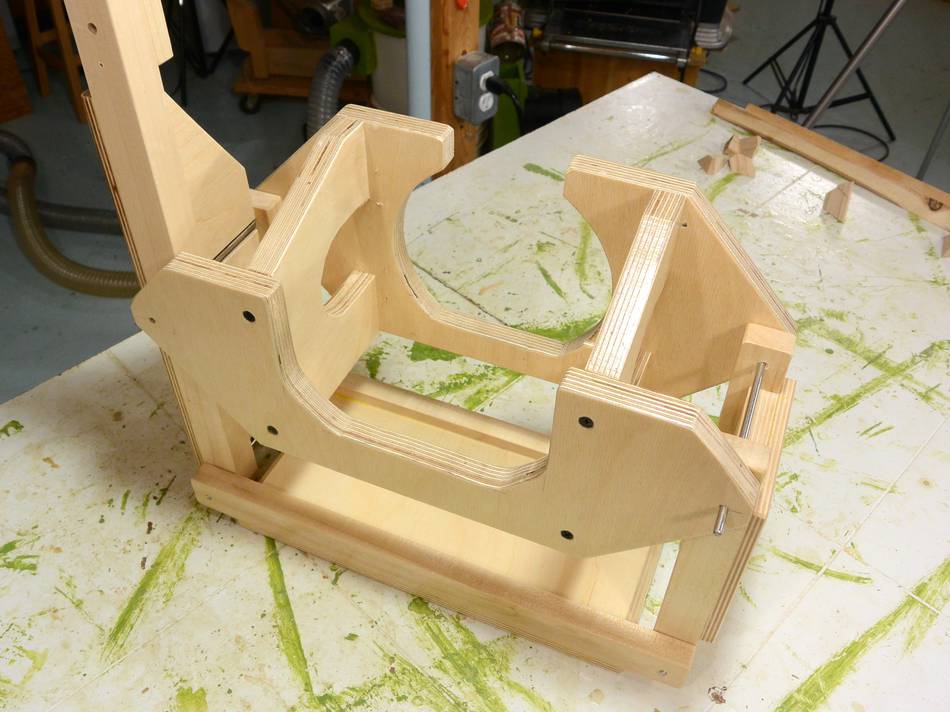
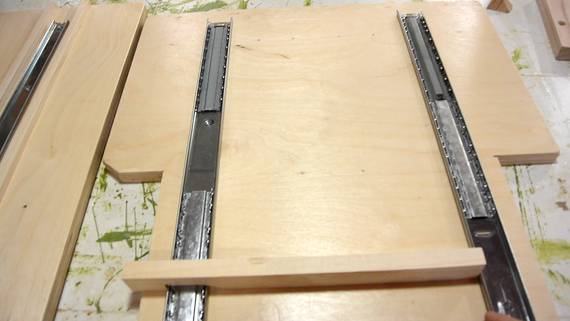 When I previously assembled the table, I lined up the narrow tracks on the base
precisely, and let the larger tracks on the sled (right side) align themselves to
those.
When I previously assembled the table, I lined up the narrow tracks on the base
precisely, and let the larger tracks on the sled (right side) align themselves to
those.
But with the wooden dust guards on the base, I can no longer put my spacers against the rails in the base, so I ensured the rails in the sled were aligned (image at right), and left the screws in the base loose to let those rails align with those.

 Before putting it back together, I oil all the ball tracks with some relatively
thick oil.
Before putting it back together, I oil all the ball tracks with some relatively
thick oil.
Sliding the top back in. After the initial 20 cm or so, the ball cages will have hit the end of their run, and a lot of force is needed to drag the sled all the way in. In fact, I ended up using a bar clamp to push it all the way.
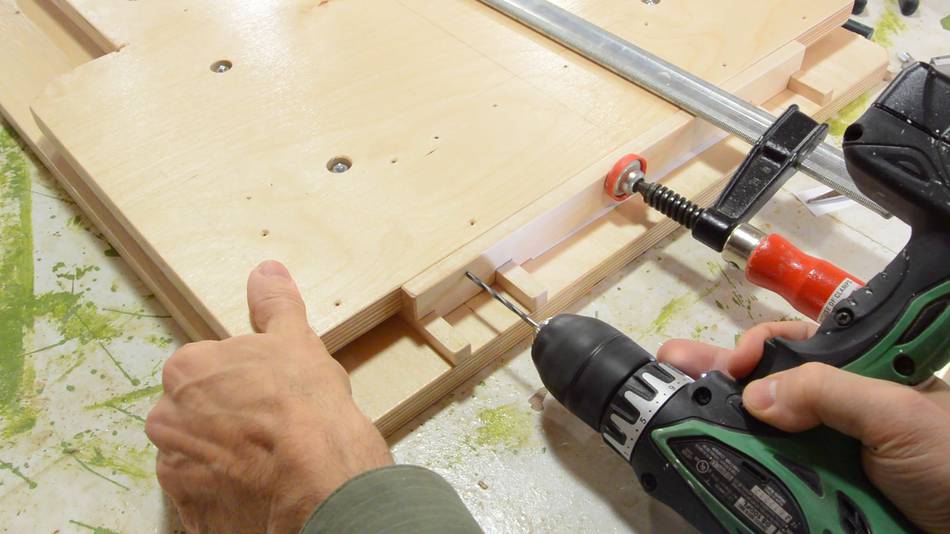 I also made some dust guards for either end of the sled. These, for the most part,
prevent dust from getting in from the ends. However, with the plunge sled pulled
back, the sled extends beyond the base, so some dust could still get in from below.
I also made some dust guards for either end of the sled. These, for the most part,
prevent dust from getting in from the ends. However, with the plunge sled pulled
back, the sled extends beyond the base, so some dust could still get in from below.
I marked where the slots on these go straight off my part. To position it precisely, I clamped it in place and drilled the screw hole though both parts, then added a countersink to the rail, and screwed it in place.
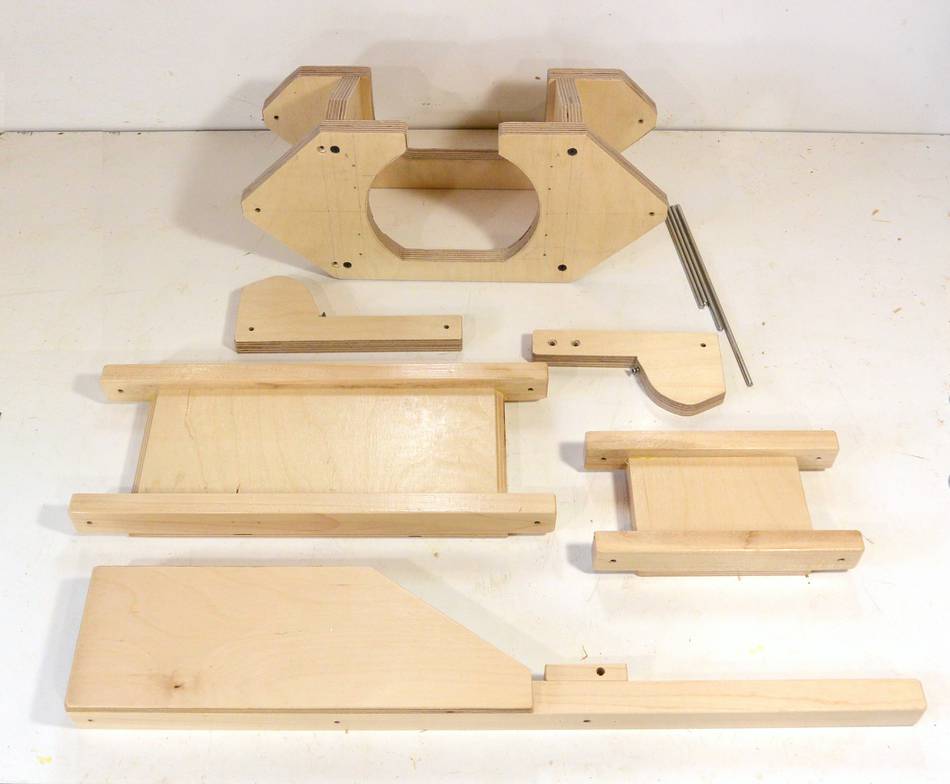
 The pantograph parts, ready for reassembly.
It's easiest to get the shaft in, then the links are at 90 degrees to each other. With the hole 1.5 cm from the end and from the sides, lining up the corners of the links also lines up the holes.
It also helps to grind a slight taper to the ends of the rods.
 Pantograph assembled. Inserting the last pin, on one side, the holes on the other
side lined up nearly perfectly. Very satisfying, and indicative that there should
not be any significant geometry error remaining.
Pantograph assembled. Inserting the last pin, on one side, the holes on the other
side lined up nearly perfectly. Very satisfying, and indicative that there should
not be any significant geometry error remaining.
 I attached the rods to the router. The router has one plastic knob
to lock down one of the rods, but two screw holes for setscrews
for the other rod. I found some screws in my junk bin that fit.
I attached the rods to the router. The router has one plastic knob
to lock down one of the rods, but two screw holes for setscrews
for the other rod. I found some screws in my junk bin that fit.
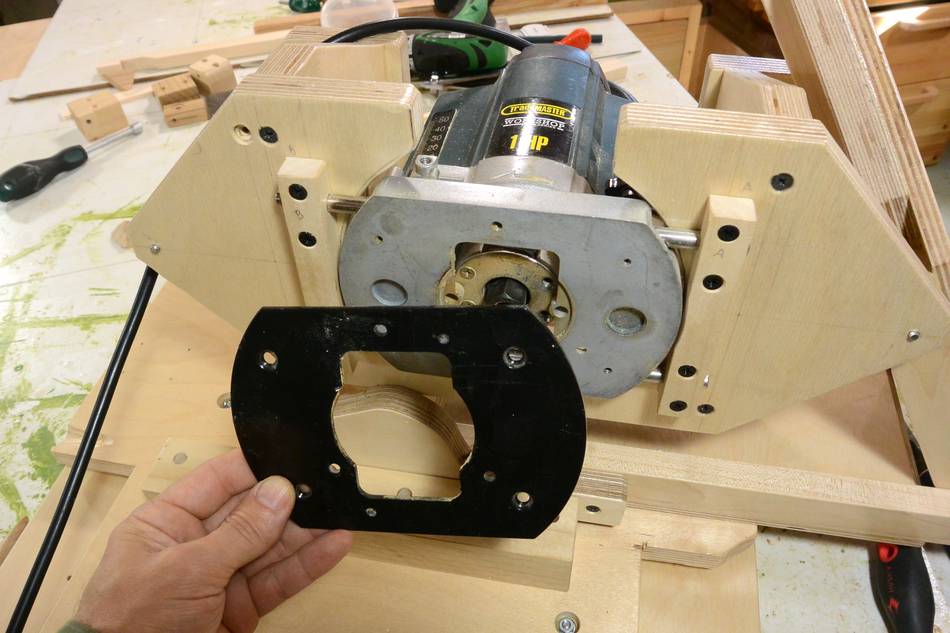
I also removed the smooth plastic face from the front of the router. The plastic face allows the router to glide better, but I don't need this, and removing it gets me 2 mm closer to the router.
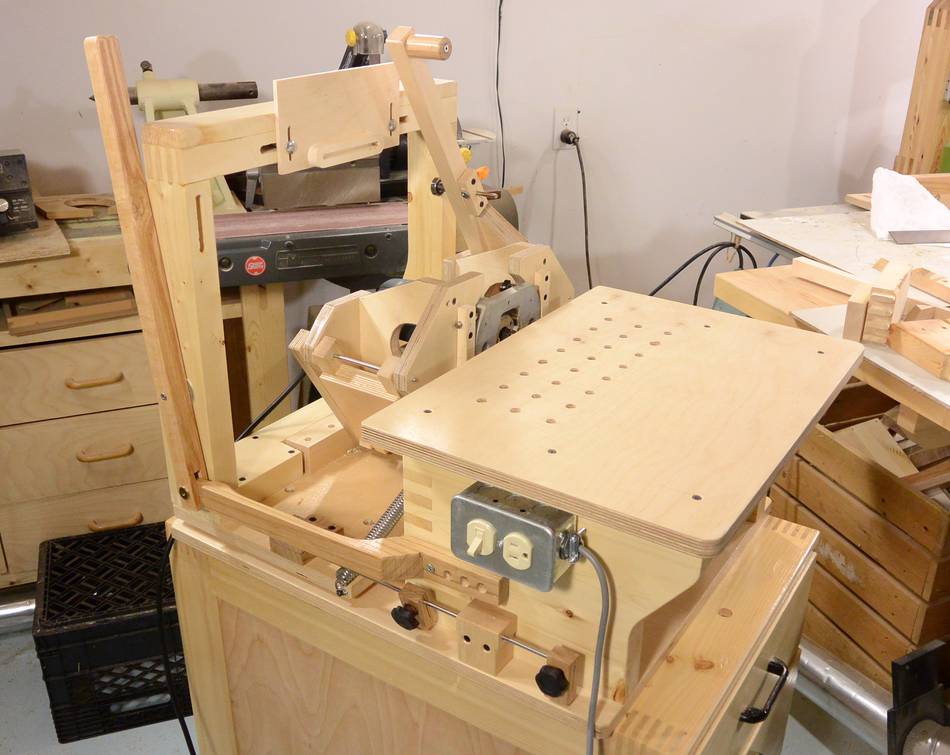 Fully assembled, with electrical switch installed.
You may also want to build a Hold down clamp for your pantorouter. I haven't build a new one for this yet, but I'm using the one from my other pantorouter for now.