 I have often been annoyed at limitations of what I can do with my router bits,
but having now built a tilting router lift, I figured it was
time to experiment with what patterns I could cut with my cheap bit set.
I have often been annoyed at limitations of what I can do with my router bits,
but having now built a tilting router lift, I figured it was
time to experiment with what patterns I could cut with my cheap bit set.
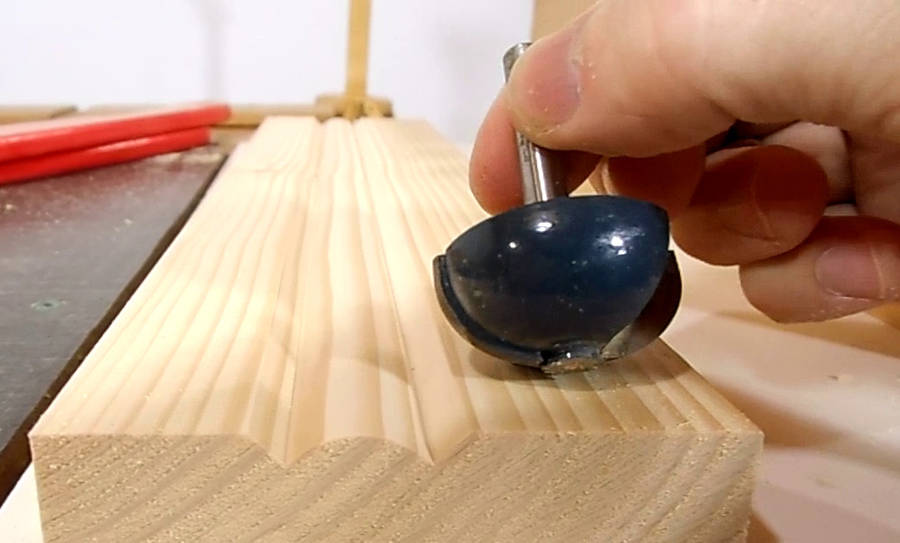
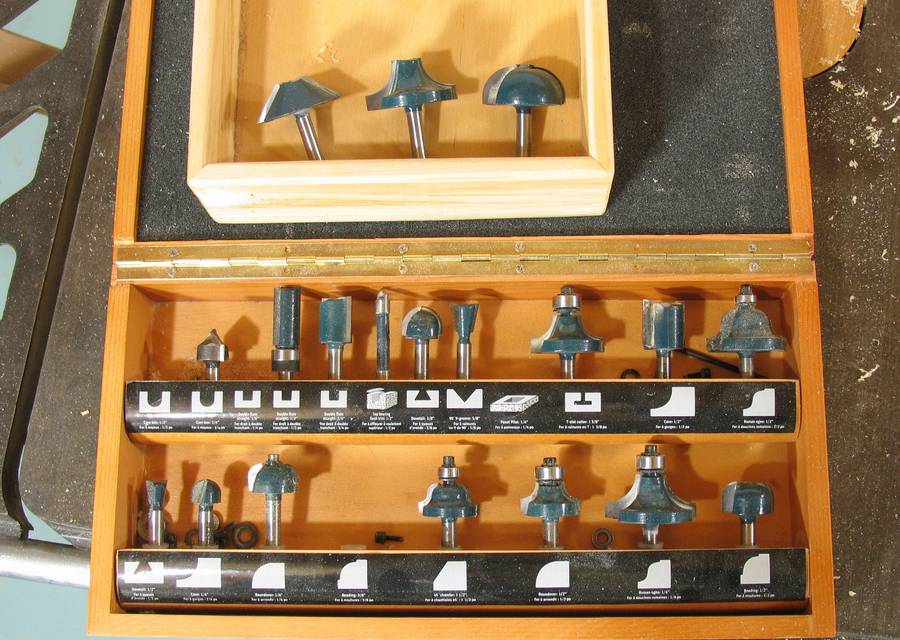 Fancy molding bits can be bought, but at a price. For experiment, I'm only using
bits from this set of router bits that came with my router. I have two sets of bits
like that (each came with a router). As such, I'm not hesitant to
take the guide bearing off and even grind the bearing post off
to flatten the top.
If have two of each bit already, so no harm in modifying
one of them, even if I could potentially destroy them.
Fancy molding bits can be bought, but at a price. For experiment, I'm only using
bits from this set of router bits that came with my router. I have two sets of bits
like that (each came with a router). As such, I'm not hesitant to
take the guide bearing off and even grind the bearing post off
to flatten the top.
If have two of each bit already, so no harm in modifying
one of them, even if I could potentially destroy them.
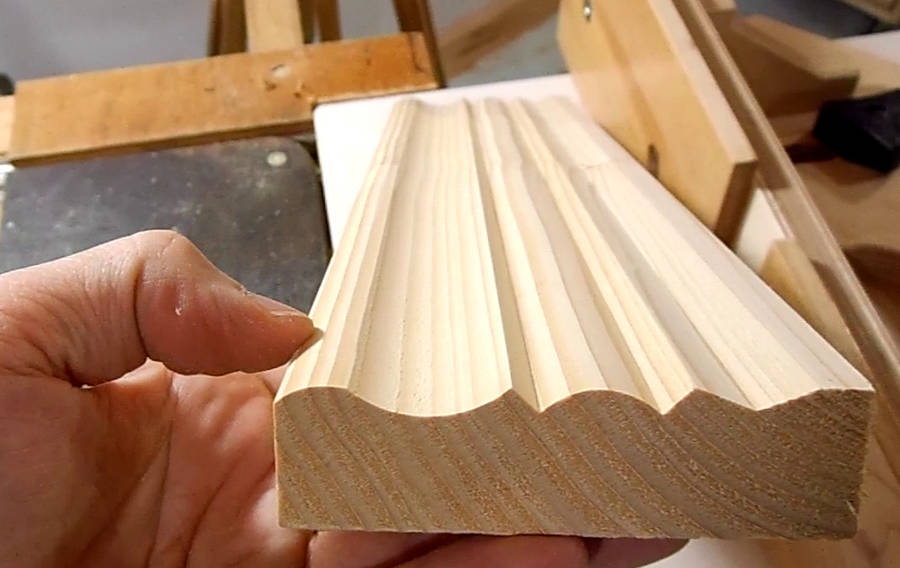
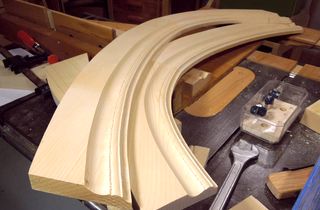
 Here's my prototype piece of molding. The first cut I'm going to make is the convex round.
I'm going to use my 3/8" radius round over bit for this one. The curve looks
generously large, but I'm not even using the largest round over bit from my set.
Here's my prototype piece of molding. The first cut I'm going to make is the convex round.
I'm going to use my 3/8" radius round over bit for this one. The curve looks
generously large, but I'm not even using the largest round over bit from my set.
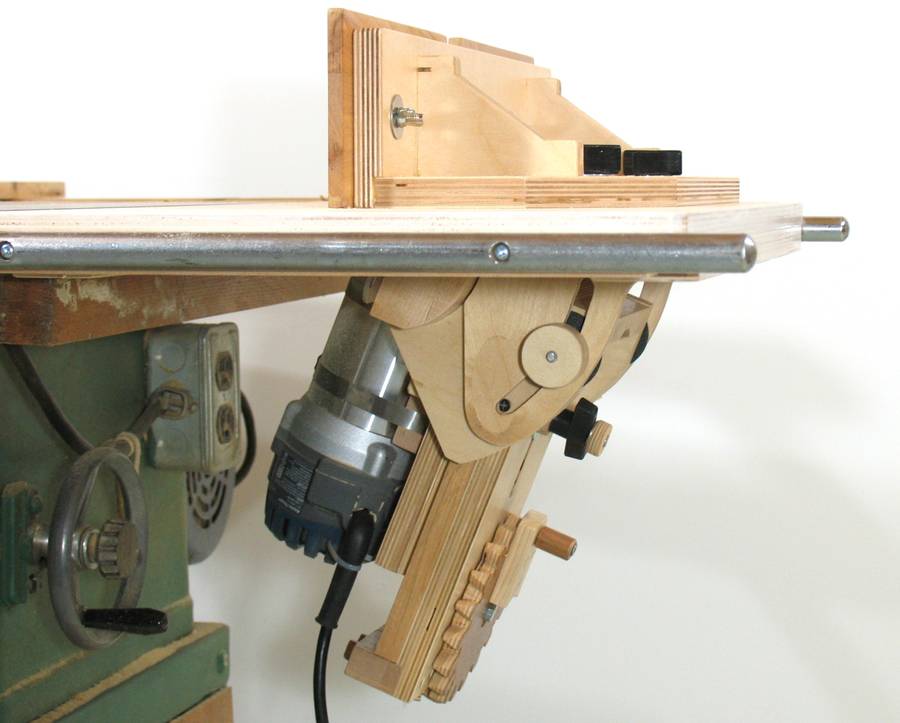
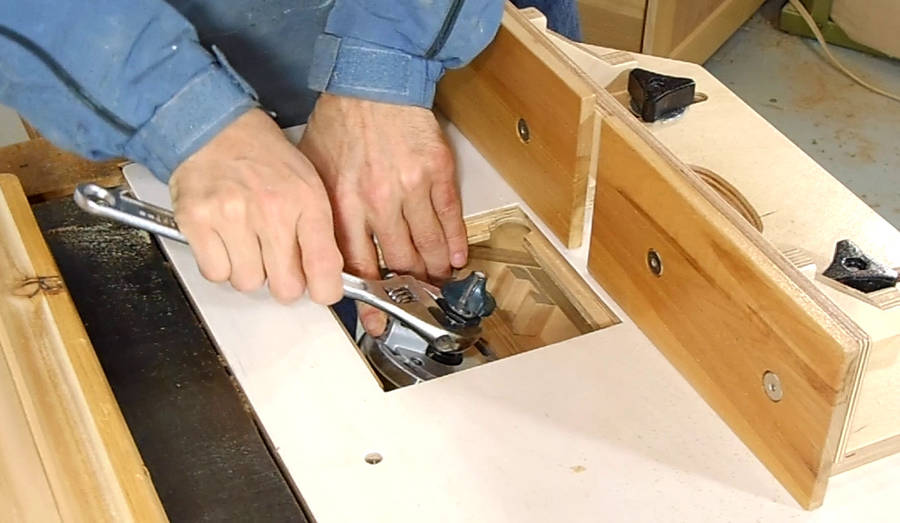 With the lift tilted, I don't even need to raise the router all
the way up to push the lock button and get in there with a wrench.
With the lift tilted, I don't even need to raise the router all
the way up to push the lock button and get in there with a wrench.
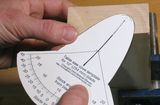
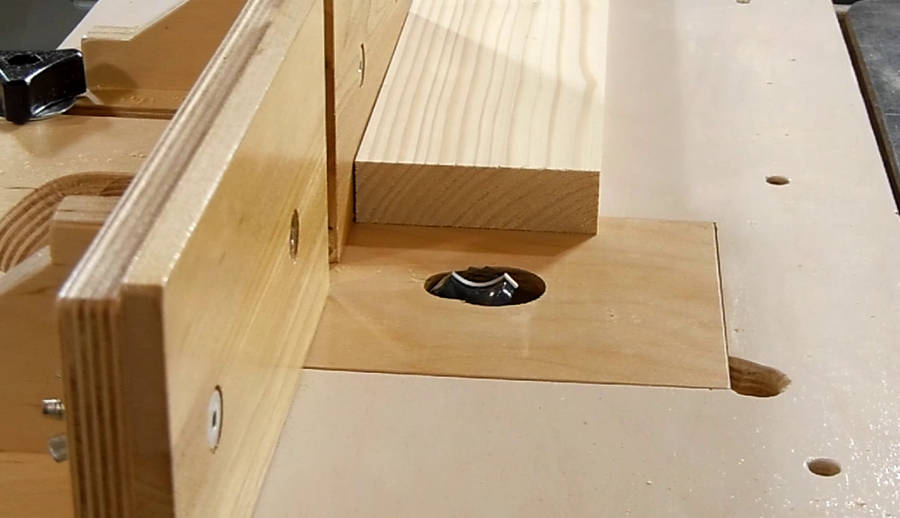 Tilted 45 degrees, ready for the cut.
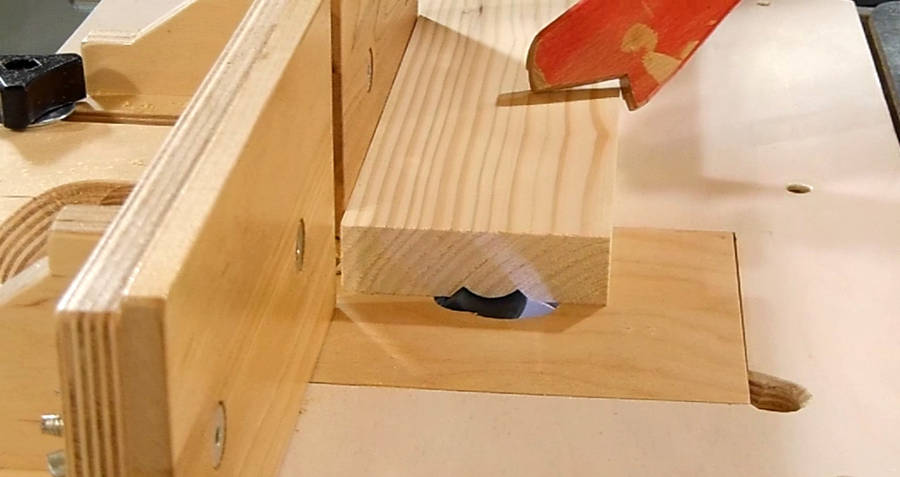 Using push sticks to hold the stock against the fence. I don't like getting
my fingers that close to a router. Router kickback can be unpredictable.
Using push sticks to hold the stock against the fence. I don't like getting
my fingers that close to a router. Router kickback can be unpredictable.
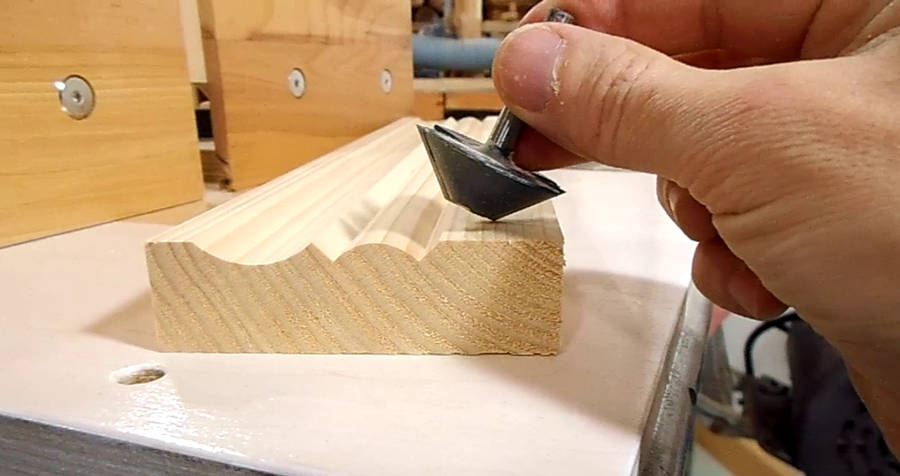
 The next cut I'm going to make is a cove cut, using this cove bit. But I'll
be tilting the bit away from the direction of cut to produce a wider cut.
This is in some ways similar to a this
table saw cove cutting technique,
but produces much cleaner results because the cutter edges are round,
not pointy like saw teeth.
The next cut I'm going to make is a cove cut, using this cove bit. But I'll
be tilting the bit away from the direction of cut to produce a wider cut.
This is in some ways similar to a this
table saw cove cutting technique,
but produces much cleaner results because the cutter edges are round,
not pointy like saw teeth.
 I mounted the fence 90 degrees to where it was previously. This
router lift design has the screw holes placed in such a way that it's easy to mount
the fence from four different directions.
I mounted the fence 90 degrees to where it was previously. This
router lift design has the screw holes placed in such a way that it's easy to mount
the fence from four different directions.
Here I'm checking the alignment for the cut. Please note that I would Never put my hands in that spot while actually making a cut. I can't emphasize that enough - routers are unpredictable in terms of kickback. While tilting it in itself does not make kickback worse, it adds another dimension, and may cause it to behave in ways different from what you expected.
 And making the cut.
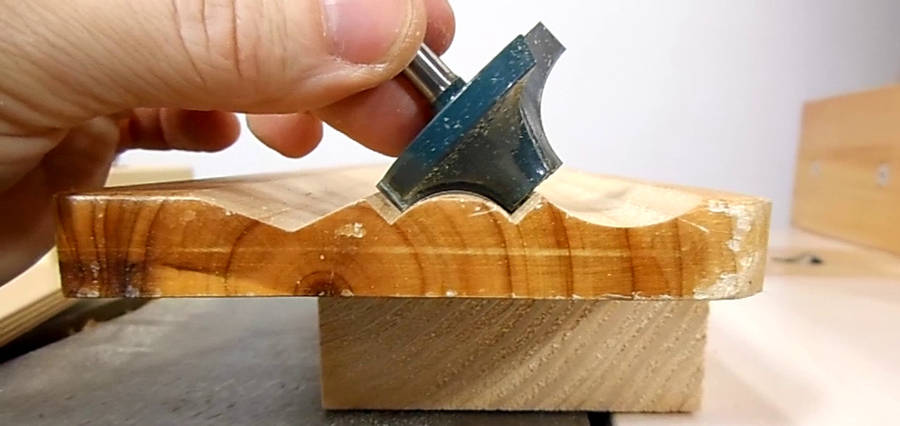
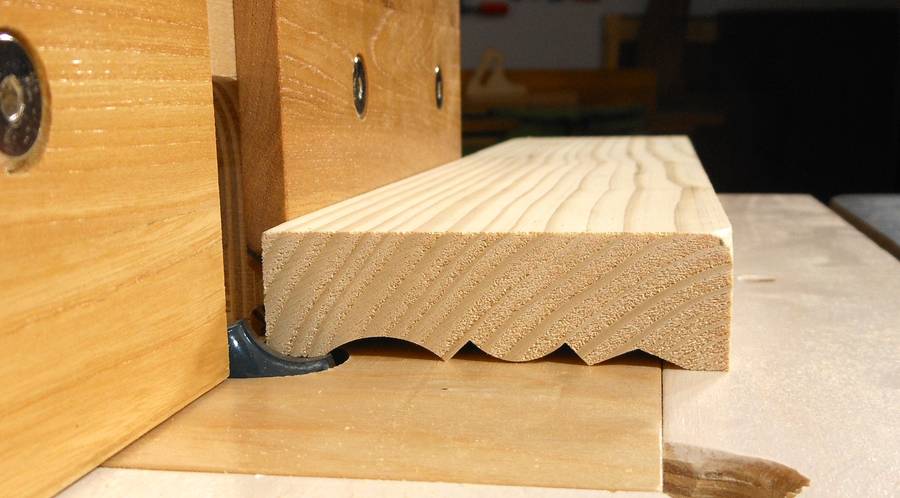
 Next I'm going to make a shallow angular cut. I'm using the bevel cutter from
my router bit set. As with the other bits, I removed the guide bearing
and ground off the post.
I'm going to tilt it about 22.5 degrees to make this cut.
Next I'm going to make a shallow angular cut. I'm using the bevel cutter from
my router bit set. As with the other bits, I removed the guide bearing
and ground off the post.
I'm going to tilt it about 22.5 degrees to make this cut.
 Here it is, protruding from the bottom...
 with the lift tilted at 22.5 degrees
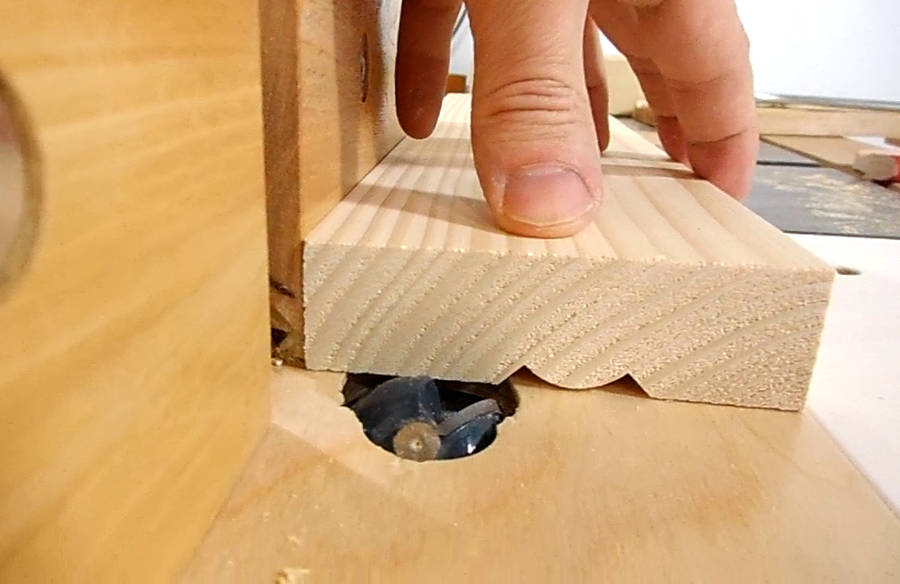
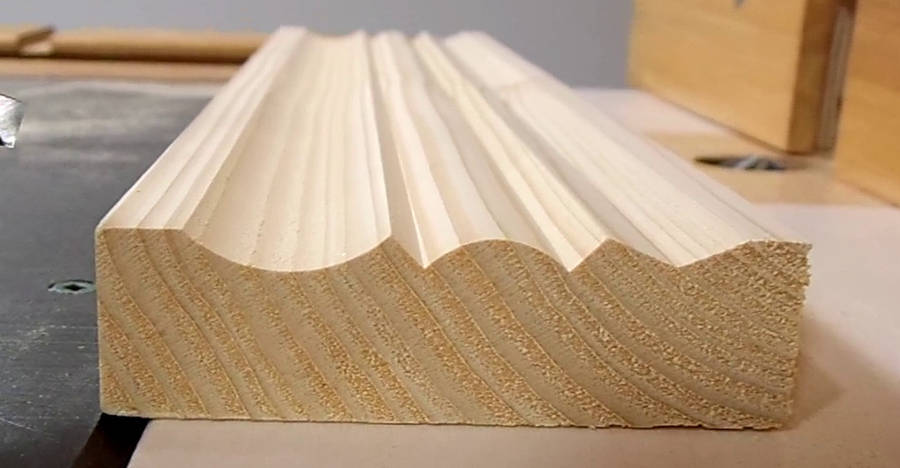 And the molding so far...
 And finally, I'm adding a round to the end. I actually wanted to two curves to meet
smoothly, but I think I should have tilted the router a bit left for this cut.
And finally, I'm adding a round to the end. I actually wanted to two curves to meet
smoothly, but I think I should have tilted the router a bit left for this cut.
So I have a slight corner in the transition. So that would take a bit of sanding.
Overall, I'm pretty happy with how this molding turned out, considering
I'm just experimenting with what I can do with my tilting router lift.
 Making curved molding
 Making picture frames -- Tilting router lift, hot glue
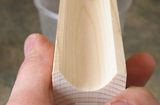 Cove cutting on
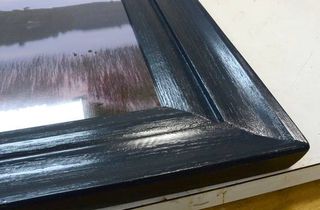 Making a picture frame
 An older picture frame
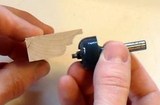
 Asymmetric cove cutting
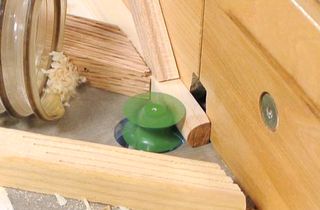 Making dowels with
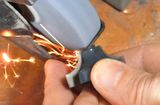 Modifying router bits