Garage shelf plans
This article also available in Spanish
I get the occasional question about the measurements of my cantilevered basement shelves.
So I figured I should put together some plans for the shelves. The shelves are actually quite simple to build, so there is not much to a 'plan' for them. But while I was at it, I went a little overboard with the CAD program and drew it with a lot of detail.
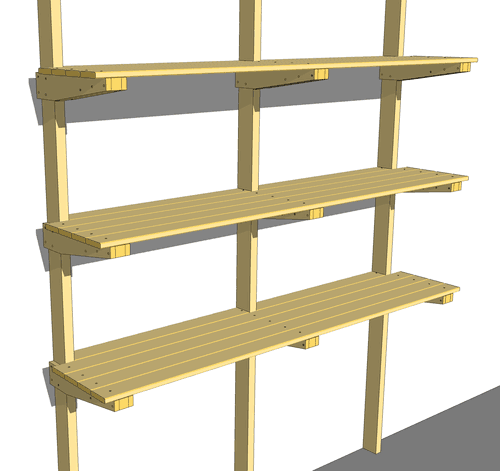
Shelves of this design are actually even more ideal for a garage, because unlike the pre-made garage shelves, or shelf kits that you can buy, these cantilevered garage shelves don't take up floor space, so you can put things under them, like a lawnmower, snowblower, or even a car.
I also checked at the Home Depot to figure out what the most cost effective option was in terms of which material to use for the shelf decks. In terms of cost, strength, and looks, I figured the best option was to use spruce 1x4 boards, which cost $2 Canadian each at my nearest Home Depot.
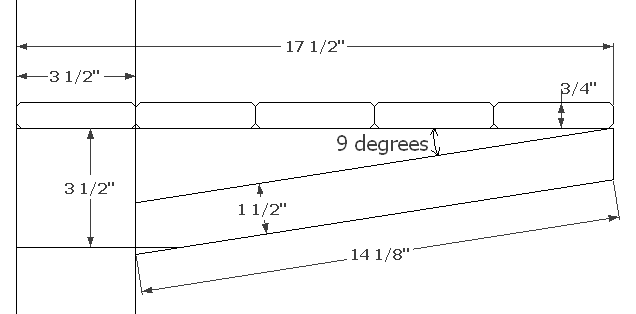
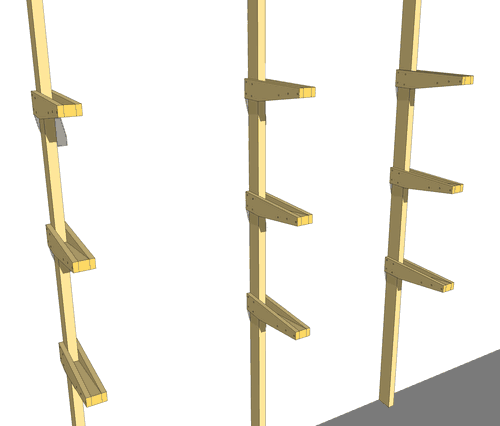
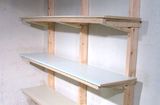
Here's a basic profile of the shelves.
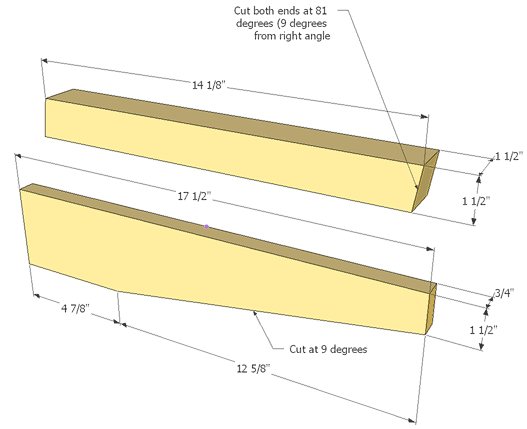 These are the most 'complicated' parts that need to be cut. The top piece is cut from a 2x2.
One 8 foot 2x2 is enough for six pieces. Note that what they call a 2x2 in the store
actually has dimensions of 1.5"x1.5".
These are the most 'complicated' parts that need to be cut. The top piece is cut from a 2x2.
One 8 foot 2x2 is enough for six pieces. Note that what they call a 2x2 in the store
actually has dimensions of 1.5"x1.5".
The bottom piece is cut off from a 1x4. 1x4s have actual dimensions of 3.5" x 3/4". Cut 17.5" off the end of each of the 8 foot long boards for the shelf decking to make these. That makes for 15 pieces, so another 1x4 board is necessary to cut three more of them.
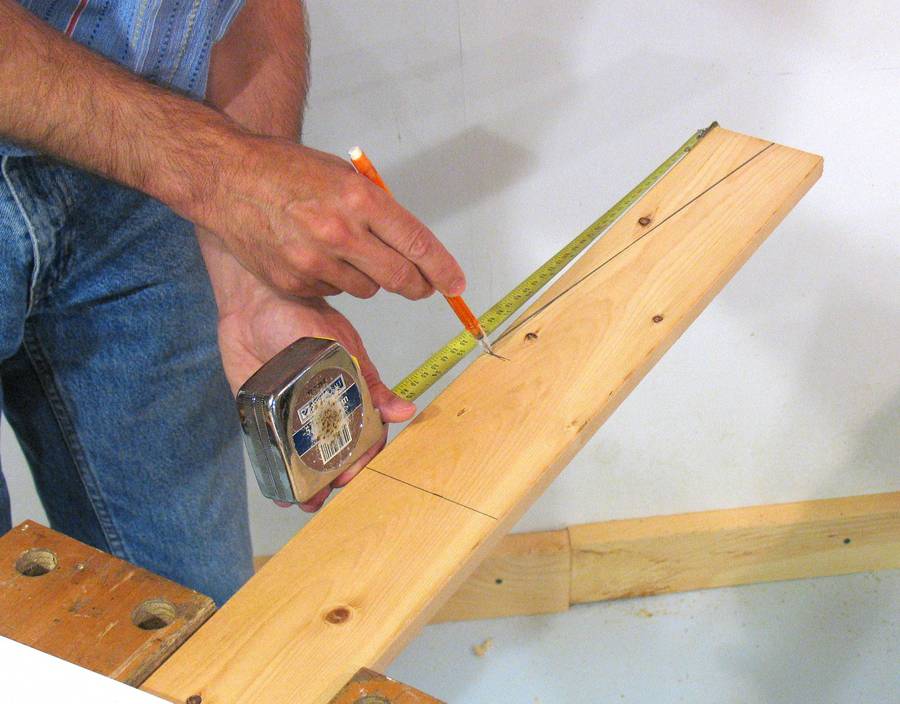 To mark the angle on the boards to cut off from the bottom, it's best to just measure along
the length and width, and then draw a diagonal line between the two points.
The photo is actually slightly fake in this regard, because you measure along the width
and length first, and then draw the diagonal line. But I figured I'd show the measurement
with the diagonal line already drawn to make it more obvious.
To mark the angle on the boards to cut off from the bottom, it's best to just measure along
the length and width, and then draw a diagonal line between the two points.
The photo is actually slightly fake in this regard, because you measure along the width
and length first, and then draw the diagonal line. But I figured I'd show the measurement
with the diagonal line already drawn to make it more obvious.
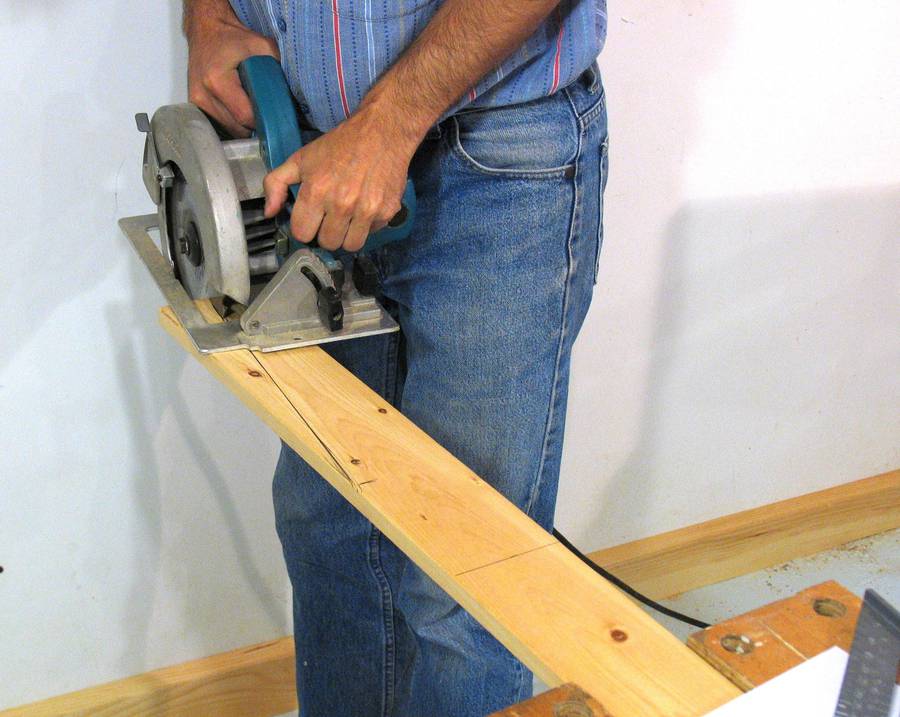 It's best to do the diagonal cuts before cutting the pieces off the end, just because
it's much easier to clamp the work piece. I have the piece clamped in a work mate
in this picture.
It's best to do the diagonal cuts before cutting the pieces off the end, just because
it's much easier to clamp the work piece. I have the piece clamped in a work mate
in this picture.
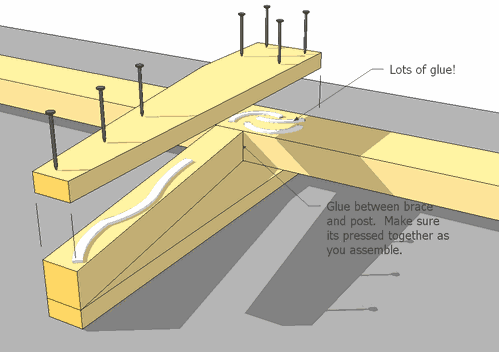 When assembling he shelf, be sure to put lots of glue in. It's the glue that gives
the shelf its stiffness. Also, let the glue dry for a few hours before putting any
weight on the shelf. With the glue dried, each of the shelf supports can easily support
my weight. Without glue, it would sag.
When assembling he shelf, be sure to put lots of glue in. It's the glue that gives
the shelf its stiffness. Also, let the glue dry for a few hours before putting any
weight on the shelf. With the glue dried, each of the shelf supports can easily support
my weight. Without glue, it would sag.
Also make sure that the 2x2 piece at a slight diagonal is firmly pressed against the 2x4 post, and put glue in between it and the post when you put it together. It's this 2x2 diagonal piece that transfers much of the load to the posts, so it needs to make good contact.
 Once you have the posts with the supports attached, attach the posts to the wall.
This can be a simple matter of nailing or screwing the posts onto the ceiling
joists or rafters. If you can't attach them to the ceiling, attach them to your
studs. You will need some wood screws about 6" long, or you can use a 3/8" or
bigger drill as a sort of countersink to allow the screw heads to reces an inch
or two into the wood. That way, you won't need screws quite as long to attach the shelves to
the walls. You should screw the uprights right against the studs in your wall. This
means the spacing of the supports is determined by the stud positions in your wall.
Once you have the posts with the supports attached, attach the posts to the wall.
This can be a simple matter of nailing or screwing the posts onto the ceiling
joists or rafters. If you can't attach them to the ceiling, attach them to your
studs. You will need some wood screws about 6" long, or you can use a 3/8" or
bigger drill as a sort of countersink to allow the screw heads to reces an inch
or two into the wood. That way, you won't need screws quite as long to attach the shelves to
the walls. You should screw the uprights right against the studs in your wall. This
means the spacing of the supports is determined by the stud positions in your wall.
The shelf decking doesn't need to be glued on - just one nail at each support is quite sufficient.
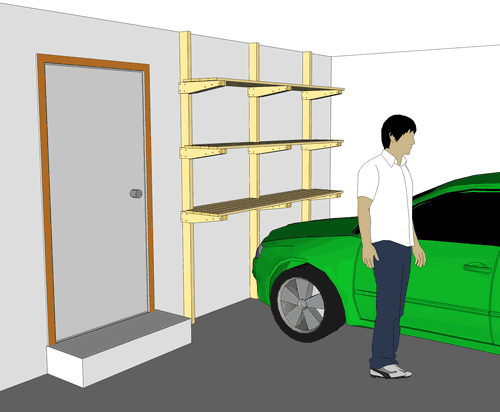 This drawing shows this sort of garage shelving can be very space saving, in that ot dpesm
ttake away that much floor space from parking or other things one might keep on a
garage floor.
This drawing shows this sort of garage shelving can be very space saving, in that ot dpesm
ttake away that much floor space from parking or other things one might keep on a
garage floor.
I personally don't, unfortunately, have a nice garage as shown in this drawing. I was tempted to make the drawing look more realistic by adding lots of garage-type clutter on the shelves, but it's all too easy to kill lots of time with the CAD program.
But look at it this way: With shelves like this, there's a much greater chance that you will actually have enough floor space left in your garage to park your car in there!
Materials list
To build this garage shelf as shown, you will need:
| Item | Qty | Description | |||||||||||||
|---|---|---|---|---|---|---|---|---|---|---|---|---|---|---|---|
| 2x4 x 8' | | Vertical posts
| 2x2 x 8' | Diagonal pieces of shelf supports from these
| 1x4 x 8' | Shelf decking, and side parts of supports
| 2" nails | To nail shelf supports together, and decking onto shelves
| Wood glue | 250 ml | To glue the shelf supports on.
|
|
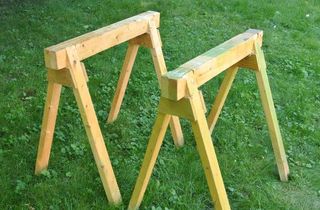 Building sawhorses
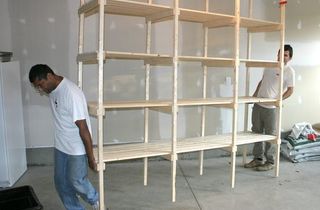 Building storage shelves
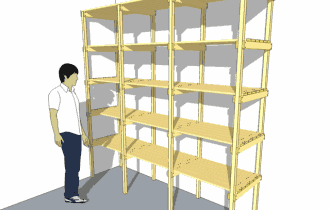 Storage shelf plans
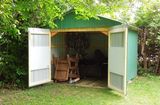 Building a shed
 Quick shelves with
 Beginning woodworking
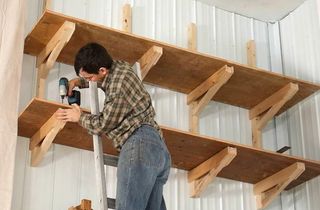 Up-high garage shelf
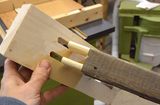 Double tenon shelves