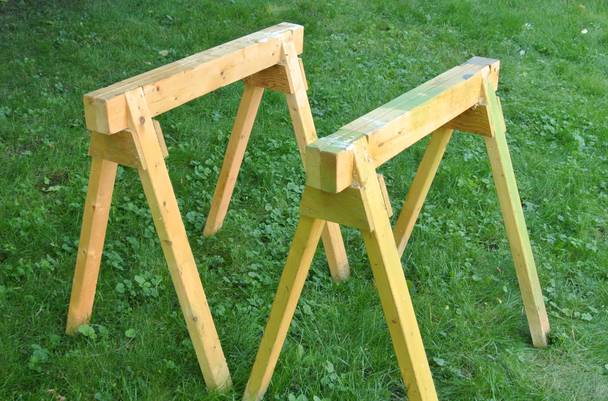
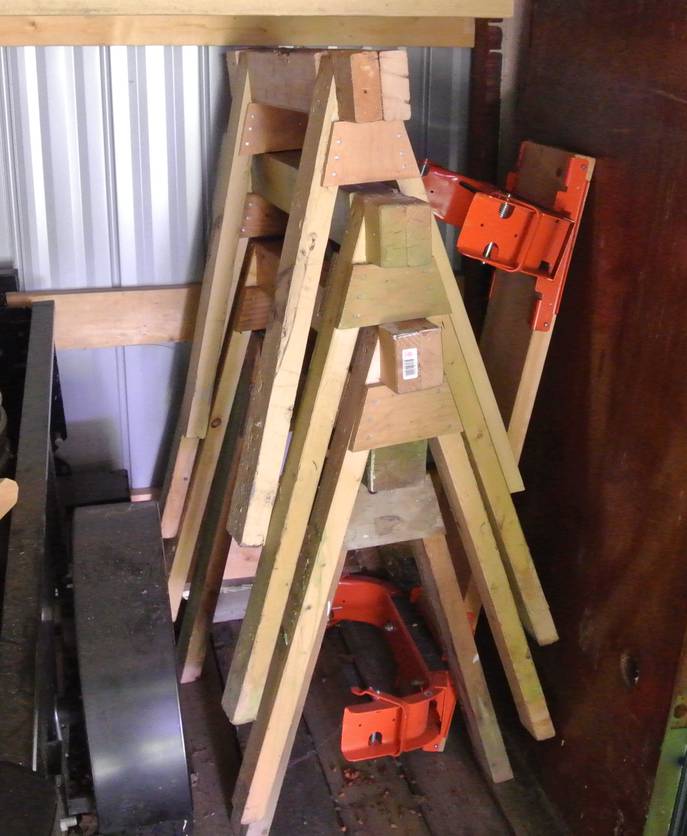
 It seems like there are as many variations on sawhorse designs as
there are woodworkers. Here's how I build mine.
It seems like there are as many variations on sawhorse designs as
there are woodworkers. Here's how I build mine.
It seems like there are as many variations on sawhorse designs as
there are woodworkers. Here's how I build mine.
It's not much of a design. Just as simple and sturdy a sawhorse that I could come up with. The emphasis is on light, sturdy, and stackable. Disassemble-able would be nice too, but that would compromise the other aspects, especially sturdiness. If you want it to fold or come apart, I'd recommend buying some of the better metal sawhorse brackets.
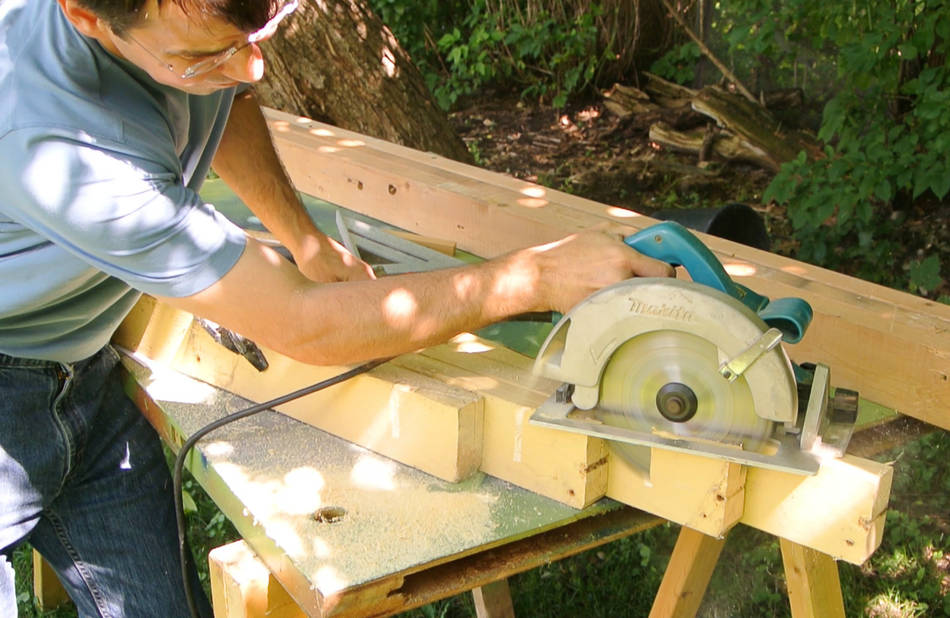
I previously built some sawhorses with a radial arm saw (or a miter saw), but this time I'll show how to make one with just a circular saw.
| Quantity | Item | Purpose |
| 3 | 2"x3"x8' | Legs. You can cut 3 leg segments from each 2"x3"x8' You can also use 2x4s instead of 2x3s. |
| 2 | 2"x4"x7' | For cross beams. |
| 1 | 3.5"x2'x0.75" ply | Piece of plywood scrap to cut for leg braces |
| 12 | 2.5" nail | To nail cross beams together |
| 50 | 2" nail | To nail legs and cross braces |
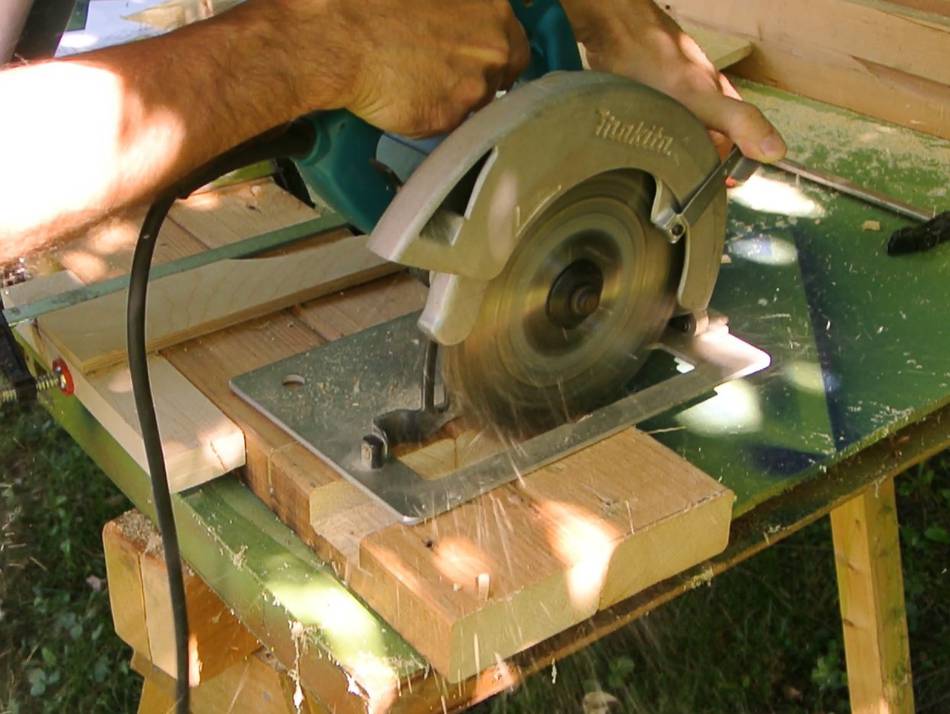
 The 18° bevel cut for the top of the legs is tricky to make. I marked the bevel on all four
legs, then clamped them together so the cuts are all in line, then cut
through all four with a circular saw. Note that it's not one continuous
cut - the bevel does not go all the way across the 2x4.
The 18° bevel cut for the top of the legs is tricky to make. I marked the bevel on all four
legs, then clamped them together so the cuts are all in line, then cut
through all four with a circular saw. Note that it's not one continuous
cut - the bevel does not go all the way across the 2x4.
I had some old painted 2x4s from a picnic table (which, ironically, was my temporary workbench when I previously built sawhorses). A circular saw will cut most of the way through a 2x3, but it's one inch shy of cutting through a 2x4.
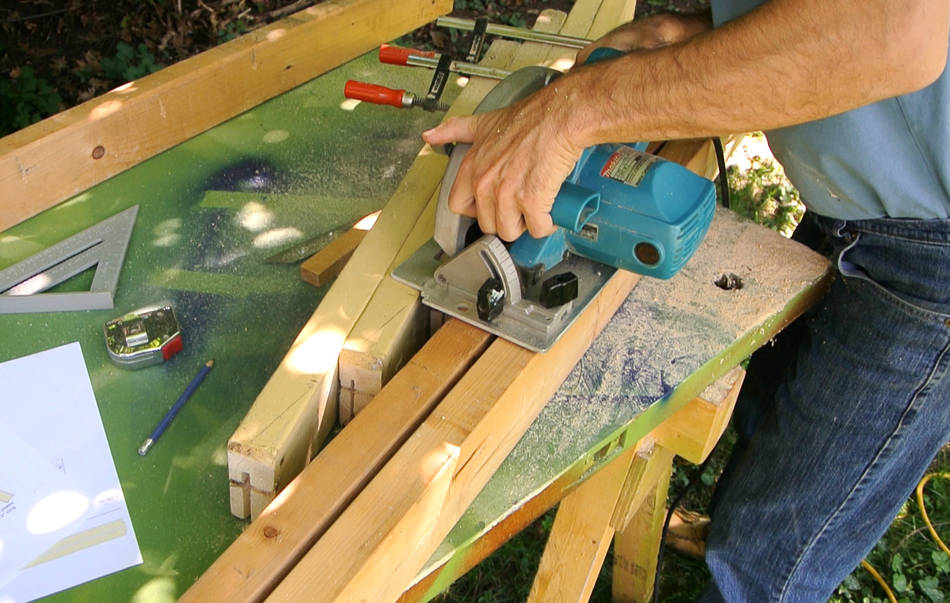 So I flipped the 2x4s over to finish the cut from the other side. This time, I'm
using some extra 2x4's to support the saw, though I could have just cut it in the
other direction and not needed that. It's tricky to get the two cuts to line up,
and I had to go over two of the cuts a second time.
So I flipped the 2x4s over to finish the cut from the other side. This time, I'm
using some extra 2x4's to support the saw, though I could have just cut it in the
other direction and not needed that. It's tricky to get the two cuts to line up,
and I had to go over two of the cuts a second time.
If you are using 2x3s instead of 2x4s for the legs, you won't need to do this.

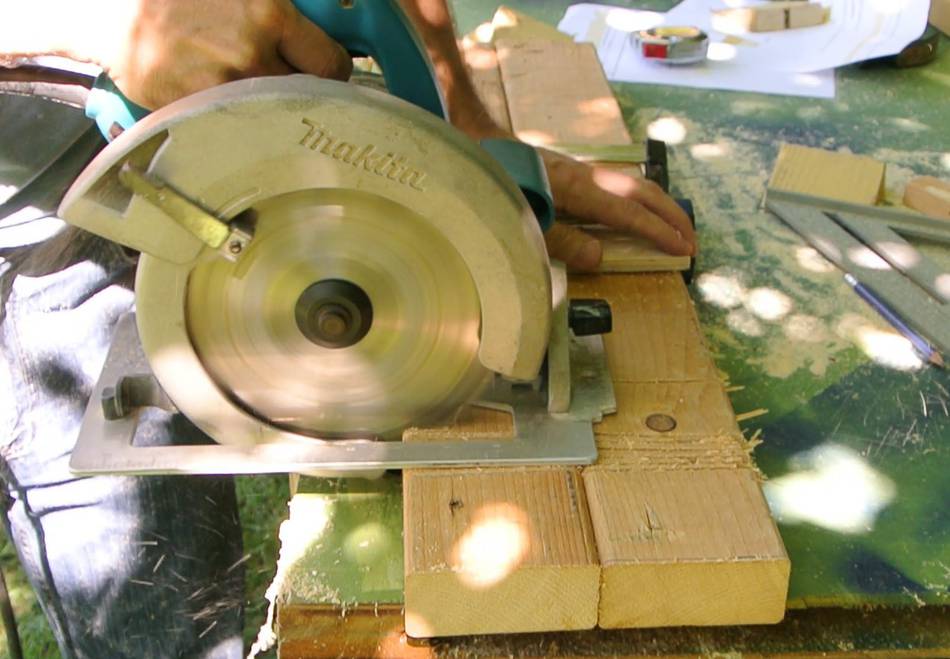
 Here I'm cutting the 18 degree (18 degrees from square) bevel in the ends of the legs.
It's best if the bevel doesn't go all the way across. That way, there's less risk
of splitting the ends of the legs if the sawhorses are on uneven floors.
Here I'm cutting the 18 degree (18 degrees from square) bevel in the ends of the legs.
It's best if the bevel doesn't go all the way across. That way, there's less risk
of splitting the ends of the legs if the sawhorses are on uneven floors.
 I make a series of cuts to hog out a dado for where the legs will attach.
 After clearing about 1.5" of width, I knock the remaining pieces of wood out with a hammer, then
slide the saw side to side to flatten the bottom of the dado.
After clearing about 1.5" of width, I knock the remaining pieces of wood out with a hammer, then
slide the saw side to side to flatten the bottom of the dado.
After that, I cut more slots, knock those out, then clear out more. If you clear out the whole dado at once, there isn't enough support left for the saw, so you wouldn't be able to use it to flatten the bottom of the dado.
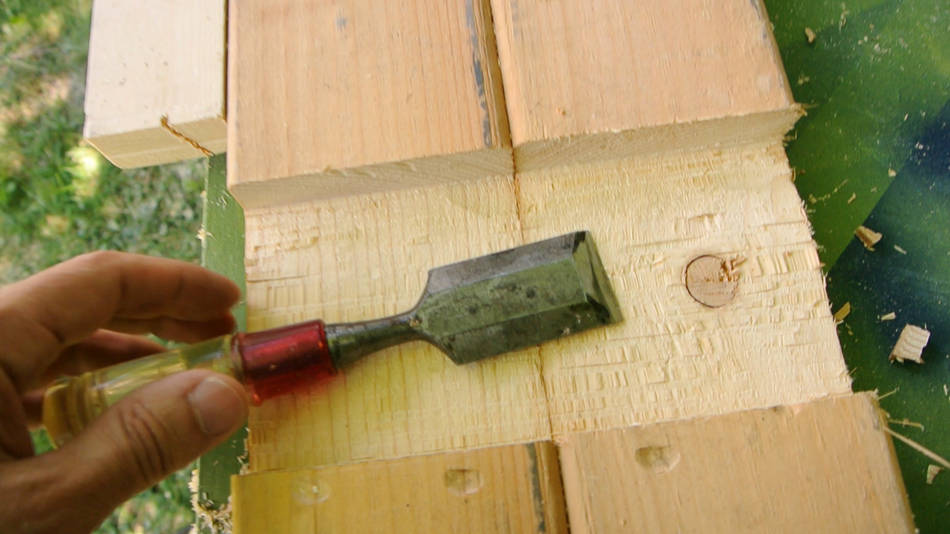 You could also flatten the bottom of the dado with a chisel. I didn't use the chisel
on these, but it came out pretty clean with just the saw.
You could also flatten the bottom of the dado with a chisel. I didn't use the chisel
on these, but it came out pretty clean with just the saw.
More on cutting dadoes with a handheld circular saw
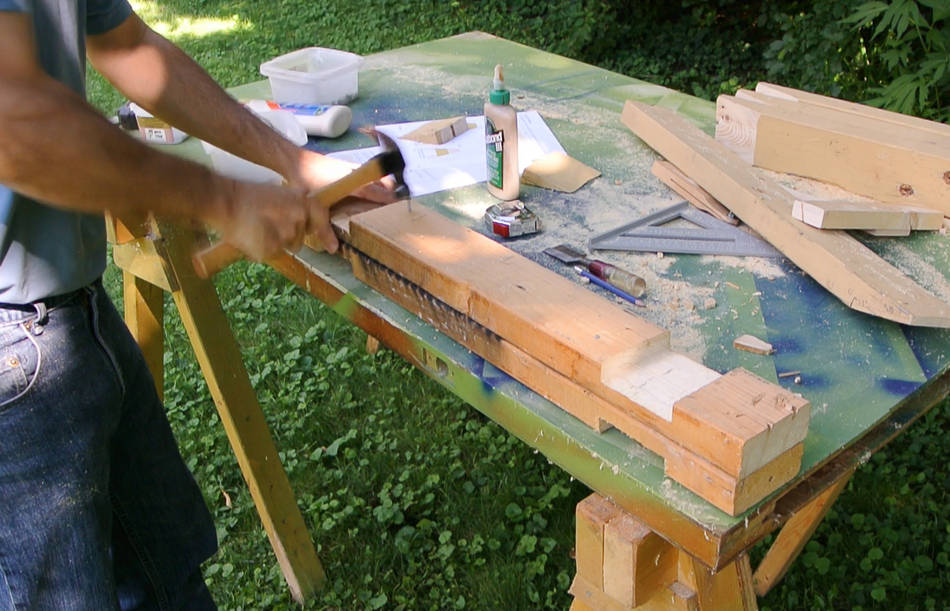 Two 2x4s form the beam. A bit of glue, and five 3" nails hold them together.

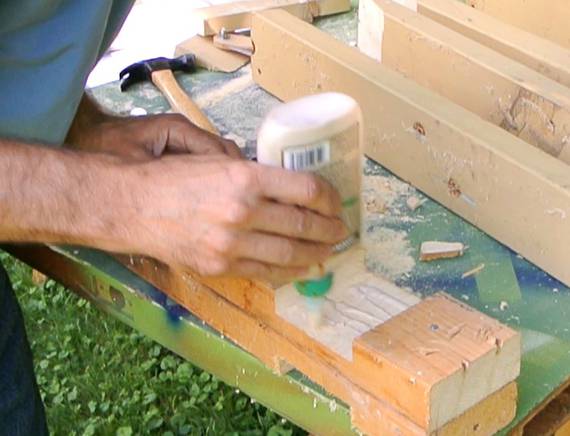 Nailing on the legs. A bit of glue doesn't hurt. The more accurate the joints, the better
the glue will work. Construction adhesive works better for larger gaps. Though, realistically,
the sawhorse will be strong enough without glue.
Nailing on the legs. A bit of glue doesn't hurt. The more accurate the joints, the better
the glue will work. Construction adhesive works better for larger gaps. Though, realistically,
the sawhorse will be strong enough without glue.
I'm using some extra 2x4s to support the leg as I nail it.
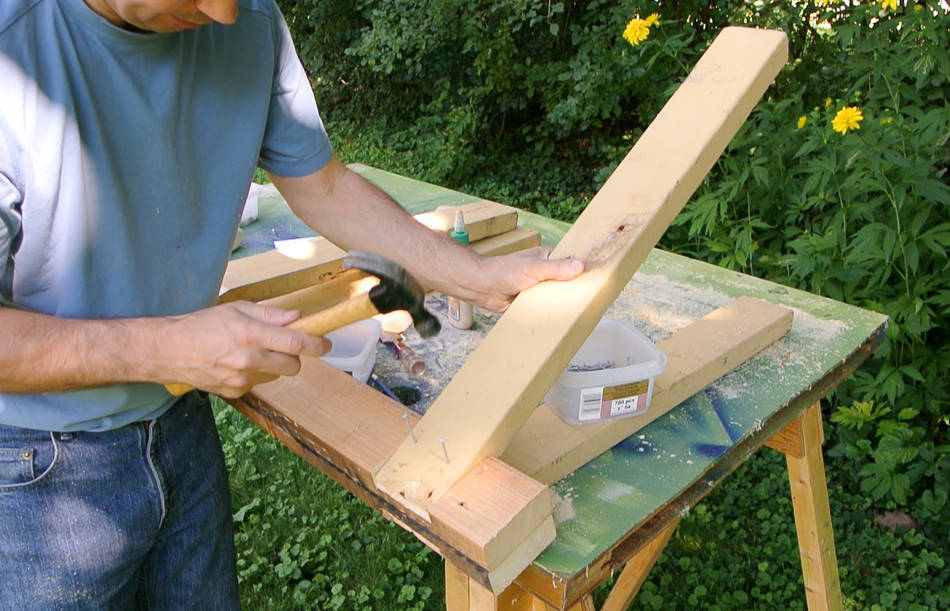 With two legs nailed on one side, I partially drive some nails in the other legs and just
hold them in place as I nail them on.
With two legs nailed on one side, I partially drive some nails in the other legs and just
hold them in place as I nail them on.

 The plywood gussets really help to stabilize the sawhorse, especially when abused.
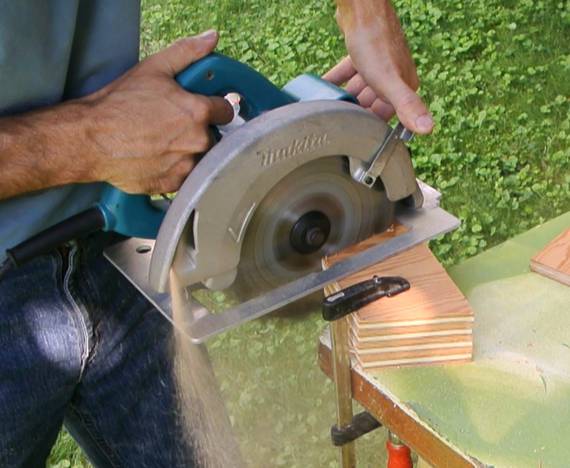
I cut a stack of four of these at once with a circular saw. I used a clamp to hold the small workpiece. Holding a something that small by hand while cutting it would not be safe.
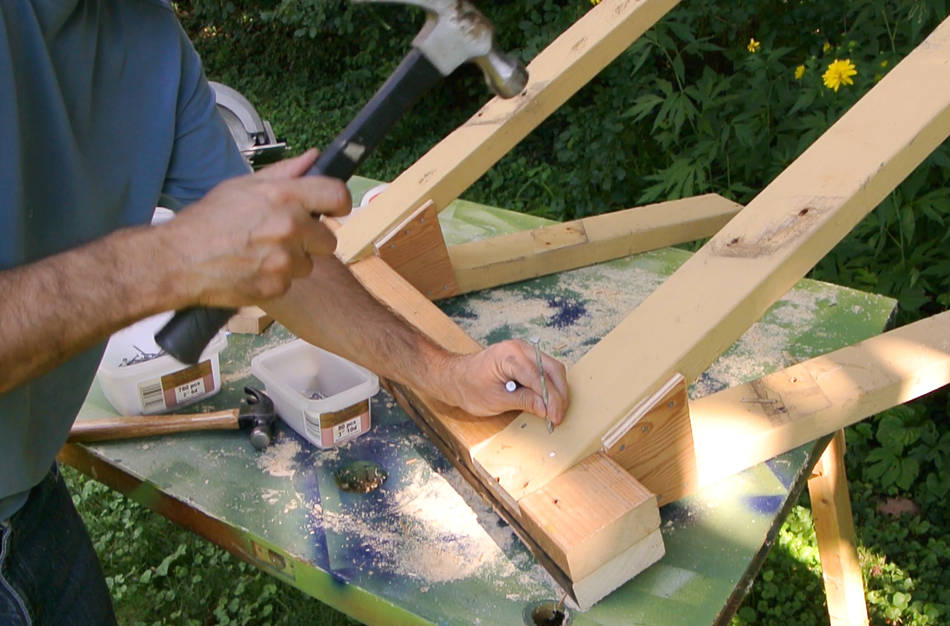 With the gussets nailed on, I drive a few 4" long nails through the leg, the beam,
and the leg on the other side. Just for good measure.
With the gussets nailed on, I drive a few 4" long nails through the leg, the beam,
and the leg on the other side. Just for good measure.
 It's hard to find an article about building sawhorses on the net where the author doesn't
assure you that his sawhorses are very strong. And this article is no exception!
It's hard to find an article about building sawhorses on the net where the author doesn't
assure you that his sawhorses are very strong. And this article is no exception!
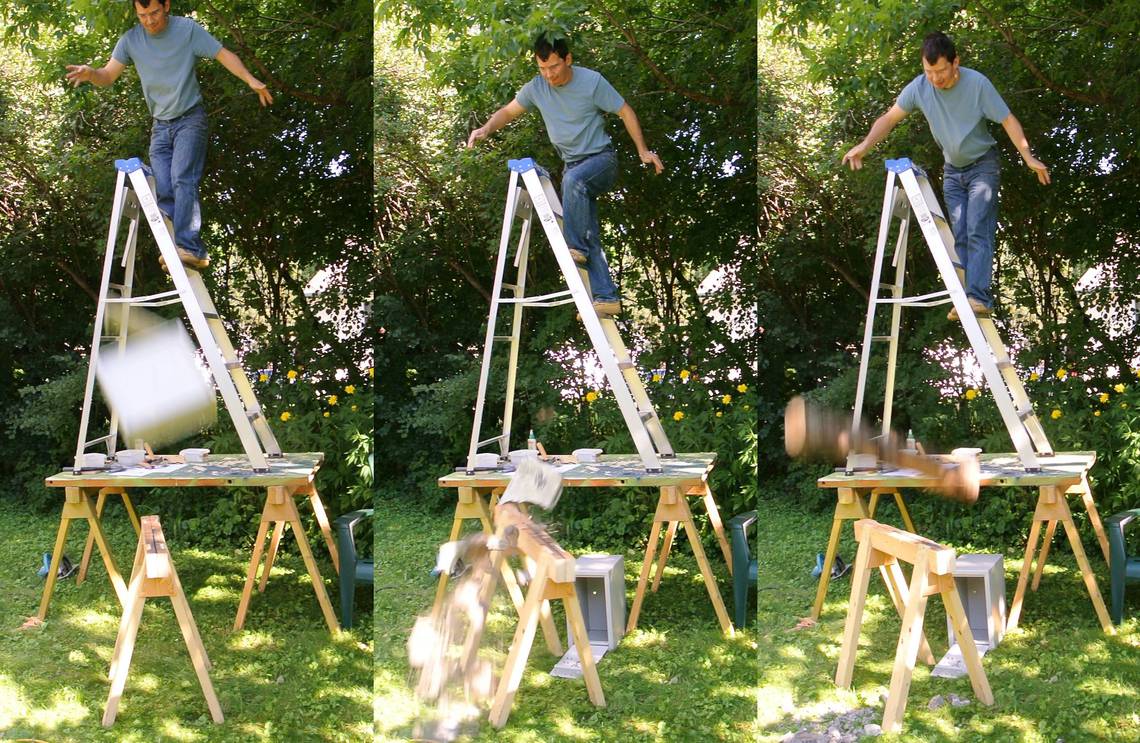
I thought I'd take it up a notch by dropping some heavy objects onto the sawhorse from a good height. First I dropped a safe, then a concrete block (which crumbled on hitting the sawhorse), then a small log. The top of the sawhorse ended up a little dented, but it withstood all three tests.
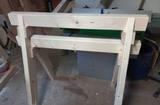
 And another cool feature — the sawhorses stack nicely.
A friend remarked "why would you build sawhorses? I never use sawhorses".
I found that hard to believe, I use sawhorses quite a lot. Of the projects on this
website, this style of sawhorse appears on these pages:
Building a shed roof
Reshingling a garage
Cheap curtain rods
Modular marble machine
House addition
Framing a cottage
Workshop construction
Demolishing an addition
Dismantling a cottage
Extreme drop testing
Lawn chair build
Homemade table saw stand
But sawhorses are also useful in a workshop once it gets to a certain sizes.
Spot the sawhorses in these workshops:
Dad's workshop
Karhu furniture
Gregor Bruhn's workshop
Here's a cool video of a guy comparing my saw horse designs
to Jimmy Diresta's sawhorses:
Mike Makes Sawhorses | DIRESTA vs. Matthias Wandel Design!
I had the idea of testing the sawhorse using my big tractor. The sawhorse survived, but another sawhorse did not!
Some years later Cody witht the YouTube channe
Craftswright wanted me to test some scale models of his sawhorses using my
joint strength testing machine. He sent me some small ones that easily fit inside
the tester, including some that were very close to the styl I make.
I was pleased to see the ones that were my style do the best.
 Alois's sawhorses
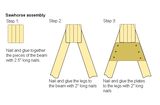 Sawhorse plans
 Crushing tiny sawhorses
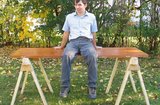 Previous article on
 Sawhorses, barre, or table legs?
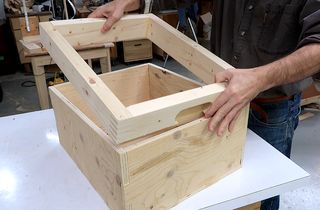 Sturdy boxes for propping things up
 Building a workbench
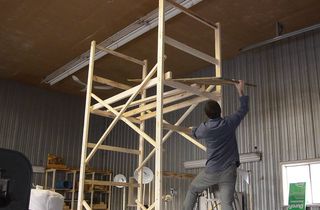 Building a scaffold
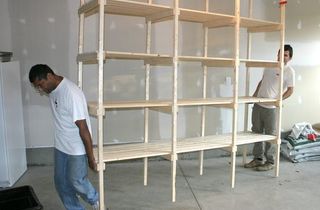 Building shelves
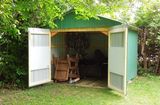 Storage shed
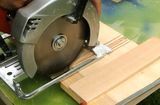 Cutting dadoes with a
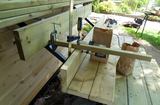 Home improvement