 I figured I would eventually tire of trying to learn to play my
ukulele, and to be able to put it in the closet without worry, I'd need
a case for it.
I figured I would eventually tire of trying to learn to play my
ukulele, and to be able to put it in the closet without worry, I'd need
a case for it.
The most logical shape is a tapered box, but I wanted to avoid having sharp corners on the wide end of the box.
 So I made the long pieces with a curve toward the end.
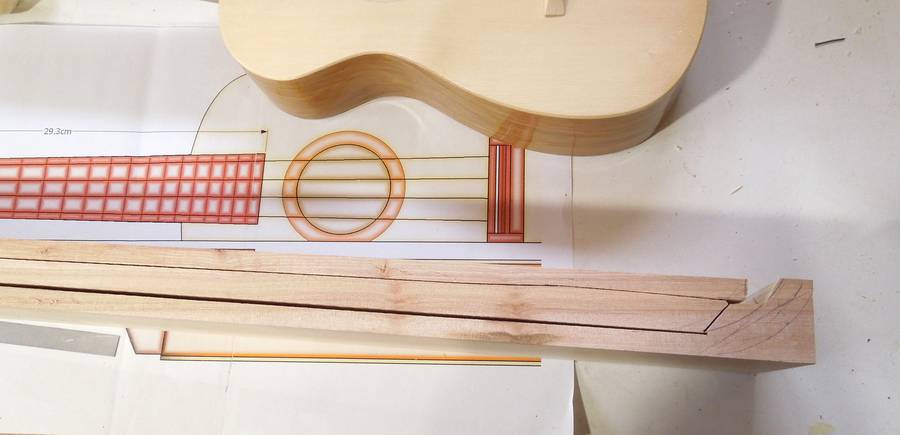 I achieved that curve by resawing a thicker piece of wood into three layers, but using the
full thickness at both ends for the curved part of the sides.
I achieved that curve by resawing a thicker piece of wood into three layers, but using the
full thickness at both ends for the curved part of the sides.
 I did the resawing on my 18" bandsaw,
but cut the curves on my 16" bandsaw
because I keep a narrower blade (for tighter curves) on that one.
I did the resawing on my 18" bandsaw,
but cut the curves on my 16" bandsaw
because I keep a narrower blade (for tighter curves) on that one.
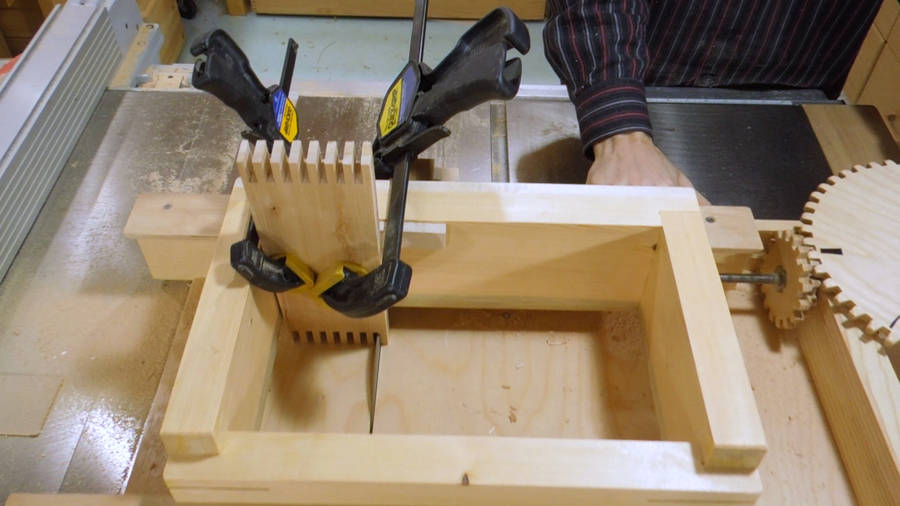
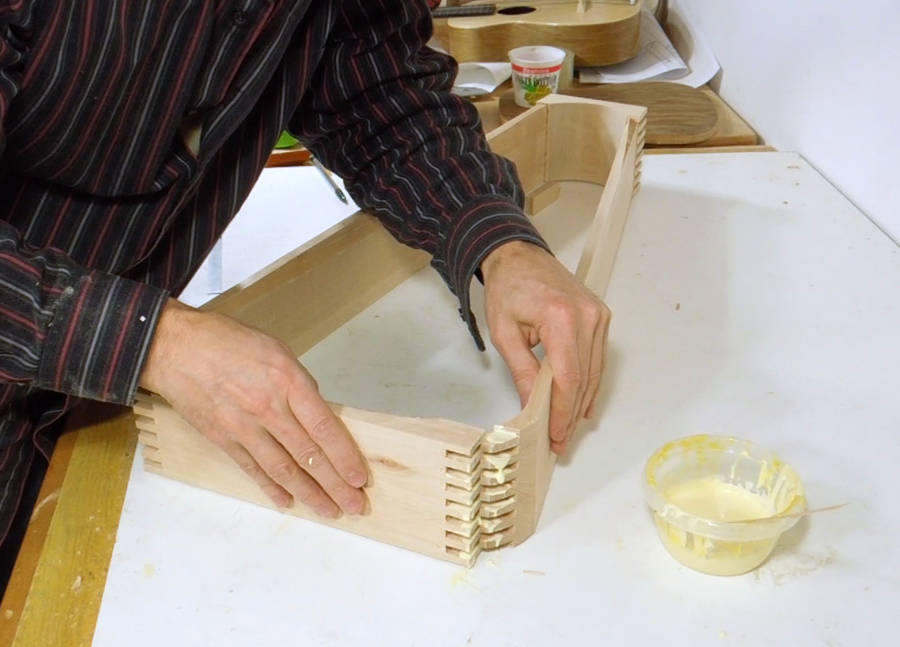
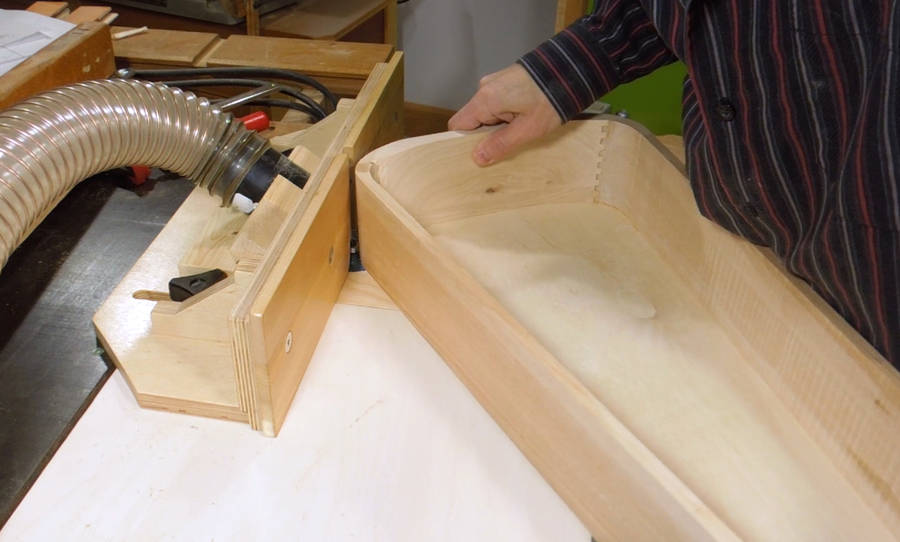
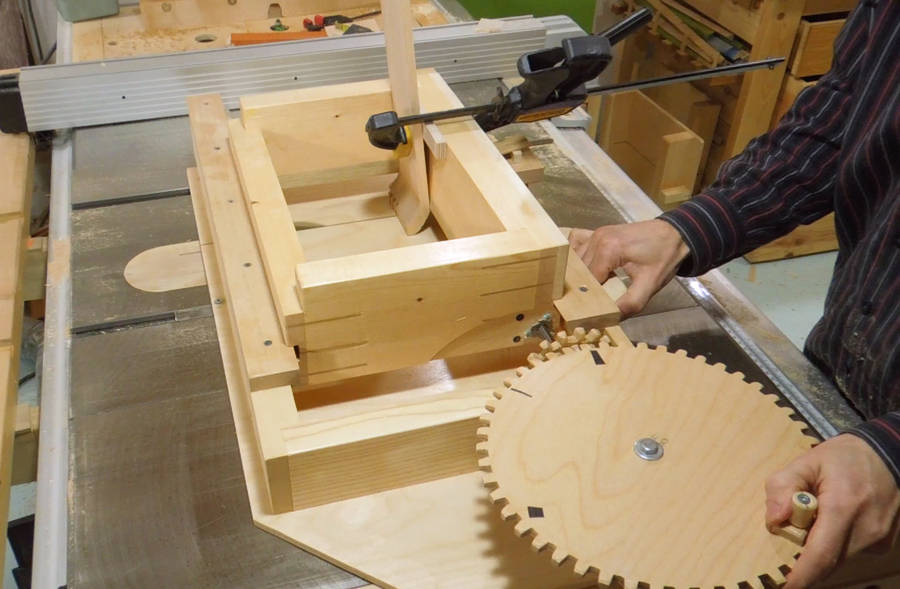 Next I cut the fingers for the box joint in the curved ends using my
box joint jig
Next I cut the fingers for the box joint in the curved ends using my
box joint jig
I put a spacer behind the wood at the top to mount it at the desired angle.
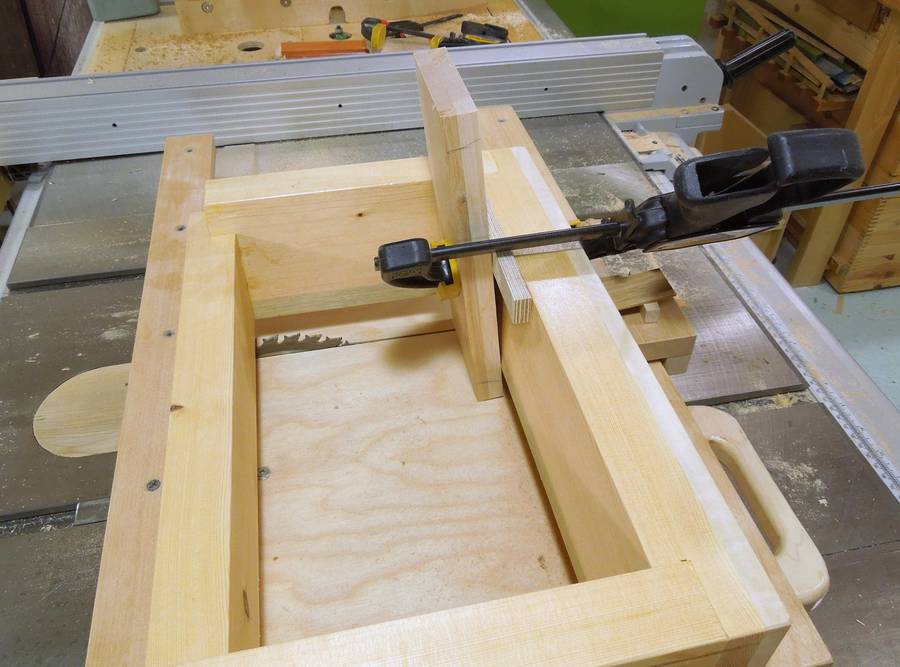
 Then I cut the wide end of the box, also at an angle. I marked how deep these
need to be cut with the box semi-assembled.
Then I cut the wide end of the box, also at an angle. I marked how deep these
need to be cut with the box semi-assembled.
 I cut 1/4" (6 mm) box joints. Most people use dado blades to cut box joints, but I
have mostly stopped using dado blades. I just make three cuts at different positions
with a regular saw blade to clear a 1/4" wide slot. I mark the positions
at which I need to stop the main gear with some pieces of electrical tape.
With just a regular saw blade in the saw, I can push the jig across much
faster, so I can make three cuts in about the same time as one cut takes with
a dado blade.
I cut 1/4" (6 mm) box joints. Most people use dado blades to cut box joints, but I
have mostly stopped using dado blades. I just make three cuts at different positions
with a regular saw blade to clear a 1/4" wide slot. I mark the positions
at which I need to stop the main gear with some pieces of electrical tape.
With just a regular saw blade in the saw, I can push the jig across much
faster, so I can make three cuts in about the same time as one cut takes with
a dado blade.
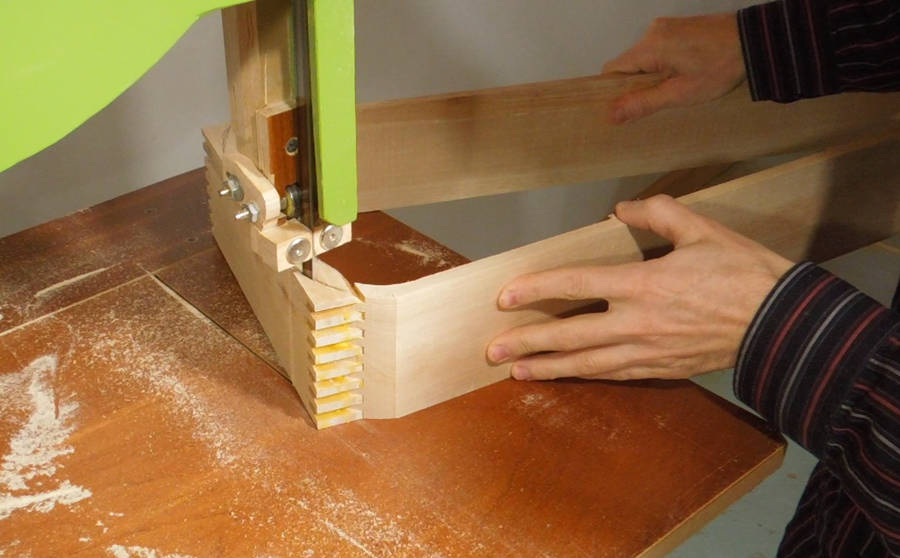
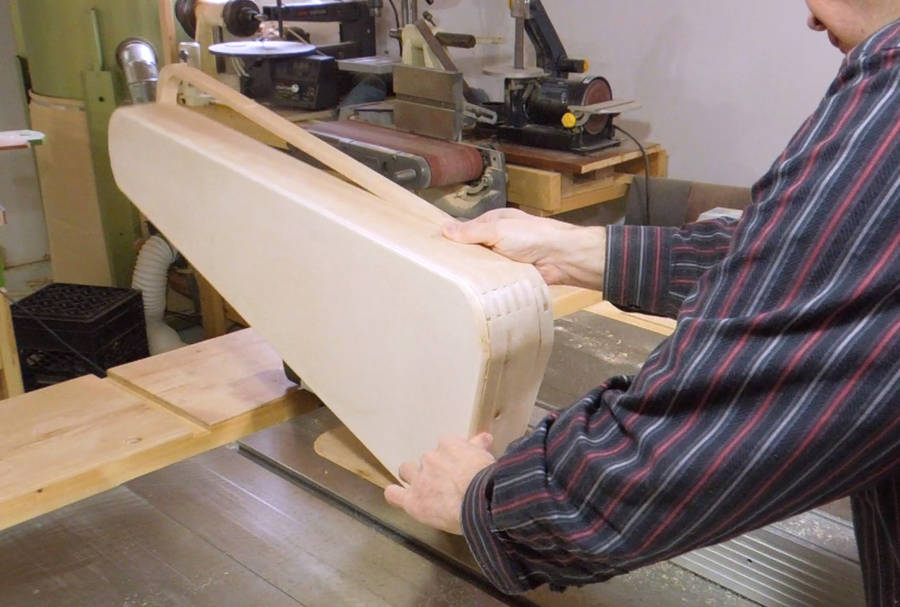
 I'm also rounding the piece at the end of the box. Part of the reason for that is
that I cut the sides a little bit too short (the piece of wood I started with wasn't long enough).
So by rounding the wide end, I get an extra bit of length.
I'm also rounding the piece at the end of the box. Part of the reason for that is
that I cut the sides a little bit too short (the piece of wood I started with wasn't long enough).
So by rounding the wide end, I get an extra bit of length.
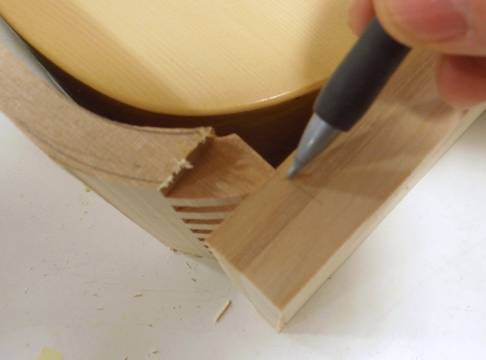
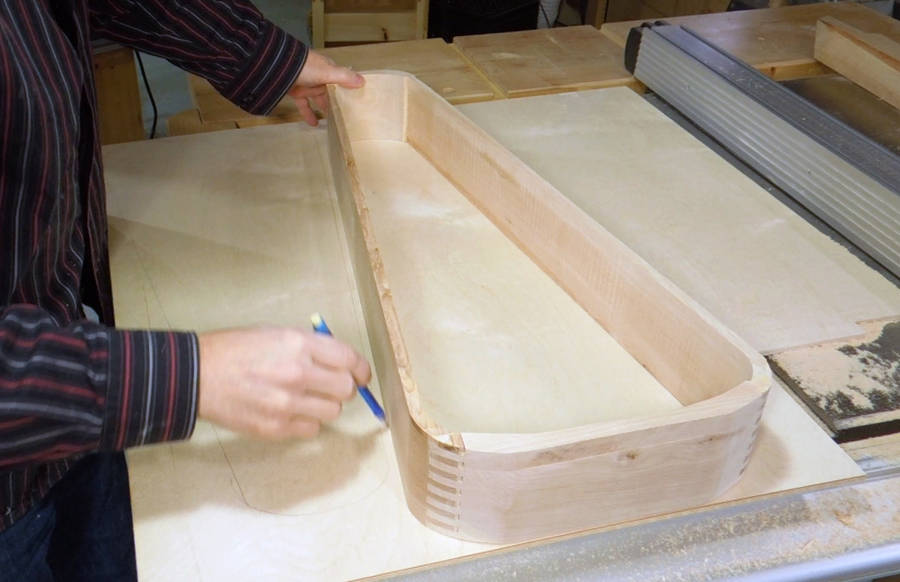
Here I'm marking the space that the ukulele will take up, though I ended up making that cutout more generous.
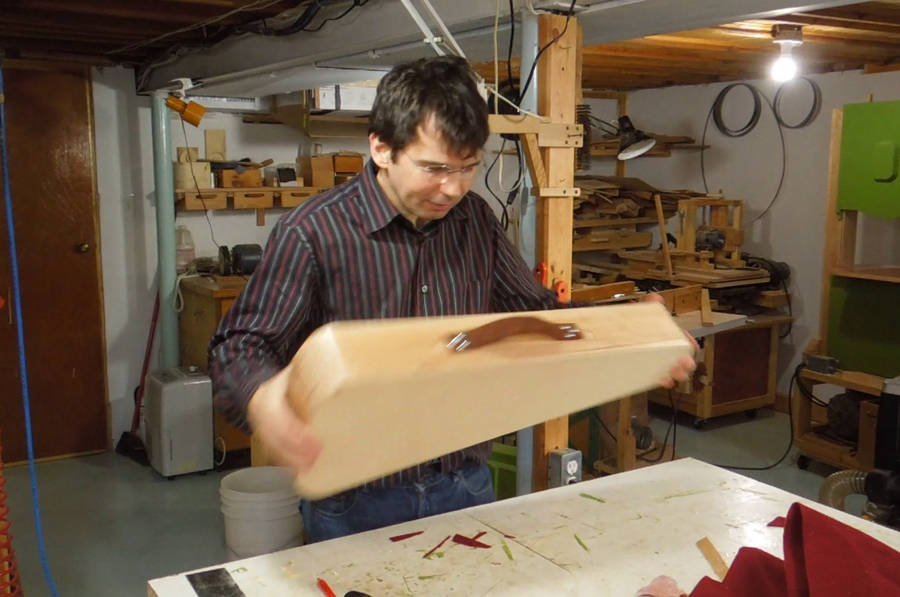
 Cutting the arch on my big 18" bandsaw. I clamped the workpiece to my resaw fence
and slid the fence and workpiece across the saw. This ensured the workpiece
stayed vertical.
Cutting the arch on my big 18" bandsaw. I clamped the workpiece to my resaw fence
and slid the fence and workpiece across the saw. This ensured the workpiece
stayed vertical.
Once the blade got close to the clamp, I moved the clamp to the already cut part of the workpiece.
 Checking the fit. I also made a similar arched piece for the head end,
again, because my side pieces were a little bit too short.
Checking the fit. I also made a similar arched piece for the head end,
again, because my side pieces were a little bit too short.
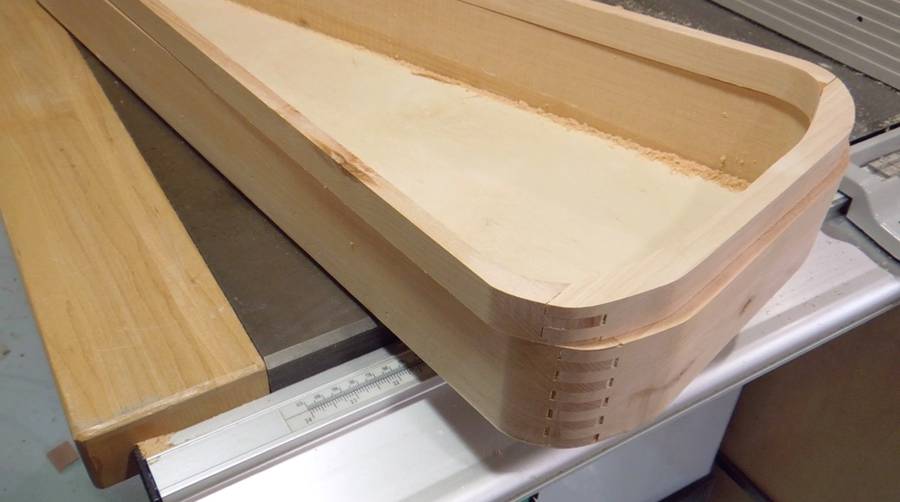
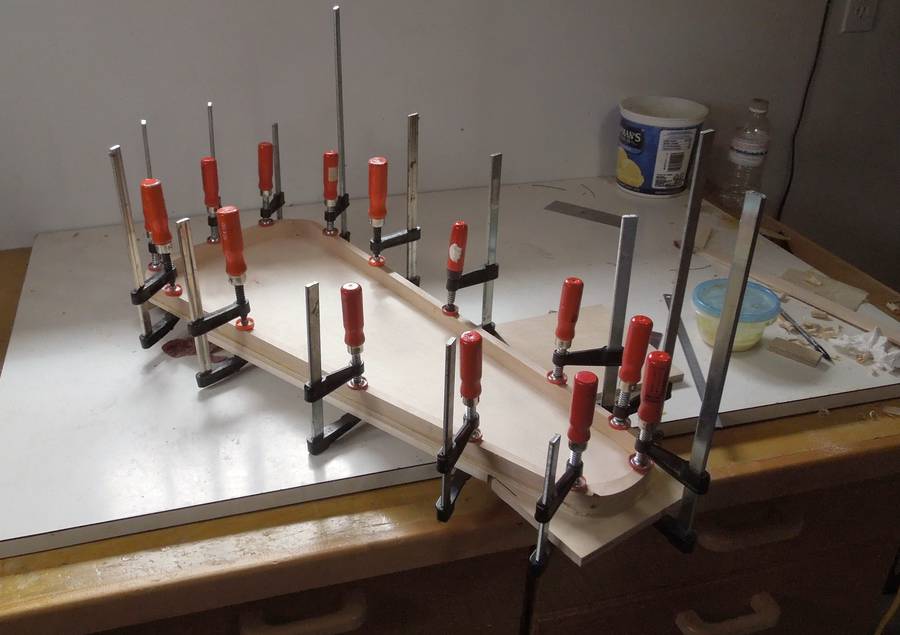
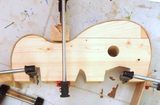
 So far, so good, time to glue it together.
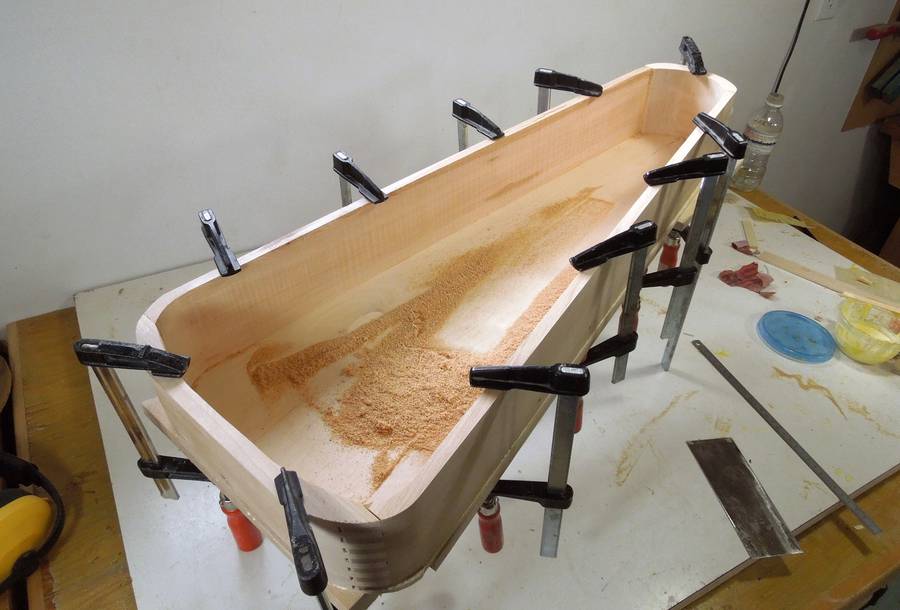
 I left cutting the outside curves until after assembly so I could just cut
all the pieces flush with each other.
I left cutting the outside curves until after assembly so I could just cut
all the pieces flush with each other.
 With the outside cut and sanded, I'm using it to mark the shape I need for
the bottom and lid on some 8 mm thick birch plywood.
With the outside cut and sanded, I'm using it to mark the shape I need for
the bottom and lid on some 8 mm thick birch plywood.
 Bottom glued on.
 Next, flush trimming and rounding with a 3/8" router bit.
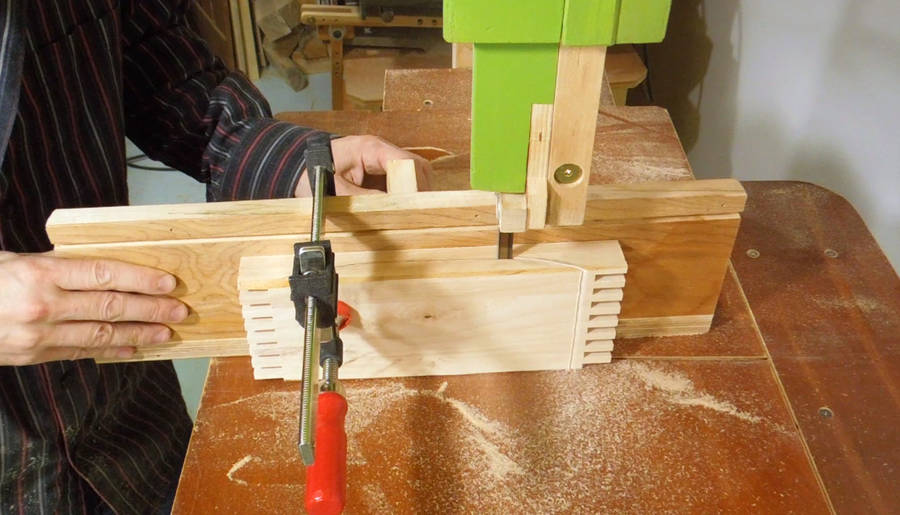
 Separating what will be the lid on the table saw.
 And this is where I goofed. I had intended to cut what was to be the lid off, so I would
have the wider part of it to glue to the bottom. But I put it on the saw the wrong
way, so now I just had a narrow frame that I cut off. As such, that narrow part
will now form the top lid.
And this is where I goofed. I had intended to cut what was to be the lid off, so I would
have the wider part of it to glue to the bottom. But I put it on the saw the wrong
way, so now I just had a narrow frame that I cut off. As such, that narrow part
will now form the top lid.
 Gluing the trim to the top board.
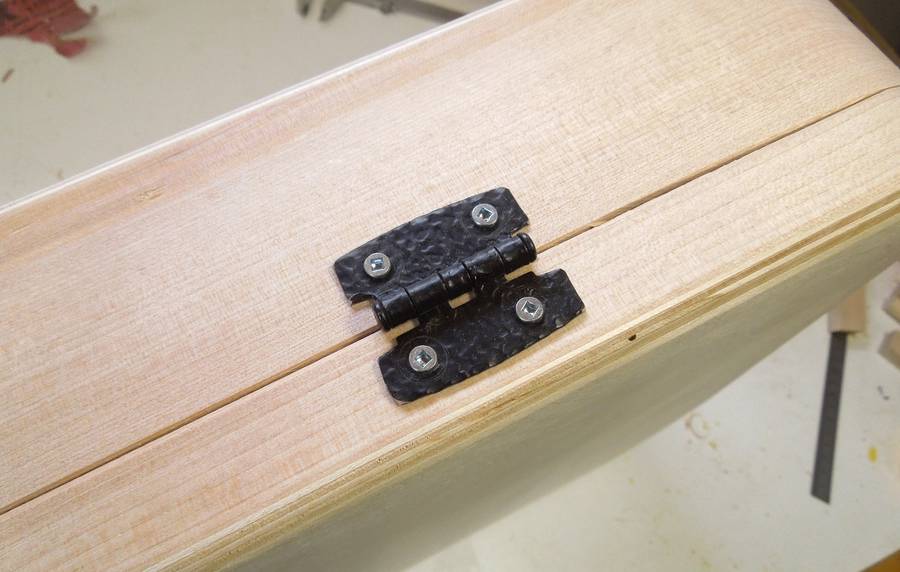
 I rummaged through my hardware drawer and found these tacky looking hinges.
But I liked the black colour and texture. So I drilled two extra screw holes
in them and snipped the ends off with tin snips.
I rummaged through my hardware drawer and found these tacky looking hinges.
But I liked the black colour and texture. So I drilled two extra screw holes
in them and snipped the ends off with tin snips.
I like how these now look.
 The best closure for a case like that would be some sort of case latch, but I didn't
feel like going to Lee Valley Tools to buy one, and I had an idea I wanted to try out.
The best closure for a case like that would be some sort of case latch, but I didn't
feel like going to Lee Valley Tools to buy one, and I had an idea I wanted to try out.
 So I made some latching hooks that fit on the inside of the case, with wooden
push buttons to release the hooks.
So I made some latching hooks that fit on the inside of the case, with wooden
push buttons to release the hooks.
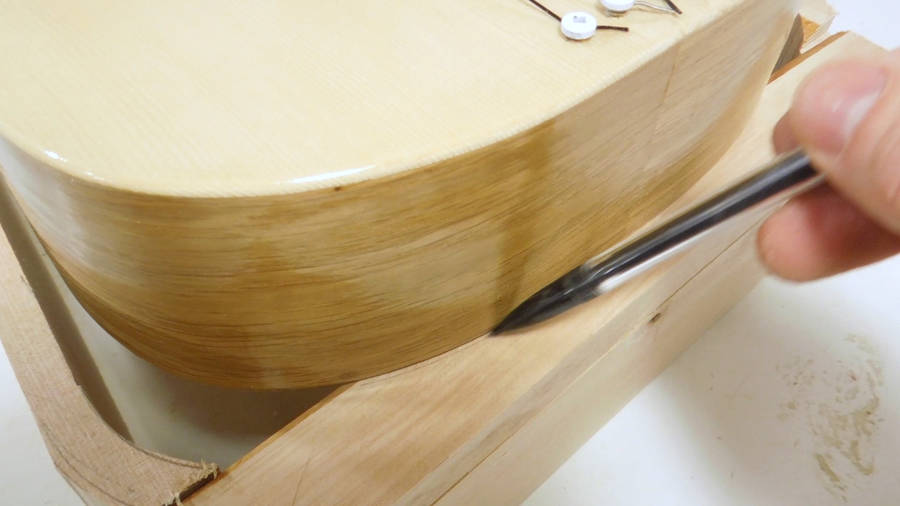
The hook hooks onto a notch I chiseled into the top lid.
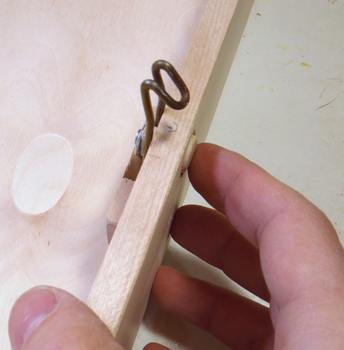
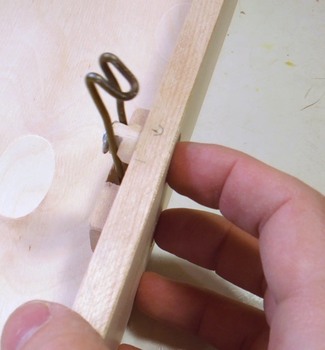 The hooks are made from a bent piece of coat hanger wire, with a piece of 1/2" dowel
through the case for pushing the hook back.
The hooks are made from a bent piece of coat hanger wire, with a piece of 1/2" dowel
through the case for pushing the hook back.
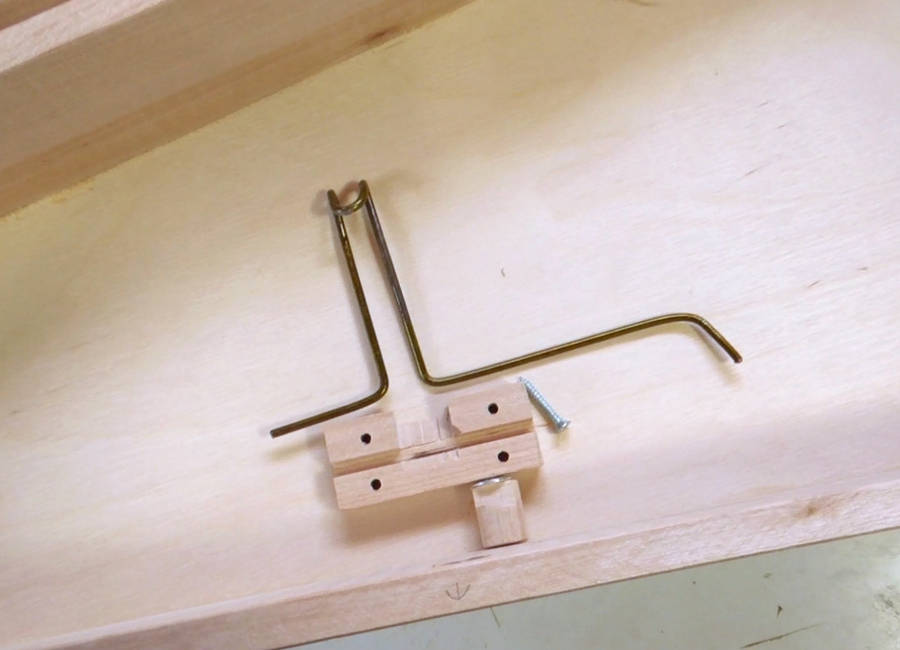
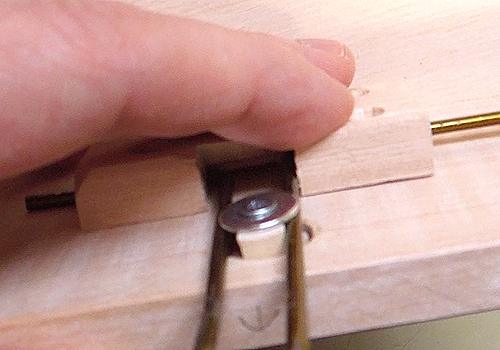 Here's the hook, holder, one of four mounting screws, and the push button
dowel.
Here's the hook, holder, one of four mounting screws, and the push button
dowel.
The dog-leg end on the right side of the coat hanger wire causes the hook to spring shut.
The dowel has shoulders to fit between the parts of the hook, and a washer screwed to the end of it to make it captive between the coat hanger wires.
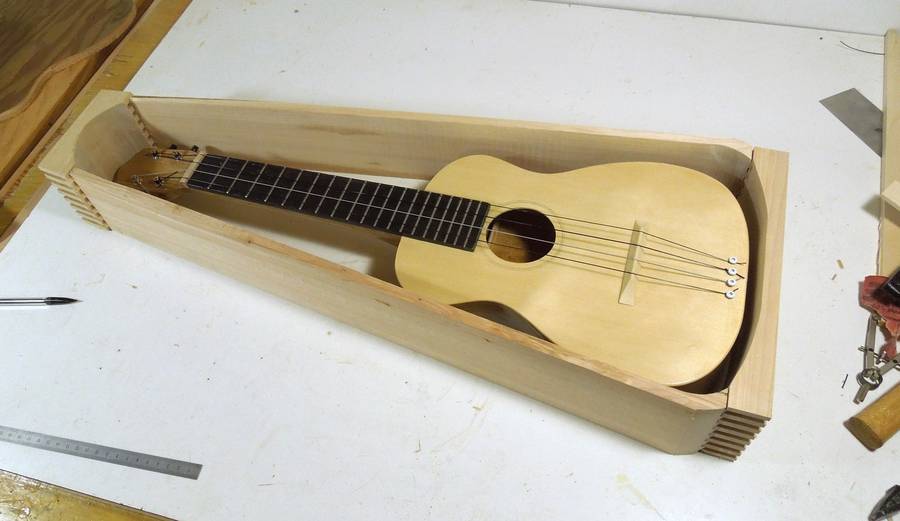
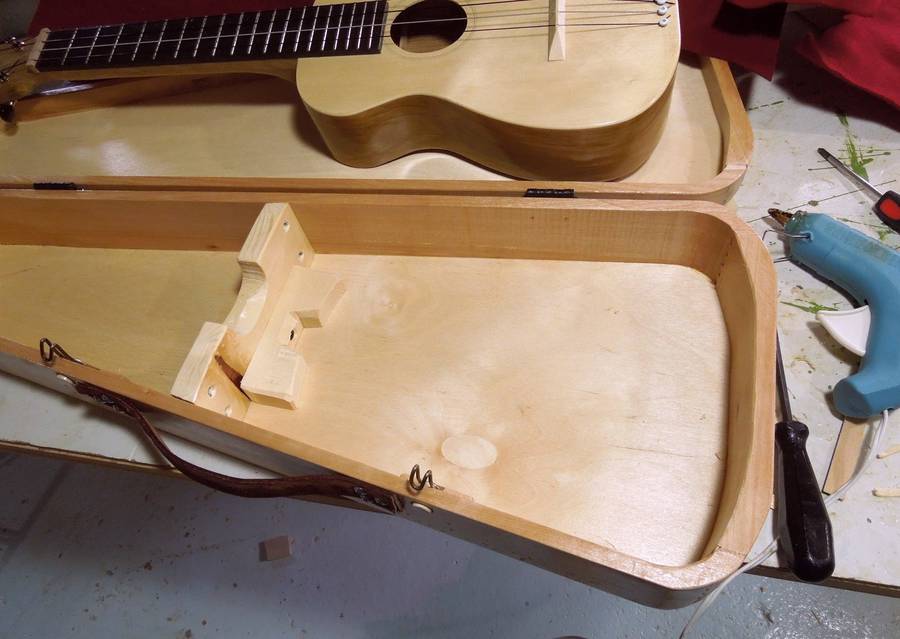 Next I varnished the case, inside and out. I made some
wooden inserts fit around the ukulele neck and hold it securely in place.
Next I varnished the case, inside and out. I made some
wooden inserts fit around the ukulele neck and hold it securely in place.
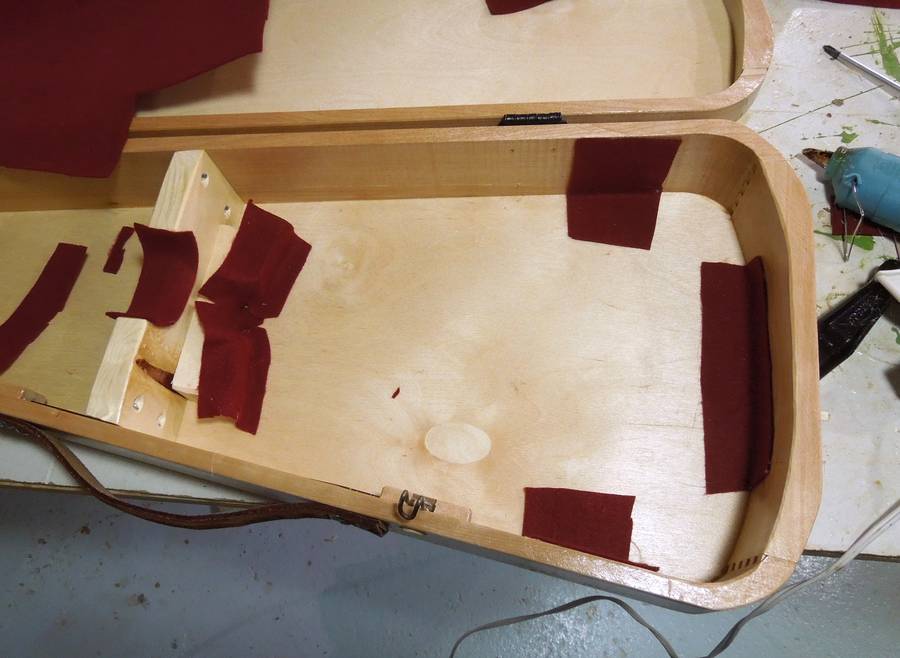 I added an extra layer of felt where the ukulele touches the case.
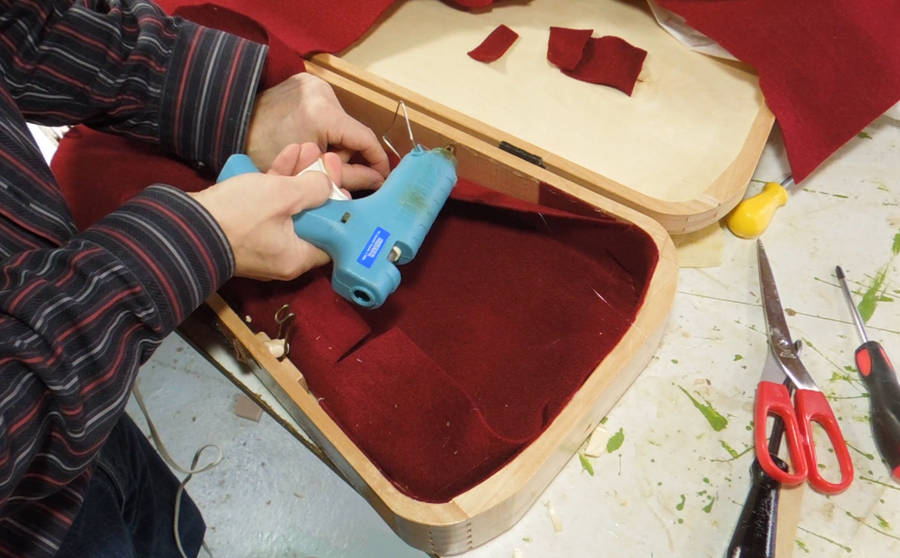 I then added another layer of felt inside the main compartment of the case. The felt
is just glued on along the top and bottom edges with hot glue.
I then added another layer of felt inside the main compartment of the case. The felt
is just glued on along the top and bottom edges with hot glue.
 I also added some blocks with padding on them to the lid, to securely
hold the instrument.
The blocks are positioned so that they hold the ukulele where it's
not as vulnerable to damage. I sized the blocks so that they push lightly
against the ukulele when the lid is closed.
I also added some blocks with padding on them to the lid, to securely
hold the instrument.
The blocks are positioned so that they hold the ukulele where it's
not as vulnerable to damage. I sized the blocks so that they push lightly
against the ukulele when the lid is closed.
A piece of leather belt, attached with three sheet metal screws on either end serves as a carrying handle.
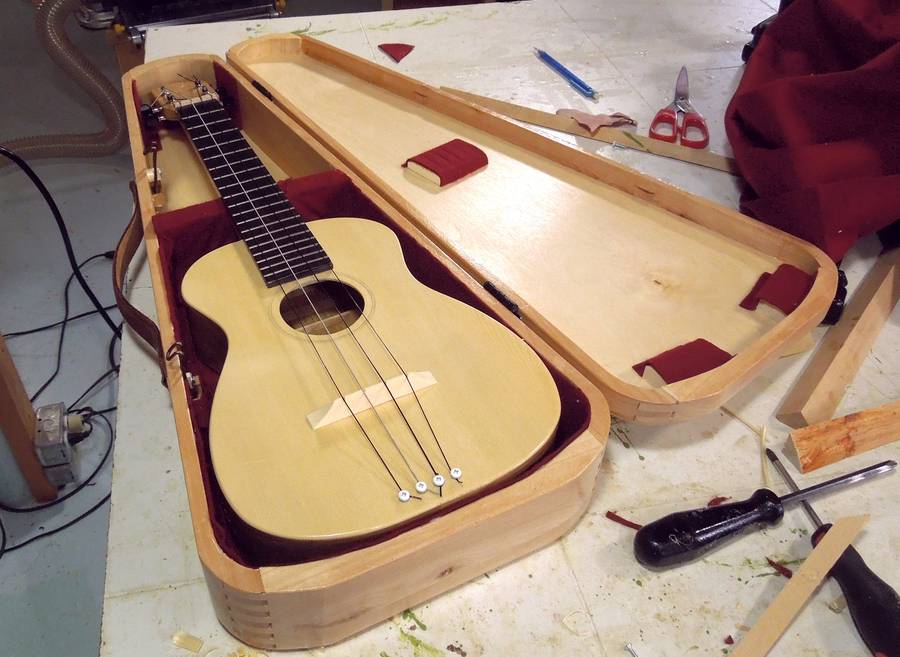
 A fit check - giving the case a good shake to see if the instrument rattles at
all. So far so good. Just in case I ever need to take this ukulele
on United Airlines (cause
United breaks guitars). But that won't likely happen, cause I'm not
a musician, and I don't even know how to play it!
A fit check - giving the case a good shake to see if the instrument rattles at
all. So far so good. Just in case I ever need to take this ukulele
on United Airlines (cause
United breaks guitars). But that won't likely happen, cause I'm not
a musician, and I don't even know how to play it!
And I can't play my homemade pipe organ either.
See also:
Back to my woodworking website.
![]()
 Ukulele build
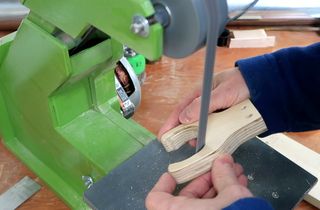 Simple guitar hanger
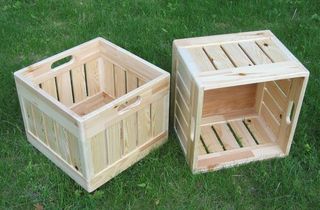 Milk crate boxes
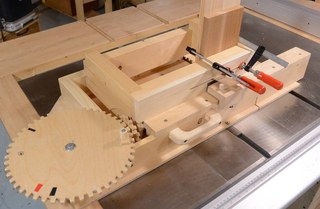 Screw advance
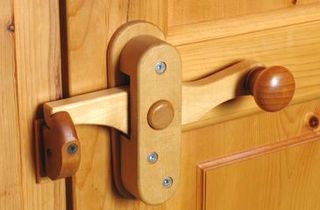 Wooden door knobs
 Pat's guitar case
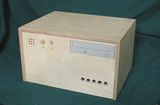 Wooden computer case