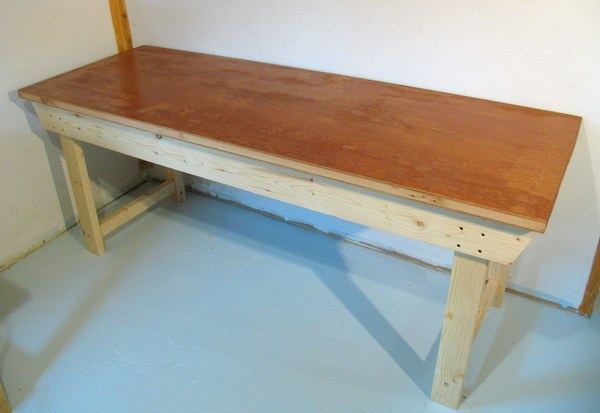
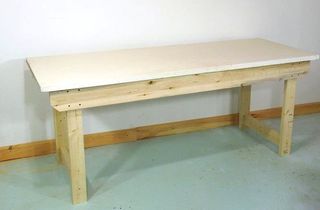
There are all kinds of plans for workbenches out there on the web, but they often make me wonder "why do they have to be so complicated". My workbenches tend to be much simpler and made of cheap 2x4 lumber. So here's how I build one of my workbenches.
For the workbench surface, I just use an old door - the type that were used in the 1950s, preferably solid core. Do not use a hollow door from the 1970s or newer — these are too thin and flimsy.
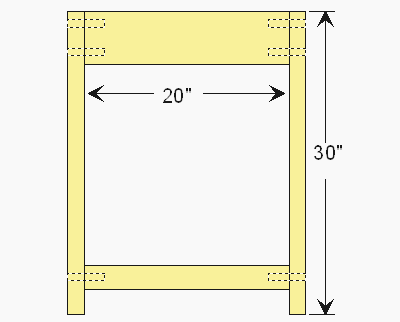 The workbench is based on two frames on either end, joined together with some 3/4" dowels.
The dowels make for a very sturdy and rigid joint, which keeps the workbench nice and
steady, even when using it for hand planing.
The workbench is based on two frames on either end, joined together with some 3/4" dowels.
The dowels make for a very sturdy and rigid joint, which keeps the workbench nice and
steady, even when using it for hand planing.
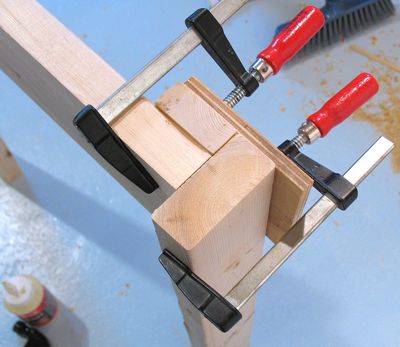 The tricky part with doweled joints though is getting the holes to align precisely.
This problem can be avoided by drilling the dowel hole through both pieces at once. That way, even
if the holes are not entirely square, they still align perfectly.
The tricky part with doweled joints though is getting the holes to align precisely.
This problem can be avoided by drilling the dowel hole through both pieces at once. That way, even
if the holes are not entirely square, they still align perfectly.
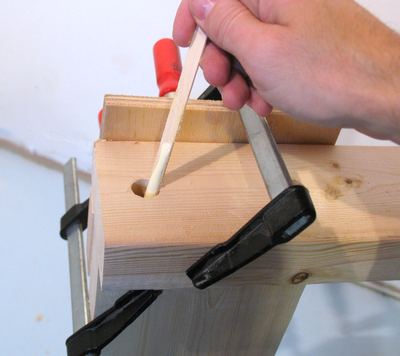
I cut a block of wood 1" thick, and used another piece of plywood to clamp the pieces to be doweled together as shown at left.
To cut down on visual clutter, I only used two clamps in the picture. But the shaking from drilling the holes can cause things to slip, so four clamps would be better.
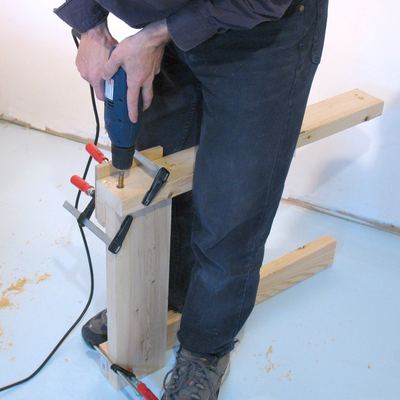 Next step is to drill the holes through both pieces. It's not absolutely crucial to get these
square, as long as the hole stays inside both pieces. In fact, after I took that picture, I noticed
I wasn't holding the drill completely square. I was focused on making sure it was square in the
other direction, so that the drill would not exit the cross piece on either side.
But really, the whole idea of doing it this way is that a slight angle on the holes won't matter.
Next step is to drill the holes through both pieces. It's not absolutely crucial to get these
square, as long as the hole stays inside both pieces. In fact, after I took that picture, I noticed
I wasn't holding the drill completely square. I was focused on making sure it was square in the
other direction, so that the drill would not exit the cross piece on either side.
But really, the whole idea of doing it this way is that a slight angle on the holes won't matter.
Also note the clamp near my feet. I clamped another piece of wood to the cross piece just to hold it up while drilling. This is only a problem for the first joint. For the subsequent joints, with three or more pieces part of the assembly, it will stand on its own without tipping over.
 After drilling the first hole, leave the pieces clamped. Use a thin strip of wood to get glue
on all sides of the hole. Take a piece of doweling, about 3.5" long (or whichever depth you drilled
your holes), get glue on its side, and pound it into the hole.
After drilling the first hole, leave the pieces clamped. Use a thin strip of wood to get glue
on all sides of the hole. Take a piece of doweling, about 3.5" long (or whichever depth you drilled
your holes), get glue on its side, and pound it into the hole.
After that, drill and glue the second dowel in.
After doing the main cross piece (the 2x6 part), use just a single dowel to attach a narrower piece (1.5" x 2.5") between the legs - same procedure, but just one dowel on each side.
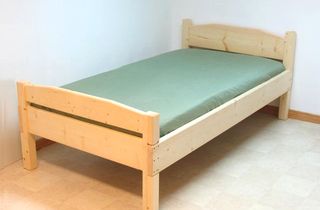
I'm pretty happy with joining up 2x4's this way, and ended up using this same technique again when building a bed recently.
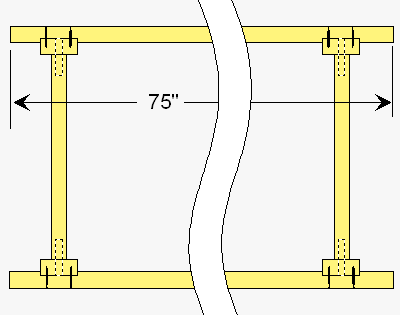 The two end pieces with the legs are joined by two long rails of 2x6's. These should be about
75" long, or just shorter than a door.
The two end pieces with the legs are joined by two long rails of 2x6's. These should be about
75" long, or just shorter than a door.
The rails have a dado cut into them, and are screwed onto the legs.
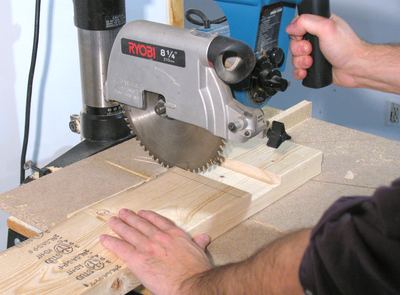 I cut the dado for the rail on my radial arm saw, just by making a series of closely spaced cuts.
A sliding miter saw could also be used, or a table saw in combination with
some sort of table saw sled. You could
also just cut these with a skillsaw and a square similar to here
I cut the dado for the rail on my radial arm saw, just by making a series of closely spaced cuts.
A sliding miter saw could also be used, or a table saw in combination with
some sort of table saw sled. You could
also just cut these with a skillsaw and a square similar to here
I also cut the end of the rails at a 22 degree angle, just for looks.
 The next step is to clamp the rails to the leg assemblies, and drill holes through both for the screws.
Drill the holes to a size so that the thread of the screws will engage both the rail and the leg.
The next step is to clamp the rails to the leg assemblies, and drill holes through both for the screws.
Drill the holes to a size so that the thread of the screws will engage both the rail and the leg.
I used 2" drywall screws. Perhaps a bit small for the job, so I used six of them on each leg. With bigger screws, I would have just used four.
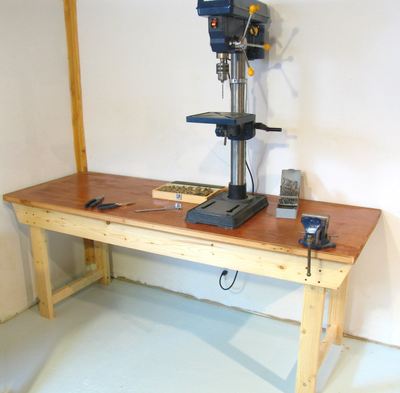 For the workbench top, I just used a standard door from the 1950's. These doors from the 1950's are
pretty sturdy. The best place to get one is from a used building materials store.
For the workbench top, I just used a standard door from the 1950's. These doors from the 1950's are
pretty sturdy. The best place to get one is from a used building materials store.
The workbench is sturdy enough for heavy stuff like a drill press. Certainly, the drill press seems to dwarf the workbench.
I built this workbench in 2007. In 2017, I moved it to my big garage workshop.
 A more detailed article on
building this workbench
A more detailed article on
building this workbench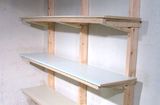 Building shelving
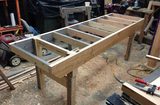 Kevin's knock-down
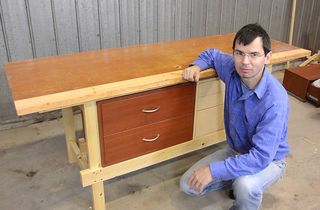 Quickie workbench
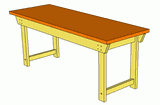 Workbench plans
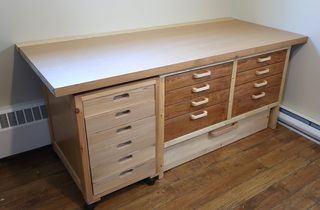 Workbench with lots of drawers
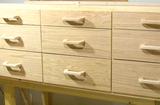 Workbench drawers
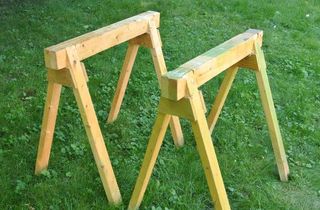 Building sawhorses
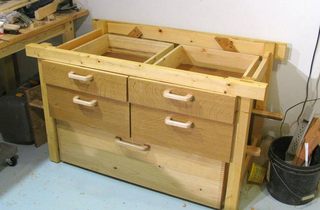 Another workbench
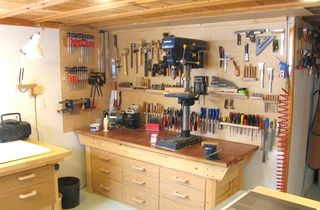
 Bed from 2x4 lumber