 The table for this bandsaw consists of two layers of 3/4" or 19 mm plywood.
The table for this bandsaw consists of two layers of 3/4" or 19 mm plywood.
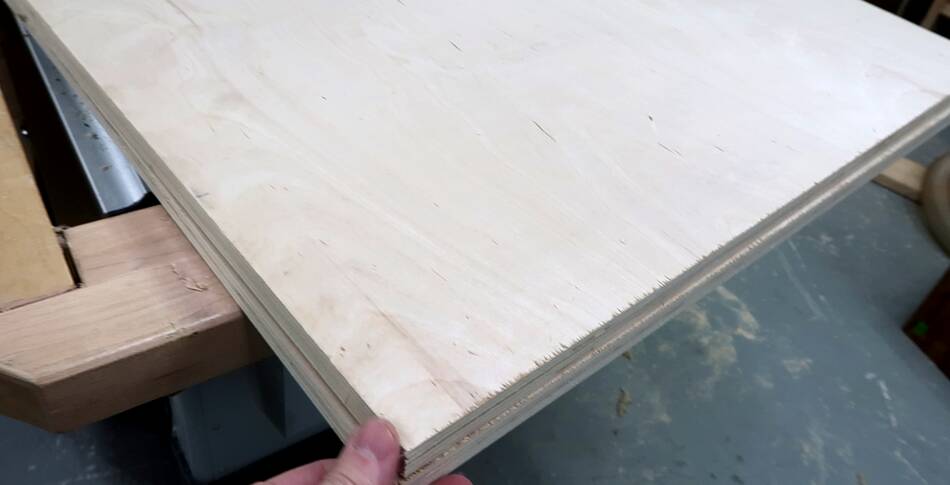
Ideally, I would have used two layers of baltic birch plywood and half the work I did to make this table could have been skipped.
But instead I used two layers of cheap import plywood. Though it has thin layers of ply, it also has voids and overlaps. And the top layer is not very thick, so I was concerned about it wearing though.
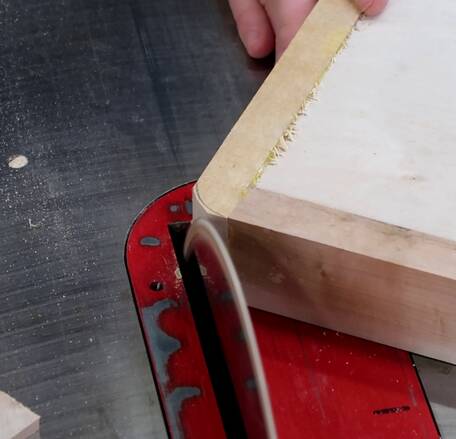
 So I milled some veneer to glue to the top. I cut a 21 mm thick maple board
into four layers on the table saw, using a very thin 7 1/4" skillsaw blade.
Cutting from both sides, it didn't quite make it all the way through, so I
used my bandsaw to cut through the middle part.
So I milled some veneer to glue to the top. I cut a 21 mm thick maple board
into four layers on the table saw, using a very thin 7 1/4" skillsaw blade.
Cutting from both sides, it didn't quite make it all the way through, so I
used my bandsaw to cut through the middle part.
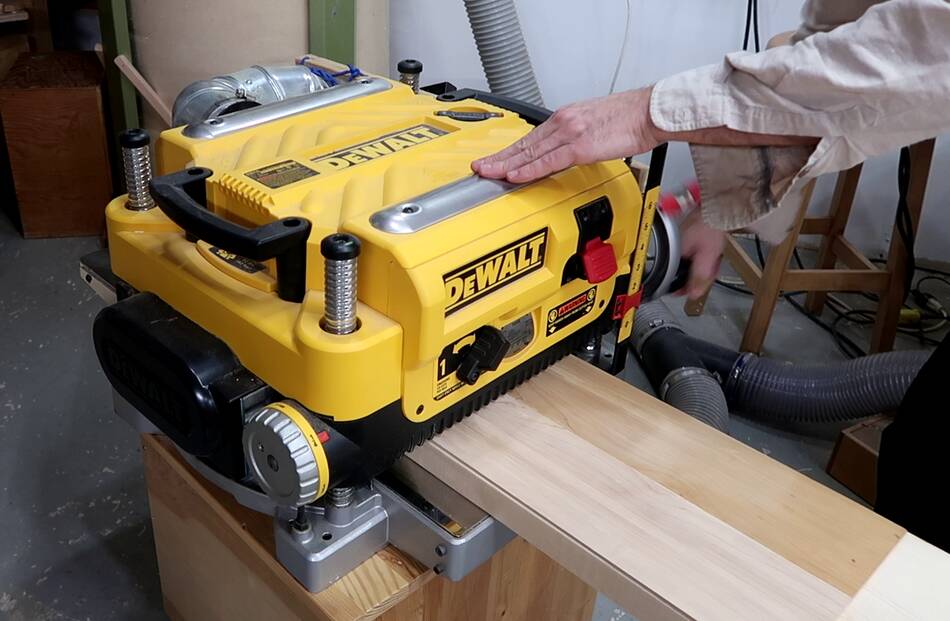 I glued two pieces side-by-side. But I wanted to make sure it was smooth and even,
so I planed it. It's tricky planing stuff down to 3 mm. The planer doesn't
adjust that far down so I had to plane it on top of another piece of wood.
I glued two pieces side-by-side. But I wanted to make sure it was smooth and even,
so I planed it. It's tricky planing stuff down to 3 mm. The planer doesn't
adjust that far down so I had to plane it on top of another piece of wood.
Also, to avoid having the front of the boards catch the planer head, I started the planer with the start already past the cutter head. On my first attempt the planer kicked back the wood as it started. So I had to start it with the head raised slightly so it wouldn't engage the wood as it spun up. Once started, I had to crank it down to the actual thickness. This meant the start of my "boards" didn't get planed, so I had to repeat this step feeding the wood in the opposite direction to plane the other end.
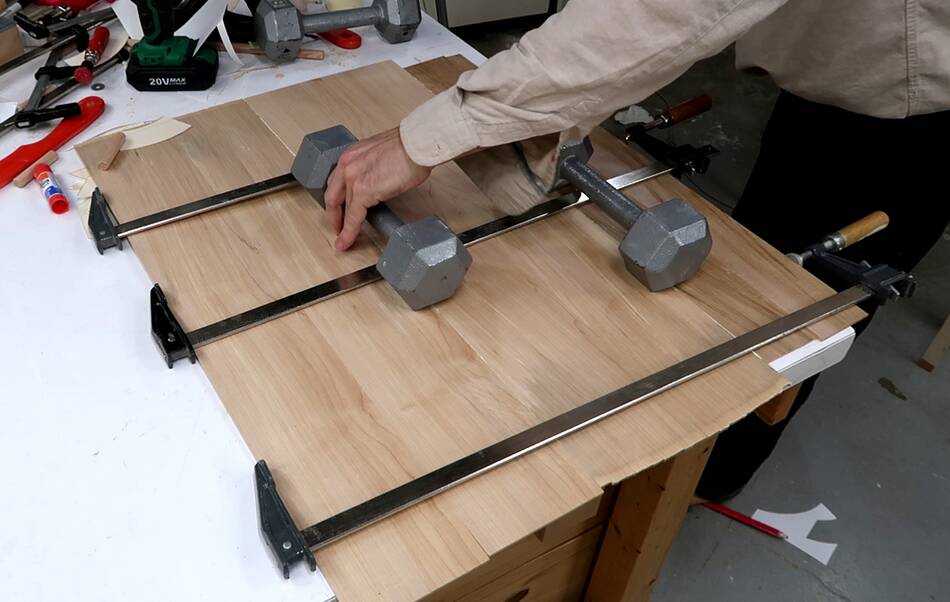 I then glued all my 3 mm thick veneer pieces side to side to make a panel big
enough for the bandsaw table. I used some dumbbells to force the joints
flat against my workbench to get them aligned properly.
I then glued all my 3 mm thick veneer pieces side to side to make a panel big
enough for the bandsaw table. I used some dumbbells to force the joints
flat against my workbench to get them aligned properly.
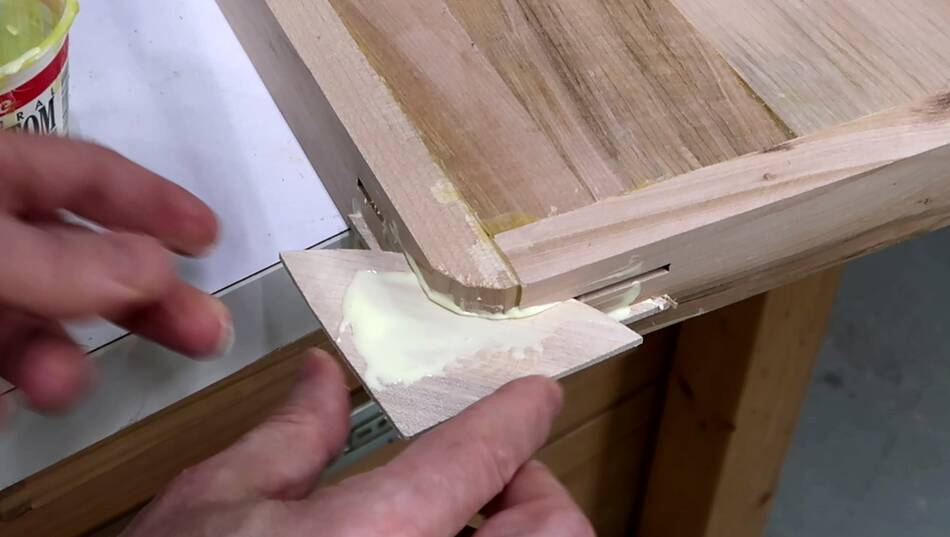
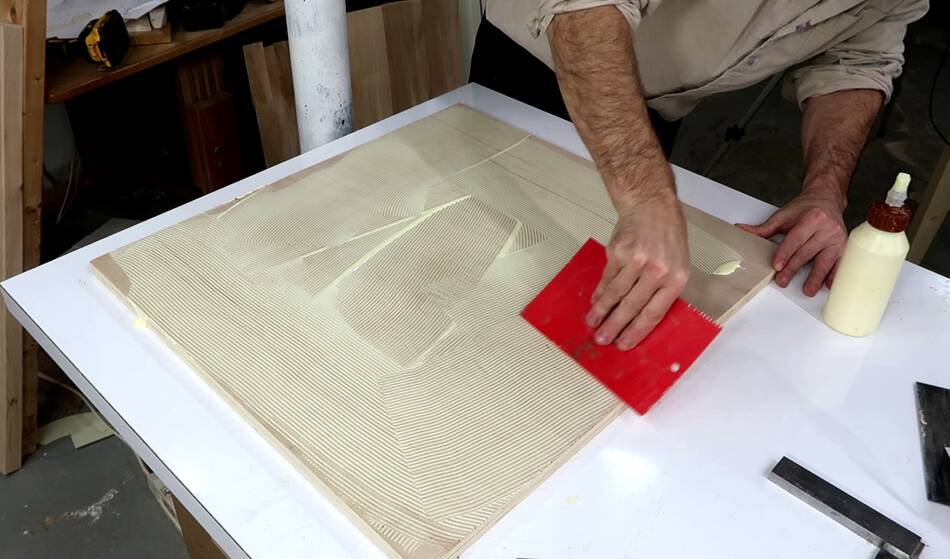 I used a notched glue spreader, meant for spreading glue for vinyl flooring,
to quickly get an even coat of glue on the plywood.
I used a notched glue spreader, meant for spreading glue for vinyl flooring,
to quickly get an even coat of glue on the plywood.
 Then the veneer on top.
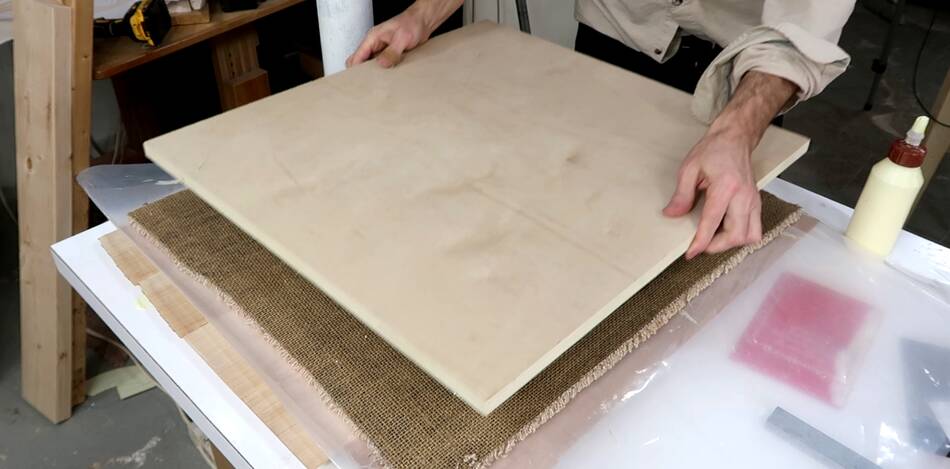 Then a layer of plastic foil, followed by a piece of carpet as a soft pad.
The soft layer ensures that pressure is applied everywhere. Then
another piece of plywood on top.
Then a layer of plastic foil, followed by a piece of carpet as a soft pad.
The soft layer ensures that pressure is applied everywhere. Then
another piece of plywood on top.
 Then pressing the sandwich firmly together with some clamping cauls, clamped
to my workbench.
Then pressing the sandwich firmly together with some clamping cauls, clamped
to my workbench.
 With the veneer clamped to one piece of plywood, it was time for the other
layer of plywood go on the other side.
With the veneer clamped to one piece of plywood, it was time for the other
layer of plywood go on the other side.
 I wanted to use the same pad and clamping cauls to clamp this sandwich together,
but I noticed that the workbench bowed down from the clamping pressure,
and if I glued it like that, that bow would end up part of the table as well.
I wanted to use the same pad and clamping cauls to clamp this sandwich together,
but I noticed that the workbench bowed down from the clamping pressure,
and if I glued it like that, that bow would end up part of the table as well.
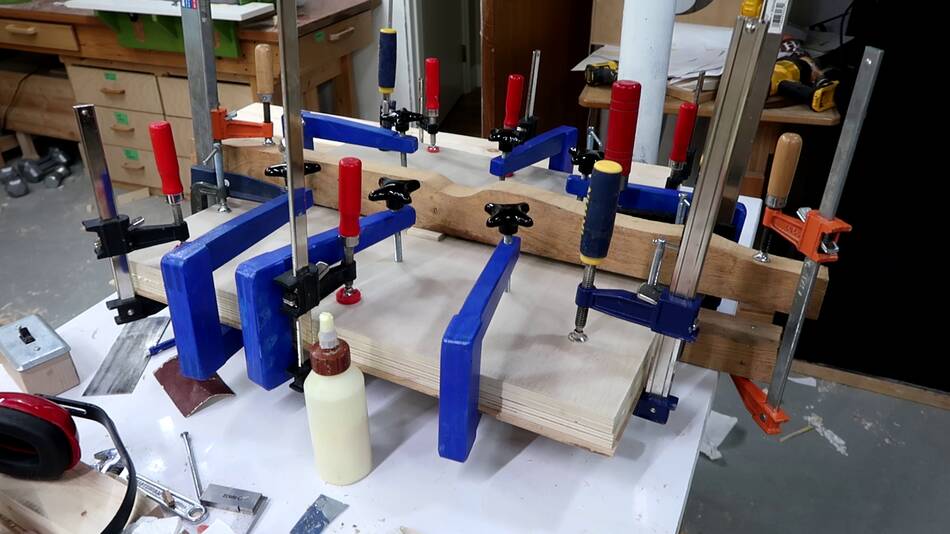
So I unclamped it again and just used a whole bunch of clamps, including my long reach clamps to clamp it together.
Instead of the long reach clamps, I could have drilled some holes in the bottom table layer (which is on top here) before starting the clue up, and then put wood screws in those holes to clamp the two layers together.
On my last bandsaw build, cut the hole for the insert before gluing the layers together so I could use clamps through that hole to clamp it near the middle. I have more long reach clamps now than I did then.
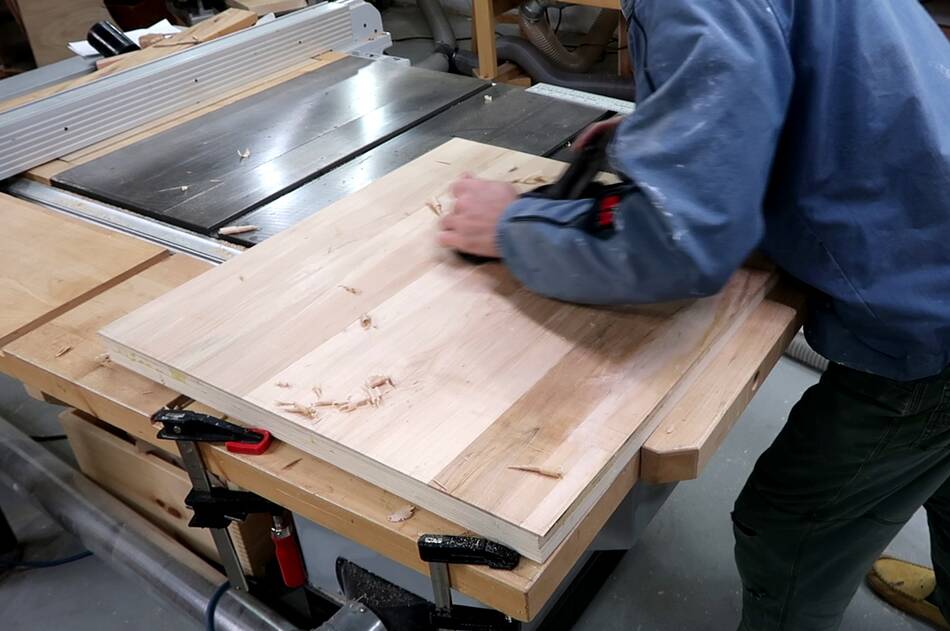 It turned out, the top ended up having some waviness to it, probably
because the board I was planing the veneer on top of wasn't entirely flat.
So I used a hand plane to plane out some of the high points.
It turned out, the top ended up having some waviness to it, probably
because the board I was planing the veneer on top of wasn't entirely flat.
So I used a hand plane to plane out some of the high points.
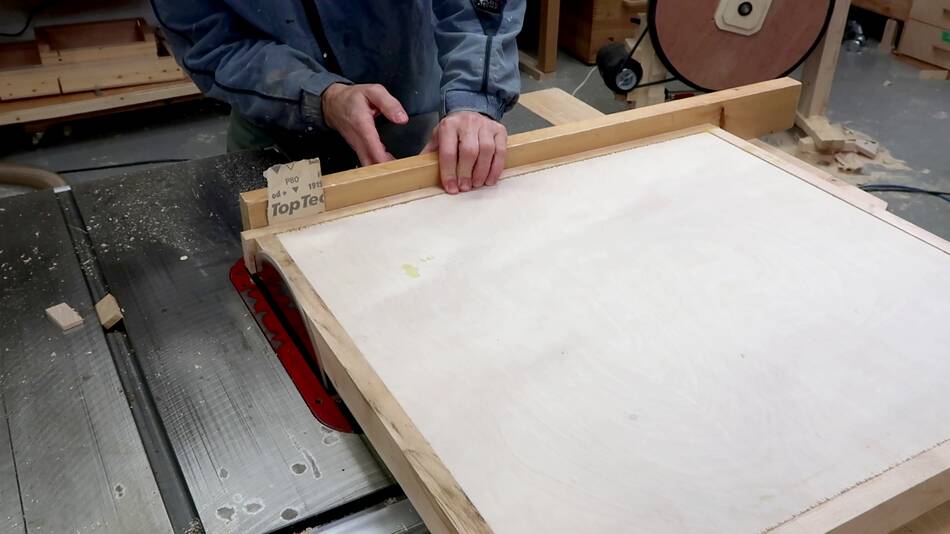
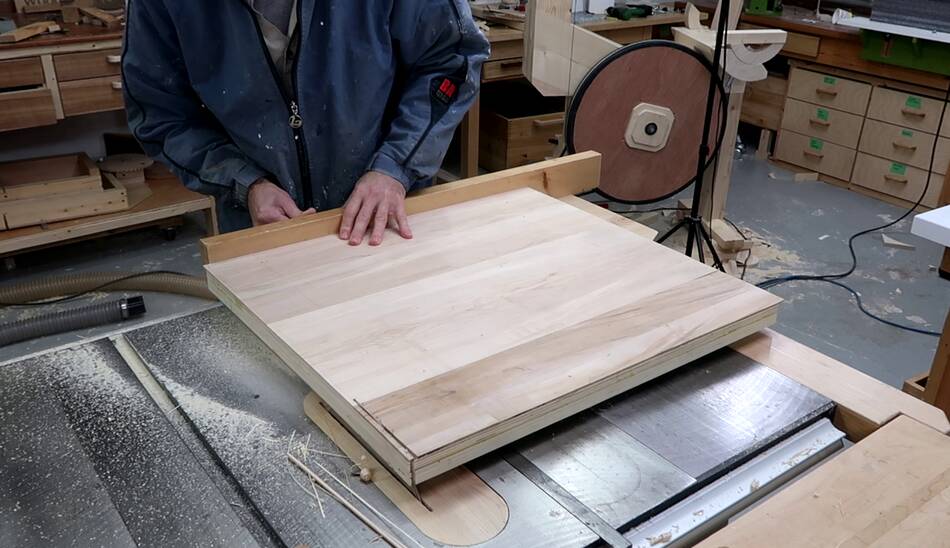 Then trimming the edges to get all the layers flush with each other.
 After that I glued on some maple trim around the edges.
The corners are joined with butt joints to make it easier.

 After gluing on three pieces, I flush cut the pieces sticking off the
end, then glued the last piece on there. This way I didn't have to
cut anything precisely to length.
After gluing on three pieces, I flush cut the pieces sticking off the
end, then glued the last piece on there. This way I didn't have to
cut anything precisely to length.
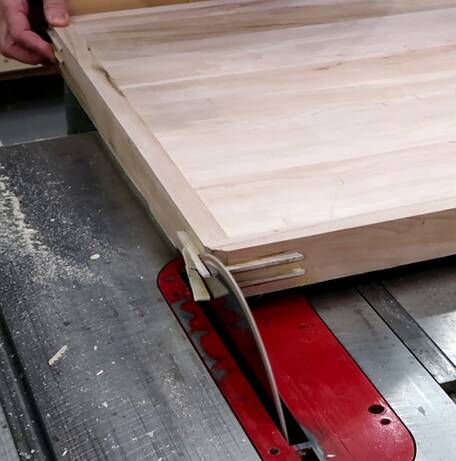
I also free-hand cut the corners off to approximate rounded corners on the table saw.
 With the last piece glued on, I cut off the overhang on the
corners.
With the last piece glued on, I cut off the overhang on the
corners.
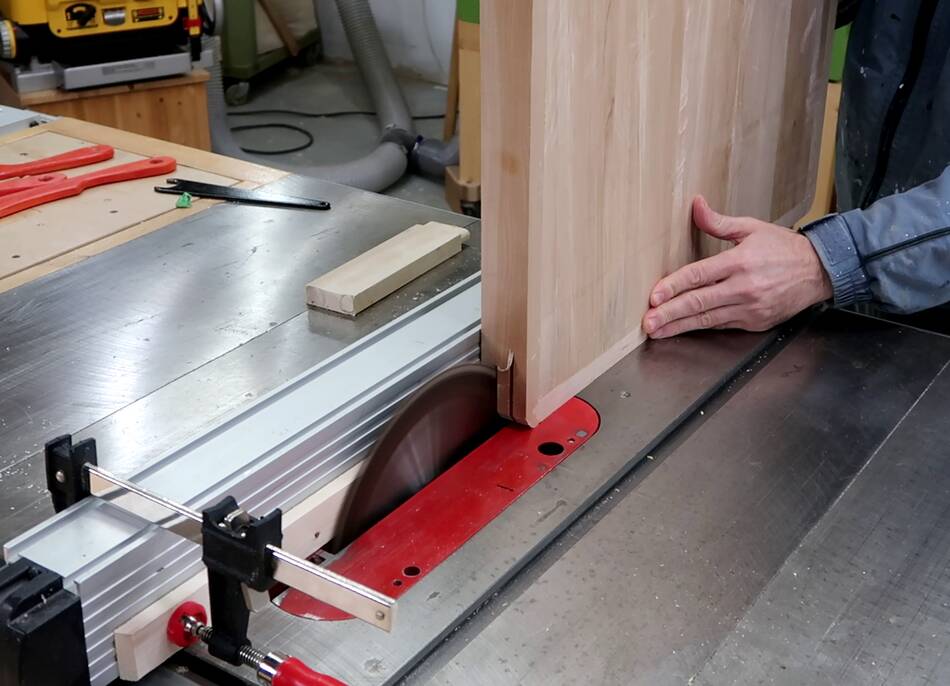 Then cutting slots for splines in the corners. I clamped a stop
to the table saw fence and raised the blade to a height where it cut as
high as it cut deep with the fence. After cutting one slit, I flipped
the workpiece and cut again to cut the second slot.
Then cutting slots for splines in the corners. I clamped a stop
to the table saw fence and raised the blade to a height where it cut as
high as it cut deep with the fence. After cutting one slit, I flipped
the workpiece and cut again to cut the second slot.
Fortunately I set my stop and table height accurately enough so that the first slot matched the second slot that I cut after I flipped the workpiece.
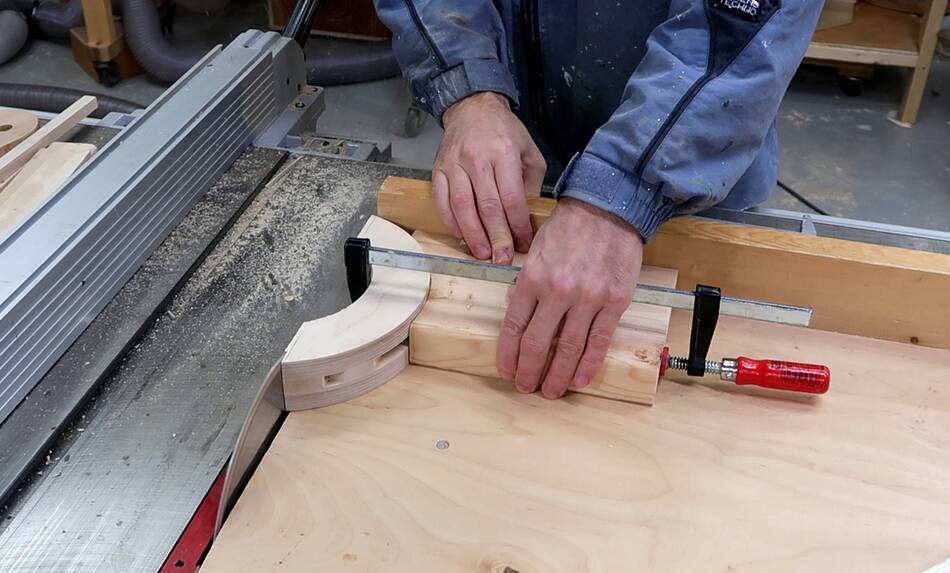
 Then gluing in the splines. The splines are cut to a 5" radius to match
the profile that the 10" diameter blade cut into the wood.
Then gluing in the splines. The splines are cut to a 5" radius to match
the profile that the 10" diameter blade cut into the wood.
I then flush trimmed the splines on the table saw.
I should have waited to cut the corners off until after I cut the splines, so I wouldn't have had to cut the splines round too.
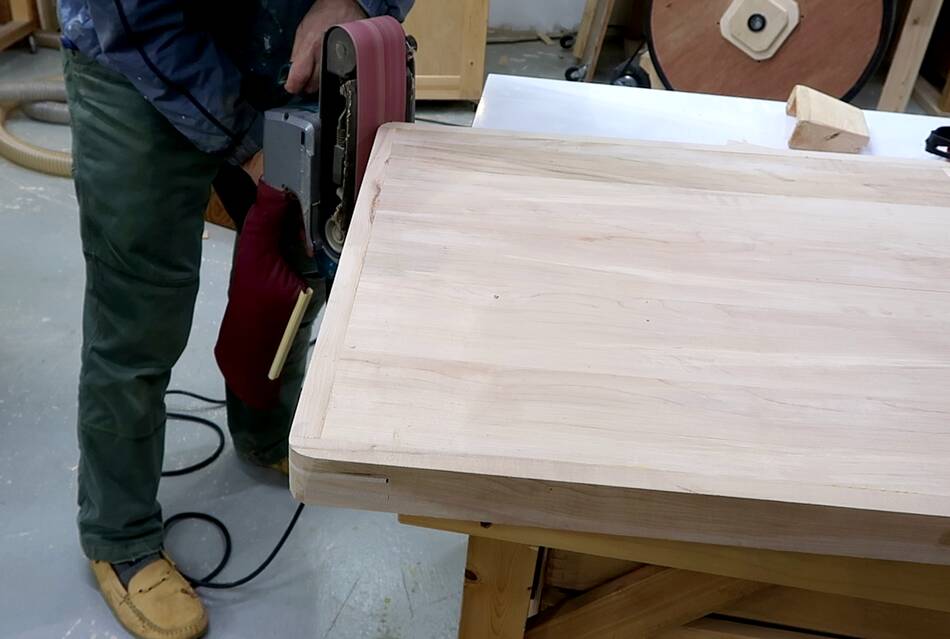 Then smoothing the corners with a belt sander.
If I had used two layers of baltic birch instead of the cheap plywood that I used, I could have skipped the veneer and trim around the edges.
That said, the baltic birch is not as hard as the maple I used for the top and trim, so this is better.
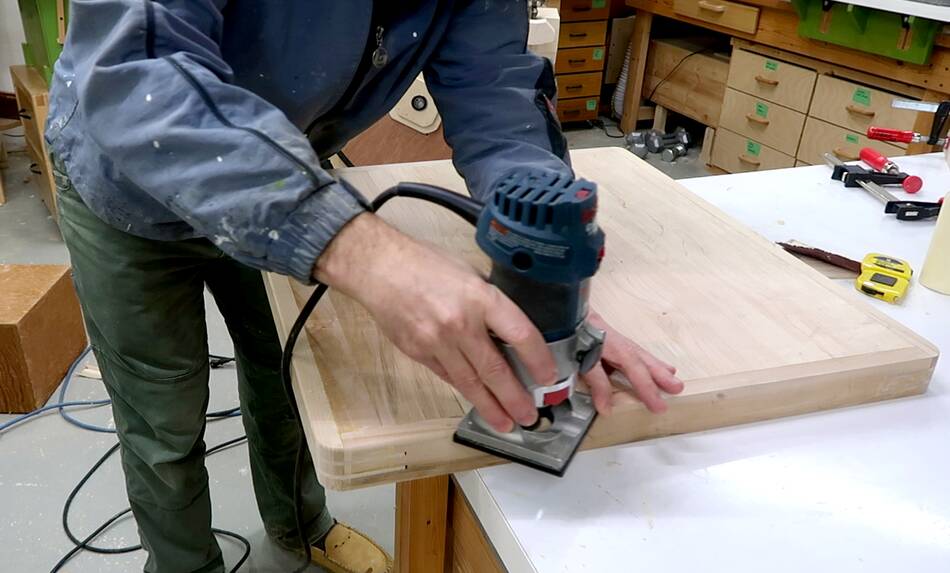 And adding a roundover to the corners. The bottom is a 1/4" radius roundover,
but for the top, I didn't cut to full depth with the roundover bit to leave more
of the flat top surface.
And adding a roundover to the corners. The bottom is a 1/4" radius roundover,
but for the top, I didn't cut to full depth with the roundover bit to leave more
of the flat top surface.
 The trunnions are designed to put the axis of rotation when tilting the table
at the top of the table so that when the table is tilted the blade still goes
through the same spot in the table. But I designed my trunnions assuming
that the table top was 36 mm (2x18 mm) thick.
The trunnions are designed to put the axis of rotation when tilting the table
at the top of the table so that when the table is tilted the blade still goes
through the same spot in the table. But I designed my trunnions assuming
that the table top was 36 mm (2x18 mm) thick.
 But my plywood and veneer sandwich was a bit thicker than that, so I had to trim
a little bit off the trunnions to compensate. The radius of the trunnions is 11.5
cm, so the bottom of the trunnion should end up 11.5 cm below the table top.
But my plywood and veneer sandwich was a bit thicker than that, so I had to trim
a little bit off the trunnions to compensate. The radius of the trunnions is 11.5
cm, so the bottom of the trunnion should end up 11.5 cm below the table top.
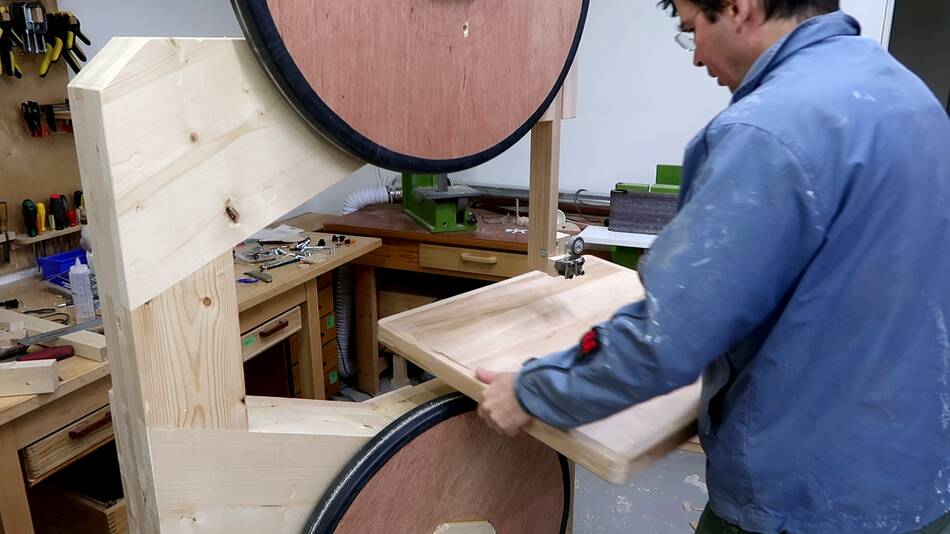 Then placing the table on the bandsaw for the first time. I moved it around a bit
to decide where it seemed best in terms of how much table in front of the blade
and how much behind it, also how much on the left and right side.
Then placing the table on the bandsaw for the first time. I moved it around a bit
to decide where it seemed best in terms of how much table in front of the blade
and how much behind it, also how much on the left and right side.
I prefer to have more table left of the blade than right of it, so the table doesn't stick out from the saw as much. A primary advantage of a large bandsaw table is not so much for large stock, but for piling small workpieces onto if I cut more than one of something.
 Then marking where the hole for the insert should go.
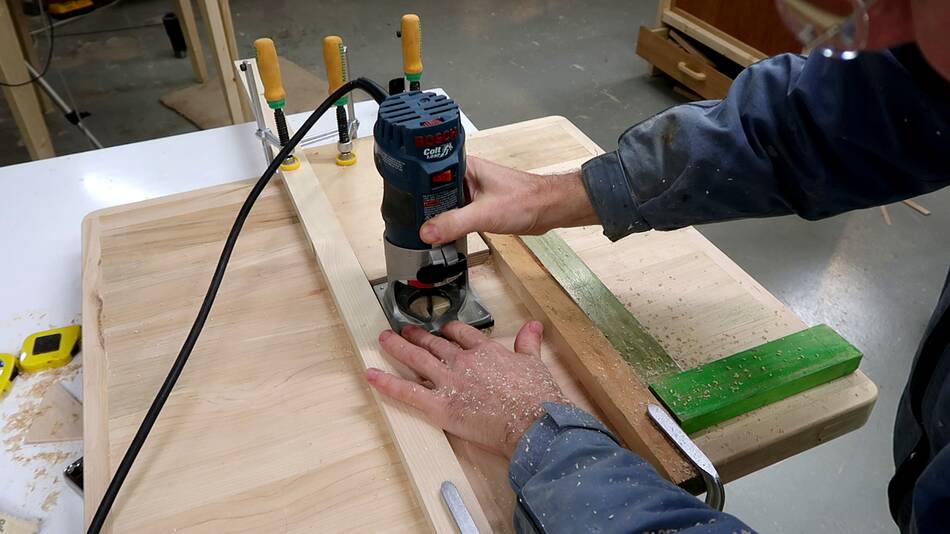 I used a long spiral 1/4" bit in a router to route around the edges of
the hole for the insert. The hole is slightly smaller than the insert will
be.
I used a long spiral 1/4" bit in a router to route around the edges of
the hole for the insert. The hole is slightly smaller than the insert will
be.
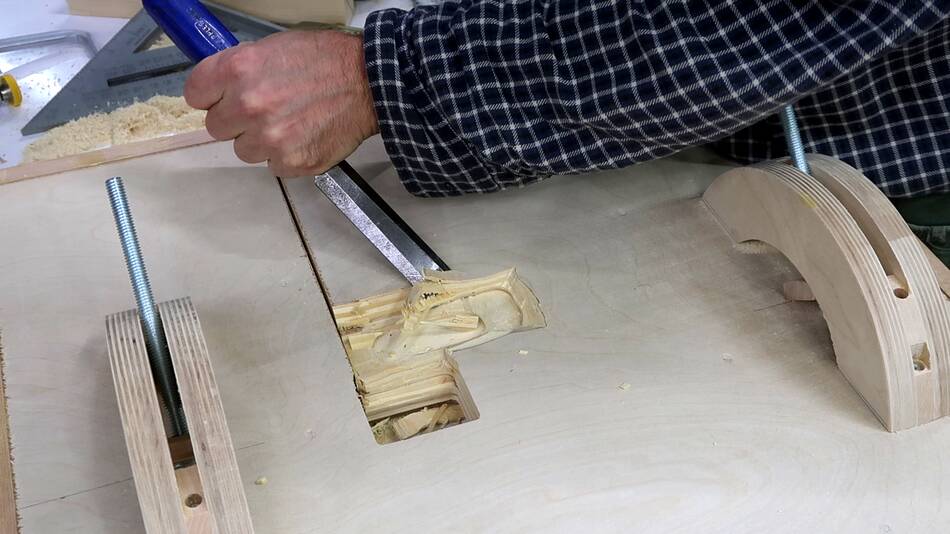
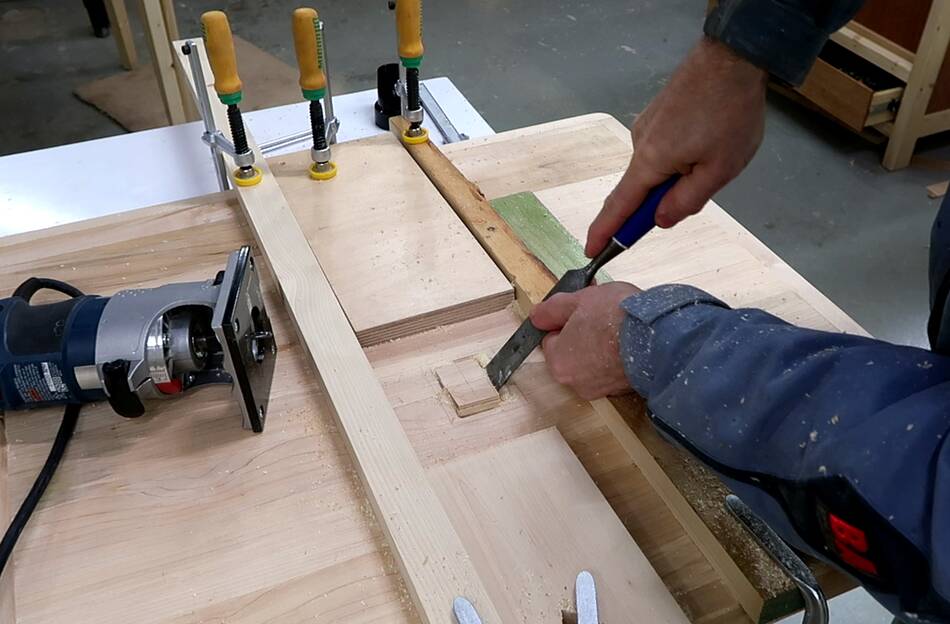 After cutting part-way through, I broke out the middle part with
a chisel so the sawdust wouldn't get trapped in the narrow slot.
After cutting part-way through, I broke out the middle part with
a chisel so the sawdust wouldn't get trapped in the narrow slot.
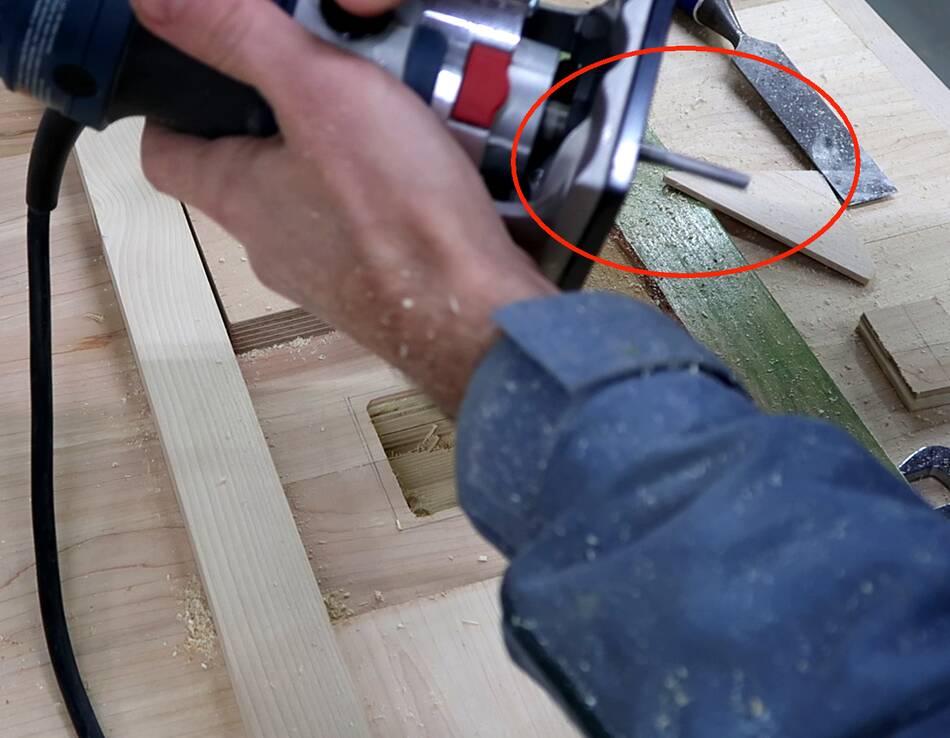 Then continuing to route, setting the router about 3 mm deeper with
each pass. Towards the end, I had the bit not all the way in the chuck
so it stuck out far enough to reach the 41 mm through the table.
Then continuing to route, setting the router about 3 mm deeper with
each pass. Towards the end, I had the bit not all the way in the chuck
so it stuck out far enough to reach the 41 mm through the table.
It occurred to me cutting this insert hole might be a good application for a CNC router, but it would have to be with a larger bit because cutting this deep with a 1/4" bit isn't a good idea to just let the a CNC do blindly.
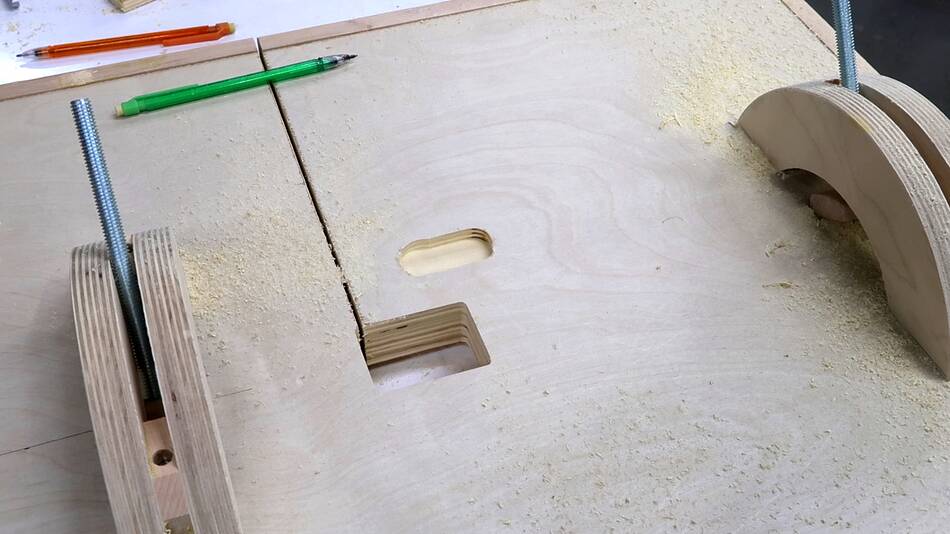
 After cutting through the wood, I switched the router to a 1/2" bit
and, with the same guides, routed just 8 mm deep to make a ledge for
the insert.
After cutting through the wood, I switched the router to a 1/2" bit
and, with the same guides, routed just 8 mm deep to make a ledge for
the insert.
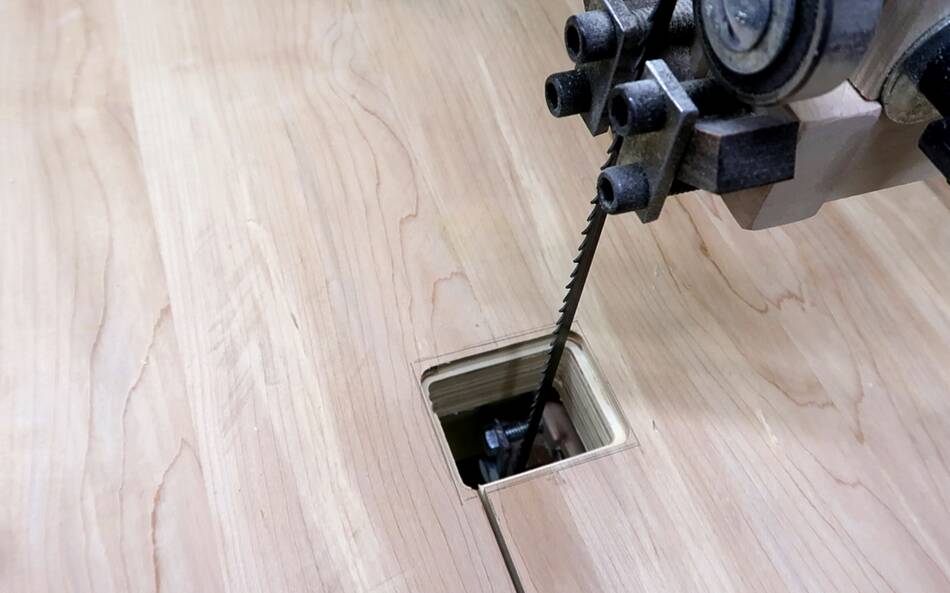
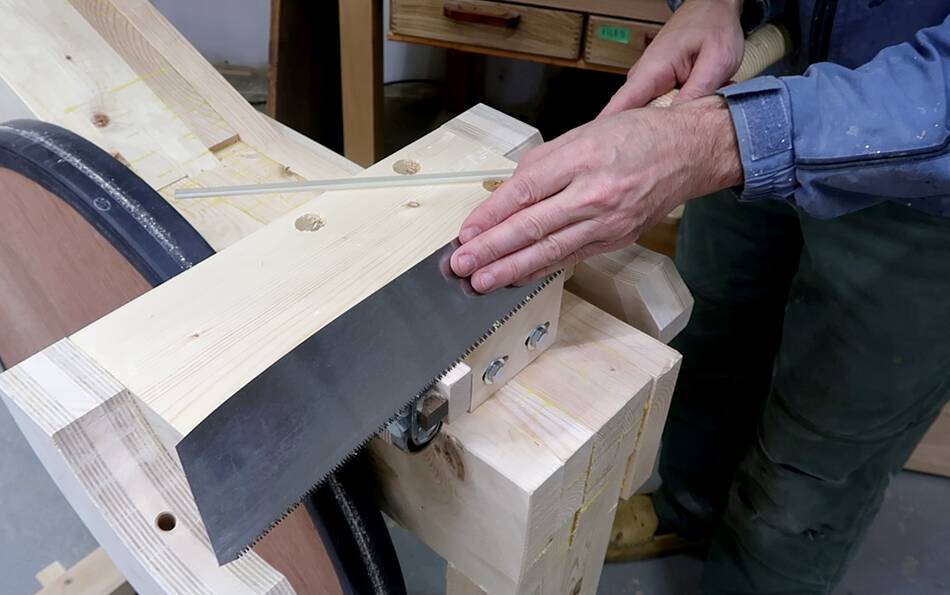
 Then cutting in from the side with my table saw to make a slot
for getting the bandsaw blade in and out.
Then cutting in from the side with my table saw to make a slot
for getting the bandsaw blade in and out.
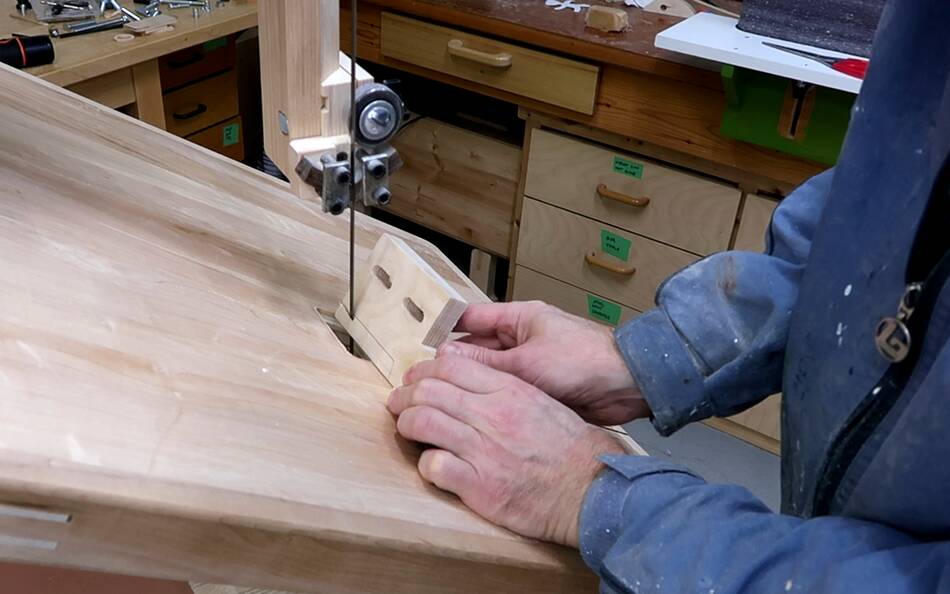
 With the table loosely placed on the trunnions, I positioned it so that
the blade is centered in the hole side-to-side, but towards the back
of the hole front-to-back. I just need enough room behind the blade
to make sure it doesn't hit the back of the hole.
But its useful to have more room front of the blade guides,
especially for getting wide blades in and out. For blade changes, the
blade needs to pull out of the guides and turn 90 degrees before I can
move it through the slot on the side.
With the table loosely placed on the trunnions, I positioned it so that
the blade is centered in the hole side-to-side, but towards the back
of the hole front-to-back. I just need enough room behind the blade
to make sure it doesn't hit the back of the hole.
But its useful to have more room front of the blade guides,
especially for getting wide blades in and out. For blade changes, the
blade needs to pull out of the guides and turn 90 degrees before I can
move it through the slot on the side.
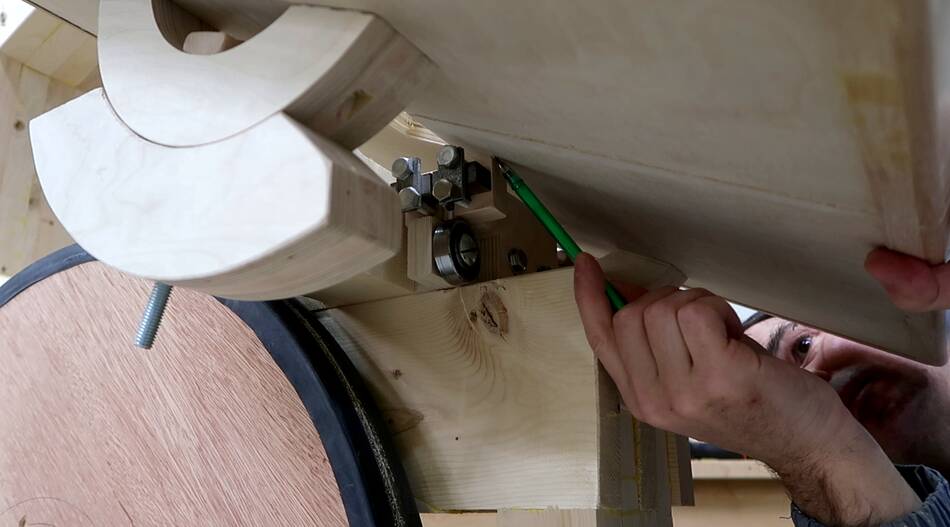
 Then marking where the trunnions ended up on the table.
 After that I marked a line front to back on the bottom of the table,
lined up with the center of the insert hole. I made sure the trunnion was
positioned centered on this line and perpendicular to it, and tapped
the mounting screws to make divots.
After that I marked a line front to back on the bottom of the table,
lined up with the center of the insert hole. I made sure the trunnion was
positioned centered on this line and perpendicular to it, and tapped
the mounting screws to make divots.
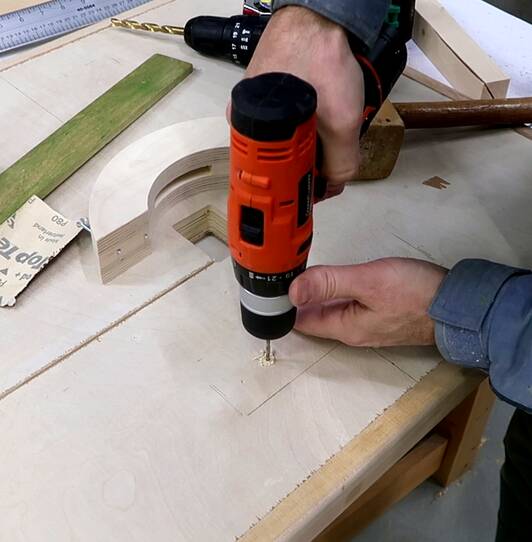 I used those divots to drill small pilot holes for the screws.
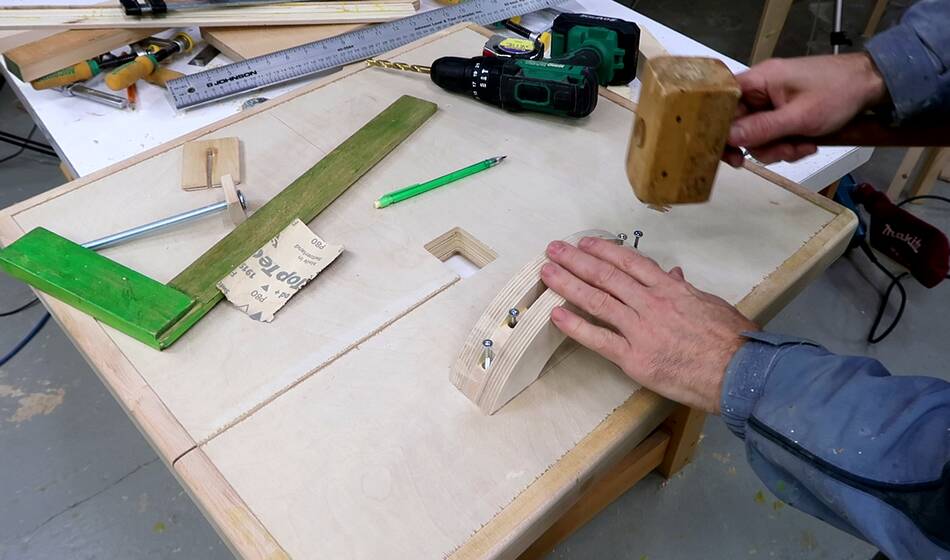
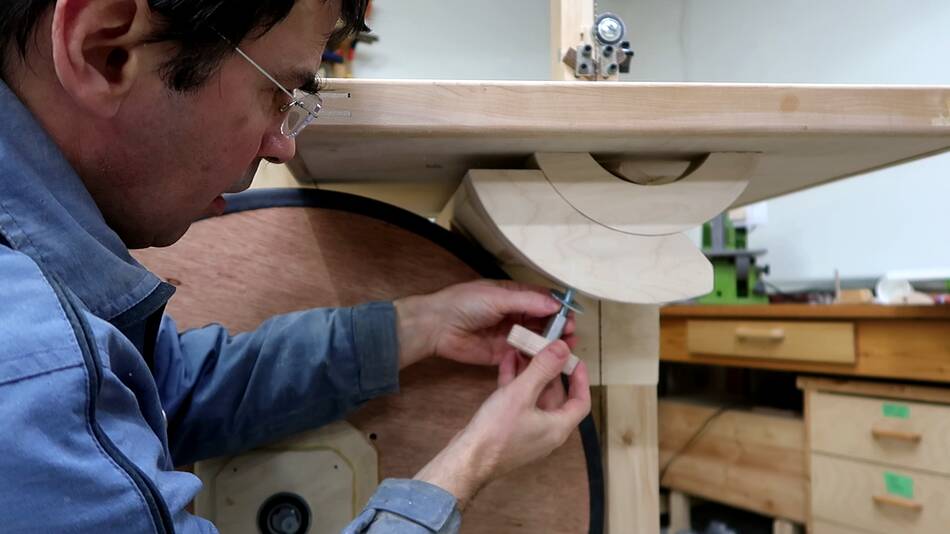
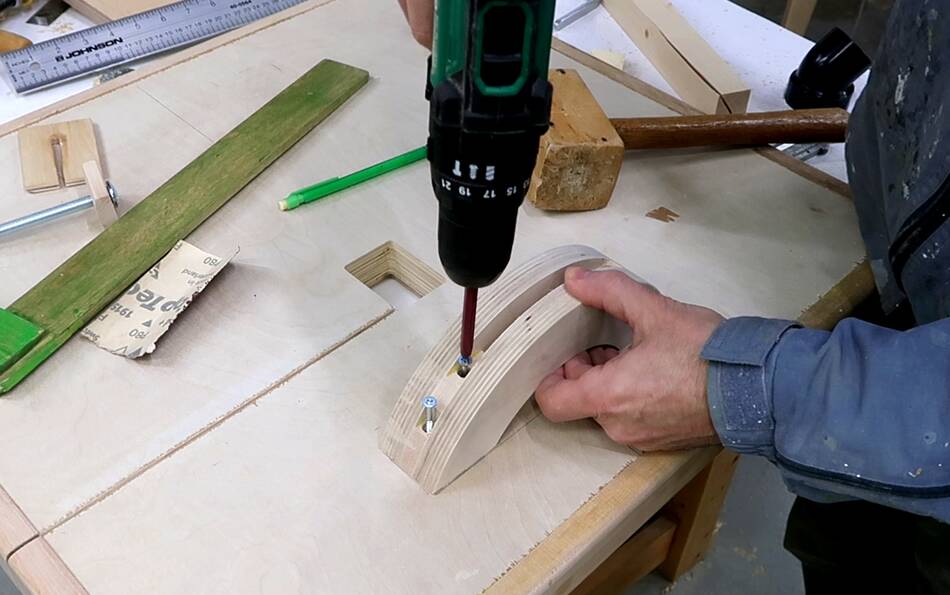 Then screwing on the trunnion.
 Then the back trunnion. Though I forgot to put the bolts into the
trunnion before screwing them on, so I had to take them off again to
get the bolt in.
Then the back trunnion. Though I forgot to put the bolts into the
trunnion before screwing them on, so I had to take them off again to
get the bolt in.
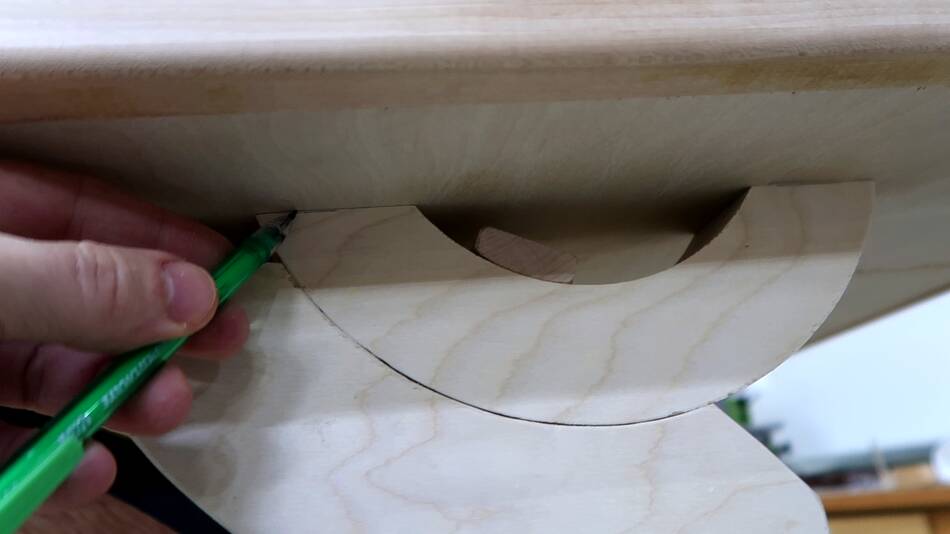
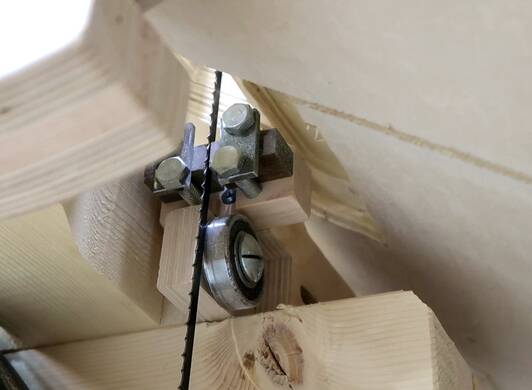
 With the table on the bandsaw, I could only tilt it so far before
hitting the lower blade guide, so I marked where the blade guide hits.
With the table on the bandsaw, I could only tilt it so far before
hitting the lower blade guide, so I marked where the blade guide hits.
 I cut a corner off the lower blade guide block to make
it protrude less.
I cut a corner off the lower blade guide block to make
it protrude less.
 I also routed a cavity in the bottom of the table where the blade guide hit.
 Also cutting a corner off the lower blade guide body. This cut is actually
in my bandsaw plans,
but I neglected to make it when I made the lower blade guide.
Also cutting a corner off the lower blade guide body. This cut is actually
in my bandsaw plans,
but I neglected to make it when I made the lower blade guide.
 It took about ten iterations of fitting and cutting away more material
until I was able to tilt the table fully to 45 degrees.
It took about ten iterations of fitting and cutting away more material
until I was able to tilt the table fully to 45 degrees.
Of course, I have the shape of that cavity marked in the plans, but it can be better to just see how things fit and make them fit, so I don't end up cutting away more material than necessary.
 I then cut out a rectangular piece of baltic birch plywood to serve as
an insert. I cut the slot in that one by letting the saw run and
sliding it into place. Though it's best to widen the slot
a bit where the blade goes through so it won't kink the blade when the
table is tilted.
I then cut out a rectangular piece of baltic birch plywood to serve as
an insert. I cut the slot in that one by letting the saw run and
sliding it into place. Though it's best to widen the slot
a bit where the blade goes through so it won't kink the blade when the
table is tilted.
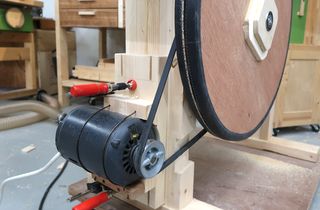
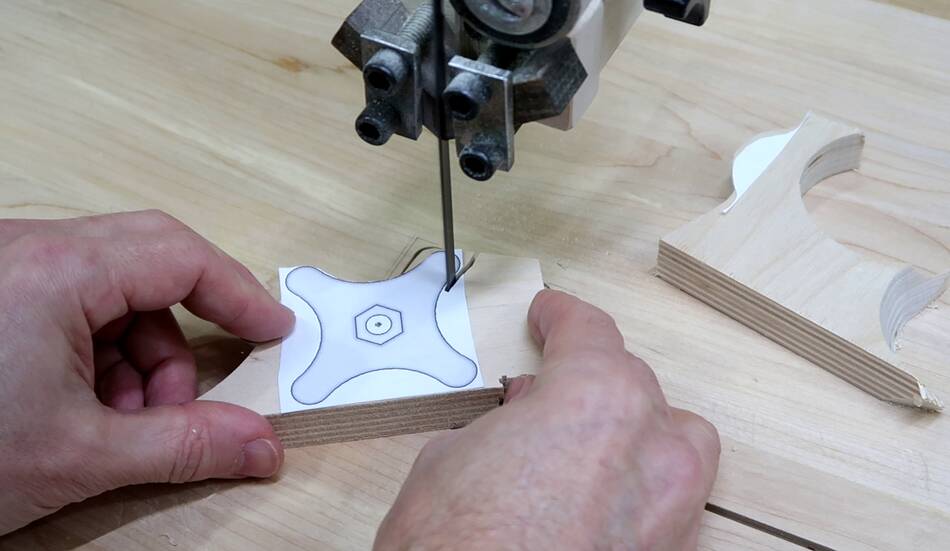 With the bandsaw fully functional at this point, I made some star knobs
for the trunnions and the upper blade guide column.
With the bandsaw fully functional at this point, I made some star knobs
for the trunnions and the upper blade guide column.
It seems I always made knobs with either three or five points, but when I made these clamps I used some bolts with knobs already on them, and those knobs have four points. I quite liked the feel of the four pointed knobs when turning them, so I changed my knob templates for this saw to be four points instead of five.

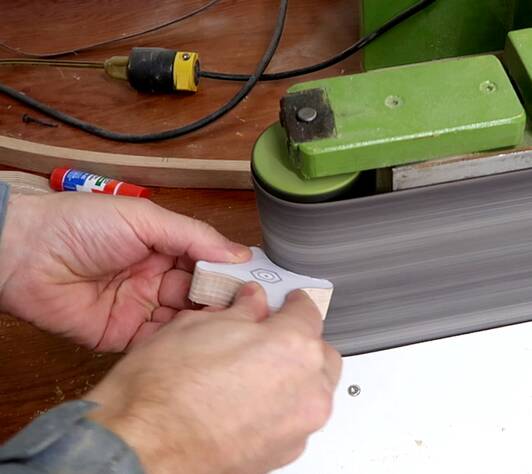 Finishing the shape on the sander. I had to switch to a hand held
belt sander to sand the inside radius of the knobs, as the rollers
on my belt sander were a little bit bigger.
Finishing the shape on the sander. I had to switch to a hand held
belt sander to sand the inside radius of the knobs, as the rollers
on my belt sander were a little bit bigger.
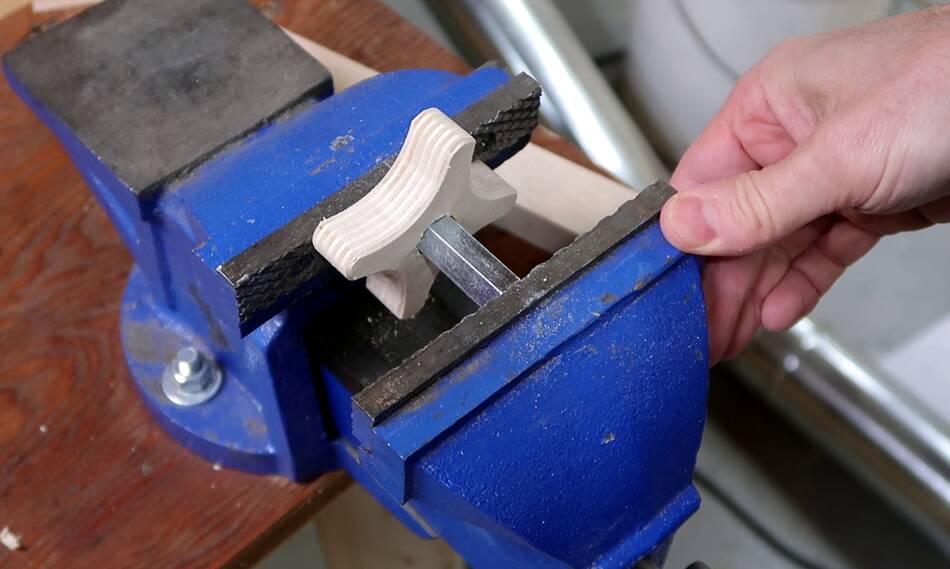 A 14 mm hole was just right for pressing a coupler nut for 3/8"
bolts into to make a threaded knob. Threaded knobs are surprisingly
expensive to buy, but a coupler nut pressed into a piece of plywood
makes a quick, cheap and sturdy threaded knob.
A 14 mm hole was just right for pressing a coupler nut for 3/8"
bolts into to make a threaded knob. Threaded knobs are surprisingly
expensive to buy, but a coupler nut pressed into a piece of plywood
makes a quick, cheap and sturdy threaded knob.
 And now my trunnions have nice knobs for locking them.
Next: Blade guard and first resaw test
 Motorizing this bandsaw (2021)
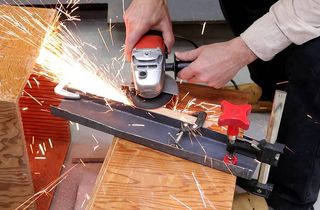 Blade guard and first resaw test
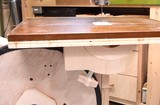 Last time making the table for my 20" bandsaw
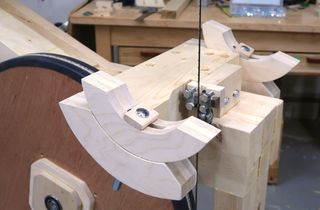 Making the trunnions for this saw
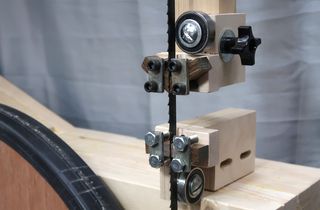 Making the blade guides for this bandsaw