Earl Davidson's box joint jig
 Hello Matthias,
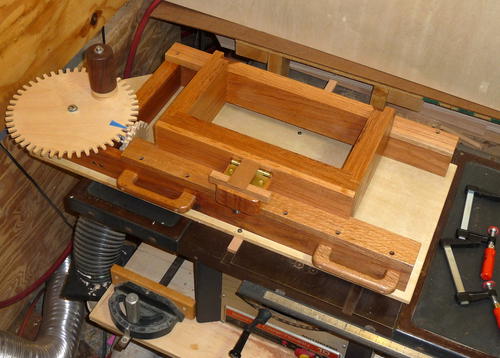
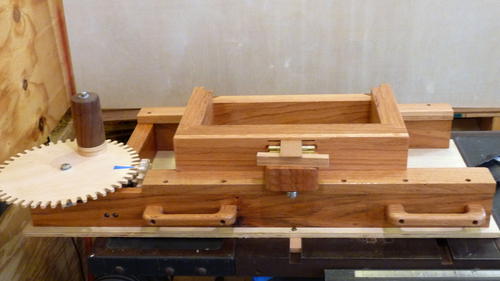
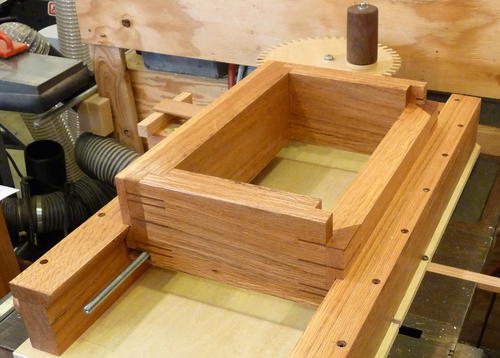
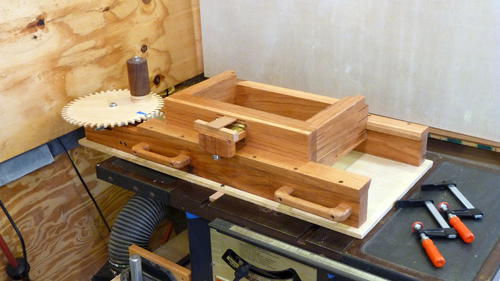
I recently completed building a Screw Advance Box Joint Jig from you plans. The project was loads of fun and will be very useful. Your plans and instructions are outstanding!
I built my jig primarily from Red Oak shorts that have been in my shop for about 9 years. The shop has central heat and air year round so I donít anticipate any problem with wood movement. It certainly seems beefy enough. I put a couple of coats of wipe on poly on everything.
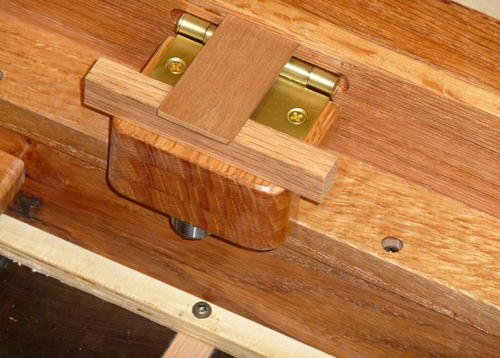
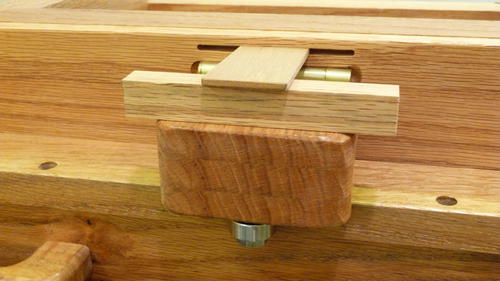
The only cold roll steel I could find was only available in 20 foot lengths so Iím going to try it with the oak runner and see how it holds up. On the tensioner I used a 3/8Ē threaded insert from the bottom to mount the bearing instead of a screw like the plans suggested.
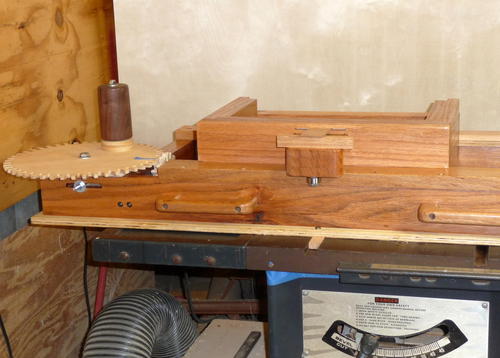 Iím going to get some use out of a 50 year old Craftsman table saw I
inherited from my dad by dedicating it to this jig for a while. Itís
not a big saw but seems just about right for this.
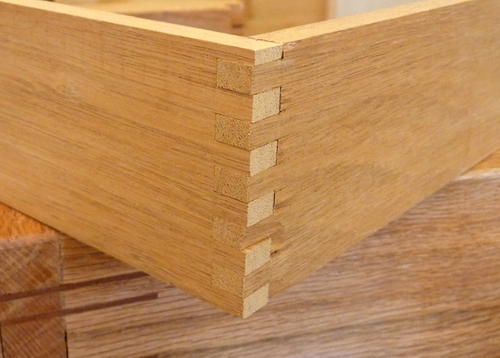
Test cuts have been great after tweaking the shims in my dado blades only once. Now itís time to make some boxes!
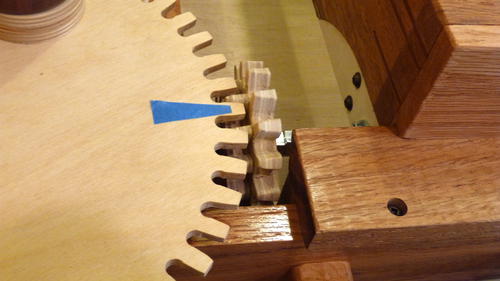
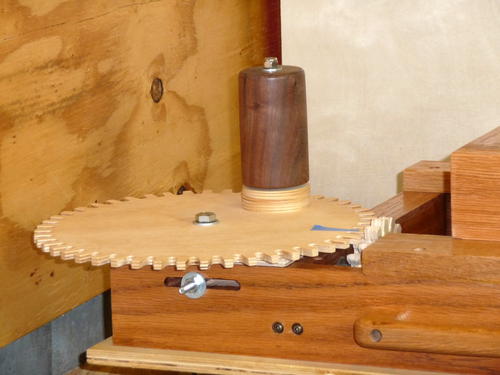
One trick I found while trying to finesse the gears after they were installed was to use a metal fingernail file with abrasive on both sides. Where a tooth was balking I'd just push the nail file between the teeth, put some pressure on the gears and file both gears at the same time. My wife will now have to buy another nail file.
Thanks for the plans and all the videos you do. I look forward to seeing each one on Sunday morning. I hope you have more machinery and jigs in the works.
Sincerely
Earl Davidson
Albany, GA USA
See also:
Back to screw advance box joint jig
 Gerald Finch's box joint jig
 Jim Lundin's box joint jig
 Elyasaf Shweka's
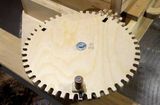 Cutting box joints
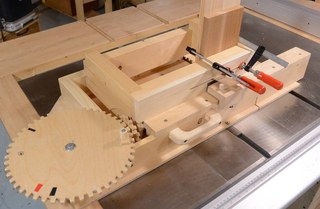 Screw advance