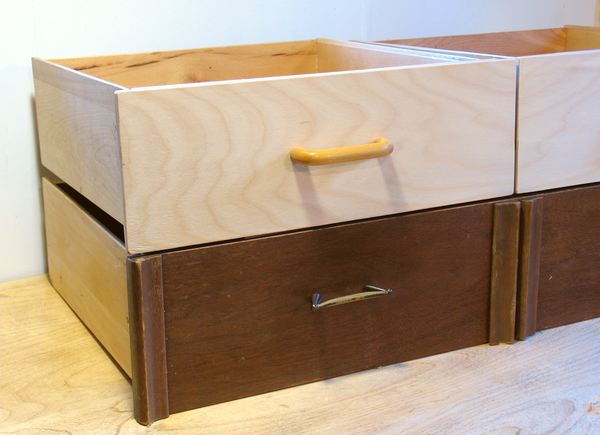
Making new drawers always takes a lot of time and wood. So when I was building a drawer chest to inside my lathe stand, I reused some solid but ugly drawers from an old dresser. I experimented with refacing the drawers with birch veneer for a completely different look. The photo above shows some refaced drawers stacked on top of some original drawers.
 I started by removing the trim, trim nails, and handle from the front of
the drawers. Some of the veneer came off with the trim,
so stripping the varnish off the old veneer was no longer an option, even
as a substrate for the new veneer.
I started by removing the trim, trim nails, and handle from the front of
the drawers. Some of the veneer came off with the trim,
so stripping the varnish off the old veneer was no longer an option, even
as a substrate for the new veneer.
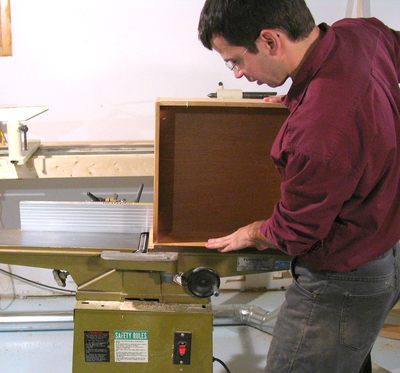
I went with a more expedient route - I just put the drawers on my jointer and planed the old veneer right off. This was slightly tricky in that some of the drawers fronts were just over 6" wide, so it took two passes on my 6" jointer, being careful to avoid getting too large a step between the two passes (more here)
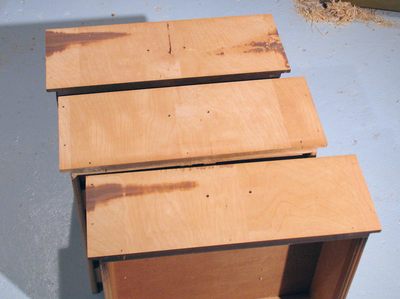 The drawers, with the veneer planed off. Exposed underneath is a set of laminate going
vertically, which is in turn on top of the main part of the front that has the grain
going side to side. The dark streaks are from remains of the original dark mahogany veneer
still here and there. I only planed the drawers just far enough to get a smooth surface
ready for gluing, to avoid planing off more of the cross grain layer than necessary.
The drawers, with the veneer planed off. Exposed underneath is a set of laminate going
vertically, which is in turn on top of the main part of the front that has the grain
going side to side. The dark streaks are from remains of the original dark mahogany veneer
still here and there. I only planed the drawers just far enough to get a smooth surface
ready for gluing, to avoid planing off more of the cross grain layer than necessary.
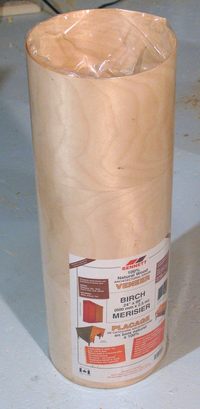 I had to go with the 24" wide veneer roll, as the next size down was 6", which
was too narrow for some of the drawers.
I had to go with the 24" wide veneer roll, as the next size down was 6", which
was too narrow for some of the drawers.
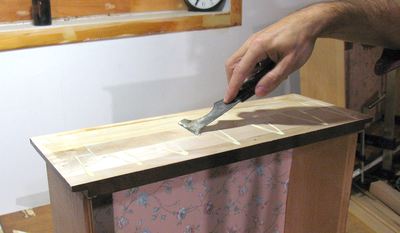 Spreading glue onto the drawer front. I used the regular yellow wood glue
that I usually use, and a paint scraper to spread the glue.
Spreading glue onto the drawer front. I used the regular yellow wood glue
that I usually use, and a paint scraper to spread the glue.
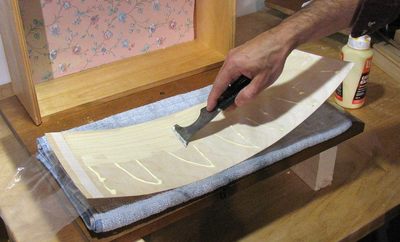 And applying glue to the veneer. Once the glue is on the veneer, I invert the
drawer front onto the veneer. There's a few seconds where I can slide it around
a little bit before it becomes too sticky.
And applying glue to the veneer. Once the glue is on the veneer, I invert the
drawer front onto the veneer. There's a few seconds where I can slide it around
a little bit before it becomes too sticky.
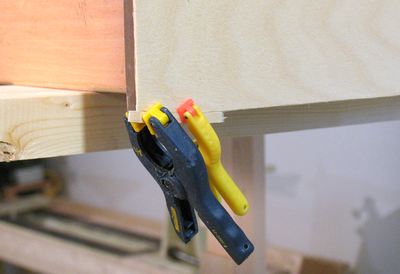
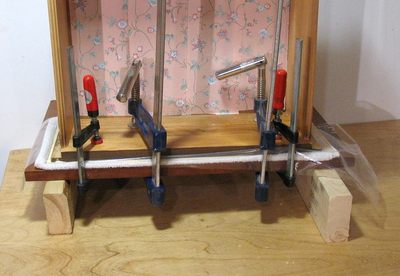 Clamping the veneer. I used a thick piece of plywood, with a folded towel on it
as a pad to apply pressure everywhere evenly. On the towel is a piece of plastic foil, which
I used to prevent any glue that might get squeezed through from getting stuck
to the towel.
Clamping the veneer. I used a thick piece of plywood, with a folded towel on it
as a pad to apply pressure everywhere evenly. On the towel is a piece of plastic foil, which
I used to prevent any glue that might get squeezed through from getting stuck
to the towel.
I did get a few shiny spots after unclamping. I'm not entirely sure these were caused by glue squeeze-through or not. But the plastic foil quite possibly helped spread it out, which isn't so good. I'm thinking next time I'll try it without the foil, so that any glue on the front side doesn't get squished around. Of course, then I might end up with a towel glued to the veneer, so I'll try using some coarse synthetic material, that the glue doesn't stick to as well next. Carpeting should work well.
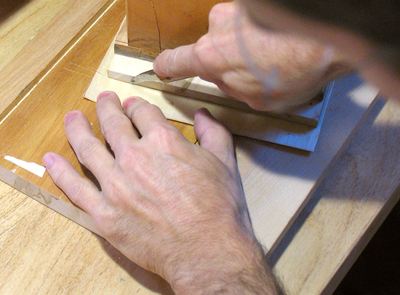 Trimming the veneer around the edge of the drawers afterwards.
Near the corners, its important to always cut towards the drawer, not away, so as to avoid chipping it off the corner. At least that's what I concluded based on my mistakes.
 Fixing for some of the corners that I'd chipped off the veneer as a result of not
being careful enough when I trimmed the veneer.
Fixing for some of the corners that I'd chipped off the veneer as a result of not
being careful enough when I trimmed the veneer.
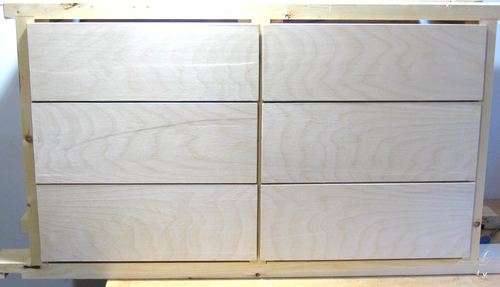 I was hoping that the veneer would cover any slight unevenness that I still had from
planing the drawer fronts. As a result of having to do two passes on the jointer,
there was an ever so slight step between the passes. With the light aimed at the
drawers from a low angle, two of the drawers at left show through some of the
surface unevenness underneath.
I was hoping that the veneer would cover any slight unevenness that I still had from
planing the drawer fronts. As a result of having to do two passes on the jointer,
there was an ever so slight step between the passes. With the light aimed at the
drawers from a low angle, two of the drawers at left show through some of the
surface unevenness underneath.
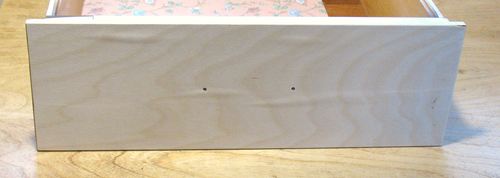 I was experimenting with how much glue I needed, and some of the drawers I glued with
glue applied only to the veneer, and not the drawer, but that wasn't enough glue.
On one of the drawers I could see bubbles in the veneer.
The shot at left is with light at a low angle to accentuate the bubbles.
I was experimenting with how much glue I needed, and some of the drawers I glued with
glue applied only to the veneer, and not the drawer, but that wasn't enough glue.
On one of the drawers I could see bubbles in the veneer.
The shot at left is with light at a low angle to accentuate the bubbles.
These bubbles only showed after I varnished the drawer fronts. The varnish caused a slight expansion of the veneer, which caused it to bubble away from its backing.

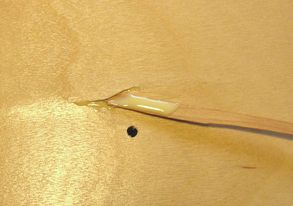 I fixed some of these bubbles by cutting them open at a low angle with a knife, working
some glue into the bubble with a split, and then clamping the bubble flat. The glued
cut looked like a slight scratch in the veneer afterwards.
I fixed some of these bubbles by cutting them open at a low angle with a knife, working
some glue into the bubble with a split, and then clamping the bubble flat. The glued
cut looked like a slight scratch in the veneer afterwards.
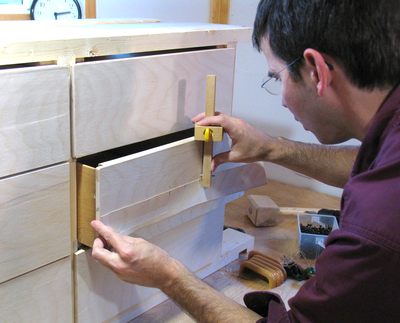 Next it was time to mark the hole positions for the handles. The old handles had
different mounting hole spacing from my new handles, so reusing the old holes was not an
option.
Next it was time to mark the hole positions for the handles. The old handles had
different mounting hole spacing from my new handles, so reusing the old holes was not an
option.
I marked the lateral position on a scrap of veneer, and for the vertical positioning, I just used a marking gauge.
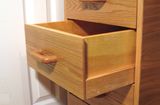
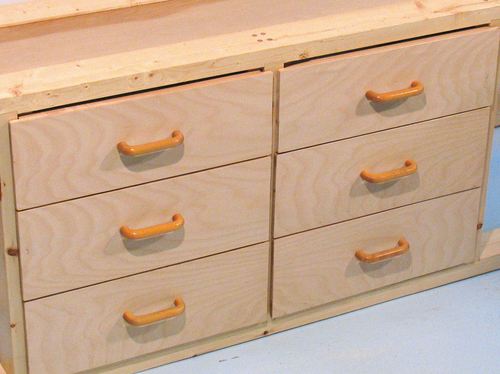 The drawer fronts all refaced and done. They look quite like new, until you open
them up and still see the original drawer liner inside.
The drawer fronts all refaced and done. They look quite like new, until you open
them up and still see the original drawer liner inside.
The new handles are actually used wooden handles from somebody's kitchen renovation. I got these for a few cents at a yard sale. Most of them were like new. My main expense was the veneer, but overall, these drawers cost a lot less to reface than to make new ones.
I used the drawers for my chest of drawers that I put in the bottom of my lathe stand
 More on wooden drawers (2008)
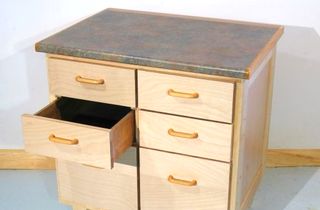 Building a dresser (2008)
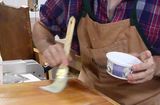 A simple varnish (2015)
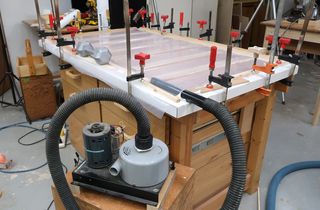 Vacuum clamping on the cheap (2021)
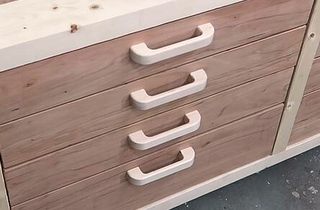 Making drawer pulls (2019)