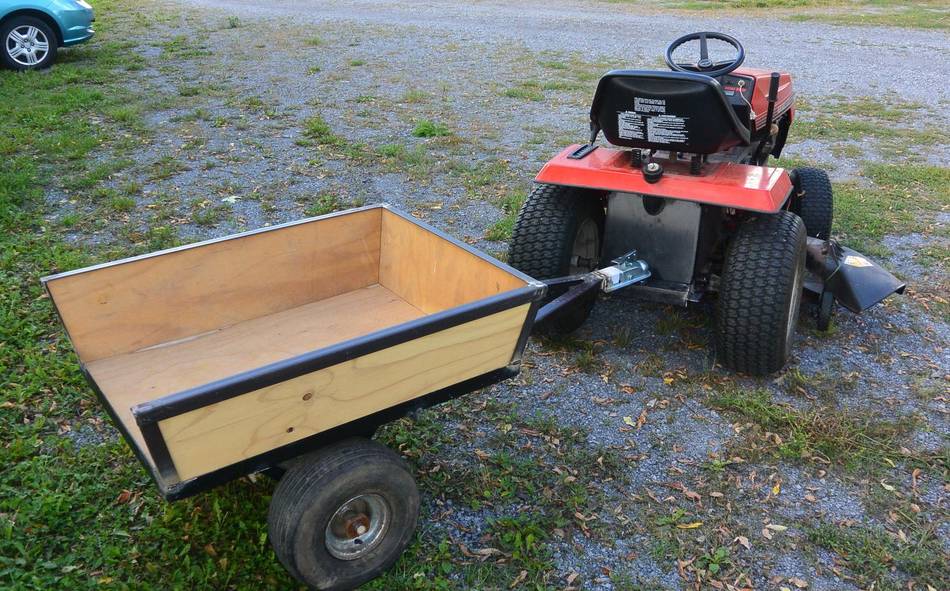
A lawn tractor and trailer is a very useful combination for hauling
things around a property. Being slow and low to the
ground makes the lawn tractor suitable for carefully positioning a trailer
for loading and unloading like in
this picture,
or here and,
here.
I wanted a small trailer to go with my
lawn tractor. I gathered mostly scrap material to
build it with, and it was a good opportunity to dabble with fabricating
something out of metal.
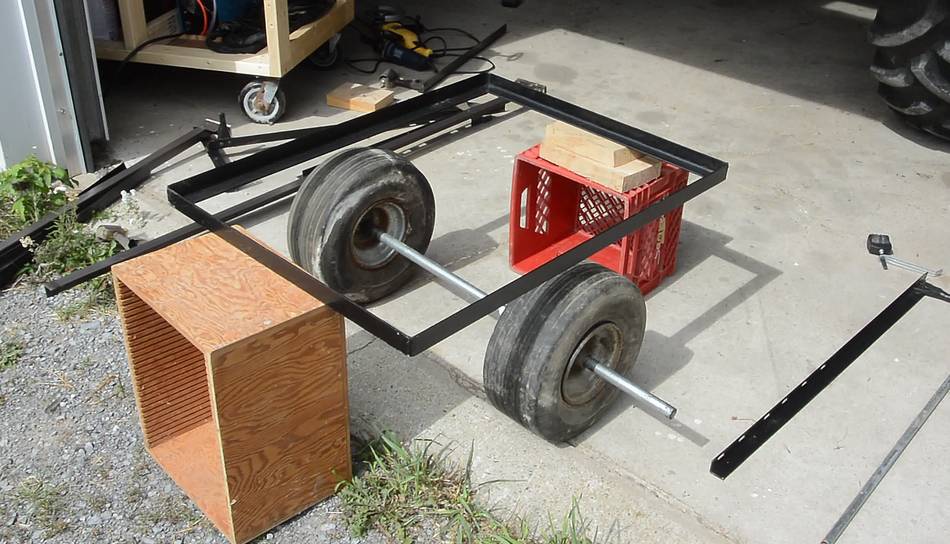
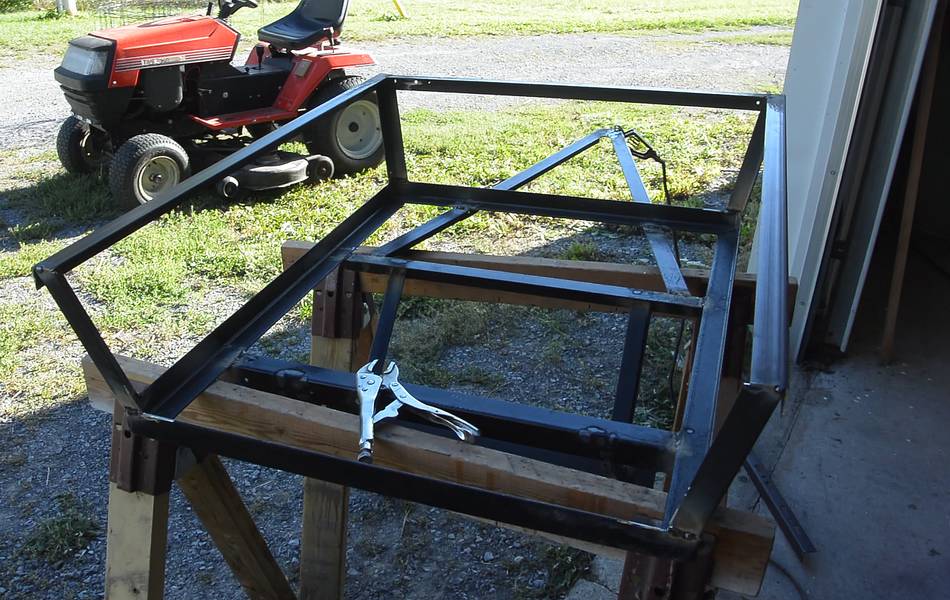
Here's mocking up the start of it. The rectangular frame is as I found
it by a dumpster. The wheels are the front wheels from the old
lawn tractor
shown here
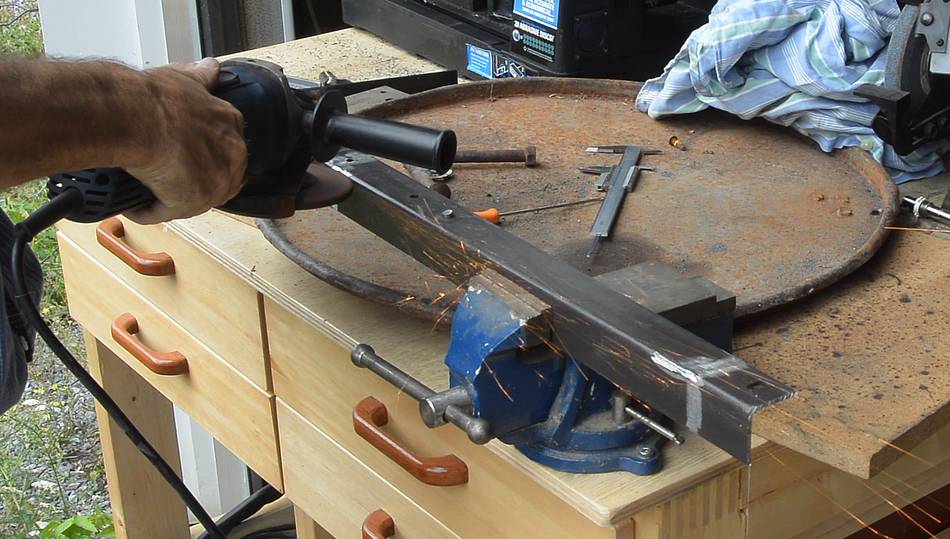
I find old bed frames in the garbage from time to time, and these
form most of the metal for this trailer. They are just angle
iron, riveted together. Here I'm cutting the head off one of the rivets
to pop the pieces apart.
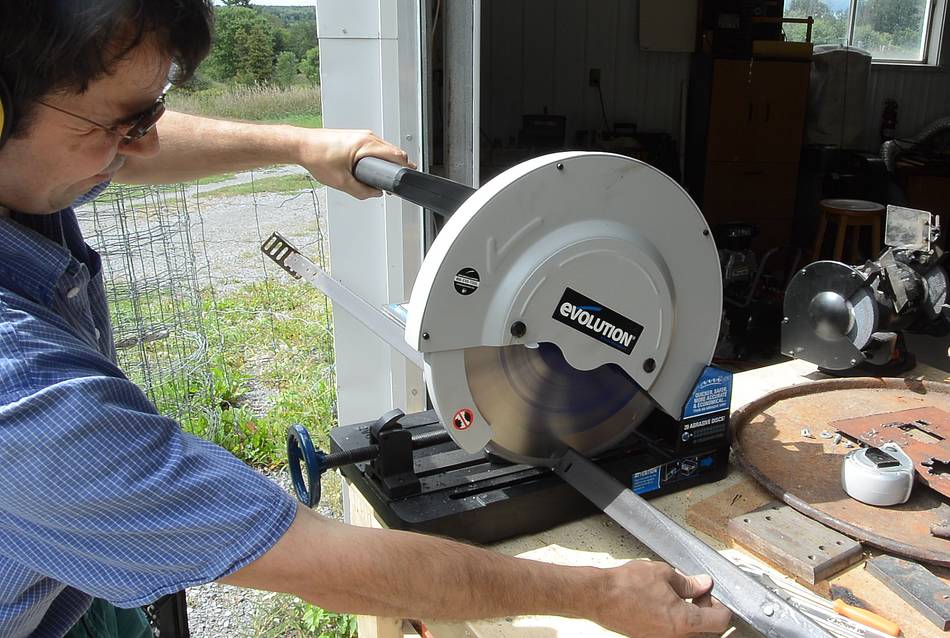
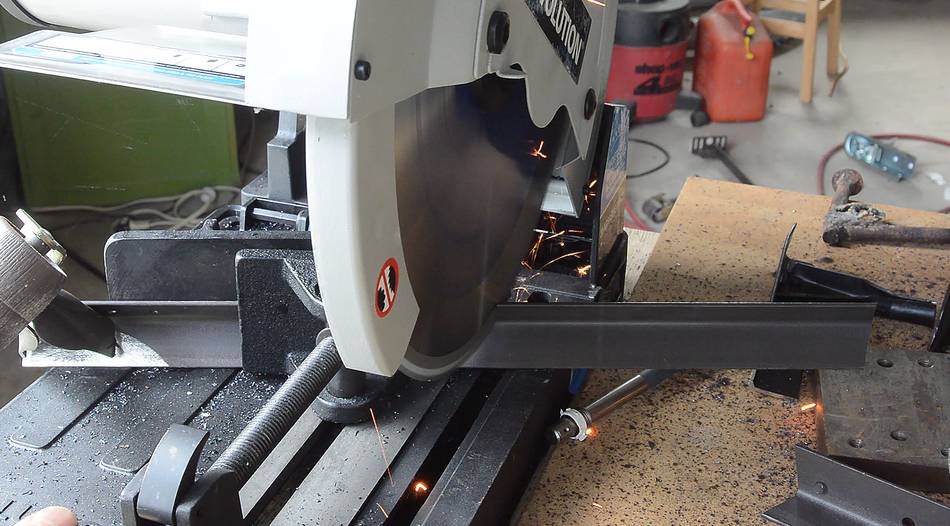
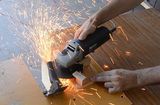
I'm using a carbide tipped "dry cut saw" to cut the angle iron.
The saw cuts nice, much smoother and faster than an angle grinder
or abrasive saw. I learned later that even though the saw cuts
the bed frame quite well, it's really meant for mild steel, and
the harder bed frame angle iron will cause the blade to wear out
much faster.
Here's checking how the axle support will work, nothing welded so far.
It was a bit tricky balancing the pieces like that for the photo.
Then grinding the paint off where the welds will be, both on the
flat surfaces and on the ends of the pieces that will tee onto
them.
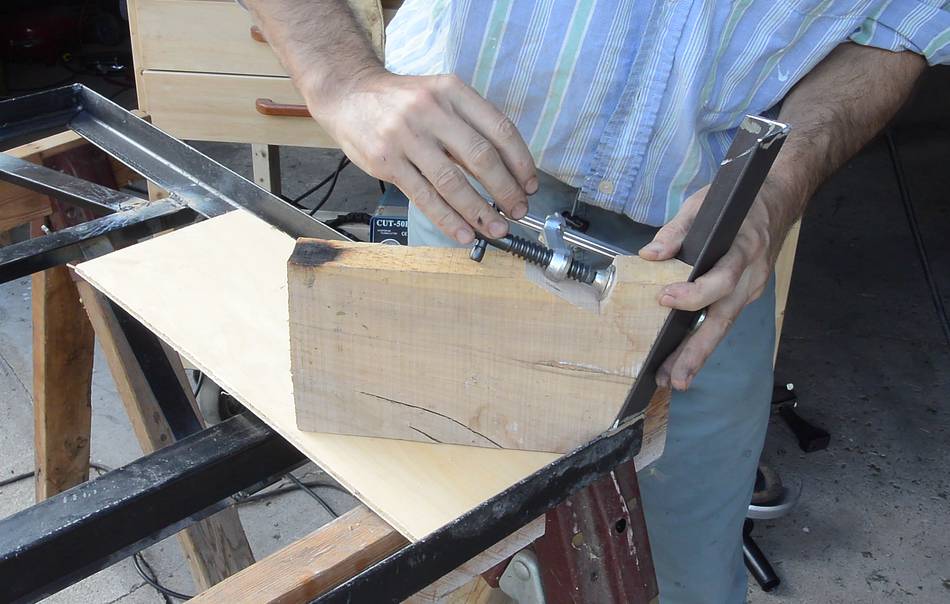
I don't have one of those magnetic welding angles yet, so I jigged
it up using a block of wood. The way I see it, first try to do
without a tool to establish that I really need it and then, maybe,
buy it.
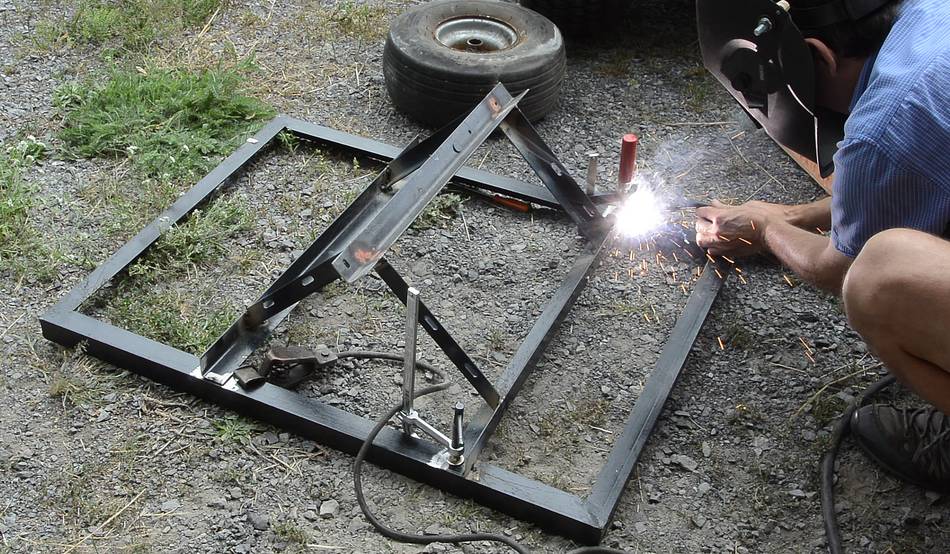
Checking the layout of the axle mount on the ground and tacking
it together. I then moved it back to the workbench to finish
up the welds.
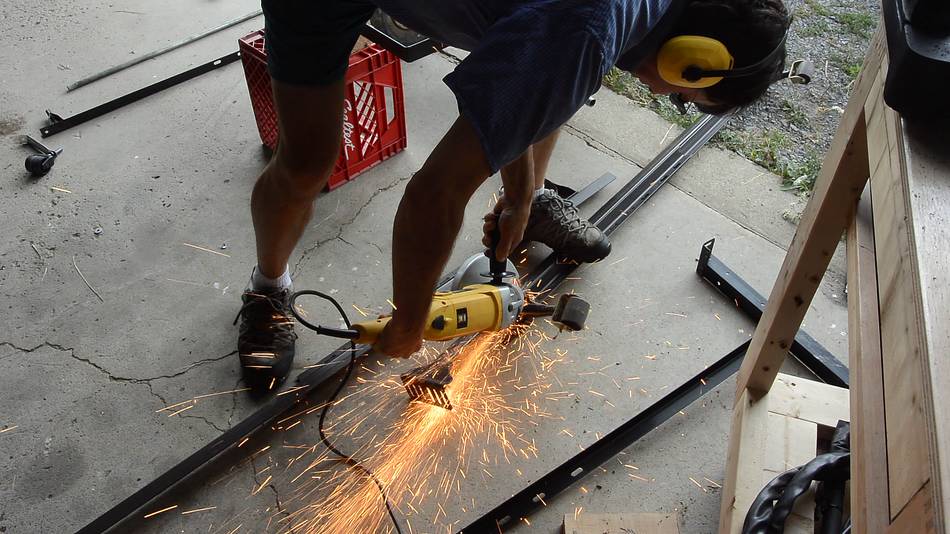
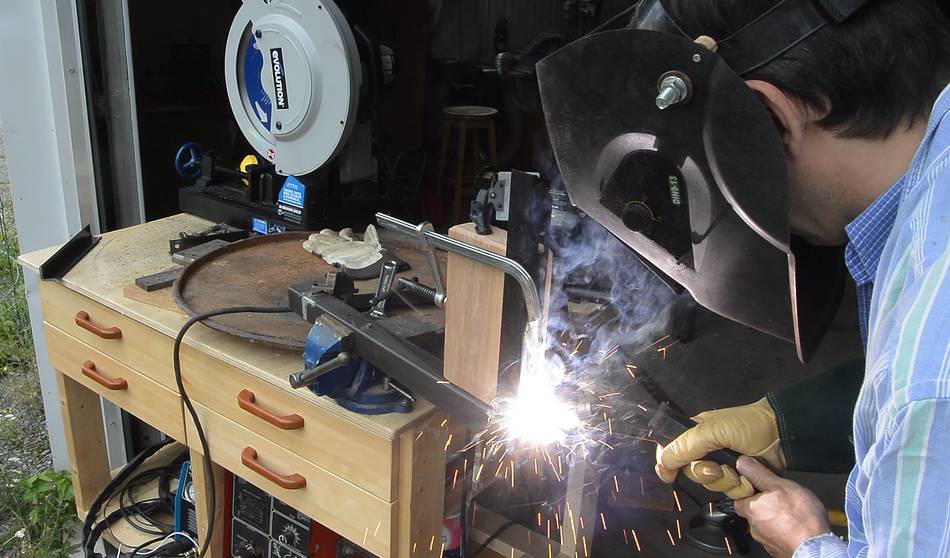
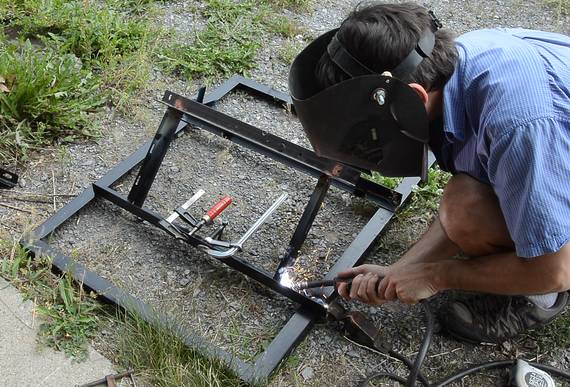
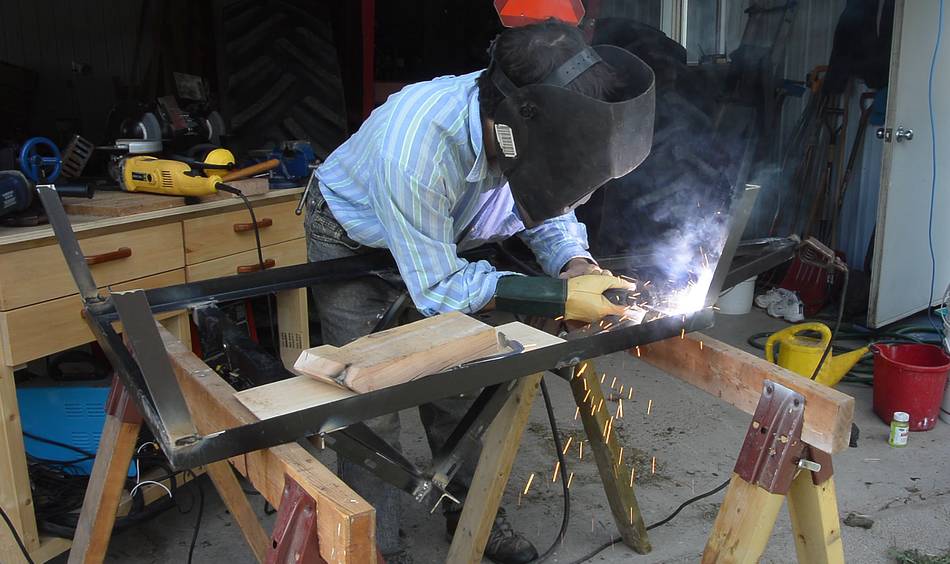
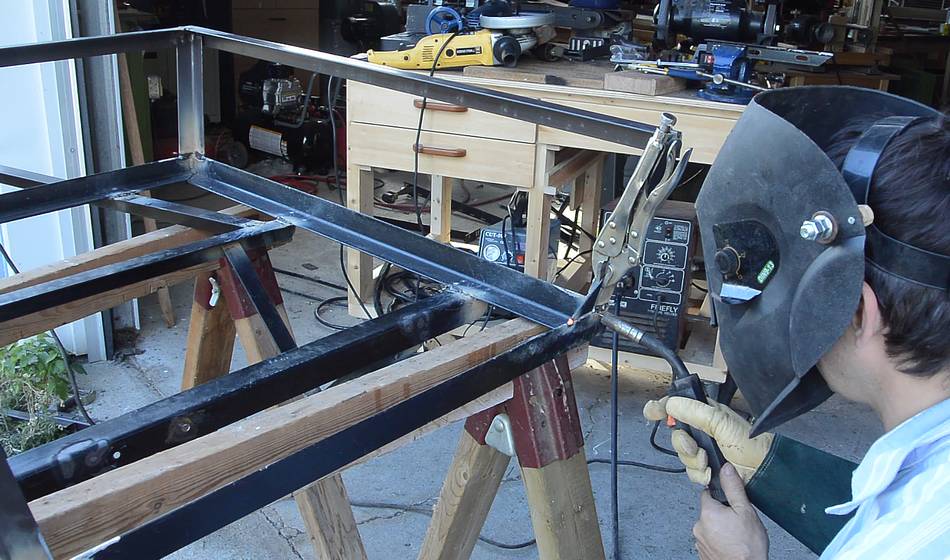
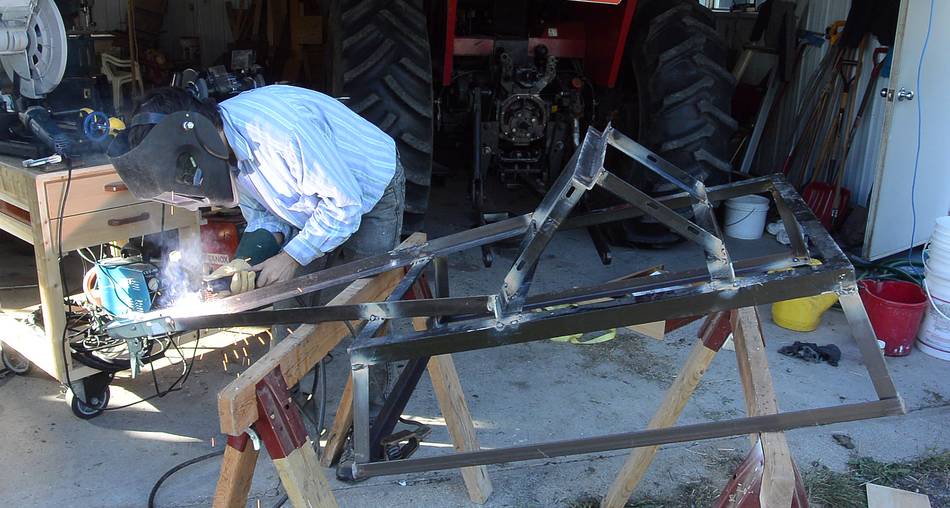
Then back on the ground to weld the axle mount to the frame.
By this time I'm wearing short sleeves and shorts. Not recommended
for welding, but the weather was too hot. The occasional sparks hitting
my arms were irritating, but not too bad. But I also ended up with a
sunburn on the inside of my left elbow of all places, plus where my
shirt wasn't buttoned up at the top.
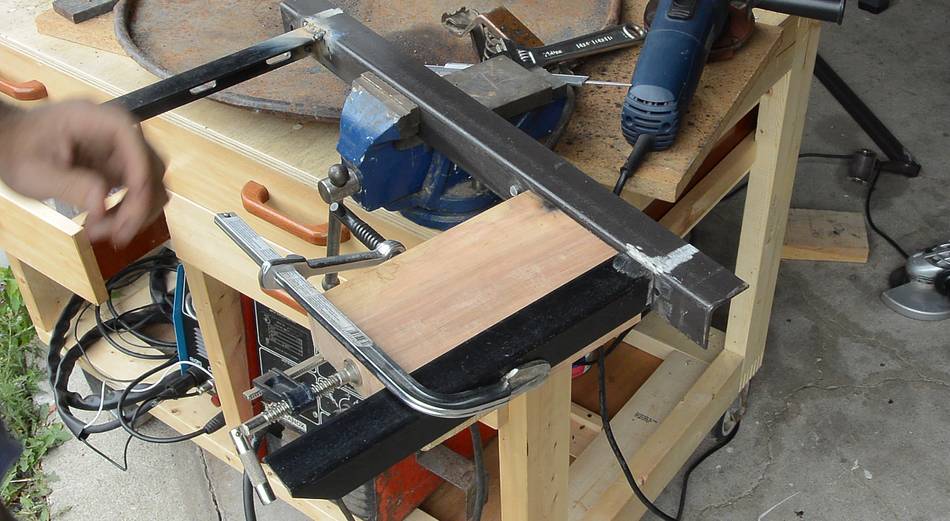
Welding on the trailer's tongue, also made out of angle iron, of course.
This was as far as I got on the first day, though I only had a few
hours that day.
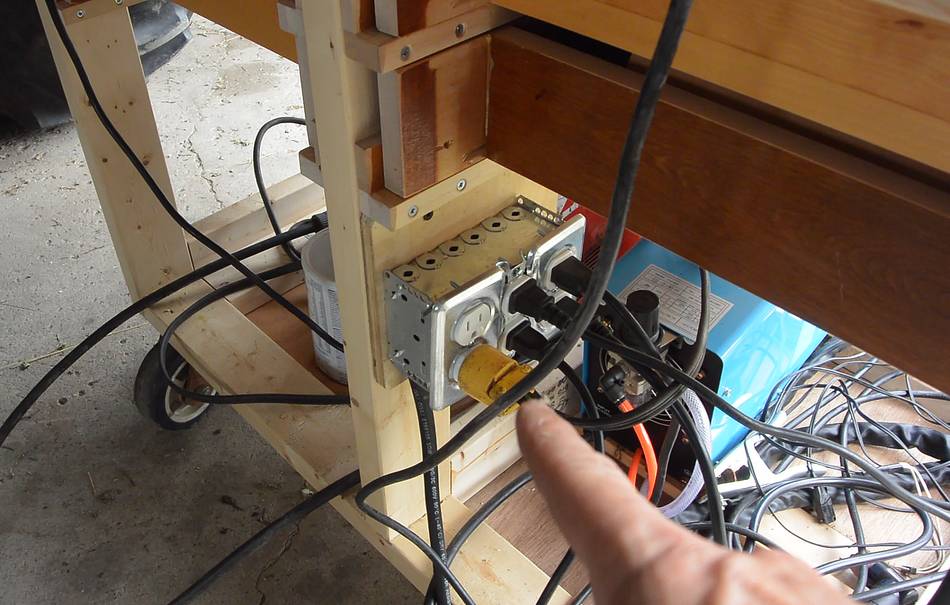
The next time I worked on it, first I made a heavy (14 gauge) extension cord
to attach to the back of my workbench so I wouldn't have all these
other extension cords getting in the way. This improved my work flow
quite a bit. I also dragged out some sawhorses so I wouldn't have to work
on the ground.
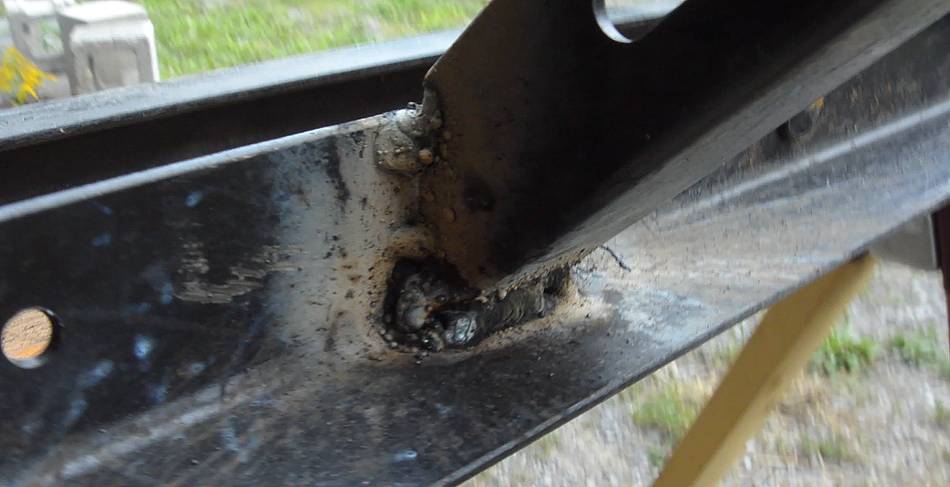
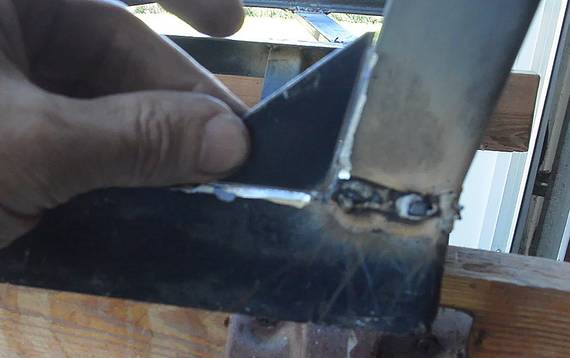
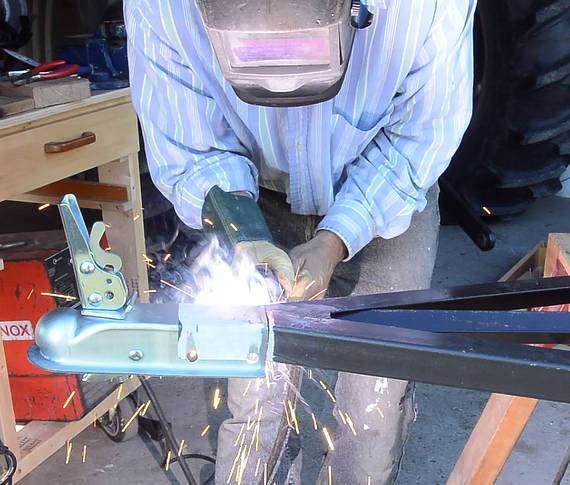
What you don't see a lot of people's first-time welding YouTube videos is
close-up views of the welds. I thought I'd counter that trend by showing
my really awful welds.
But as time went on, I got better at it. What made a big difference is
when I ran out of the .030" diameter flux core wire and switched to .035"
diameter wire. For some reason, that worked much better for me. I was
satisfied with some of my welds with this.
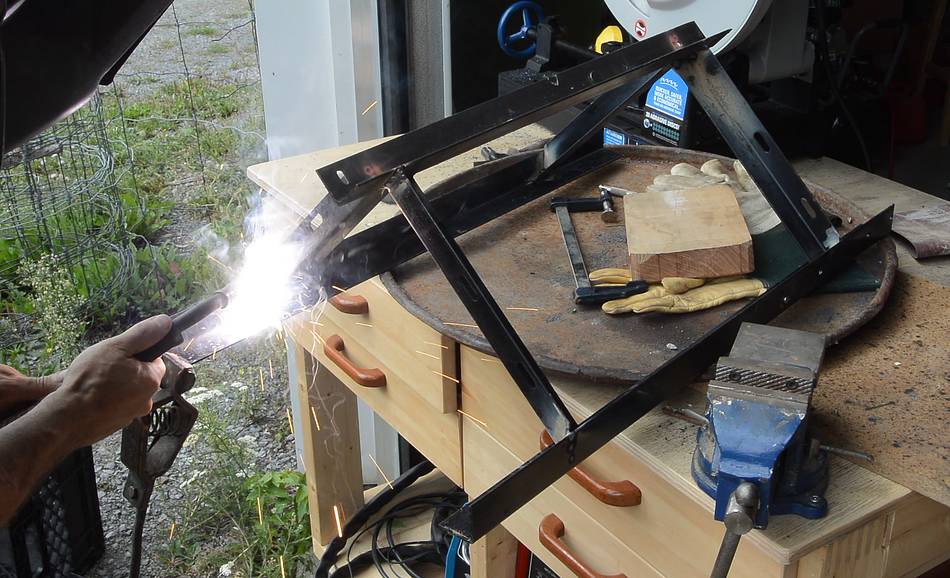
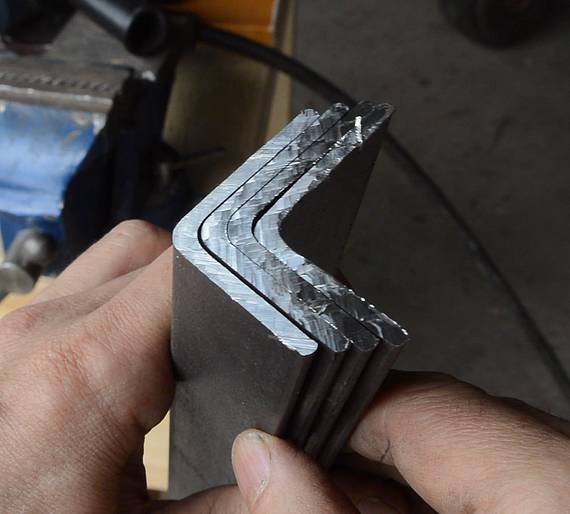
My trailer box was on the small side, so I angled the sides outward
on all sides. This requires a compound angle cut, but the chop saw doesn't
tilt. But by clamping the angle iron at a 45-degree angle (easy enough
with angle iron), I as able to cut the miter no problem.
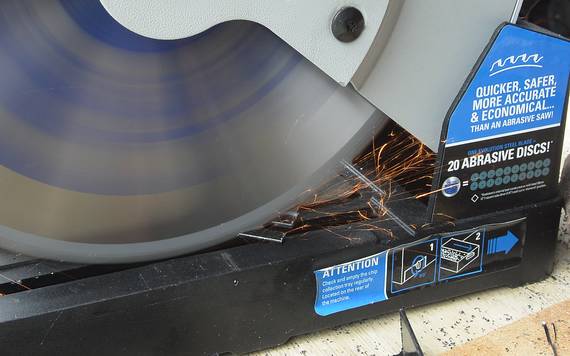
I have to say, I'm very pleased with how clean this saw cuts.
To jig the pieces up at the right angle, I cut a block of wood to fit into
the angle iron so I could clamp it in just the right position.
The block of wood rests on a piece of plywood as a flat "reference" surface.
I have to say, for making a quick jig like that, wood sure beats metal!
Then tack welding the piece on.
Once it was tack welded, I removed the wooden block and welded the angle iron
on all sides. That way, my block of wood didn't end up catching fire from
the heat.
Some more pieces of angle iron form the top edges of the box.
Except for the opening at the back, all the joints are effectively
reinforced by the surrounding joints.
I don't have that much faith in the integrity
of my welds, so I made some gussets to add to the back corners.
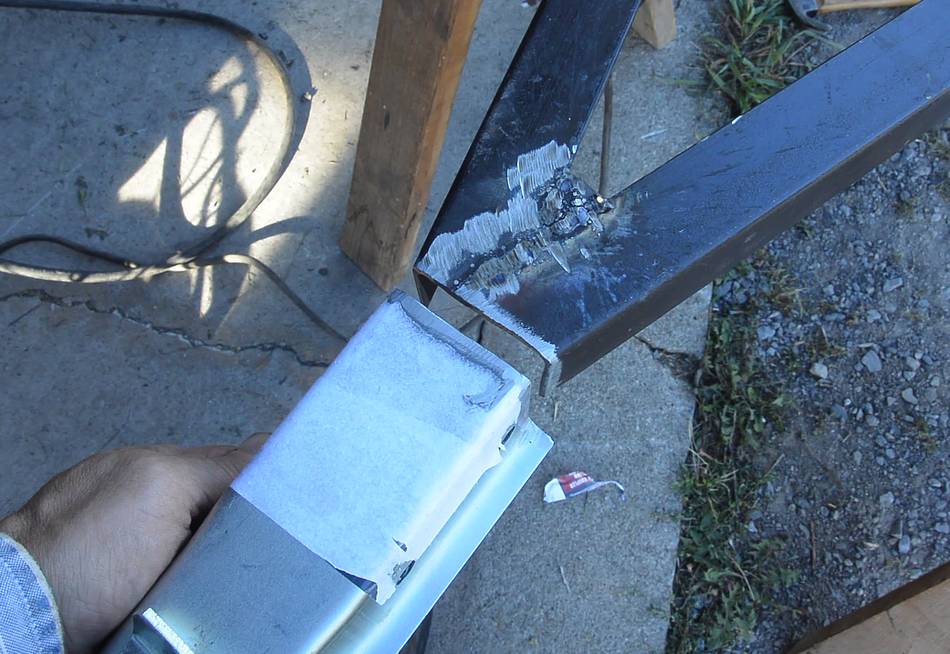
I wanted a proper trailer hitch so I could also attach it to my ATV.
The hitch is designed to be bolted onto a rectangular channel, and
I was tempted to add one to the tongue. But then I had the idea
of just welding it straight onto the end of the end of the angle iron
I already had in place. This was the least work and added the least
amount of weight.
I ground the chrome and paint off the end before welding it.
Welding it on, all sides, inside and out. I'm not sure about any
dangerous fumes that might be released from welding next to the
plated steel, so I held my breath while welding, then backed
away to catch my breath.
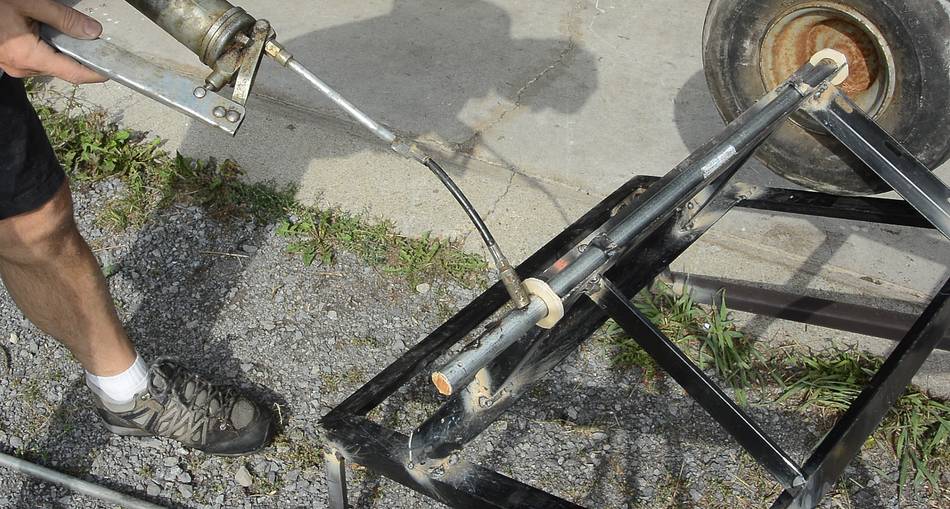
The wheels have 26 mm holes in them. The closest "shaft"
I had lying around was some electrical conduit. It seems stiff
enough, but it's very thin-walled. So to maybe stiffen it up a
little, I whittled some hardwood to fit tightly inside and
pounded that in both ends.
This may or may not hold. If it bends, I'll have to buy some
more solid axle material.
I made a plywood washer to go between the wheel and the frame. Hre I'm
applying some grease to the shaft, before sliding the wheel on.
The wheel is held in place by another piece of very hard wood slid on
the axle after the wheel, which is held in place by a pin (a nail) through
it and the axle. The nail has a slight bend to so it stays stuck in
this block of wood. Big washers would have been more suitable, but
didn't feel like going shopping just for that.
Flipping it over (for the last time). The trailer now has wheels. So
much easier to move this way!
Now I just need to make wooden panels for the box.
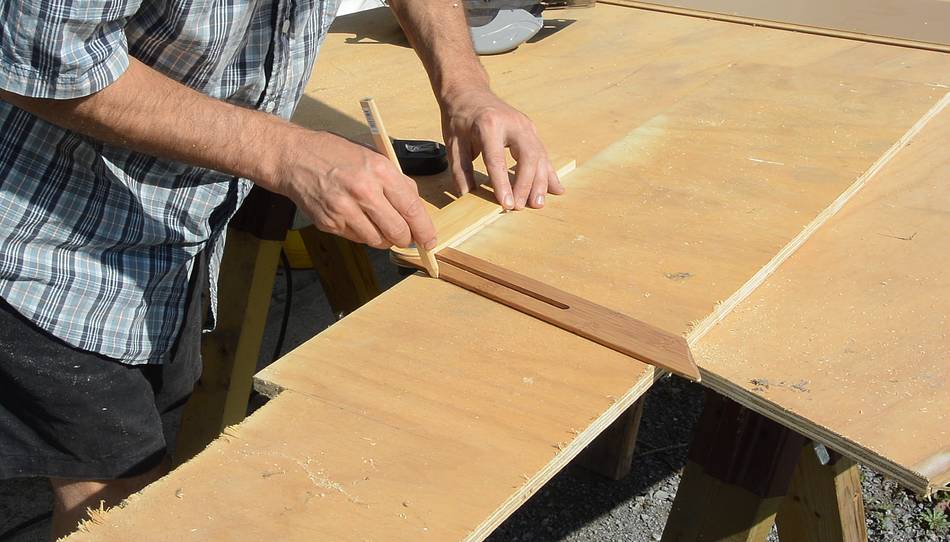
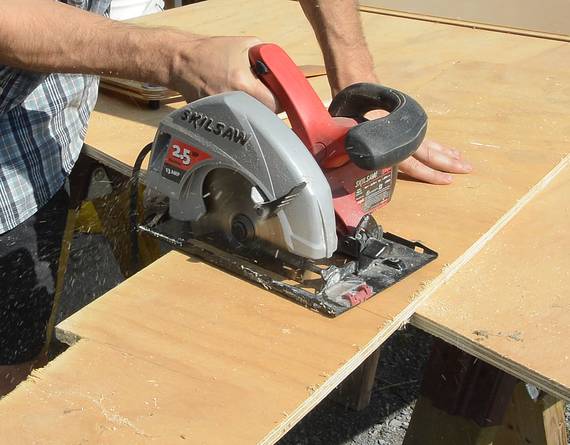
With the box sides splayed outward, all the sides have angled ends.
I measured the angle for each side straight off the trailer to make
sure my pieces fit the metal frame. I'm using my big
homemade bevel gauge,
then cutting with a circular saw.
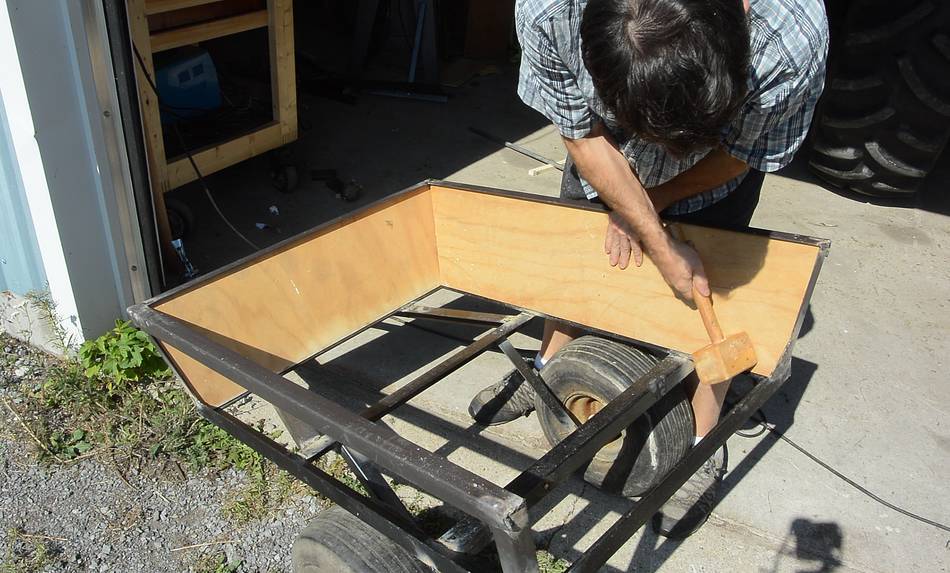
The sides fit tightly. I measured the width for the sides on the front and
back, but the bottom rail bowed upward slightly as a result of distortions
from welding. Pounding the sides in forces the bottom rail straight again.
So the side, in a way, is adding reinforcement.
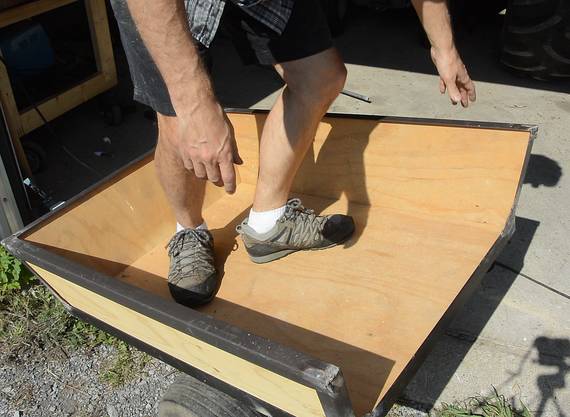
I pressed the bottom in by standing on the trailer and stomping it down.
The bottom fixes the sides in place, and gravity holds the bottom down, so
no part of the box needed any fasteners.
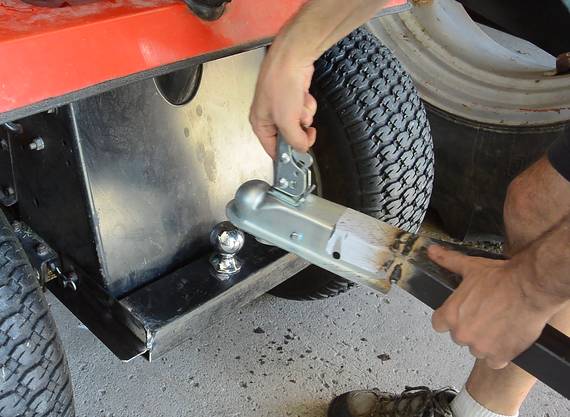
Trailer hitch for the lawn tractor
I need to mount a hitch ball on the tractor somehow. The hitch ball's bolt
is a bit too big to fit in the hole, and I also need to mount the hitch ball
a little higher than it is here. I gave it some thought, then decided to make
a bracket that attaches to the rod that sticks out either side.
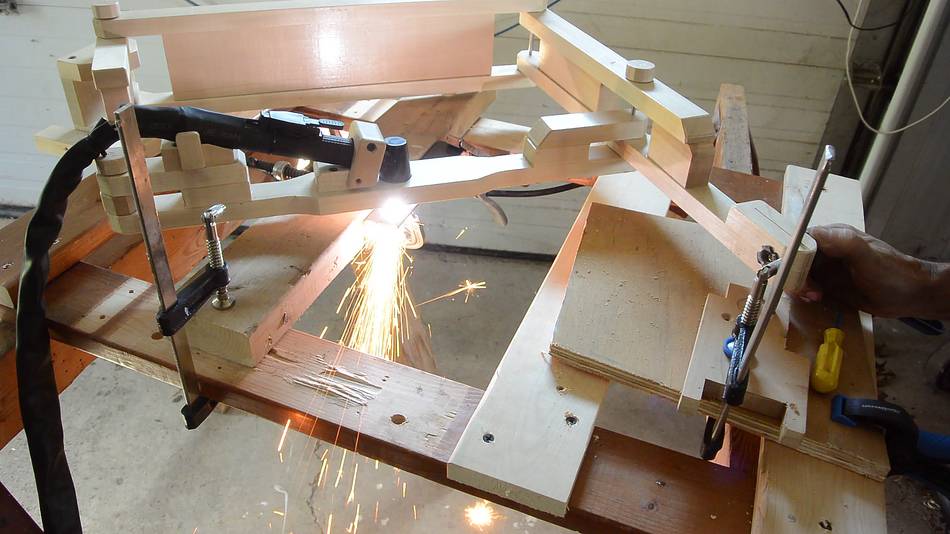
That rod is 16 mm in diameter, and my largest metal drill is 1/2" (13 mm).
So I used my plasma cutting pantograph
to cut a hole of the right diameter in some angle iron.
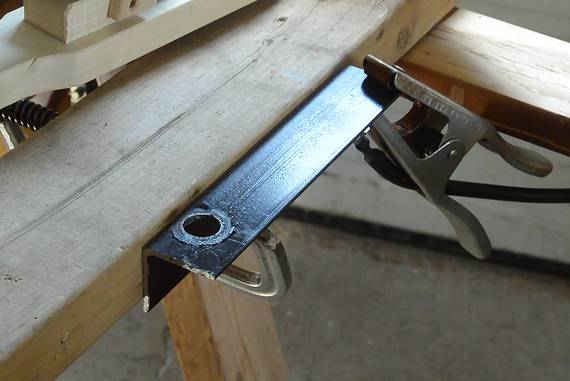
The hole was a bit tight, but the plasma cut edges ended up very hardened,
so I couldn't file it out. I had to cut it slightly larger with the
plasma cutter.
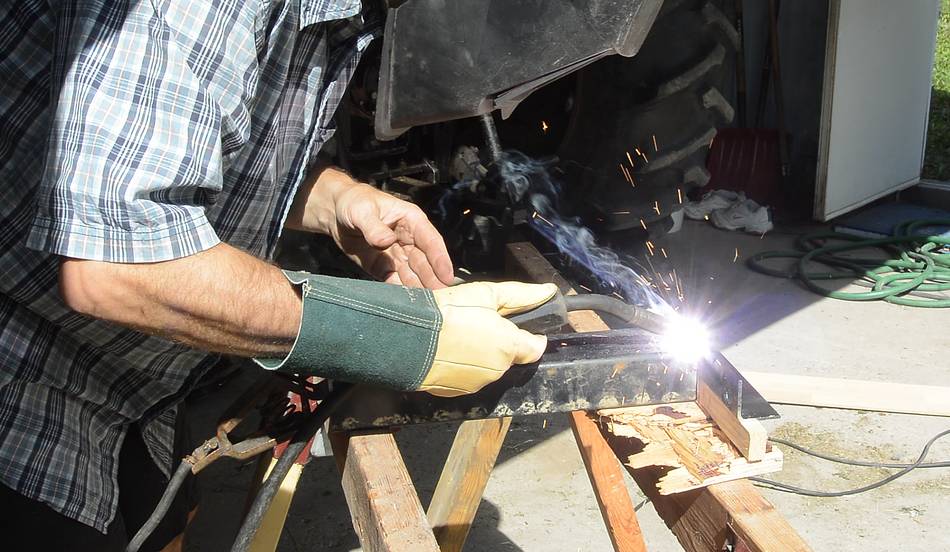
Then welding the bracket together. Two pieces of angle iron and a hollow
rectangular channel.
I plasma cut a hole in the top of the channel and a larger hole in the
bottom to allow me to mount the hitch ball to it.
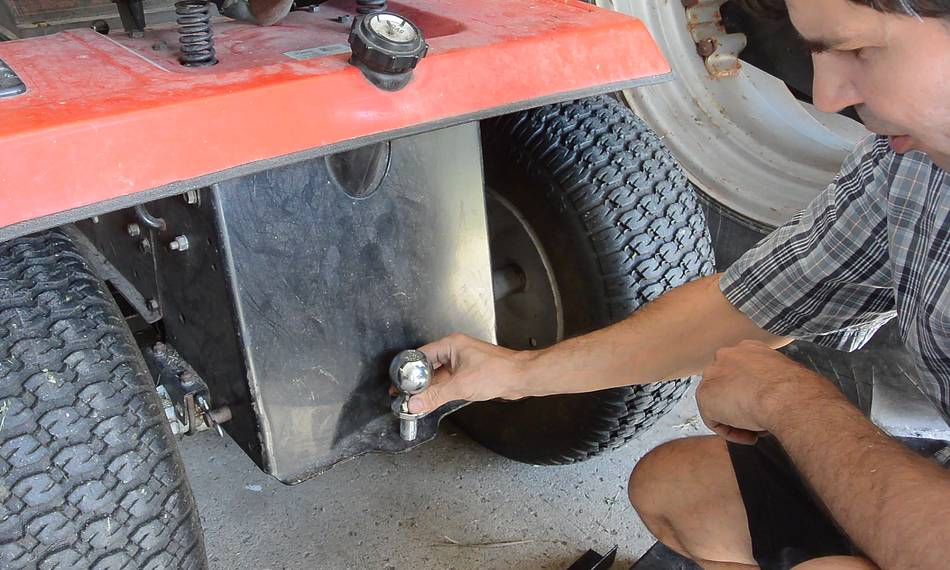
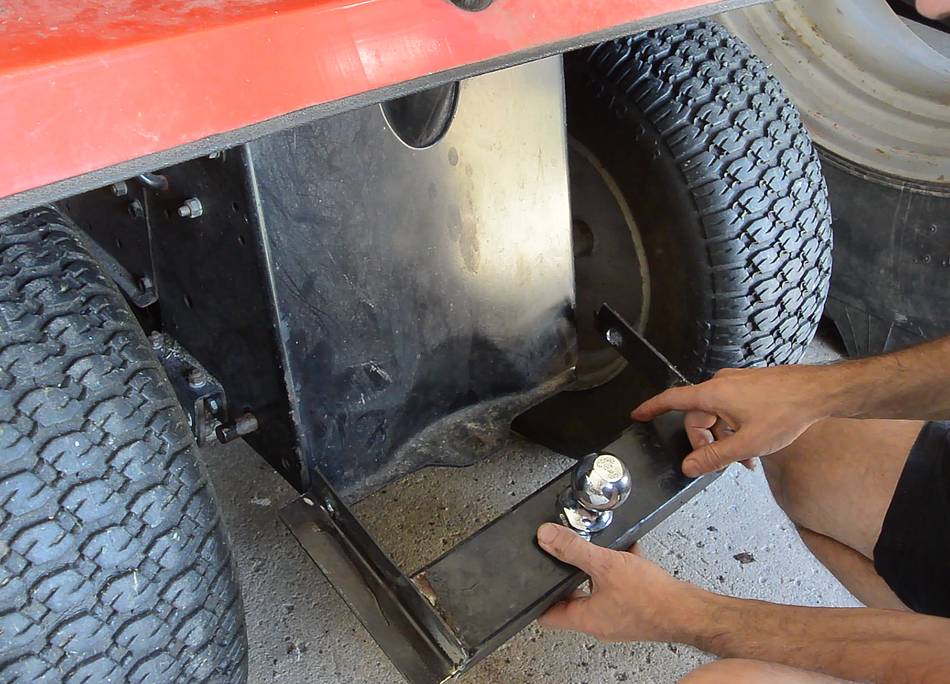
The bracket mounts without the need for any new holes or welding anything to
the tractor, though it's a bit of a puzzle to get it on. The steel rod in the
back of the tractor needs to be slid to the left, then through the hole on
the right side and further right so the left side of the bracket can be
slid in place, then back to the middle and the cotter pins applied.
The bracket also has a small hook on the bottom to keep it from tilting up
if there is any pulling up on the hitch ball.
It would have been much easier to make the trailer attach to the existing
hole on the back of the lawn tractor, but this way I
can use this trailer with the ATV and also put my big car trailer
on the lawn tractor.
I later searched for lawn tractor hitch mounts on the web, and
I think this design is sturdier and more elegant than commercially available
ones.
Finished trailer. After this, I did some mowing while towing the trailer
all around the lawn, just for the heck of it and to test it out.
And then I picked the apples. Standing on a stool on the trailer let me get
at some of the higher ones. A stepladder would have been even better, but
this trailer is too small for that.
 A lawn tractor and trailer is a very useful combination for hauling
things around a property. Being slow and low to the
ground makes the lawn tractor suitable for carefully positioning a trailer
for loading and unloading like in
this picture,
or here and,
here.
A lawn tractor and trailer is a very useful combination for hauling
things around a property. Being slow and low to the
ground makes the lawn tractor suitable for carefully positioning a trailer
for loading and unloading like in
this picture,
or here and,
here.


 Angle grinder flat cut-off jig
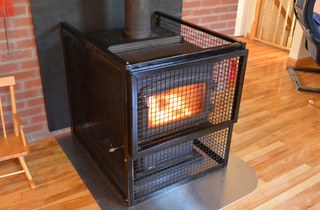 Wood stove baby fence
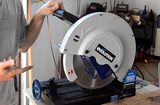 Evolution dry cut saw review
 Make angle grinder cutoff disks last 10x longer
 Lawnmower of destruction
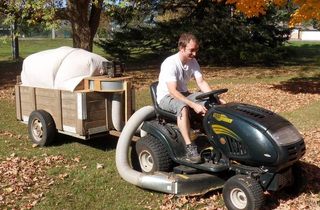 Leaf vacuum trailer
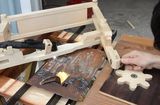 Plasma cutting pantograph
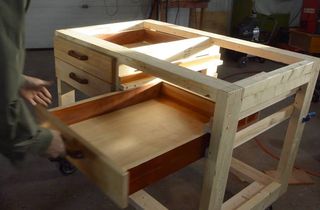 Workbench for welding
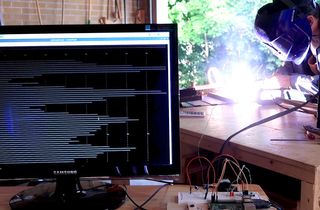 Measuring welder current with a computer
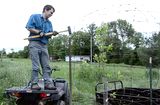 Anti-deer tree cage
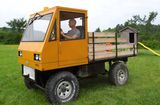 Andy's homemade truck