 After I built this corkboard,
I found a big one in a dumpster. One corner was broken and the MDF frame was
kind of ratty. But Harriet wanted a corkboard for her room, so I took it home.
After I built this corkboard,
I found a big one in a dumpster. One corner was broken and the MDF frame was
kind of ratty. But Harriet wanted a corkboard for her room, so I took it home.
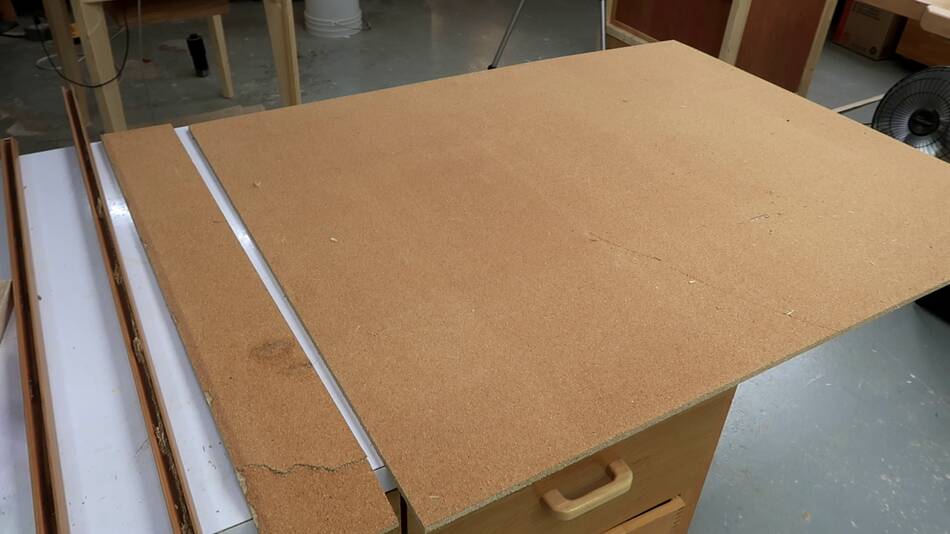
After I built this corkboard,
I found a big one in a dumpster. One corner was broken and the MDF frame was
kind of ratty. But Harriet wanted a corkboard for her room, so I took it home.
I broke the frame off of it, then cut off the bad part, and another 1 cm everywhere else to get clean edges again.
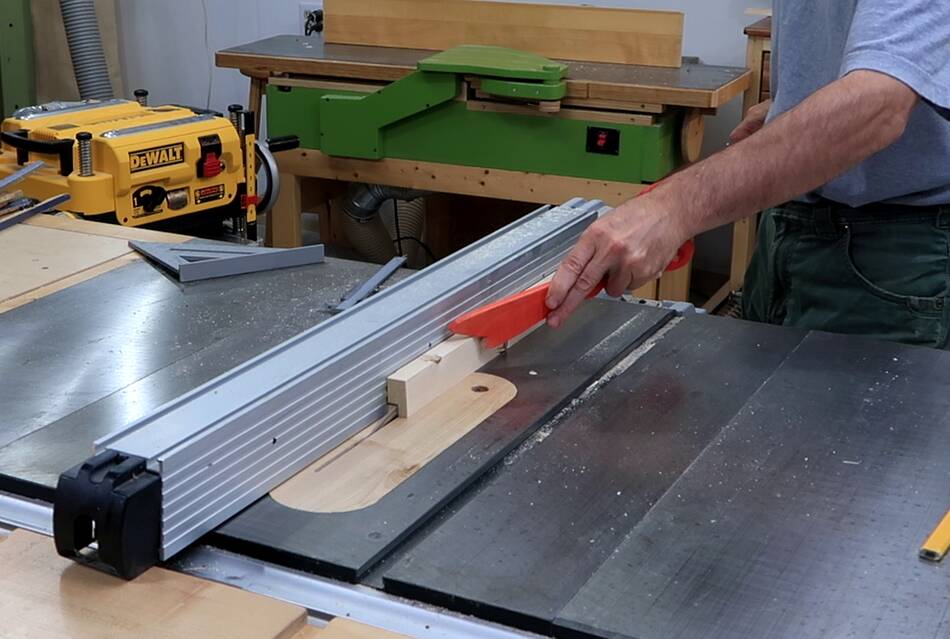 I used some spruce 2x4 material to make a new frame. I cut a rabbet
for joining it with the corkboard.
I used some spruce 2x4 material to make a new frame. I cut a rabbet
for joining it with the corkboard.
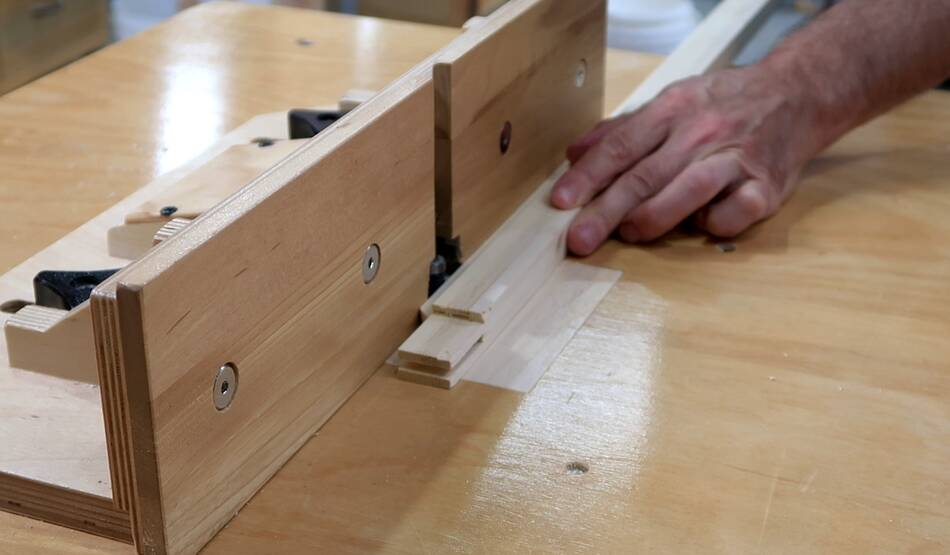
 I then cut a wide flat sort of box joint, similar to
this joint, but with the box
joint jig instead of the tenon jig.
I then cut a wide flat sort of box joint, similar to
this joint, but with the box
joint jig instead of the tenon jig.
 But with the rabbet on the inside, that would leave an ugly gap
that needs filling on the inside corners.
But with the rabbet on the inside, that would leave an ugly gap
that needs filling on the inside corners.
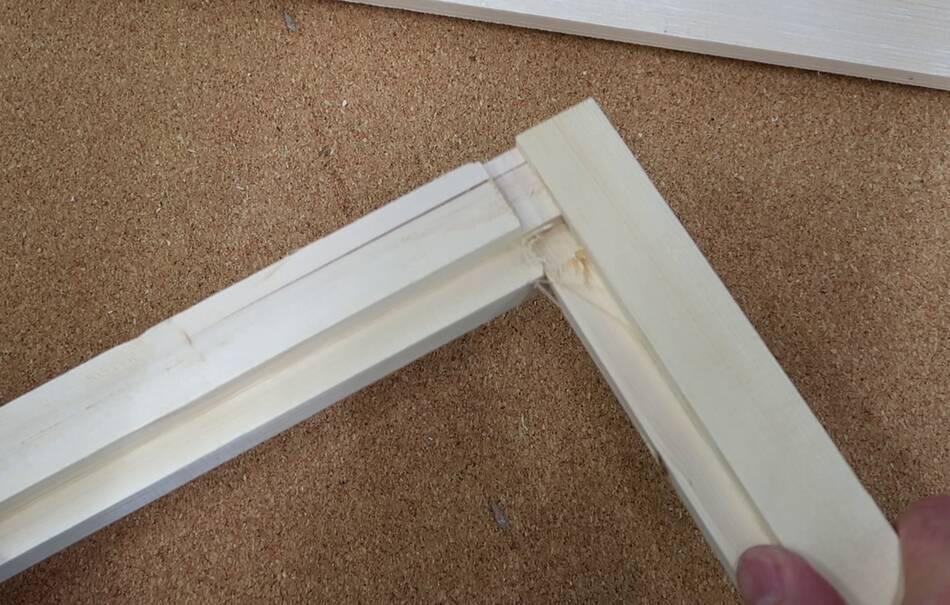
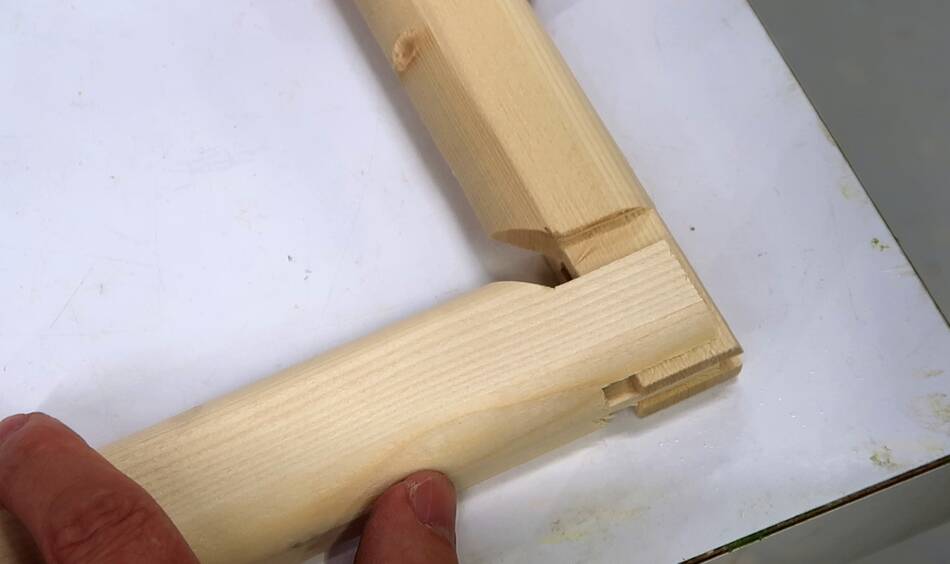
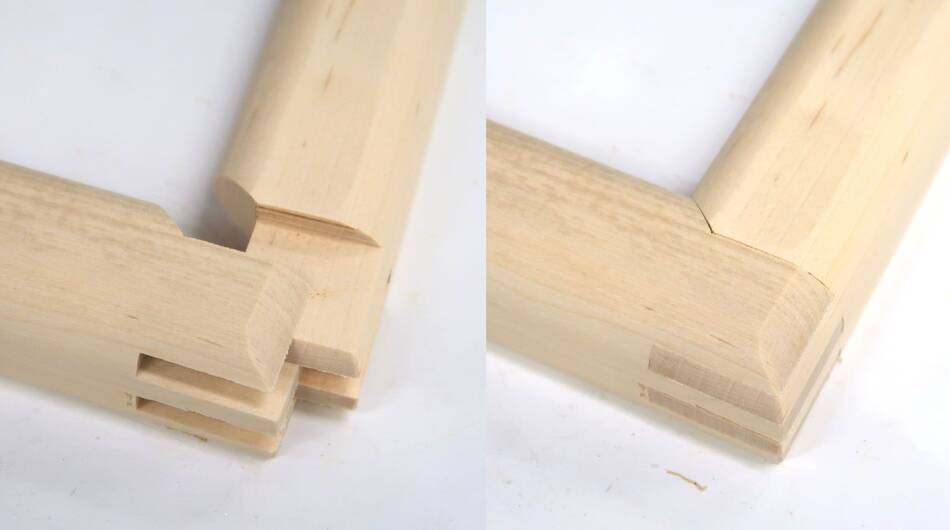
 So instead, I made this a half box joint, half miter joint.
 I cut away the width of the rabbet from the inside to make
that part a miter joint.
I cut away the width of the rabbet from the inside to make
that part a miter joint.
 And that way, it fits together without any gaps where the rabbet
is, because the rabbeted part is a miter joint.
And that way, it fits together without any gaps where the rabbet
is, because the rabbeted part is a miter joint.
 Then adding a 1/2" round over on the inside and outside front edges.
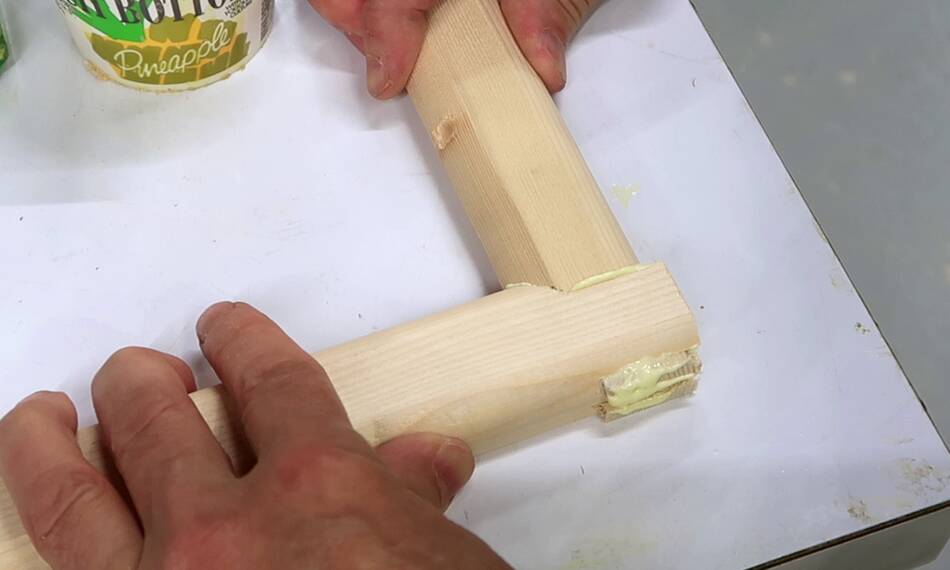 And gluing it together.
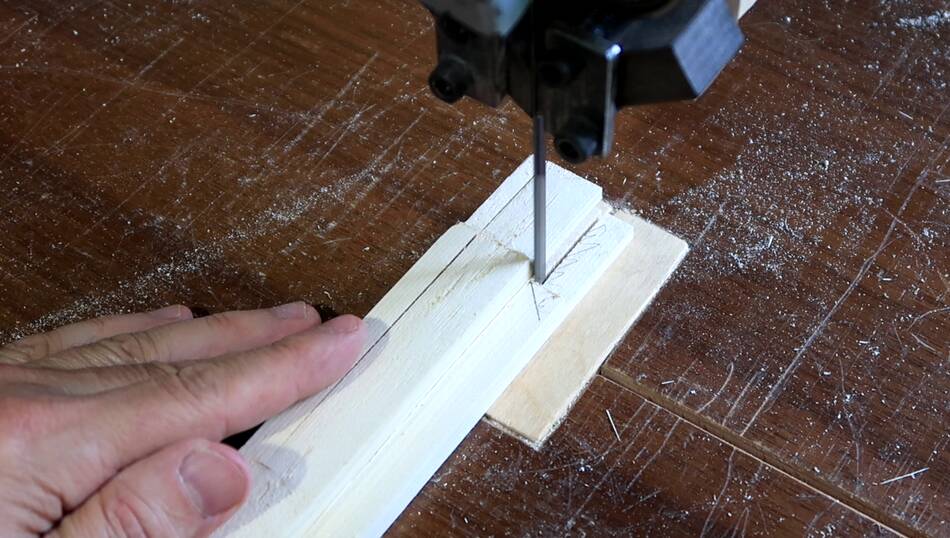
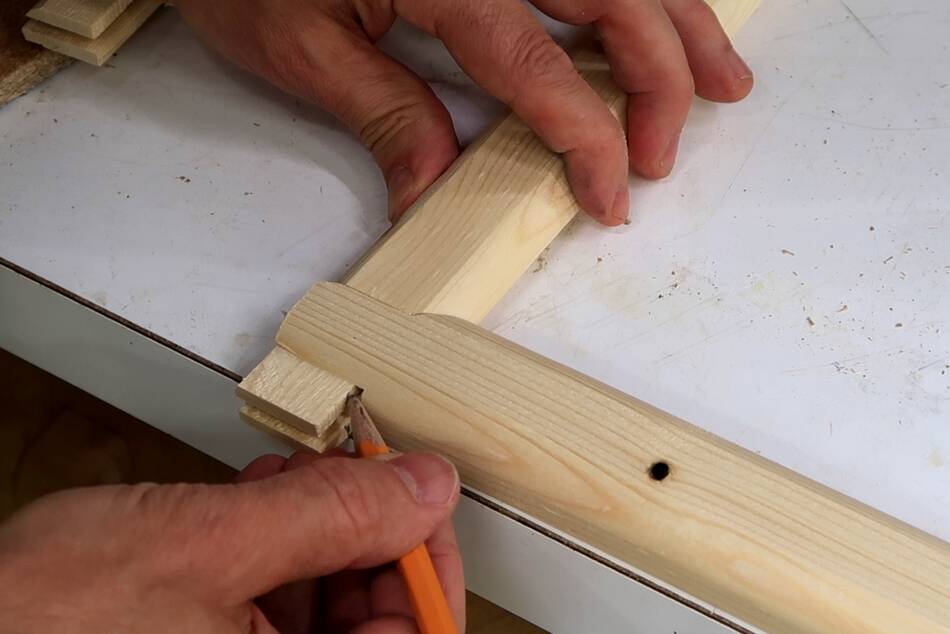 For the second joint, I had the idea of marking how much the pieces
protrude by...
For the second joint, I had the idea of marking how much the pieces
protrude by...
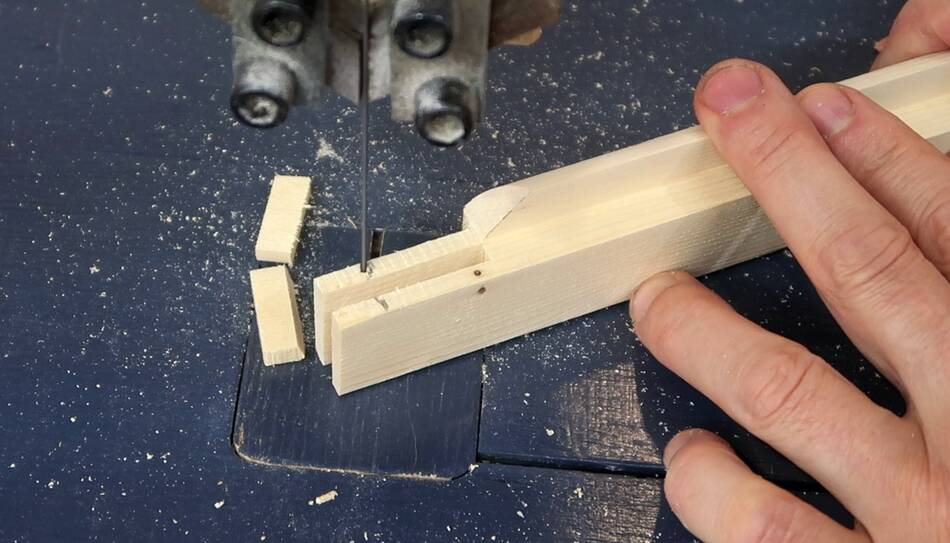 ... and cutting that on the bandsaw. That makes for less
trimming afterwards.
... and cutting that on the bandsaw. That makes for less
trimming afterwards.

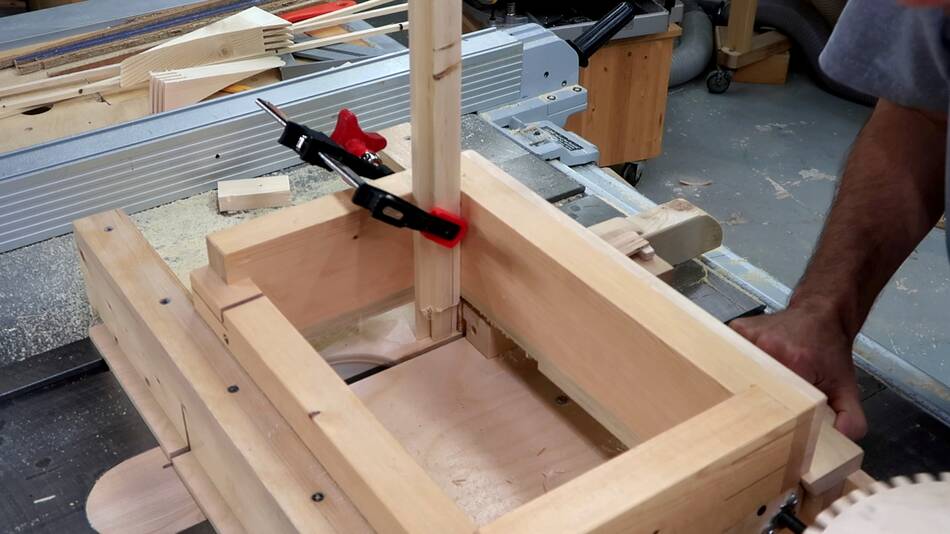
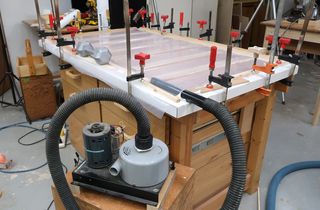
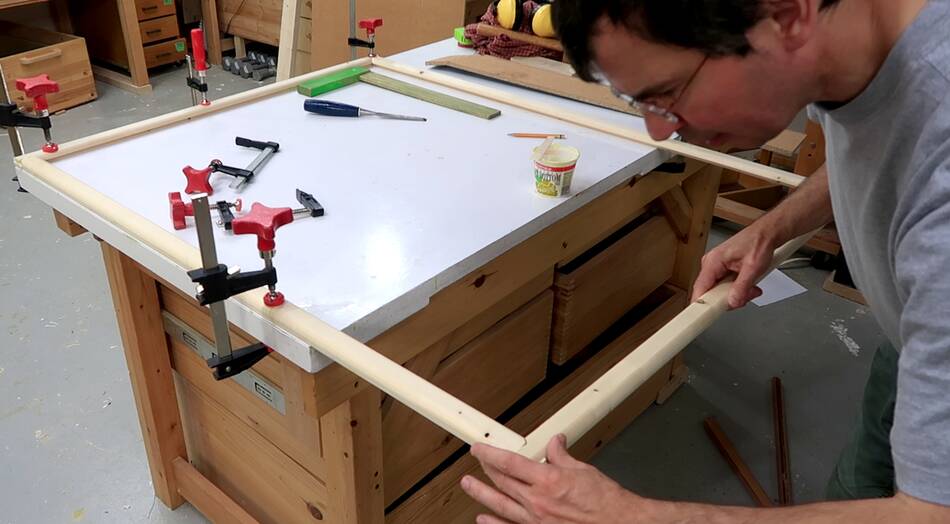 After gluing the first two joints together, I clamped it all to
my workbench to make sure I didn't knock the joints out
of square while gluing on the last piece, with the glue still
wet on all the joints.
After gluing the first two joints together, I clamped it all to
my workbench to make sure I didn't knock the joints out
of square while gluing on the last piece, with the glue still
wet on all the joints.
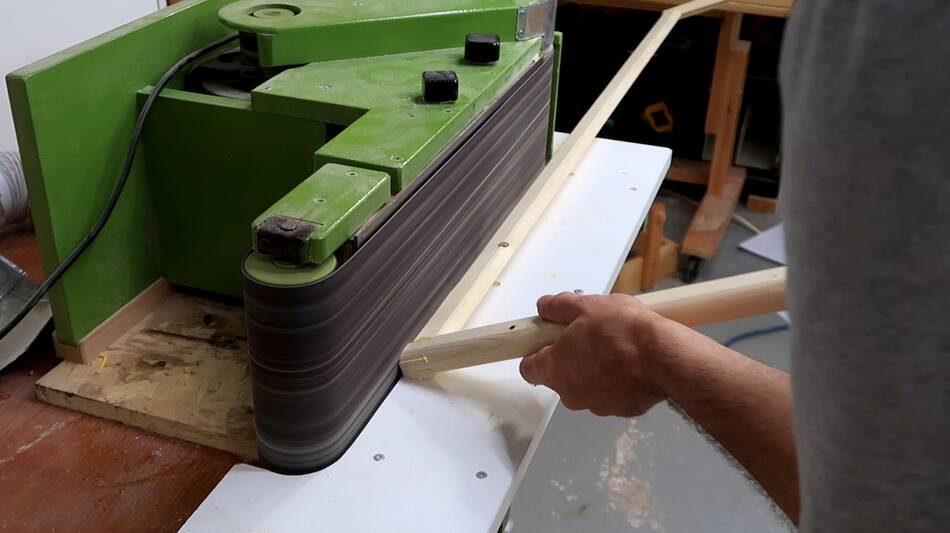 I could have used my router table to do extend the
roundover to the joint, but I was worried I might get chipout
from that. So I used my belt sander, carefully following
the profile I already had, to shape the corner.
I could have used my router table to do extend the
roundover to the joint, but I was worried I might get chipout
from that. So I used my belt sander, carefully following
the profile I already had, to shape the corner.
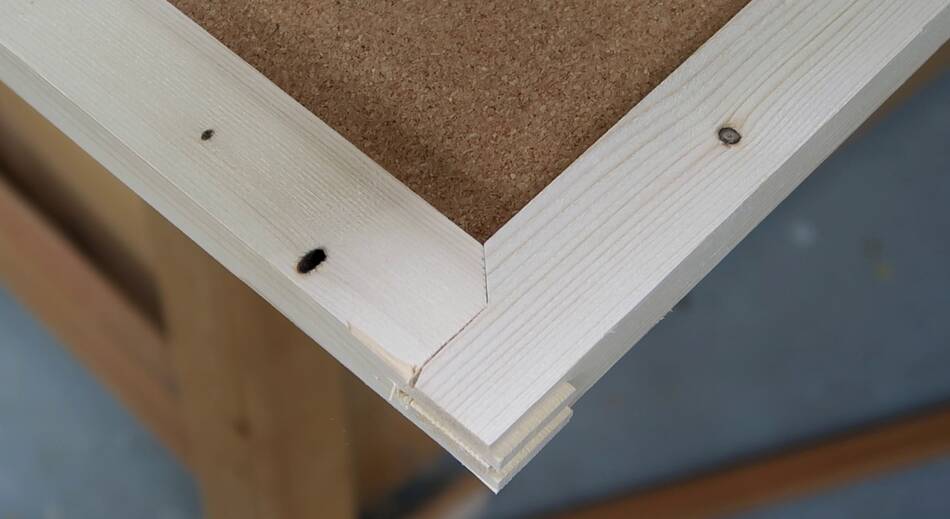
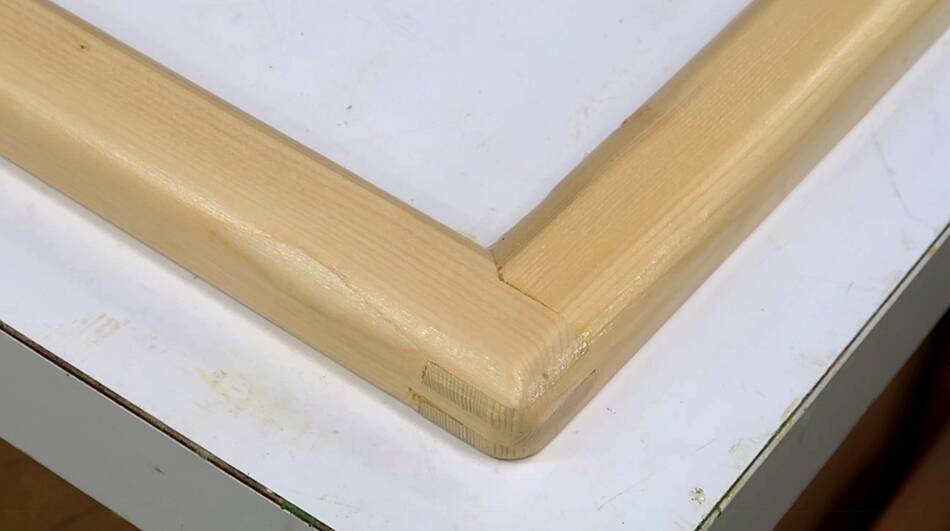
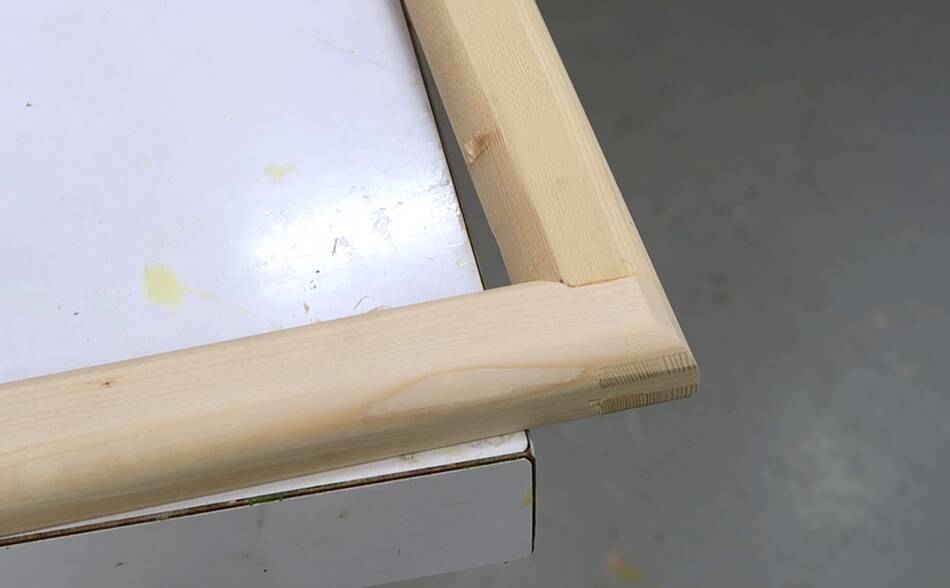 Corner joint done.
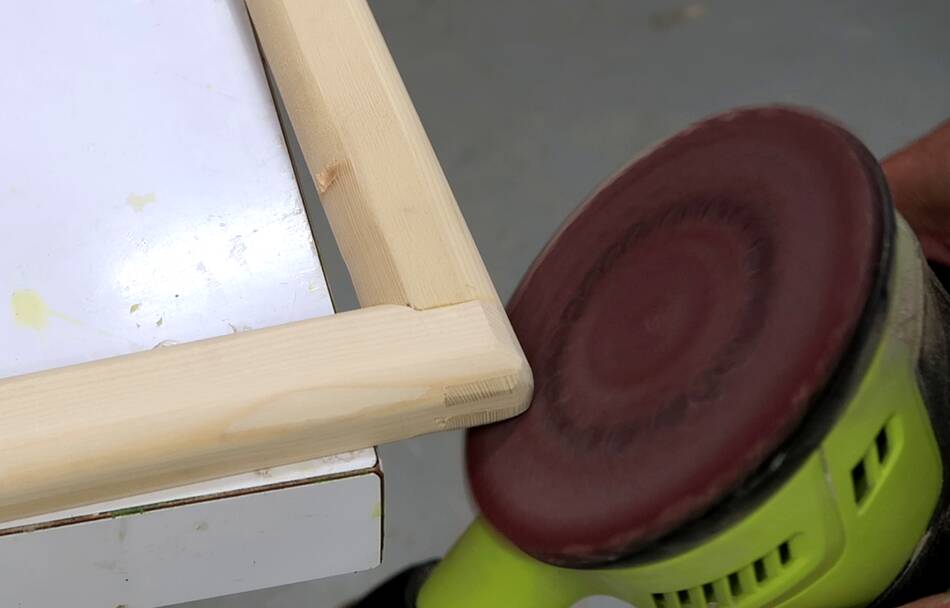 But then I rounded the corner itself, just to cause less damage
if the corkboard were ever to fall down.
But then I rounded the corner itself, just to cause less damage
if the corkboard were ever to fall down.
 I trimmed the corkboard to final size to exactly match the frame.
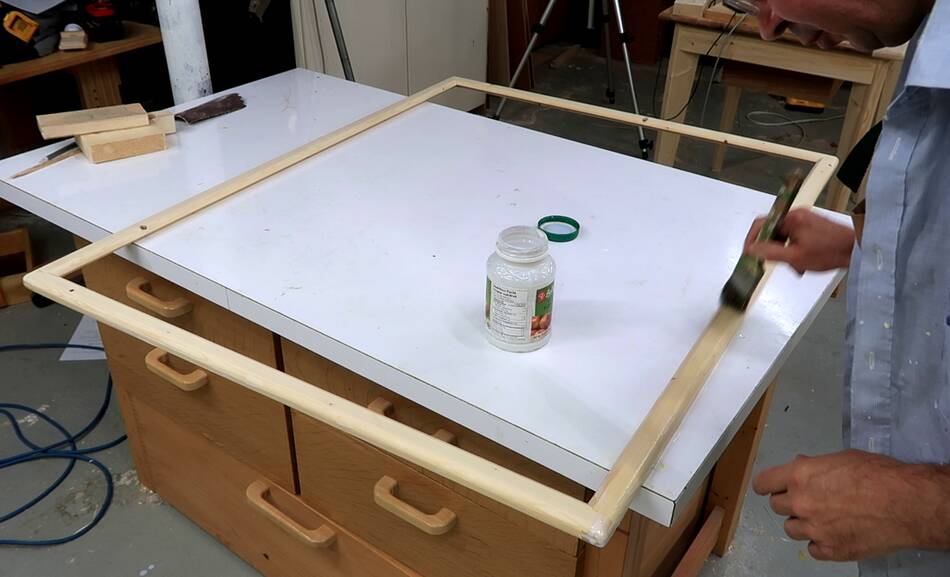 Then varnishing the frame before gluing the corkboard in.
 Varnished frame.
 I applied glue mostly to the edge of the corkboard. That particle
board is porous, so it absorbs the most glue.
I applied glue mostly to the edge of the corkboard. That particle
board is porous, so it absorbs the most glue.
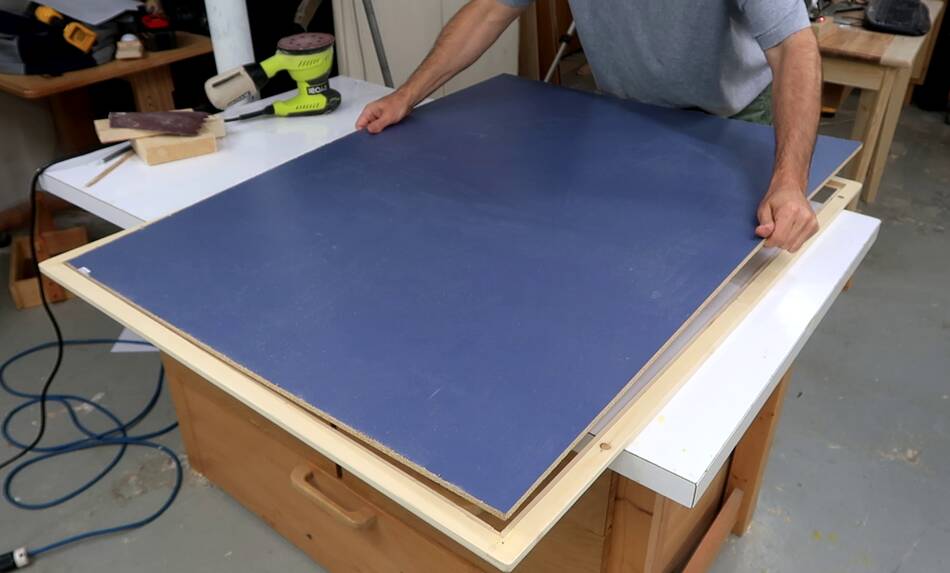
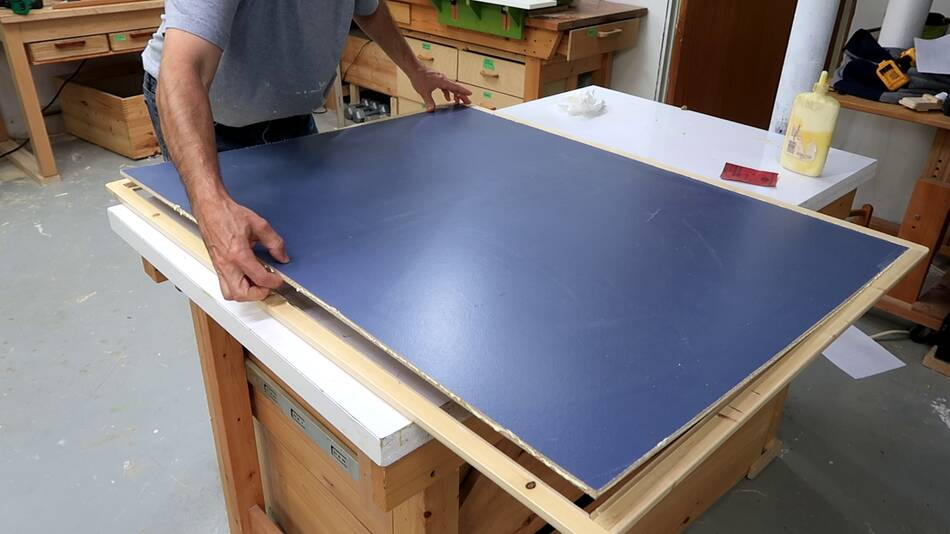 Then pushing it into the frame. A very snug friction fit.
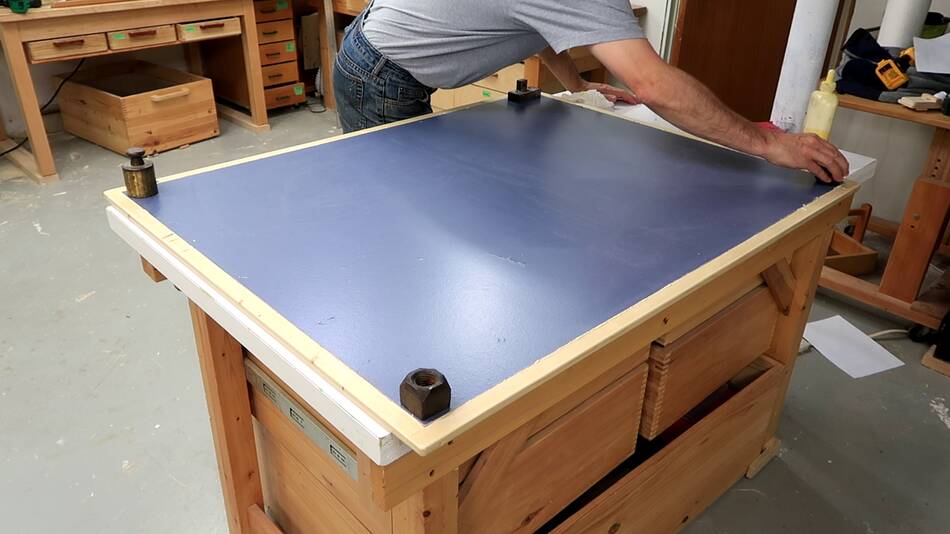 The corners bowed up just slightly, so I added some weights to push
them down while the glue dried.
The corners bowed up just slightly, so I added some weights to push
them down while the glue dried.
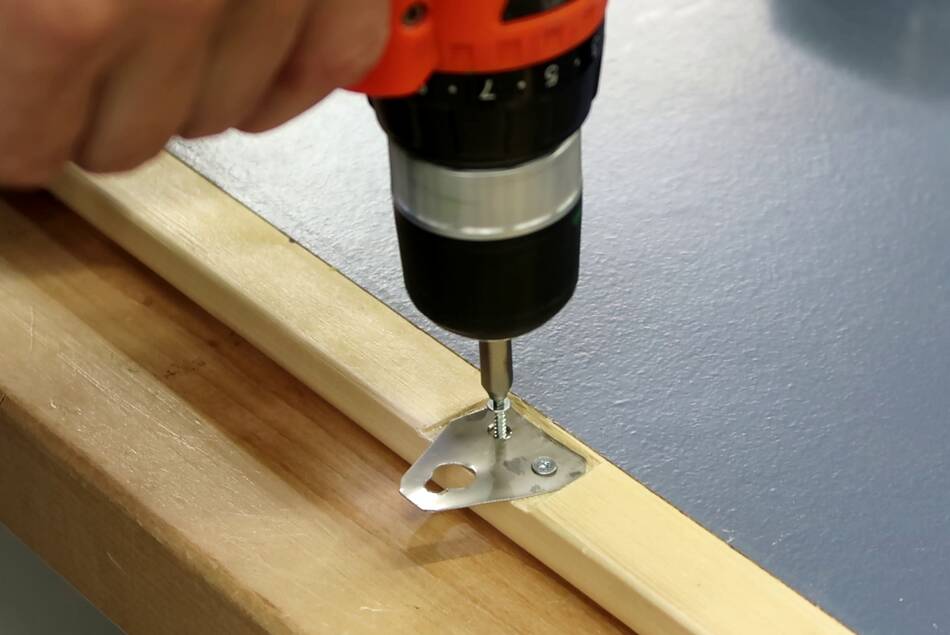 I made two hangers by drilling some holes in some pieces of stainless
steel and screwing those into the back of the frame.
I made two hangers by drilling some holes in some pieces of stainless
steel and screwing those into the back of the frame.
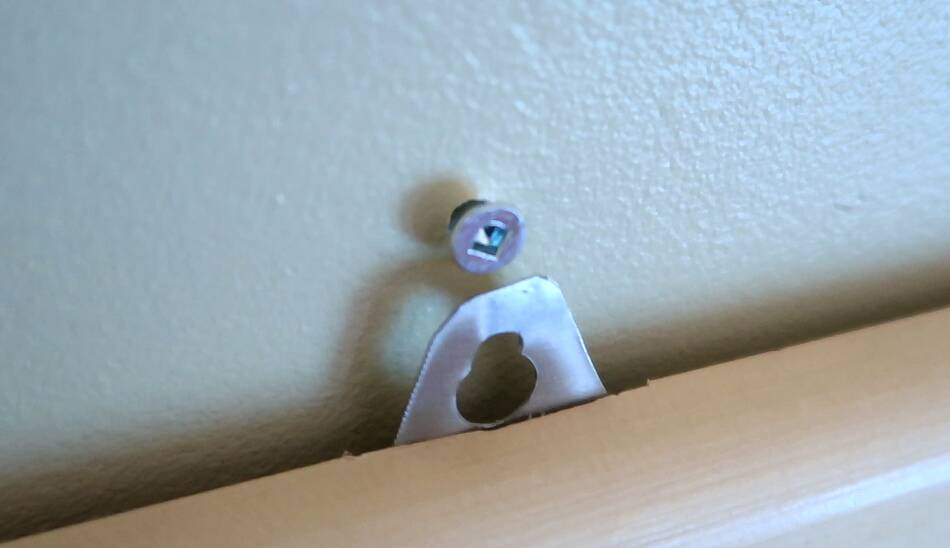 These hook into two screws in the wall, which keeps the corkboard
secure and level.
These hook into two screws in the wall, which keeps the corkboard
secure and level.
 I only realized after gluing it up that I didn't get a nice shot for
a YouTube thumbnail, so I made another copy of the joint, this time in
Birch, just to get a photo of it. Faster than trying to illustrate
it with a CAD model!
I only realized after gluing it up that I didn't get a nice shot for
a YouTube thumbnail, so I made another copy of the joint, this time in
Birch, just to get a photo of it. Faster than trying to illustrate
it with a CAD model!
 Vacuum clamping to make a corkboard
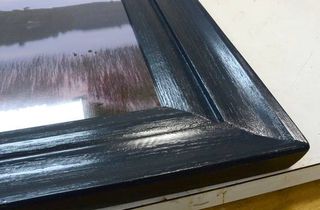 Another picture frame
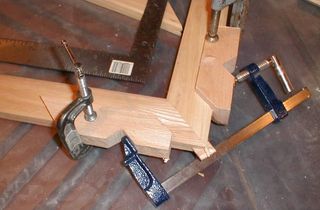 Half decent way of doing miter joints
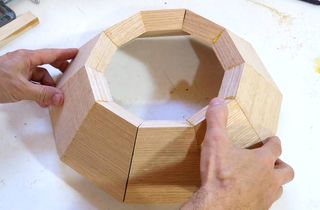 Working out splayed miter joint angles
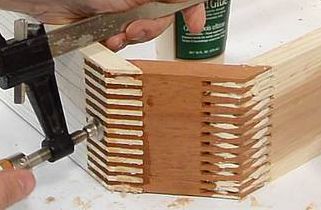 Octagonal box joined box
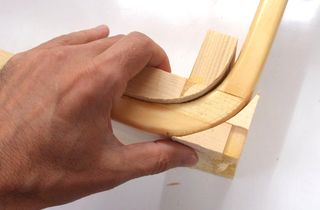 Curved box joint
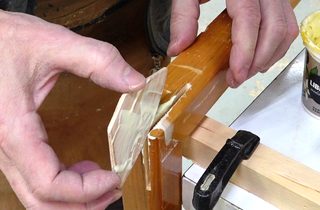 corkboard frames