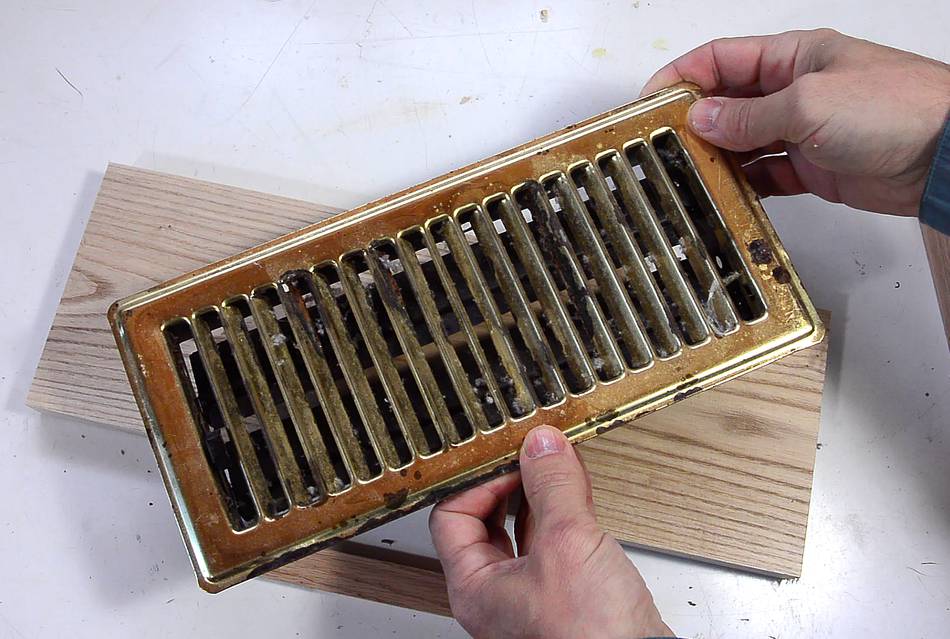
 My house has central forced air heating, with the usual cheap furnace registers
in the floor. I thought I'd experiment with making a wooden one.
My house has central forced air heating, with the usual cheap furnace registers
in the floor. I thought I'd experiment with making a wooden one.
My house has central forced air heating, with the usual cheap furnace registers
in the floor. I thought I'd experiment with making a wooden one.
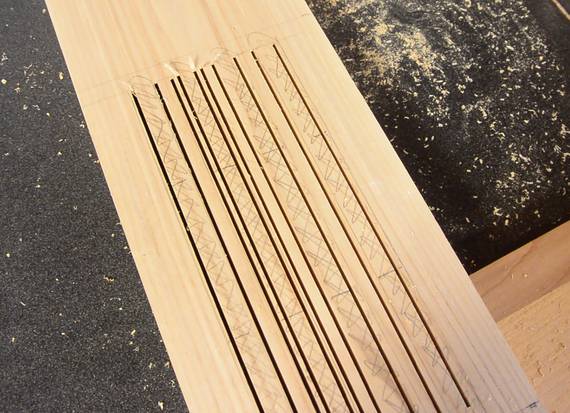
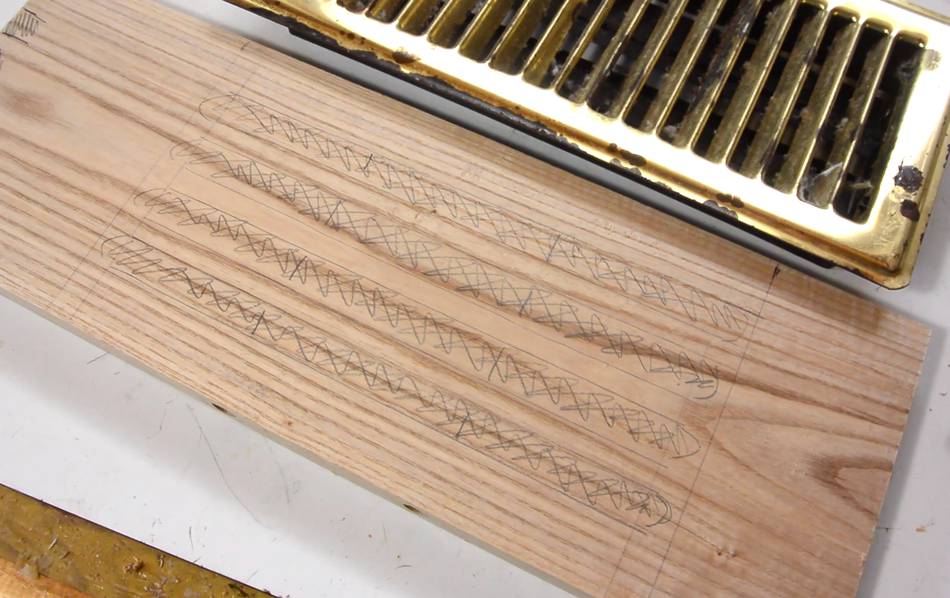 I decided on four slots 9/16" (14mm) wide. That way I still
have enough material in between to make the grill sturdy.
I decided on four slots 9/16" (14mm) wide. That way I still
have enough material in between to make the grill sturdy.
But the straight pieces of wood between the slots would still be relatively vulnerable to breaking, for example, if a chair leg was on just one of them.
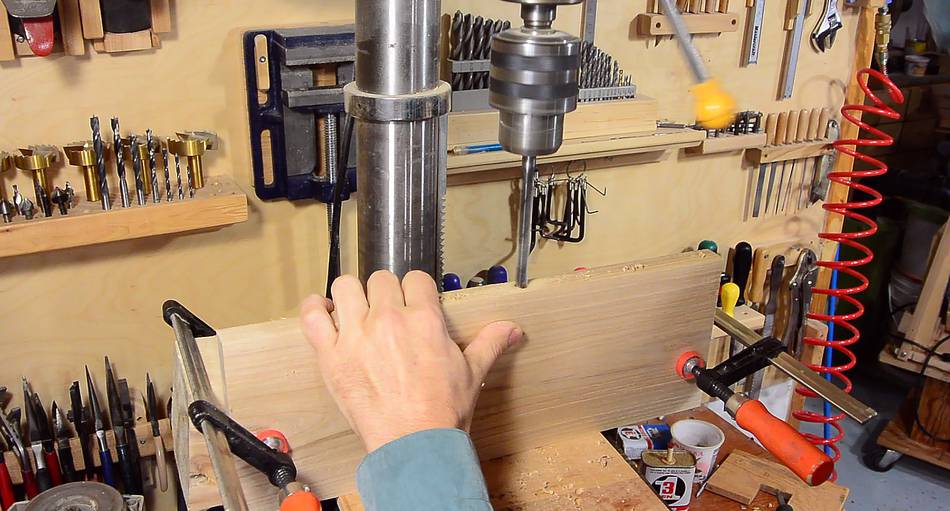
 So I figured I'd have two 3/8" (10 mm) dowels going across them to form a
sort of grid. It's best to drill these holes before cutting
the slots, so I wouldn't run into any tearout from the drill.
So I figured I'd have two 3/8" (10 mm) dowels going across them to form a
sort of grid. It's best to drill these holes before cutting
the slots, so I wouldn't run into any tearout from the drill.
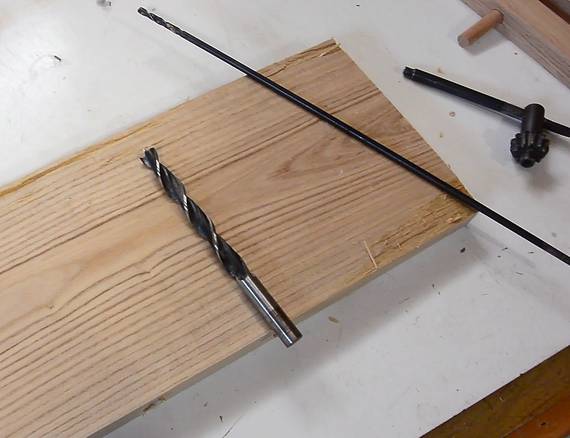
I didn't have a long enough drill of that size. So after I drilled as far as it would reach, I used a thin long drill to drill a pilot hole all the way through, then drilled in from the other side to join up the holes. Thanks to the pilot holes, the larger holes lined up perfectly.
 Most people would cut the slots with a router, but cutting those slots
in thick hardwood is slow, noisy and dusty, with many shallow passes.
Most people would cut the slots with a router, but cutting those slots
in thick hardwood is slow, noisy and dusty, with many shallow passes.
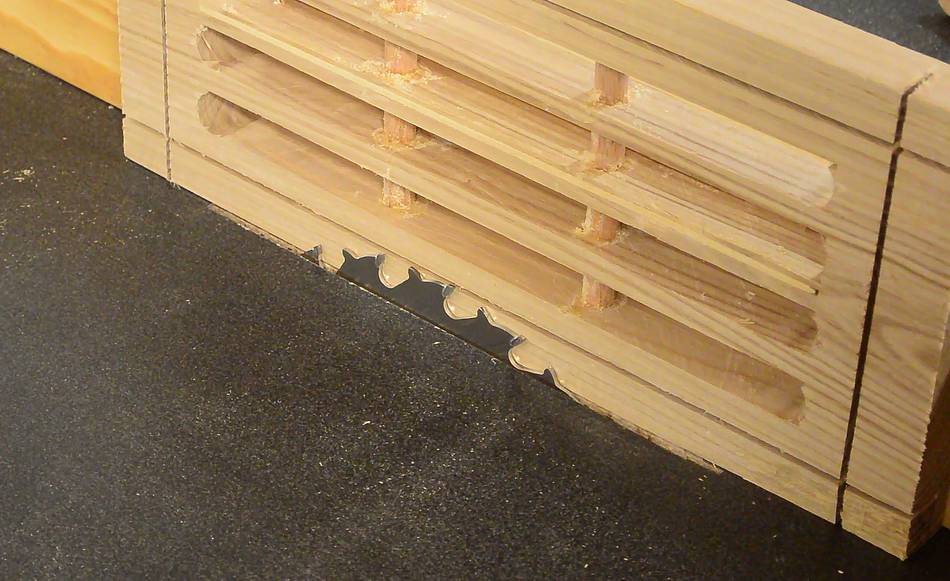
I figured I'd make the slots by cutting either side of each slot with a table saw, then drill a hole at either end to free up the waste piece.
My homemade table saw happens to be very convenient for making plunge cuts...

 ... because it doesn't have a depth adjustment wheel. It only has a
lever, so I can just grab that lever and raise it while the saw is
running. I set up my cuts so that I had to raise the blade to full
depth. I just raised the blade all the way in each position.
... because it doesn't have a depth adjustment wheel. It only has a
lever, so I can just grab that lever and raise it while the saw is
running. I set up my cuts so that I had to raise the blade to full
depth. I just raised the blade all the way in each position.
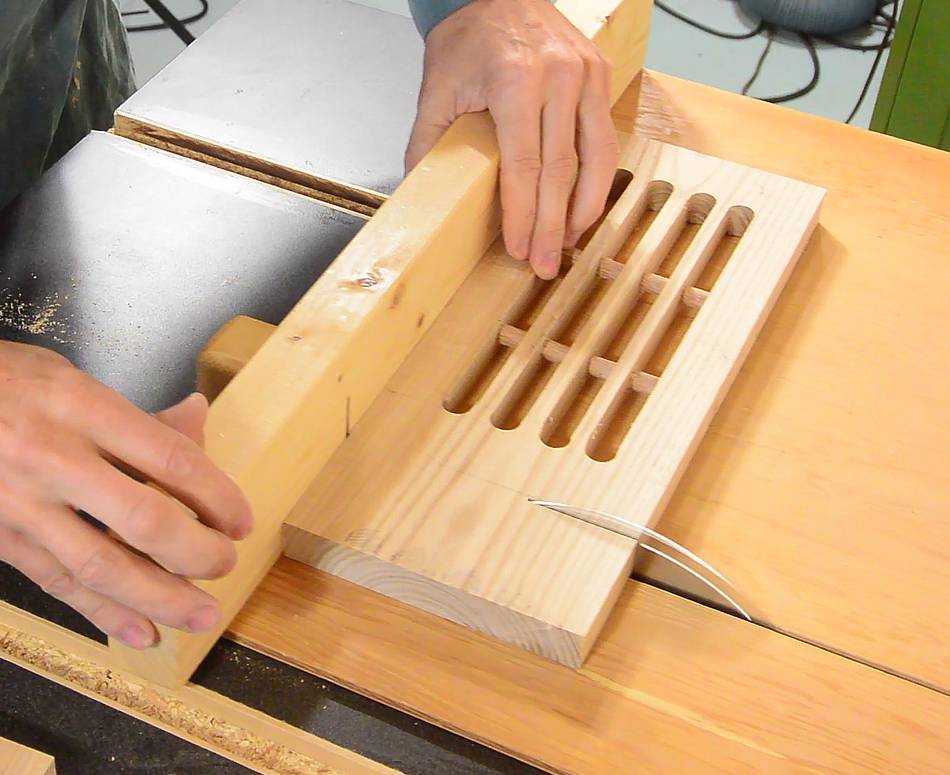
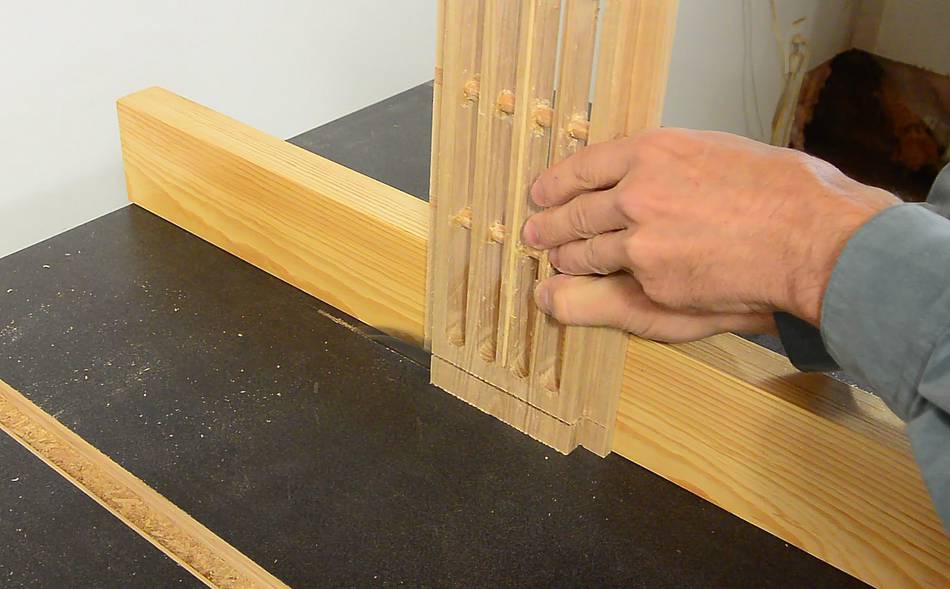
The wood is placed against the rip fence for each cut, with a stop on the front and the back to control the length of the cut. After each cut, I insert a spacer between the workpiece and the fence to move the workpiece to the left to cut the other side of the slot. After that, I move the fence for the next slot.
Unfortunately, I set the fence in slightly the wrong place for one of my slots. I repositioned it correctly and cut the slots again, but I'll have to fix the extra slots.
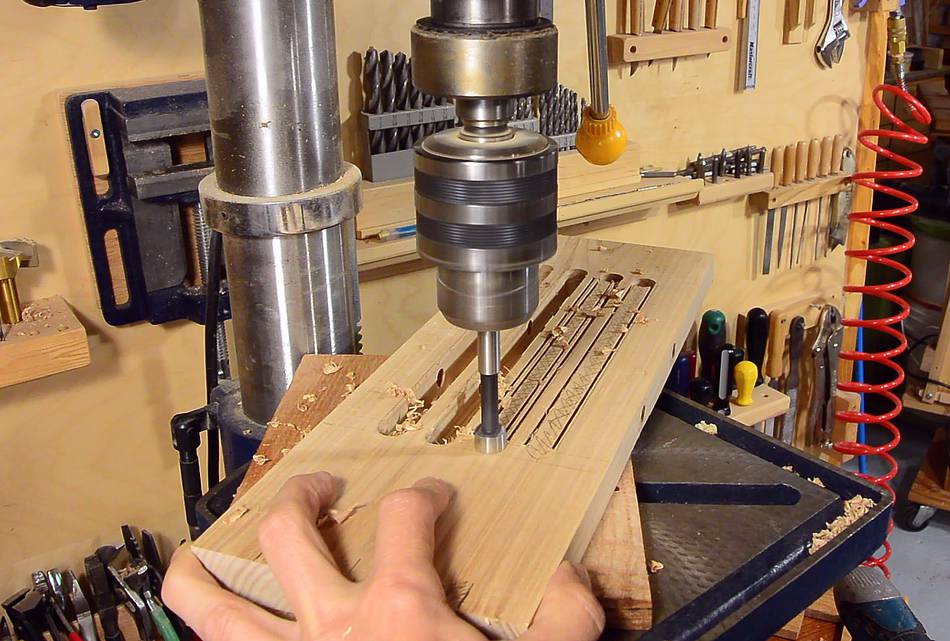 Drilling a 9/16" (14 mm) hole on either end of each slot to free the waste
piece.
Drilling a 9/16" (14 mm) hole on either end of each slot to free the waste
piece.
 Now fixing my mistake. I cut a strip of wood to the same thickness as
the blade's kerf and glued it in the extra saw slot that I didn't need. The
other erroneous cut was in the middle of the waste piece I removed.
Now fixing my mistake. I cut a strip of wood to the same thickness as
the blade's kerf and glued it in the extra saw slot that I didn't need. The
other erroneous cut was in the middle of the waste piece I removed.
If the infill piece matched the colour more closely it would be very hard to tell there was a mistake at all!
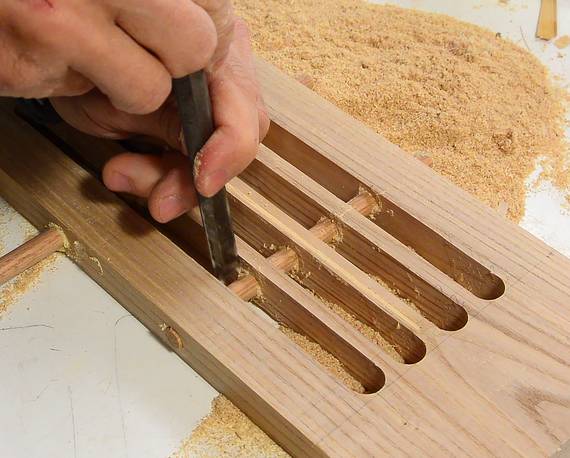
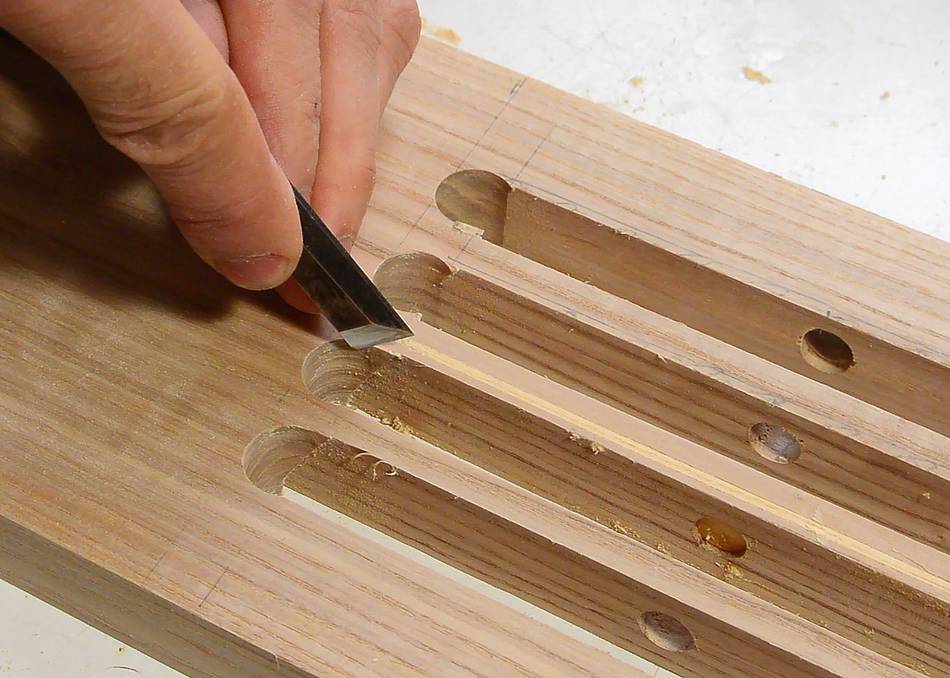 Smoothing the transition from the saw slot to the hole a bit.
I wanted to avoid over-cutting the slots on the bottom side, so the saw slots
don't quite come to the middle of the hole on the top (the bottom side of the
cut is always a bit longer because of the round shape of the saw blade)
Smoothing the transition from the saw slot to the hole a bit.
I wanted to avoid over-cutting the slots on the bottom side, so the saw slots
don't quite come to the middle of the hole on the top (the bottom side of the
cut is always a bit longer because of the round shape of the saw blade)
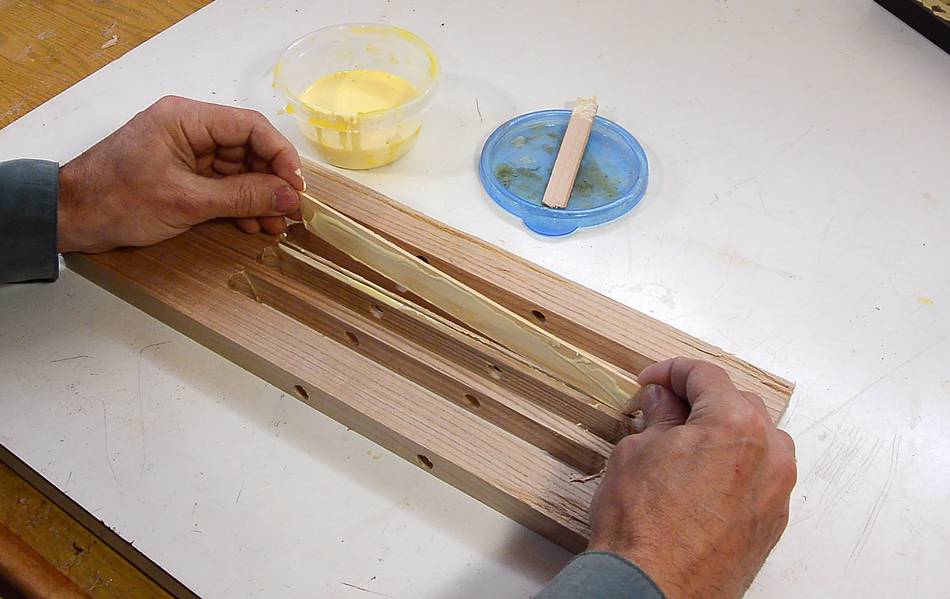
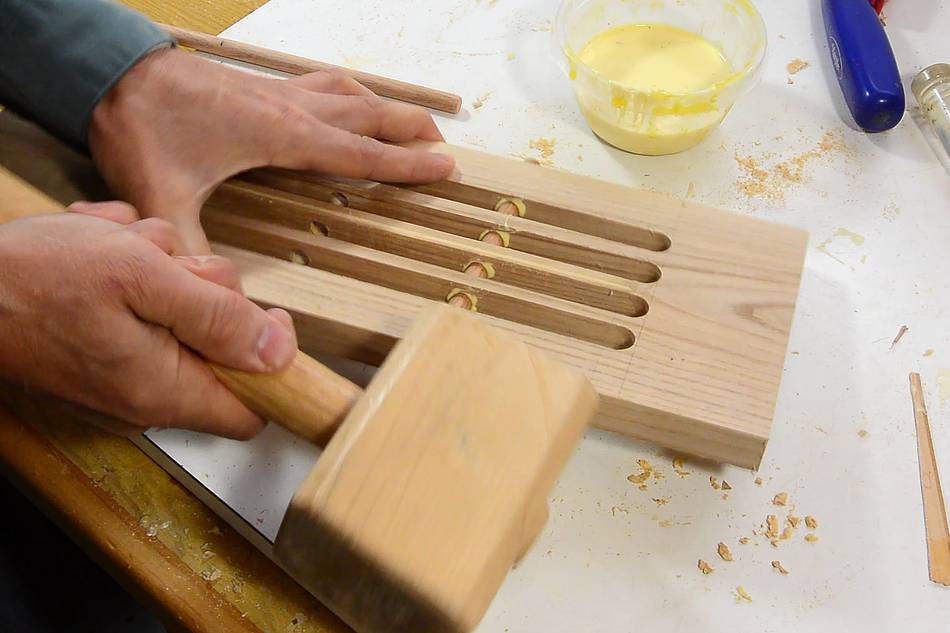 Now gluing a dowel into the holes I drilled earlier. I put glue in every hole,
then tapped in a dowel. To get more glue into the joints, I applied more glue
to the exposed parts of the dowel when it was most of the way in, then tapped
it all the way.
Now gluing a dowel into the holes I drilled earlier. I put glue in every hole,
then tapped in a dowel. To get more glue into the joints, I applied more glue
to the exposed parts of the dowel when it was most of the way in, then tapped
it all the way.
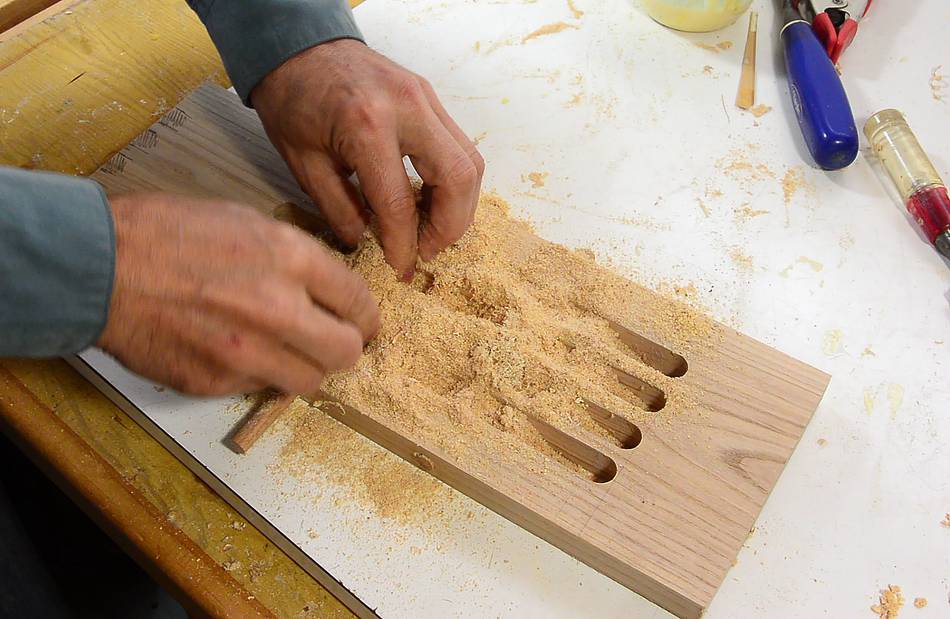
 I cleaned up the excess glue by rubbing sawdust against it, then scraping that
off with a chisel.
I cleaned up the excess glue by rubbing sawdust against it, then scraping that
off with a chisel.
 Cutting the register to its final size.
 I need a rabbet all the way around the grill so it will drop into the
opening in the floor.
I need a rabbet all the way around the grill so it will drop into the
opening in the floor.
 I made these rabbets with two cuts on the table saw.
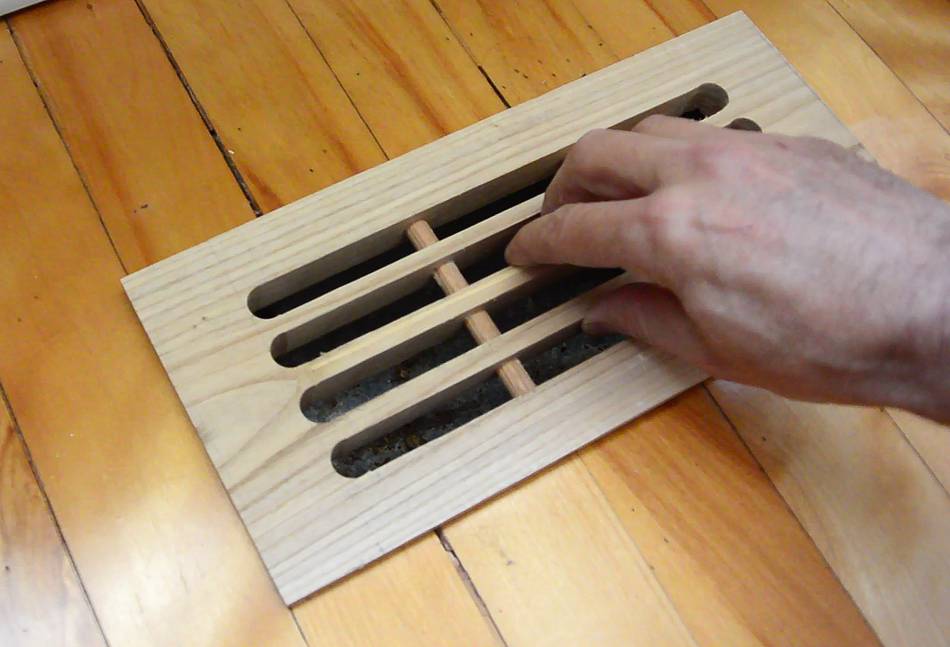
 Test fitting it in the floor.
The grill still has some sharp corners sticking up. I didn't want to make the part that sticks above the floor any thinner, fearing that it might make the grill too weak.
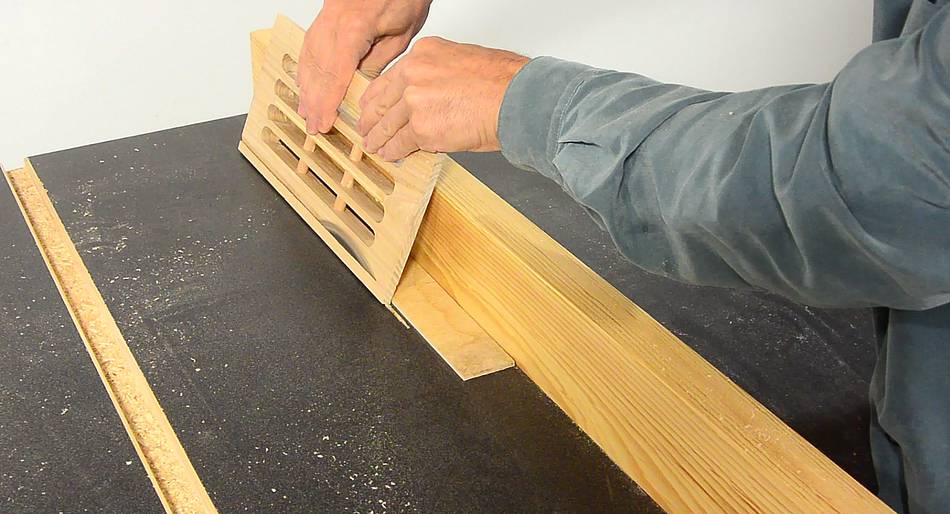 My solution was to taper the edges. But my
homemade table saw doesn't have a tilt function, so I improvised by
placing a scrap of wood against the fence, on the bottom, so that my workpiece
leaned against the fence. This worked quite well.
My solution was to taper the edges. But my
homemade table saw doesn't have a tilt function, so I improvised by
placing a scrap of wood against the fence, on the bottom, so that my workpiece
leaned against the fence. This worked quite well.
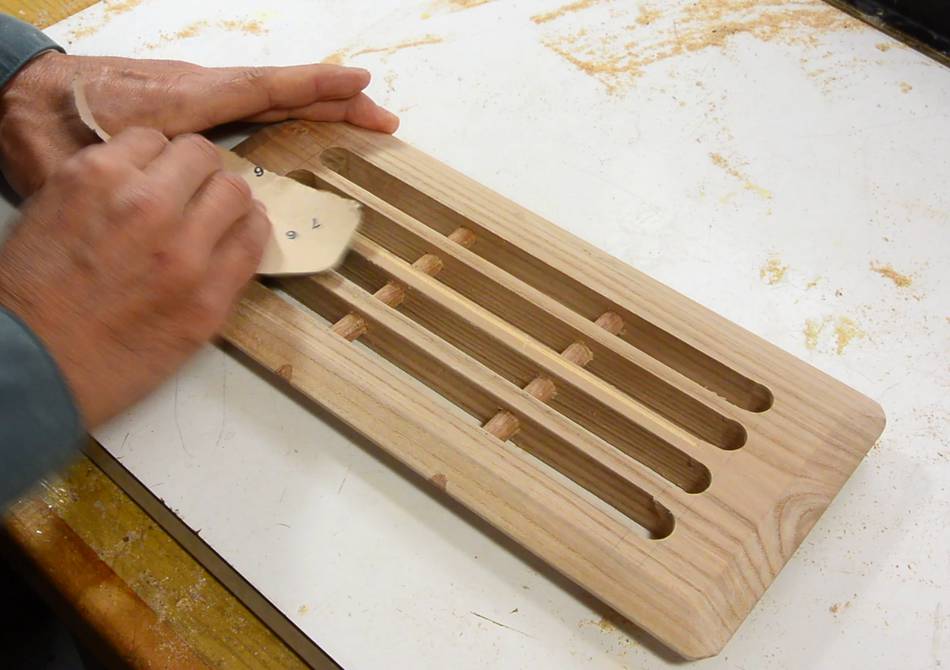 Finally, sanding all the edges on the top, so it doesn't feel uncomfortable
to step on without shoes, and no rough edges to snag socks.
Finally, sanding all the edges on the top, so it doesn't feel uncomfortable
to step on without shoes, and no rough edges to snag socks.
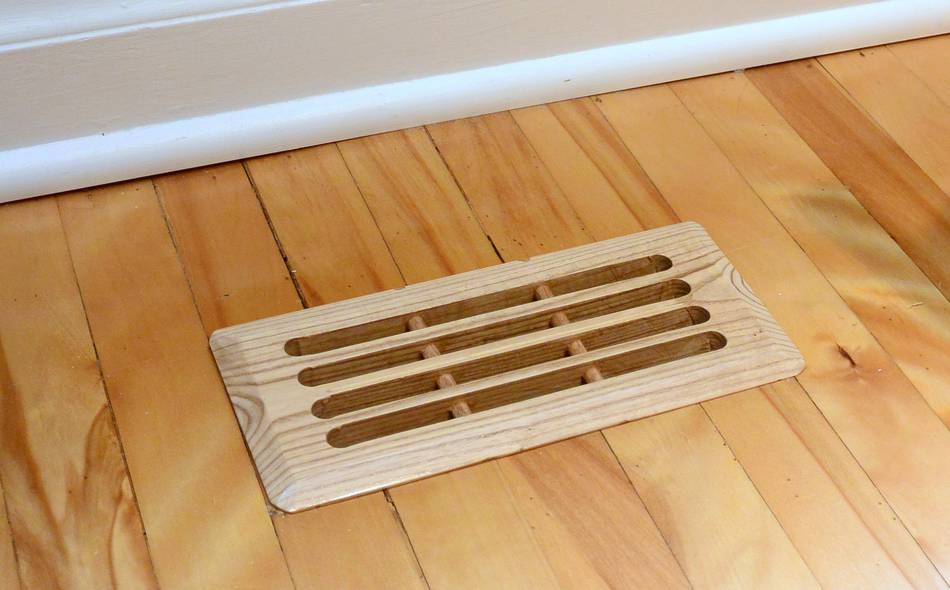 I finished it with three coats of varnish. Now in the floor.
Looks much improved over the old one.
I finished it with three coats of varnish. Now in the floor.
Looks much improved over the old one.
 Rachel makes hooks
 Installing a skylight
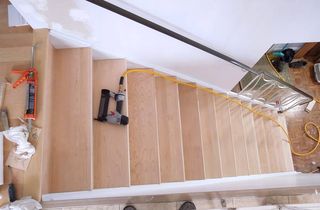 New treads for old stairs
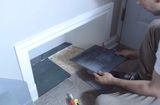 Installing a boot nook
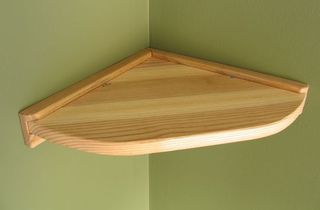 Corner shelf
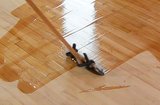 Floor refinishing by trial and error
 Installing baseboards
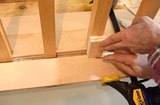 Hardwood flooring around stair spindles