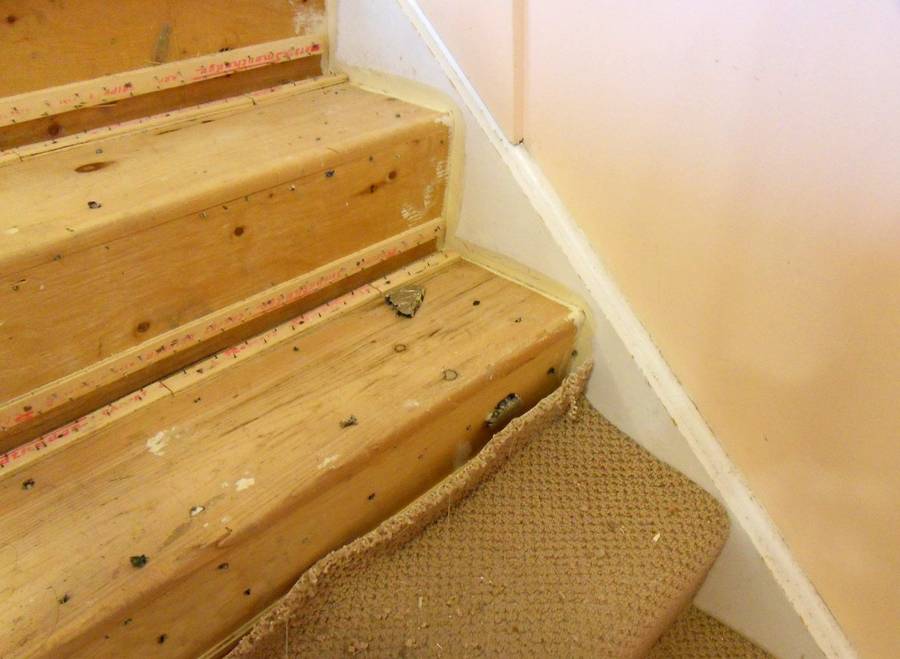
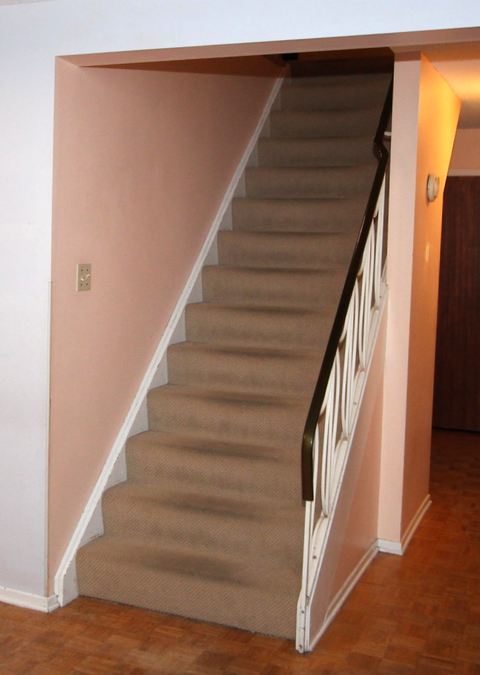
 My friends Pu and Denis recently bought a house. Though structurally sound, it
didn't look that appealing, with its pink walls and old brown carpet throughout.
My friends Pu and Denis recently bought a house. Though structurally sound, it
didn't look that appealing, with its pink walls and old brown carpet throughout.
They proceeded to rip out the carpet, paint, and have a contractor install some nice hardwood flooring. They also had a contractor replace the five steps near the entrance, but that cost $120 per step.
That seemed a bit pricey compared to the flooring. I explained that stairs can be very time consuming compared to floors, although it still seemed a bit expensive. So Pu bought some stair tread and riser kits to put on over the existing stairs, and I offered to install them at no charge. I figured it would be a quick job and make an interesting article and video for this website.
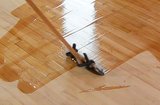
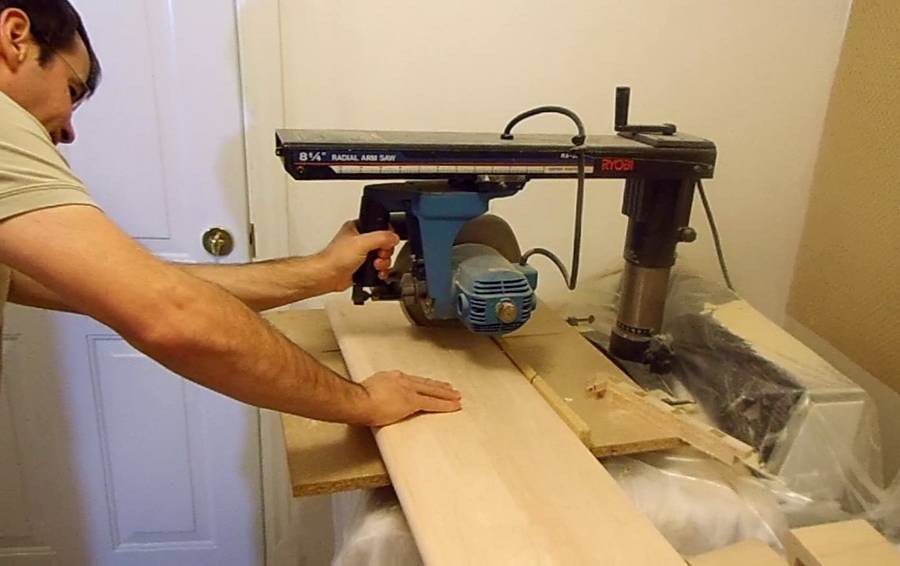 So I brought my radial arm saw from my shop and cut the steps to length.
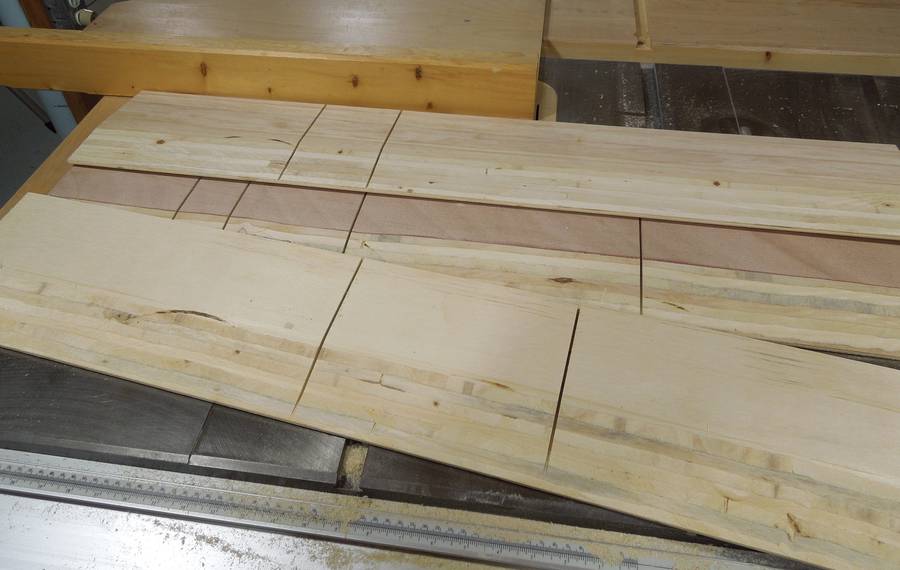
 Using the cutoffs, I set out to figure out how best to arrange the treads
and risers. The instructions for the kits said to cut the lip off the
front of the stairs, then attach the new risers to the fronts and treads
to the tops. But instead of a lip on the treads, these stairs had slanted risers.
Using the cutoffs, I set out to figure out how best to arrange the treads
and risers. The instructions for the kits said to cut the lip off the
front of the stairs, then attach the new risers to the fronts and treads
to the tops. But instead of a lip on the treads, these stairs had slanted risers.
Some head scratching ensued. I could install the new risers with the same slant as the old ones, but the new lip of the stairs would be extending awfully far out. And somehow, those slanted risers wouldn't look right with those steps.
 So I decided it would be best if I mounted the risers vertically. If I
beveled the top edge of them, I could use that to mount them. That would
also reduce the overhang of the stair treads.
So I decided it would be best if I mounted the risers vertically. If I
beveled the top edge of them, I could use that to mount them. That would
also reduce the overhang of the stair treads.
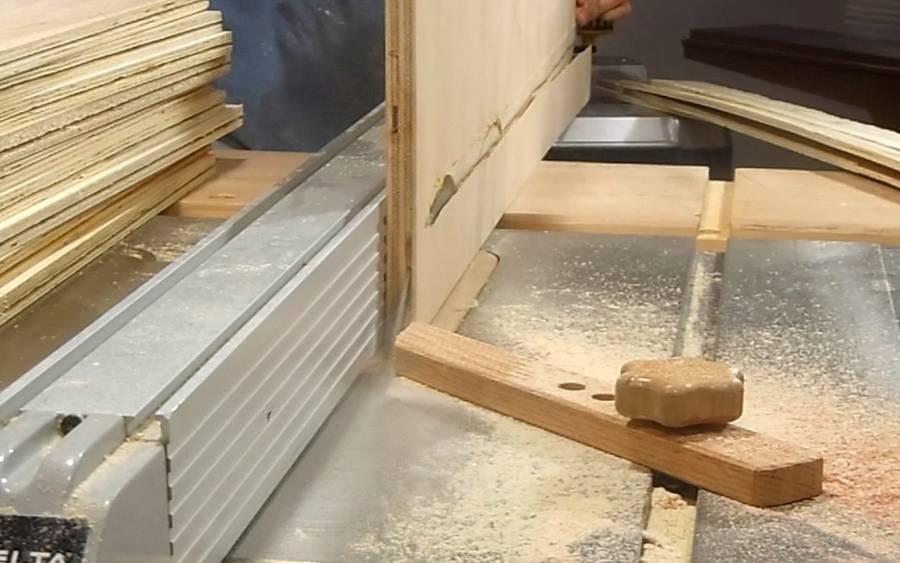
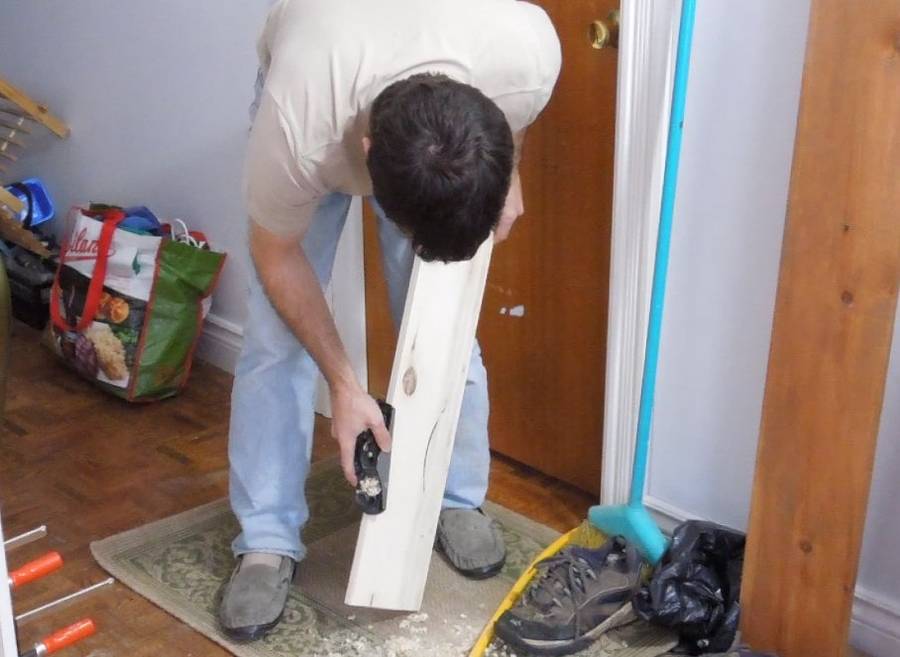
Not having a portable table saw, I needed to take the risers back to my shop to do these cuts. Just as well. That sort of cut is nasty to make, and I'd rather do it on a solid table saw with the dust extraction running. Not fun making these cuts. I had to do it in two passes - my saw isn't powerful enough to take it in one pass.
Also note the finger board. This isn't just for safety. A lot of these risers were not entirely straight, so it was necessary to press them against the fence as I cut.
 Looking at the plywood, no wonder some of the risers weren't straight.
That was some pretty low quality plywood.
Looking at the plywood, no wonder some of the risers weren't straight.
That was some pretty low quality plywood.
 For the worst ones, I made some relief cuts most of the way through from the
back of the risers so they could more easily be bent straight when
I installed them.
For the worst ones, I made some relief cuts most of the way through from the
back of the risers so they could more easily be bent straight when
I installed them.
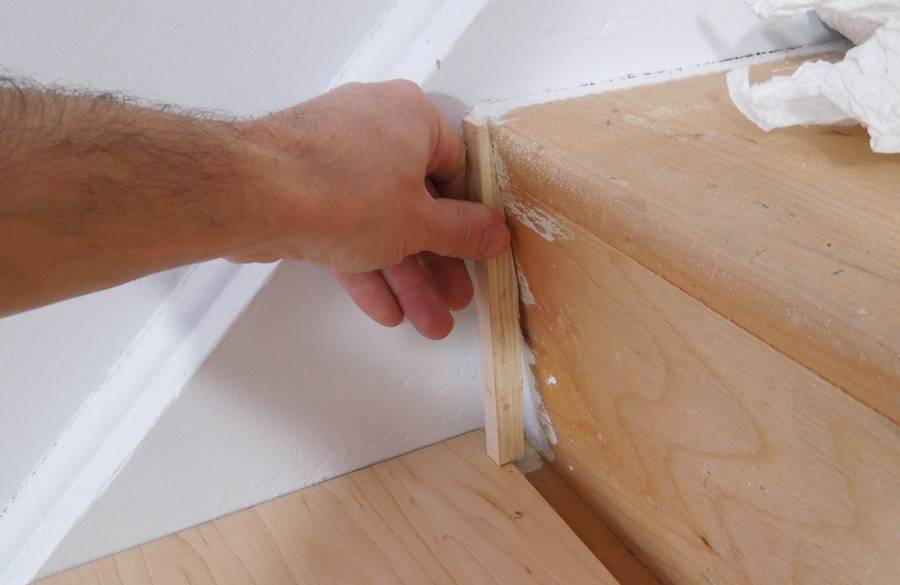 Here's checking how it will work out with some scraps,
with the risers now beveled and ripped to the right width.
Here's checking how it will work out with some scraps,
with the risers now beveled and ripped to the right width.
Looks like the riser will just barely go on top of the new step below. But it would be nice to have a bit more support behind the riser.
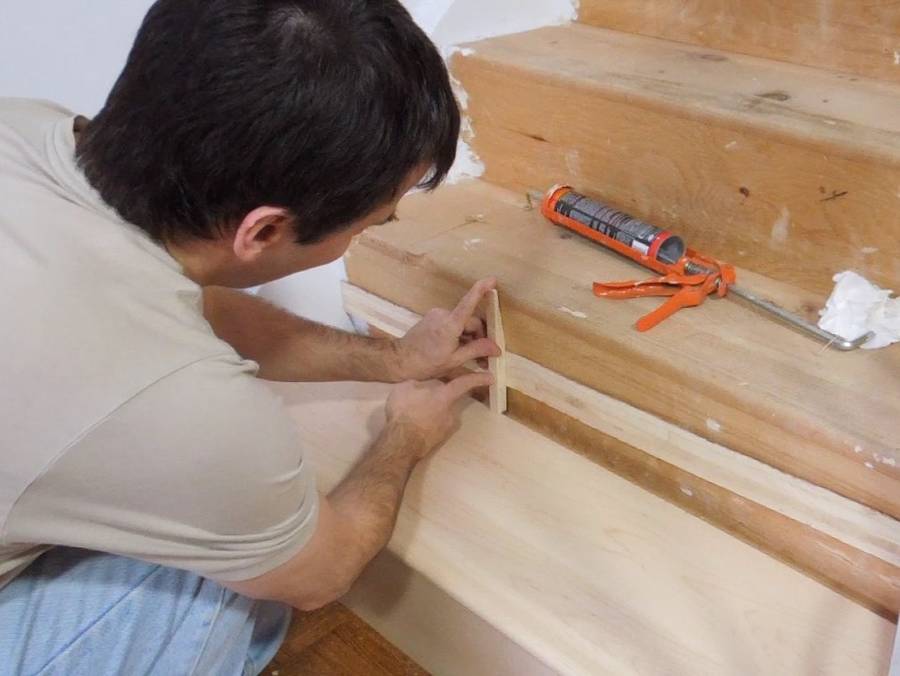 I kept the wedge shaped scraps that I'd ripped off the risers, so by installing
those wedges against the old riser a bit further down, I can get a bit more support.
I kept the wedge shaped scraps that I'd ripped off the risers, so by installing
those wedges against the old riser a bit further down, I can get a bit more support.
 I put a bead of construction adhesive behind the strip, then nailed it
in place with three brad nails.
I put a bead of construction adhesive behind the strip, then nailed it
in place with three brad nails.
 Next, putting down more construction adhesive. The nice thing about
construction adhesive is that it doesn't run and can easily span gaps of
more than a millimeter. That's very useful when things are not
entirely precise.
Next, putting down more construction adhesive. The nice thing about
construction adhesive is that it doesn't run and can easily span gaps of
more than a millimeter. That's very useful when things are not
entirely precise.
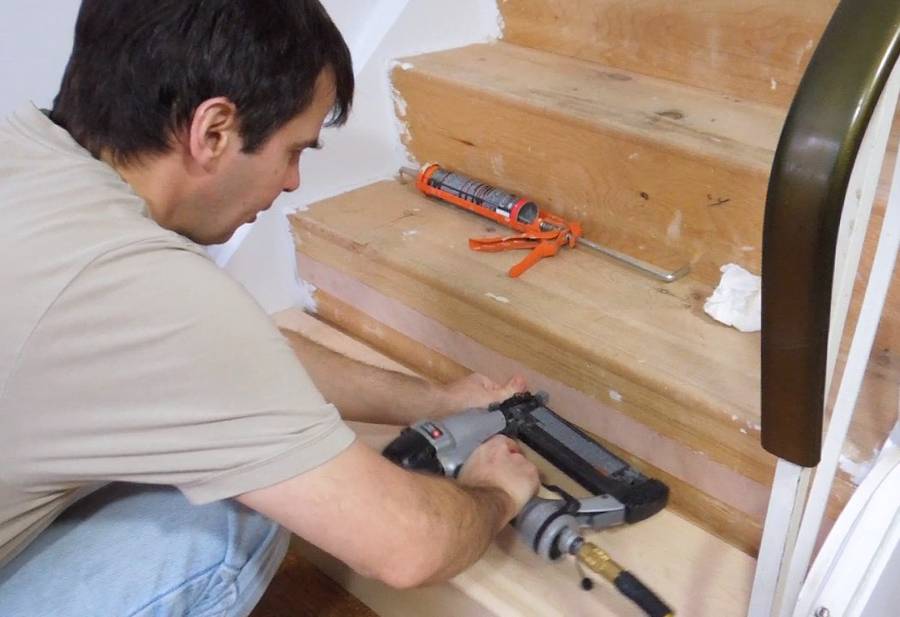
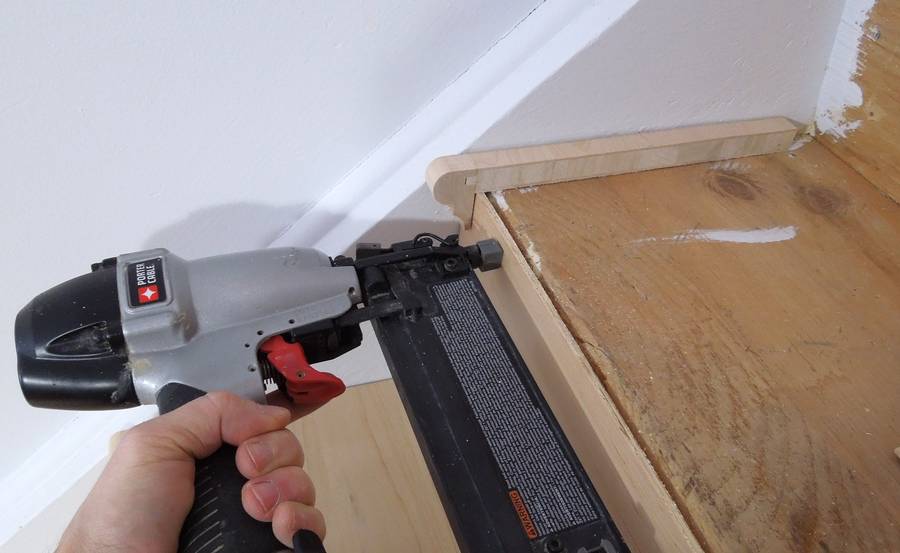 Now installing the riser. I'm free to put as many brad nails in the top
edge as I want to because that gets covered by the lip of
the next stair thread.
Now installing the riser. I'm free to put as many brad nails in the top
edge as I want to because that gets covered by the lip of
the next stair thread.
I had to put a few nails in the visible part of some of the risers though, just to push them tight and straight against the old riser.
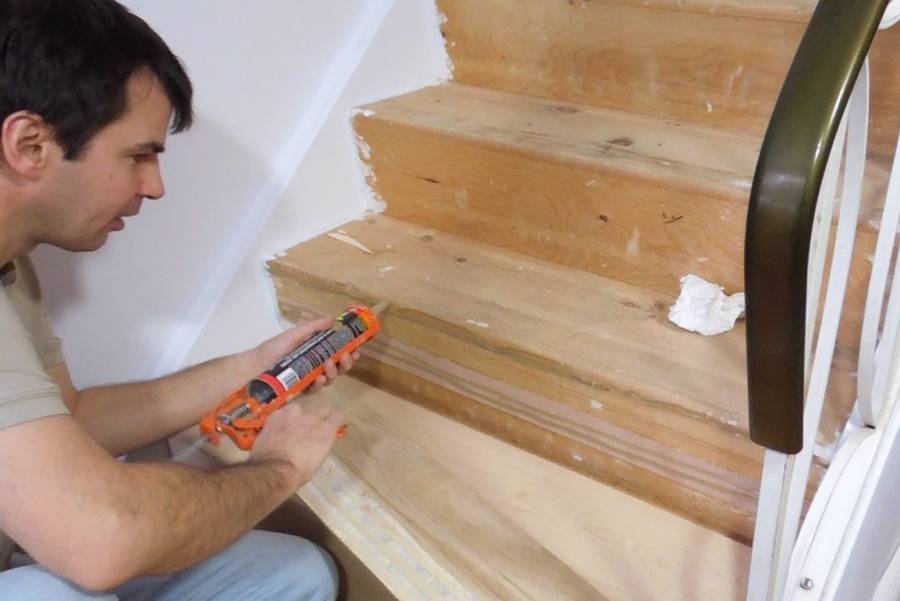
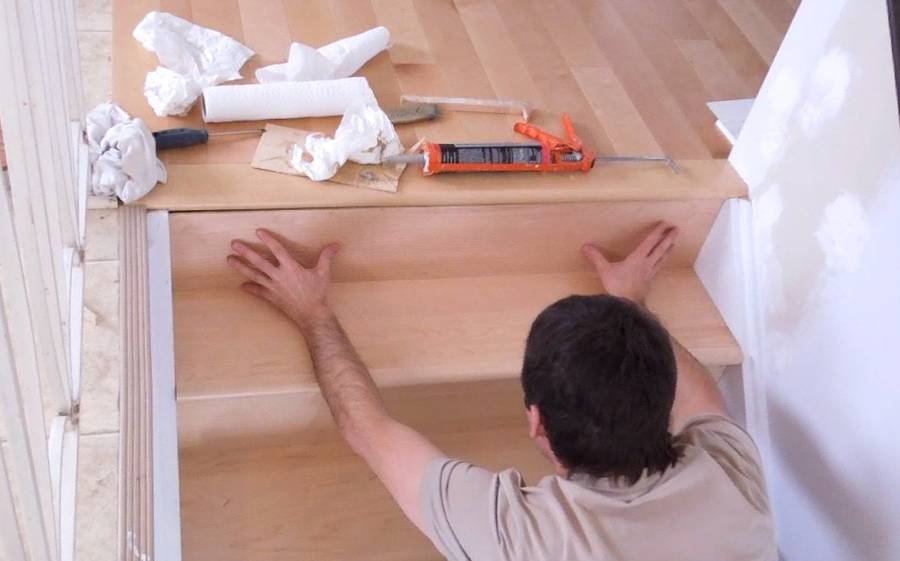
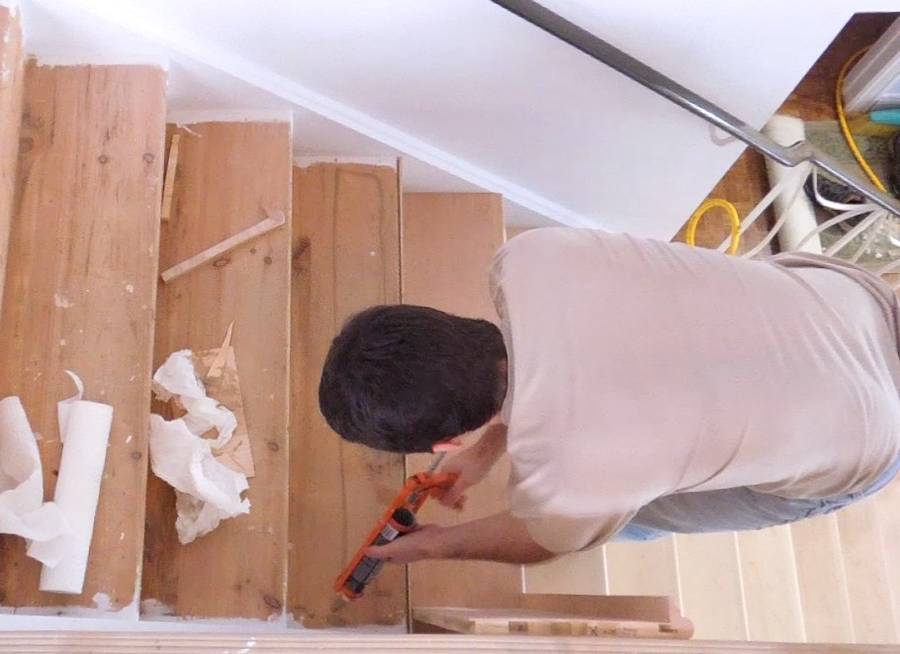 Putting down a few beads of glue on the old step, plus some glue along
the top edge of the new riser before installing the next thread.
Putting down a few beads of glue on the old step, plus some glue along
the top edge of the new riser before installing the next thread.
Just a few lines of glue is more than enough hold for the stair treads. I don't need a continuous glue joint.
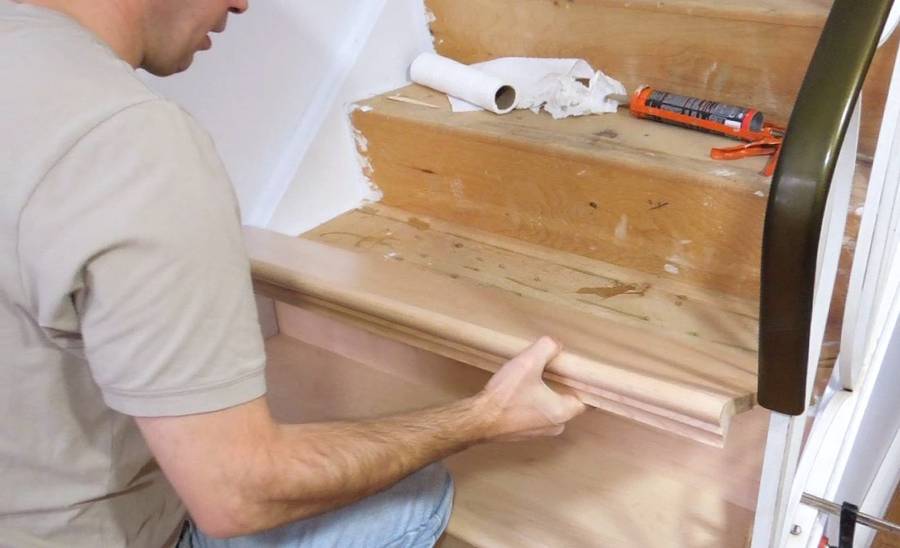 Now putting the next stair thread down.
 The back edge of each step is covered by the next riser, so I'm free to
put as many nails in the back as I want to.
The back edge of each step is covered by the next riser, so I'm free to
put as many nails in the back as I want to.
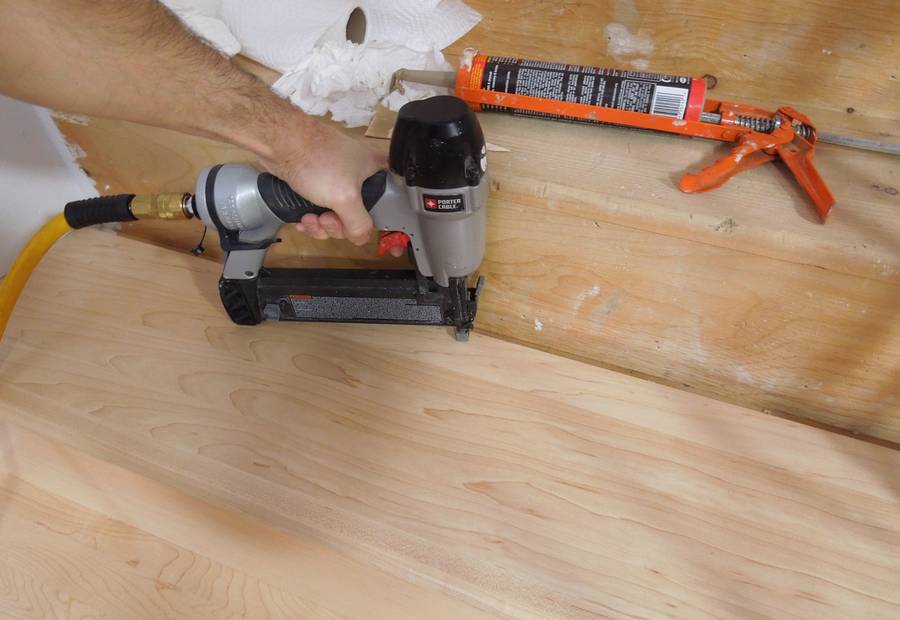
Some of the new treads had a slight twist to them, so sometimes I had to put a brad nail in one of the front corners to get them to sit flat.
The nice thing about brad nails is that they leave only a small hole. And using a brad nailer, all the nails get set perfectly - no slipping off the nail with the nail set and damaging the surface.
 Some of the stair treads ended up with a slight downward bow
in the middle, so I had to make some slight adjustments to some
of the risers to avoid having a gap in the middle.
Some of the stair treads ended up with a slight downward bow
in the middle, so I had to make some slight adjustments to some
of the risers to avoid having a gap in the middle.
 Installing the last riser.
 Actual installation took about three hours. Not too bad, although
that's not counting taking the risers back to the shop twice - first
to bevel them, then realizing I also needed to rip them to width.
Nor is it counting the time spent figuring out how to go about it.
Actual installation took about three hours. Not too bad, although
that's not counting taking the risers back to the shop twice - first
to bevel them, then realizing I also needed to rip them to width.
Nor is it counting the time spent figuring out how to go about it.
 A bit of those three hours went into taking pictures and video. Although I
wasn't alone when I was doing the work, it's often quicker to just set
up the tripod than to get somebody else to take the shot.
A bit of those three hours went into taking pictures and video. Although I
wasn't alone when I was doing the work, it's often quicker to just set
up the tripod than to get somebody else to take the shot.
I was using my sturdy Manfrotto tripod as a light stand, so I used one of my old wooden tripods for the camera. That came in handy right here, where I needed the camera to overhang the railing of the stairs. New camera, by the way. A Nikon S8200 - it can even record 1080p video, but I need to upgrade my computer to be able to edit that effectively.
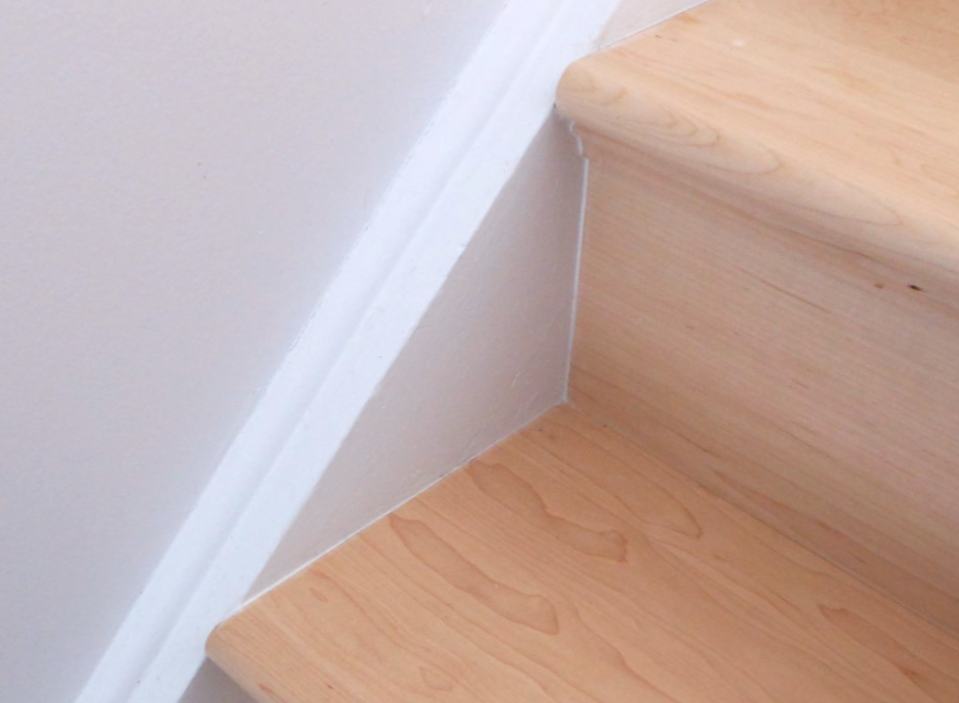
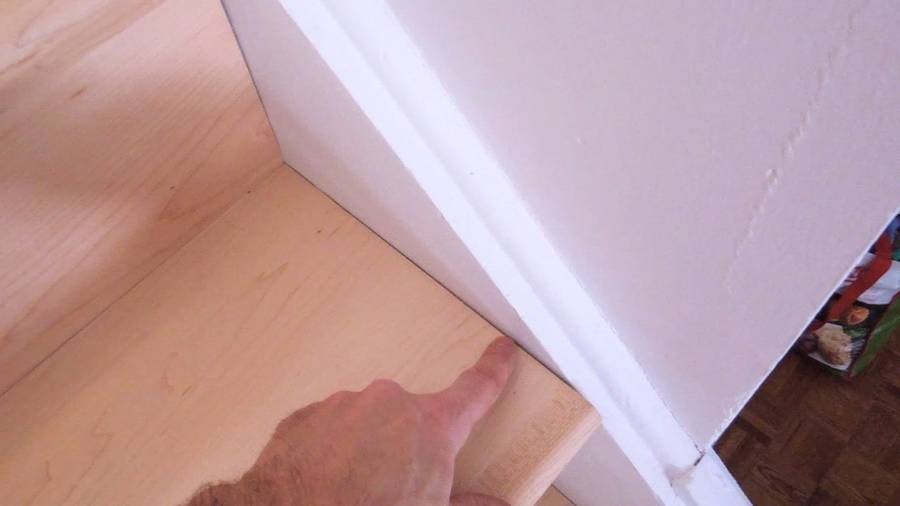 I didn't do a perfect job. The stringers of the stairs were
not entirely parallel, and I just cut the ends of the steps all square.
So there's gaps here and there. Trying to match that
sort of thing is maddening sort of work. Off by half a millimeter,
and it already looks sloppy.
I didn't do a perfect job. The stringers of the stairs were
not entirely parallel, and I just cut the ends of the steps all square.
So there's gaps here and there. Trying to match that
sort of thing is maddening sort of work. Off by half a millimeter,
and it already looks sloppy.
But looking at the entrance stairs that were done professionally, I could see wood filler at the edges. I don't think I did a worse job. Pu ended up filling that gap with caulking later.
 I suggested to Pu that he fill the gaps with white caulking, to match
the stringers, which he did. Makes the gaps much less noticeable
than if they were filled with wood filler.
I suggested to Pu that he fill the gaps with white caulking, to match
the stringers, which he did. Makes the gaps much less noticeable
than if they were filled with wood filler.

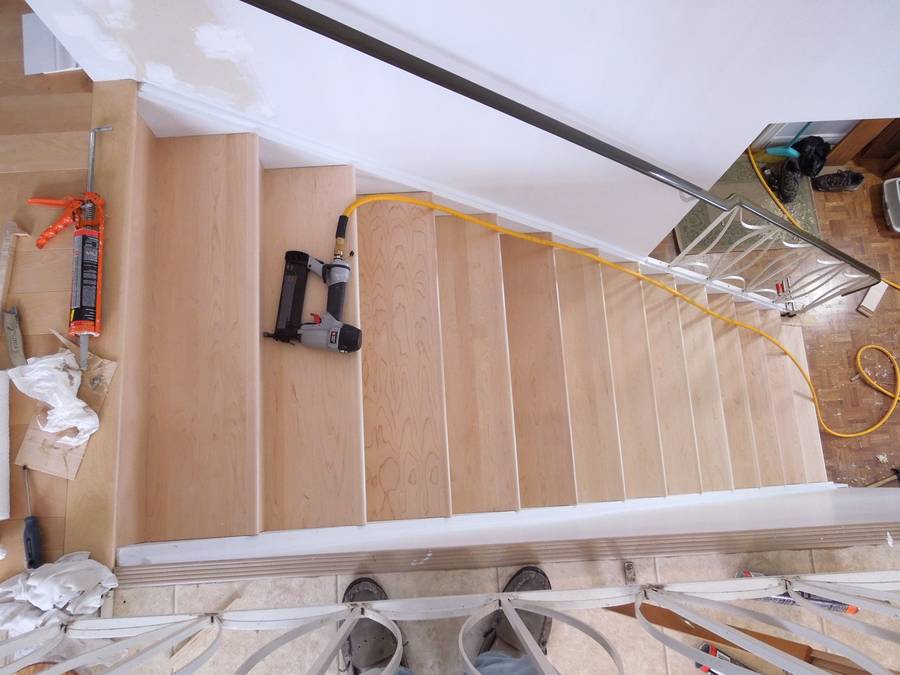
 But when not looking for defects, the stairs now look quite nice,
especially compared to how they looked before. New paint on
the walls helps too. Amazing what a difference it makes.
But when not looking for defects, the stairs now look quite nice,
especially compared to how they looked before. New paint on
the walls helps too. Amazing what a difference it makes.
But with all the time spent figuring out how to do it, two trips back to the shop, hauling my radial arm saw, air compressor and other tools to the job site, plus $40 in material for each step, $120 per step, installed and varnished, for those extra wide stairs in the front doesn't seem overpriced anymore.
See also:
 Floor refinishing by trial and error
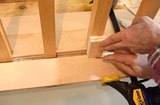 Hardwood flooring around stair spindles
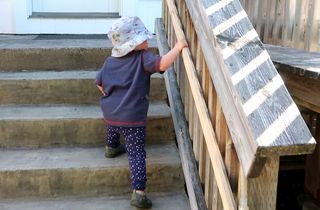 Toddler stair handrail
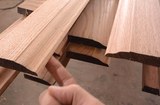 Making baseboard molding
 Skylight installation
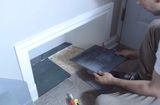 Installing a boot nook
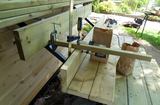 Porch stairs
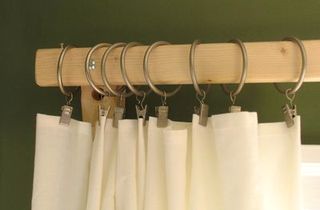 Making curtain rods
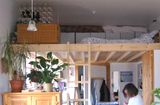 Building a bed loft
 Parallelogram baby gate
 Corner shelf
 Furnace vent grill