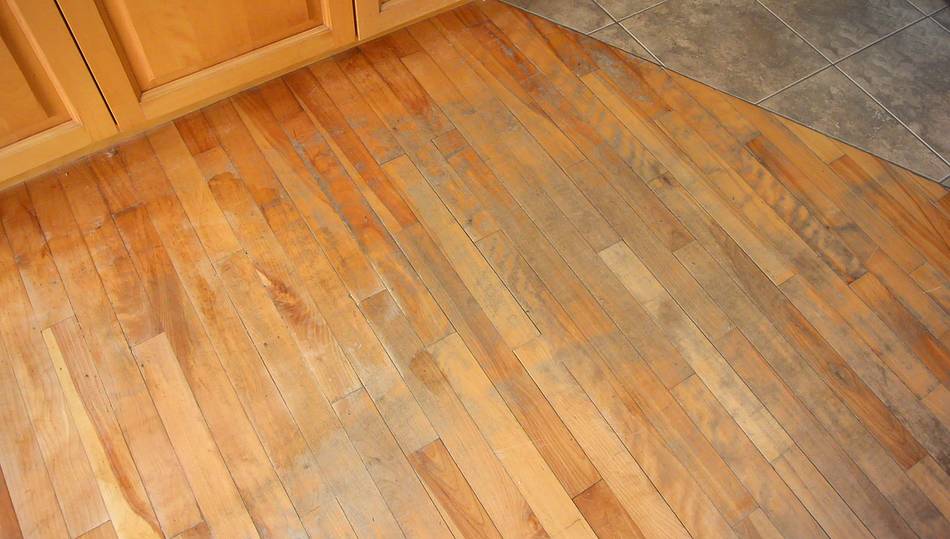
We were moving to a house in the country, but before we move in, some renovations were
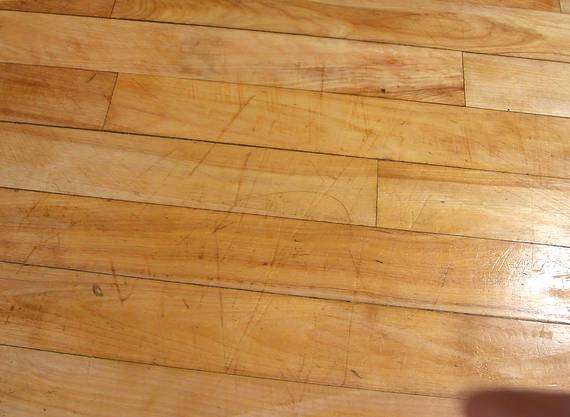
in order. The floor in the kitchen area was very scuffed up, and the plan was to get a flooring
company to refinish it. But before that, I figured I'd experiment with it a bit.
I sanded a patch (at right) with my belt sander, then applied some varnish.
That spot looked decent, so I figured it shouldn't be that hard to do the
whole floor and I should experiment some more.
But it was slow going with the belt sander.
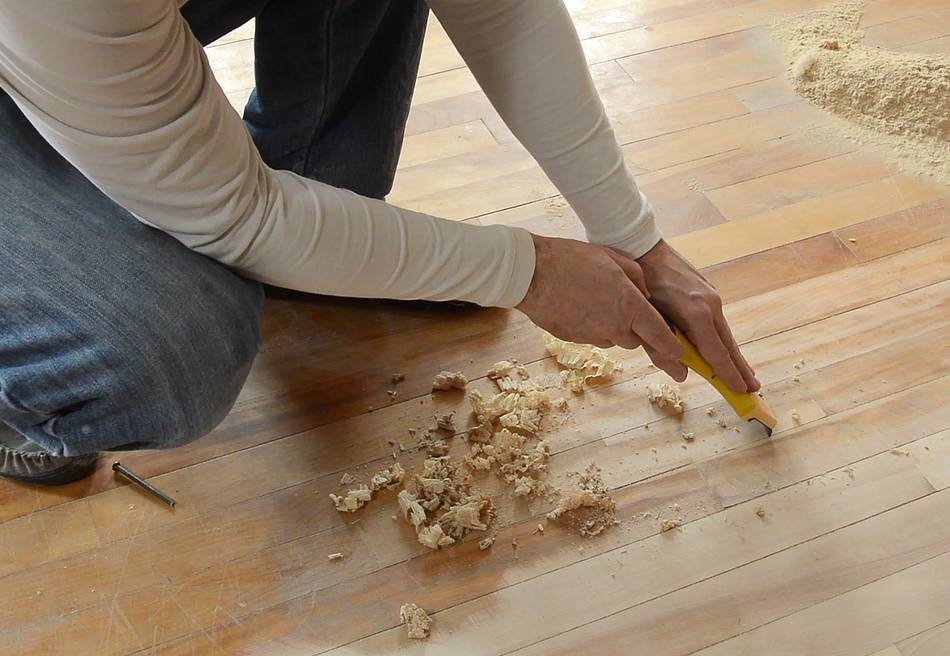
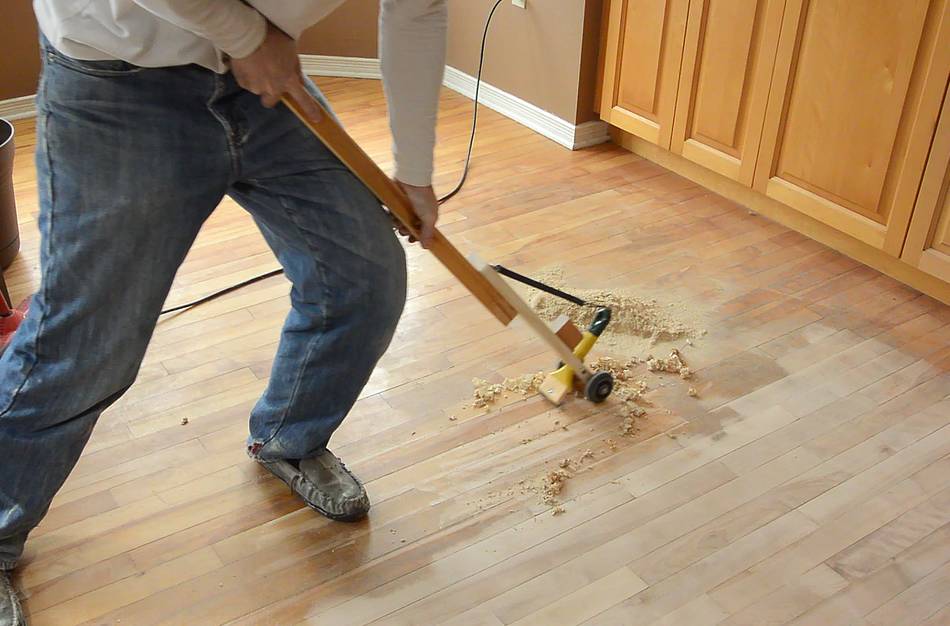
I normally prefer scraping over sanding, and I figured a scraper might be faster.
But scraping the while floor like that would be hard on the back, so I made
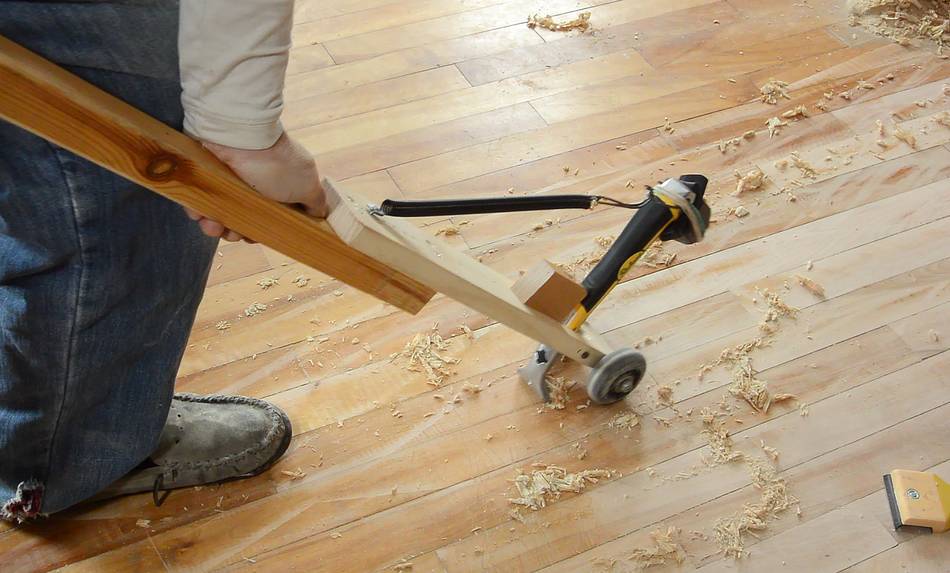
this long handle, with wheels on it, to scrape from a standing position.
The idea is that I can push down on it, but thanks to the wheels on
the front and the spring, the scraper is still pulled along the floor — because
if I tried to push the scraper along the floor it would just dig in.
But it wasn't ideal. I just didn't have enough power, or maybe the scraper was
getting dull too quick. I also tried it with a carbide tipped scraper.
This scraper had a tendency to chatter in the jig, but attaching a weight
to the end of the handle with rubber bands, and with some rubber
padding between the handle and the weight, the vibrations were under control.
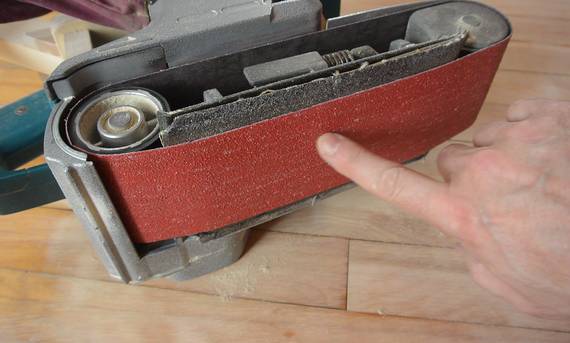
I also bought some 50-grit sanding belts for my belt sander,
and that worked much faster than scraping. So I gave up on the idea of
scraping the whole floor. That said,
I know it can be done
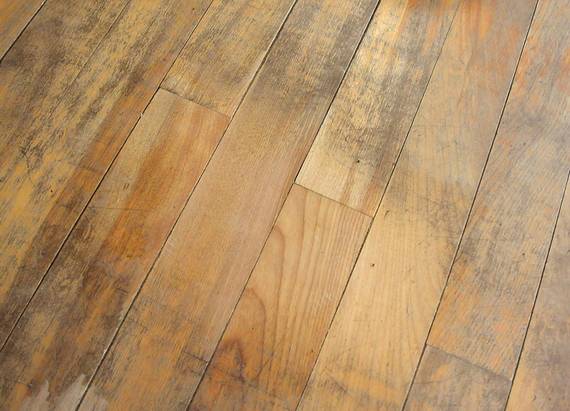
With just part of the floor stripped, I put a coat of varnish on it to see how
it looked. I could see that I hadn't sanded deep enough because with the
varnish on it, some of the old scratches in the floor were clearly visible.
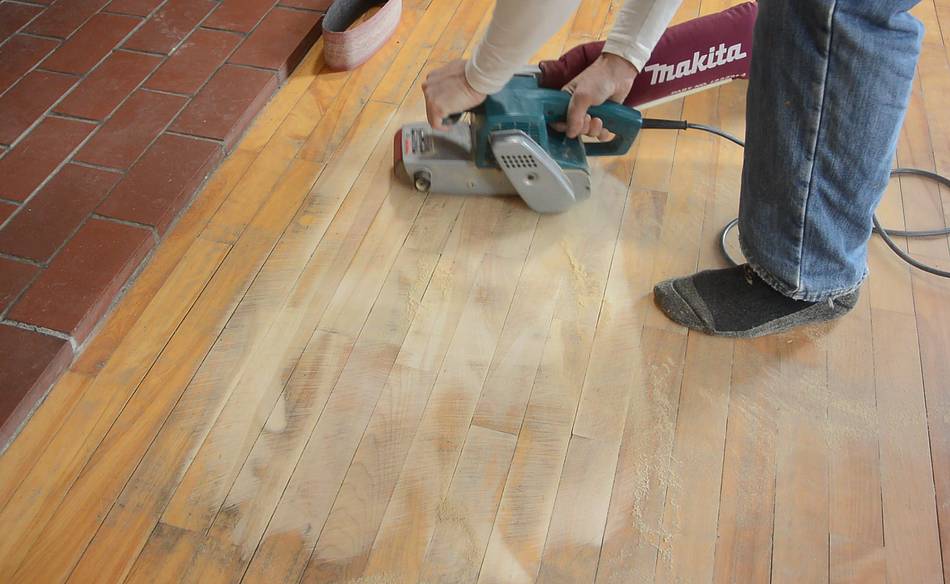
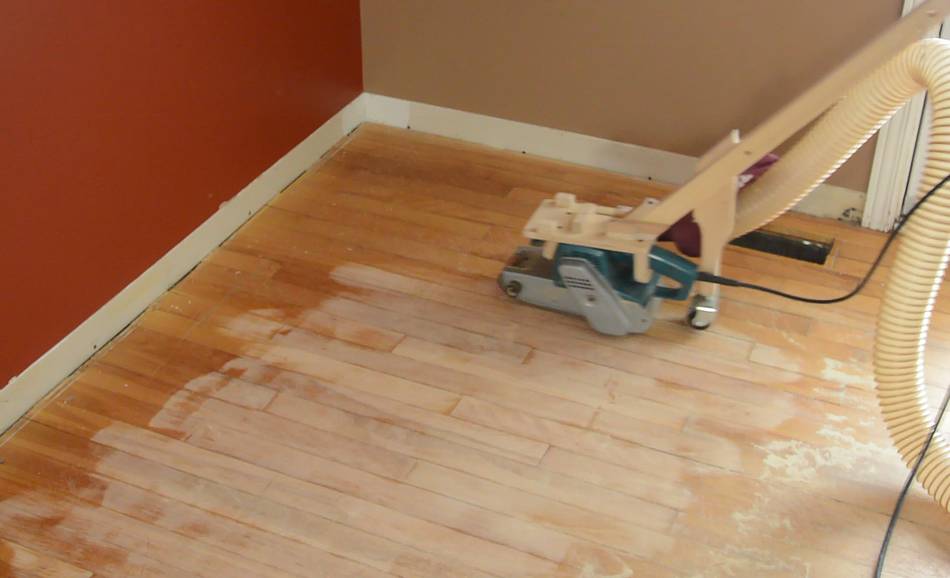
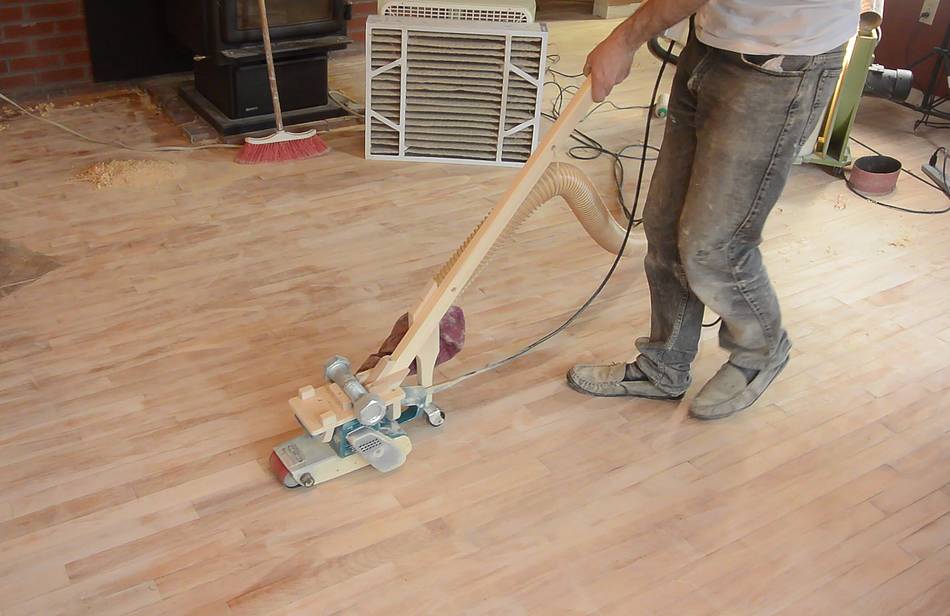
I made a long handle for my belt sander to make it easier to sand the large area.
After a bit of sanding, I checked the belt and was pleased to see that it showed
no sign of wear or clogging. The very coarse belt makes a big difference!
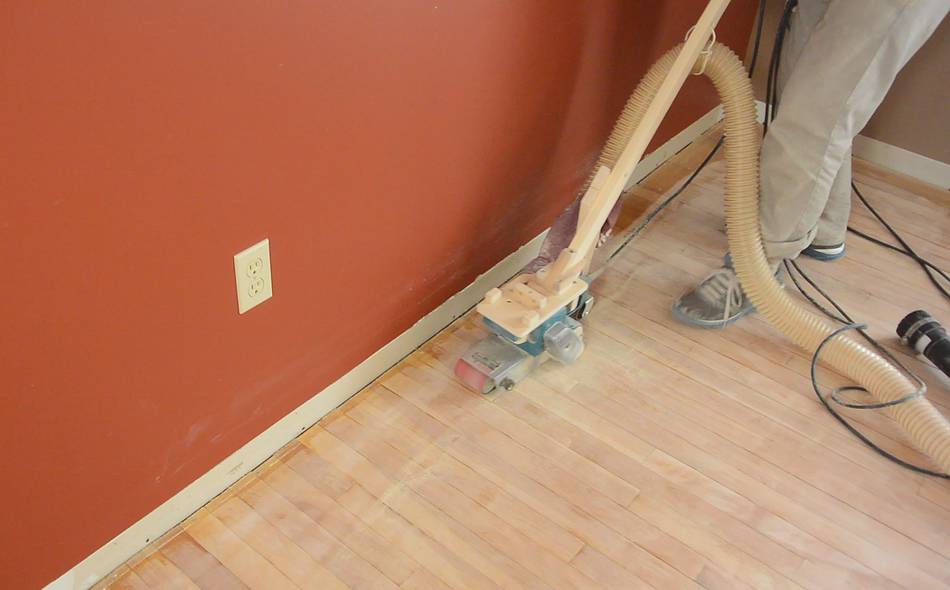
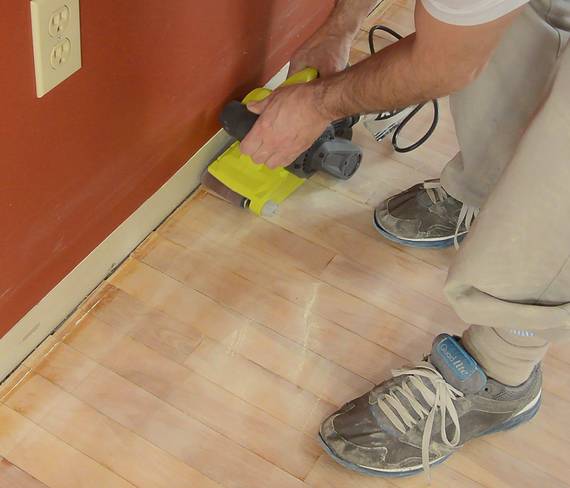
My Makita belt sander could not sand all the way to the edge. So I used that
as an excuse to buy the cheapest belt sander they had at The Home Depot -
a little Ryobi one, which can sand to the edge.
That Ryobi is much lighter than the Makita and probably would not stand up
to the abuse of sanding a whole floor, but for this job, it was perfect.
And it only cost $100 (Canadian), whereas an edging sander would cost $65
to rent for a 24-hour period. So even if this one got "used up", it would still
be an ok deal.
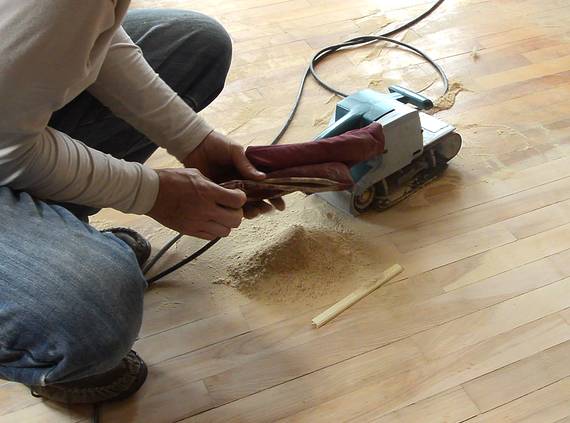
The sander could go up against the edge, but not into the corner,
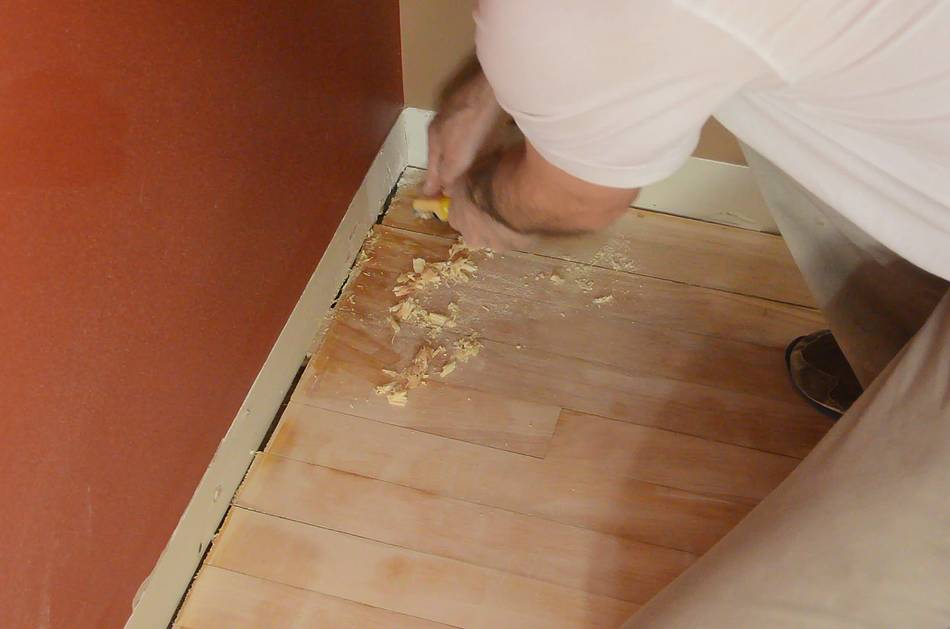
so I went back to the scraper for that.
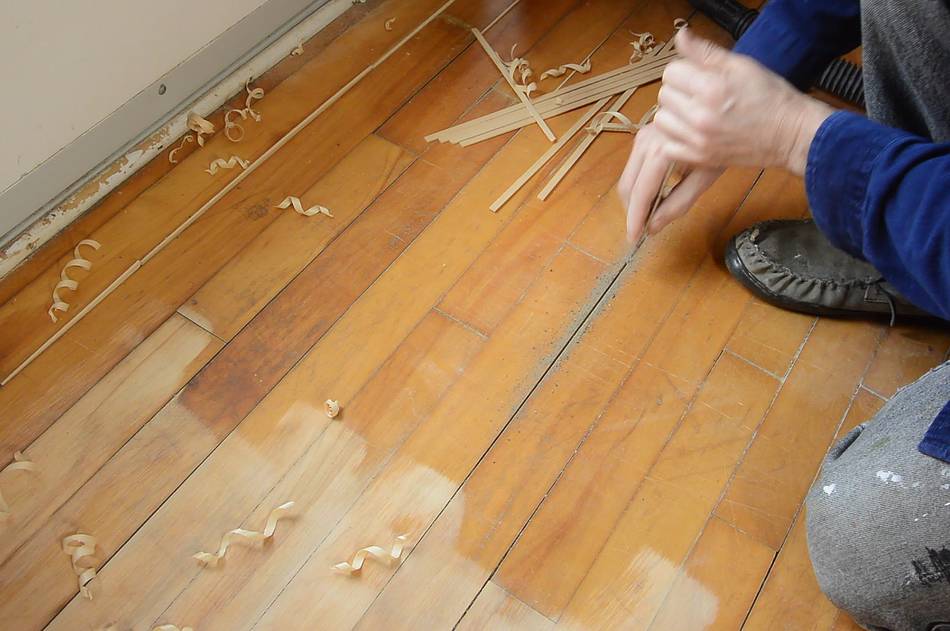
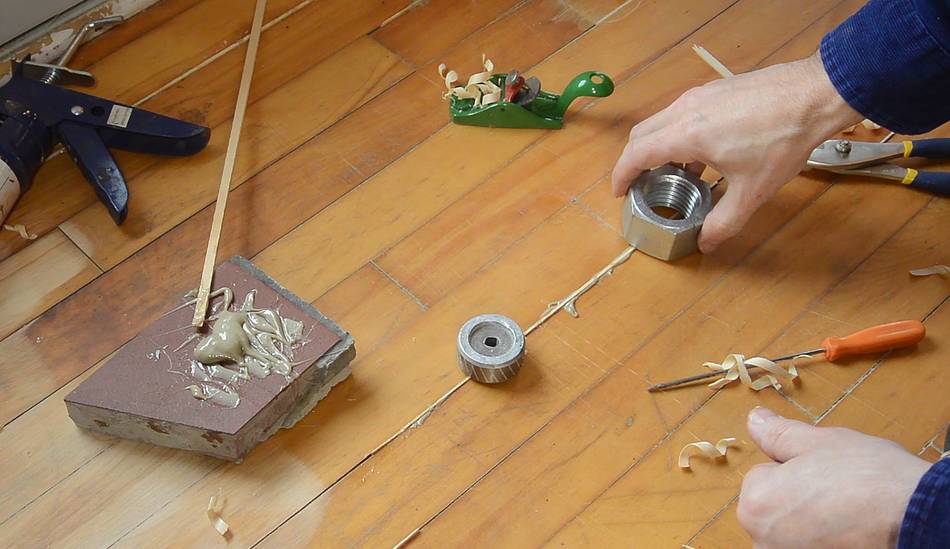
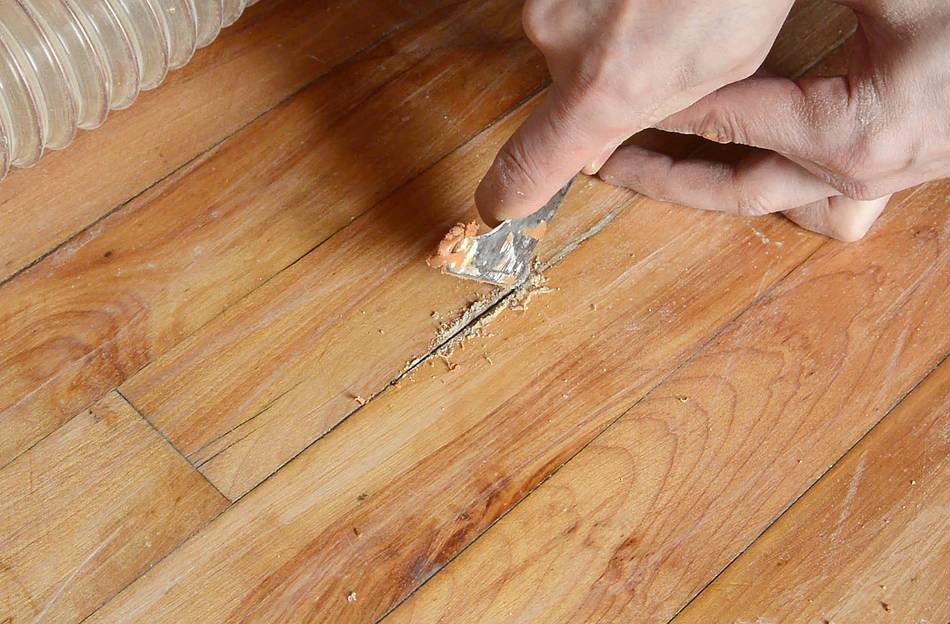
In a few places there were sizable gaps in the floor, some 4 mm wide.
Here I'm scraping the dirt out of one of these gaps
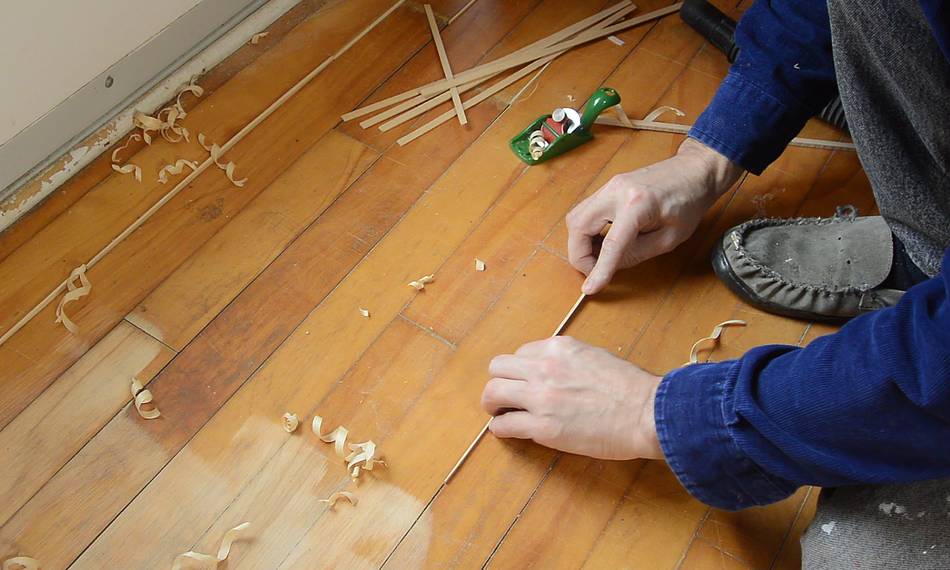
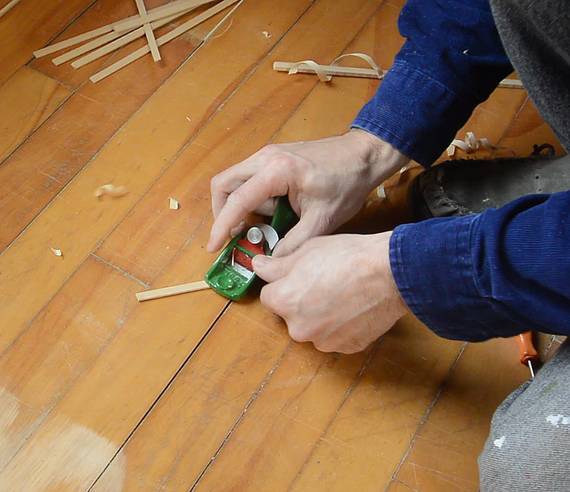
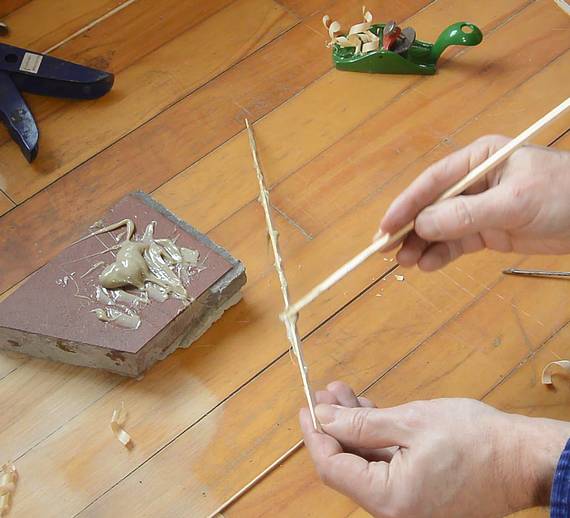
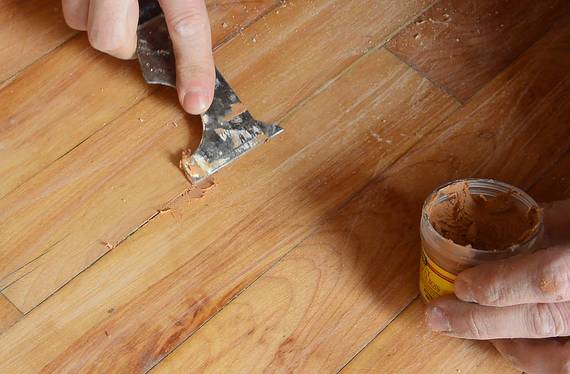
I cut some thin strips of wood, then used small hand plane to taper them
to fit into the gaps just right.
I smeared some construction adhesive along the strips of wood, then pressed
them into the gaps and weighed them down where necessary.
This worked well enough, but maybe I should have worn rubber gloves,
because working with construction adhesive on my fingers
for over an hour, it took about five days for it to finally come off!
Two days later, with the glue hardened, I used a small hand plane to trim
it flush before sanding. I later tried cutting the excess off just
with a scraper, and for the 1 mm thick pieces, that worked just as well
and was much faster.
I started sanding the floor cross-grain, so that the sanding belt
would get a better "bite" on the wood.
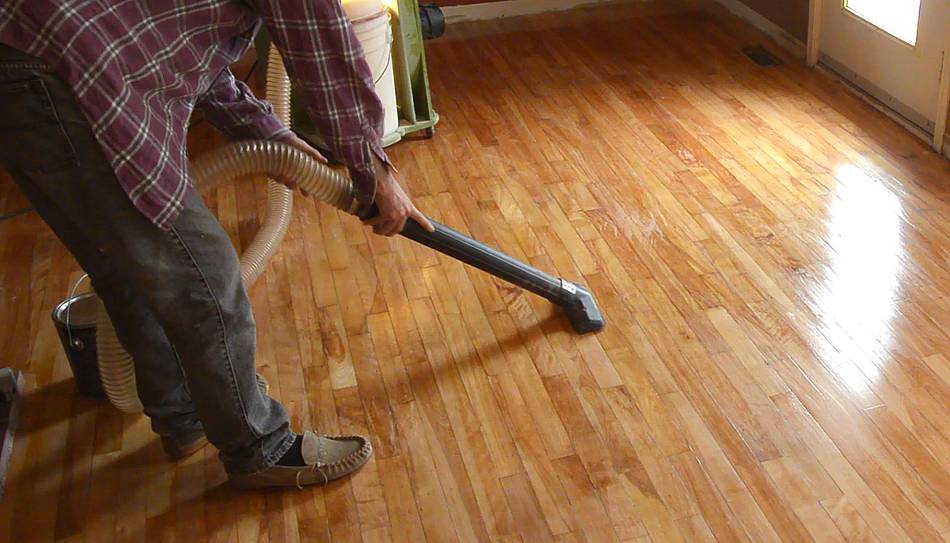
I put a hose on the belt sander and
hooked it up to my small dust
collector (behind me in the picture).
The dust collector, with its cyclone, doesn't get the filters plugged
up like a shopvac would, and it's also not as loud.
But a lot of dust still got thrown out by the sander, so I set up a box fan
to pull air through a furnace filter to help clean the air as I went.
I still ended up with a fine layer of dust on everything though.
After I had the whole floor sanded, I sanded it again, but parallel to
the grain, and slowly moving along each board. I then switched to 120
grit sandpaper and sanded again.
With several hours of continuous sanding on the belt sander, I'm pleased
that I didn't break it!
Also note the weight on top of the sander to get more downward pressure.
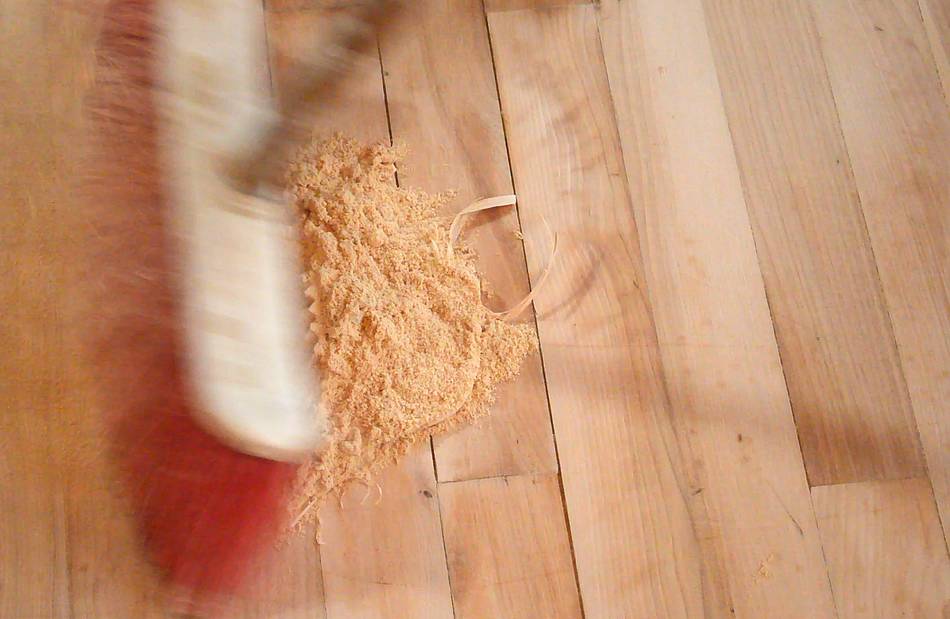
There were many gaps that were too small to effectively fill
with a wood shim. But sweeping some of the sanding dust across the gaps
filled them nicely.
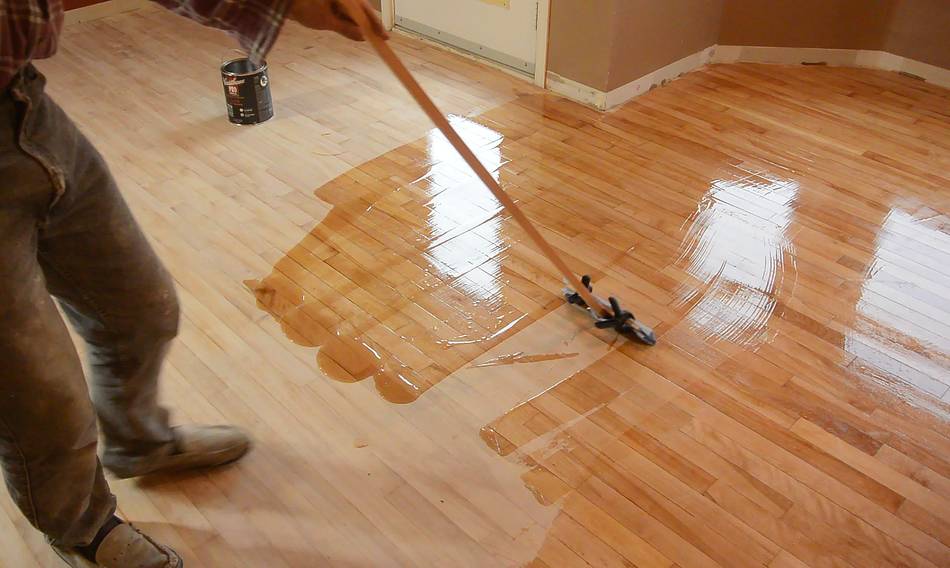
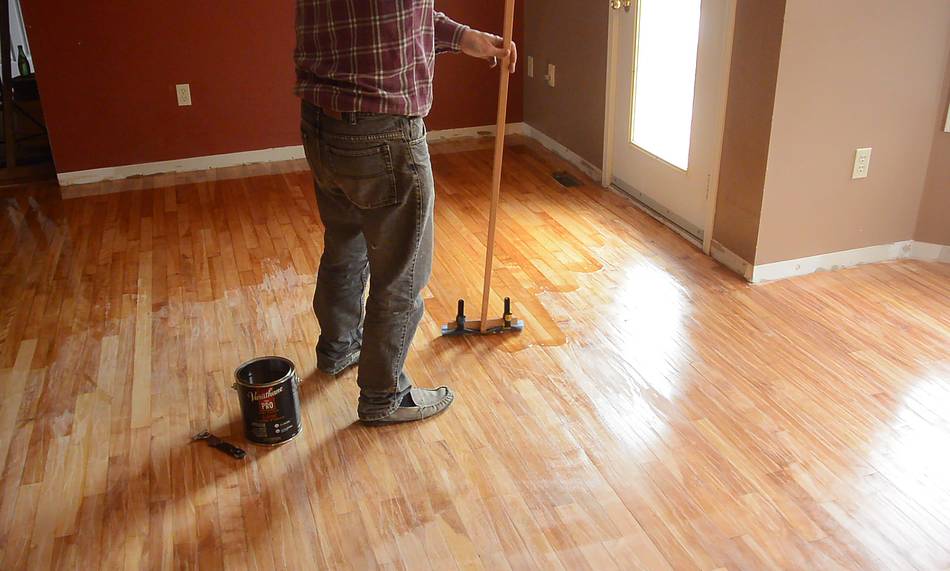
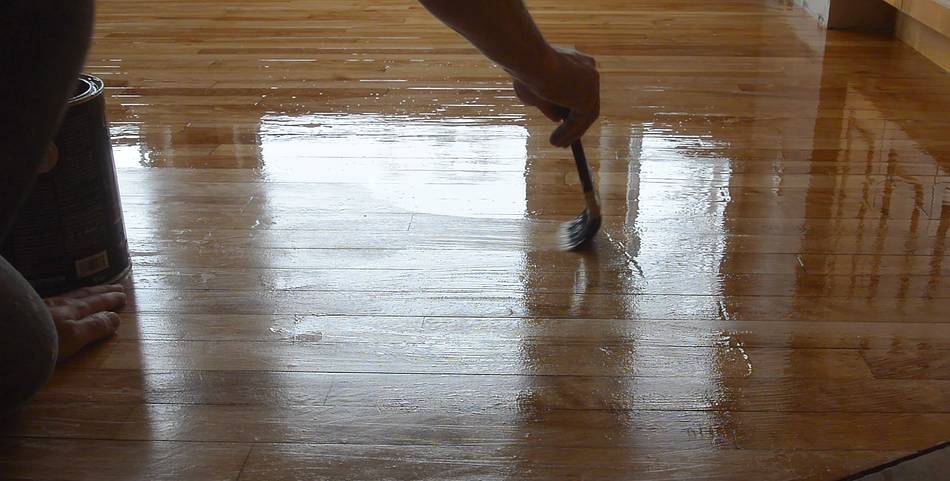
Then applying the first coat of varnish. I made a sort of squeegee brush
by folding some blue shop towel and clamping it across a board
at the end of a stick.
This arrangement was not very effective as a "brush" at picking up varnish,
but it worked well enough to drag varnish that I poured on the floor
across the floor.
I'm working across the boards instead of along them to try to avoid dislodging
the dust that I swept into the cracks.
I used up almost a whole gallon can (3.8 liters) on 18.4m2 (205 square feet)
of floor. I used an oil based floor varnish, because that's what was on
the floor before, and I figured that would stick the best if there was any
varnish left in the wood. The oil based varnish is also more resilient
(less likely to crack) and better at repelling water than water based varnish.
The downside of oil based varnish is that it's a bit softer and scratches more easily.
It's also less slippery (once dried) than water based varnish, and gives the wood
more of an amber tone.
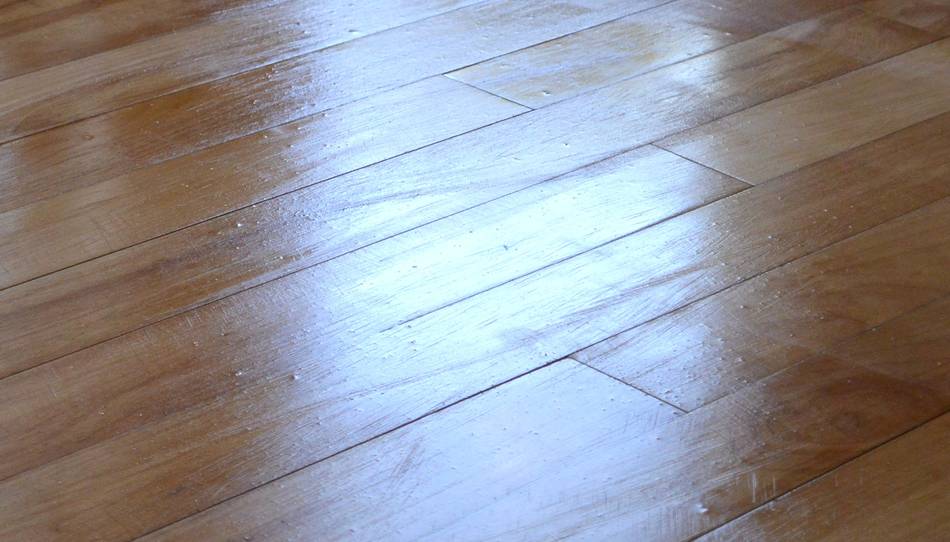
Once the varnish was dry, I could see all kinds of bumps on it. I'm pretty
sure these are from flecks of dust left on the floor because I only swept
the floor before varnishing it. Vacuuming would have pulled the dust
back out of the gaps.
But this was only the first coat, so I wasn't too worried. It needed a light
sanding anyway. But instead of sanding, I went over the whole floor
with a scraper to scrape off any bumps. This went fairly fast because
I didn't need a whole lot of force, and I only needed to go over each board once.
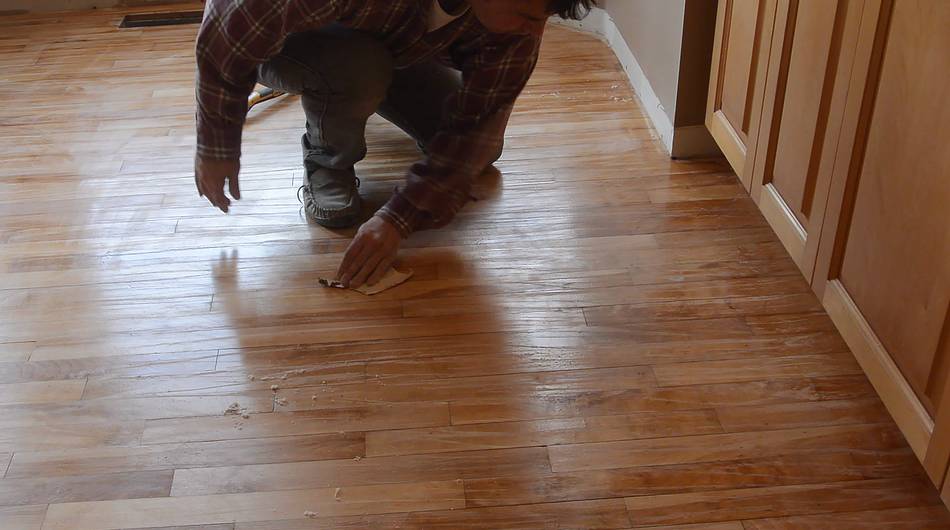
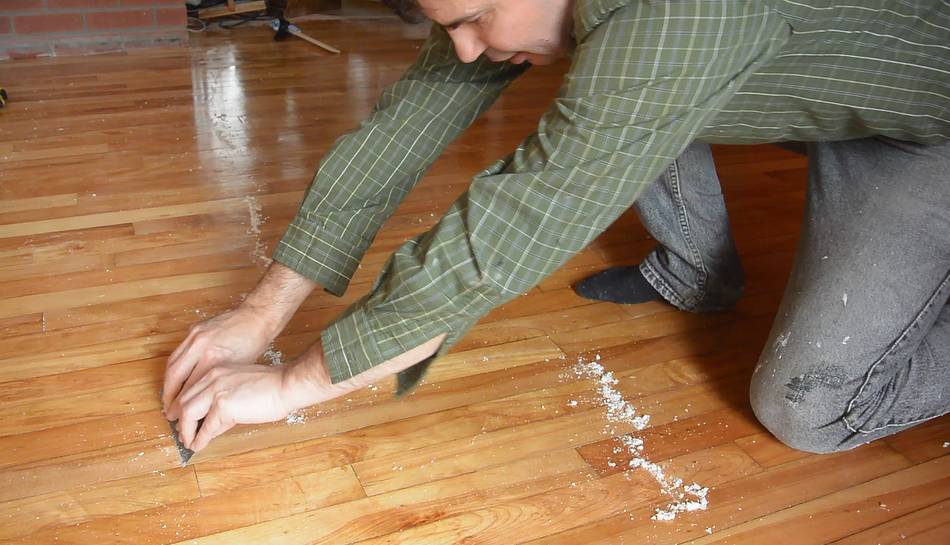
After that I went over the whole floor with sandpaper by hand.
Initially I thought of putting a sanding pad at the end of a stick to make that
easier, but working stooped down like this, I could better see any areas
that needed extra attention. There were a few spots where my across-the-grain
sanding was still visible, so I used a scraper to scrape through the varnish
and smooth those areas out.
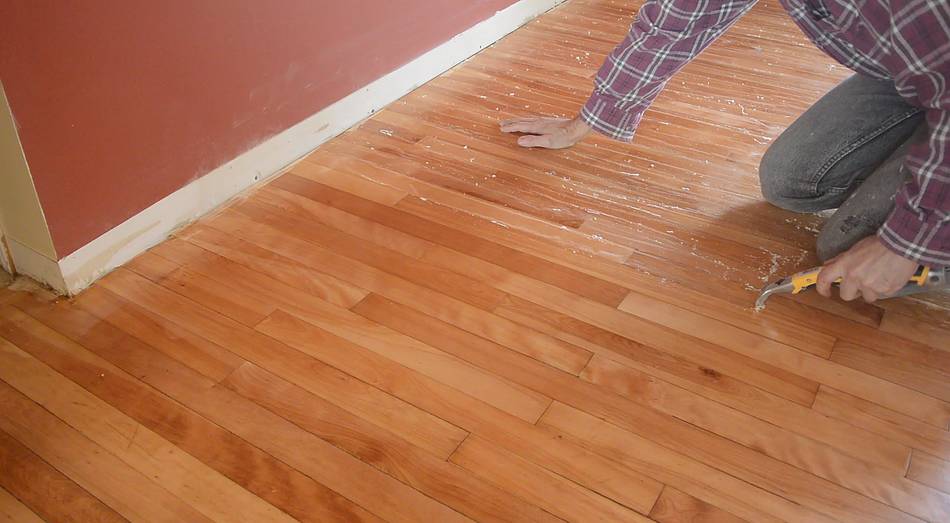
At first I thought my gap filling method with the sawdust hadn't worked, so I bought
some proper wood putty to fill them with. But then I realized, the gaps were
filled, but somehow the sawdust and varnish in the gaps made for very dark lines.
I scraped the varnish out of the biggest of the remaining gaps and put wood
putty in, but it would have been much easier if I had put the putty
in before applying the varnish.
Then the second coat, this time applying the varnish in the direction of the wood.
But my mistake this time was not starting at the windows and working away from them.
The dark wall in front of me wasn't all that reflective so I didn't
see that I missed a few spots. But I was planning on applying a third coat anyway,
so no harm in it. The second coat only used up half of a 1 gallon can for the
same area.
I still had some bumps after the second coat. This time, I went over the floor
with a very flexible scraper to follow the contours a bit better. I also went
over it with some fine sandpaper by hand again.
Then carefully vacuuming the whole floor to remove any specs of dust.
I put the last coat on with a brush. The brush made for a much more even
coating on the floor, but it took about an hour and a half for the 18 m2,
much longer than with my squeegee brush.
Final coat drying.
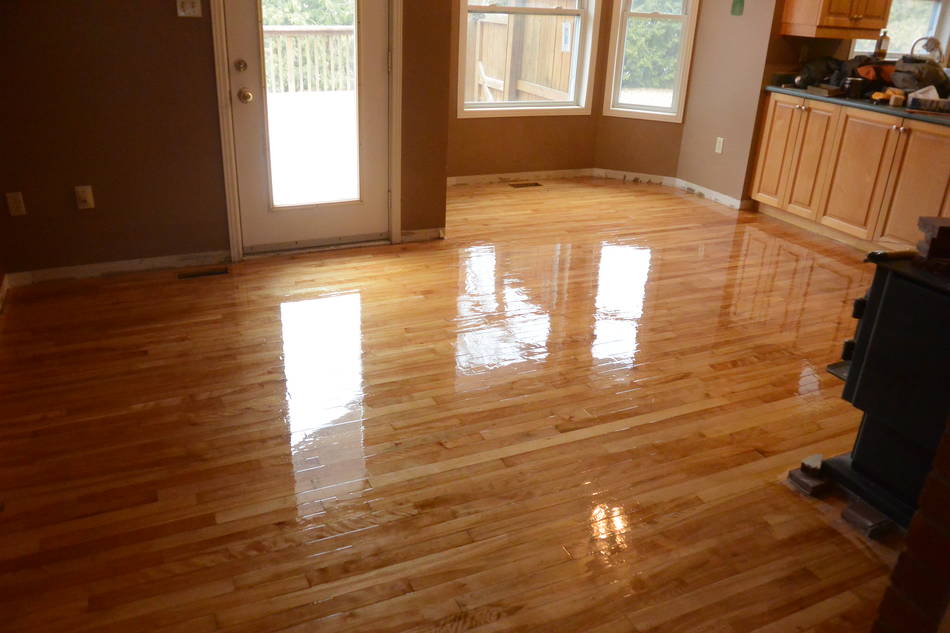
The end result looked quite nice, but still had some imperfections. Of course,
the number of "imperfections" will only increase as the floor actually gets used.
This is definitely not a how-to guide for finishing floors. If you are considering
refinishing a floor, unless you are doing a small area, renting a proper flooring sander
is the way to go, though a big sander wouldn't necessarily follow the contours of the floor
as well, so you'd need to sand off more.
You will also need to rent an edging sander to get up to the walls,
and for the cost of renting one of those for two days, you could buy a cheap little
belt sander, so using a belt sander on the edges makes more sense.
The wood strips as filler for the larger gaps worked well, but it was a lot of work.
For gaps larger than 2 mm, I think it's the best way to go. The sawdust in the gaps
was less successful. I should have smeared wood putty into the smaller gaps, and
vacuumed the floor before applying the first coat of varnish.
But overall, $5 per square foot to have a floor professionally refinished doesn't seem
like a bad deal now. I'm sure the pros have this more figured out so they can do this
in less time than it took me.
But the homemade flooring sander contraption came in handy later. Once the carpet was
ripped out of the rest of the house, there were all kinds of bumps and pet urine stains
to sand out of the plywood to make sure the new hardwood flooring would go on
as flat as possible to avoid future squeaks.
And the homemade "squeegee brush", without the shop towel, was very useful for sweeping
the subfloor. The straight board got caught on any nail, staple or bump, so it was a good way of
finding stuff that needed attention.
Follow-up, 3 months later
The video has gotten quit a lot of hateful comments about "this is totally messing up the floor",
"what an idiot", etc. I didn't say it was a how-to guide (I guess people didn't read the
title or watch till the end). In the mean time, I like this floor more than the
brand new hardwood flooring we had professionally
installed inthe rest of the house. This floor is not pristine and perfect, and Harriet
likes to drag stuff across it. Before the varnish wears thru completely, I'll probably
give it a light sanding and another coat. But I put it on quite thick - much thicker
than a professional would have done, becasue I took more time.
I also used this floor for testing my domino row machine
because it's smoother than the professionally laid hardwood - no micro bevels. The only
domino that fell while the machine set it up (over multiple tests) had a speck of dirt
stuck to it.
 We were moving to a house in the country, but before we move in, some renovations were
in order. The floor in the kitchen area was very scuffed up, and the plan was to get a flooring
company to refinish it. But before that, I figured I'd experiment with it a bit.
We were moving to a house in the country, but before we move in, some renovations were
in order. The floor in the kitchen area was very scuffed up, and the plan was to get a flooring
company to refinish it. But before that, I figured I'd experiment with it a bit.


 How long for floor boards to acclimatize — tests
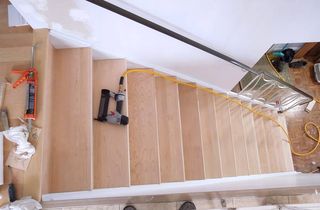 New treads for old stairs
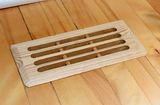 Furnace vent grill
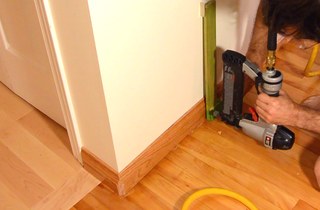 Installing baseboards
 Hardwood flooring around stair spindles
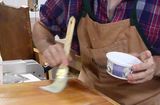 A simple varnish
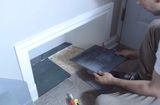 Installing a boot nook
 Refinishing a table top
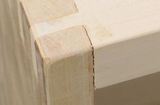 Filling gaps in wood joints
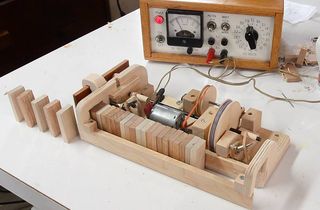 Domino row building machine
 Making baseboard molding
 Varnishing tips
 Table top glue-up and varnish