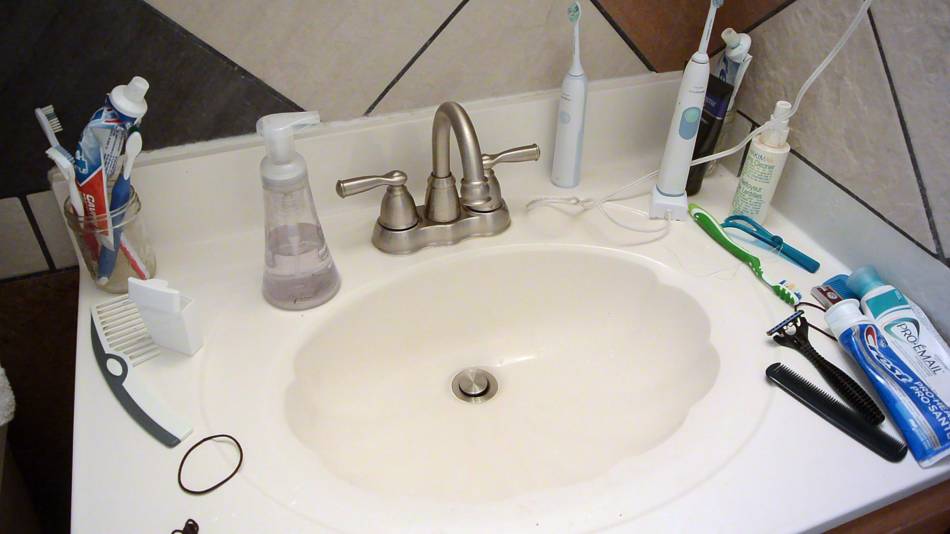
 Rachel wanted a shelf to go above the sink in the bathroom
to get some of the clutter off the sink.
Rachel wanted a shelf to go above the sink in the bathroom
to get some of the clutter off the sink.
Rachel wanted a shelf to go above the sink in the bathroom
to get some of the clutter off the sink.
The difficulty with making a shelf for the sink is that it would get wet things put on it often, so wood is not the ideal material. I thought I'd try making it out of transparent acrylic. Other than picture frames, this is my first time working with acrylic.
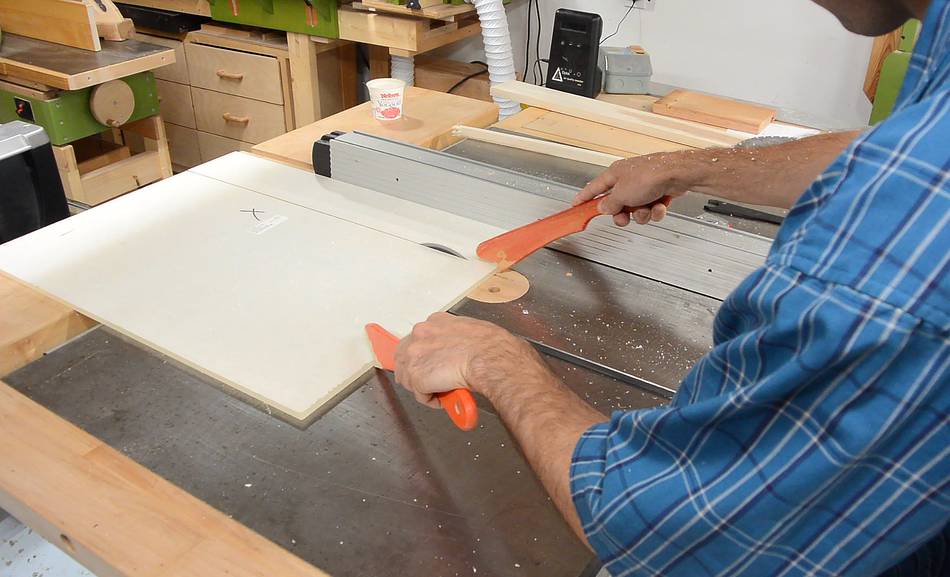
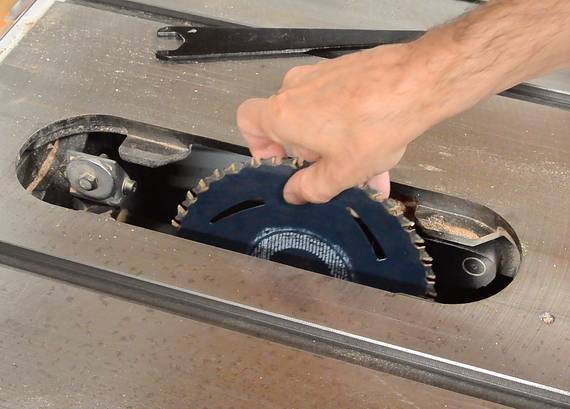 I put a small saw blade in the saw. A smaller diameter blade means lower
tooth speed, so hopefully less melting of the plastic. The saw cut the
acrylic quite nicely.
I put a small saw blade in the saw. A smaller diameter blade means lower
tooth speed, so hopefully less melting of the plastic. The saw cut the
acrylic quite nicely.
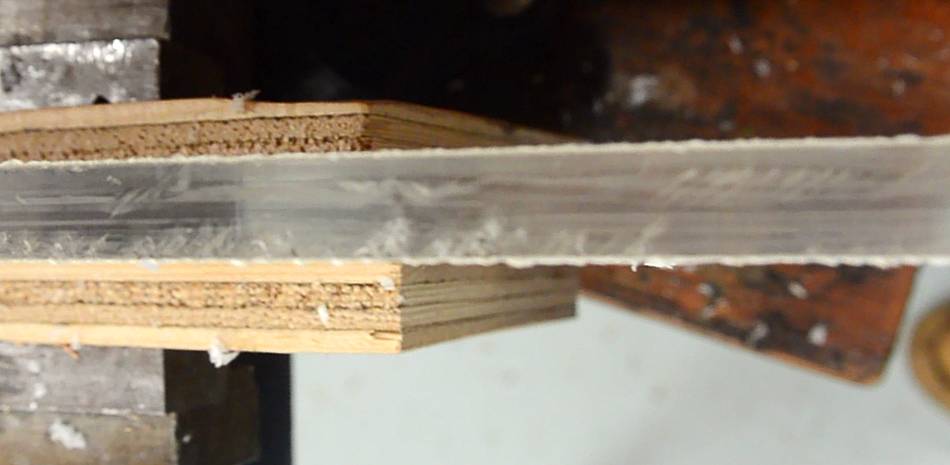
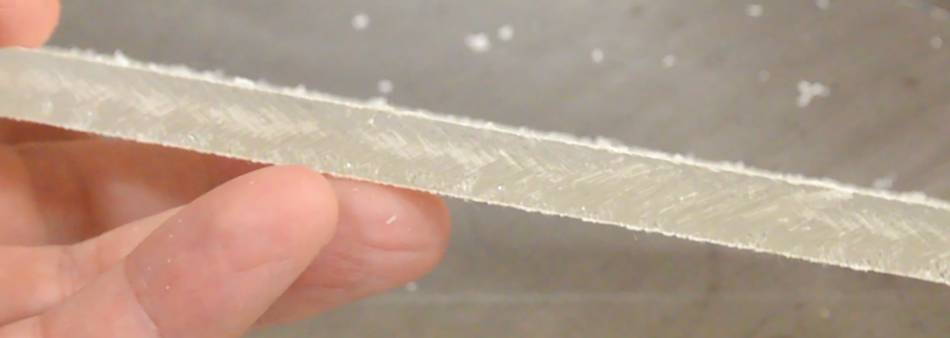 The edge wasn't too bad, though not as nice and clear as the factory edge.
 I experimented with using a small hand
plane to smooth the edge, but it would either slide over or dig in but
never take any shavings off the surface.
I experimented with using a small hand
plane to smooth the edge, but it would either slide over or dig in but
never take any shavings off the surface.
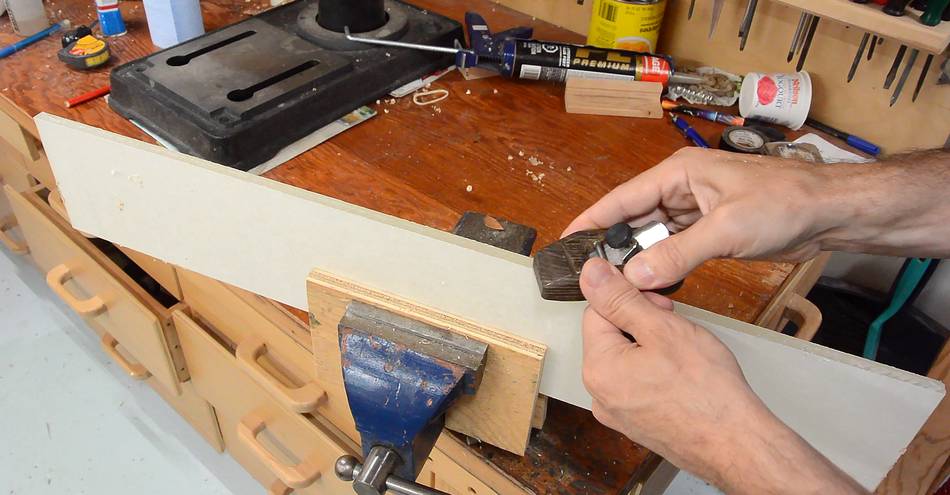
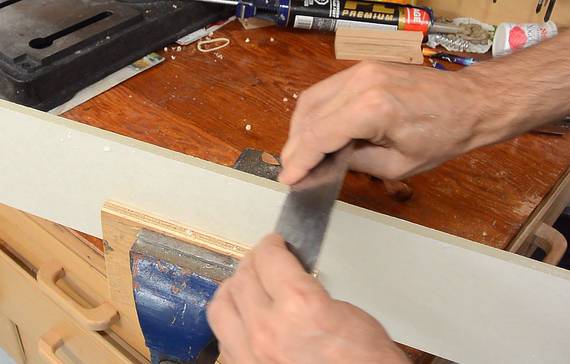 Then I tried a cabinet scraper. That worked much better.
 Still no mirror smooth surface, but decent. I'm sure solvents or heat
could be used to smooth it further, but this was smooth enough
for a back edge. I used the factory edges for the front.
Still no mirror smooth surface, but decent. I'm sure solvents or heat
could be used to smooth it further, but this was smooth enough
for a back edge. I used the factory edges for the front.
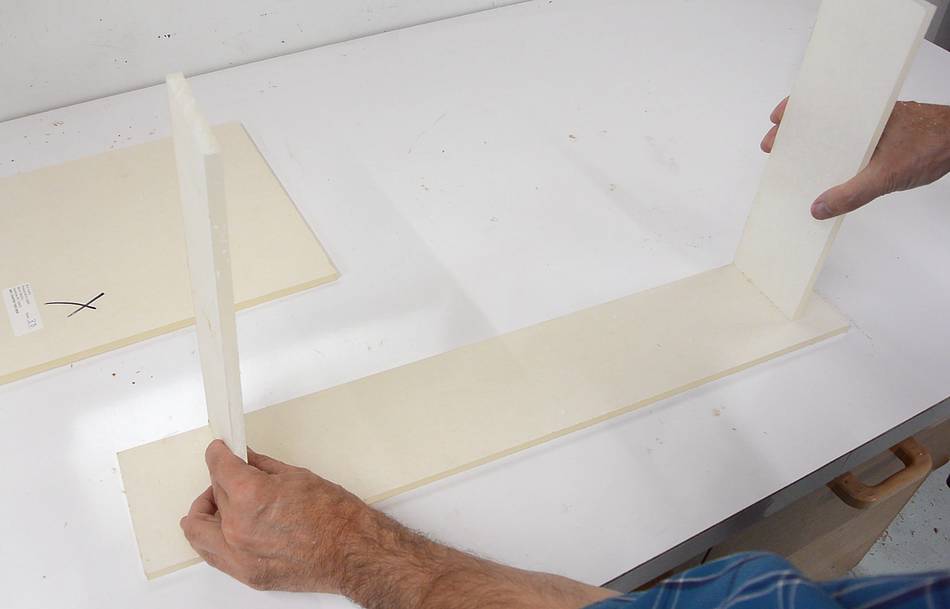
 I cut two pieces to be verticals on the left and right of the shelf.
These will mount to the bottom of a medicine cabinet just above.
I cut two pieces to be verticals on the left and right of the shelf.
These will mount to the bottom of a medicine cabinet just above.
 I read that PVC solvent cement could be used to glue the acrylic together,
so I bought some and tried it. Lots of warnings on the can!
I read that PVC solvent cement could be used to glue the acrylic together,
so I bought some and tried it. Lots of warnings on the can!
The instructions said that the joint should be left undisturbed for an hour, but my test joint still pulled apart easily. So I made another test and left it for a day. That one held fairly well.
 The label on the acrylic said that it was anti-reflection coated on one side.
I wasn't sure which side, so to be on the safe side, I sanded the area
where I glued.
The label on the acrylic said that it was anti-reflection coated on one side.
I wasn't sure which side, so to be on the safe side, I sanded the area
where I glued.
 I also drilled the mounting holes in the vertical pieces. Easier to do
that now before assembling the shelf.
I also drilled the mounting holes in the vertical pieces. Easier to do
that now before assembling the shelf.
 I took everything outside for gluing to avoid getting solvent
vapours in my workshop.
I took everything outside for gluing to avoid getting solvent
vapours in my workshop.
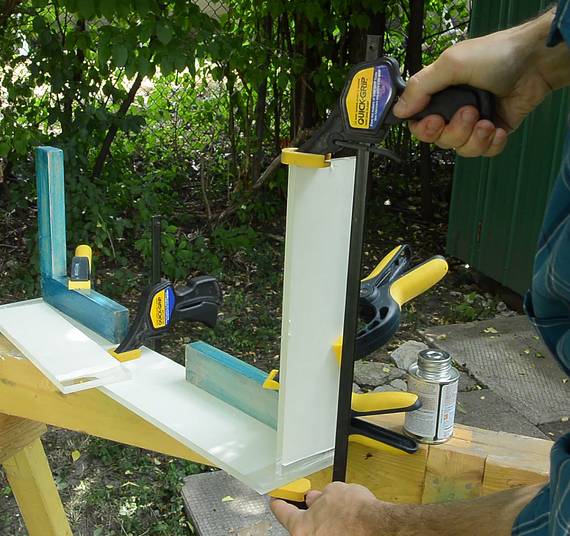 I used my clamping squares to hold the pieces in place and clamped
the pieces together once I applied the sovent cement to hopefully
get better bonding.
I used my clamping squares to hold the pieces in place and clamped
the pieces together once I applied the sovent cement to hopefully
get better bonding.

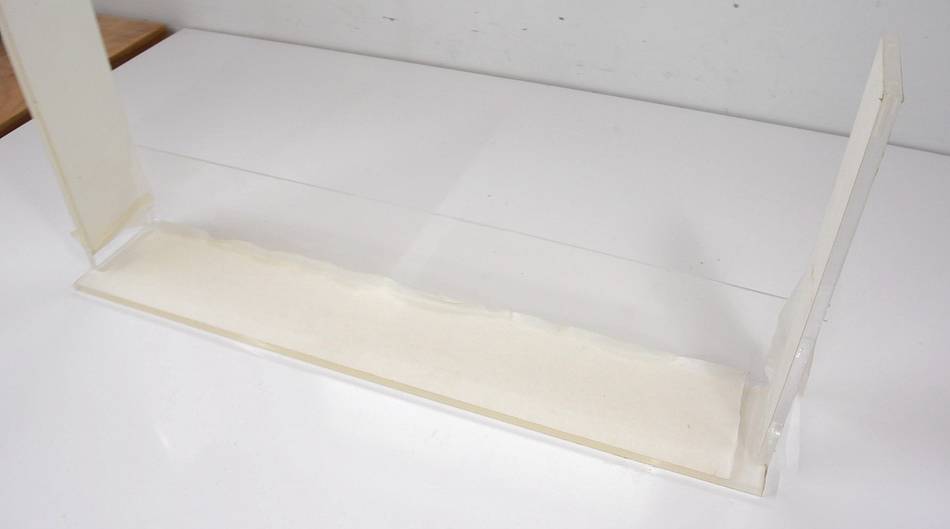 After gluing the initial three pieces together, I decided to add a thick piece
on the back. This helps reinforce my T-joints by joining to the back and to
the bottom. It also stiffens the shelf against sagging.
After gluing the initial three pieces together, I decided to add a thick piece
on the back. This helps reinforce my T-joints by joining to the back and to
the bottom. It also stiffens the shelf against sagging.
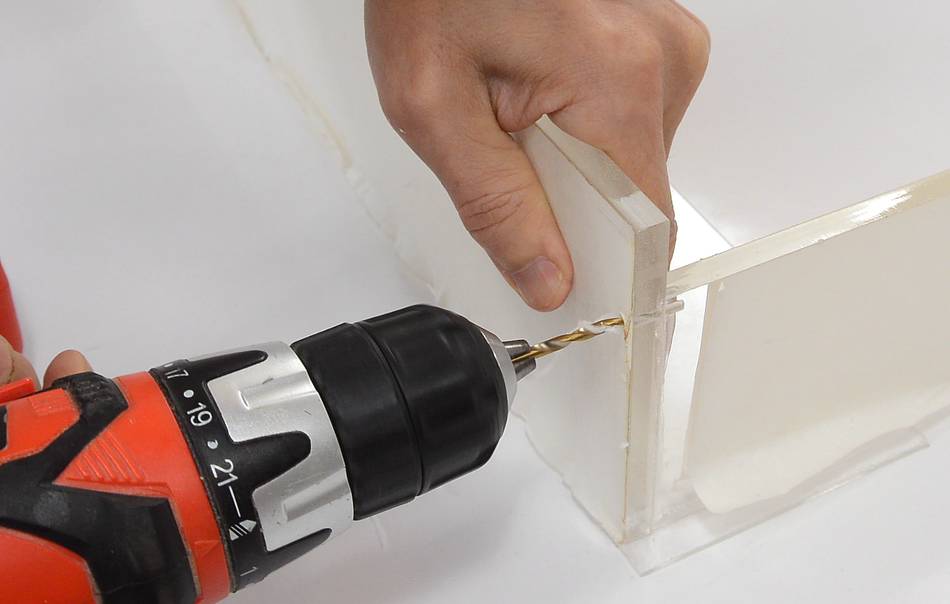
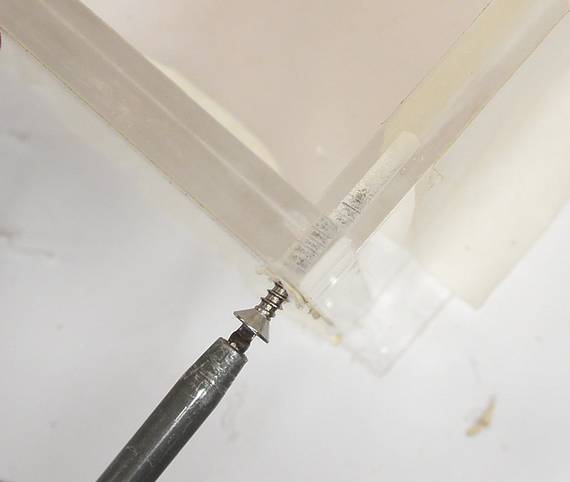 I wasn't sure how much I could trust my glue joints, so I also added screws to
the front corners. These are stainless steel screws that I bought in case the
solvent gluing didn't work.
I wasn't sure how much I could trust my glue joints, so I also added screws to
the front corners. These are stainless steel screws that I bought in case the
solvent gluing didn't work.
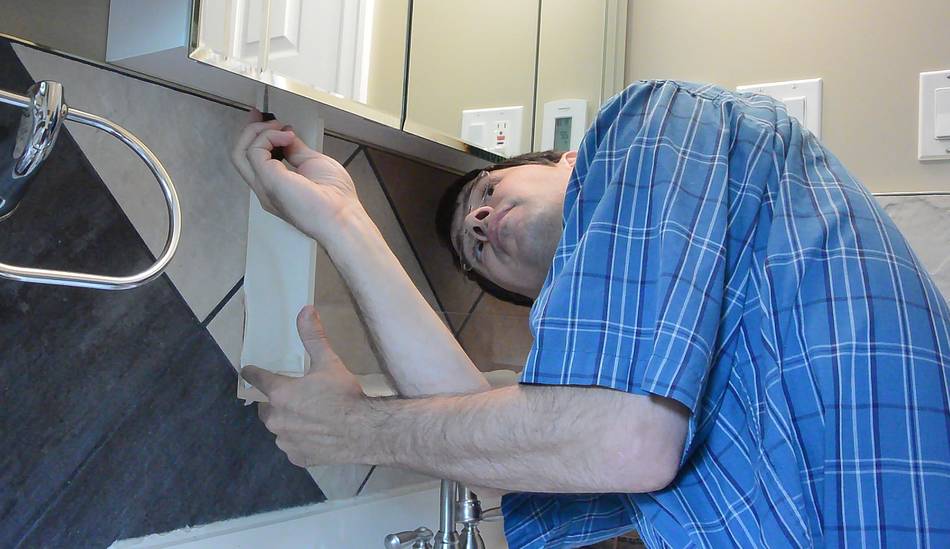 Marking where the screw holes go under the cabinet.
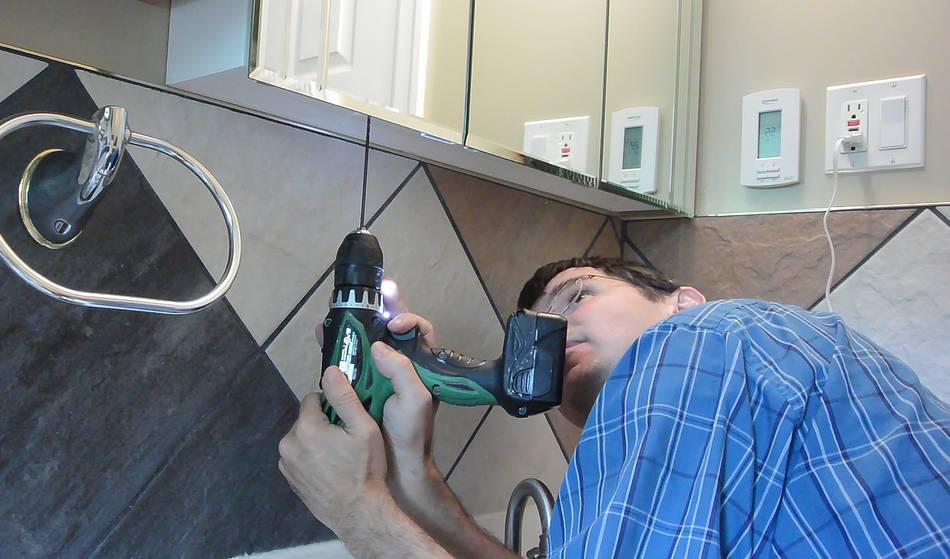 Then drilling the holes. I used a long drill bit because on the right side,
I had to drill very close to the corner.
Then drilling the holes. I used a long drill bit because on the right side,
I had to drill very close to the corner.

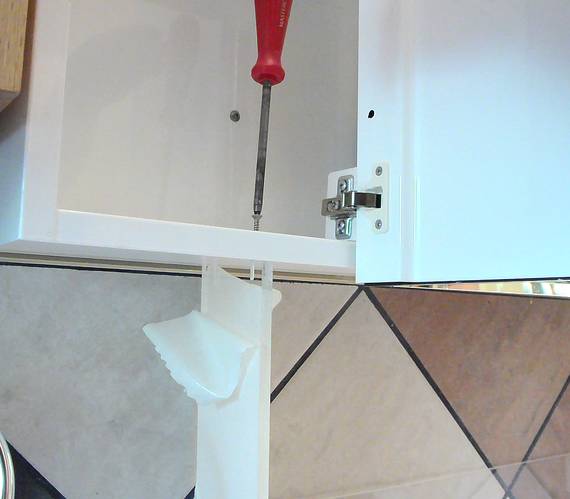 Propping the shelf up with some slippers while I screw it to the cabinet,
from the inside.
Propping the shelf up with some slippers while I screw it to the cabinet,
from the inside.
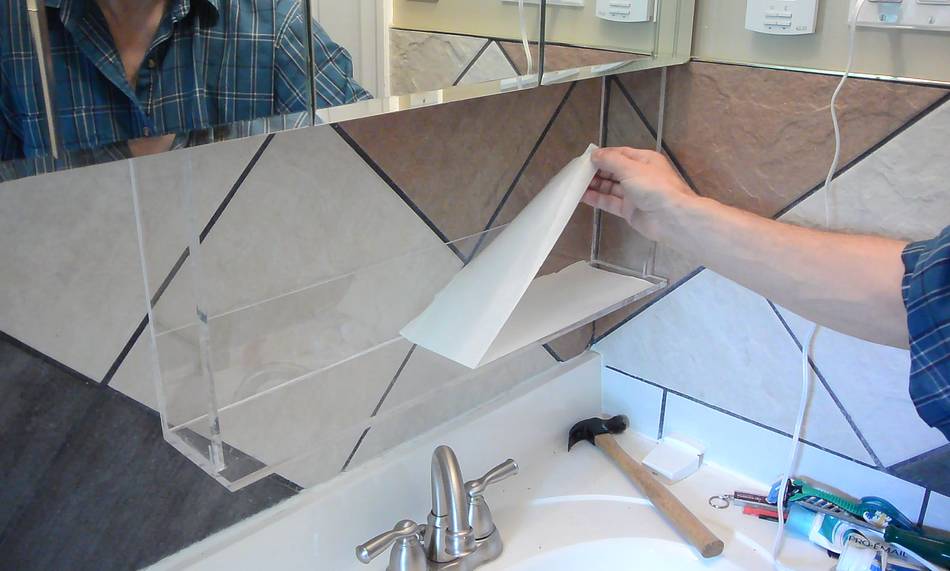 With the shelf mounted, I finally peeled off the protective layer from the
plastic. The shelf just about disappeared from view. I'm sure it will
become more visible once it gets dirty.
With the shelf mounted, I finally peeled off the protective layer from the
plastic. The shelf just about disappeared from view. I'm sure it will
become more visible once it gets dirty.

 And here it is with the stuff moved to the shelf.
This makes it much easier to wipe around the sink. Though - I never considered dirt around the sink much of a problem when I was single :)
Watch Clearing a drain with an air gun! (when I was single!).
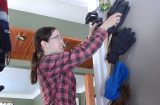 Rachel makes
hooks for gloves and tuques
Rachel makes
hooks for gloves and tuques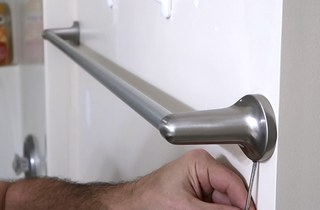 A "stud"-ly way to mount a towel bar (video only)
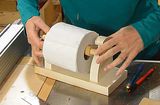
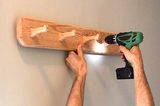 Making coat hooks
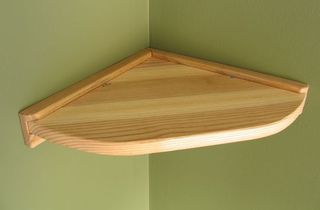 Small corner shelf
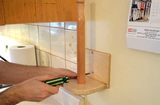 Paper towel roll holder
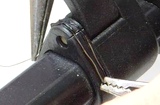 Plastic repair
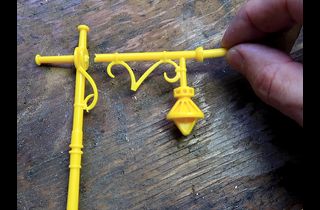 Plastic repair (melting together, video)