 I first came up with this technique when I needed to repair the flimsy
internal plastic structure of a "play" button on a tape deck back in the 1980s.
I first came up with this technique when I needed to repair the flimsy
internal plastic structure of a "play" button on a tape deck back in the 1980s.
I first came up with this technique when I needed to repair the flimsy
internal plastic structure of a "play" button on a tape deck back in the 1980s.
This time around, I wanted to repair a broken Manfrotto digi 714B tripod that I bought cheaply at a yard sale. I hadn't noticed at the time, but most of the clamps for locking the legs were cracked. I guess that's why it was cheap! I really liked the design of this tripod, so I decided to fix it.
The problem with these plastic parts is that they are under a lot of stress, and even if they could be glued back good as new, that might still not be strong enough. These clips are a flimsy design.
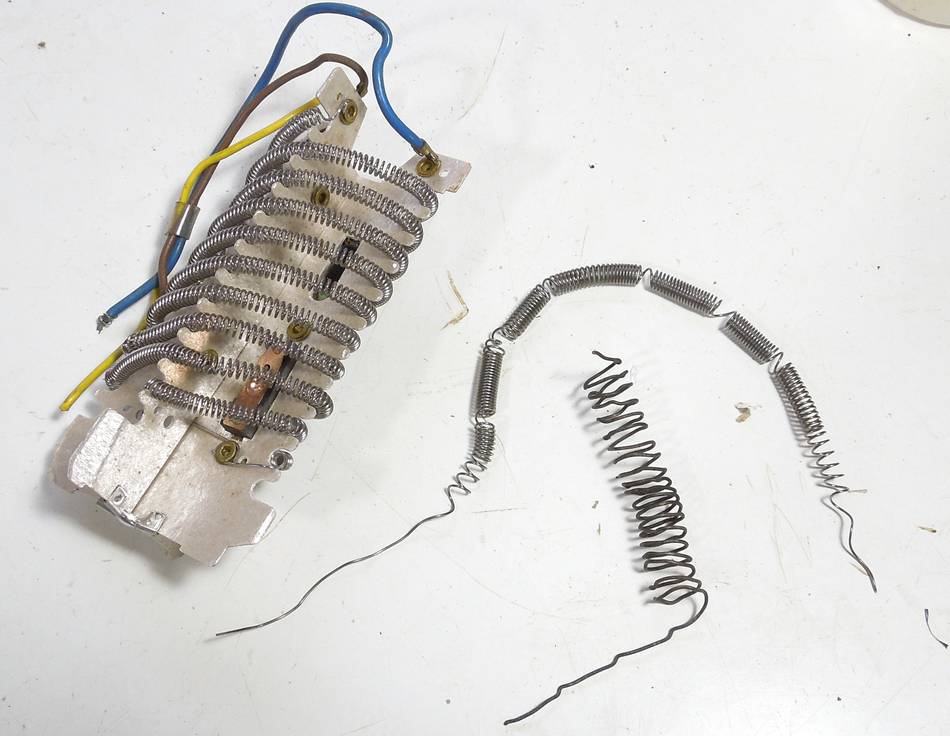 So I decided to melt some steel wire into the plastic as reinforcement. The wire I'm using
came from heating elements of a blow dryer. You should be able to use other types
of steel wire as well, though you will need much more current to heat it up.
Copper wire can't be used -- it's too weak and has too little electrical resistance
to heat up easily.
So I decided to melt some steel wire into the plastic as reinforcement. The wire I'm using
came from heating elements of a blow dryer. You should be able to use other types
of steel wire as well, though you will need much more current to heat it up.
Copper wire can't be used -- it's too weak and has too little electrical resistance
to heat up easily.
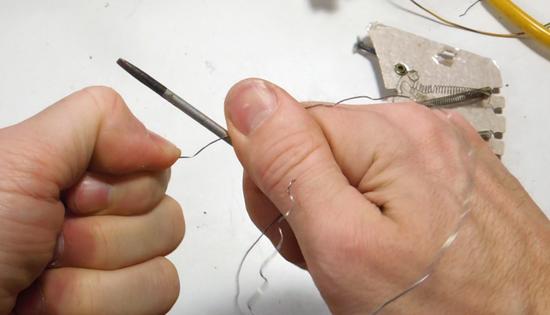 After pulling the coils straight, the wire can be straightened further by squeezing
it between the thumb and a small screwdriver, and pulling it through.
After pulling the coils straight, the wire can be straightened further by squeezing
it between the thumb and a small screwdriver, and pulling it through.
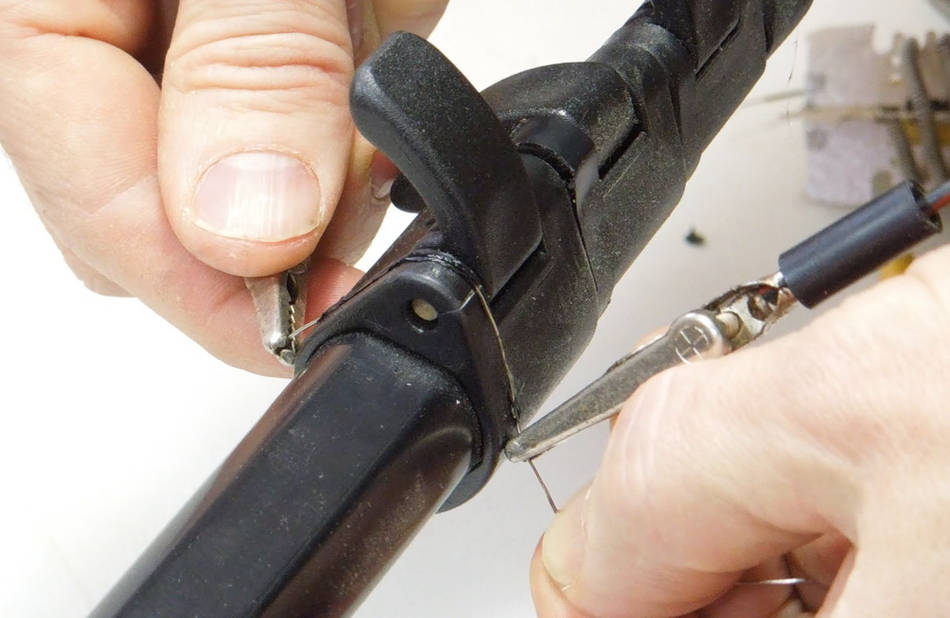 The next step is to pull the wire around the plastic part while heating it up
with electric current.
The next step is to pull the wire around the plastic part while heating it up
with electric current.
Note that I'm holding the wire behind the alligator clip. Only the part of the wire between the alligator clips gets hot.
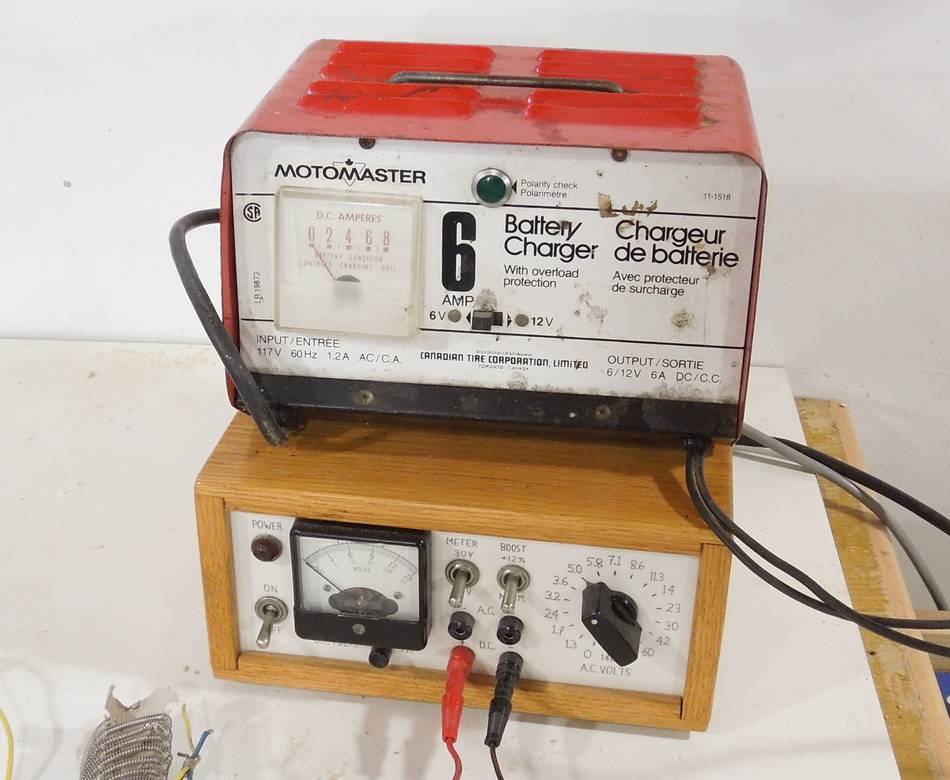 The power for this is coming from a
homemade benchtop power supply. I'm running about three
amperes through the wire. For thicker wire, more current is needed.
The power for this is coming from a
homemade benchtop power supply. I'm running about three
amperes through the wire. For thicker wire, more current is needed.
If you don't have a benchtop power supply, you could also use a car battery charger, or a lantern battery. If your wire gets too hot too quick, you can always run the current through another, longer section of steel wire in series with the one you are working with to reduce the current.
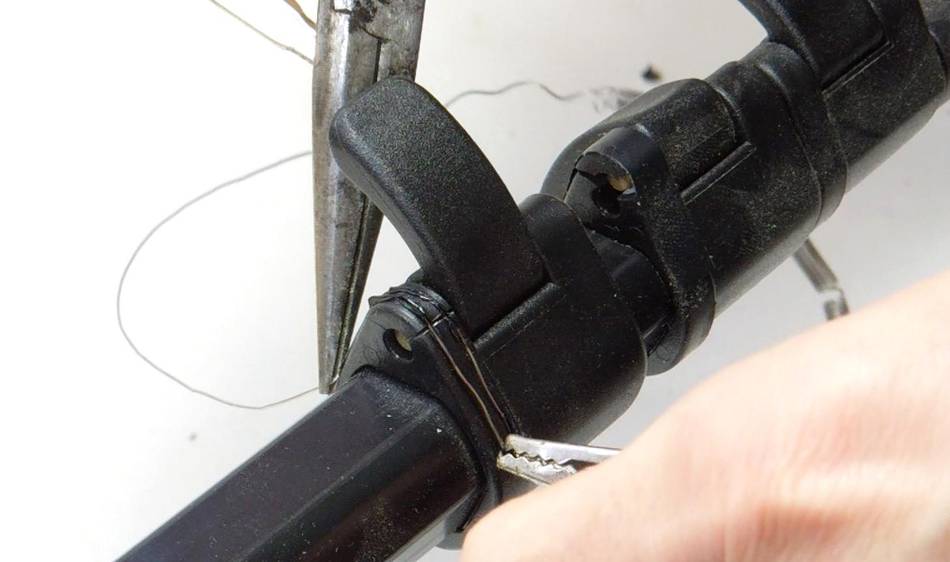 I ended up attaching one of my clips to a pair of pliers, which made it easier to pull
the wire into the plastic.
I ended up attaching one of my clips to a pair of pliers, which made it easier to pull
the wire into the plastic.
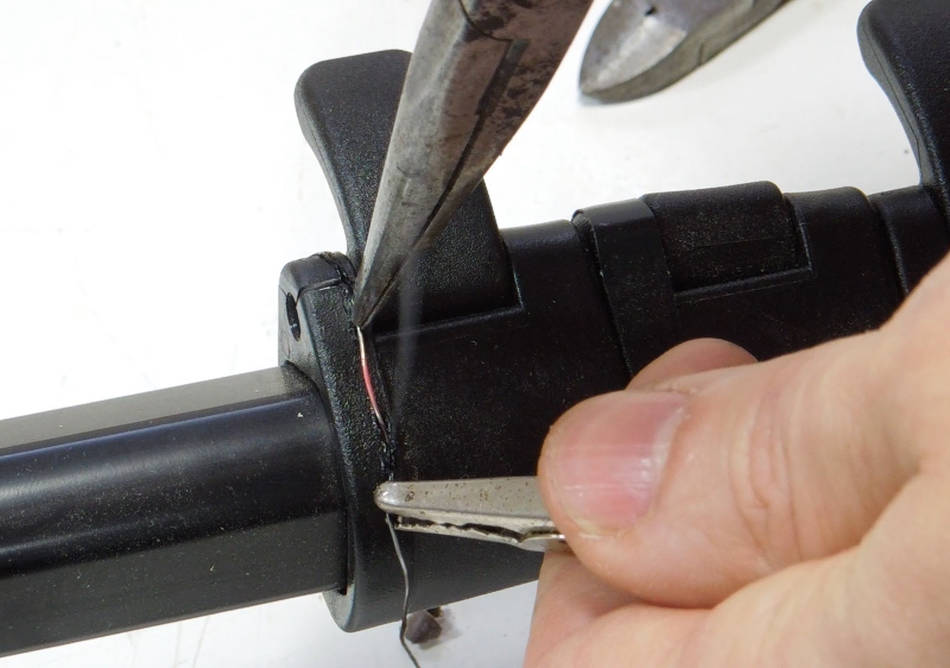 For re-working the wire further into the plastic, you can just re-heat part
of the wire. I made a prong out of copper wire to connect to parts of the wire
already sunken into the plastic (not shown)
For re-working the wire further into the plastic, you can just re-heat part
of the wire. I made a prong out of copper wire to connect to parts of the wire
already sunken into the plastic (not shown)
 With more practice, my procedure became more elegant.
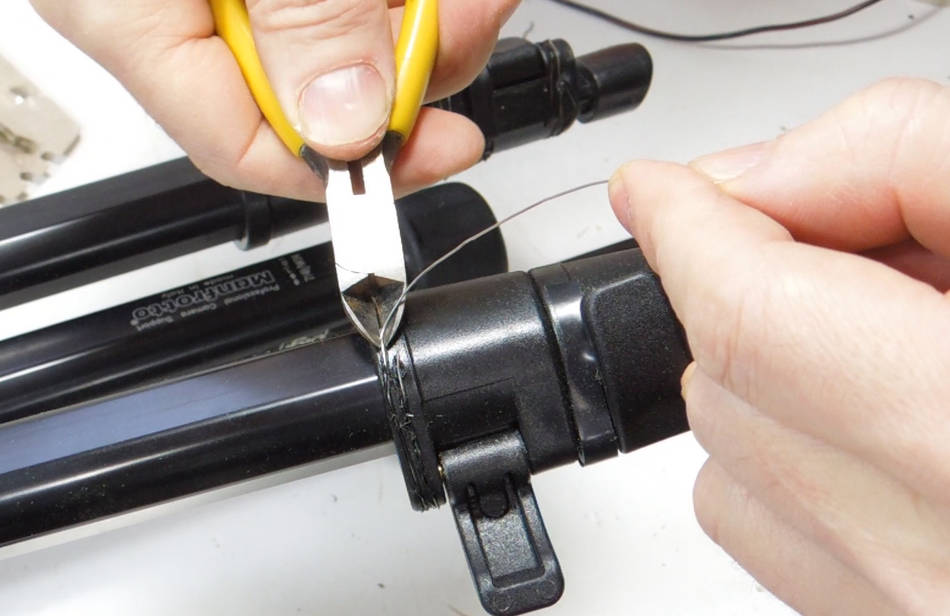 Flush trimming the ends of the wire.
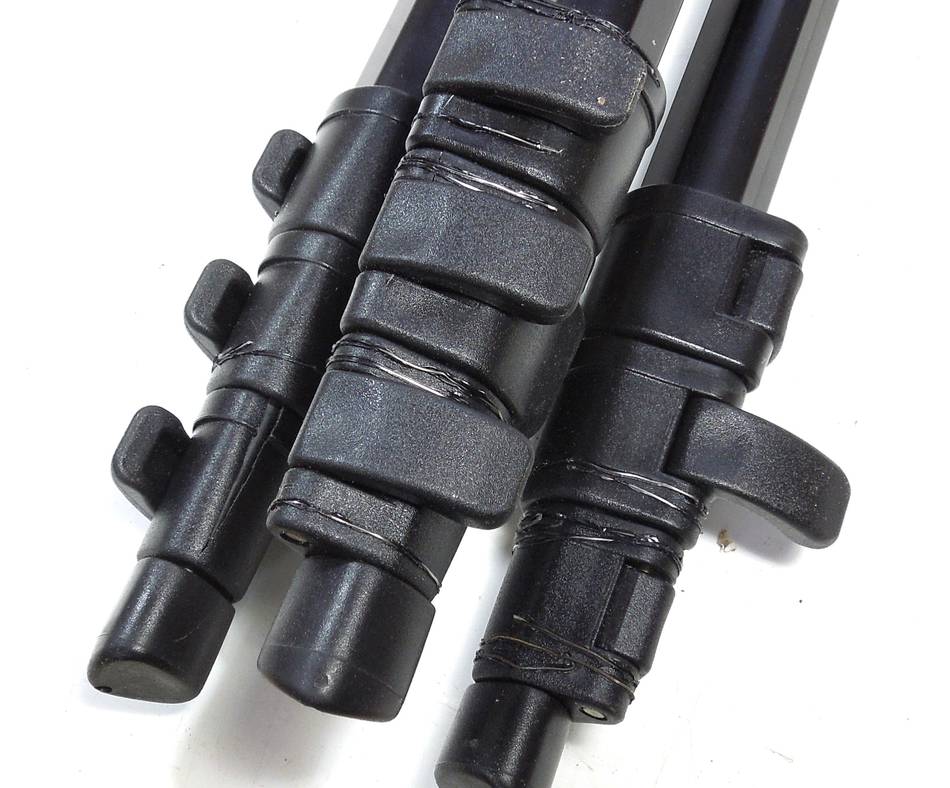 This repair sure doesn't make it look like new, but on the plus side,
it's now stronger than new.
This repair sure doesn't make it look like new, but on the plus side,
it's now stronger than new.
Most of the toggles for locking the legs had cracked on this tripod, apparently a common problem with the digi 714B tripod. I also reinforced some of the toggles that hadn't broken yet.
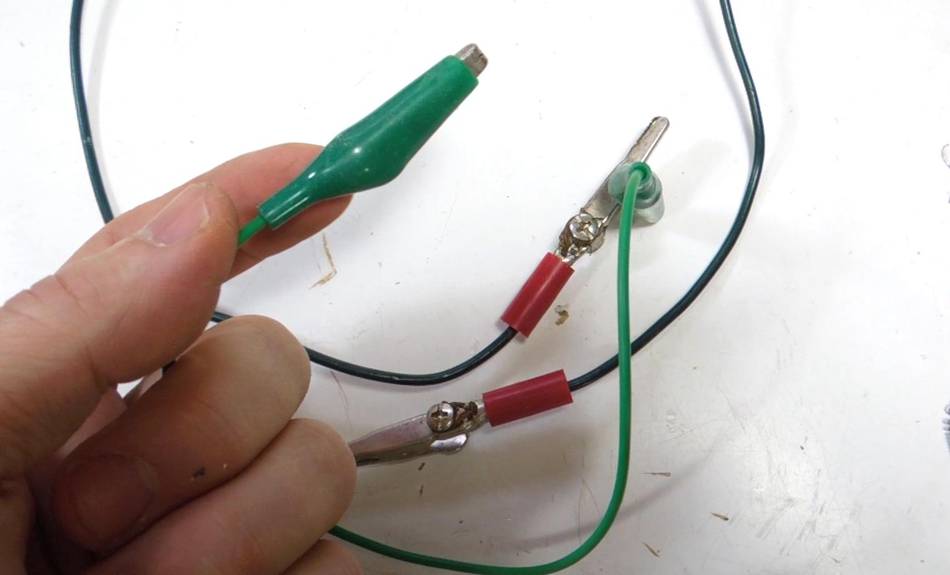 Another note - you need some beefy clip leads for this.
Most inexpensive clip leads, even heavy duty ones, have shoddily made crimped connections in the clips, which often have several ohms resistance. For this job, it's best to buy some alligator clips and make your own clip leads.
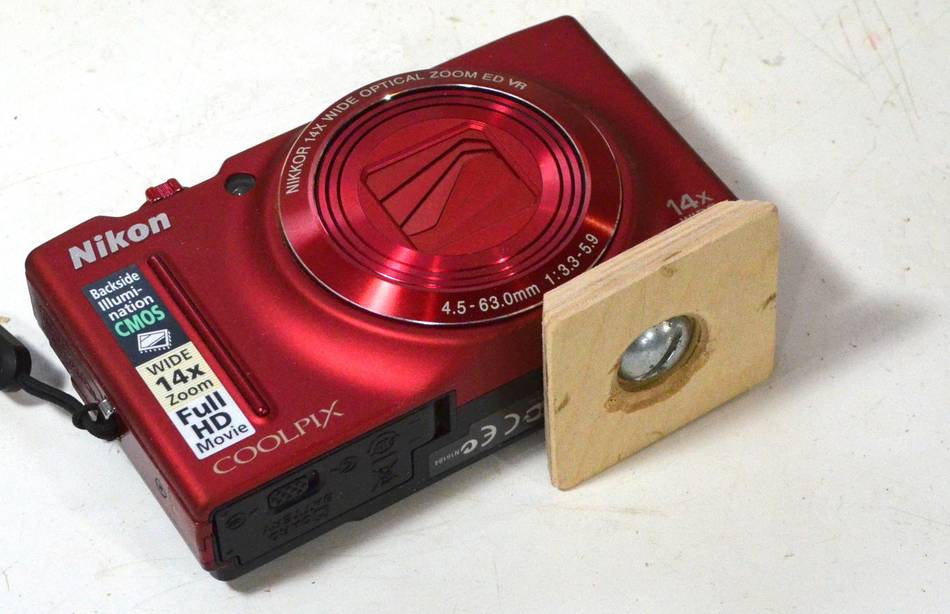 The tripod was also missing the plate that attaches to the bottom
of the camera. Those seem to go missing a lot. But I made a new one out of 6 mm
Baltic birch plywood. Easy enough to make these.
The tripod was also missing the plate that attaches to the bottom
of the camera. Those seem to go missing a lot. But I made a new one out of 6 mm
Baltic birch plywood. Easy enough to make these.
The only catch is that it's too hard to make the screw captive in the base. The screw is just a 1/4" coarse thread (a standard inch sized screw). These screws may be harder to get in all-metric countries.
I guess I could embed a small rare-earth magnet in the wood to retain the screw when it's not attached to the camera.
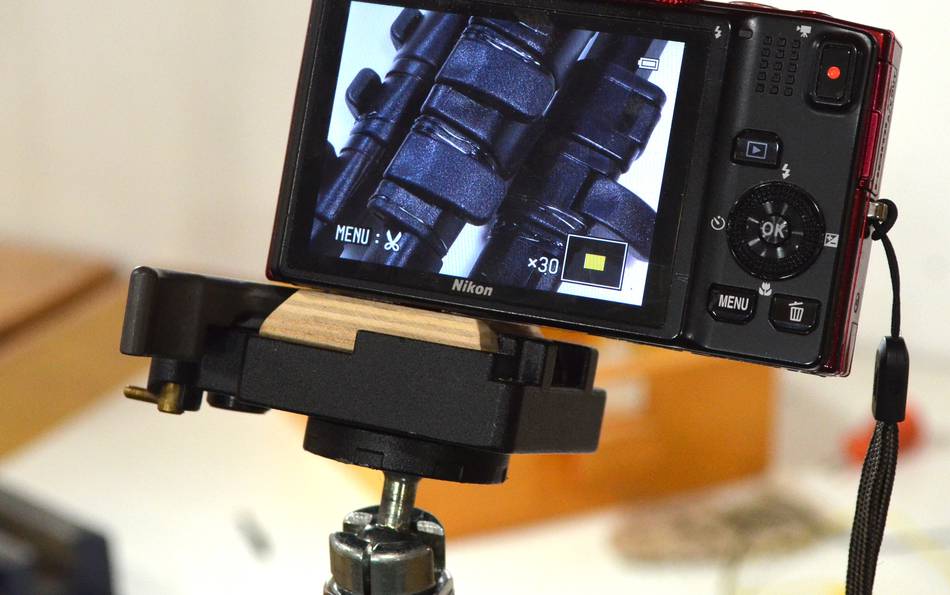 Camera, mounted on tripod, with the new base plate.
 Fixing a plastic tricycle (video only)
 Plastic repair (melting together, video)
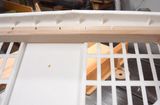 Laundry hamper repair
 Amateur iPad screen replacement (video)
 Homemade benchtop
 Toothpaste transfer coupling -- you didn't know you need it
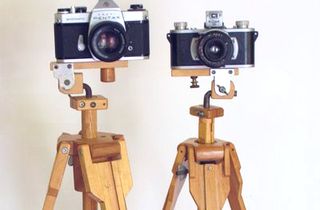 Wooden tripod
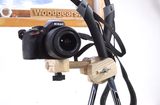 Bipod/tripod from
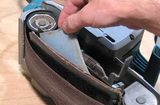 More shop tricks
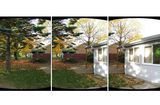 Panorama photography
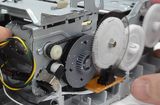 Tearing down an HP inkjet printer
 Wifi antenna booster dish
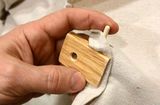 Making wooden tarp clips
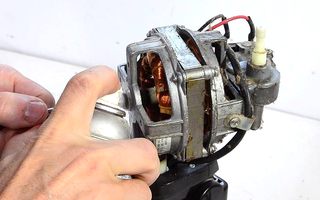 Fixing seized