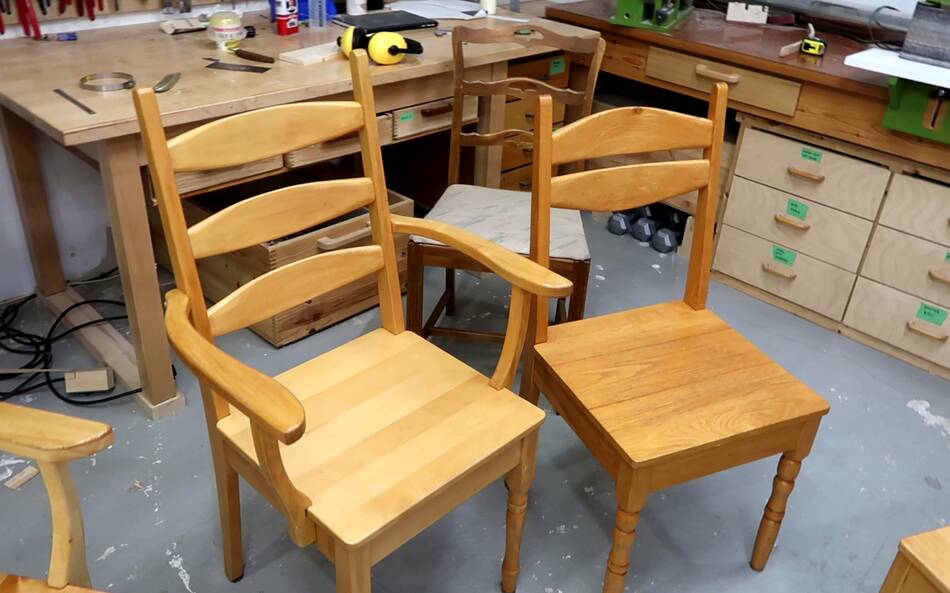
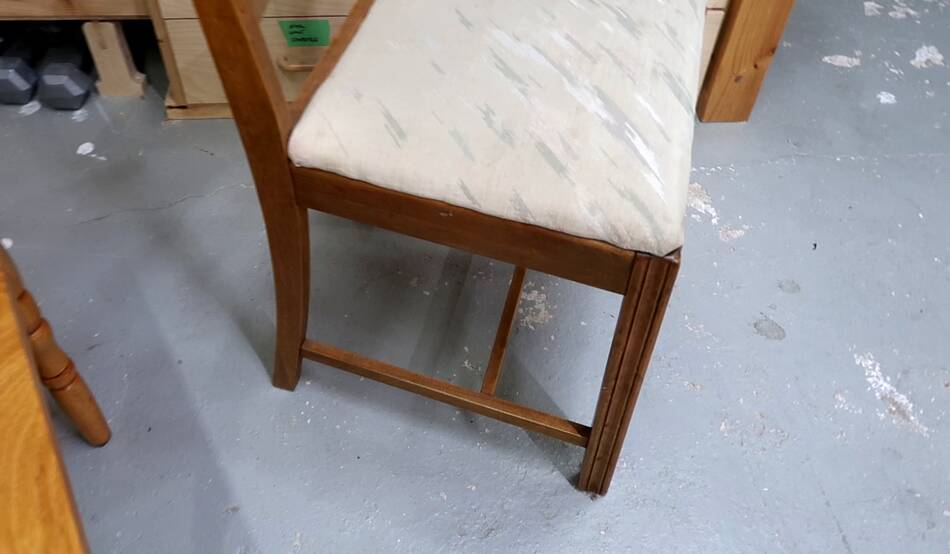
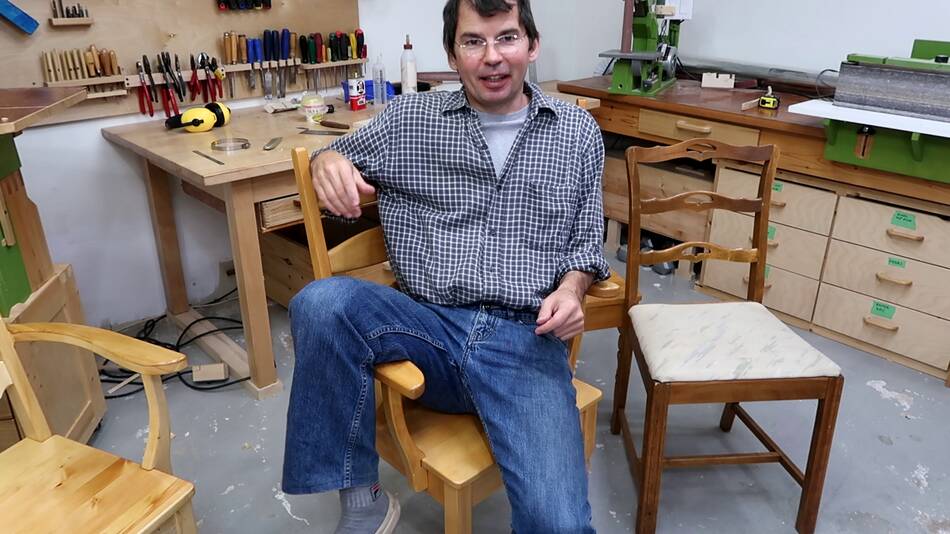
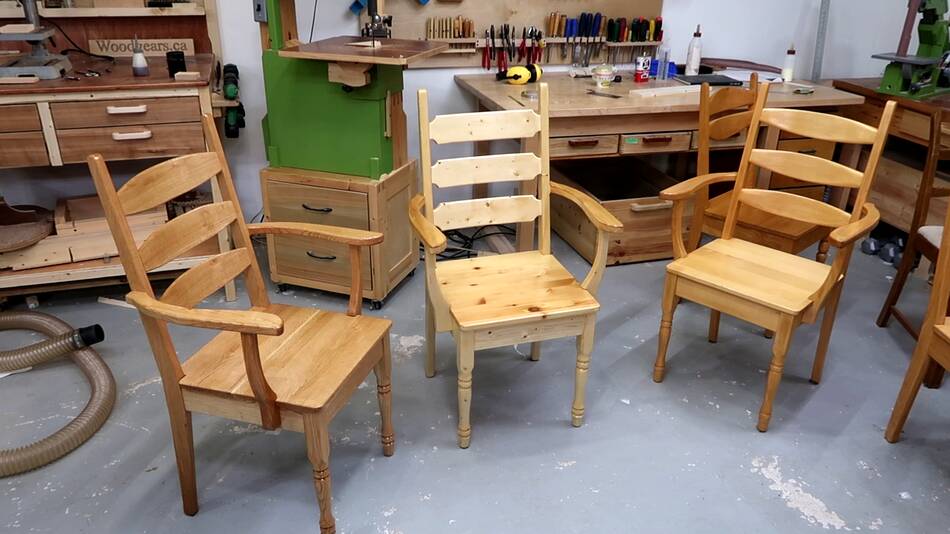
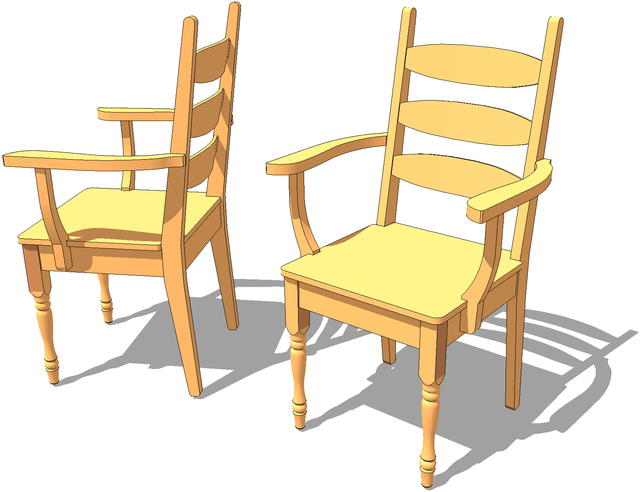
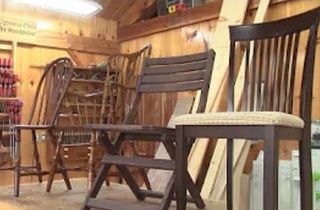
 My dad came up with this design of chair, with and without armrests,
probably some time around 1984, and after that, all the dining chairs he
built were of this style, up to his
last batch of chairs in 2008
My dad came up with this design of chair, with and without armrests,
probably some time around 1984, and after that, all the dining chairs he
built were of this style, up to his
last batch of chairs in 2008
My dad came up with this design of chair, with and without armrests,
probably some time around 1984, and after that, all the dining chairs he
built were of this style, up to his
last batch of chairs in 2008
For building one of these chairs I captured every aspect of it in a CAD model, which I turned into a set of plans. In the process I ended up studying every curve of the shape and really got to appreciate this design.
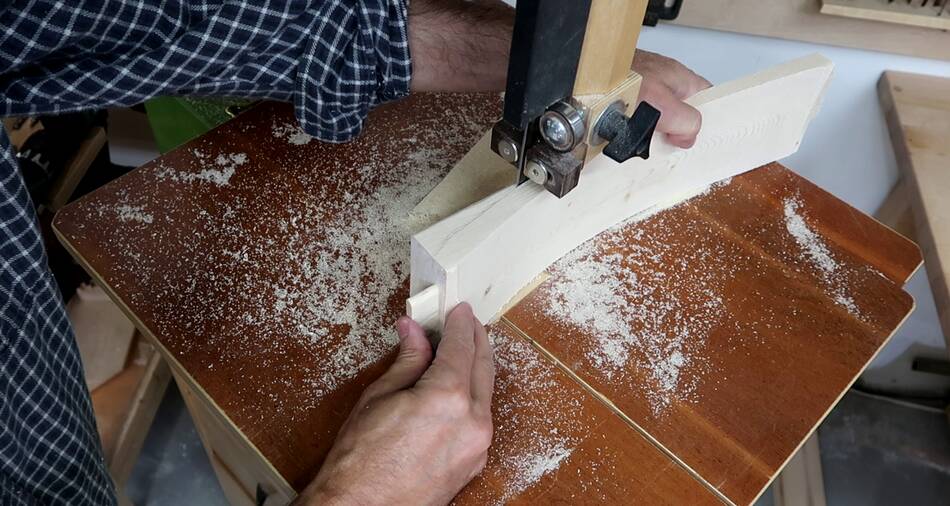 My dad always made the back rungs by cutting them out of a thicker piece of wood
on the bandsaw, then finishing the shaping with a spoke shave.
My dad always made the back rungs by cutting them out of a thicker piece of wood
on the bandsaw, then finishing the shaping with a spoke shave.
 Though a more square-ish profile of these rungs cut
from solid wood, like I did on this chair
out of 2x4 lumber, is much easier to carve than the ones
I made one back in 2007.
Though a more square-ish profile of these rungs cut
from solid wood, like I did on this chair
out of 2x4 lumber, is much easier to carve than the ones
I made one back in 2007.
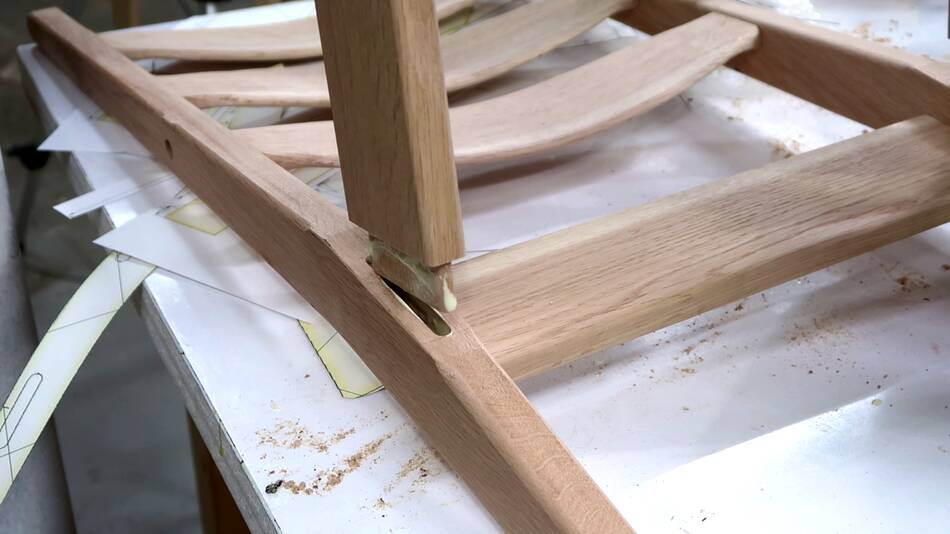 These chairs are a simple sturdy design. Key to this is a
thin but wide tenon that goes deep into the back leg of the chair.
My dad always told his customers "if it breaks, bring it back
and I'll fix it".
But the only one that ever broke was one we
kept in a very damp basement, and the seat expanded too much from humidity,
beyond the expansion range my dad allowed for. With the dampness in the basement,
the glue also softened a bit, and the seat ended up slowly pushing the mortise and
tenons for the leg apart.
These chairs are a simple sturdy design. Key to this is a
thin but wide tenon that goes deep into the back leg of the chair.
My dad always told his customers "if it breaks, bring it back
and I'll fix it".
But the only one that ever broke was one we
kept in a very damp basement, and the seat expanded too much from humidity,
beyond the expansion range my dad allowed for. With the dampness in the basement,
the glue also softened a bit, and the seat ended up slowly pushing the mortise and
tenons for the leg apart.
 In a lot of commercially produced chairs, or some chair kits I've seen on
YouTube recently, there are often these thick stubby tenons that don't even
span the width of the apron rail. The thickness of the tenon doesn't help the
strength at all, as such a short tenon wouldn't rip apart if it was
thinner either. But it means more of the
leg gets cut away for the mortise, and there is less wood left on either side
to attach to. This geometry of joint wouldn't be any stronger than just
using pocket hole joinery.
In a lot of commercially produced chairs, or some chair kits I've seen on
YouTube recently, there are often these thick stubby tenons that don't even
span the width of the apron rail. The thickness of the tenon doesn't help the
strength at all, as such a short tenon wouldn't rip apart if it was
thinner either. But it means more of the
leg gets cut away for the mortise, and there is less wood left on either side
to attach to. This geometry of joint wouldn't be any stronger than just
using pocket hole joinery.
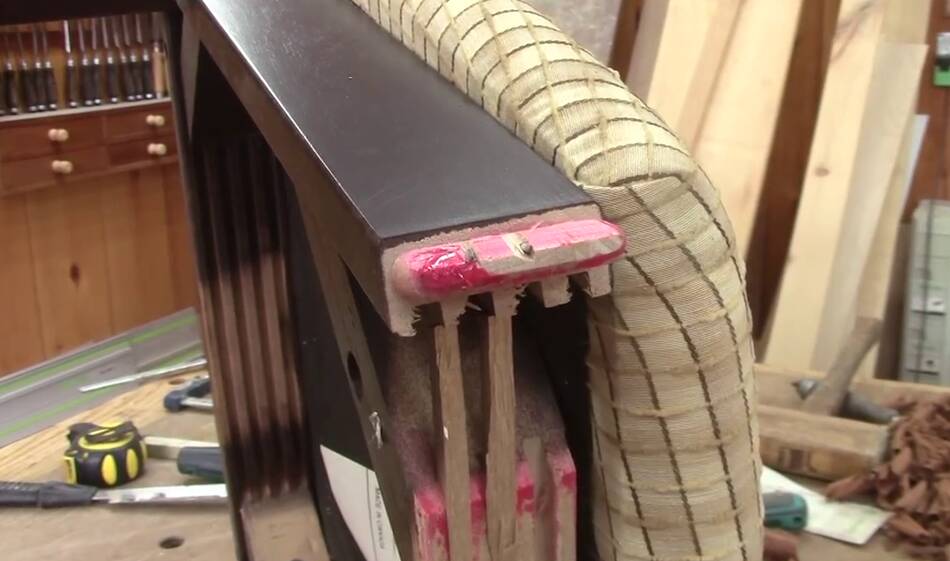 Tenons like this are often dictated by the design which often involves
a trapezoidal shaped seat, wider on the front than on the back, and back legs
that are angled outward towards the back. So the mortise to the back legs
ends up at quite an angle. Sometimes, as seen here, just the way it's
cut out of the wood, part of the tenon is "missing" because the tenon
points "out" of the workpiece
it was cut from. This picture is from Allain Vaillancourt's
recent video: fixing chairs
Tenons like this are often dictated by the design which often involves
a trapezoidal shaped seat, wider on the front than on the back, and back legs
that are angled outward towards the back. So the mortise to the back legs
ends up at quite an angle. Sometimes, as seen here, just the way it's
cut out of the wood, part of the tenon is "missing" because the tenon
points "out" of the workpiece
it was cut from. This picture is from Allain Vaillancourt's
recent video: fixing chairs
To cut down on shipping costs chairs are often shipped to the store in flat packs, with the seat and chair back attached together in the store. And by avoiding making a mess with glue, there often isn't enough glue in the joint, further compromising the strength.
 But if you were to make a long thin angled tenon as shown here, that wouldn't
help much either, because the tenon is at an angle with the wood grain,
so if stressed, the tenon would just break along the grain.
But if you were to make a long thin angled tenon as shown here, that wouldn't
help much either, because the tenon is at an angle with the wood grain,
so if stressed, the tenon would just break along the grain.
 A better solution would be a straight tenon coming out of an angled face,
but that isn't practical to cut with a machine of moderate
complexity. Also, the end of this tenon can get
very close to coming out the side of the piece that it goes in to.
So I have never seen furniture with tenons like this.
A better solution would be a straight tenon coming out of an angled face,
but that isn't practical to cut with a machine of moderate
complexity. Also, the end of this tenon can get
very close to coming out the side of the piece that it goes in to.
So I have never seen furniture with tenons like this.
 More practical would be use dowels. Four dowels, not two, to make
this joint.
More practical would be use dowels. Four dowels, not two, to make
this joint.
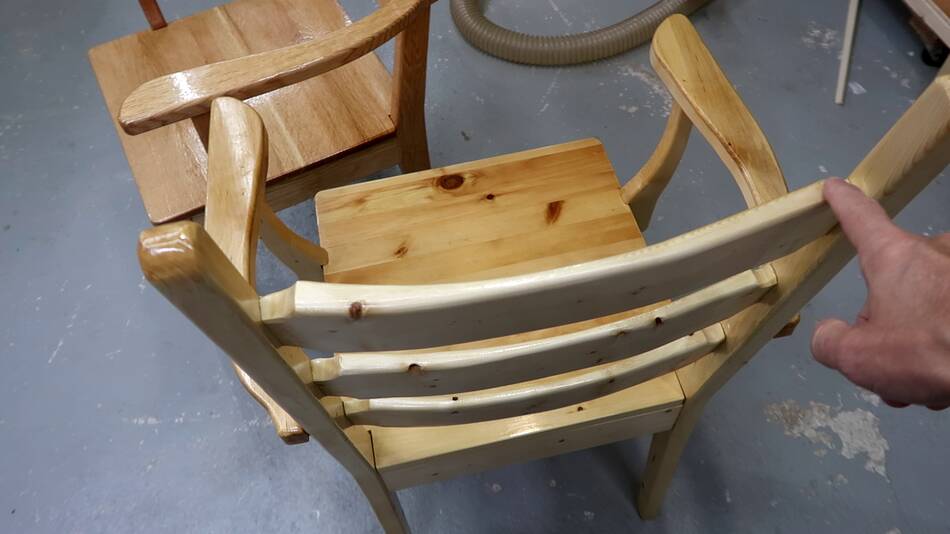
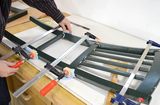
 Another way to mitigate weakness of the joint to the back legs is to have
some stretchers between the legs. By joining the front and back legs,
both of these joints work together to keep the back joint from failing.
Another way to mitigate weakness of the joint to the back legs is to have
some stretchers between the legs. By joining the front and back legs,
both of these joints work together to keep the back joint from failing.
But these stretchers aren't necessary if you make the leg joints strong enough to begin with.
 But so much of this joinery complexity is from making the seat narrower
at the back, but I prefer this simple square design with a wider back.
I often end up shifting around on them and sitting at odd angles on them.
A seat that's narrow in the back means you kind of have to
sit straight. Then again, maybe that's the whole idea of seats like
that?
But so much of this joinery complexity is from making the seat narrower
at the back, but I prefer this simple square design with a wider back.
I often end up shifting around on them and sitting at odd angles on them.
A seat that's narrow in the back means you kind of have to
sit straight. Then again, maybe that's the whole idea of seats like
that?
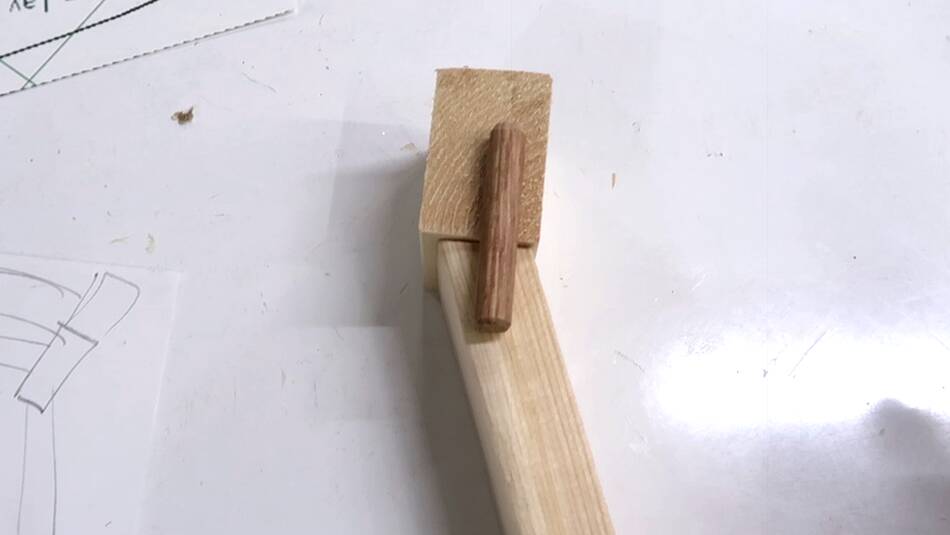
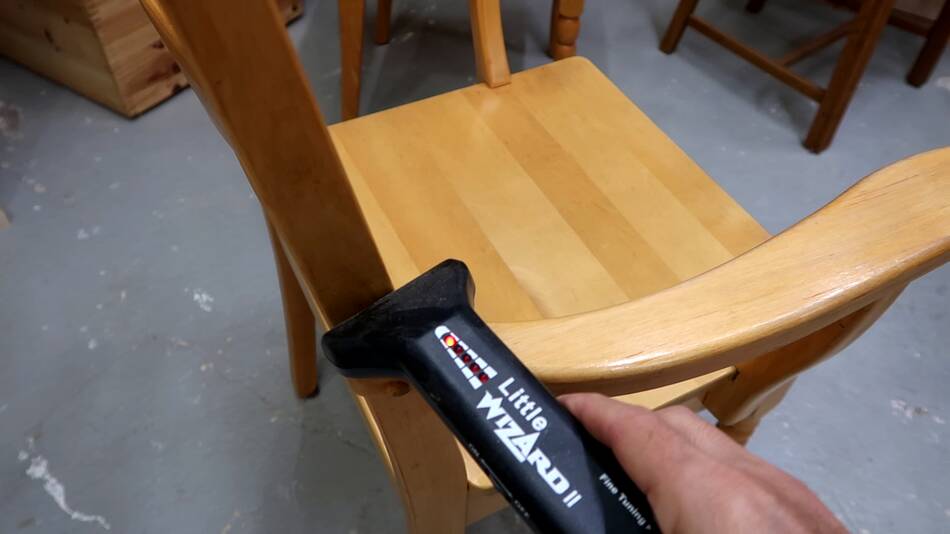 I realized, the way my dad put the chairs together, he attached the
armrests last, with screws. Here confirming the presence
of a screw behind a short dowel with a metal detector.
I realized, the way my dad put the chairs together, he attached the
armrests last, with screws. Here confirming the presence
of a screw behind a short dowel with a metal detector.
I think the reason he screwed these on last is that way he could make sure everything worked out square with the arm rests before putting them on.
 But because I was working from a CAD model and made 1:1 templates for the
parts, I just used those templates to mark where the dowel holes needed
to go before assembling the chairs....
But because I was working from a CAD model and made 1:1 templates for the
parts, I just used those templates to mark where the dowel holes needed
to go before assembling the chairs....
 ... because I had faith that the CAD model was correct, so I didn't
worry about making sure everything would line up later.
... because I had faith that the CAD model was correct, so I didn't
worry about making sure everything would line up later.
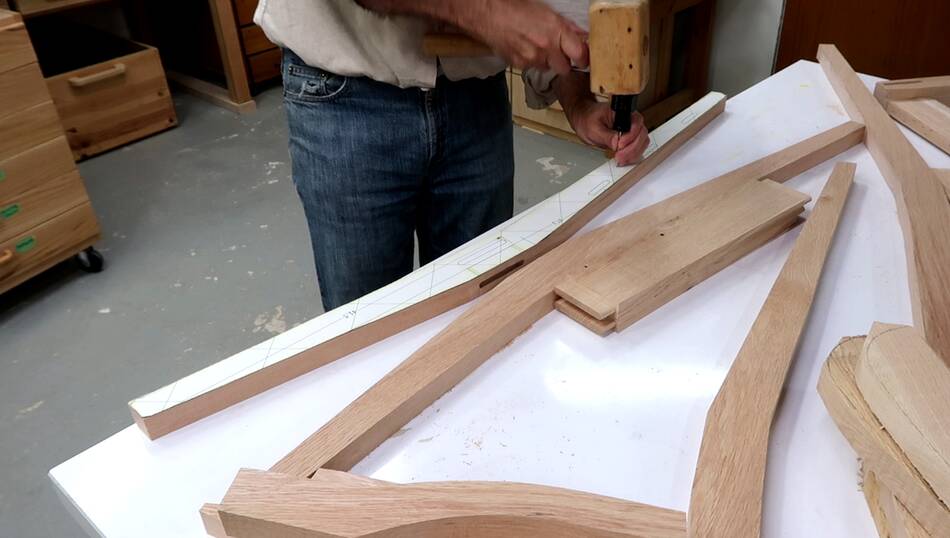
 This time I printed my templates on card stock instead of paper, which
made them stiff enough to trace around and use for multiple chairs.
I think I'll use card stock for templates more from now on.
This time I printed my templates on card stock instead of paper, which
made them stiff enough to trace around and use for multiple chairs.
I think I'll use card stock for templates more from now on.
 After making some of these chairs, I worked out that it took me
ten and a half hours per oak chair using the timelapse
camera that I always have running in my
workshop specifically for such things.
more on my timelapse setup.
After making some of these chairs, I worked out that it took me
ten and a half hours per oak chair using the timelapse
camera that I always have running in my
workshop specifically for such things.
more on my timelapse setup.
Per chair, machining the parts took 5:48 hours, assembly (including sanding and glue cleanup) took 2:45 hours, and varnishing took 1:56 hours. So cutting the parts only took 55% of the time, and that included setting up the machines and filming a video. There are many optimizations that could be made to machining the parts. Making batches larger than two chairs would also cut the time per chair. Whereas assembly and varnishing would still take the same time. So perhaps it makes perfect sense for some to sell chair kits, because produced on an industrial scale, the machining is a small part of the work required to make a chair.
 I drew up a nice set of plans for these chairs,
but I hadn't announced these in the video I made about building these chairs
because I wasn't sure at the time whether I would take the time to do it.
Making a nice set of plans takes a lot of time.
I drew up a nice set of plans for these chairs,
but I hadn't announced these in the video I made about building these chairs
because I wasn't sure at the time whether I would take the time to do it.
Making a nice set of plans takes a lot of time.
But in the six days since putting these plans on my website, I haven't sold even one copy (as of Sep 25 2020). I guess making chairs is something most people shy away from. But that said, I think this design of dining chairs is a relatively easy to make design for chairs that look nice. There are curved pieces (cut with a bandsaw), but not one joint that isn't square. And with 1:1 templates, getting the curves right isn't hard. Making bent rungs is definitely tricky, but cutting them out of a thick piece works too.
After I published this article and video, the video caused quite a
bump in chair plans
sales, I sold over 300 copies of the plans as a result of it, very
impressive especially because in the first six days after publishing the plans
(but not mentioning them in a video), I hadn't sold one copy!
So I made a follow-up
video talking about that.
Of all the plans I put together in the last two years, this one has sold the best.
![]()
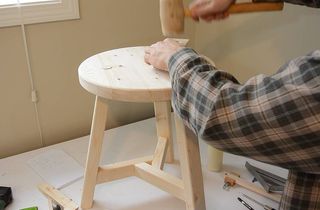 Building a 3-legged stool using the pantorouter (2019)
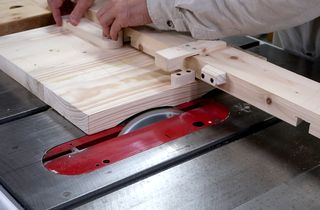 Carving a chair seat on the table saw (video, 2020)
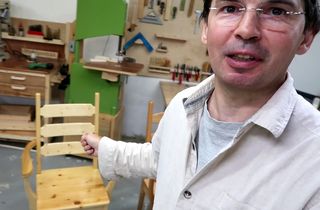 Just use an ad blocker, and thanks (video, 2020)
Fixing chairs:
 Repairing chairs (2013)
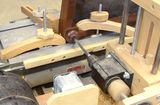 Steel pin chair repair (2016)
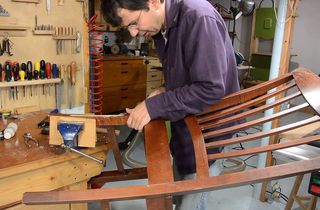 Repairing a chair leg —
good as new was not enough (2013)
Repairing a chair leg —
good as new was not enough (2013)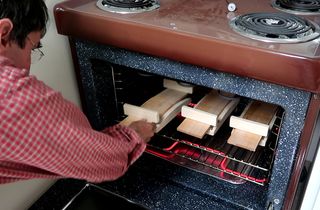 Bending chair back rungs in a kitchen stove
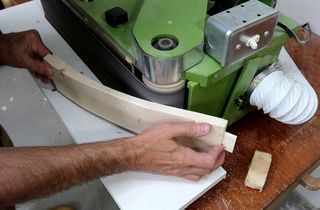 Simpler curved back rungs, cut, not bent
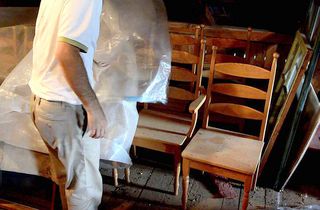 The last batch of chairs my dad built in 2008
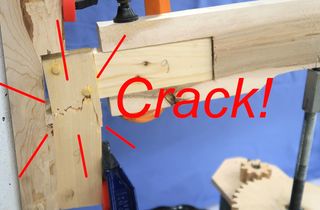 Can reinforcing a joint actually weaken it?
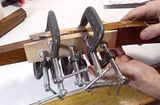
 Alain's Vaillancourt's fixing chairs video