 My inlaws have these old dining chairs that keep breaking.
The breaking isn't just joints coming loose. The legs actually break off.
My inlaws have these old dining chairs that keep breaking.
The breaking isn't just joints coming loose. The legs actually break off.
My inlaws have these old dining chairs that keep breaking.
The breaking isn't just joints coming loose. The legs actually break off.
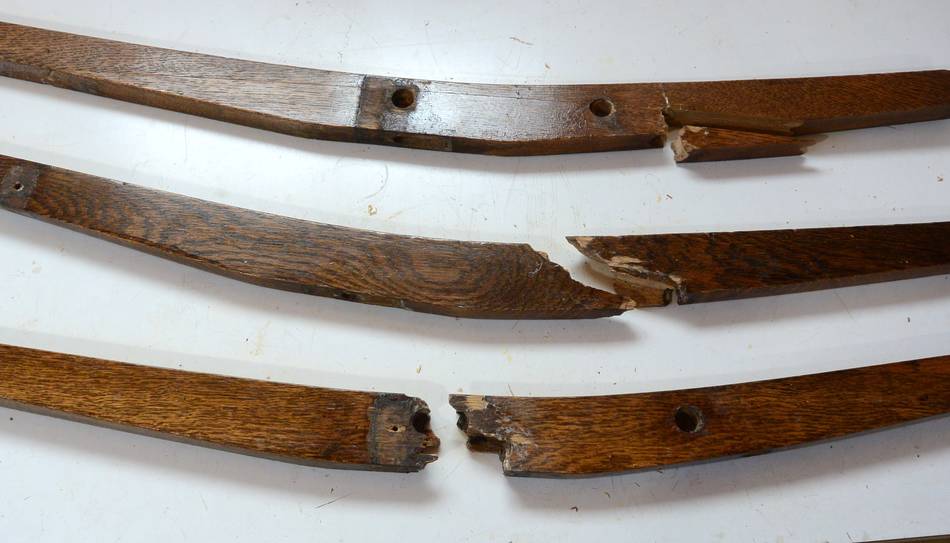
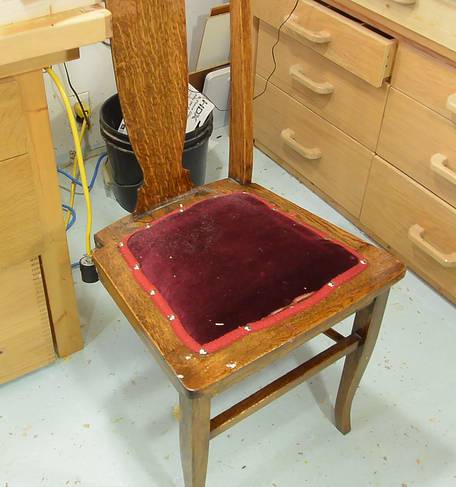
I offered to fix some that were beyond just gluing back together, so I took three of the broken back legs and one of the chairs to my shop to fix it.
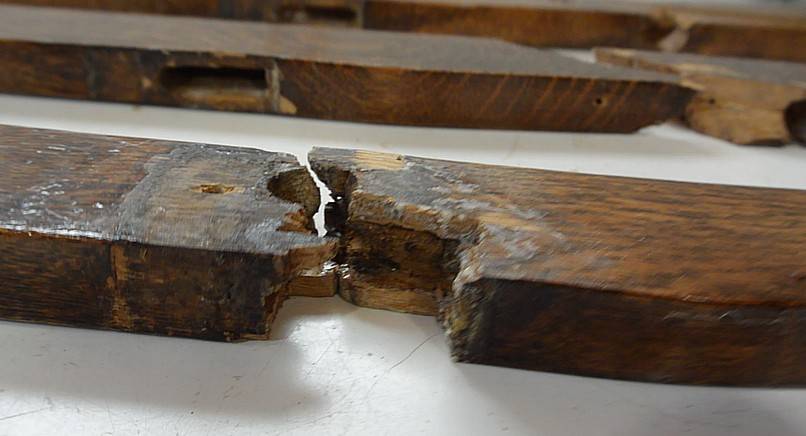 The reason these legs keep breaking is that the joinery on the back leg
cut away so much of the wood to make a weak spot.
The reason these legs keep breaking is that the joinery on the back leg
cut away so much of the wood to make a weak spot.
 The ends of the wood were beyond re-gluing again.
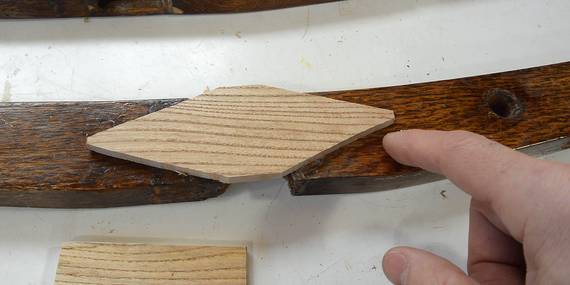
My first thought was to put a "patch" piece on to bridge the
gap, but insetting it into the wood so it wouldn't stick out.
To get a better connection at the end of the patch, I figured
I might angle the ends, as shown at right. But this would
be a lot of work.
The ends of the wood were beyond re-gluing again.
My first thought was to put a "patch" piece on to bridge the
gap, but insetting it into the wood so it wouldn't stick out.
To get a better connection at the end of the patch, I figured
I might angle the ends, as shown at right. But this would
be a lot of work.
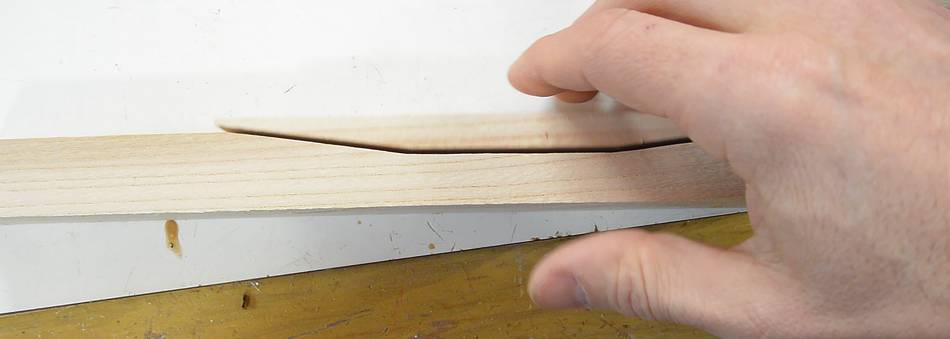 Then I had the idea of making the ends of the patch more like a
scarf joint. This provides more glue area.
And it would be easier to get a good fit, and faster to make.
Then I had the idea of making the ends of the patch more like a
scarf joint. This provides more glue area.
And it would be easier to get a good fit, and faster to make.
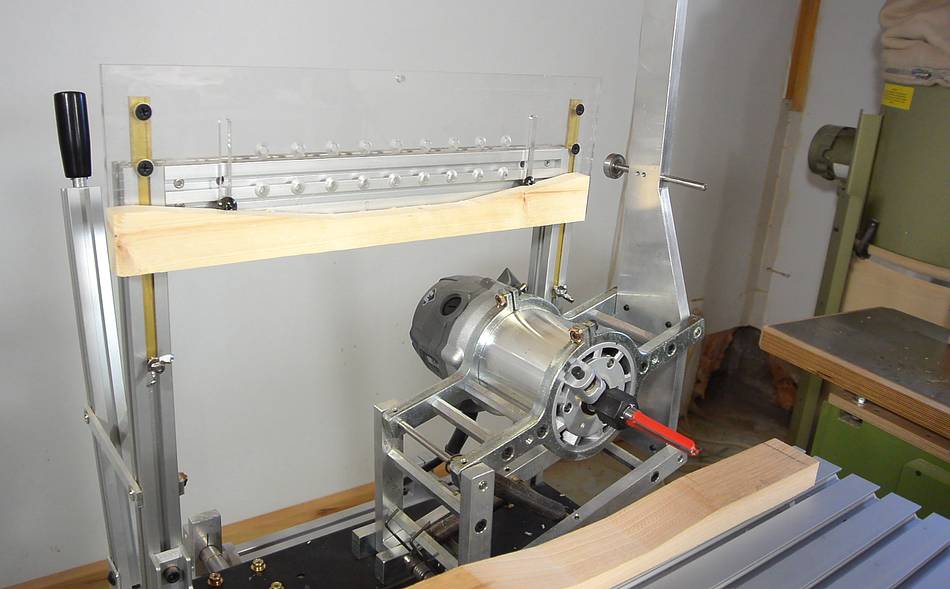 And a cool machine to cut this sort of joint is a
pantorouter,
naturally... The pantorouter is always the answer :)
And a cool machine to cut this sort of joint is a
pantorouter,
naturally... The pantorouter is always the answer :)
I'm using the aluminium one sent to me by Kuldeep, with a wooden template cut from scrap wood.
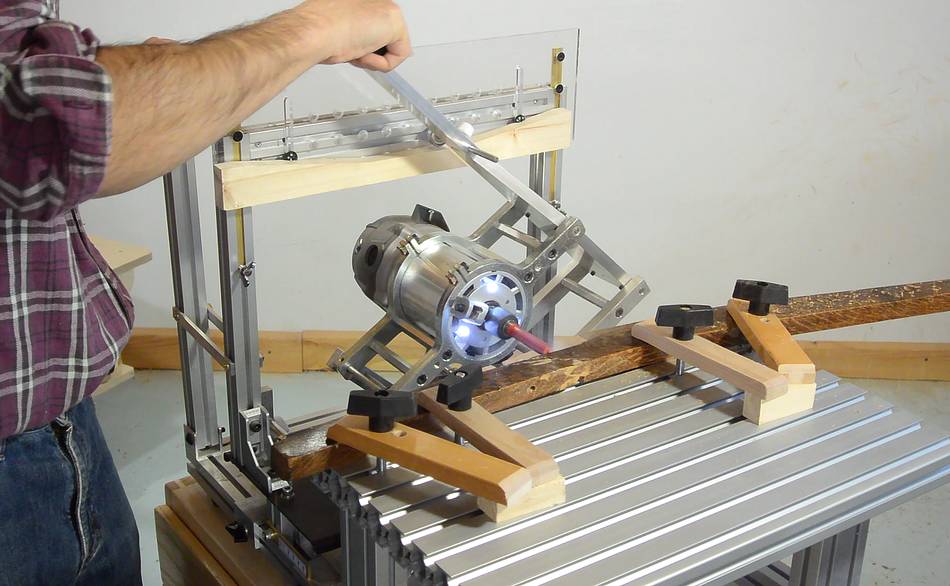
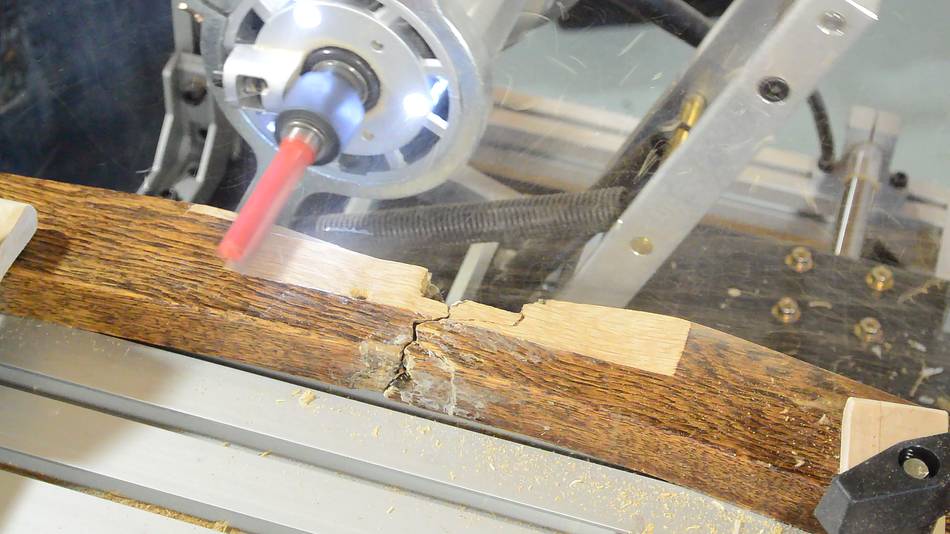
 I carefully lined up both halves of one of the broken chair legs,
then proceeded to cut the space out.
I carefully lined up both halves of one of the broken chair legs,
then proceeded to cut the space out.
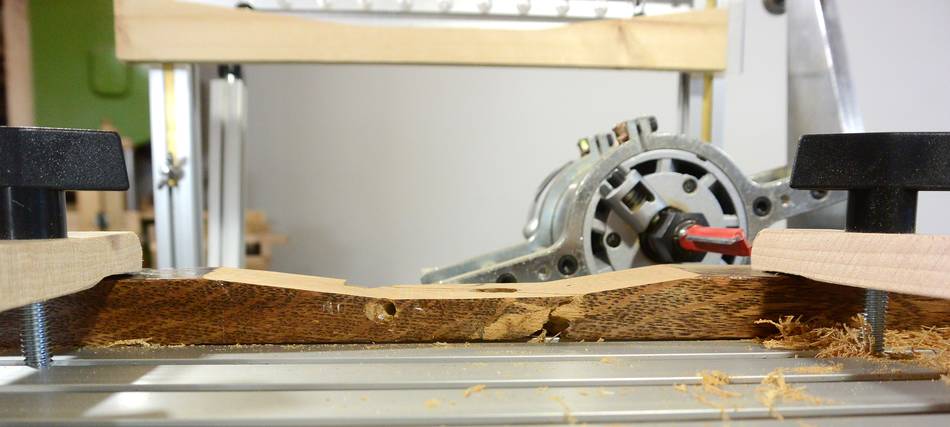 Working with a full size router and a 1/2" bit made fast work of it.
 Next I need to make the patch pieces. I first experimented with tilting
the saw blade and using my tenon jig,
but when cutting tenons, the saw
teeth are cutting out of the grain. Cutting out of the grain
is much less efficient and really bogs down the saw.
Next I need to make the patch pieces. I first experimented with tilting
the saw blade and using my tenon jig,
but when cutting tenons, the saw
teeth are cutting out of the grain. Cutting out of the grain
is much less efficient and really bogs down the saw.
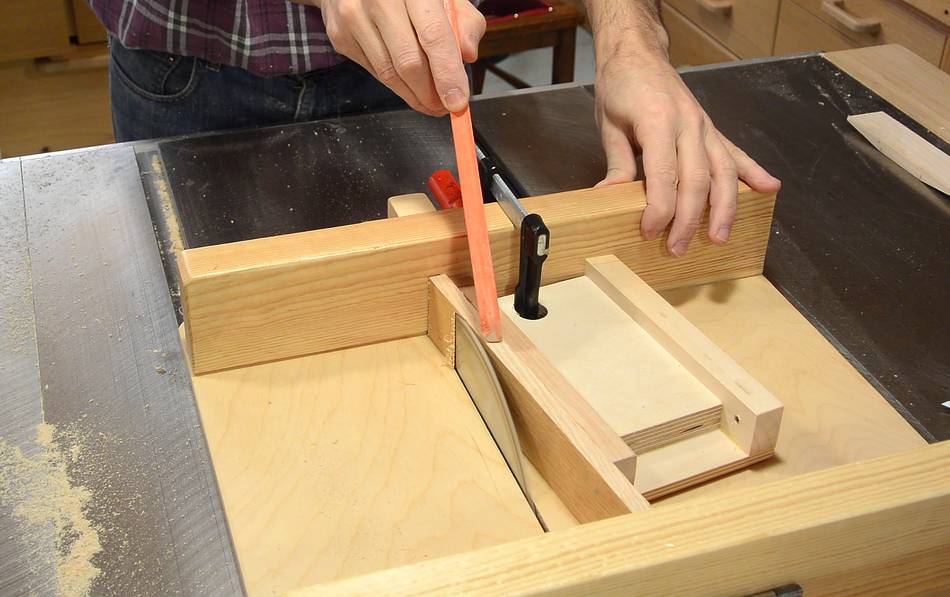
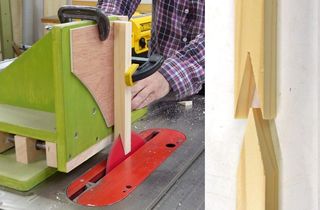
So I rigged up an angled support on my small table saw sled and cut the ends that way.
I had to make sure the cuts were the right distance from each other. The critical part, aside from the angle, is to have the shallow corners the same distance apart as on the cut-out.
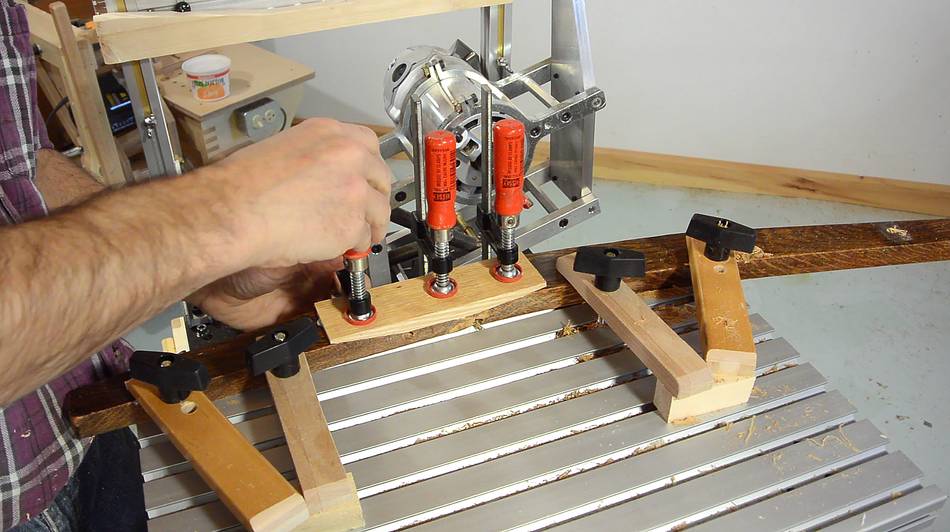 I then glued the patch on right on the pantorouter. That way, the pieces
were still in alignment.
I then glued the patch on right on the pantorouter. That way, the pieces
were still in alignment.
This meant I had to wait for the glue to dry. But it turns out, the fit wasn't perfect, and I didn't use enough glue or wait long enough. So it came apart when I took it out and started working on it. But the second time I glued it I used more glue, more clamps, and let it dry longer.
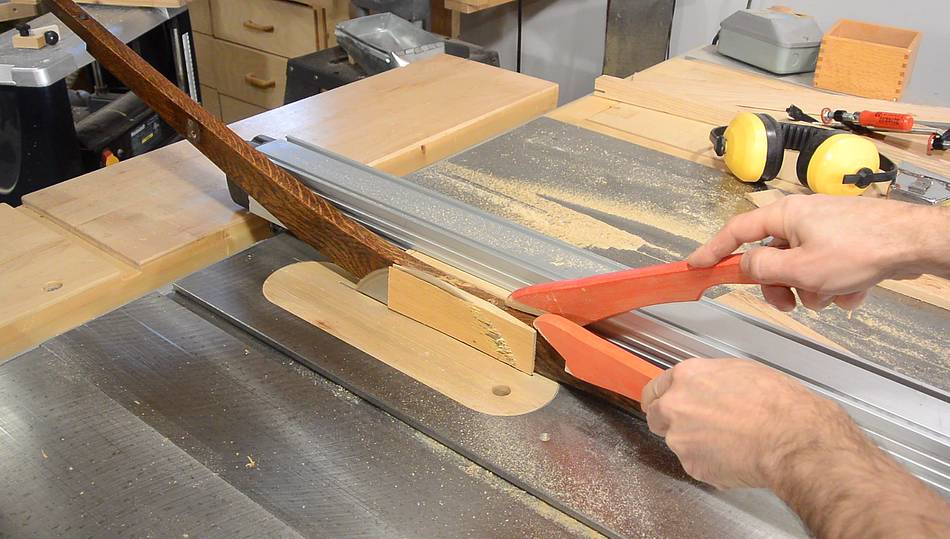
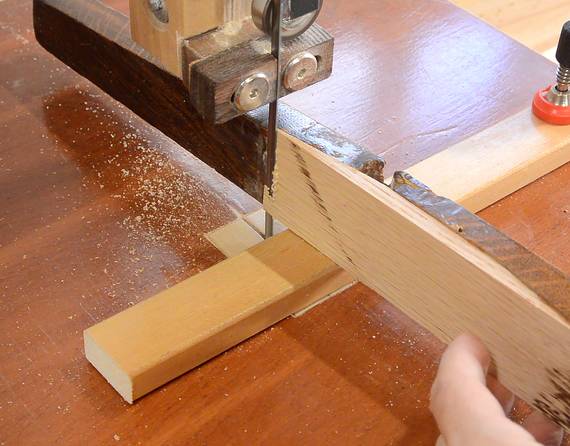 I trimmed it to about 1 mm protruding on the table saw, then trimmed
it closer to flush on the bandsaw.
I trimmed it to about 1 mm protruding on the table saw, then trimmed
it closer to flush on the bandsaw.
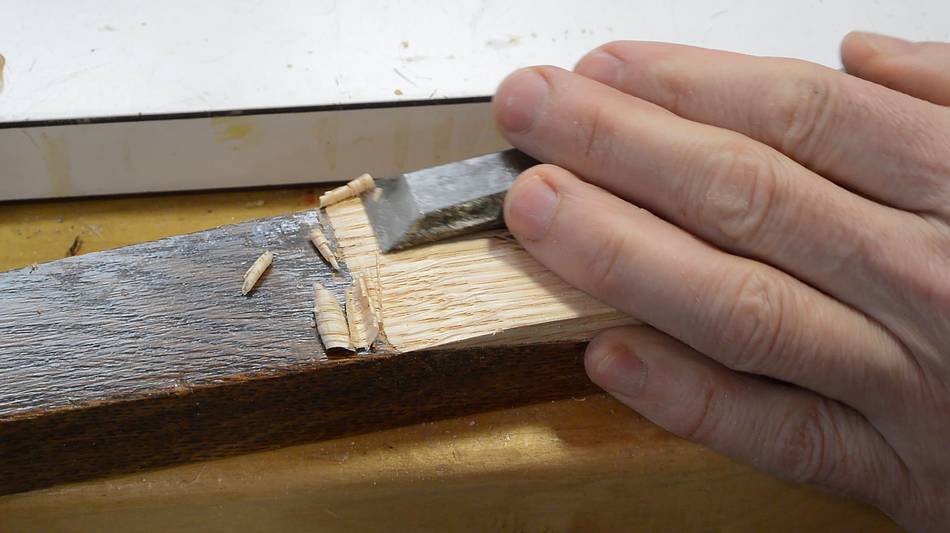 Finally, using some chisels to try to make the transition reasonably smooth.
The patch is deliberately about 1 mm thicker than the wood. I figure a bit of extra wood will make it stronger.
 I proceeded much the same way for the other legs. Most of the work was
machining work, so it went relatively quickly.
I proceeded much the same way for the other legs. Most of the work was
machining work, so it went relatively quickly.
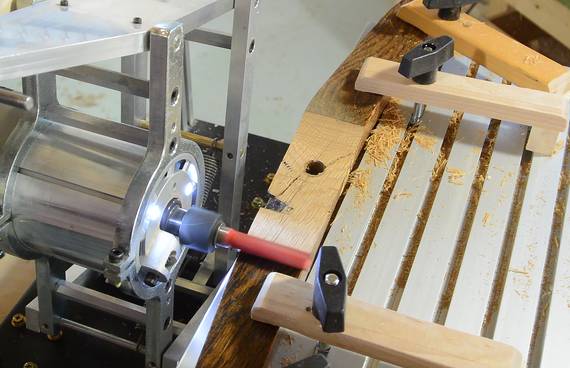
 This leg had a break that was glued and still sort of held together, so
I cut both sides, then glued on both splices at once....
This leg had a break that was glued and still sort of held together, so
I cut both sides, then glued on both splices at once....
 ... using lots of clamps to make sure it sticks.
I left it clamped for about three hours. Though in retrospect, I think it would have been better to leave it clamped overnight.

 Three legs patched.
I used my acrylic paints and mixed half black and half burnt umber to try to match the colour of the original stain.
The colour came out surprisingly similar considering I wasn't even using the same type of oak for my patches. I then put two coats of water borne varnish on top of that to give it a shine like the rest of the finish.
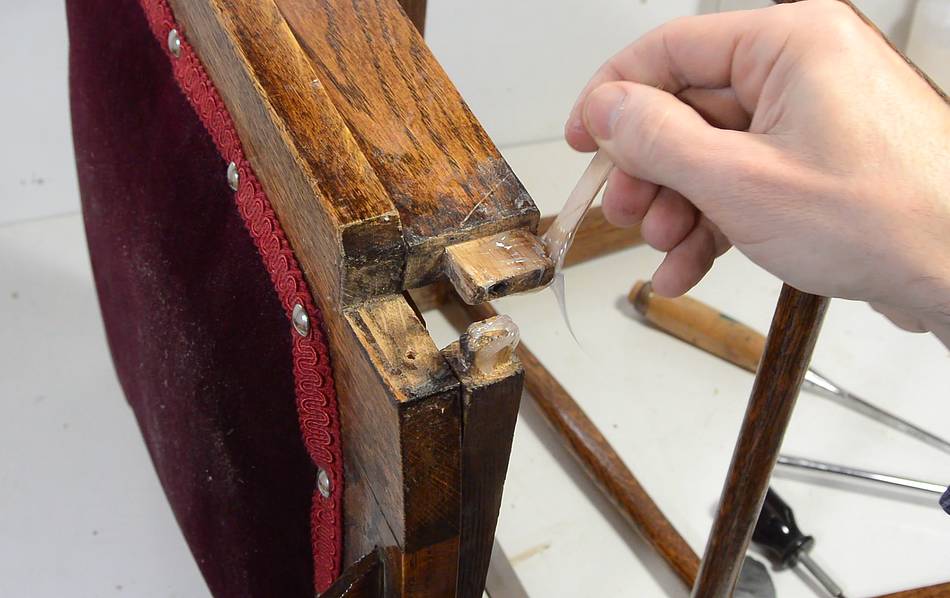 Many of the chair's joints had been re-glued with epoxy repeatedly.
I figured epoxy would probably be better at sticking to whatever glue
residue might still be there. It's also better at filling gaps
because it isn't runny.
Many of the chair's joints had been re-glued with epoxy repeatedly.
I figured epoxy would probably be better at sticking to whatever glue
residue might still be there. It's also better at filling gaps
because it isn't runny.
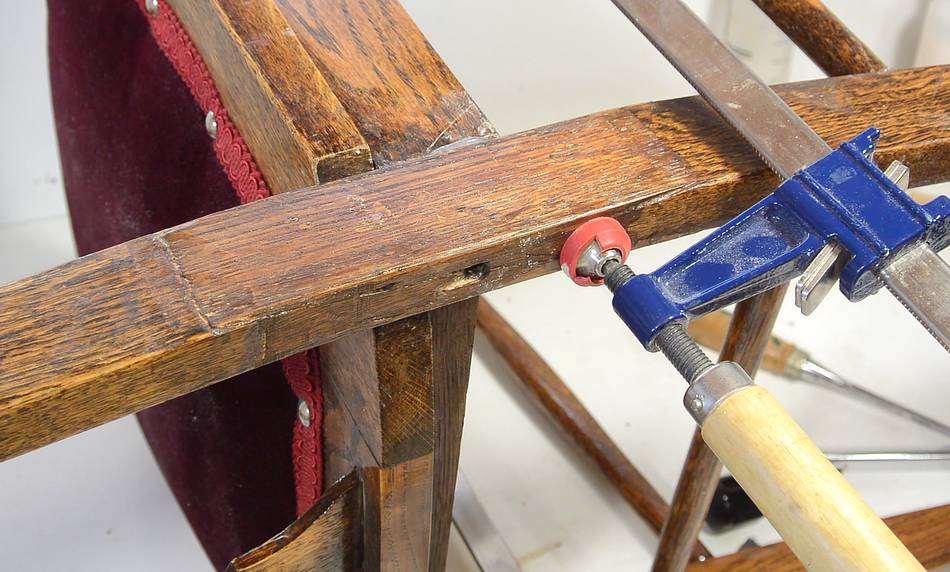 Clamping it while the glue dries.
I used five minute epoxy. I would have preferred a longer open time, but the only epoxy suitable for wood at the Home Depot was five minute epoxy. I managed to get it all together in time though, so all was well. (Yes, I'm sure it's possible to get different epoxy elsewhere, but it wasn't worth looking for, and it's now done, so I don't need a dozen people to email me about it)
I'm quite happy with how closely the colour of my patch matches the rest of the chair.
 There were screw holes through the legs and joints from previous repairs.
I figured, a reinforcing screw would be a good idea. but I put the screw off to the
side and at an angle instead. That way, the screw doesn't weaken the joint itself,
and gives extra leverage to resist leaning back on the chair.
There were screw holes through the legs and joints from previous repairs.
I figured, a reinforcing screw would be a good idea. but I put the screw off to the
side and at an angle instead. That way, the screw doesn't weaken the joint itself,
and gives extra leverage to resist leaning back on the chair.
There was no attempt at hiding the previous screws, so I didn't cover up these screws either.
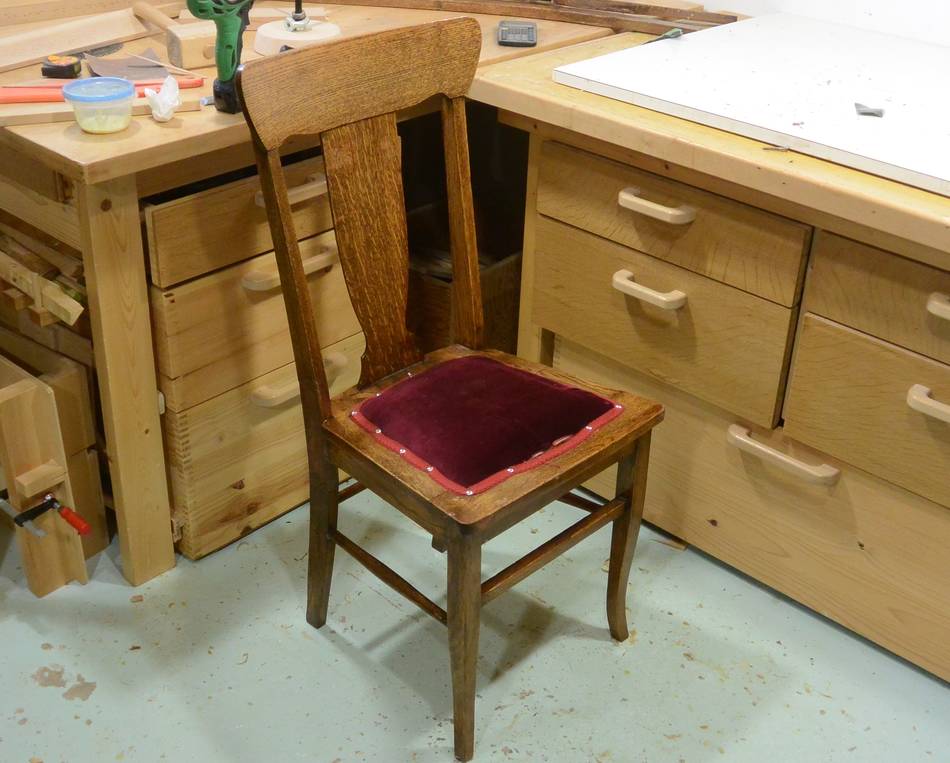 This chair all done. Feels surprisingly solid. Though I wouldn't be surprised
if it breaks again, but if it does break, it will probably break somewhere else.
This chair all done. Feels surprisingly solid. Though I wouldn't be surprised
if it breaks again, but if it does break, it will probably break somewhere else.
They are nice chairs, but the poorly designed joinery makes them quite weak. If these chairs were mine, I would probably have given up on them a long time ago.
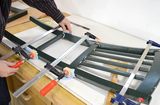
 End-to-end V-joint strength test
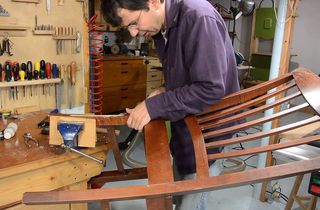
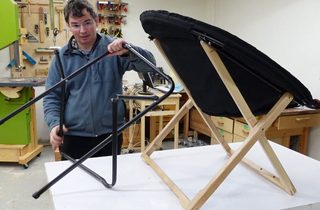 New legs for a moon chair
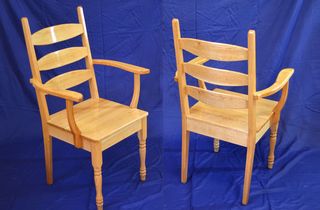
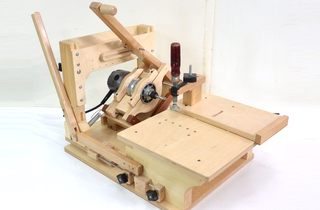 Wooden pantorouter
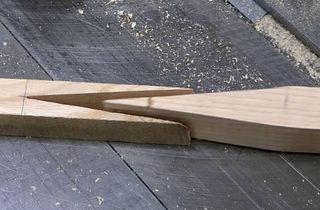 Splicing wood end to make long curtain rods
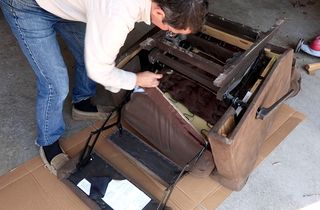 Fixing a reclining chair frame
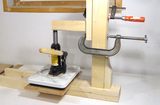 Wood joint strength
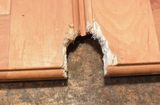 Fixing squirrel damaged cabinet doors
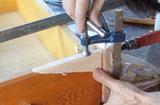 Drawer repair
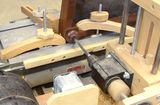 Steel pin chair repair
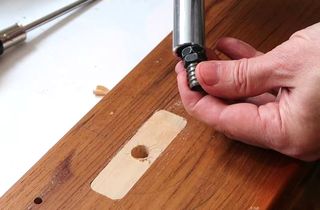 Fixing a couch: Inlays for torn out threaded inserts