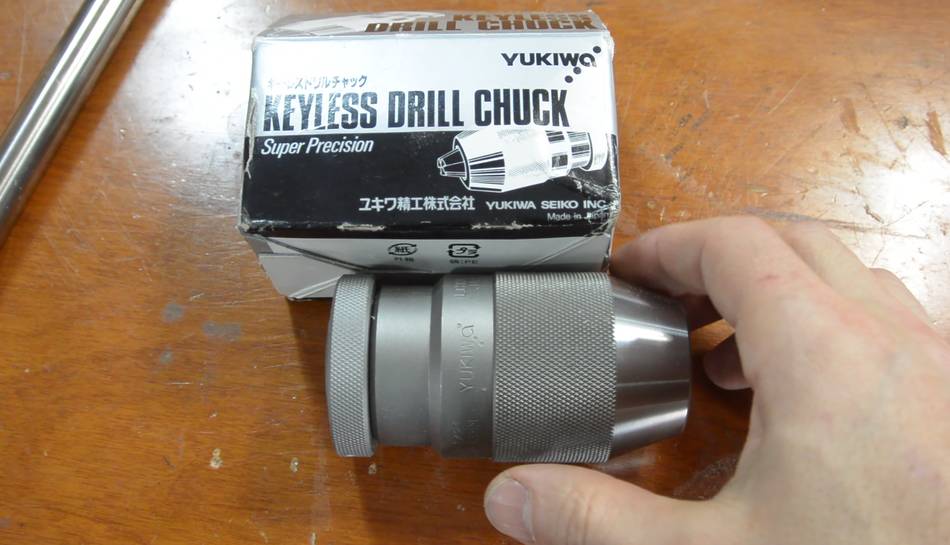
Kuldeep Singh, who makes the metal pantorouters
sent me a spare keyless drill chuck to use on my drill press. It's a wonderful
piece of Japanese precision engineering. Unfortunately, its #2½ Jacob's taper
is too small for my large drill press, and too large for my small drill presses.
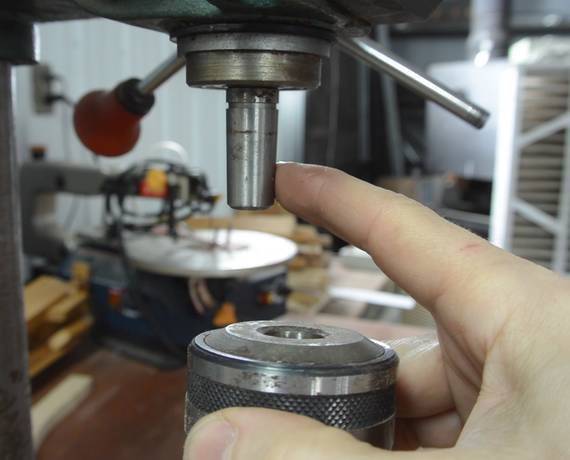
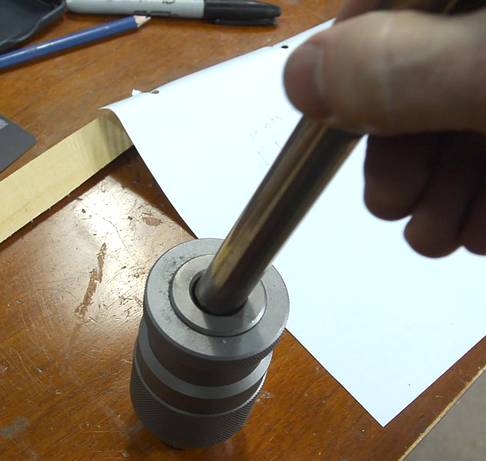
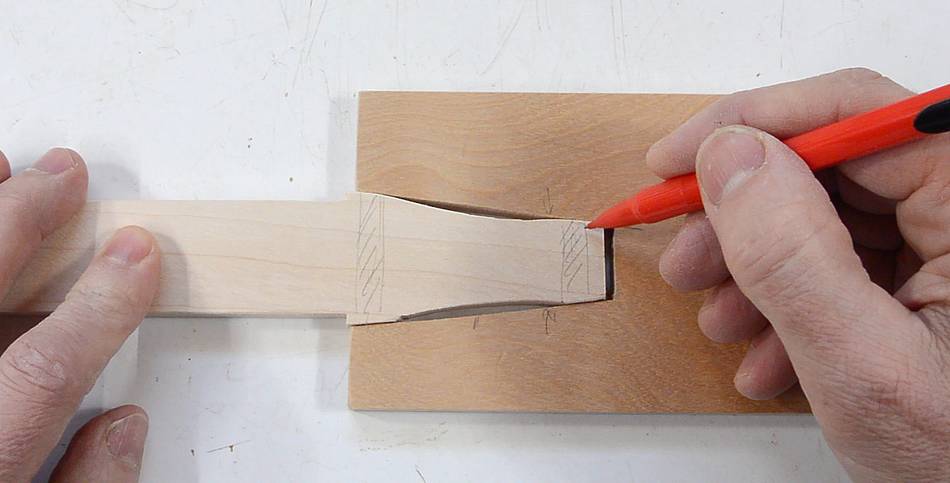
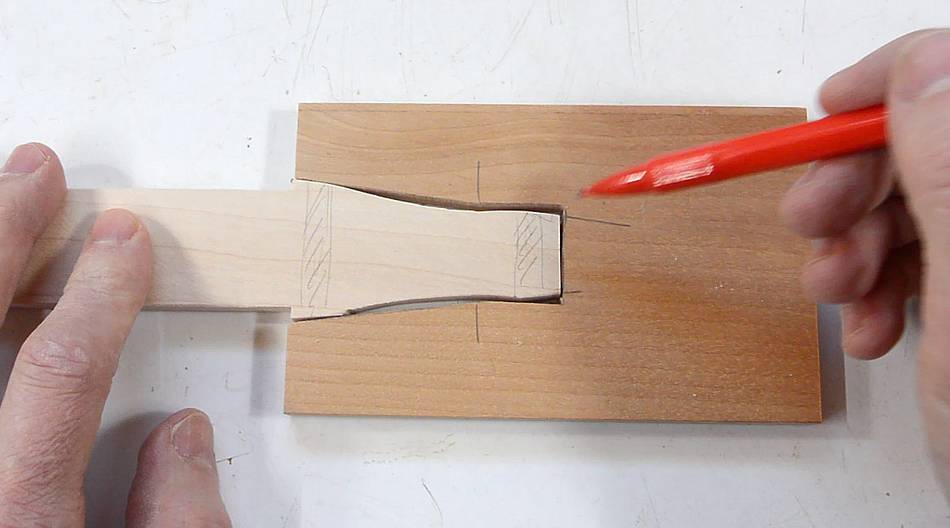
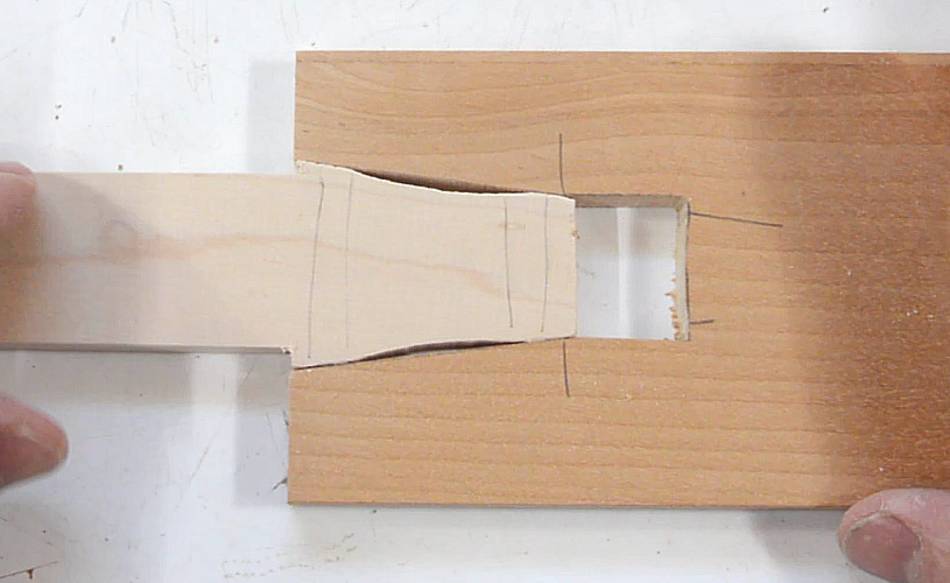
For drill presses, the chuck is mounted on a taper. The shaft in the drill press has a very
shallow taper, and the chuck is just rammed onto it. Friction keeps it in place.
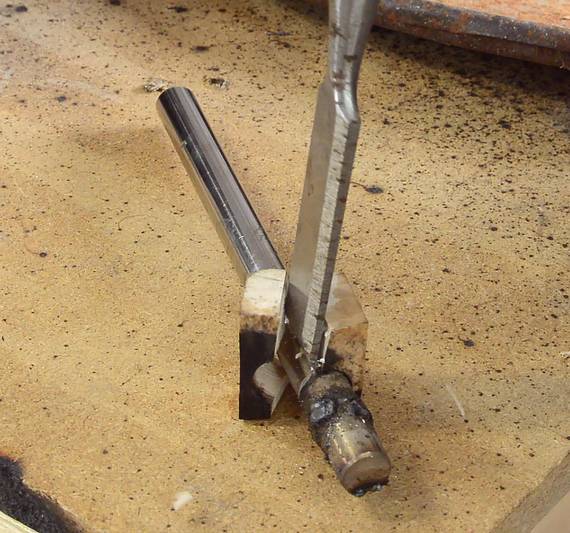
The challenge is not so much getting it on, but getting it back off. A piece of wood,
hit on the back with a hammer (see at left) will do the job.
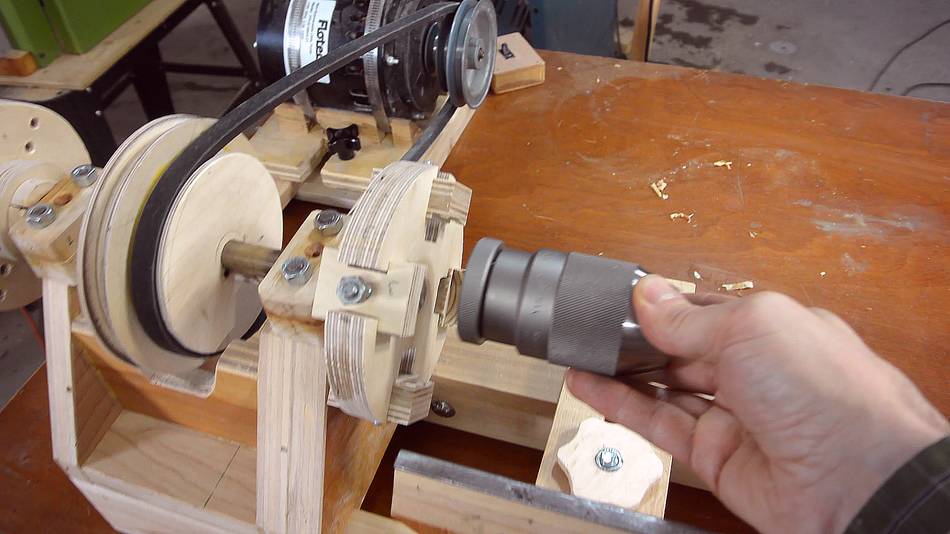
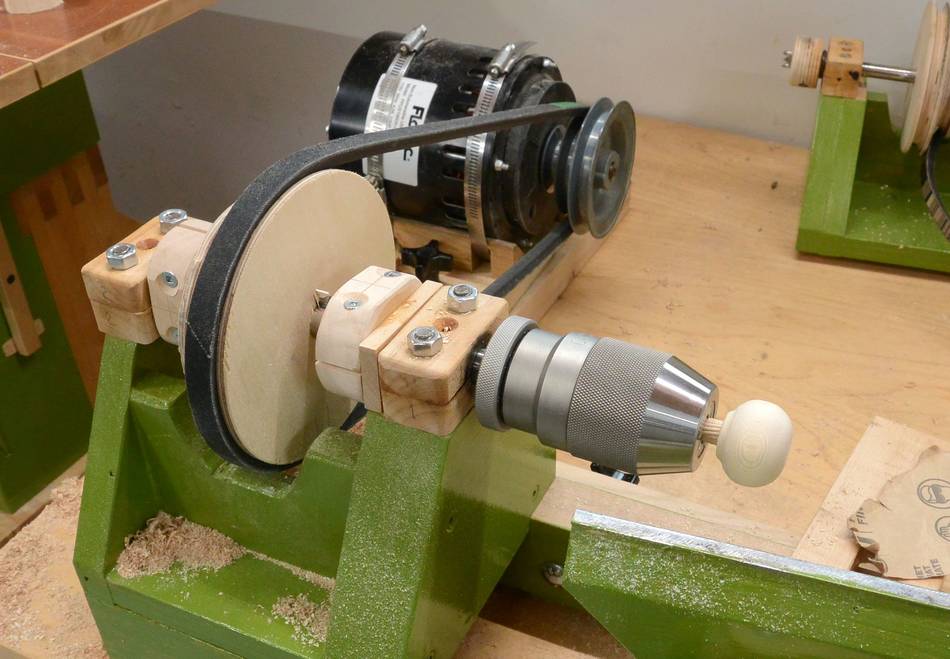
With no other use for this drill chuck, I figured it would be a nice thing to mount
to my lathe, but to the headstock, not the tailstock, so I could use it to turn various
things.
I had some 16 mm polished steel rod left over from when I made the
four-jaw chuck, so I figured I might as well use that to mount
the drill chuck. But the problem is that this shaft isn't thick enough for the wide
end of the taper.
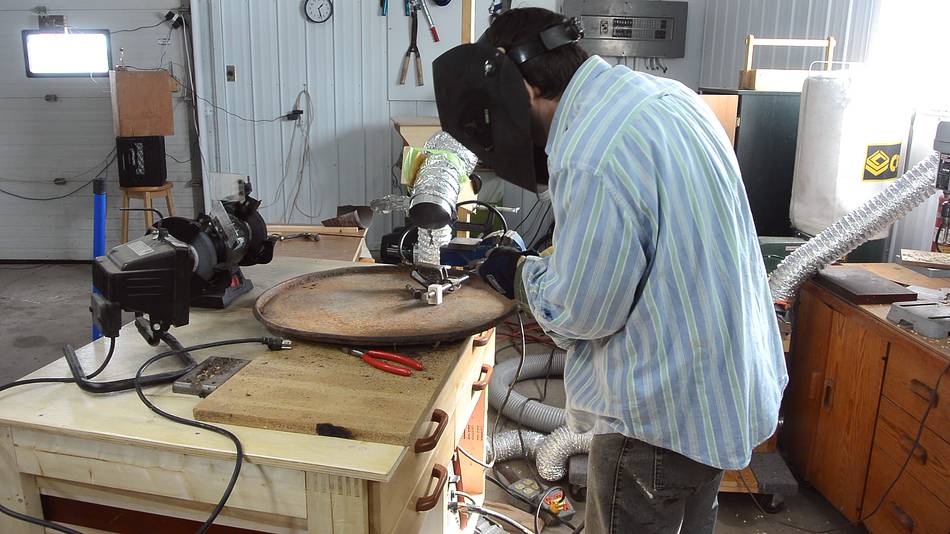
You can tell from this photo why I'm not making any "how to weld" articles or videos.
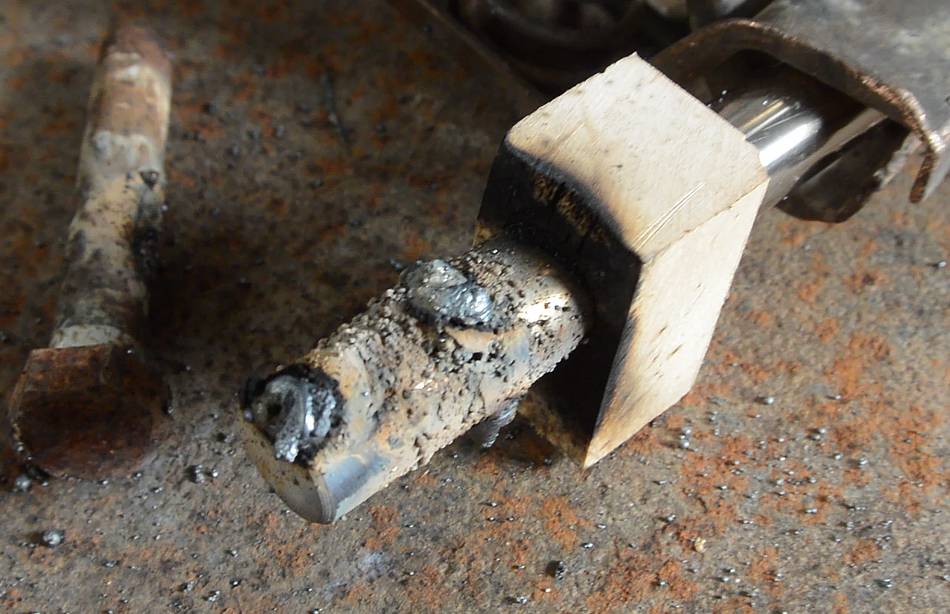
Before welding, I put a wooden block on the shaft to protect it from splatter, but the splatter
ended up going much further than the block, so I should have added more blocks.
The block ended up really stuck, so I had to split it off with a chisel.
The end of the shaft also had a flat spot on it. Because it's barely long enough, I had
to use the flat spot as well, so I filled that also.
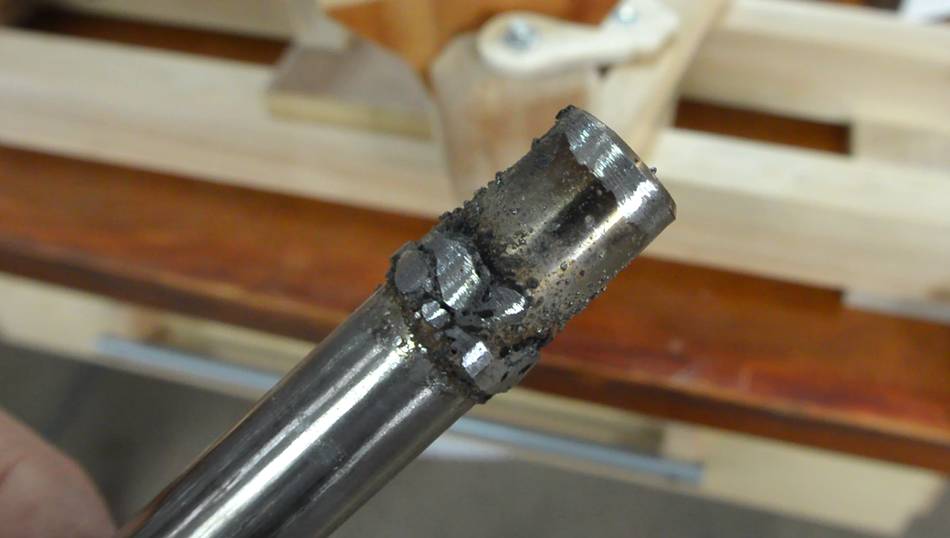
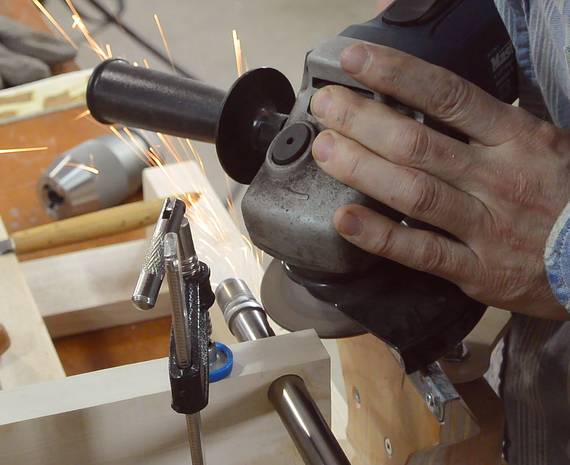
After welding, I ground off the most protruding blobs of metal with a bench grinder.
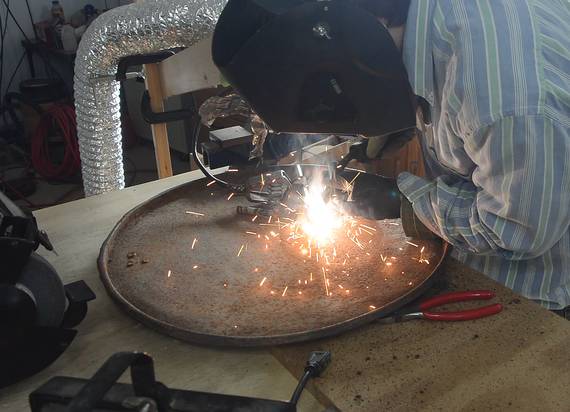
Looking at the sparks in the photo, they don't have the look of sparks from carbon
steel. I suspect now the shaft is stainless steel. No wonder it welded so poorly.
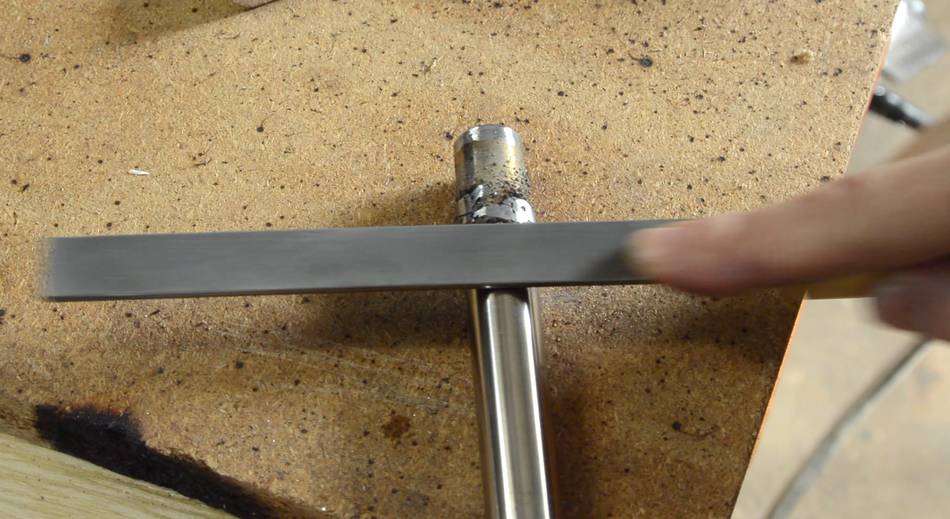
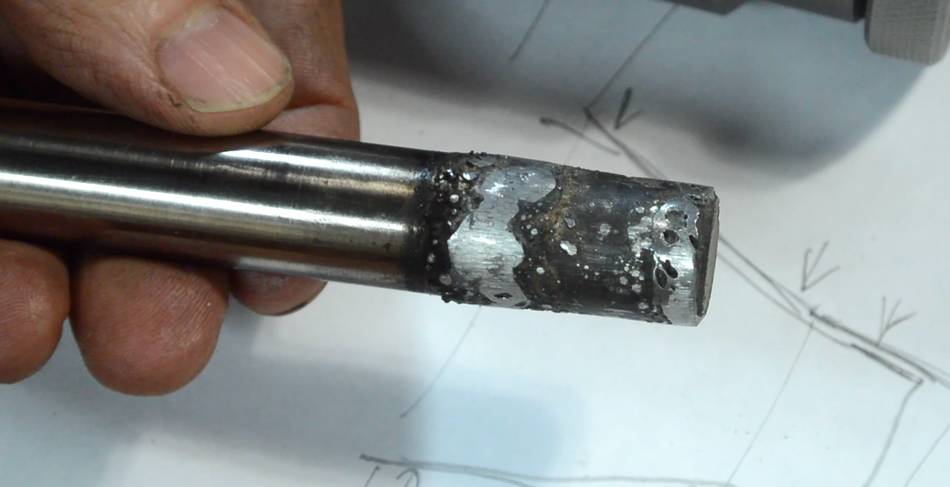
I also used a file to grind off some of the metal splatter that ended up on the shaft.
Now I just need to grind that into a precision machine taper.
I only put down a bead on each end of the taper. Matching the whole cone to the drill
chuck's taper would be too difficult with an angle grinder!
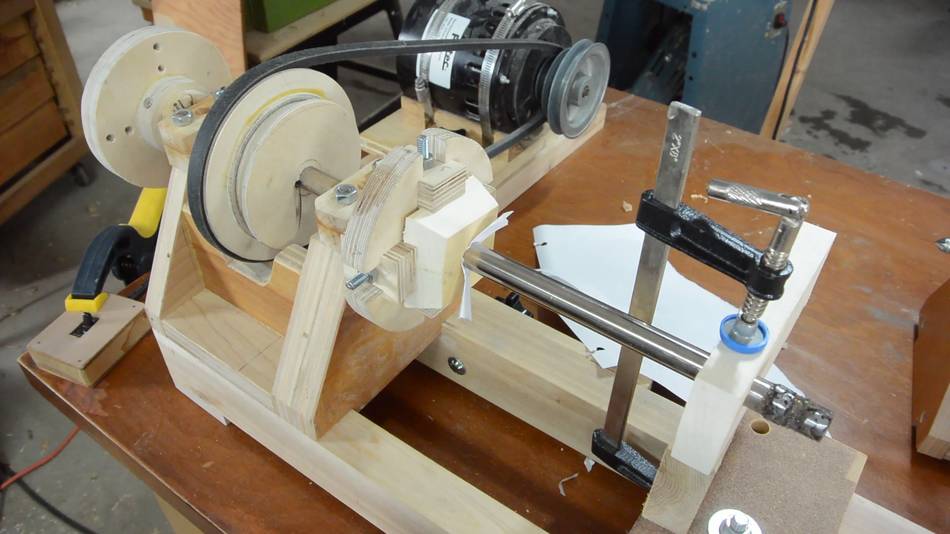
I made a block to fit on the end of the shaft and mounted that in my
four jaw lathe chuck. I also mounted a wooden bearing to
hold the end near where I will work on it.
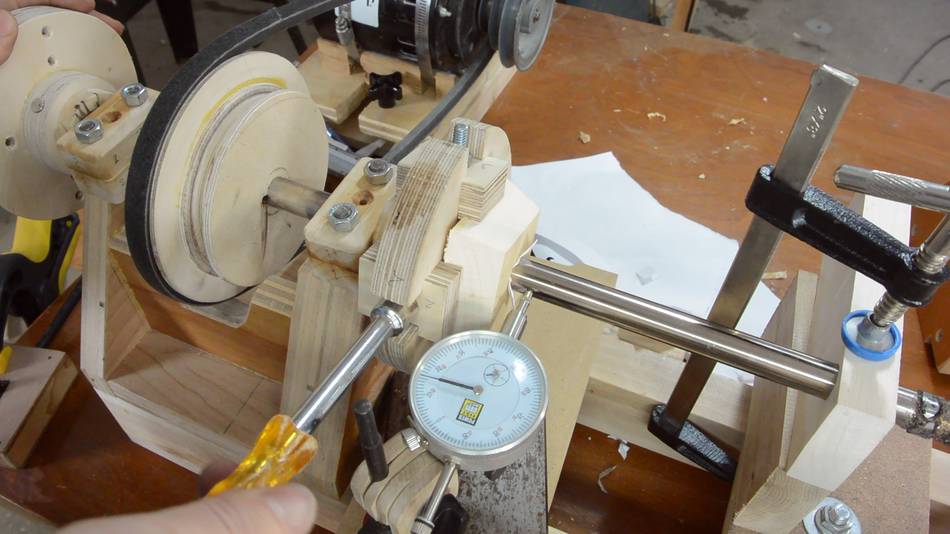
I then tweaked the centering on the four jaw chuck to eliminate most of the wobble.
A dial indicator came in handy for that.
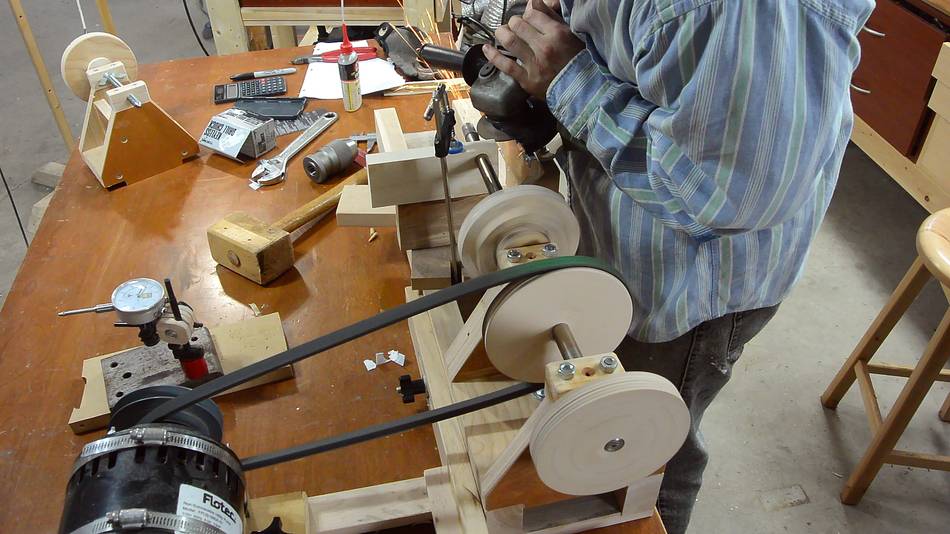
Then grinding away at it with the shaft spinning. The guard of the angle
grinder is resting on the tool rest so I can control it more precisely.
Checking the size with callipers.
More grinding.
Once I could slide the chuck on most of the way, I checked for rocking.
I checked with a dial indicator, moving it side-to-side to see where it stopped
showing displacement as I rocked the chuck. That indicated which point
on the taper it's rocking back and forth about, which tells me where the taper
is getting hung up.
I also experimented with slipping a strip of paper in to see where it became
compressed.
This is where it became frustrating for a while. I ended up over-grinding it at the
narrow end and had to build it back up with a new welding bead. Twice!
My goal was to have the taper only make contact near both ends. Getting the whole cone
right would be too hard. But it appeared to always make contact
at some point away from the deep end of the taper.
Eventually I examined the drill chuck's taper more closely. Only the first
three quarters of it were actually tapered, and then it went to cylindrical!
The inside-most part of the taper
that I was trying to make contact with wasn't actually there! No wonder I kept
screwing it up!
Knowing this, I aimed to make contact at the actual end of the taper. I ended
up over-grinding slightly, so using a shim helped.
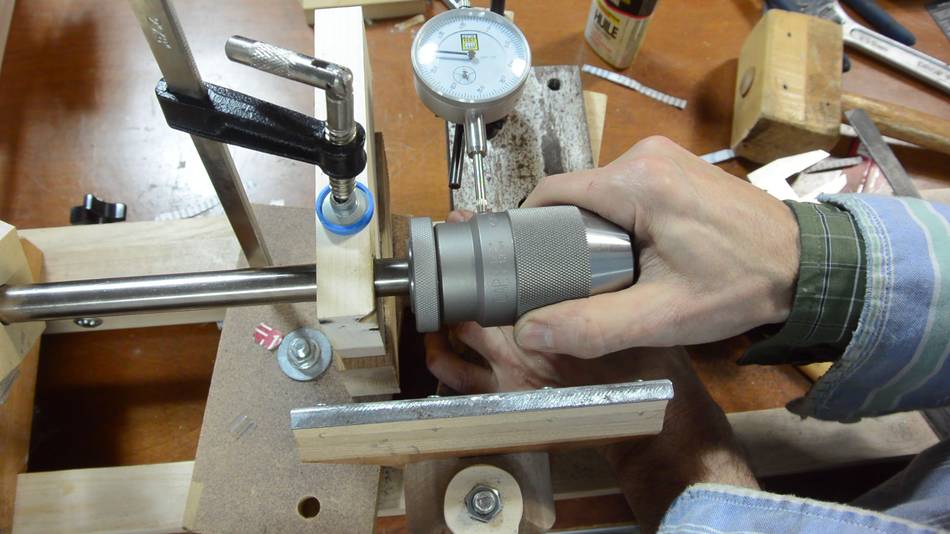
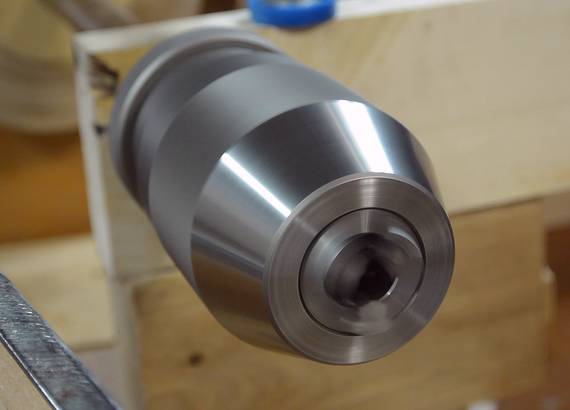
I was able to get the drill chuck on there nicely, with hardly any wobble.
And here's what the actual "taper" looks like. Awful. But it does the job.
Despite my difficulty, and the horrible welding job, I think this technique
has potential Given any similar problem, I would certainly try it again!
This technique could also be the start of a drill press build, just for the heck
of it. But I'm not convinced building a drill press makes any sense, unless you
already have a suitable motor and are looking for a challenge.
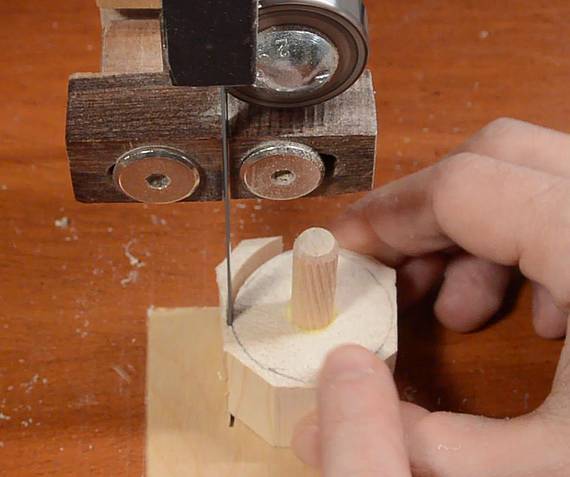
My main goal was to try it out for turning knobs.
My dad used to make all his own knobs for
wooden hinges,
door knobs, and
other furniture that he sold.
Trying it out, it took hardly any
time at all to make one, and if I made many, I'm sure I'd get faster and
very consistent. No wonder my dad never bothered even looking into
buying pre-made knobs. He also had no interest in copy lathes, saying they
were too slow.
But this chuck is not ideal for the job. The chuck tightens itself as torque
is applied, so it tends to over-tighten on the wood. Also, this chuck is relatively
long. A cheaper keyed chuck would be shorter so it would apply less leverage on the taper.
Finally, a machine taper is not ideal for side loads, and it can come loose on its own.
It came loose on me once.
 Kuldeep Singh, who makes the metal pantorouters
sent me a spare keyless drill chuck to use on my drill press. It's a wonderful
piece of Japanese precision engineering. Unfortunately, its #2½ Jacob's taper
is too small for my large drill press, and too large for my small drill presses.
Kuldeep Singh, who makes the metal pantorouters
sent me a spare keyless drill chuck to use on my drill press. It's a wonderful
piece of Japanese precision engineering. Unfortunately, its #2½ Jacob's taper
is too small for my large drill press, and too large for my small drill presses.


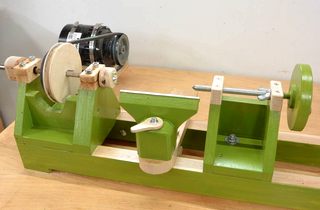 More about my wooden lathe
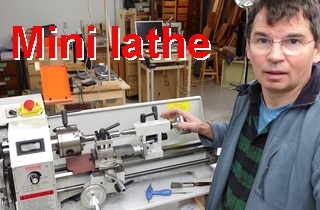 I finally got a metal lathe
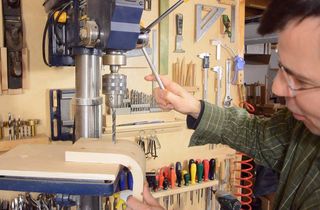 Why I don't use a drill press table
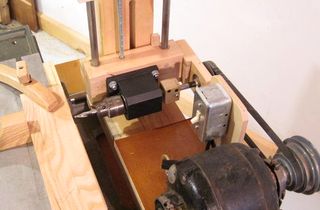 Horizontal boring machine
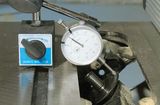 Grinding a table saw arbor to reduce wobble
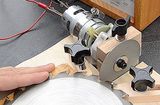 Saw blade sharpening jig
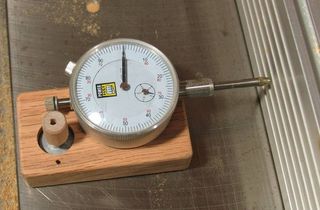
 Dad's furniture
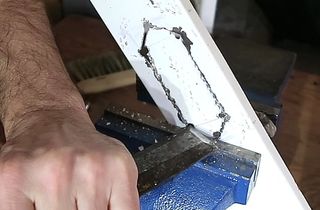 Metal shearing with chisel and vise