"I am a fan! I would like to send you some LED shop lights..."
"Our product colour rendering is very high studio quality, so your videos
should look even brighter and better...."
I'm always hesitant about taking freebies. Even though Jim asked for
nothing in return, it does create a sort of moral obligation. But I
knew something wasn't ideal about the colour rendition of my CF bulb
lighting. Wood at the table saw always ended up looking a bit green,
even if I did a "custom white balance" on the camera right before the
shot. When editing the video, I'd usually bias those shots towards
purple to compensate.
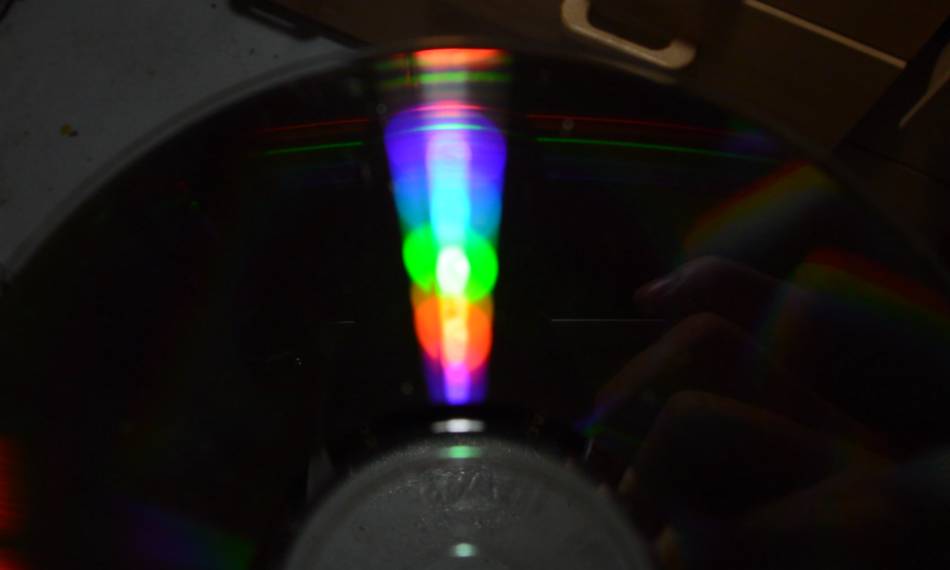
A CD-ROM can be used as a
diffraction grating, and that in turn can show the different
wavelengths a "white" light is comprised of. Looking at one of my lamps
with a CF bulb in it, I could see that there were distinct images of
different colours revealed. It looks neat, but it reveals that most of
the light energy is concentrated on just a few wavelengths. That in turn
can lead to colours looking not quite the way they would under natural
light.
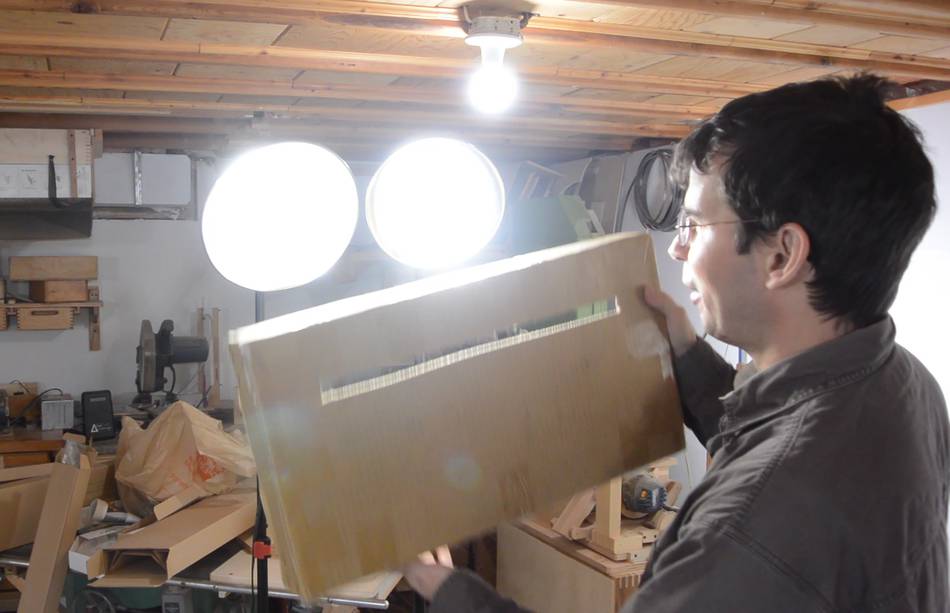
I set out to do a comparative experiment. The lamp on the left has a
CF bulb in it, the one on the right has an LED bulb from the Home Depot.
I put a piece of cardboard in front with a slot cut out so that I'd get
more explicit lines when looking at the spectrum using my CD-ROM
diffraction grating.
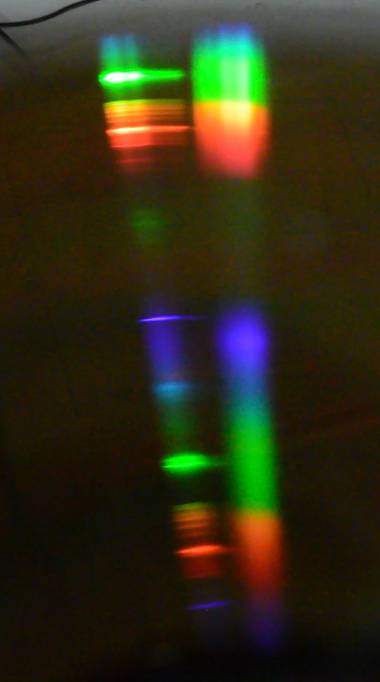
Looking at the reflection, I can see that the LED (right in the photo)
has a much more continuous spectrum, whereas the CF (left) has most of the
green concentrated on just one wavelength.
You might ask "why does this matter"? White still looks white, green
still green, etc. The thing is, the colours our eyes detect as red,
green, or blue, are whole ranges of wavelengths. What we see as "green"
could be subdivided into many more "colours" that all look green to us.
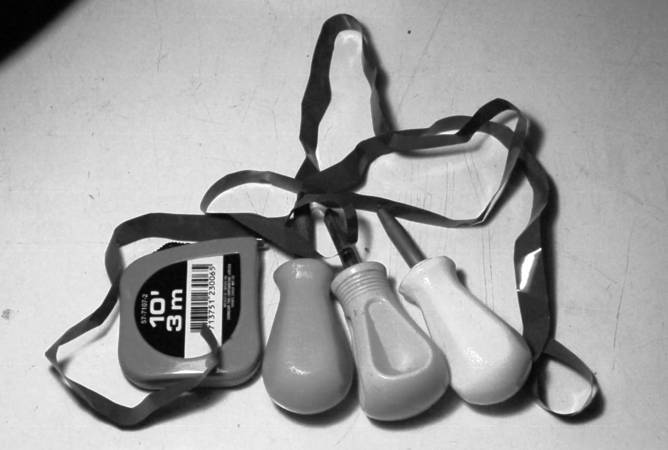
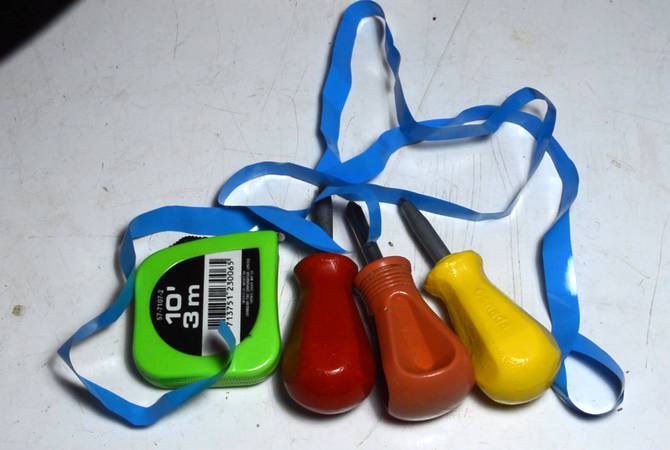
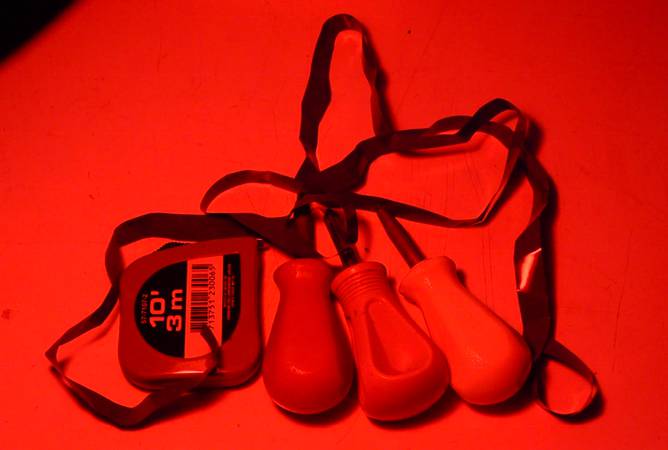
To illustrate the concept, I took two photos in black and white of the
same set of objects, but under different lights. At left, the tape is
much lighter than the leftmost screwdriver, on the right, the tape is
dark and the screwdriver is light.
Looking at the two images in colour, it's obvious what's happening. The
first image was taken under white light, the second under red light.
But seen in black and white, the nature of the light seems the same, but
the objects look different.
We can think of red, green and blue as not just simple colours, but
ranges of colours that we can't individually discern, a bit like the items in
black and white in the example above. Objects may have different reflectiveness
at these different sub-colours.
That in turn will make different objects appear as slightly different shades
of colours when viewed under different types of "white" light.
All this may not matter that much when working with stuff in person
because our eyes adjust very quickly. But when we look at photo or
video, the experience is less immersive, so our eyes adjust less, and
the difference becomes more noticeable.
LED bulbs are unfortunately only available up to 60-watt equivalent (800 lumens).
LEDs don't like being overly hot, and packing "100 watts" worth of LEDs in a bulb
would build up too much heat.
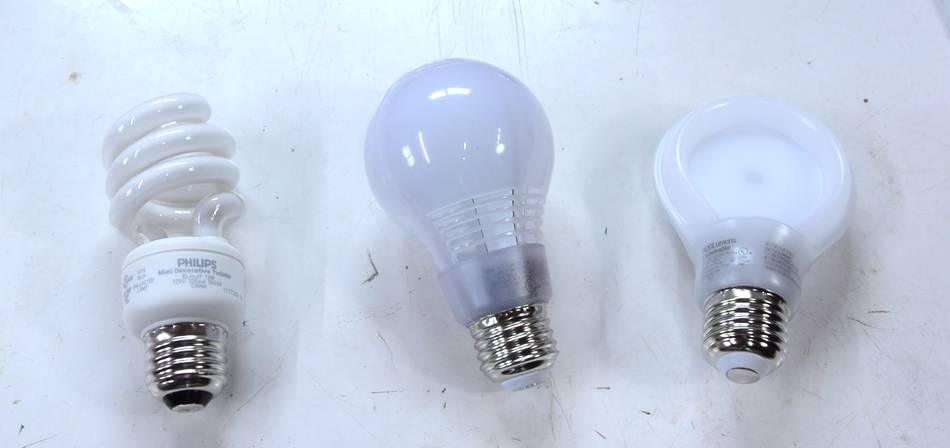
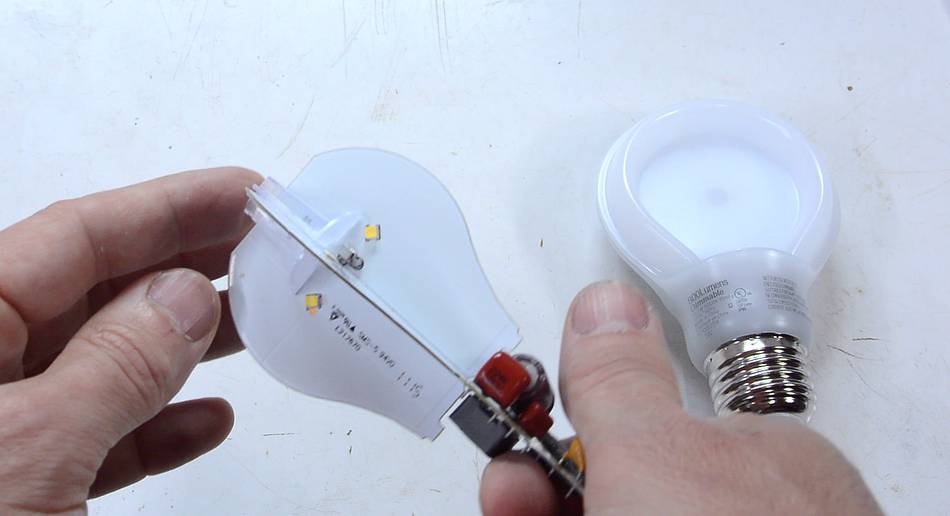
I bought two different brands at the home depot. From left to right, a
13 watt CF bulb, a 9 watt LED bulb, and a 10.5 watt LED bulb. All
60-watt equivalent, or 800 lumens of light output.
I took apart one of the bulbs (center at top), and it only contains eight small
LED elements. These, no doubt get quite hot, because the whole bulb gets warm.
Looking at the other brand of bulb, I can see
ten bright spots around the perimeter, so these contain only slightly more
LED elements.
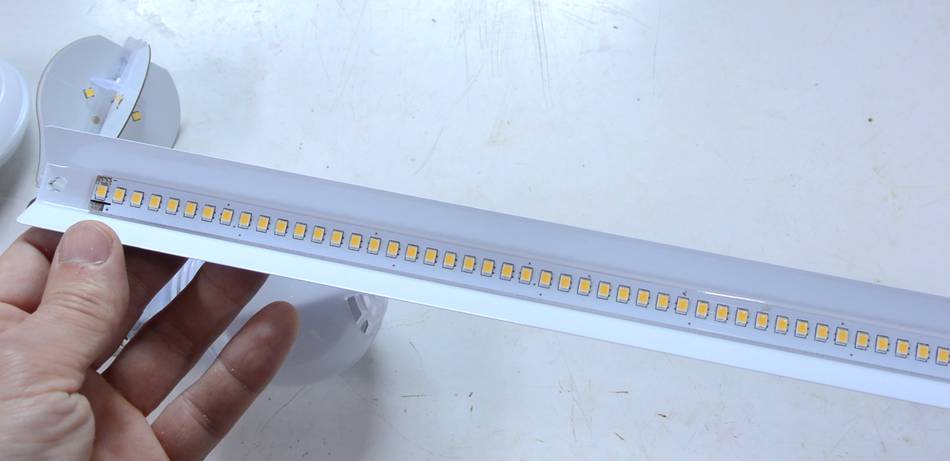
Comparing this to one of the LED strips that Jim sent me, this one is 12 watts, with
96 LED elements over a 60 cm length. These lights barely get warm.
These are retrofit kits meant to be installed in flourescent light fixtures to replace the bulbs
from ameircangreentlights.com
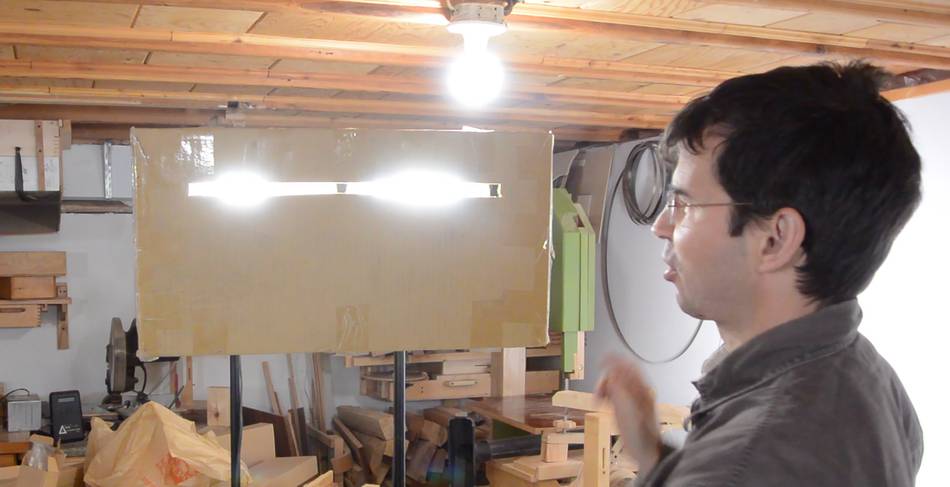
I set up an experiment to compare the light output from the CF and LED lights.
are an LED strip Jim sent me (left), a 9 watt LED bulb (middle), and a 13 watt CF bulb
(right).
To even things out, I covered up one quarter of the 12 watt strip so I'm only looking
at 9 watts worth of light output.
Subjectively, I'd say the CF bulb is the dimmest. But that bulb was no
longer new, and light output drops over time. The LED strip is the
brightest. No surprise really. With the LEDs kept cool and each individual
LED at lower power, I'd expect them to be more efficient.
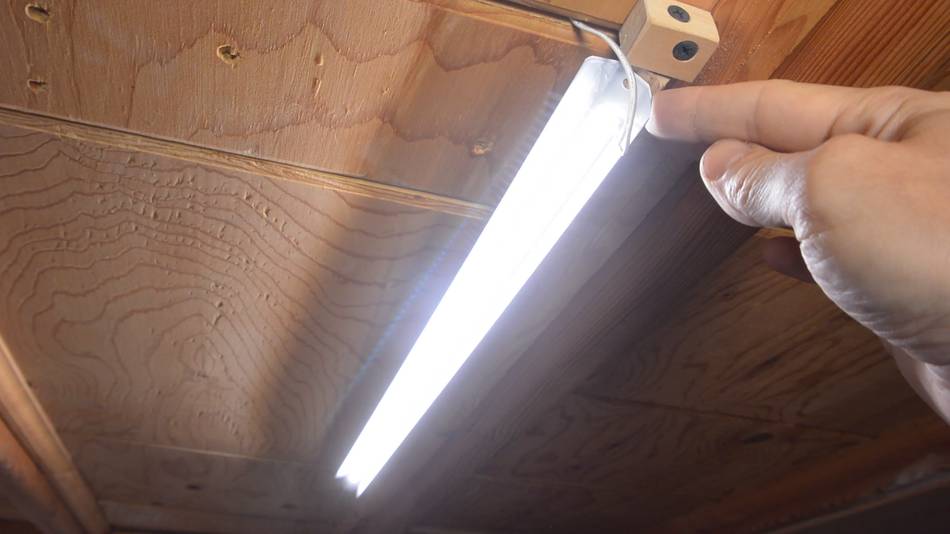
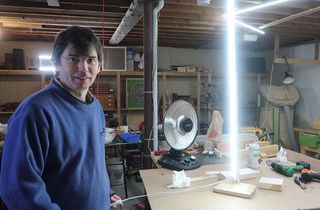
I had already mounted some of these LED strips on my ceiling. I made swivel
mounts for some of them. I often move my other lamps around to change
the lighting, so I wanted some configurability for these as well.
I should add, these light strips are actually intended to be mounted
inside fluorescent light fixtures, replacing the bulbs. But having low
ceilings in my workshop, just the strips, with their small reflectors is
ideal for me.
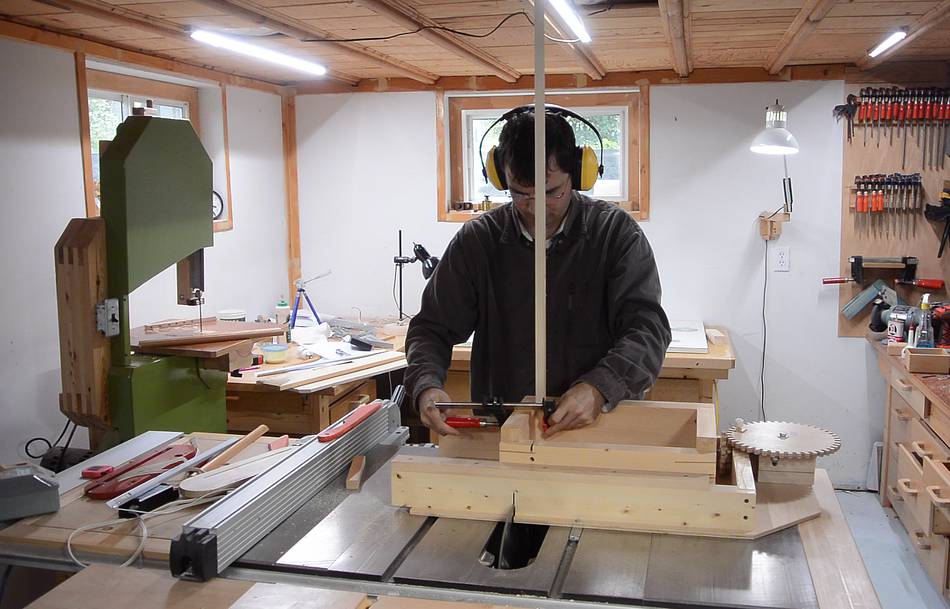
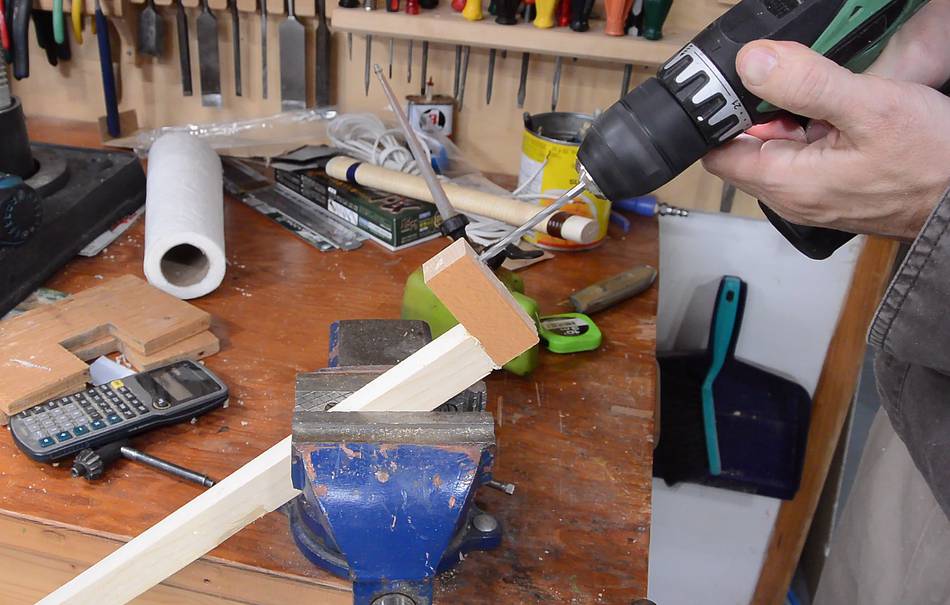
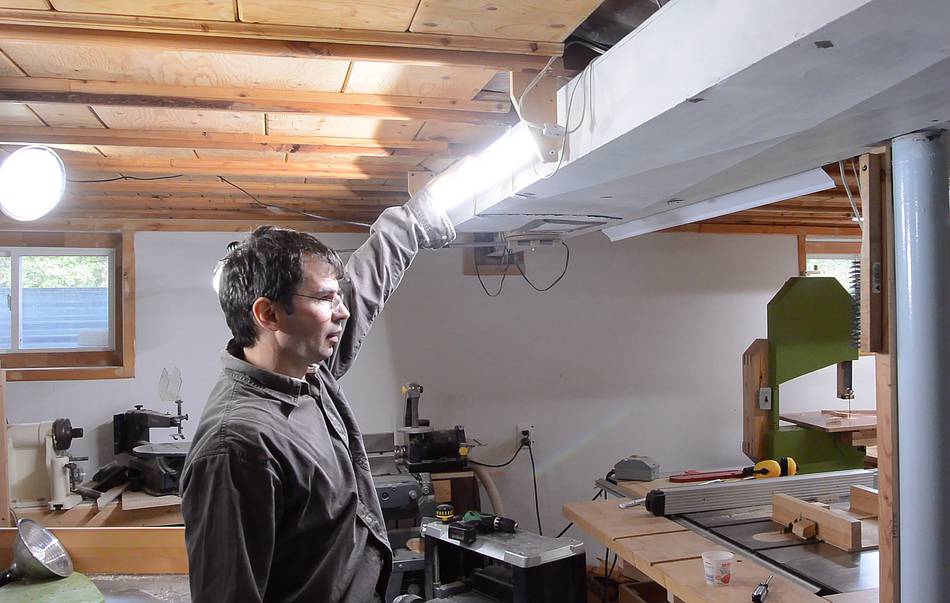
I wanted to make another swivel mount to go at the edge of the heating
duct behind my table saw. I wanted to be able to swivel this one down
to light the table saw, but also up and out of the way to light the back
of the shop. An offset swivel mount would work for this.
Also note the three LED strips already mounted on the ceiling behind me.
Then drilling the holes for the swivel. If I had thought ahead, I would
have drilled these
before gluing the corners.
Screwing the offset mount to a "mounting bracket" for the ceiling just to check.
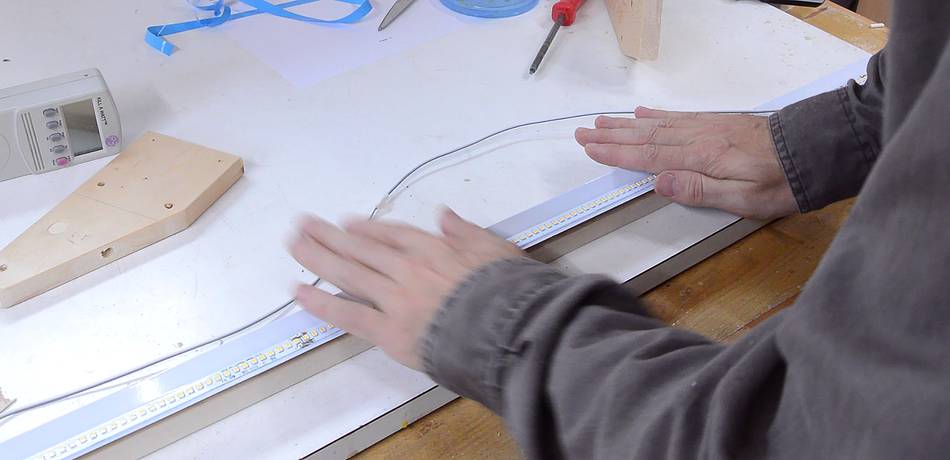
Peeling the adhesive backing off the LED strip. This adhesive backing is
meant for sticking the strip inside a normal fluorescent light fixture,
along with screws.
Then pressing it on the wood to glue it on.
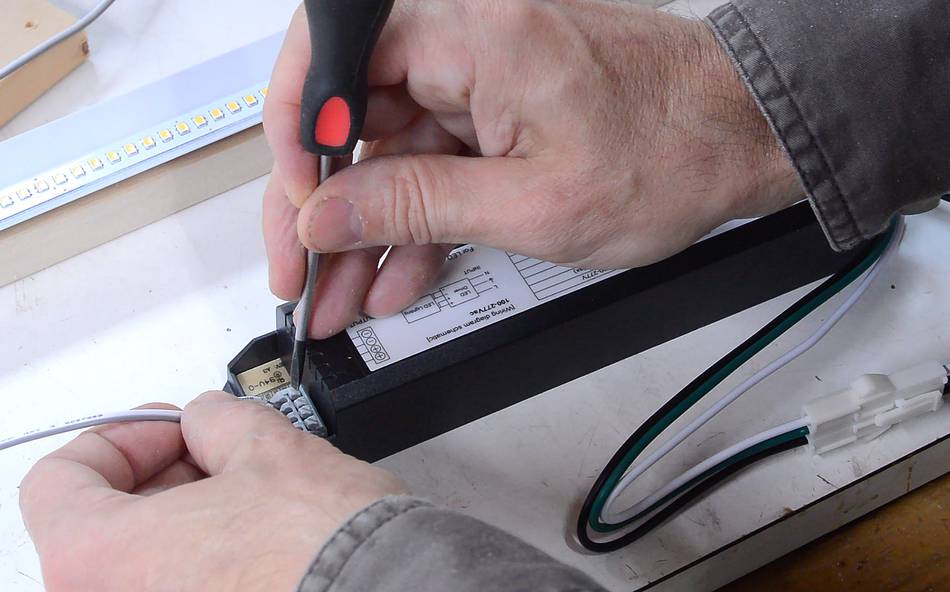
These LED strips come with converters (sort of like the ballasts for fluorescent lights).
These turn the AC line voltage into constant current DC for the LEDs.
The power converters have terminal strips on either side. One side hooks directly to
the leads from the LED strip, the other side directly to AC power.
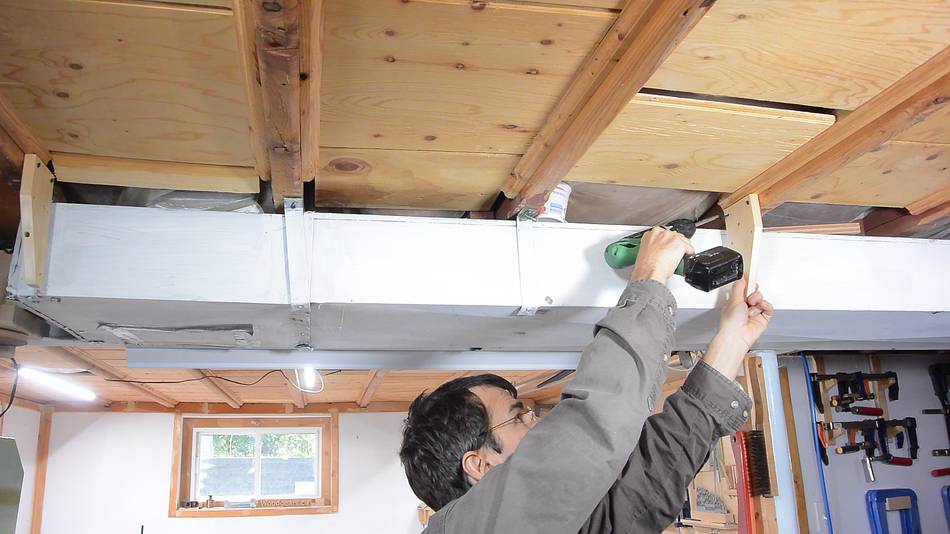
Attaching the mounting brackets to the ceiling
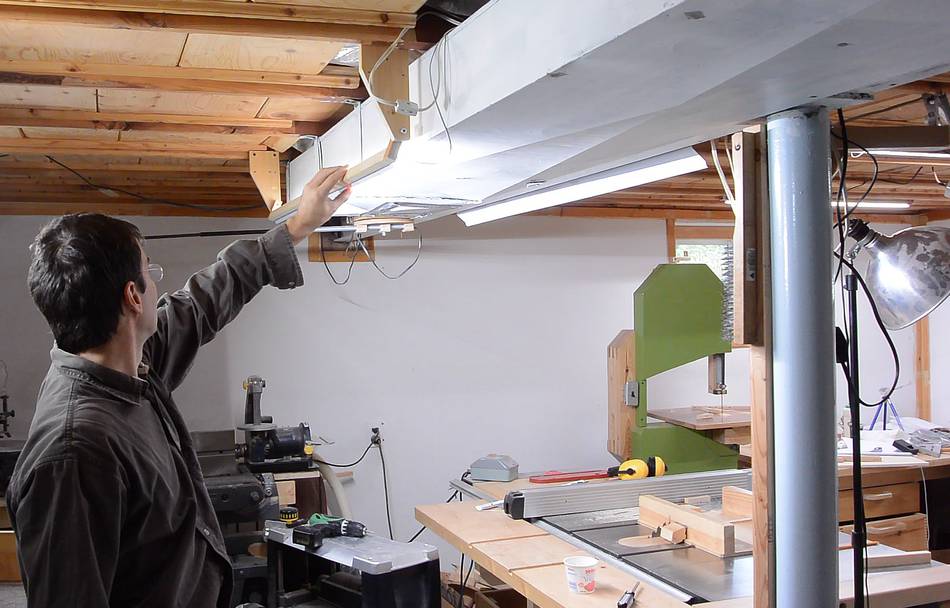
Then the LED strip to that. Here aimed at the back of my shop. In this
configuration the light is above the bottom edge of the duct.
I'll use this configuration when filming from the front of the table
saw to light up the background, or when filming in the back of the shop
using the jointer, pantorouter or my big bandsaw.
And here aimed at the table saw, with the light below the level of the duct.
I'll use this configuration when filming shots from the back of the table saw
or filming at the workbench.
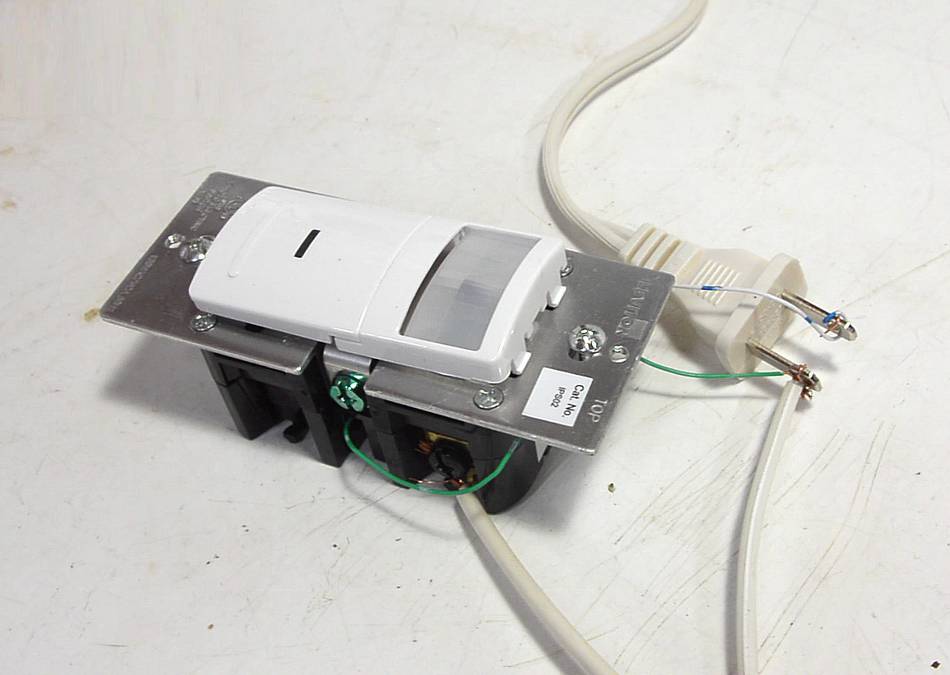
And while I was messing with the lights, I bought one of these
presence detection switches. This switch has a button for turning the
lights on and off, but it also turns off the lights automatically
after a certain time of not detecting motion (via the passive infrared sensor).
If it detects motion while off, it turns the lights on.
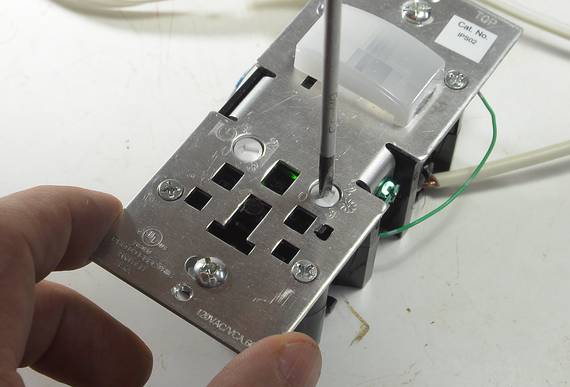
It has two potentiometers that can be adjusted for motion sensitivity and timeout.
When turned off via the button, the lights stay off regardless of motion
for about as long as timeout is set, but if it detects motion after that
it turns on again.
However, it took a bit of trial and error to figure out how to use this switch.
Turns out, it bleeds a slight amount of operating power through
ground, so it won't work at all unless the ground lead is connected (I
connected ground to neutral for my experiment on the workbench)
Also, after applying line power to the switch, it can take 30 seconds for
it to "wake up". Before that, it can be completely unresponsive to
button presses or motion.
So now the lights come on automatically when I enter the shop.
I quite like it. I set the timeout fairly long on it
so it doesn't switch the lights off when I'm out of view for
a few minutes. I usually end up switching it off manually when I
leave the shop, but if I forget, the lights won't stay on overnight.
I also installed one in the laundry room. With a new baby in cloth
diapers, we seem to be doing an awful lot of laundry, and it's handy
to have the lights come on and off automatically while carrying a
basket of laundry.
And thanks again to Jim Uno from
americangreenlights.com
for sending me the LED strips. LED strips are a better packaging for
LEDs than bulbs, and they are supposed to last 100,000 hours (at 10 hours a
day, 5 days a week, that would be a 38 year lifetime!).
The light strips are retrofit light strips for flourescent ceiling fixtures
They are much more expensive than LED light bulbs though. Adhesive LED strips can
be bought for much less online, but these have much lower light
output. For someone like me, the cost of these light strips would be hard
to justify, but for a business, factoring in potentially lower electricity
costs and not having to pay someone to replace difficult to access light
fixtures, they make economic sense. Even a 24,000 hour light fixture,
if used 24/7 lasts less than three years.
 A CD-ROM can be used as a
diffraction grating, and that in turn can show the different
wavelengths a "white" light is comprised of. Looking at one of my lamps
with a CF bulb in it, I could see that there were distinct images of
different colours revealed. It looks neat, but it reveals that most of
the light energy is concentrated on just a few wavelengths. That in turn
can lead to colours looking not quite the way they would under natural
light.
A CD-ROM can be used as a
diffraction grating, and that in turn can show the different
wavelengths a "white" light is comprised of. Looking at one of my lamps
with a CF bulb in it, I could see that there were distinct images of
different colours revealed. It looks neat, but it reveals that most of
the light energy is concentrated on just a few wavelengths. That in turn
can lead to colours looking not quite the way they would under natural
light.


 Vertical LED light stand
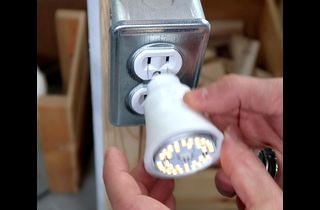 LED bulb failed for the dumbest of reasons
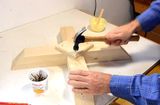 Simple light stands
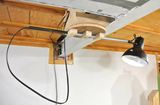 Telescoping ceiling lamp
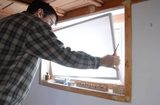 Window light diffuser
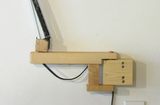 Swing arm lamp
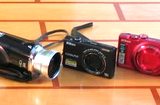 Best cheap camera for YouTube videos?
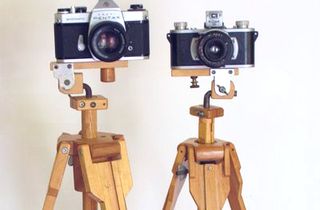 Homemade tripods
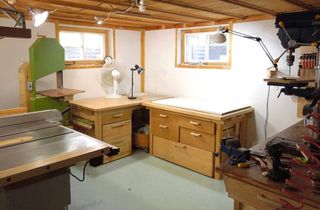 My basement workshop
 The steadycam you
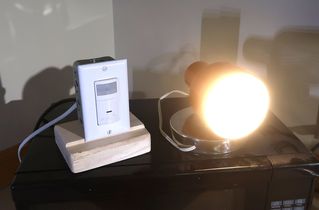 Motion light gadget