 This is a ShopVac brand vacuum. These come in different shapes
and sizes, but every one that I have opened up was put together the same way
on the inside.
This is a ShopVac brand vacuum. These come in different shapes
and sizes, but every one that I have opened up was put together the same way
on the inside.
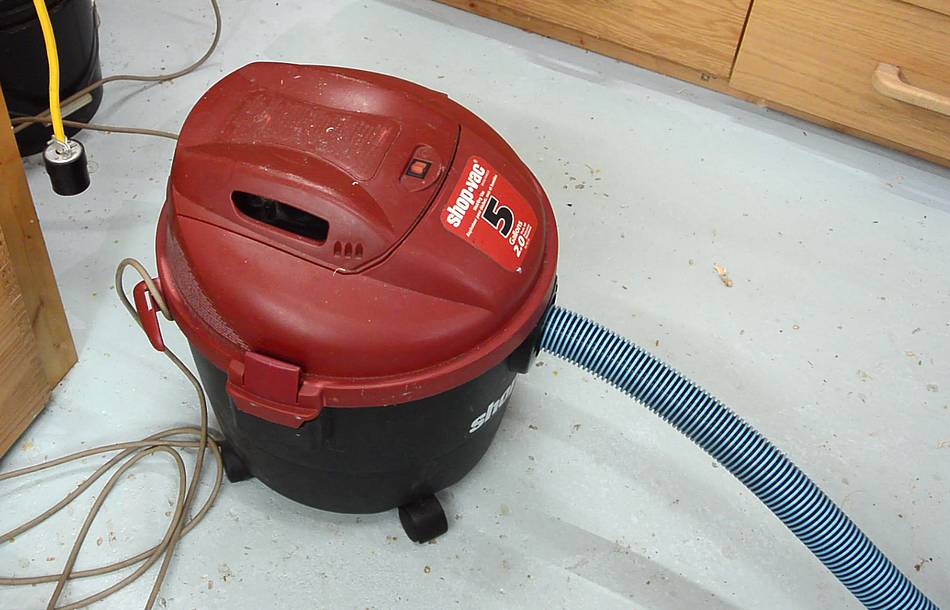
This is a ShopVac brand vacuum. These come in different shapes
and sizes, but every one that I have opened up was put together the same way
on the inside.
The bearings on this one have started making a squealing whining type noise for the first second or so after it's turned on and sometimes when it's turned off. Unless the bearings get oiled, they will soon squeal more and destroy themselves. So it's time to open this one up and oil it.
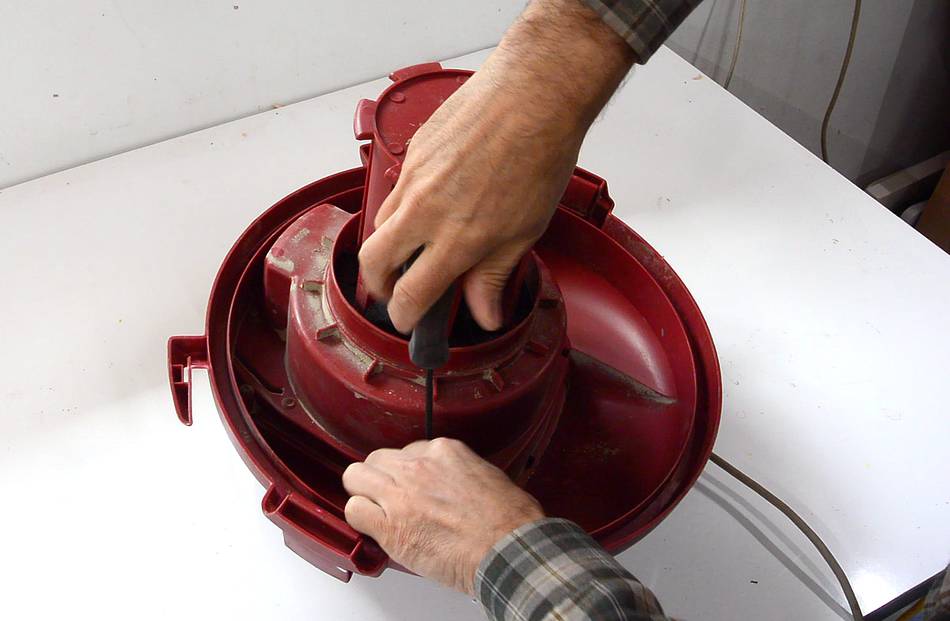 A #35 torx screwdriver fits most of the screws used to put it together.
First I remove all the screws on the underside of the motor unit.
A #35 torx screwdriver fits most of the screws used to put it together.
First I remove all the screws on the underside of the motor unit.
 After this, the top cover can be removed.
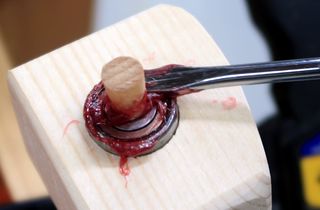
 Chances are, the problematic bearing is the top bearing, and just applying
some oil to it will fix the problem. The bronze sleeve bearing is surrounded by some
felt soaked with oil, which would ideally also get re-soaked with oil. I suppose
if I put the unit upside-down and squirted some oil onto the other side of the bearing
mount, that could do it.
Chances are, the problematic bearing is the top bearing, and just applying
some oil to it will fix the problem. The bronze sleeve bearing is surrounded by some
felt soaked with oil, which would ideally also get re-soaked with oil. I suppose
if I put the unit upside-down and squirted some oil onto the other side of the bearing
mount, that could do it.
But this time, I proceeded to take the whole motor unit apart. Not really necessary, but I wanted to show how these go together.
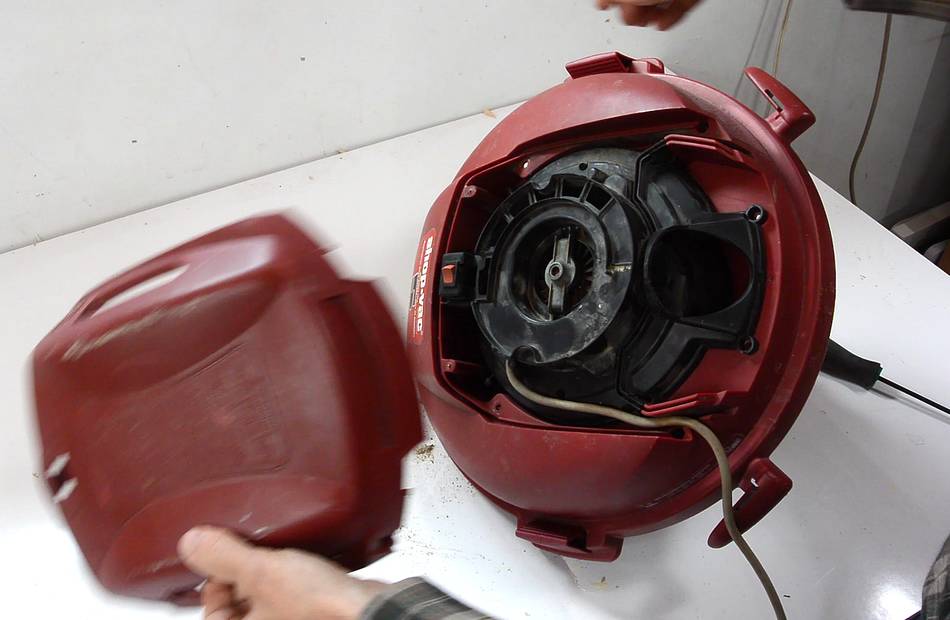
 With the screws that I removed already, the whole blower unit pops out
of the red top cover part. The parts that are red on this ShopVac are
different between different models, but the internal blower units tend to
be nearly identical.
With the screws that I removed already, the whole blower unit pops out
of the red top cover part. The parts that are red on this ShopVac are
different between different models, but the internal blower units tend to
be nearly identical.
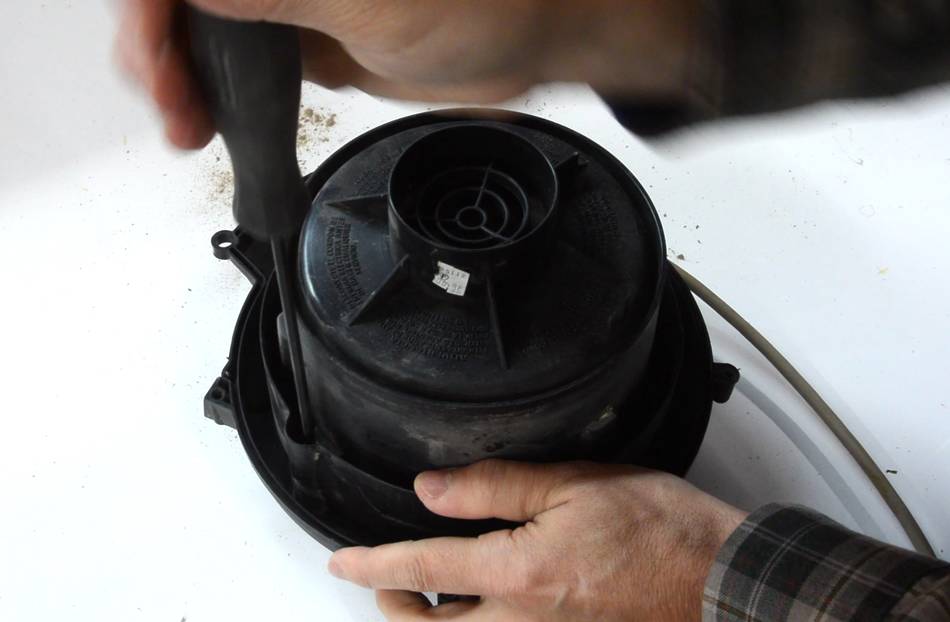
Here removing three more screws to pop off the cover over the blower.
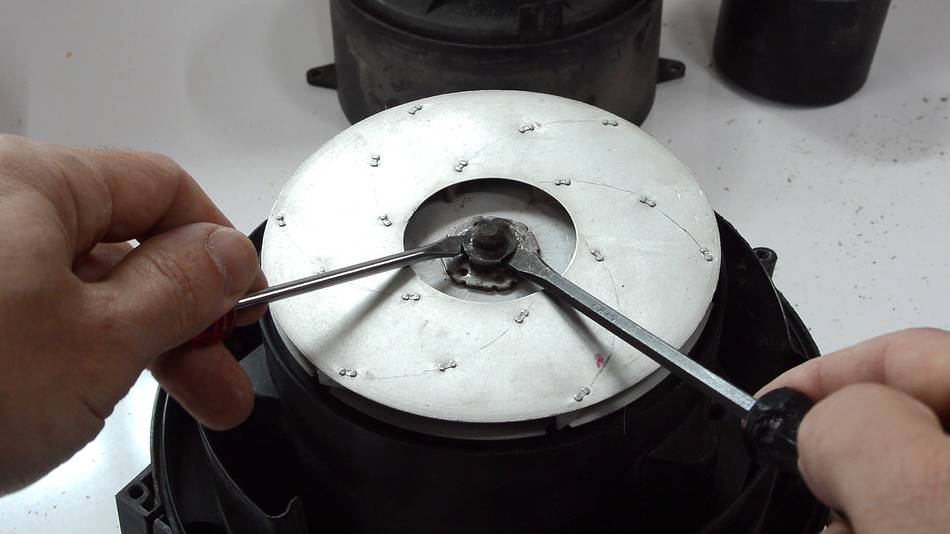 This is the blower after removing the cover. The blower impeller is held on
either by a nut (which is best removed with a nut driver in an impact diver)
or by a little spring clip, which is best pried off by lifting it with a flat
screwdriver near the center.
This is the blower after removing the cover. The blower impeller is held on
either by a nut (which is best removed with a nut driver in an impact diver)
or by a little spring clip, which is best pried off by lifting it with a flat
screwdriver near the center.
After the clip or nut is removed, the rotors may require a bit of prying too.
Take note of how the rotor fits into the flanges on it and be sure to put it back together the same way.
 Under the impeller are two Phillips head screws (not shown). Remove these,
and the motor pops out.
Under the impeller are two Phillips head screws (not shown). Remove these,
and the motor pops out.
Here I took two screws out of the motor to take the back bearing off.
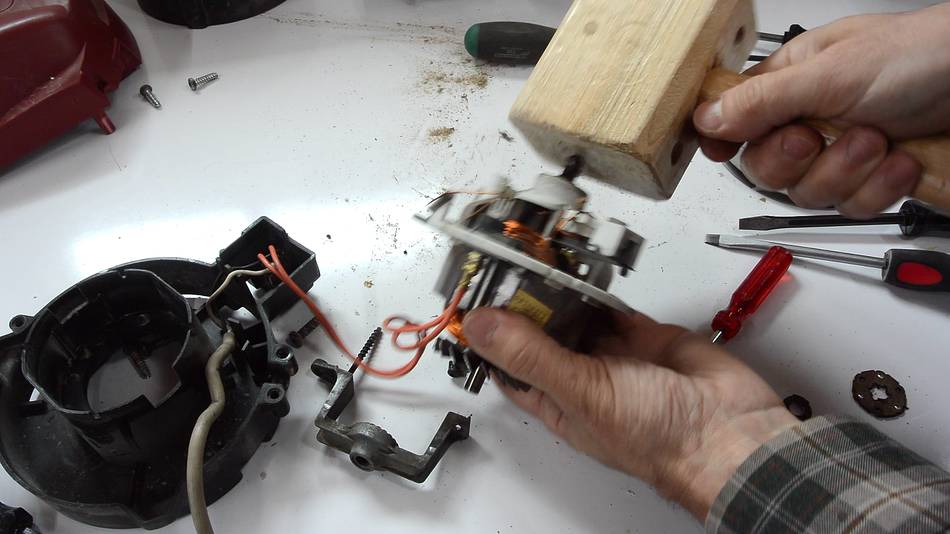 To get at the front bearing, I have to tap the impeller end of the motor
shaft. Best to use a wood or rubber mallet for this to avoid damaging the
motor shaft.
To get at the front bearing, I have to tap the impeller end of the motor
shaft. Best to use a wood or rubber mallet for this to avoid damaging the
motor shaft.
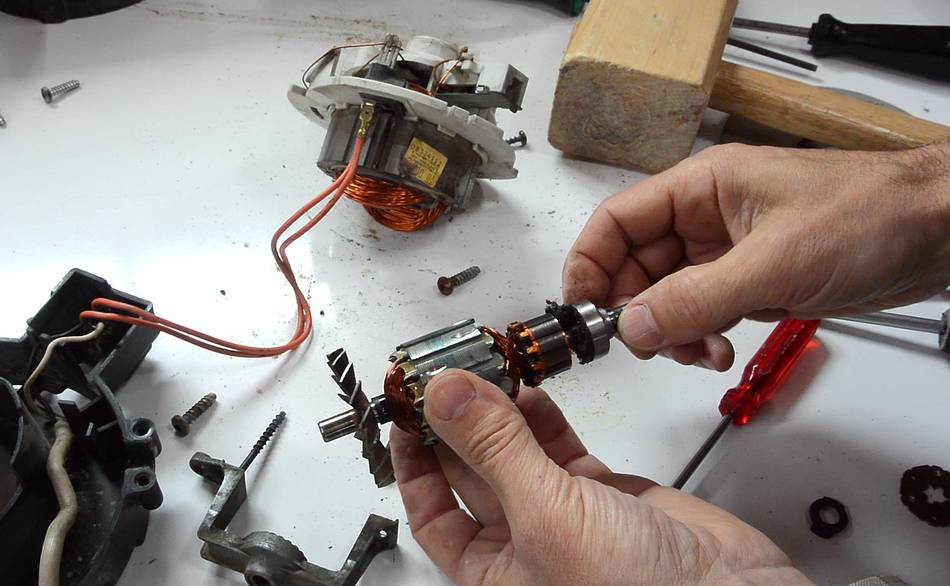 The bearing on the impeller side is a ball bearing, and it feels perfectly
smooth. So I didn't need to do anything about this one. But
I cleaned it up and tried to get some oil into it anyway.
The bearing on the impeller side is a ball bearing, and it feels perfectly
smooth. So I didn't need to do anything about this one. But
I cleaned it up and tried to get some oil into it anyway.
Whatever you do, don't get any oil on the commutator (the part made out of copper segments, right next to the bearings in this photo). If you get oil on the commutator, it starts to burn from the sparks and ruins the commutator.
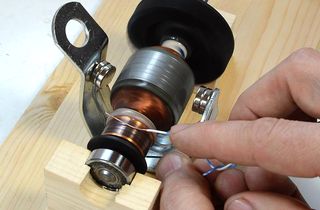
 Now applying lots of oil to the sleeve bearing and felt pad surrounding
it on the other end. I let it soak in for a while, then applied more oil to
make sure the felt pad was completely soaked.
Now applying lots of oil to the sleeve bearing and felt pad surrounding
it on the other end. I let it soak in for a while, then applied more oil to
make sure the felt pad was completely soaked.
 After that, putting it back together.
The trickiest part was getting the rotor back into the motor. I used a small screwdriver to jam one of the spring loaded brushes back and used another screwdriver to hold the other brush back while inserting the rotor. Then inserting the rotor again. The brushes, if pulled fully back, can jam, so I had to wiggle one of them to get it to come forward again. Getting the rotor back in is tricky. I don't recommend removingthe rotor from the motor!
After that, the rest of the assembly was just the disassembly in reverse. One thing to watch for - where will the cord come out? There are two orientations for how some of the parts go together, but only one has the power cord lining up with where it should come out.
I have five ShopVacs, none of which I bought new. Most were picked up from the curb on garbage day. Usually, there isn't much wrong with them. Often, they are plugged up with dust, sometimes the internal thermal fuse is blown, and more often than not, they require oiling. So if you have a ShopVac that makes a funny noise, or come across a thrown out one, chances are, it only needs a little bit of work to make it usable again.
A question I'm often asked is how to make use for a ShopVac motor for a homemade machine. The answer is - you can't. ShopVac motors aren't usable for anything else. They run far too fast to be usable for a homemade machine. They are also much too loud and don't last very long.
Update 2019
I had that shopvac apart for oiling in 2016. 3 1/2 years later, the bearing chatter got to a point again where I could not ignore it, so time to re-oil.
But in the mean time, I got one of those rare useful YouTube comments. A viewer pointed out that he just drills a hole above the bearing, so he can re-add oil to the top bearing. The bottom bearing is a ball bearing and doesn't run out of oil like the top bearing does.
Brilliant!
So that's what I did this time. There is no need to re-seal the hole on this one because that cover is open on the sides anyway, and lots of air blows through, so it's not like I have to worry about air flowing or debris - there's lots of air flowing through there regardless.
This was going to be just an aside of another video, but that video was already getting too long, so I edited that bit into its own very short video.
Update 2022
Shopvac still going with the previous fix, I have had to oil twice since 2019 , but with the hole in the top, that's easy to do. But I only use my shopvac for cleaning up every 2-3 weeks.
But it's been pointed out to me that the bracket that holds the bushing that goes noisy happens to be size to perfectly fit a standard size ball bearing. Watch this video about Changing the noisy shopvac sleeve bearing to a ball bearing
 How universal motors work (2014)
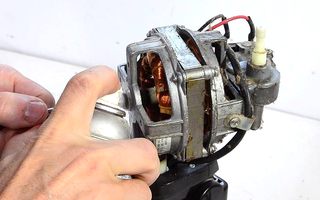 Fixing an oscillating fan (2015)
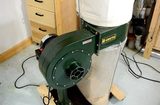 Cheap dust collector review (2013)
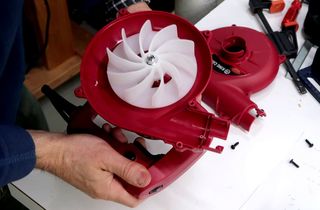 Miniature "leaf blower" experiments (video, 2020)
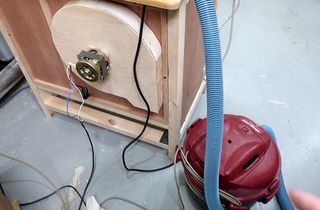 Shopvac vs. blower for my router table? (video, 2020)
Back to my Woodworking website
 Re-greasing shielded bearings, no disassembly
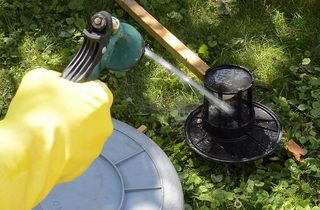 Flushing a running shopvac with water
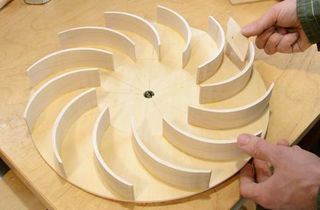 Building a dust collector blower
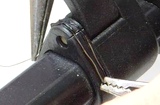 Repairing and reinforcing broken plastic parts
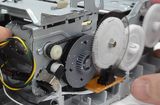 Tearing apart a printer for parts
 Effect of hoses on shopvacs and dust collector air flow
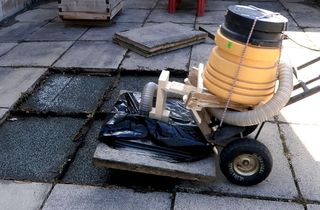 Suction cup patio stone lifter