 The plunge lever has an elbow joint where it hinges, which I made as a loosely
fitting bridle joint, joined with a pin.
The plunge lever has an elbow joint where it hinges, which I made as a loosely
fitting bridle joint, joined with a pin.
The plunge lever has an elbow joint where it hinges, which I made as a loosely
fitting bridle joint, joined with a pin.
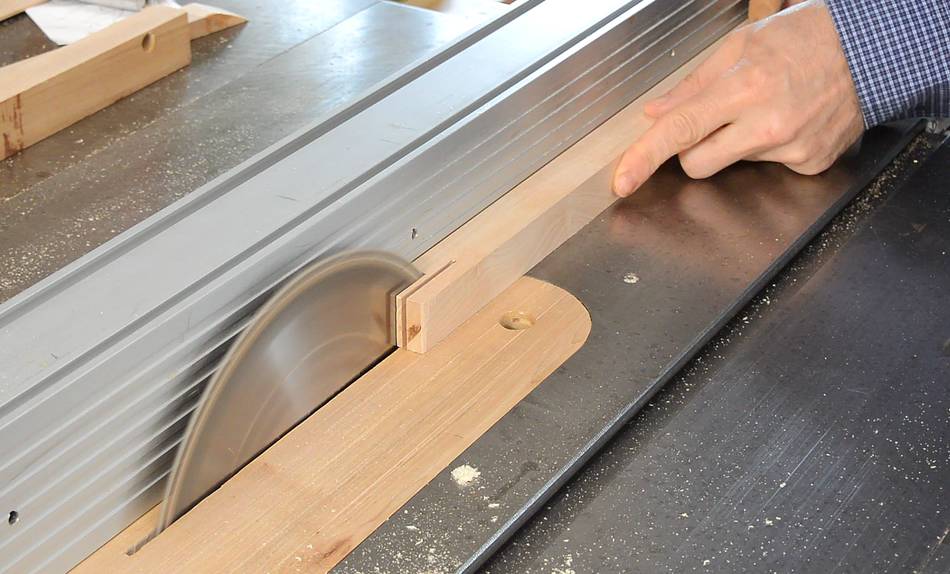
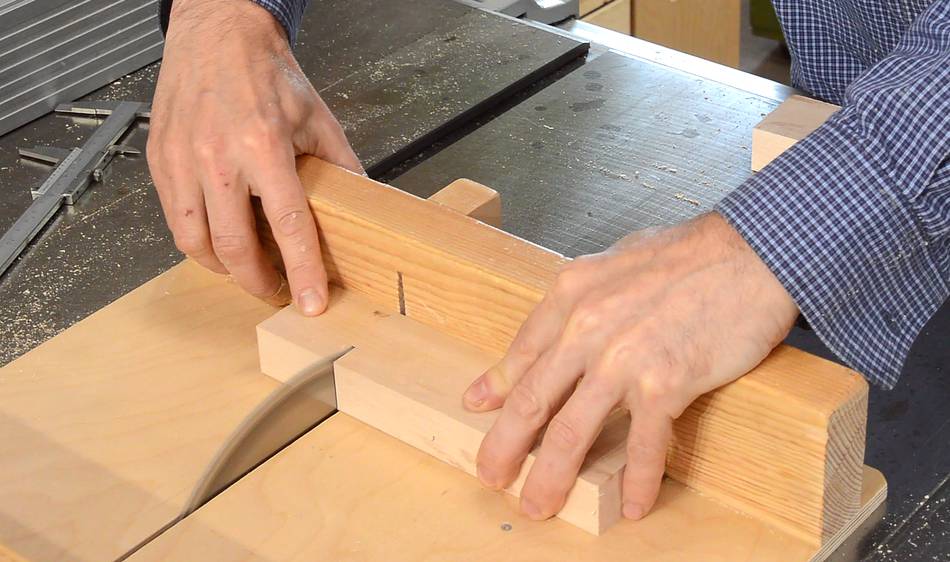
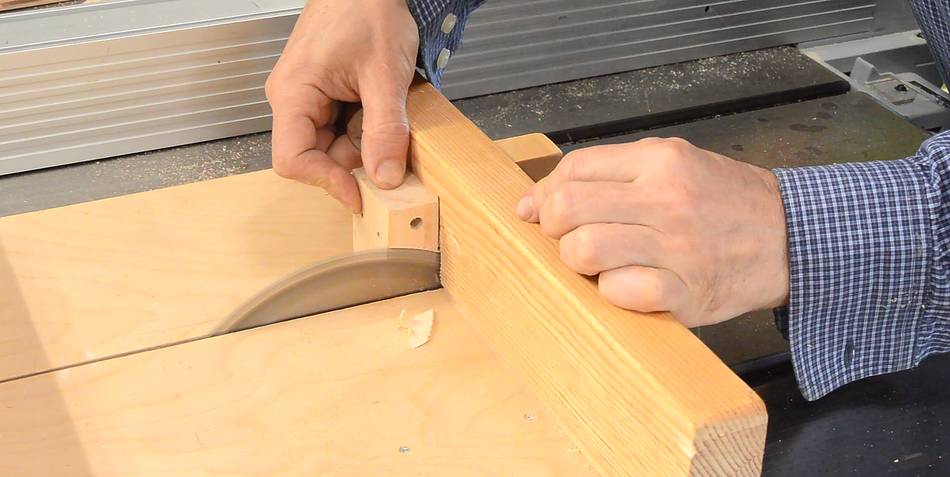
I cut the bridle joint as far as I could on the table saw without over cutting, then finished squaring up the cuts on the bandsaw. The tenon jig would have worked better, but it wasn't worth setting up for just one joint.
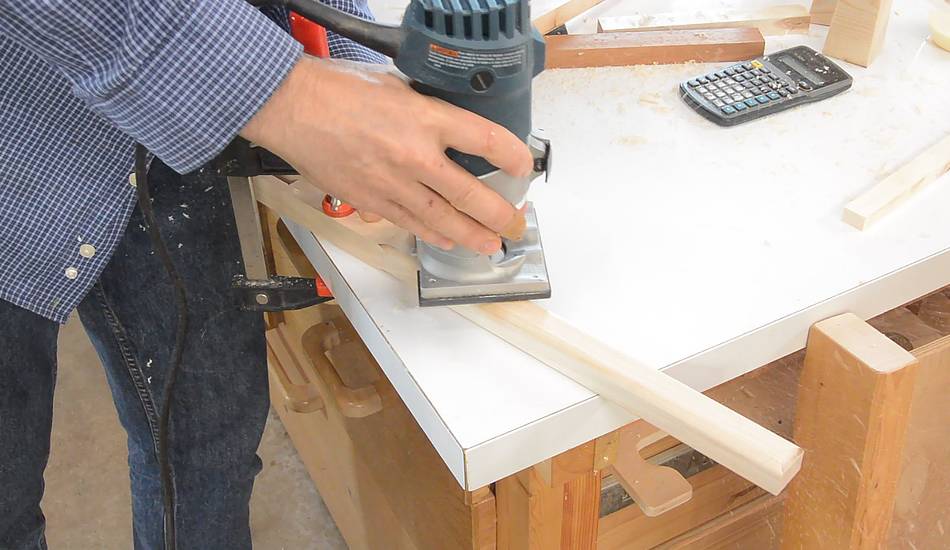
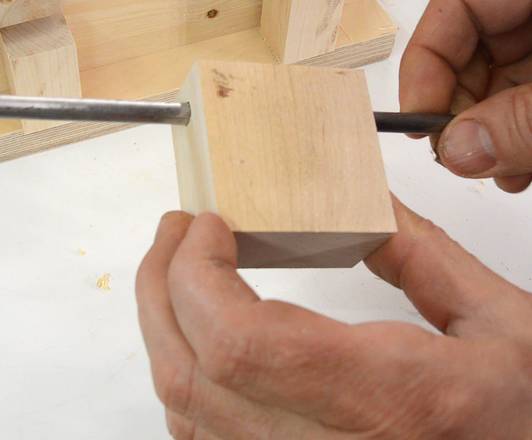
 I added a 1/4" round over to all edges near the top of the plunge lever using
a plunge router.
I added a 1/4" round over to all edges near the top of the plunge lever using
a plunge router.
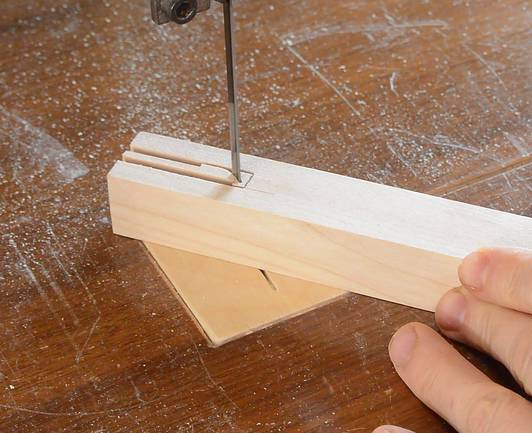
 Drilling the hole for the pin. I put a spacer in the slot to keep the drill
from chipping out in the slot. If I thought of drilling this hole before
I cut the slot, I wouldn't have needed this spacer.
Drilling the hole for the pin. I put a spacer in the slot to keep the drill
from chipping out in the slot. If I thought of drilling this hole before
I cut the slot, I wouldn't have needed this spacer.
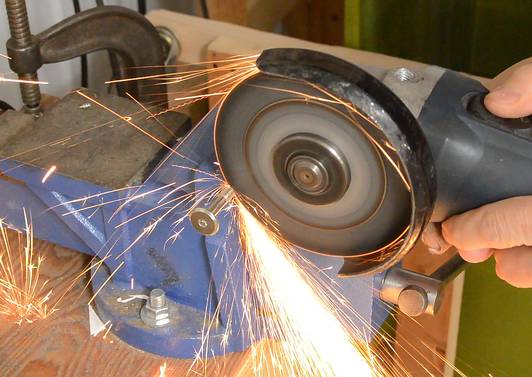 I used a knock-down fastener type screw for the pin. It has a long enough smooth
shank for my purposes, and, cut to the right length, there is just a bit of thread
left to engage one side of the plunge lever.
I used a knock-down fastener type screw for the pin. It has a long enough smooth
shank for my purposes, and, cut to the right length, there is just a bit of thread
left to engage one side of the plunge lever.
I cut it off with an angle grinder. A hacksaw would work too, but an angle grinder is more fun.
 The pivot for the plunge lever is just one big wood screw.
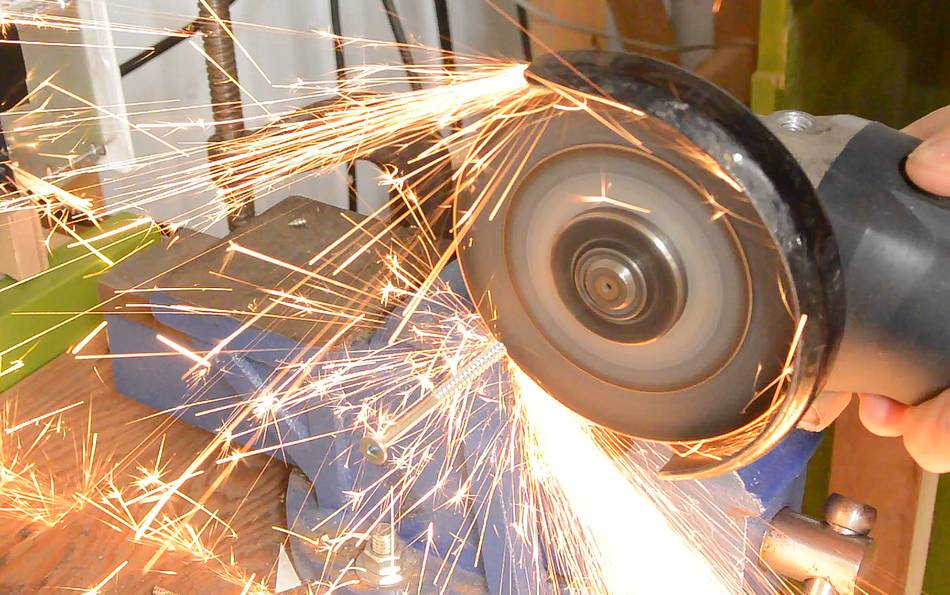
 I used a relatively long wood screw which has a relatively long un-threaded shank,
but I had to cut it off to fit, then grind a new point onto it.
I used a relatively long wood screw which has a relatively long un-threaded shank,
but I had to cut it off to fit, then grind a new point onto it.
The wood screw is quite hard metal, so a hacksaw would not work very well on it.
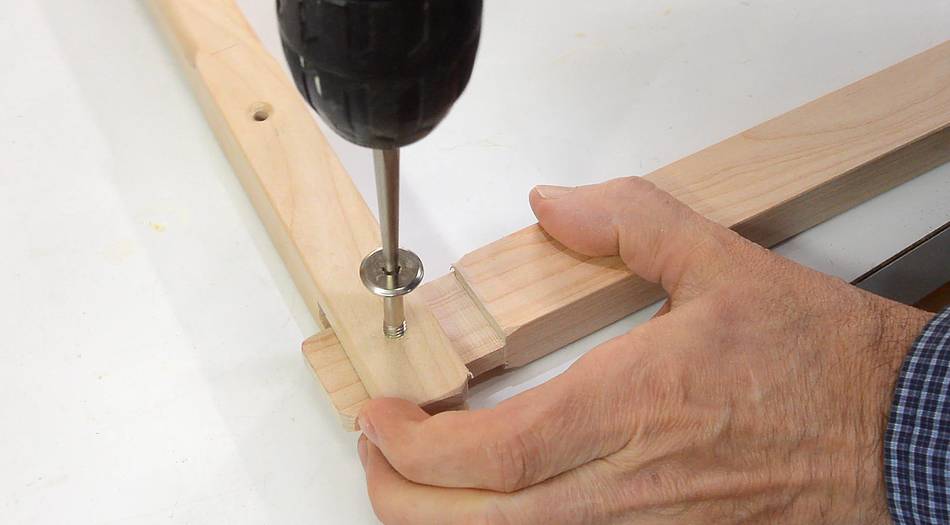
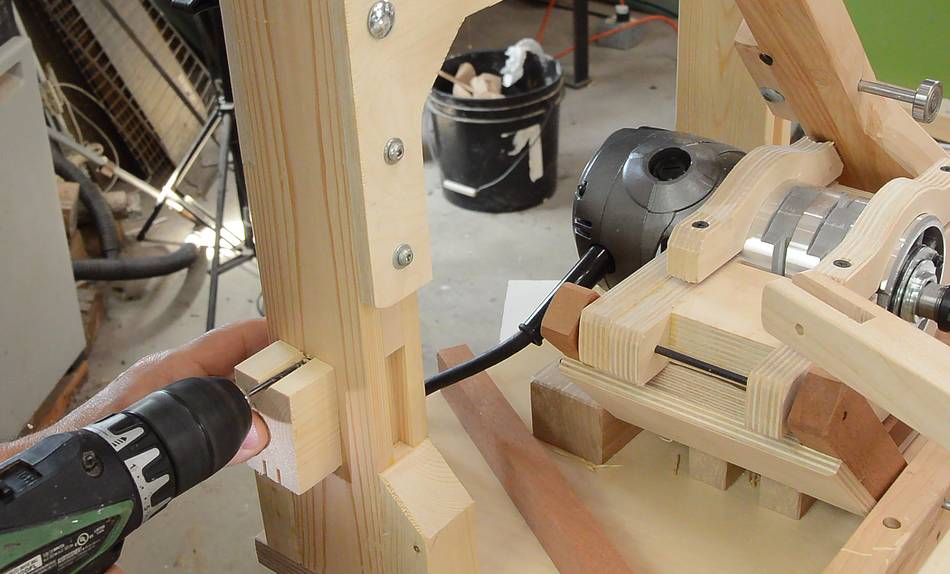
 Screwing on the plunge lever.
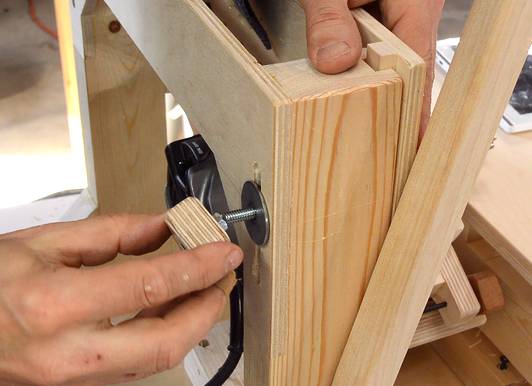
 And screwing the other end of the link to the table. I positioned it so that
when the router collet touches the table, the plunge lever tilts forward but
doesn't interfere with the motion of the operator handle on the pantograph.
And screwing the other end of the link to the table. I positioned it so that
when the router collet touches the table, the plunge lever tilts forward but
doesn't interfere with the motion of the operator handle on the pantograph.
The router really doesn't need to come forward any further than for the collet to nearly touch the table.
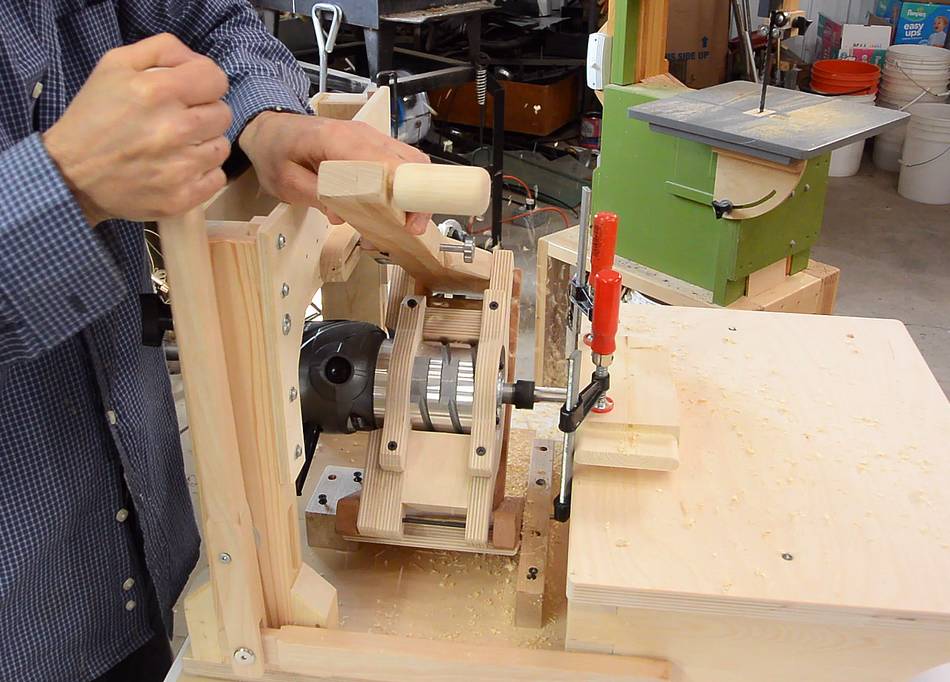
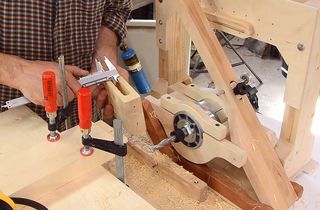
 With the plunge lever installed, I immediately used it to cut a mortise.
The plunge lever makes mortising so much easier!
With the plunge lever installed, I immediately used it to cut a mortise.
The plunge lever makes mortising so much easier!
 Preparing the pieces for the plunge stops. These are all a bunch of rectangular
pieces, so I didn't photograph or film cutting those.
Preparing the pieces for the plunge stops. These are all a bunch of rectangular
pieces, so I didn't photograph or film cutting those.
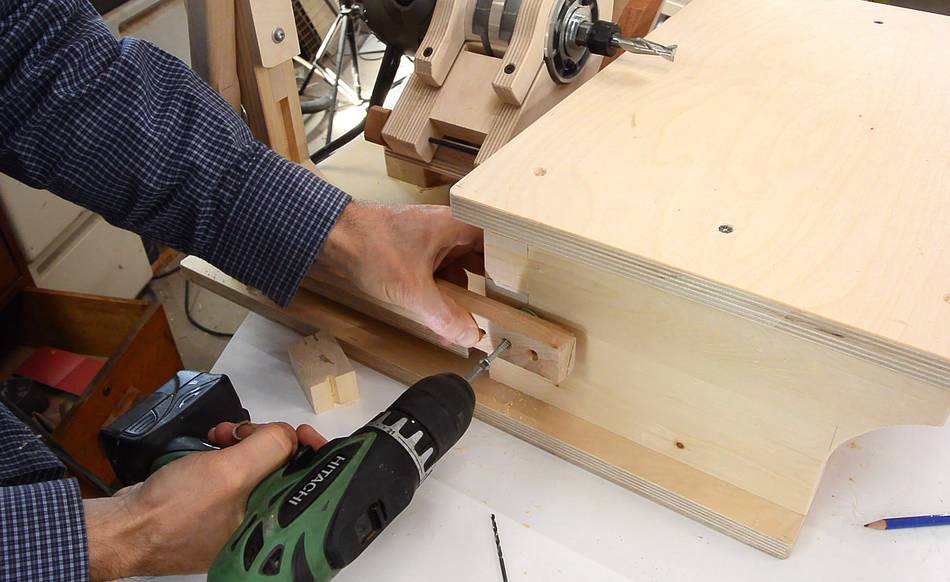
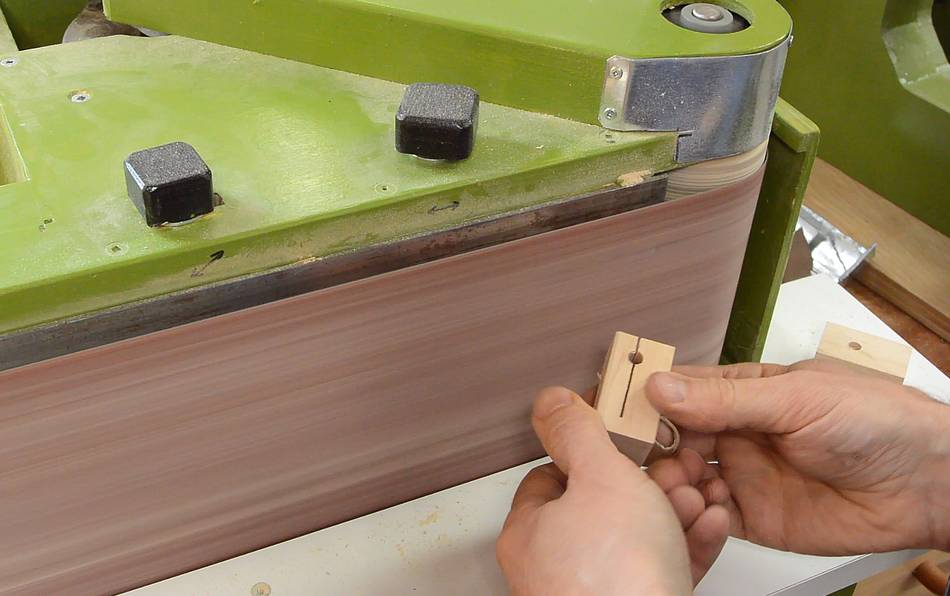
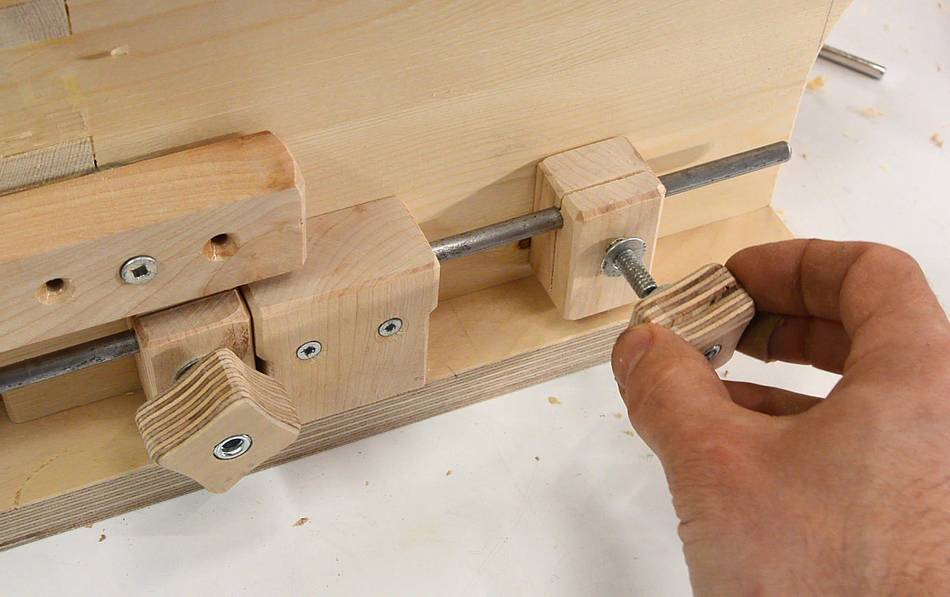
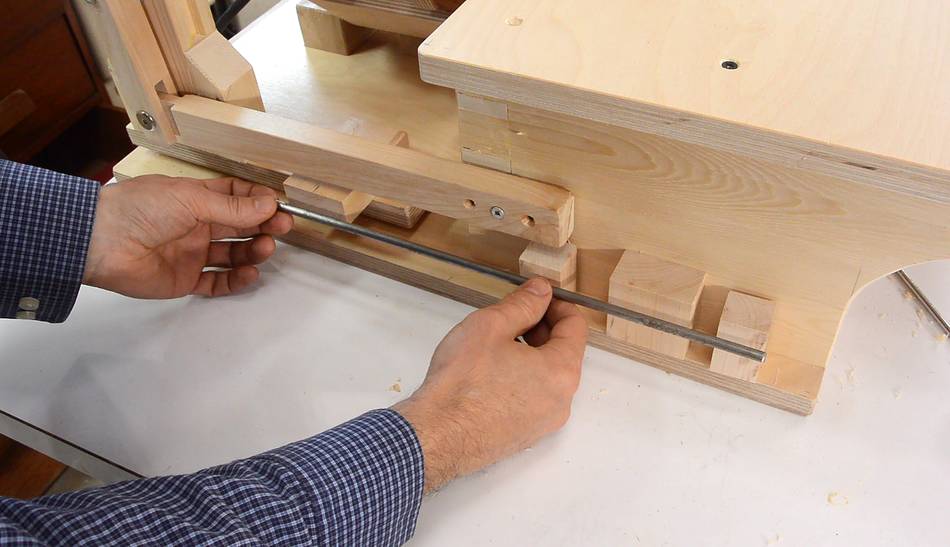 The plunge stops are two small bocks that clamp onto a 1/4" (6 mm) shaft, with
one end fixed to the plunge sled at left and the other end sliding through a block
attached to the table support near the right. The two smaller blocks will clamp
onto the shaft to act as stops.
The plunge stops are two small bocks that clamp onto a 1/4" (6 mm) shaft, with
one end fixed to the plunge sled at left and the other end sliding through a block
attached to the table support near the right. The two smaller blocks will clamp
onto the shaft to act as stops.
 The next part consisted mostly of drilling holes for screws and for the 1/4"
shaft to pass through the various blocks.
The next part consisted mostly of drilling holes for screws and for the 1/4"
shaft to pass through the various blocks.
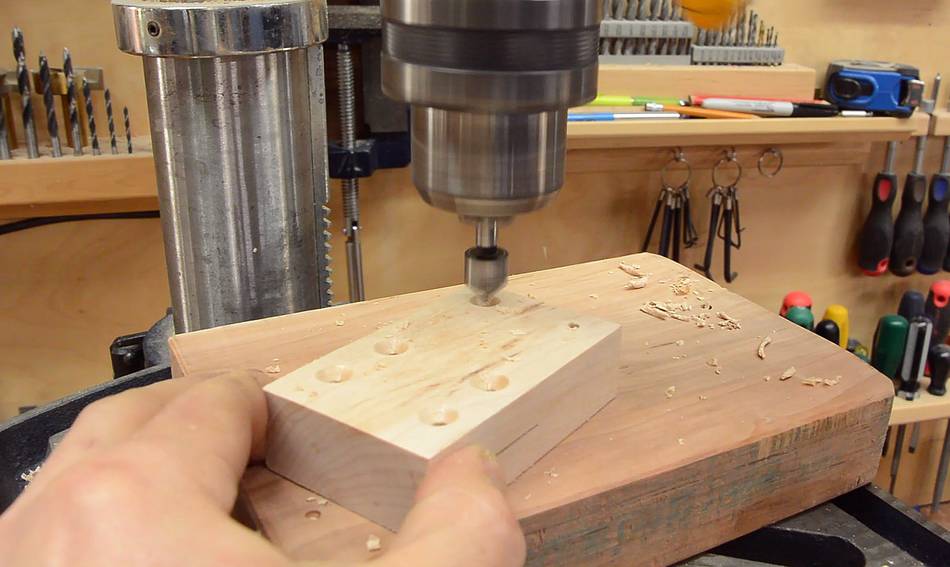
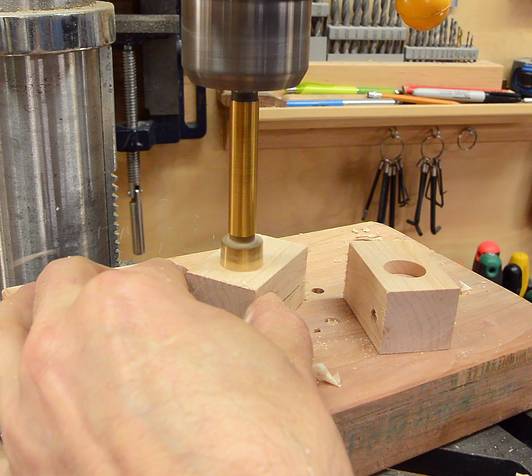 The small blocks get holes for the head of a carriage bolt to be recessed in
them (right), and the block that mounts to the table gets a bit cut off each
side so that dust is less likely to cause inaccuracies.
The small blocks get holes for the head of a carriage bolt to be recessed in
them (right), and the block that mounts to the table gets a bit cut off each
side so that dust is less likely to cause inaccuracies.
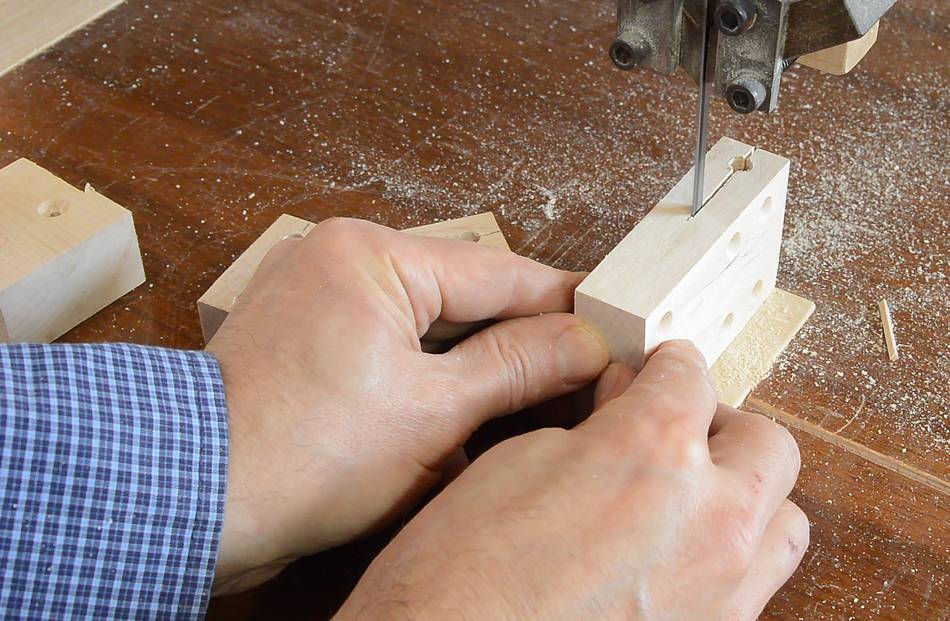 Then most of the blocks get a slot cut into them to allow them to clamp
onto the 1/4" shaft.
Then most of the blocks get a slot cut into them to allow them to clamp
onto the 1/4" shaft.
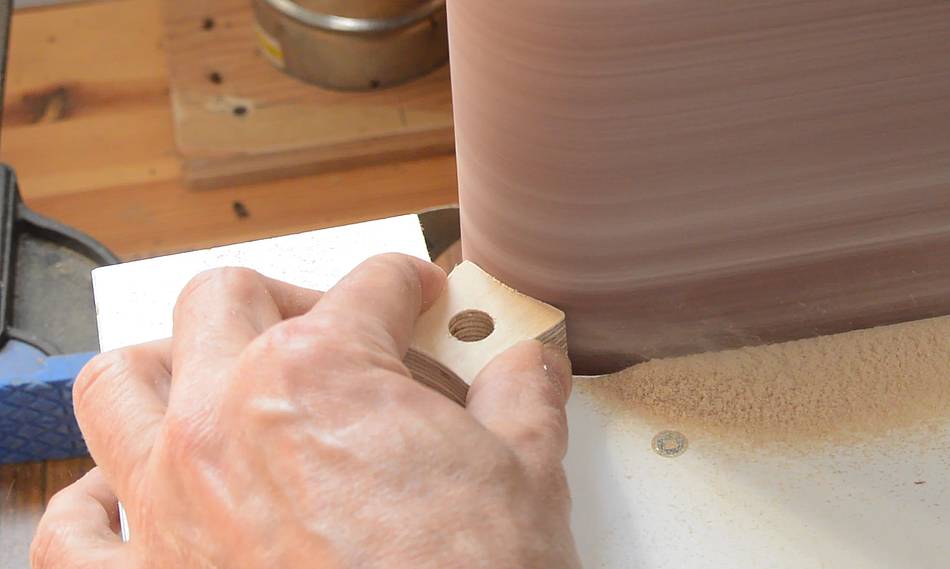
 I rounded the edges for the blocks on the belt sander, as these will be
touched often for adjusting.
I rounded the edges for the blocks on the belt sander, as these will be
touched often for adjusting.
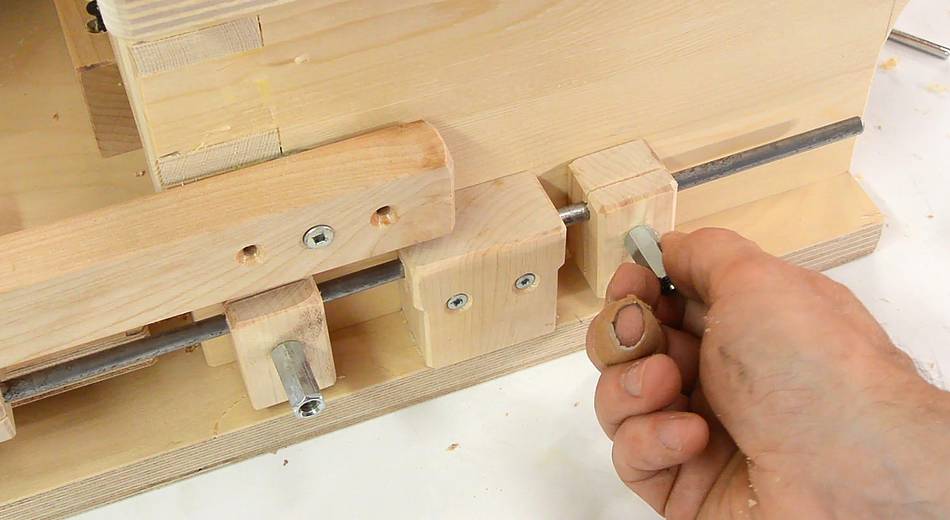
 Inserting 1.5" long carriage bolts into the small blocks. A coupler nut
screws onto the end of the bolt for locking the blocks onto the shafts.
Inserting 1.5" long carriage bolts into the small blocks. A coupler nut
screws onto the end of the bolt for locking the blocks onto the shafts.
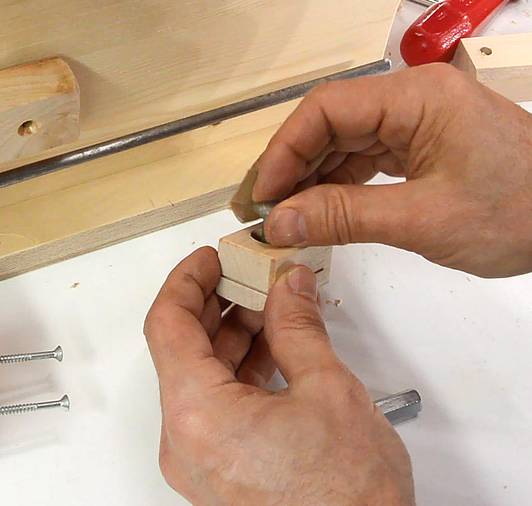
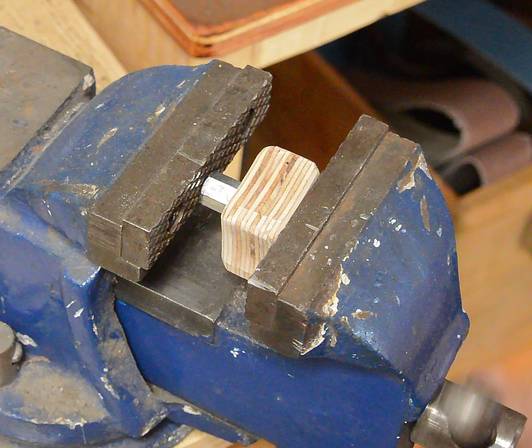 I cut some small blocks, 30x30 mm, as handles for the coupler nuts. The hole
is slightly smaller than the coupler nuts, and the coupler nuts are pressed
into the hole with a vise.
I cut some small blocks, 30x30 mm, as handles for the coupler nuts. The hole
is slightly smaller than the coupler nuts, and the coupler nuts are pressed
into the hole with a vise.
 This is an easy way to make threaded knobs, and much cheaper than buying threaded
plastic knobs. I made two more to replace the plastic ones I initially used
for the template holder.
This is an easy way to make threaded knobs, and much cheaper than buying threaded
plastic knobs. I made two more to replace the plastic ones I initially used
for the template holder.
Alternatively, you could just use wing nuts.
Next: Pantograph spring balance
 First cut and adjusting for accuracy
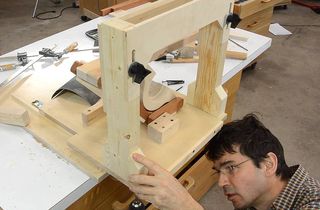 Template holder for this pantorouter
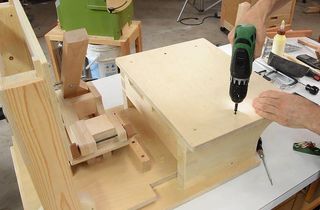 Table for this pantorouter
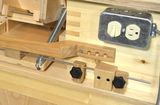 Pantorouter XL plunge lever and stops