Installing a new bathroom faucet
This page is intended as a guide to how to replace an old faucet. The thing about dealing with existing buildings is that you never quite know what you are going to hit in terms of existing plumbing. But I hope this example will help give you the courage to tackle your own minor plumbing projects.
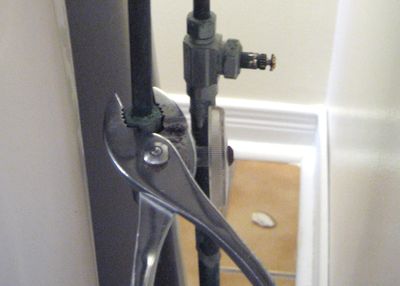
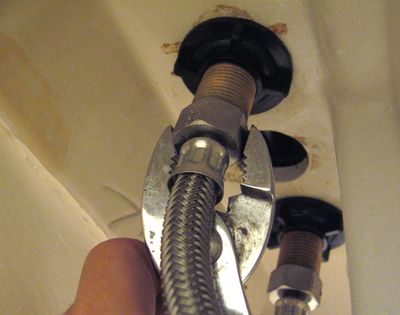
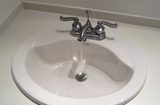
 Pretty much every bathroom sink has shutoff valves underneath them.
They only ever get used when you need to replace the washer on a faucet,
or when replacing the faucet. As such, its not unexpected that
they might be a little siezed up. I broke the knob on one one of them
and had to use a pair of pliers to turn the valves shut.
Pretty much every bathroom sink has shutoff valves underneath them.
They only ever get used when you need to replace the washer on a faucet,
or when replacing the faucet. As such, its not unexpected that
they might be a little siezed up. I broke the knob on one one of them
and had to use a pair of pliers to turn the valves shut.
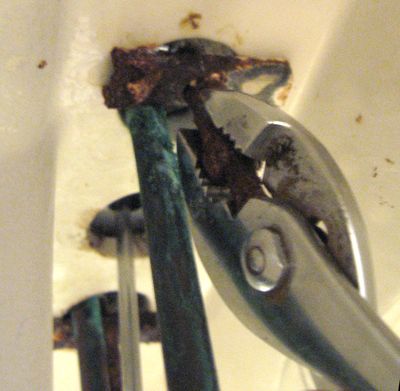
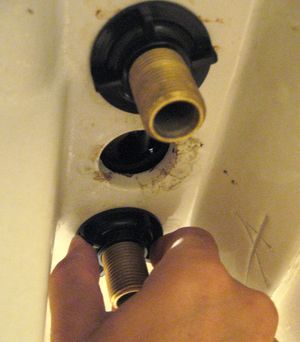
 Up until some time in the 80's or 90's, a piece of 3/8" metal tubing was
typically used
to connect the valve to the faucet. chances are, if you are replacing a faucet,
you will encounter this type of tubing. Luckily, it comes out without
having to solder. Just remove the nuts on the top of the valves, and the
pipe should just pull out of the valves. The nut will stay stuck on the
pipe behind the little 'ferrule' seal, but if you replace the pipe with
a hose, you won't need the nut anymore.
Up until some time in the 80's or 90's, a piece of 3/8" metal tubing was
typically used
to connect the valve to the faucet. chances are, if you are replacing a faucet,
you will encounter this type of tubing. Luckily, it comes out without
having to solder. Just remove the nuts on the top of the valves, and the
pipe should just pull out of the valves. The nut will stay stuck on the
pipe behind the little 'ferrule' seal, but if you replace the pipe with
a hose, you won't need the nut anymore.
 Depending on what sort of existing faucet you have, its a matter of either
undoing some rusty old screws, as shown at left, or some big plastic nuts
on two large threaded stems.
If its siezed up screws like on this one, taking them out can be a little
bit destructive of the faucet. But seeing that the faucet was being
replaced, it didn't matter so much.
Depending on what sort of existing faucet you have, its a matter of either
undoing some rusty old screws, as shown at left, or some big plastic nuts
on two large threaded stems.
If its siezed up screws like on this one, taking them out can be a little
bit destructive of the faucet. But seeing that the faucet was being
replaced, it didn't matter so much.
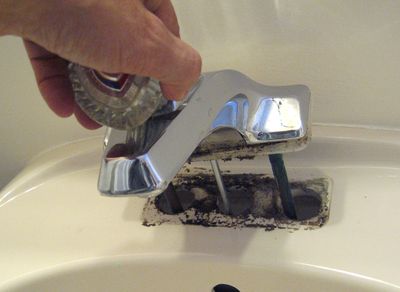 Finally, undo the linkage for the drain plug, and the old faucet can be
pulled out. There will probably be a surprising amount of crud under
the faucet.
Finally, undo the linkage for the drain plug, and the old faucet can be
pulled out. There will probably be a surprising amount of crud under
the faucet.
Installing the new faucet
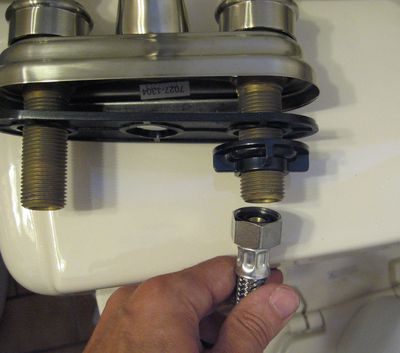 Most newer faucets have a large threaded pipe underneath each tap. Large plastic
nuts are put on these threads to hold the sink in place, and the tubing is
subsequently screwed onto the end of these threaded pipes.
Most newer faucets have a large threaded pipe underneath each tap. Large plastic
nuts are put on these threads to hold the sink in place, and the tubing is
subsequently screwed onto the end of these threaded pipes.
Of course, the nuts and hose only get attached after the sink is mounted,
the shot at left just shows how it goes together.
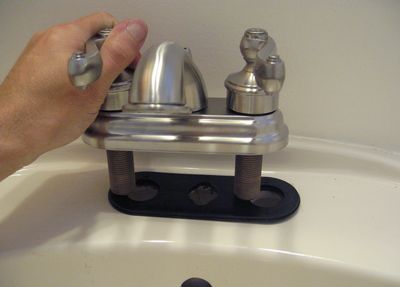 Time to put in the faucet. The plastic piece goes between the faucet
and the sink. Its to keep the porcelain or enamel of the sink from getting
scratched by the faucet.
Time to put in the faucet. The plastic piece goes between the faucet
and the sink. Its to keep the porcelain or enamel of the sink from getting
scratched by the faucet.
 The fist thing that goes on is the plastic nuts. I can usually get these
almost tight enough with my fingers, but they shouldn't be overly tight.
The fist thing that goes on is the plastic nuts. I can usually get these
almost tight enough with my fingers, but they shouldn't be overly tight.
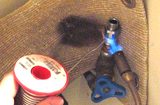
 Next attach the hose. Nowadays, everybody just uses these flexible hoses
to attach faucets, and they are so much easier to work with. They have
rubber seals on the end of them, so they really don't need to be screwed on
that tightly - just a little tighter than you would do a garden hose.
Next attach the hose. Nowadays, everybody just uses these flexible hoses
to attach faucets, and they are so much easier to work with. They have
rubber seals on the end of them, so they really don't need to be screwed on
that tightly - just a little tighter than you would do a garden hose.
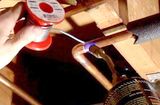
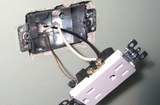
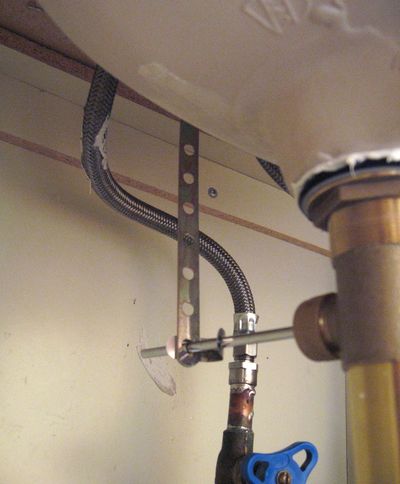 The other end of the hose attaches to the valve. The nut that used to lock
in the pipe is removed, and the hose attaches onto the valve directly.
This shot is actually from a different sink replacement (I neglected to take
a photo of the hose of the other sink).
The other end of the hose attaches to the valve. The nut that used to lock
in the pipe is removed, and the hose attaches onto the valve directly.
This shot is actually from a different sink replacement (I neglected to take
a photo of the hose of the other sink).
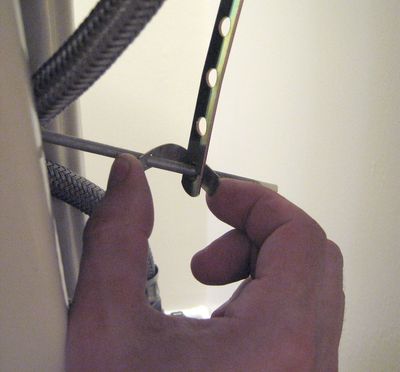 And last but not least, the pull knob on the faucet needs to be hooked up
so that it can open and close the drain in the sink. This is usually done with
a little metal clip, which, if you squeeze it like shown at left, can be slid
on and off the rod its on.
And last but not least, the pull knob on the faucet needs to be hooked up
so that it can open and close the drain in the sink. This is usually done with
a little metal clip, which, if you squeeze it like shown at left, can be slid
on and off the rod its on.
Of course, if you want to do your own plumbing, what you encounter is not necessarily going to be identical to what I described here. New sinks and faucets tend to come with pretty good instructions on how to install them though. Of course, you have to buy the faucet before you know what you are in for. But plumbing is not that hard to work on.
See also:
Back to my Woodworking website.
More home improvement projects
![]()