 When I was 14 or 15 years old, it occurred to me that I still hadn't
built an electric motor. Not wanting to build the usual motor
out of bent paperclips, I experimented with making a reciprocating
engine using Lego and a solenoid. I don't have that motor anymore,
but I thought it would be fun to build one out of more permanent
materials.
When I was 14 or 15 years old, it occurred to me that I still hadn't
built an electric motor. Not wanting to build the usual motor
out of bent paperclips, I experimented with making a reciprocating
engine using Lego and a solenoid. I don't have that motor anymore,
but I thought it would be fun to build one out of more permanent
materials.
 A solenoid is a coil of wire with a sliding iron core. Applying a
current through the wire pulls the iron core into the coil.
A solenoid is a coil of wire with a sliding iron core. Applying a
current through the wire pulls the iron core into the coil.
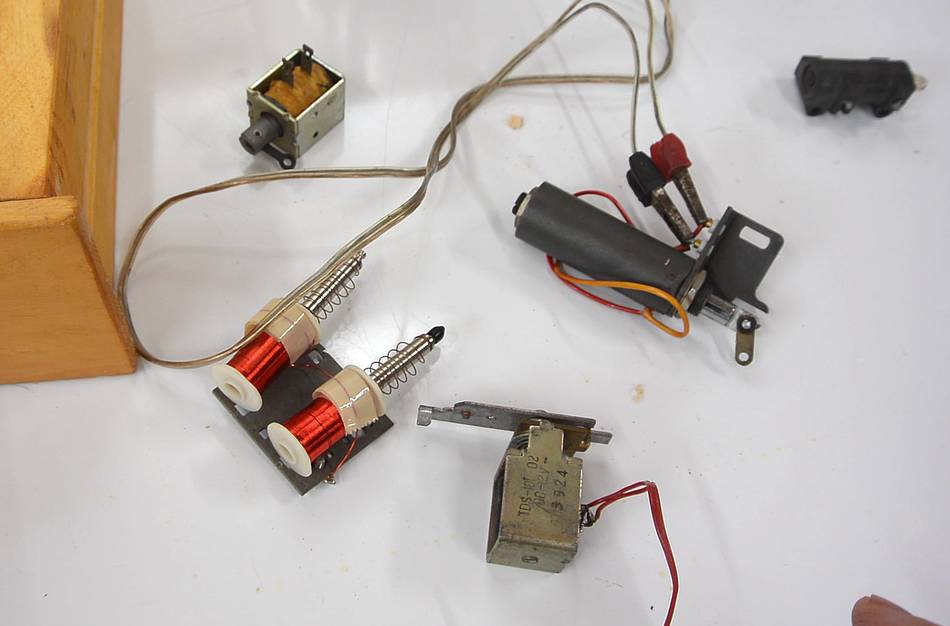
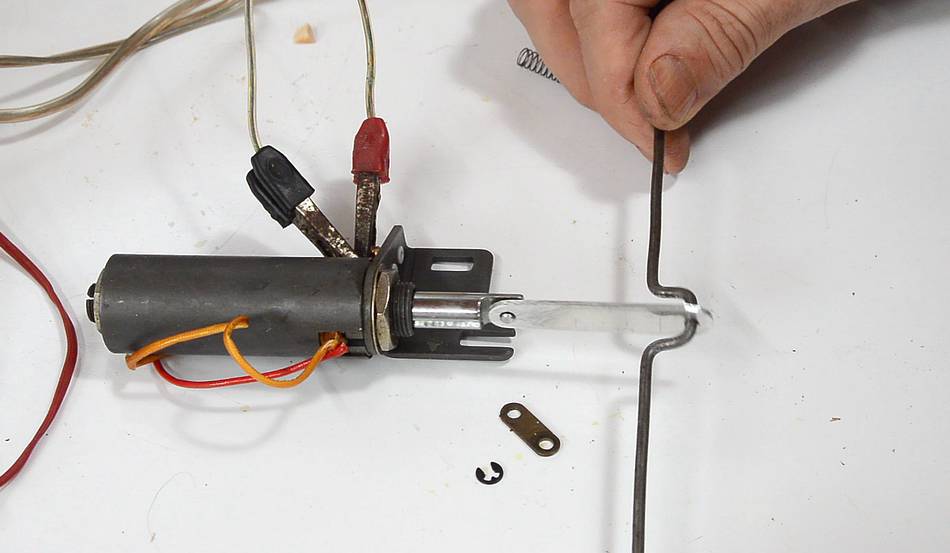
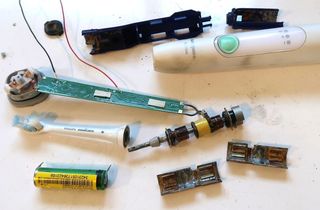
I went through my drawer of coils and solenoids and picked out a few to try.
I decided to go with this one. It consumes relatively little power and has a fairly long stroke. It also has kind of a "steam engine" look to it.
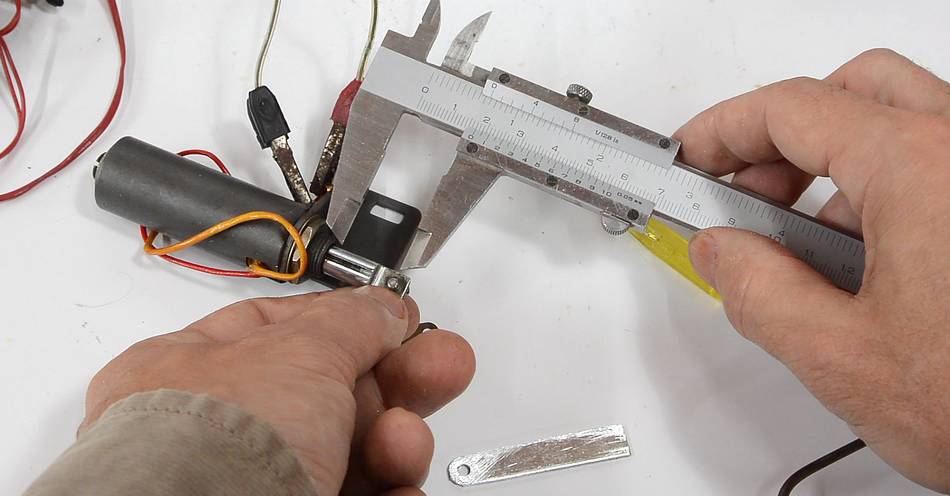
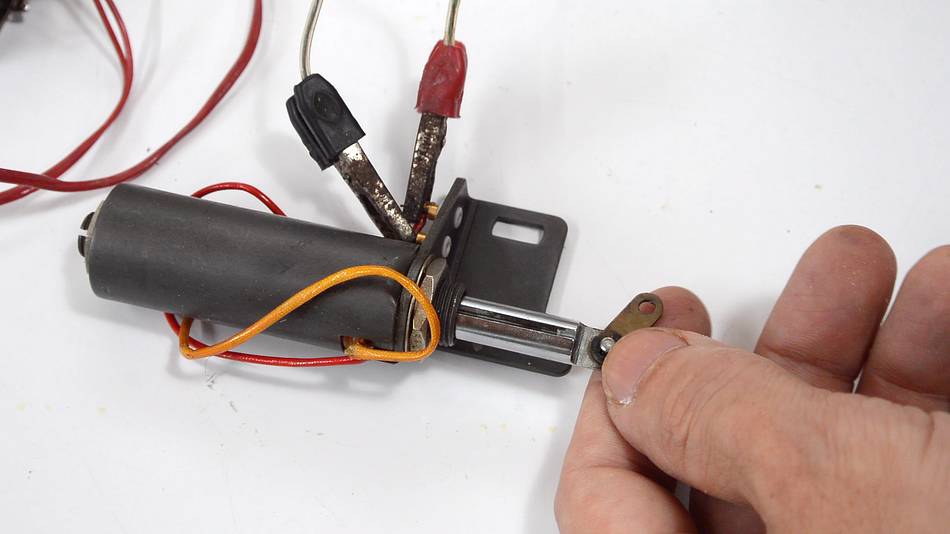
 It even has a small link attached that could act as a connecting rod,
though it's much too short. I made a longer connecting
rod out of a strip of aluminium.
It even has a small link attached that could act as a connecting rod,
though it's much too short. I made a longer connecting
rod out of a strip of aluminium.
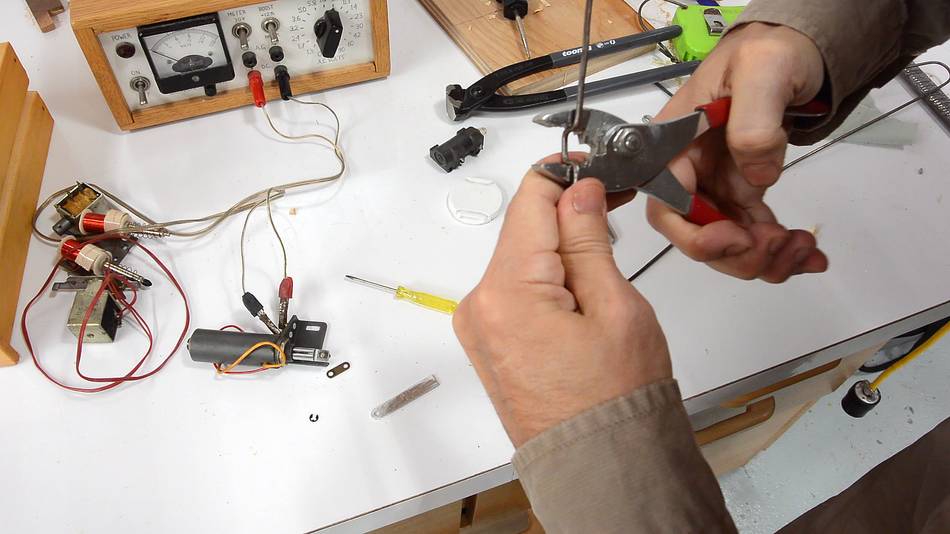
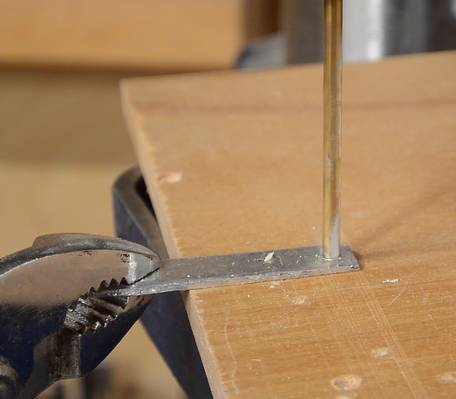
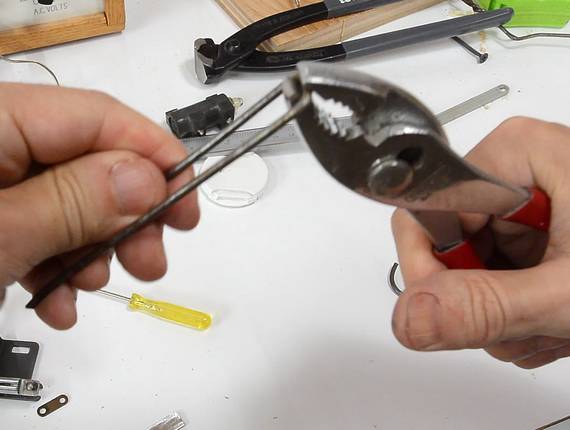 I bent a crankshaft out of some thick coat hanger wire
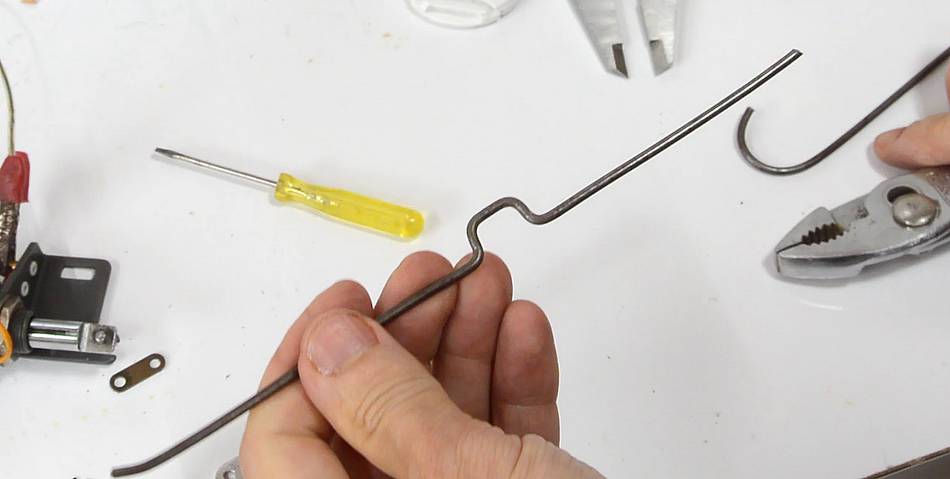 It took a bit of bending back and forth and tweaking to get
it straight enough. I previously made a crank like that
for the marble pump of my
modular marble machine
It took a bit of bending back and forth and tweaking to get
it straight enough. I previously made a crank like that
for the marble pump of my
modular marble machine
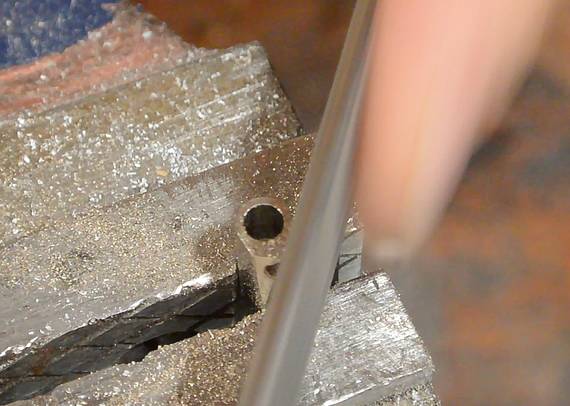
 I then drilled a hole in the other end of my connecting rod just large
enough for the coat hanger wire and filed the ends of it round.
I then drilled a hole in the other end of my connecting rod just large
enough for the coat hanger wire and filed the ends of it round.
 The crankshaft can barely be snaked through the hole in the connecting
rod to get it in place.
The crankshaft can barely be snaked through the hole in the connecting
rod to get it in place.
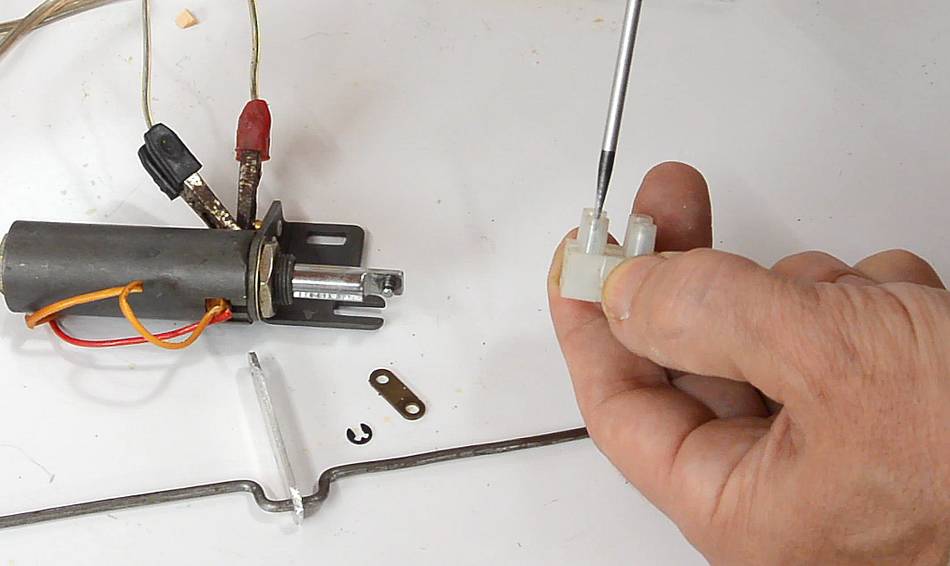
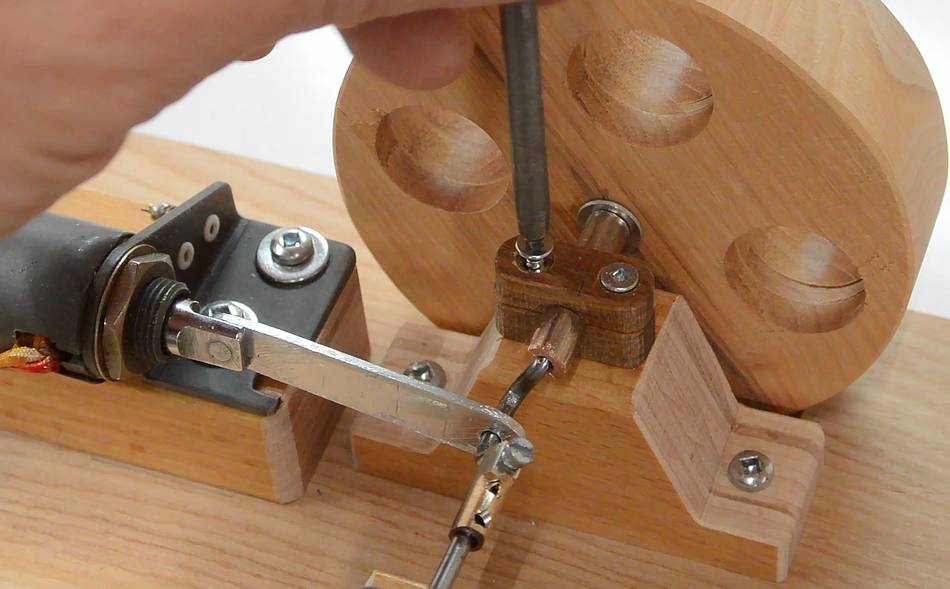
 I still needed some sort of cam to activate an electrical contact
for switching the solenoid on and off. The metal part of a barrier
strip connector was just right for that. All I needed to do was
file it oval on one end.
I still needed some sort of cam to activate an electrical contact
for switching the solenoid on and off. The metal part of a barrier
strip connector was just right for that. All I needed to do was
file it oval on one end.
 I used the set screw on the other end of the connector to lock it to
the crank shaft.
I used the set screw on the other end of the connector to lock it to
the crank shaft.
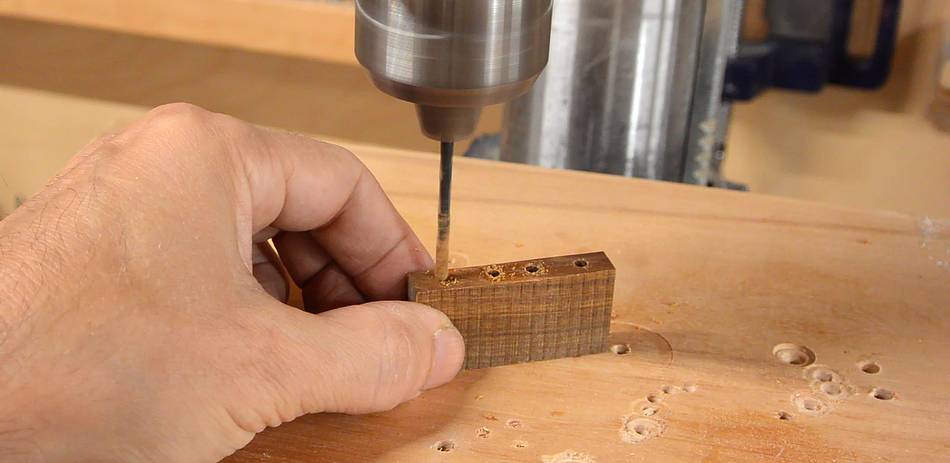
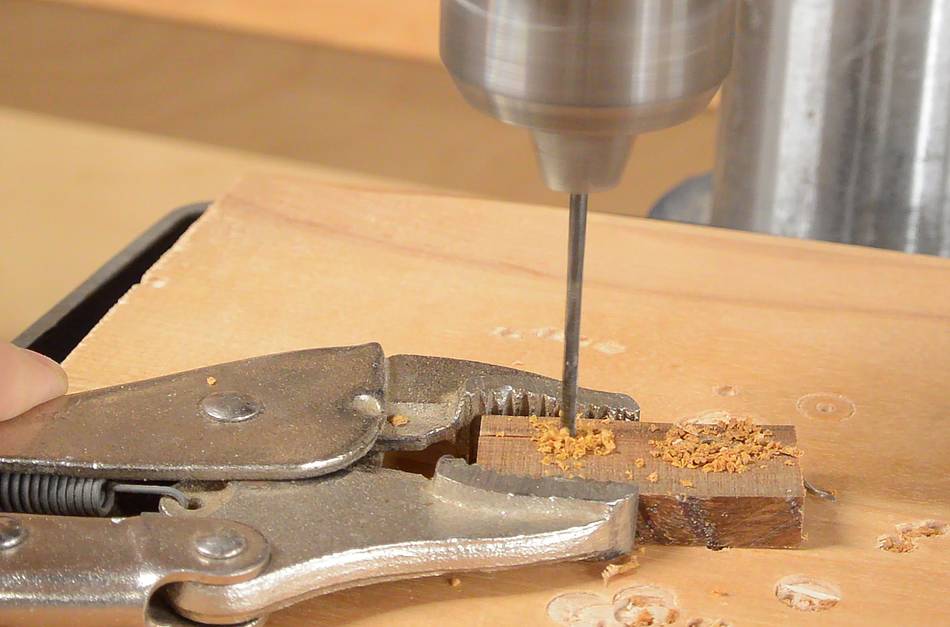
 I used small piece of lignum vitae for the main bearings,
first drilling four holes, then countersinking them.
I used small piece of lignum vitae for the main bearings,
first drilling four holes, then countersinking them.
 Next I cut the block in half...
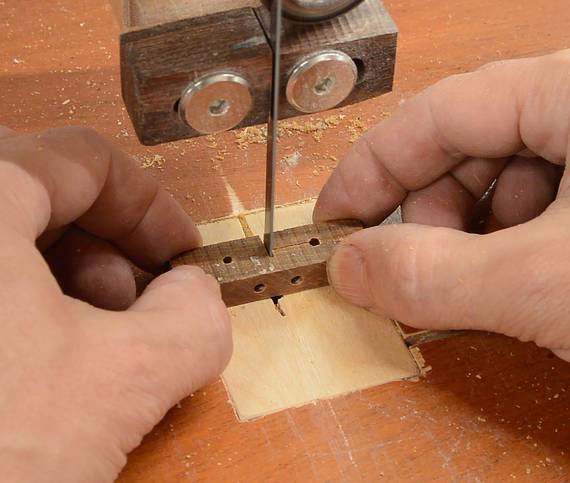 Then clamped it back together and drilled holes on the cut line
on the drill press. After that, I cut it in half to make two
bearing blocks.
Then clamped it back together and drilled holes on the cut line
on the drill press. After that, I cut it in half to make two
bearing blocks.

 With the engine only having one "cylinder", it needs a flywheel
to carry it through the non-powered part of the rotation.
With the engine only having one "cylinder", it needs a flywheel
to carry it through the non-powered part of the rotation.
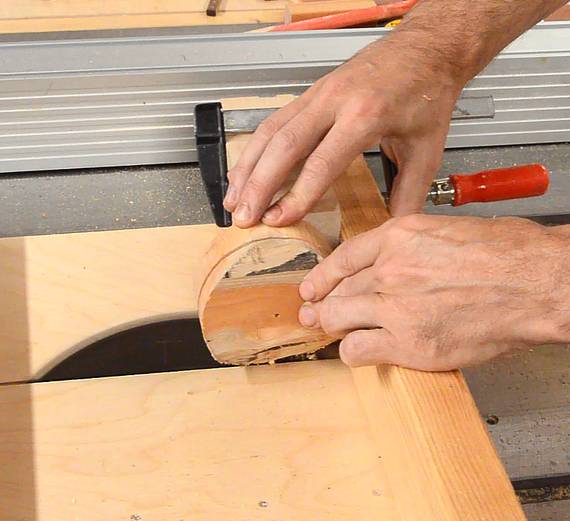
I cut a circle out of some heavy hardwood on the bandsaw. Then realized I hadn't cut it to its final thickness yet, so, using a stop block and a table saw sled, I cut it to thickness.
 A few holes to slightly lighten it and also for looks.
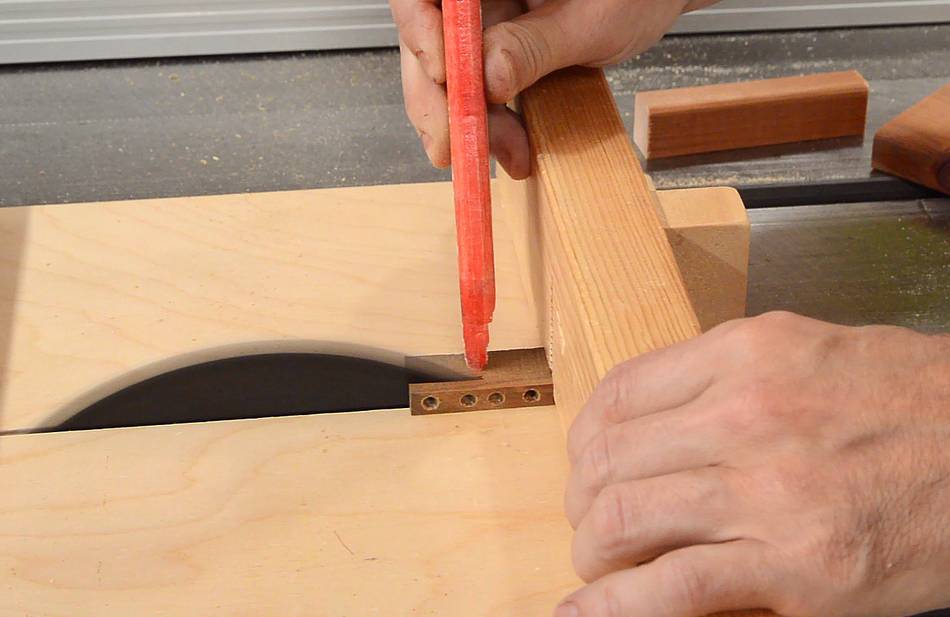
 I made some blocks to mount the bearings at the right height above
the plywood. But then I realized, I made them slightly too short
and the flywheel would hit the plywood.
I made some blocks to mount the bearings at the right height above
the plywood. But then I realized, I made them slightly too short
and the flywheel would hit the plywood.
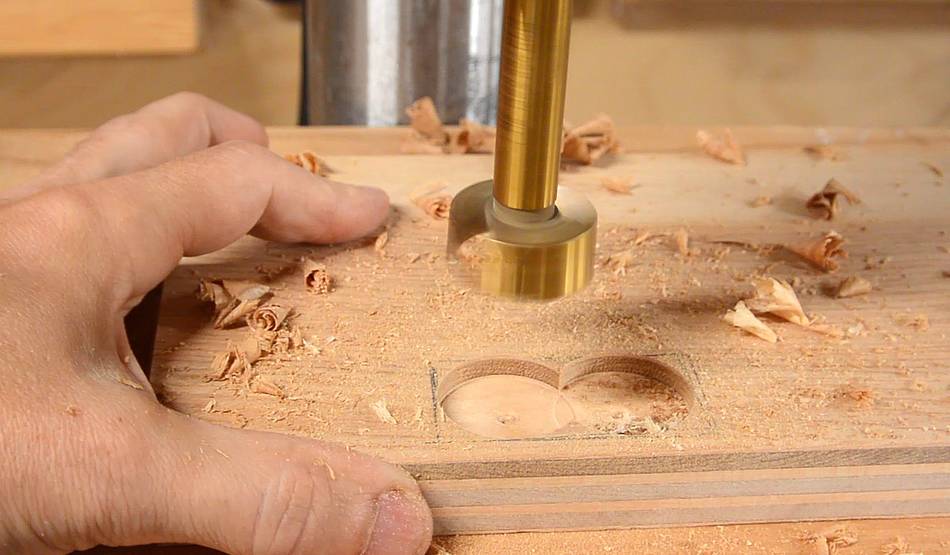
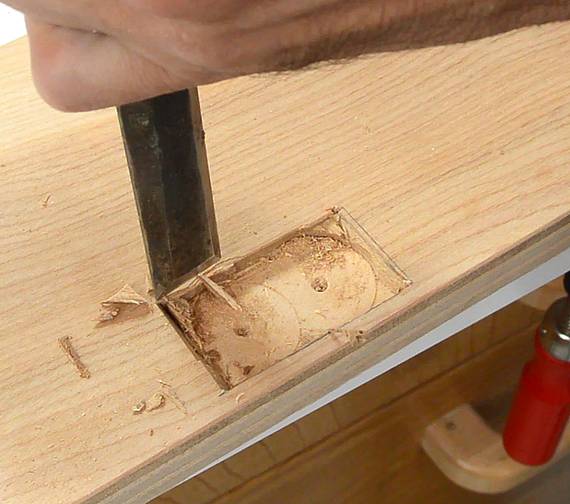 Instead of making new blocks, I carved out a small cavity in
the plywood base to allow for the flywheel to protrude into it.
Instead of making new blocks, I carved out a small cavity in
the plywood base to allow for the flywheel to protrude into it.
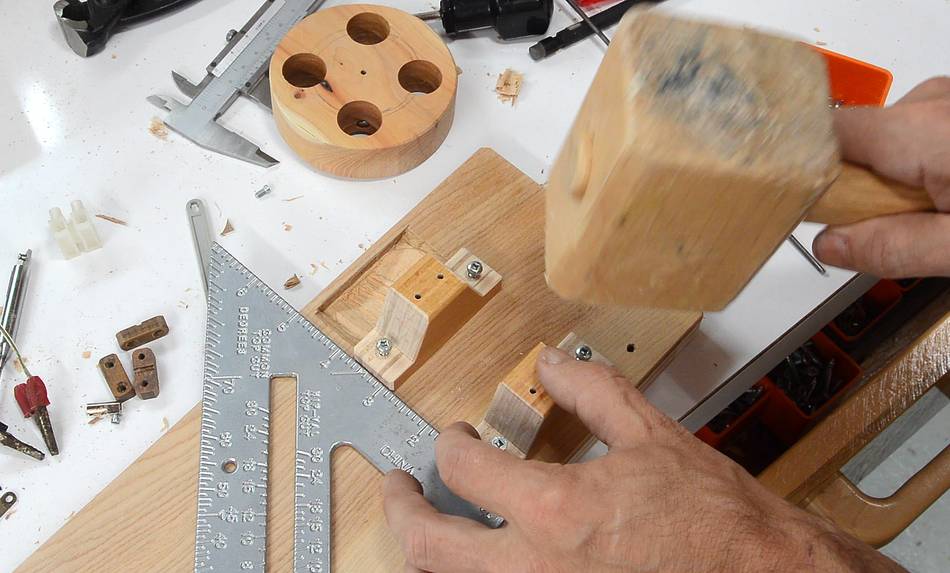 Then working out the location for the bearing block mounts. I'm
tapping the screws with a mallet to mark where the pilot holes
need to be drilled.
Then working out the location for the bearing block mounts. I'm
tapping the screws with a mallet to mark where the pilot holes
need to be drilled.
 After drilling the pilot holes and screwing down the bearing
block mounts, I loosely screwed down the bottom halves of
the bearing blocks. This allowed me to locate the crankshaft
to work out other details.
After drilling the pilot holes and screwing down the bearing
block mounts, I loosely screwed down the bottom halves of
the bearing blocks. This allowed me to locate the crankshaft
to work out other details.
 I then worked out where the solenoid needed to go and screwed that down.

 I needed a way to keep the crankshaft from sliding side-to-side.
Some bushings on either side of one of the bearing blocks would do it.
I needed a way to keep the crankshaft from sliding side-to-side.
Some bushings on either side of one of the bearing blocks would do it.
I cut apart a small metal standoff to get spacers of the right length.
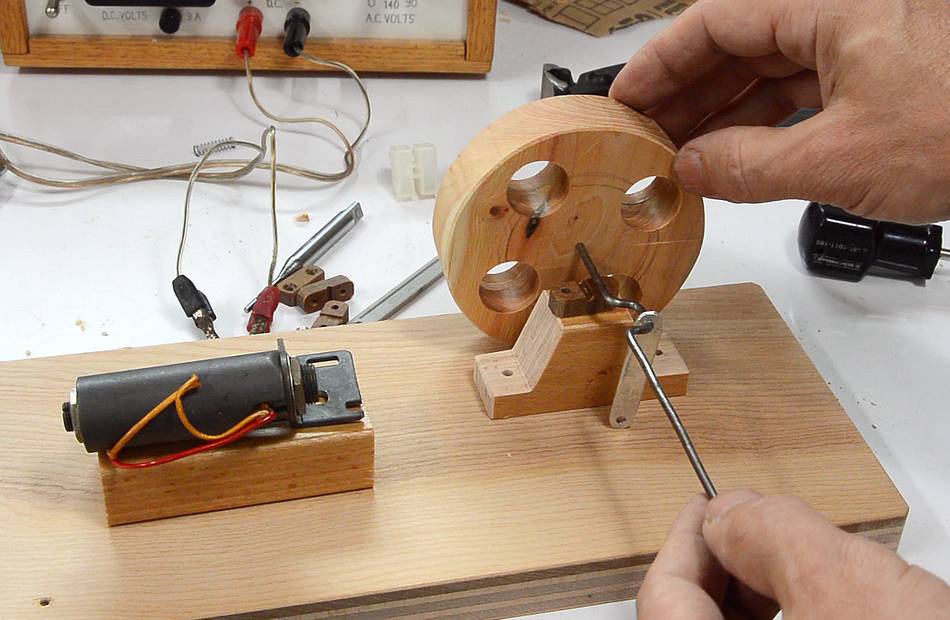
 Having come this far, I didn't need to take the crankshaft out
anymore, so I added the top half of the bearing blocks.
Having come this far, I didn't need to take the crankshaft out
anymore, so I added the top half of the bearing blocks.
I encountered some binding when I screwed down the blocks, so I roughened up some of the coat hanger wire on the bench grinder and used that as a sort of file / reamer to expand the holes to fit.
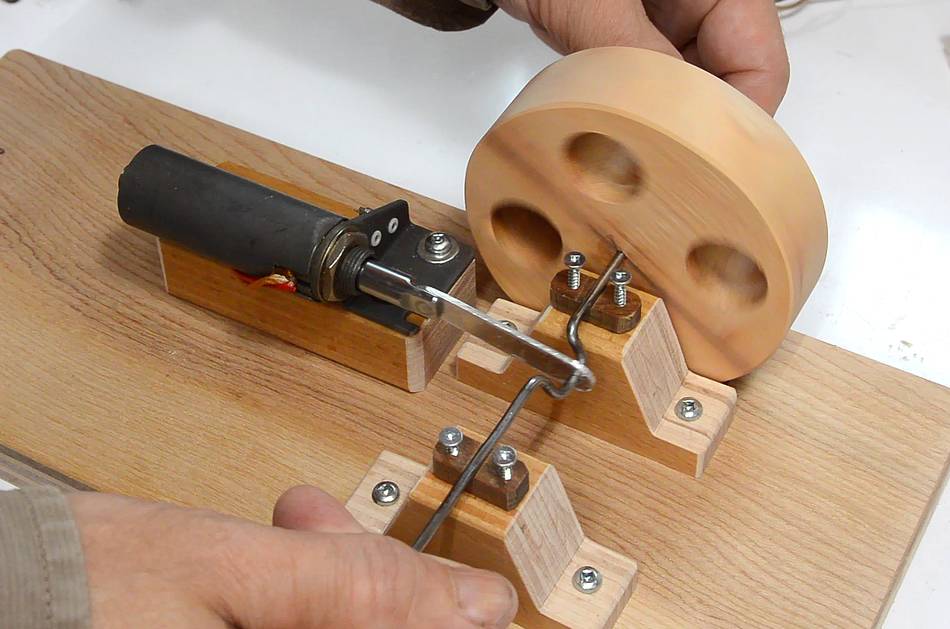
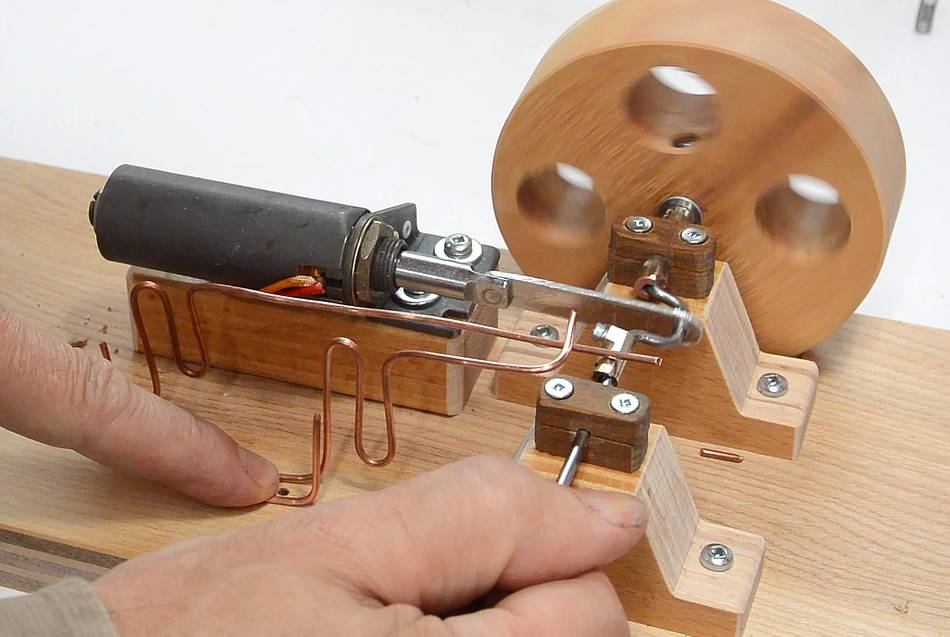 I made the electrical contacts out of #14 copper wire.
The straight wire is in constant contact with the cam, moving up and down with it. When the cam raises this wire, it makes contact with the shorter wire above it.
The shorter wire should flex from a different pivot so as the straight wire lifts, it will cause some friction between the wires, which should help keep the contacts clean.
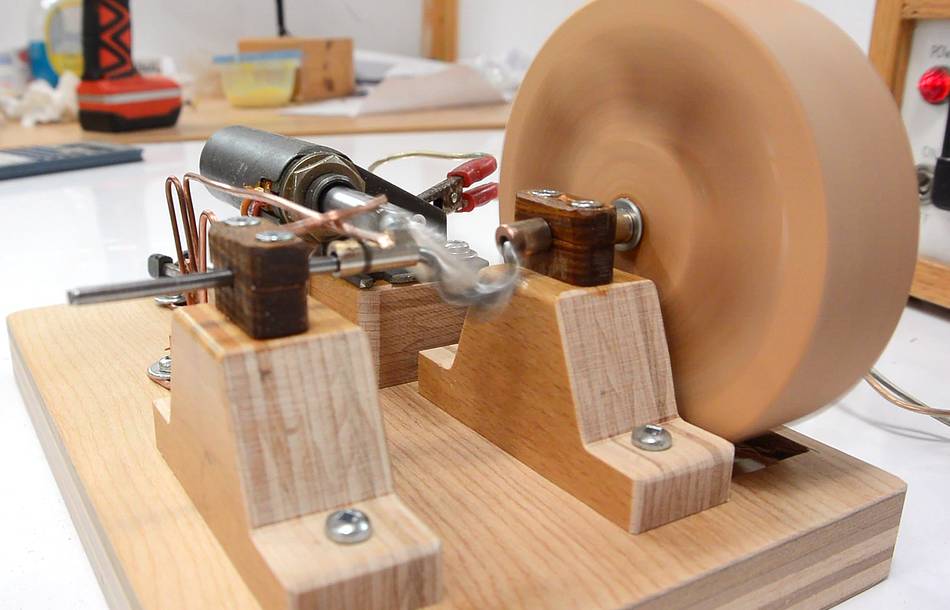
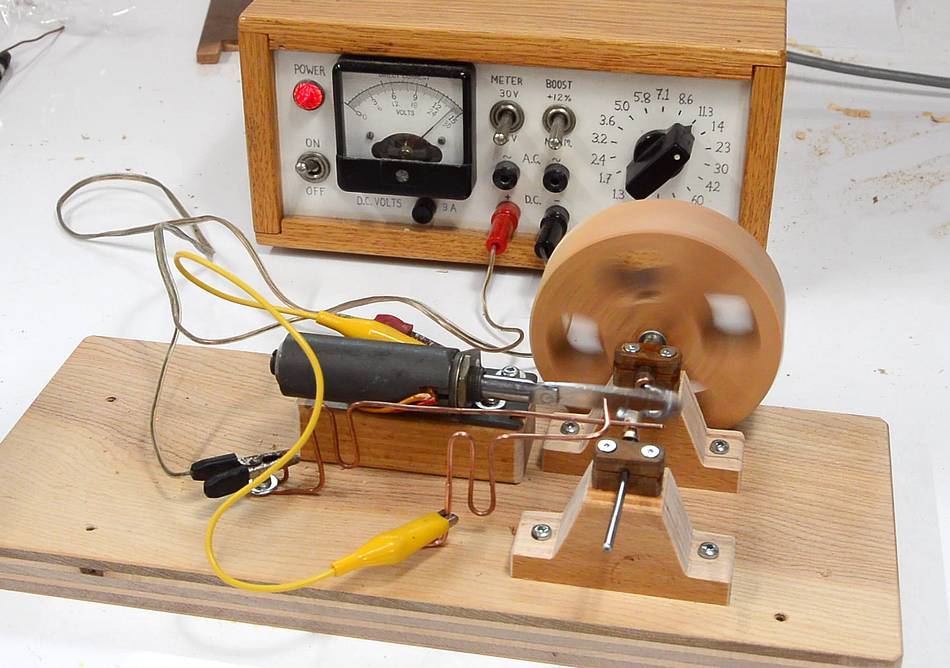 First test, hooked up to my homemade benchtop
power supply. It works, running slow and steady.
First test, hooked up to my homemade benchtop
power supply. It works, running slow and steady.
 The contacts weren't very reliable and difficult to tweak.
I figured more pressure between the wires would be good, but
as it was, if I bent the top wire down any further, they'd
make contact all the time.
The contacts weren't very reliable and difficult to tweak.
I figured more pressure between the wires would be good, but
as it was, if I bent the top wire down any further, they'd
make contact all the time.
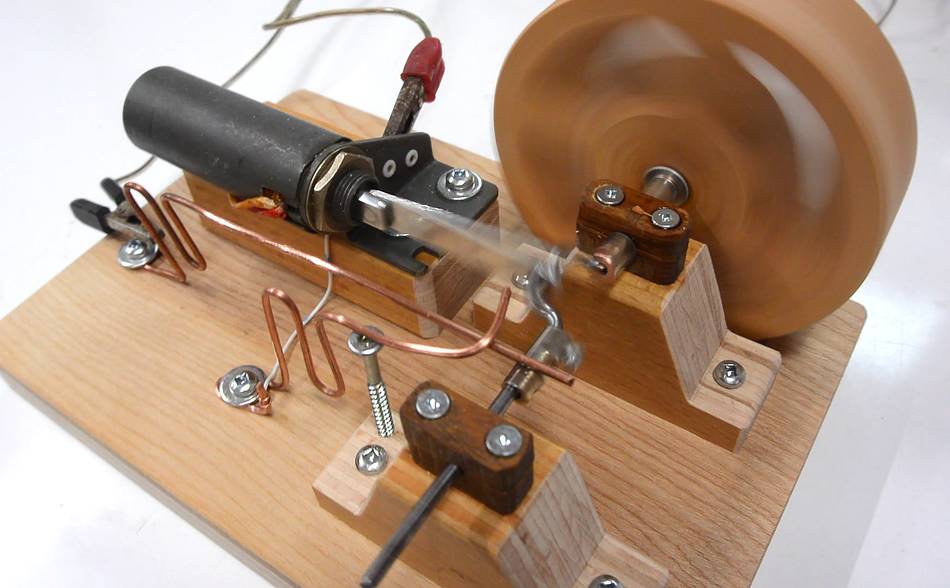
So I added a wood screw for the upper wire to push down on. This way I could bend it to push down harder without making contact with the straight wire the whole time. It also makes it easier to make fine adjustments by turning the screw.
It was a fun little project, and fun to watch it run in the same way that model steam engines are fun — but I don't need any flame or have to wait for it to heat up. It has the same kind of appeal as my wooden air engine, but without the need for a noisy blower.
I'm sure some perpetual motion believers (the "free energy" crowd) might think this has some potential. But as a motor, it's actually quite inefficient and unreliable compared to conventional designs. Nor is it completely original. After I built it, I Googled "solenoid motor" to find quite a few examples of such motors. That said, this one only uses an average of 100 miliamperes at 12 volts to keep it running. It's a fairly efficient solenoid.
It would of course be cooler if the whole thing was machined from metal, but then it would take much longer to build. And this one is just as much fun to watch as one made out of metal. This page shows the construction of a solenoid engine out of metal

 What's inside a Sonicare toothbrush (video only)
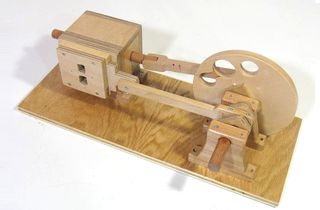 Wooden air engine
 Homemade bench top
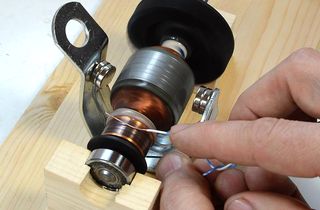 How DC and universal
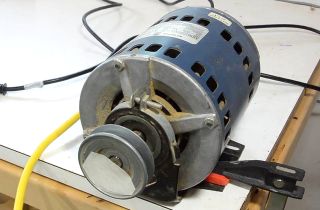 How AC induction
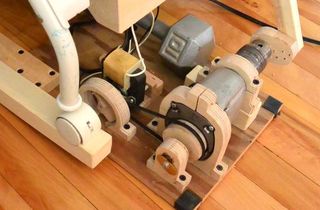 Baby rocking machine
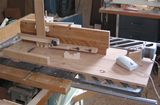 Computer controlled
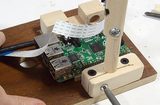 Raspberry Pi
 Mechanical counter
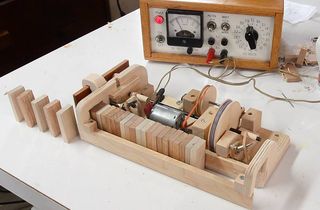 Wooden domino row building machine