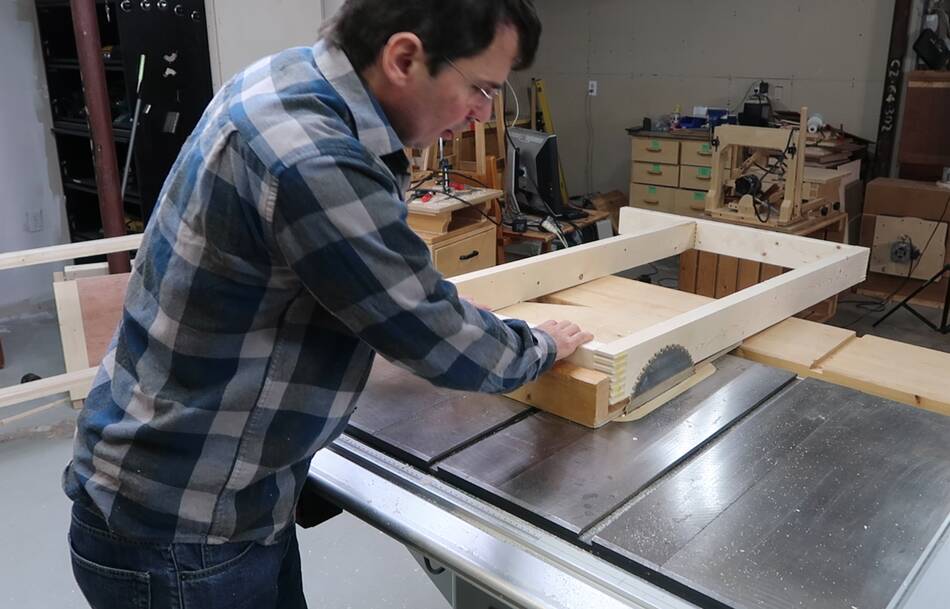
 I cut the box joints a little long (on purpose), so now I have to flatten
the tops corners of the cabinet so the top will sit on flat.
I cut the box joints a little long (on purpose), so now I have to flatten
the tops corners of the cabinet so the top will sit on flat.
I cut the box joints a little long (on purpose), so now I have to flatten
the tops corners of the cabinet so the top will sit on flat.

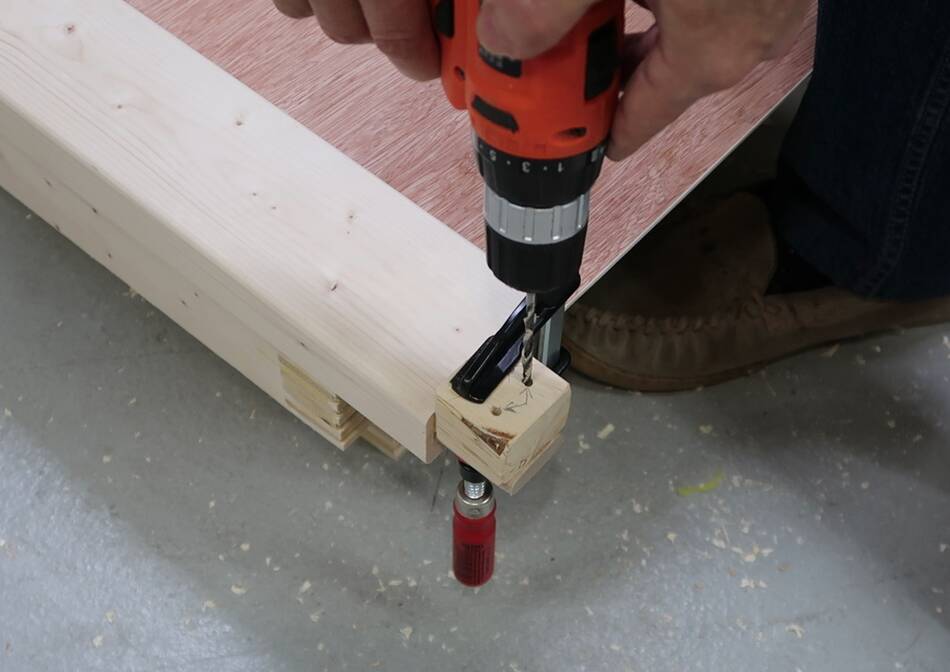
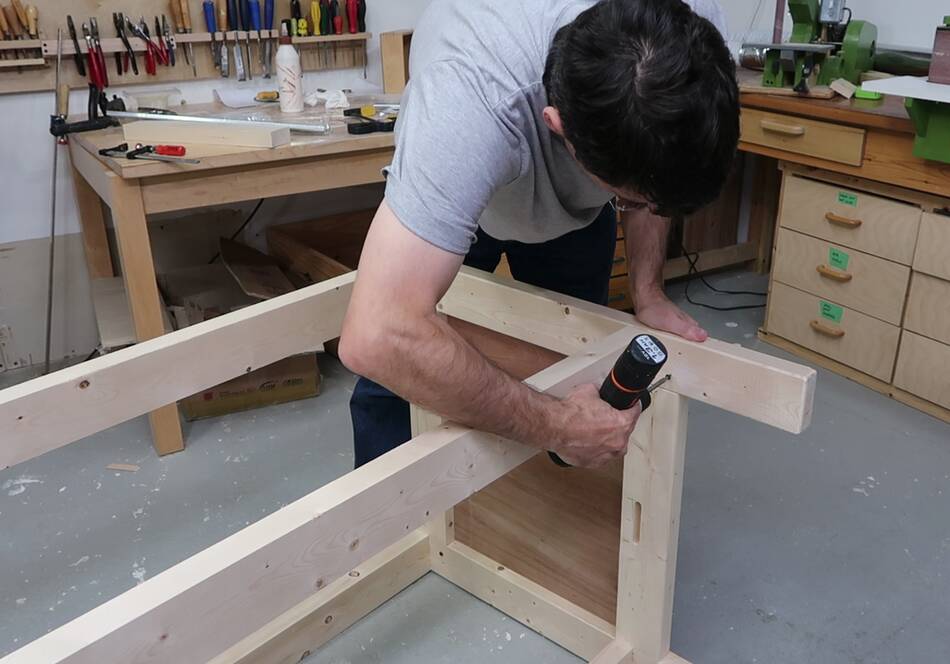
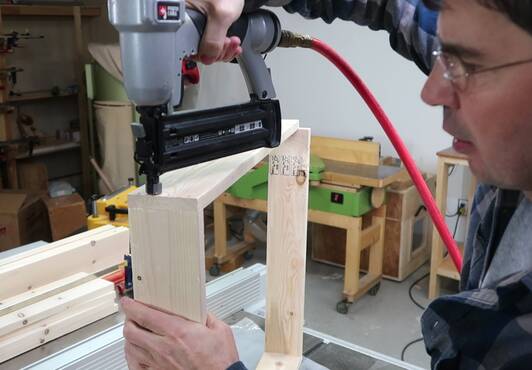
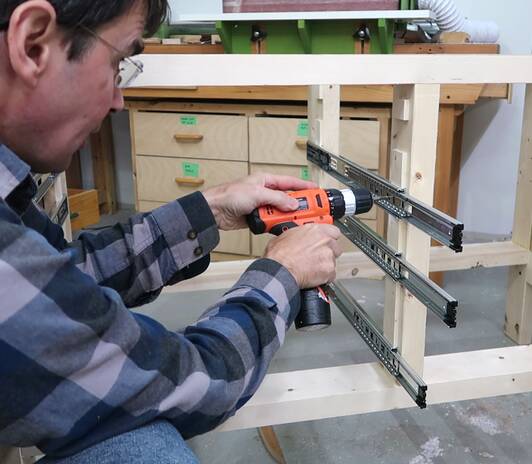
 The tenons will be held into the frames with two screws. I made
a simple drill guide to get the holes in the right place.
The tenons will be held into the frames with two screws. I made
a simple drill guide to get the holes in the right place.
I couldn't quite get into the corner with the drill, so I used a longer bit, figuring I can get the angle closer to right that way, but the drill was flexible enough that I could just bend it a bit to get into the corner.
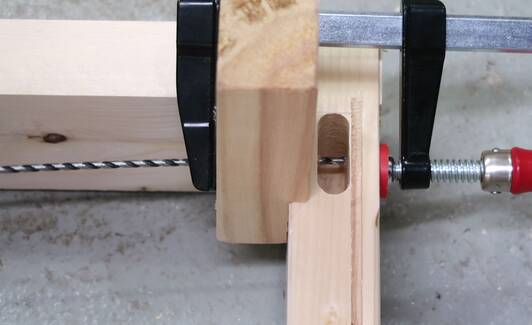
 I modified my wooden drill guide for drilling the holes in the tenons.
The holes in the tenons are offset slightly...
I modified my wooden drill guide for drilling the holes in the tenons.
The holes in the tenons are offset slightly...
 ... so that when I put a screw in, it pulls the tenon in a bit. Sort of like
a draw-bored mortise and tenon joint, but with screws.
... so that when I put a screw in, it pulls the tenon in a bit. Sort of like
a draw-bored mortise and tenon joint, but with screws.
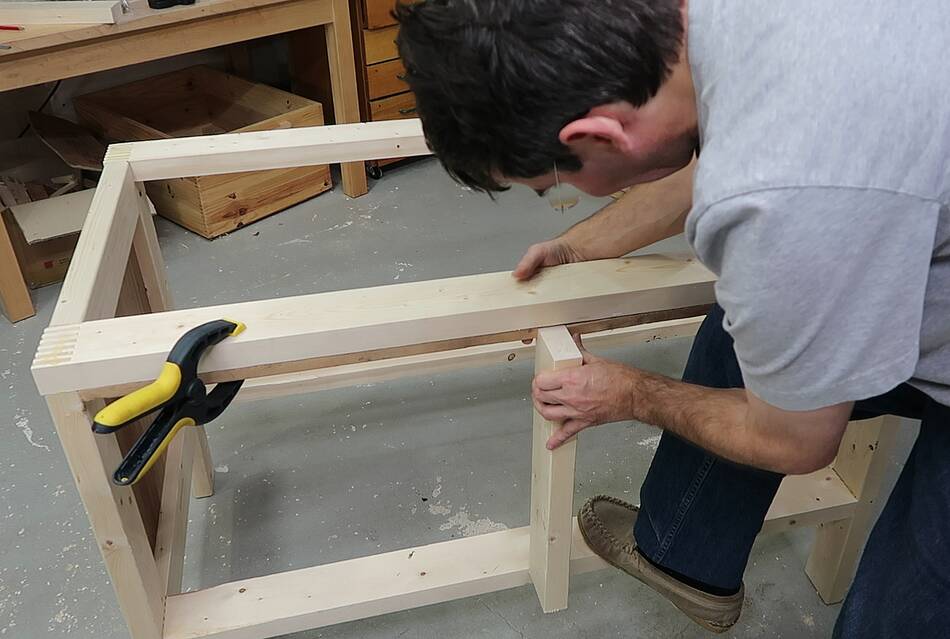
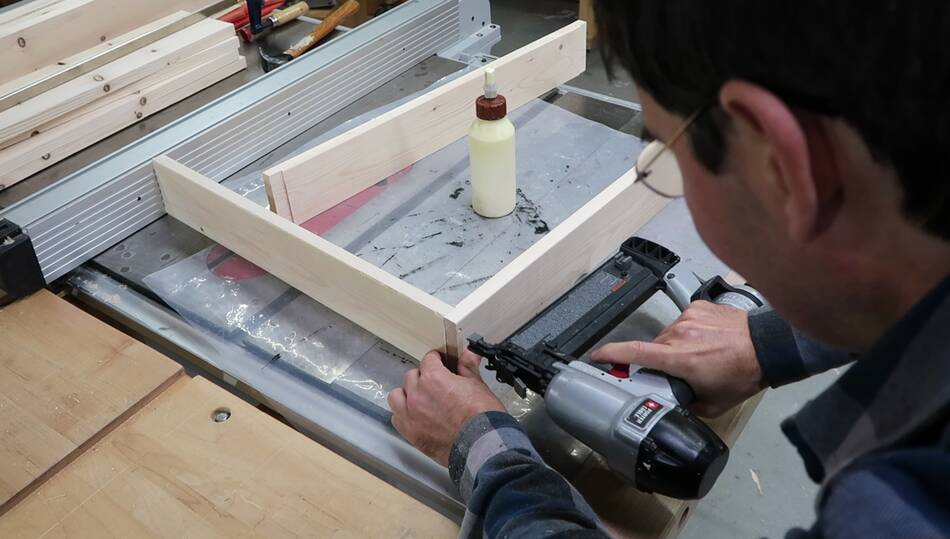
 Adding the front of the cabinet.
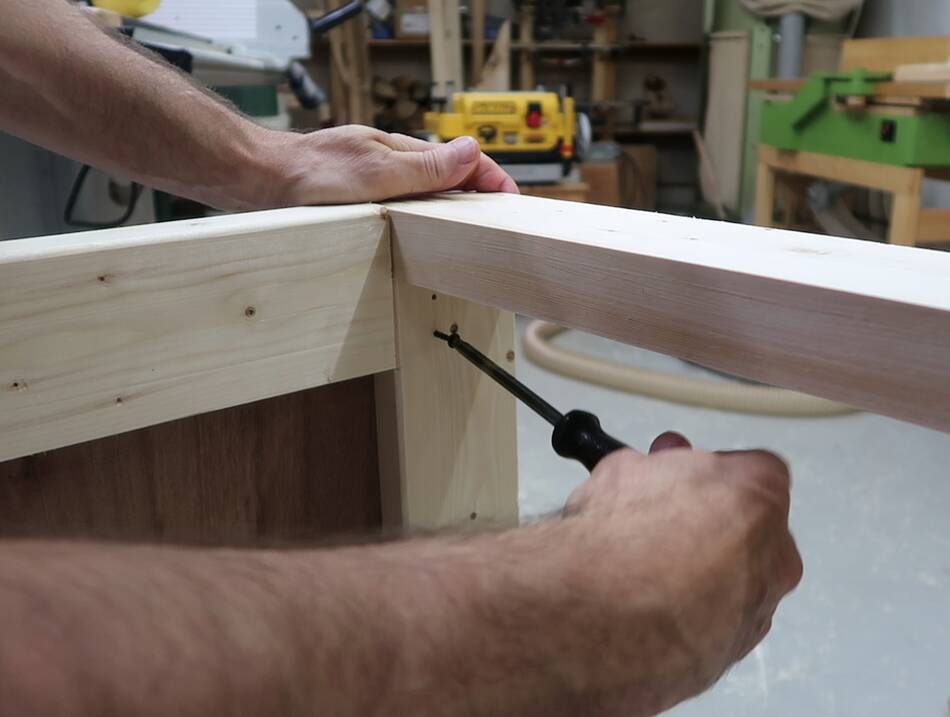
 And the screws. Just one screw in each corner because I still have to take
it apart again later.
And the screws. Just one screw in each corner because I still have to take
it apart again later.
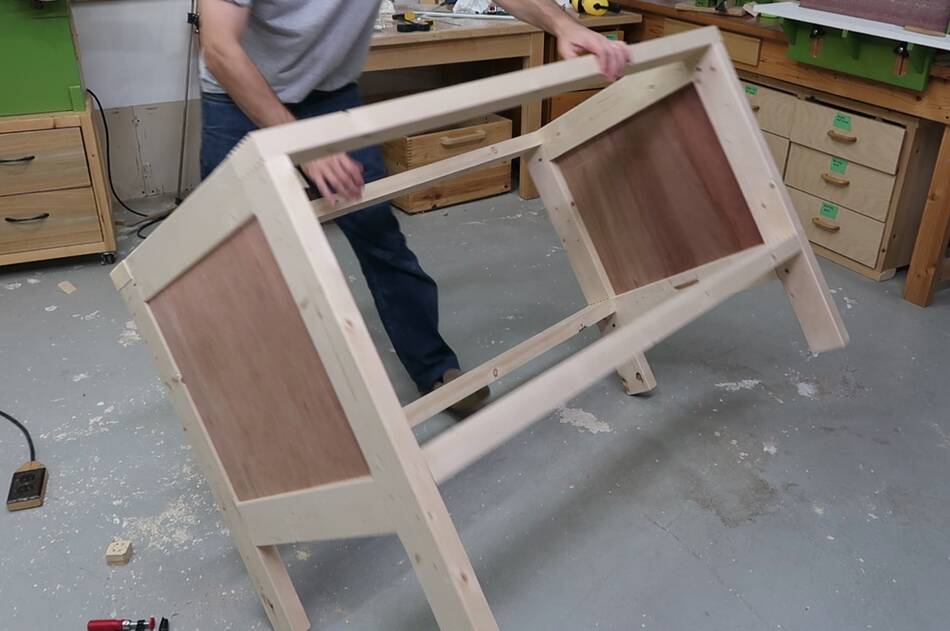 It's neat to put all the pieces together and suddenly it looks like
a cabinet.
It's neat to put all the pieces together and suddenly it looks like
a cabinet.
 I cut two wooden spacers of exactly the same length, leaving just enough
room for the center divider. In fact, it fit quite tight.
I cut two wooden spacers of exactly the same length, leaving just enough
room for the center divider. In fact, it fit quite tight.
 That way I could be sure the center piece would not move as I drilled
pilot holes and added four screws.
That way I could be sure the center piece would not move as I drilled
pilot holes and added four screws.
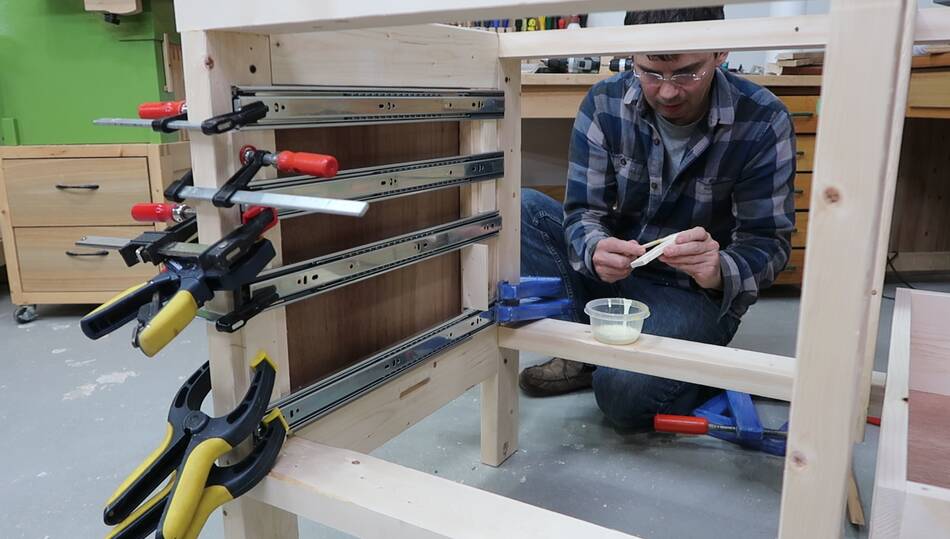
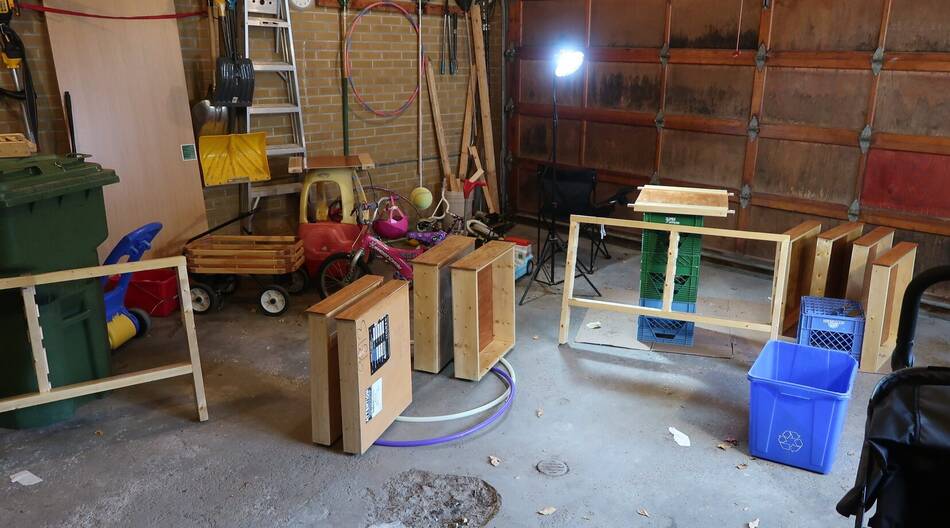
I thought about using a similar set of six mortise and tenon joints as I did for the T-joints for the legs, but I figured cutting away so much of the material for the mortises would weaken the strength of the horizontal members. I had no such worry about cutting all the mortises into the legs because the legs aren't getting the same sort of bending load as the horizontal members are.
 The drawer slides aren't as long as the cabinet is deep, so the vertical member
in the back is a 2x6 offset towards the front.
The drawer slides aren't as long as the cabinet is deep, so the vertical member
in the back is a 2x6 offset towards the front.
I would have picked longer drawer slides, but these soft closing ones were a particularly good deal on Amazon for a box of 10, and I could only get them up to 22" length. I already used three of them here
 The drawers are made of 1x4 spruce from The Home Depot. It's not the most
accurate wood, but using metal drawer slides, I have a bit of leeway.
The drawers are made of 1x4 spruce from The Home Depot. It's not the most
accurate wood, but using metal drawer slides, I have a bit of leeway.
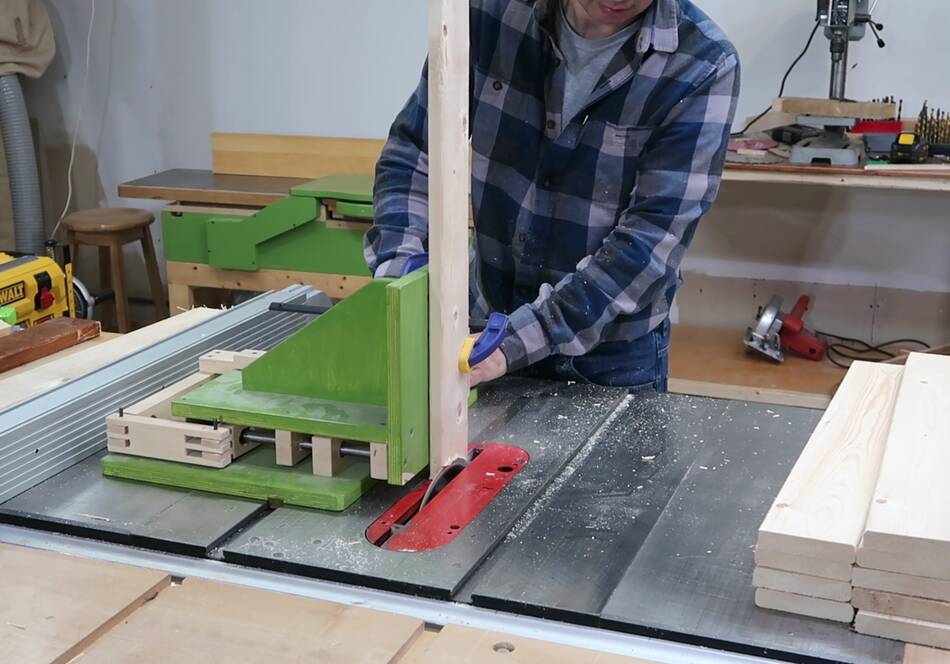
Here I'm cutting the pieces to length.
 I cut a shallow rabbet joint on the side pieces. The main reason for the
rabbet joint is to have an edge to line the pieces up with as I assemble them.
I cut a shallow rabbet joint on the side pieces. The main reason for the
rabbet joint is to have an edge to line the pieces up with as I assemble them.
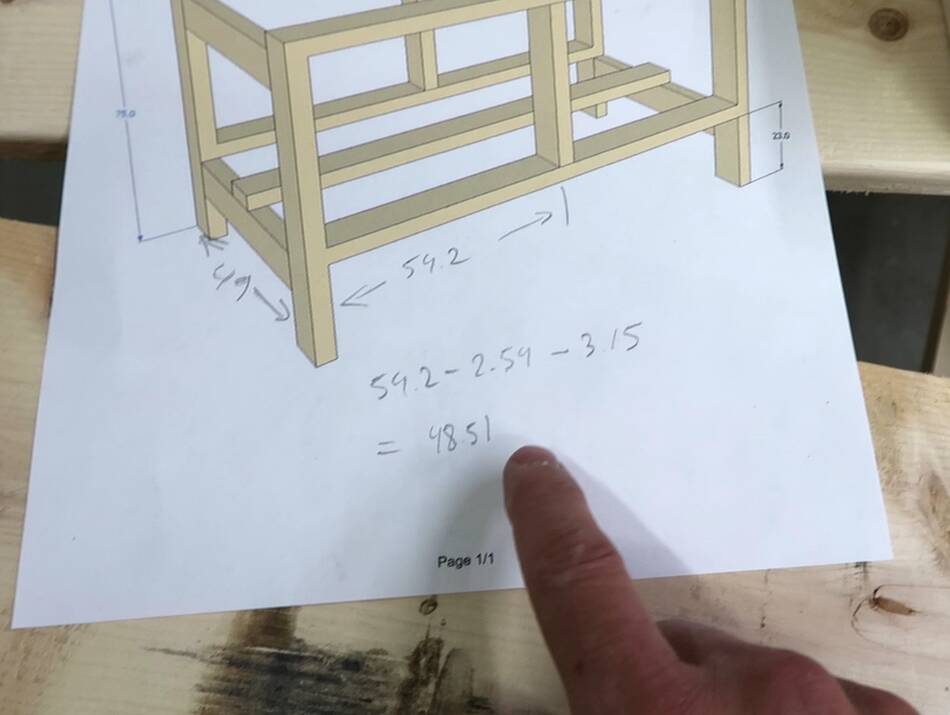 I then carefully measured the opening in the cabinet, subtracting the width of
the drawer slides and the width of the side pieces to determine how long the
pieces for the front and back need to be.
I then carefully measured the opening in the cabinet, subtracting the width of
the drawer slides and the width of the side pieces to determine how long the
pieces for the front and back need to be.
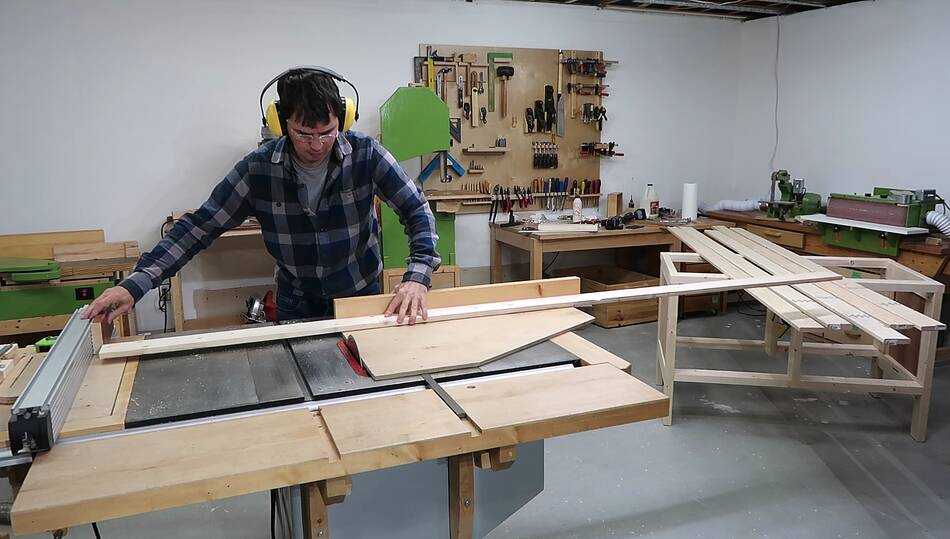
 Then cutting the pieces to length using a stop block on my table saw sled.
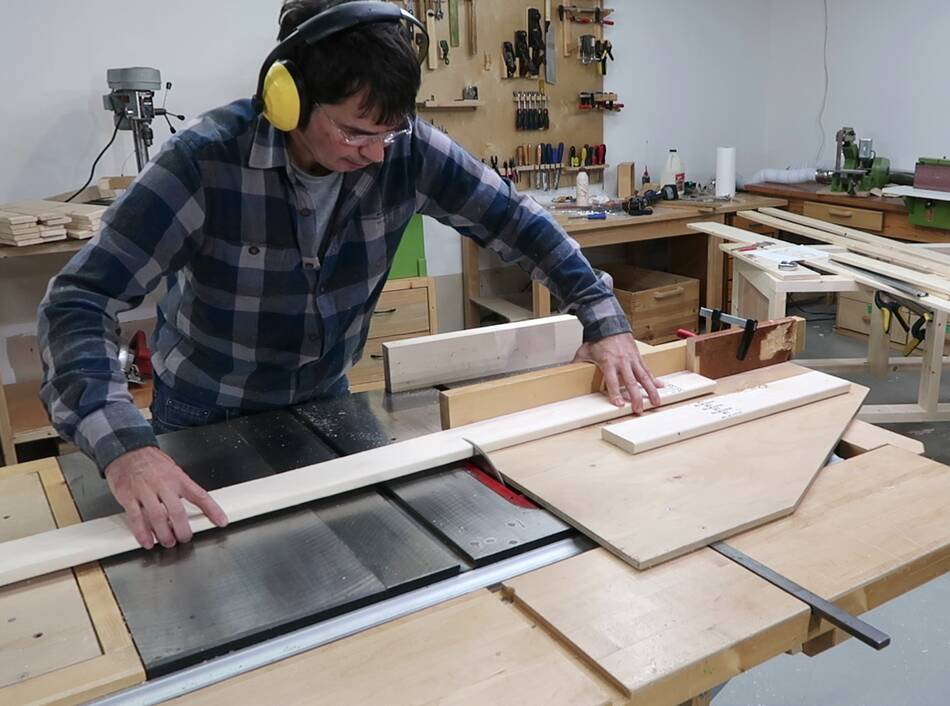
 After that I edge jointed one edge of all the boards, then ripped them to
the same width. There was a surprising amount of width variation.
After that I edge jointed one edge of all the boards, then ripped them to
the same width. There was a surprising amount of width variation.
 I nailed the drawers together. I have two Porter-Cable brad
nailers. I found them in a dumpster behind The Hope Depot years ago, and I think
I know why they ended up there. They have a tendency to jam. I filed out
where the nails tend to jam, but they still jam sometimes. Very
frustrating!
I nailed the drawers together. I have two Porter-Cable brad
nailers. I found them in a dumpster behind The Hope Depot years ago, and I think
I know why they ended up there. They have a tendency to jam. I filed out
where the nails tend to jam, but they still jam sometimes. Very
frustrating!
These workbench drawers that I made 11 years ago are also just nailed, and they held up fine. The key is to orient the nailed joints so that slamming the drawer shut won't pull the nails out. Using drawer slides as the stops, especially soft close ones, greatly reduces the stress on the drawers from slamming them shut.
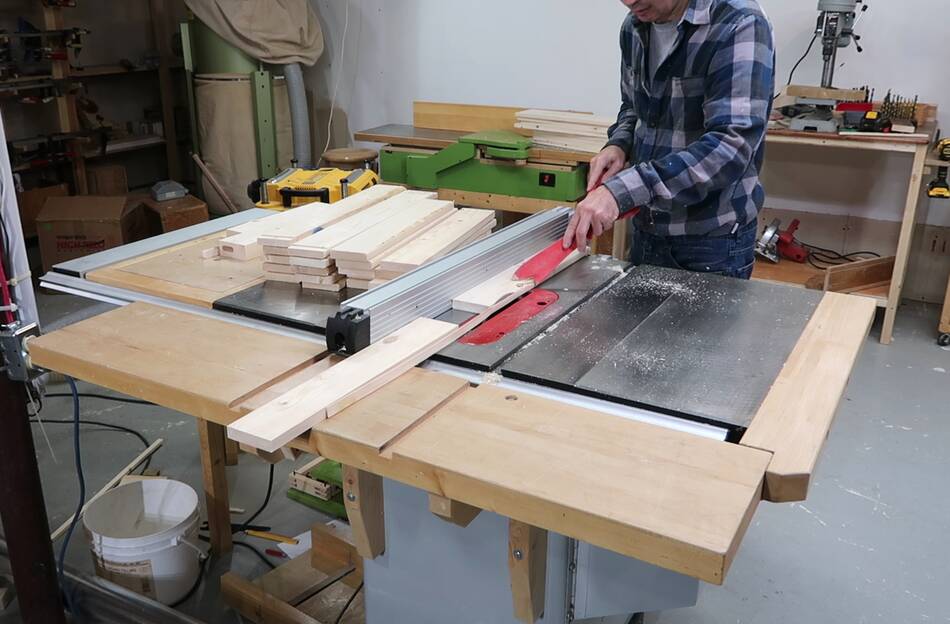
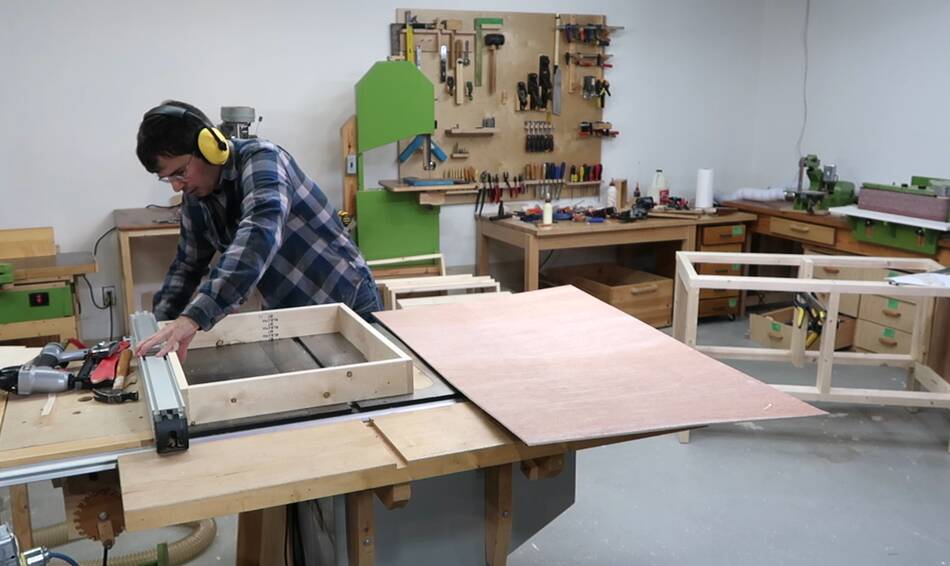 I used the drawer frame directly on the table saw to set the fence for cutting
the bottom pieces to width.
I used the drawer frame directly on the table saw to set the fence for cutting
the bottom pieces to width.
 Then cutting them to length using a table saw sled. With the sled, I can also be
sure that the bottoms are square. I always force the frame to conform to the bottom
when attaching the bottoms to make sure the drawers are square.
Then cutting them to length using a table saw sled. With the sled, I can also be
sure that the bottoms are square. I always force the frame to conform to the bottom
when attaching the bottoms to make sure the drawers are square.
 I used spacers to lay out the drawer sides.
I figured this was an interesting topic on its own so I wrote a separate
article on using spacers to lay out drawer slides
I used spacers to lay out the drawer sides.
I figured this was an interesting topic on its own so I wrote a separate
article on using spacers to lay out drawer slides
 Then test fitting the drawers.
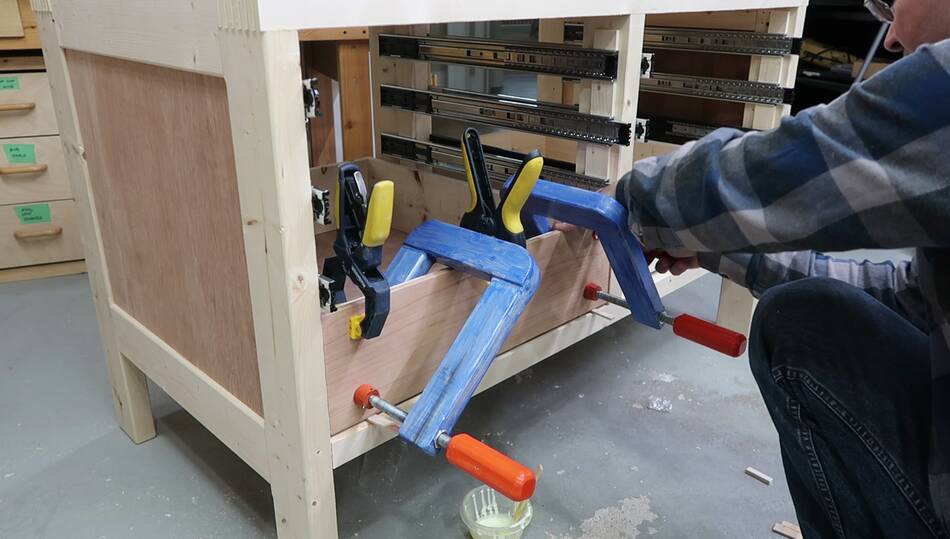 After that I glued on the drawer fronts, made of 7 mm thick pieces of cherry.
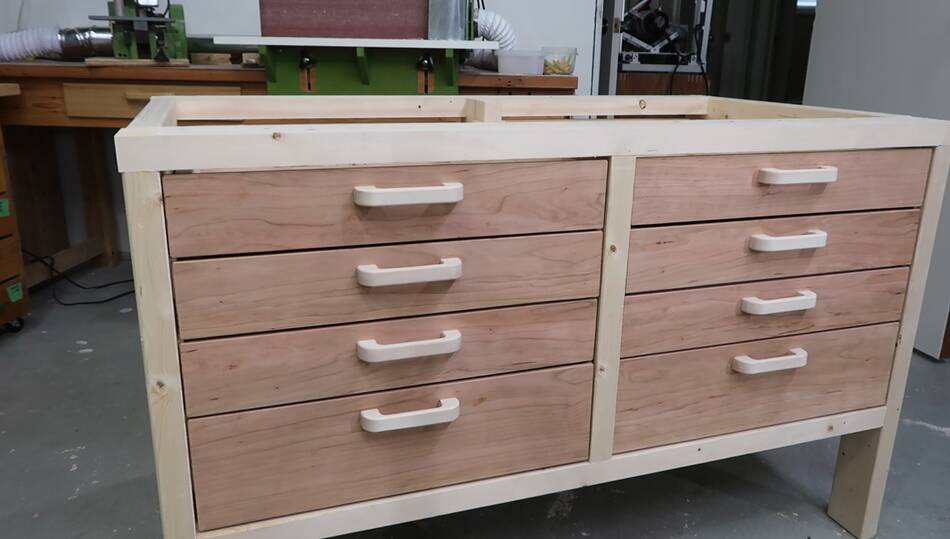 I made some nice wooden drawer pulls
out of ironwood to go with these drawers. I figured this was also a nice topic
on its own so I wrote a separate article on
making wooden drawer pulls
I made some nice wooden drawer pulls
out of ironwood to go with these drawers. I figured this was also a nice topic
on its own so I wrote a separate article on
making wooden drawer pulls
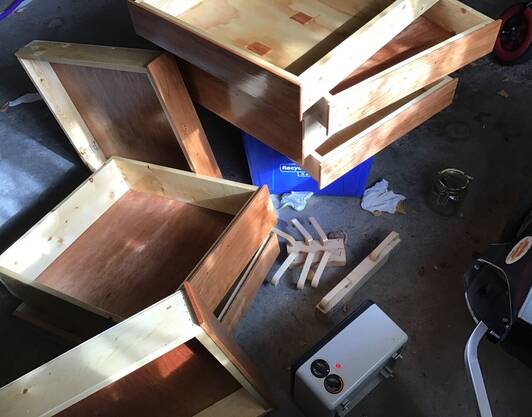 I figured an oil based varnish would best bring out the color of
the cherry, and I still had some left over from
making and
installing baseboards at our
last house two years ago. I kept it in a glass jar so I could tell it already had quite
a skin on it, so it needed to be used up. There was enough for three coats
on the workbench and even two coats for the insides of the drawers. I haven't
used oil based varnish for a furniture project in a very long time, so it was satisfying
to see how much better that stuff goes on. But it smells, which is why I did
it in the garage. I used a space heater to help dry the drawers because the
weather is turning colder.
I figured an oil based varnish would best bring out the color of
the cherry, and I still had some left over from
making and
installing baseboards at our
last house two years ago. I kept it in a glass jar so I could tell it already had quite
a skin on it, so it needed to be used up. There was enough for three coats
on the workbench and even two coats for the insides of the drawers. I haven't
used oil based varnish for a furniture project in a very long time, so it was satisfying
to see how much better that stuff goes on. But it smells, which is why I did
it in the garage. I used a space heater to help dry the drawers because the
weather is turning colder.
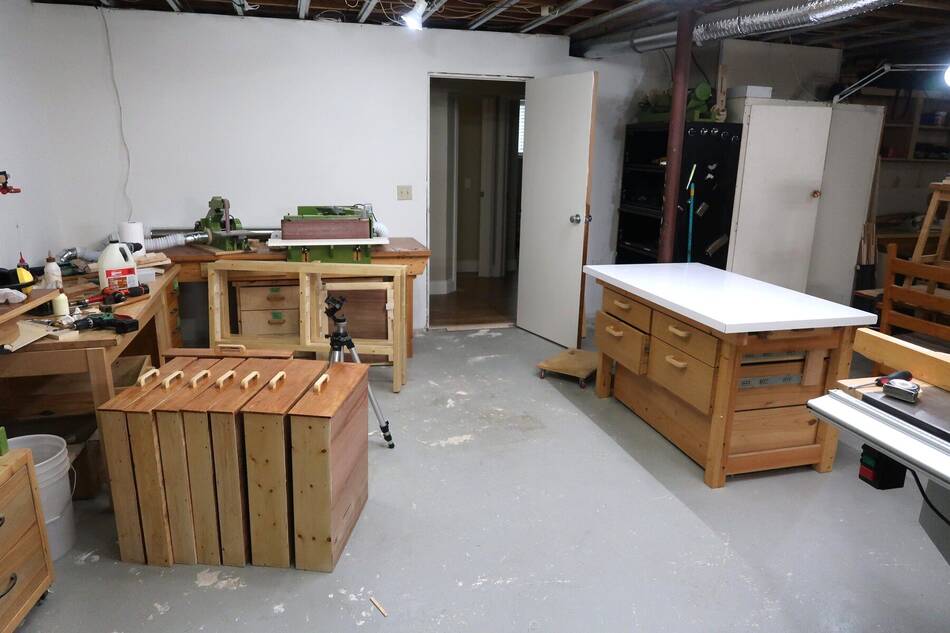 I moved the old workbench into the big room to make room for the workbench
in the small bedroom workshop. Luckily, the frame of it just barely fit through
the door, though I did take the top off and remove the drawers before I moved it.
I moved the old workbench into the big room to make room for the workbench
in the small bedroom workshop. Luckily, the frame of it just barely fit through
the door, though I did take the top off and remove the drawers before I moved it.
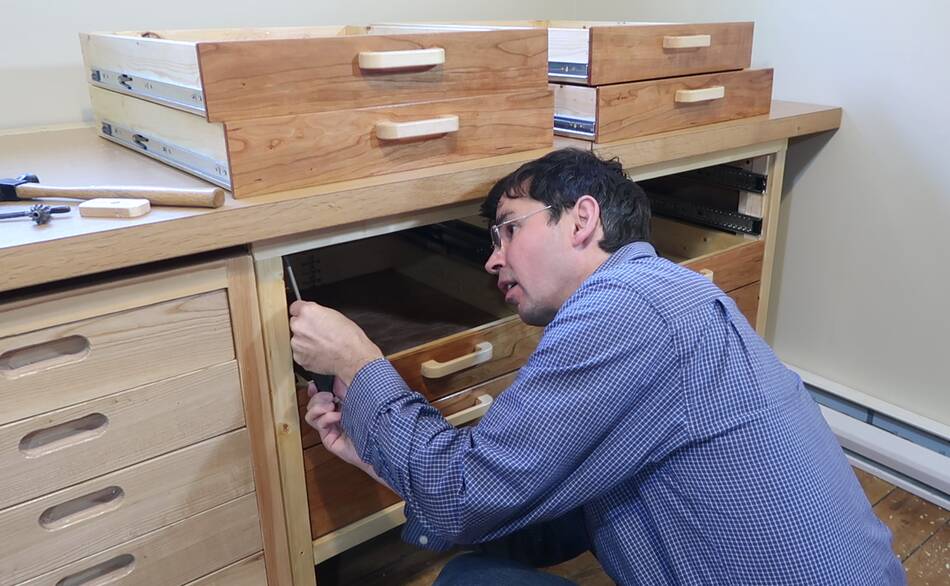
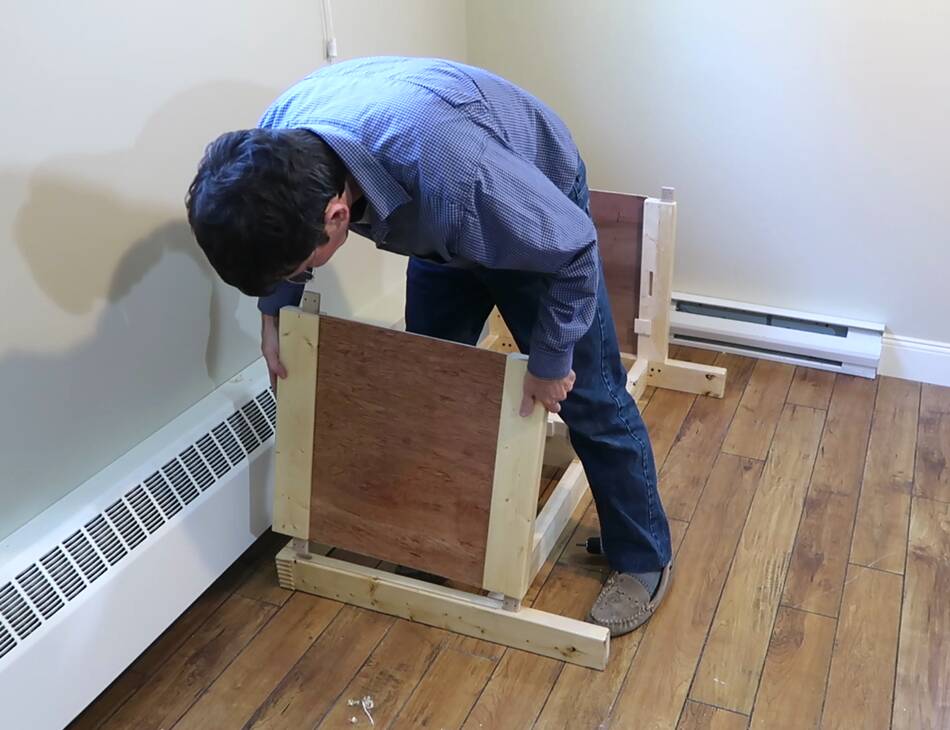 Assembling the workbench in the new spot. The "disassemble-able" feature was handy
for getting it up into the garage and back, but with the need to remove the drawer slides
to take the frame apart, I don't know if that feature is all that useful.
Assembling the workbench in the new spot. The "disassemble-able" feature was handy
for getting it up into the garage and back, but with the need to remove the drawer slides
to take the frame apart, I don't know if that feature is all that useful.
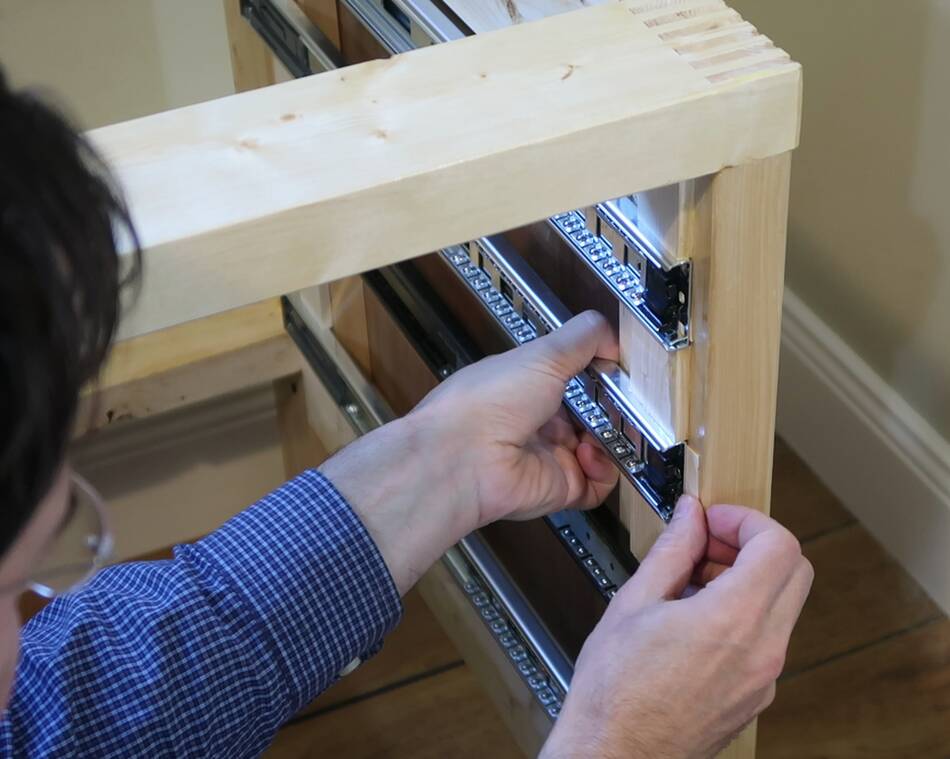 I had about 1.5 mm of extra width with the drawer slides. The mounting holes on
the drawer slides are on tabs that can bend a bit to adjust them. But I'm glade
I have the spacer blocks to support the slides a bit more securely than those
bendable tabs. Here I'm adding some small shims behind the slides to get
them just right.
I had about 1.5 mm of extra width with the drawer slides. The mounting holes on
the drawer slides are on tabs that can bend a bit to adjust them. But I'm glade
I have the spacer blocks to support the slides a bit more securely than those
bendable tabs. Here I'm adding some small shims behind the slides to get
them just right.
 And drawers in!

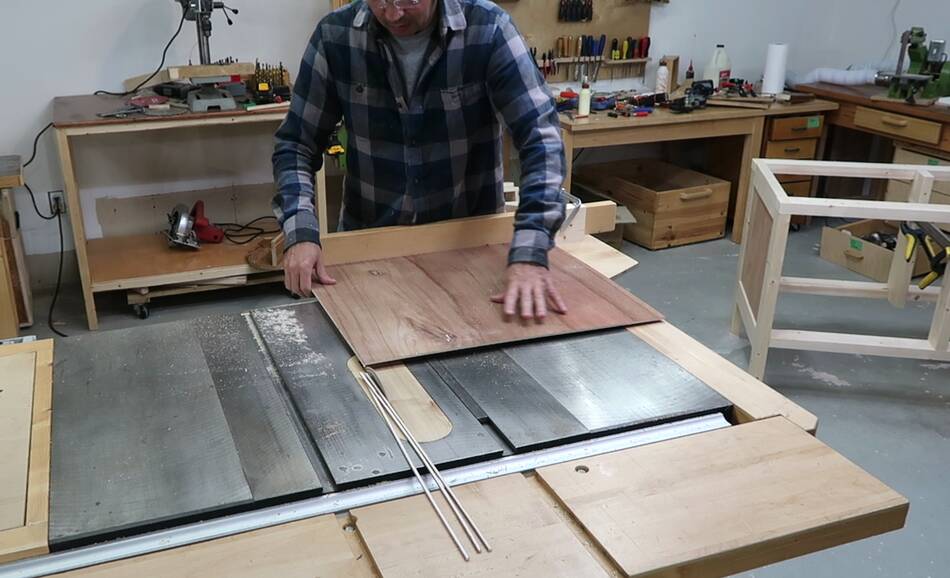
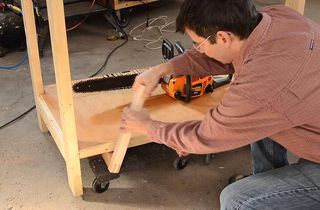
 I found a brand new oak veneered solid core door slab at the habitat Re-Store. This used
to be a store display. I had to shorten it a little bit. I first made a very shallow
scoring cut with the circular saw going backwards, then cutting full depth forward. This
avoids chip-out on the edges.
I found a brand new oak veneered solid core door slab at the habitat Re-Store. This used
to be a store display. I had to shorten it a little bit. I first made a very shallow
scoring cut with the circular saw going backwards, then cutting full depth forward. This
avoids chip-out on the edges.
 Because there is this heater and bulkhead behind the workbench, I needed to add a piece
of wood to the edge of the door slab to get sufficient width.
Because there is this heater and bulkhead behind the workbench, I needed to add a piece
of wood to the edge of the door slab to get sufficient width.
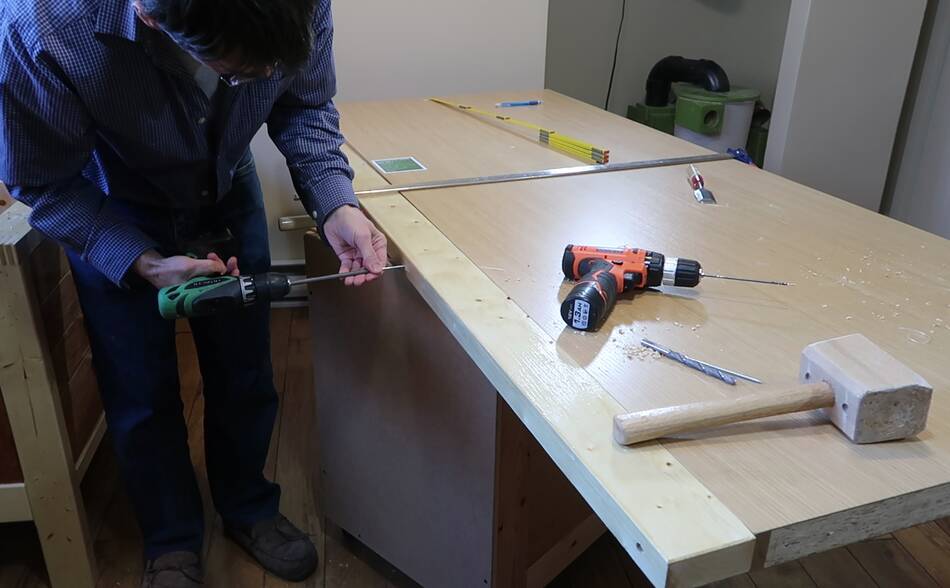
 Then screwing it on from below. I'm only using two screws, to keep it from sliding around.
I don't want to damage the bottom side of the slab too much, because once the top is all scratched up, I will probably flip the door slab over to get a fresh surface.
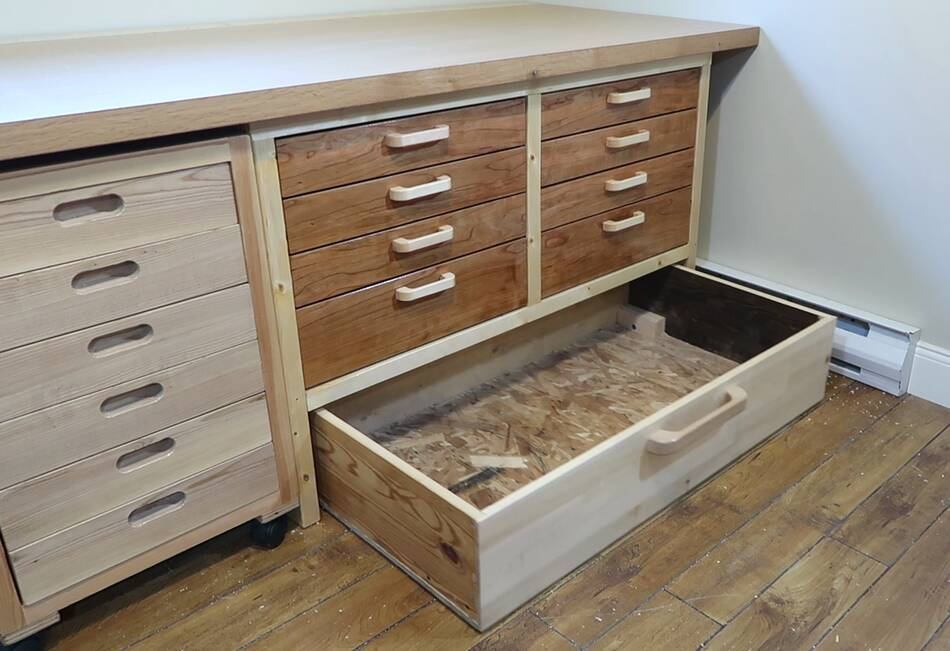 To the left of the workbench is recessed handle
drawers tool stand and underneath is a big under-workbench drawer
that I made for a previous workbench.
To the left of the workbench is recessed handle
drawers tool stand and underneath is a big under-workbench drawer
that I made for a previous workbench.
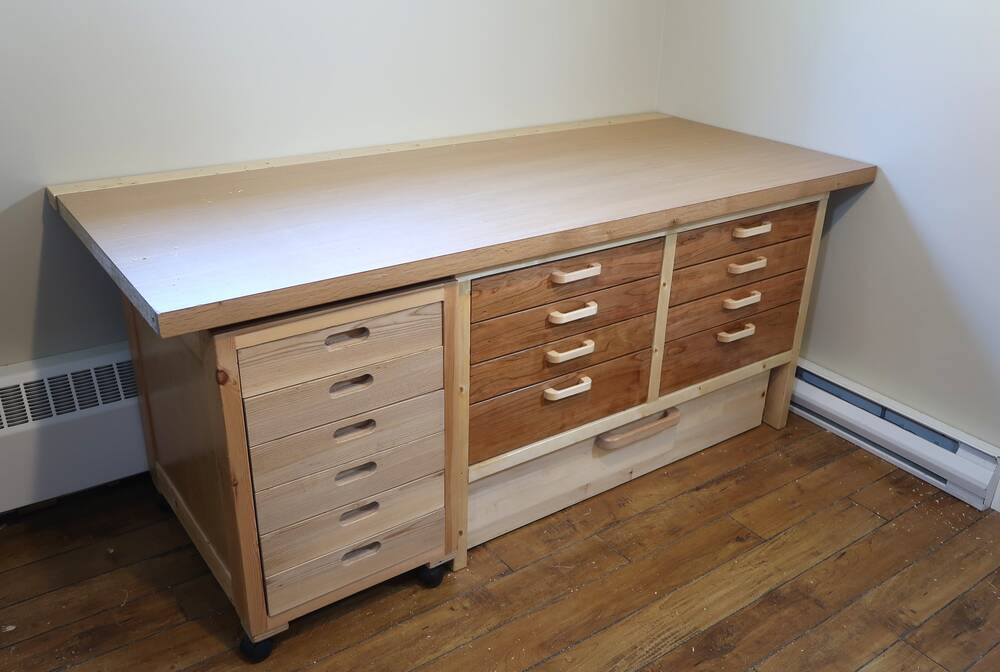 It came out a bit too nice for shop furniture.
 Dolly movable workbench (2018)
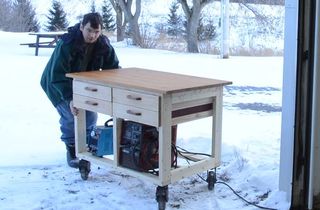 Workbench on wheels (2016)
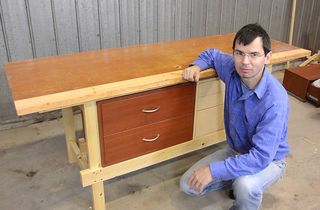 Quickie workbench
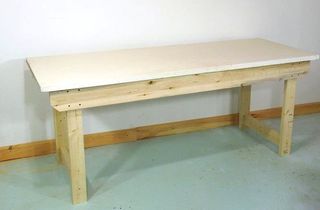 Building a simple workbench (2013)
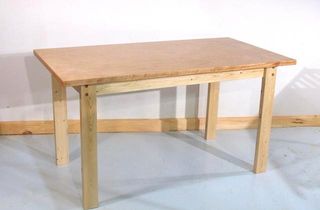 Building a simple table (2013)
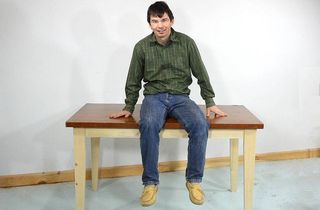 Building a simple table (2008)
 Another simple workbench (2007)
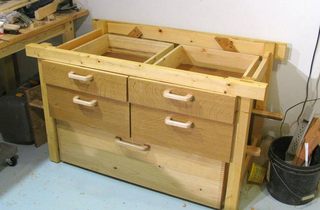 Another workbench
 Blueberry boxes rack (2024)
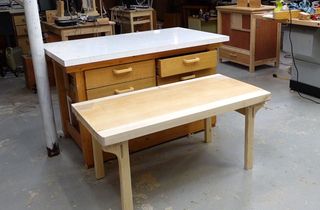 Kids workbench (2024)
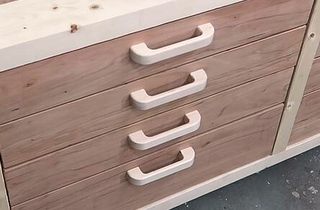 Making wooden drawer pulls
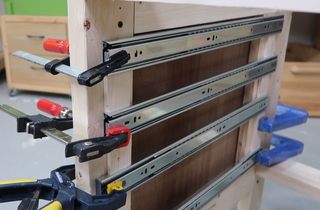 Using spacers to lay out drawer slides