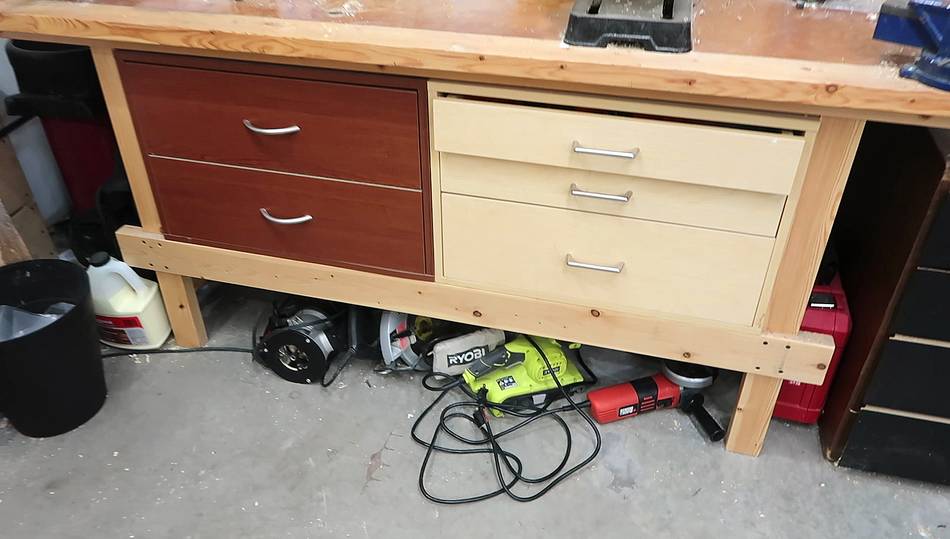
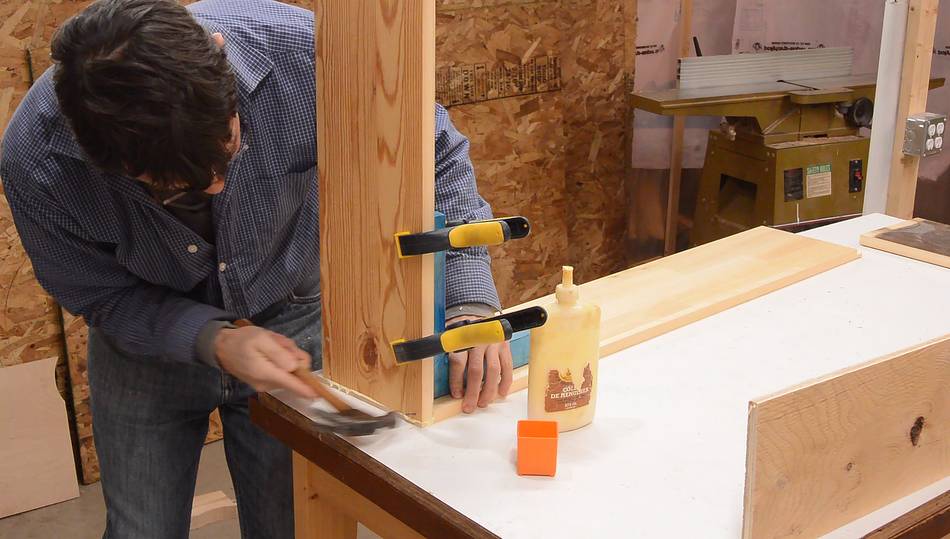
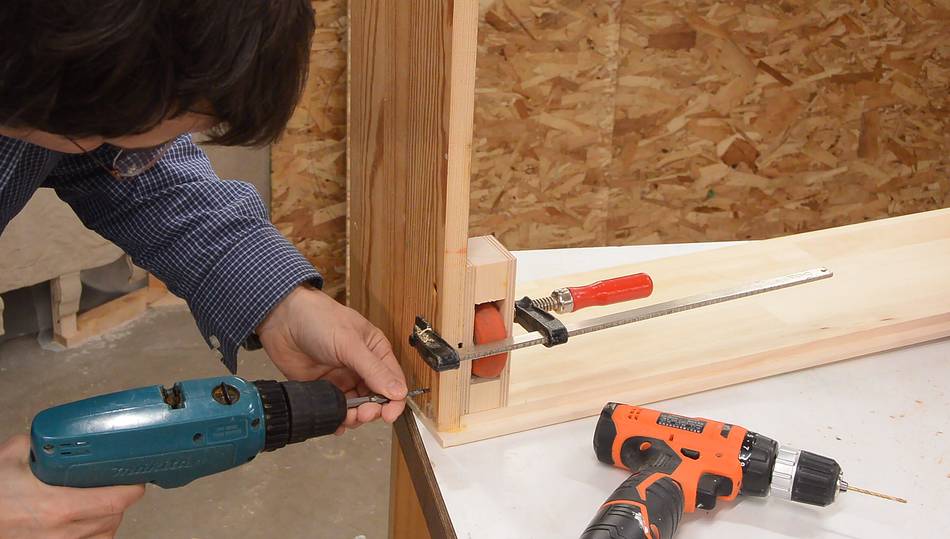
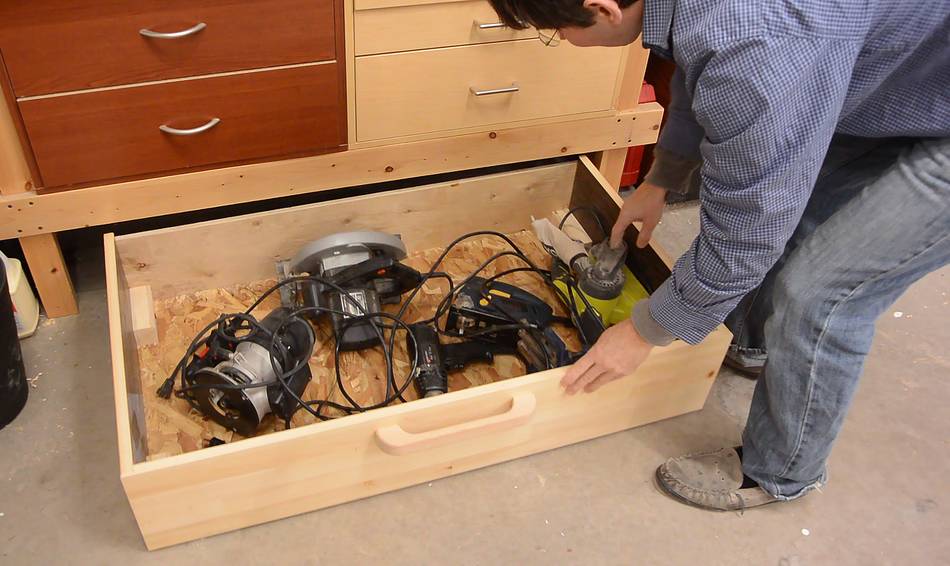
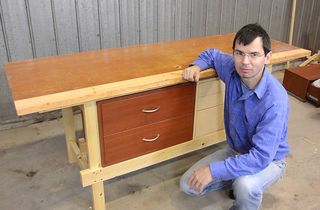
 I set up this workbench in the basement.
I have lots of room under it, and having a big rolling drawer,
like this one, would be good
for keeping power tools in. I built a few
under bed rolling drawers before. Time to build one for this workbench.
I set up this workbench in the basement.
I have lots of room under it, and having a big rolling drawer,
like this one, would be good
for keeping power tools in. I built a few
under bed rolling drawers before. Time to build one for this workbench.
I set up this workbench in the basement.
I have lots of room under it, and having a big rolling drawer,
like this one, would be good
for keeping power tools in. I built a few
under bed rolling drawers before. Time to build one for this workbench.
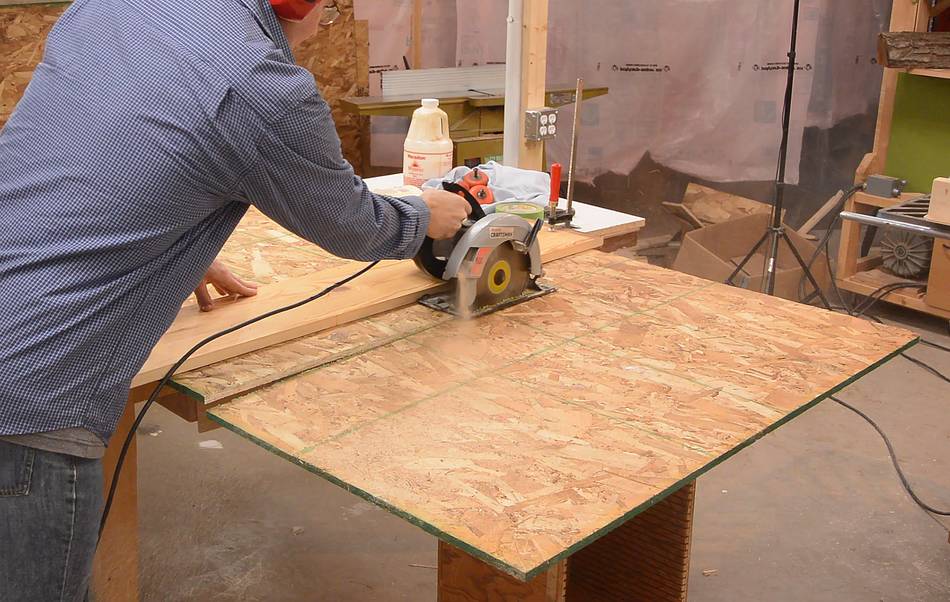 I started with a piece of OSB for the bottom, here cutting it to approximate size
with a circular saw, using a board as a saw guide.
I started with a piece of OSB for the bottom, here cutting it to approximate size
with a circular saw, using a board as a saw guide.
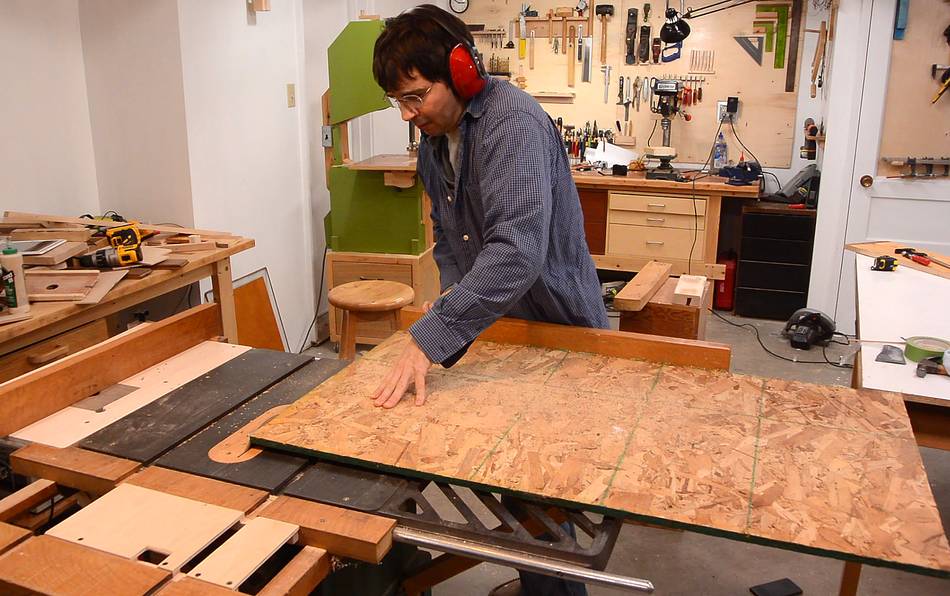 Then cutting the edges clean and square on the table saw using a table saw sled.
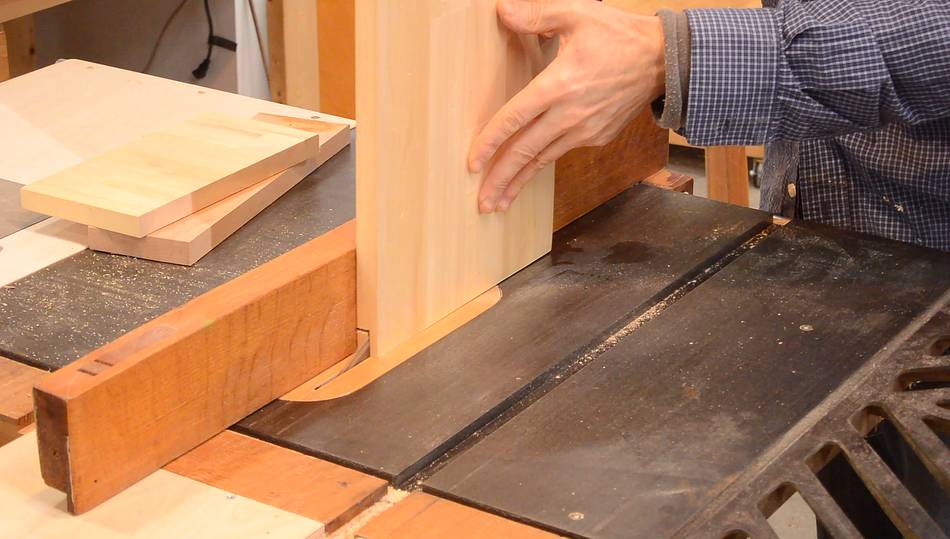 The front of the drawer has rabbets cut on the ends and bottom edge to hide
the sides and bottom of the drawer.
The front of the drawer has rabbets cut on the ends and bottom edge to hide
the sides and bottom of the drawer.
I made the rabbets by making two cuts from two sides.
 Test fitting it.
 Nailing the sides onto the front. Nailing it into the rabbet so that the nails
aren't visible from the front.
Nailing the sides onto the front. Nailing it into the rabbet so that the nails
aren't visible from the front.
I used one of these clamping squares to keep it square while I nailed it.
 I used four old inline roller skate wheels for the wheels. These are
inside the drawer so the wheels don't get caught up on stuff.
I used four old inline roller skate wheels for the wheels. These are
inside the drawer so the wheels don't get caught up on stuff.
They are mounted between two pieces of Baltic birch plywood. The wheels are from really cheap and were mounted in a plastic frame instead of metal. The axles are a bit longer, just barely long enough to mount in plywood. I had to counterbore the plywood slightly to sink in the screw heads.
 I needed washers to keep the wheel from rubbing against the plywood. I didn't have
enough washers of the right size handy, so I had the idea of making integral washers
on the plywood, basically by cutting away about 1 mm of plywood except for where
the axle mounts.
I needed washers to keep the wheel from rubbing against the plywood. I didn't have
enough washers of the right size handy, so I had the idea of making integral washers
on the plywood, basically by cutting away about 1 mm of plywood except for where
the axle mounts.
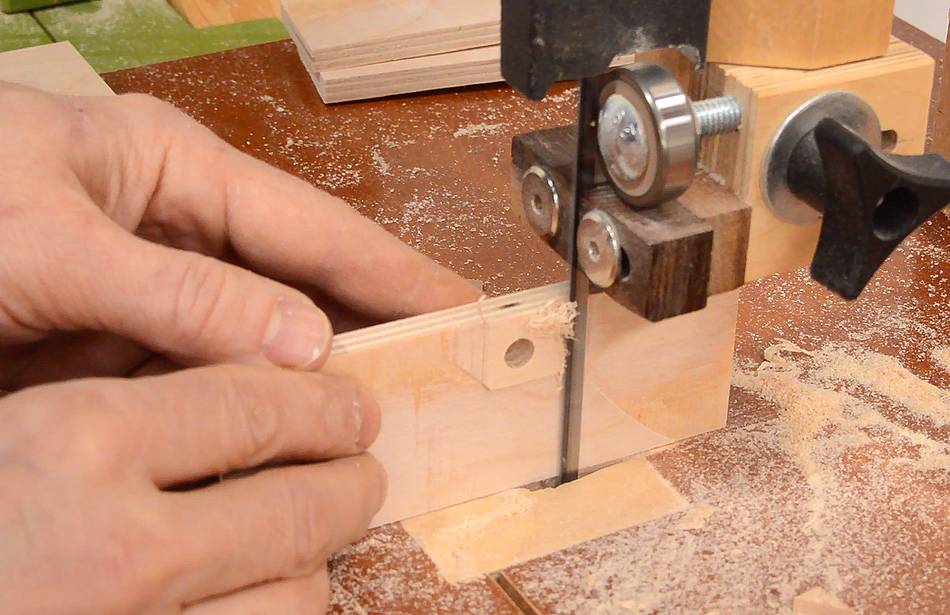 I made most of this cut on the table saw, but couldn't cut it so the
remainder was nice and square. I used the bandsaw
to cut closer to the axle hole, then cut the remaining pad octagonal with a chisel.
I made most of this cut on the table saw, but couldn't cut it so the
remainder was nice and square. I used the bandsaw
to cut closer to the axle hole, then cut the remaining pad octagonal with a chisel.
 Another block of wood goes between the plywood layers, with a cut-out for where
the wheel goes.
Another block of wood goes between the plywood layers, with a cut-out for where
the wheel goes.
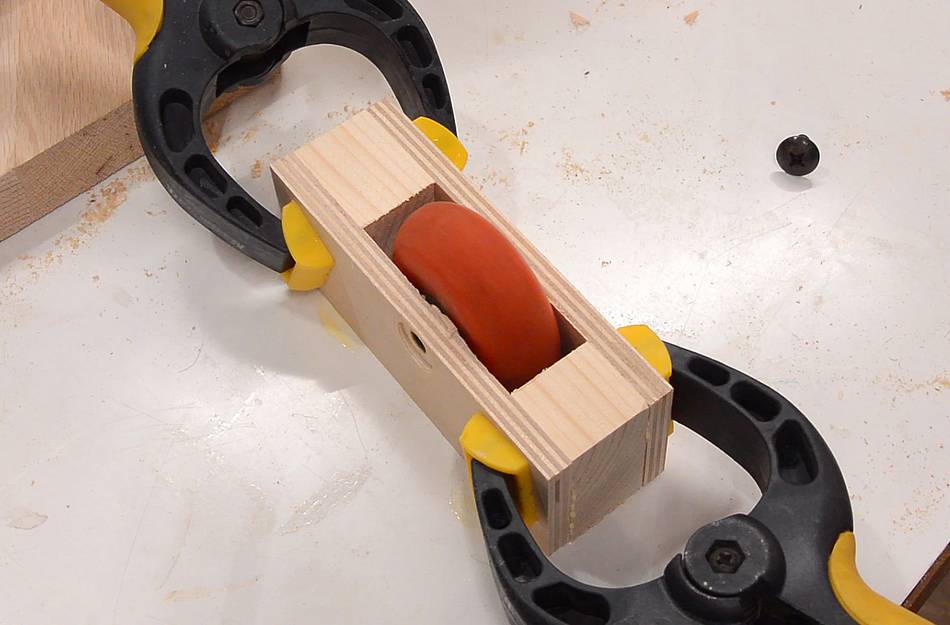 Gluing one of the wheel mounts together.
 Then screwing the wheel mounts to the inside of the drawer.
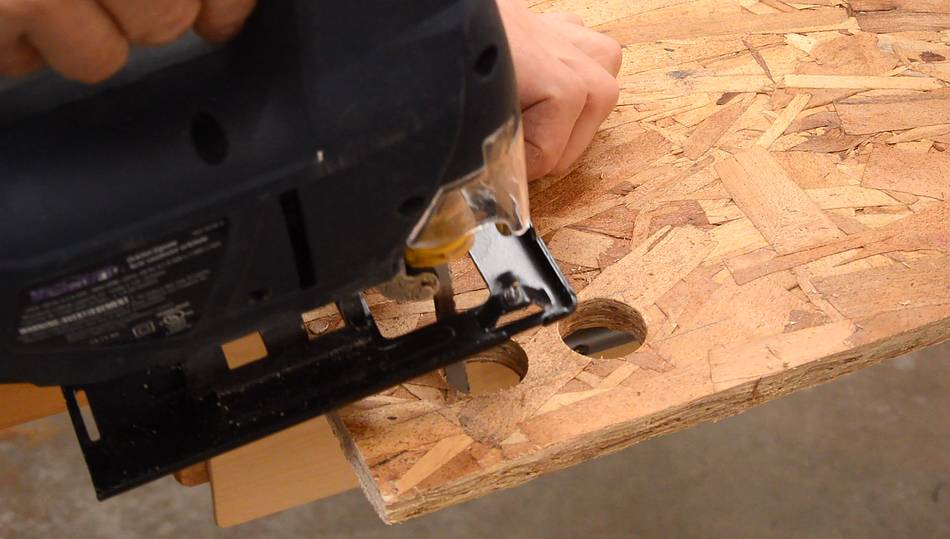 The wheels protrude through slots in the bottom of the drawer. I made the slots
by drilling two large holes with a Forstner bit, then cutting between them with
a jigsaw.
The wheels protrude through slots in the bottom of the drawer. I made the slots
by drilling two large holes with a Forstner bit, then cutting between them with
a jigsaw.
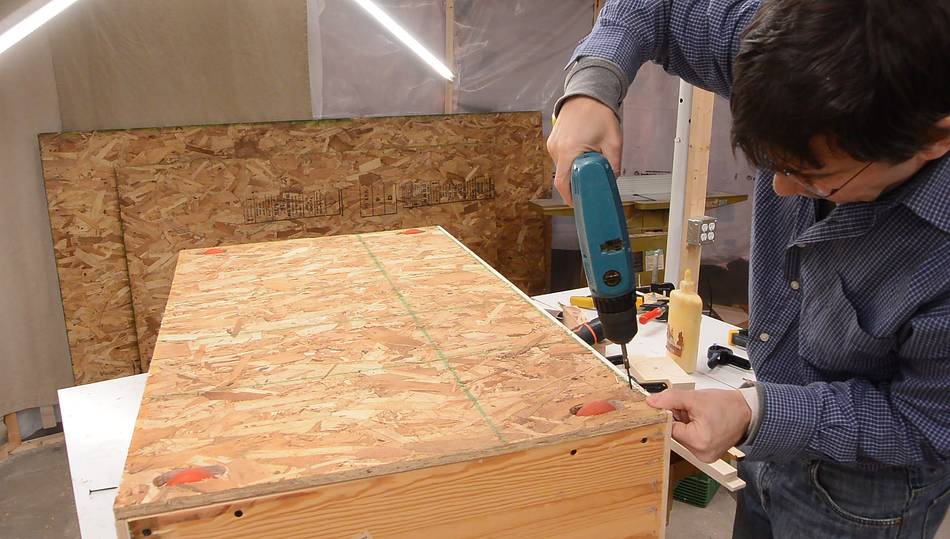 Then mounting the bottom on. I temporarily placed it on, drilled all the pilot
holes, then took it off again to apply glue, and then screwed it on.
Then mounting the bottom on. I temporarily placed it on, drilled all the pilot
holes, then took it off again to apply glue, and then screwed it on.
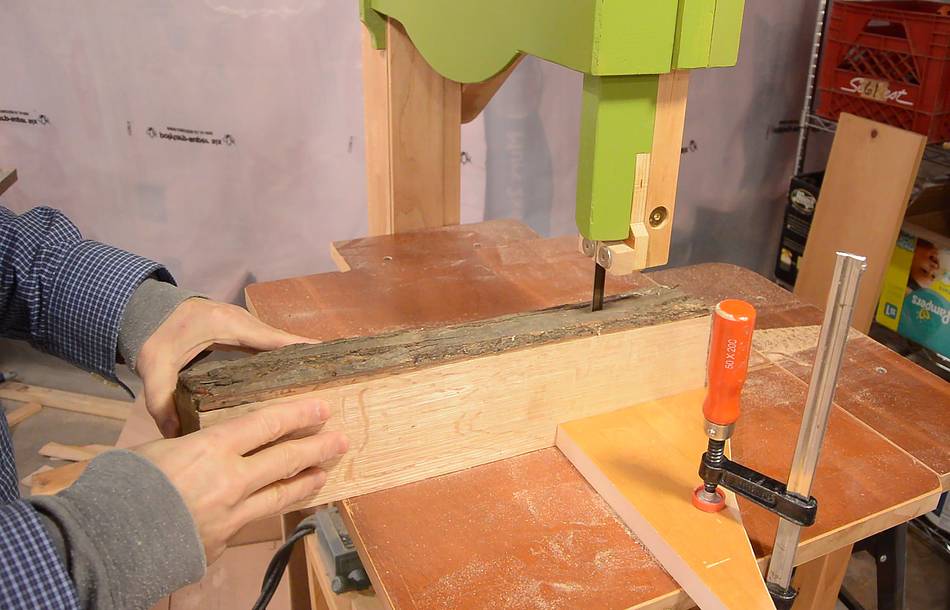 I still needed a handle for the drawer. I started by cutting a piece off some
firewood that I previously squared up.
I still needed a handle for the drawer. I started by cutting a piece off some
firewood that I previously squared up.
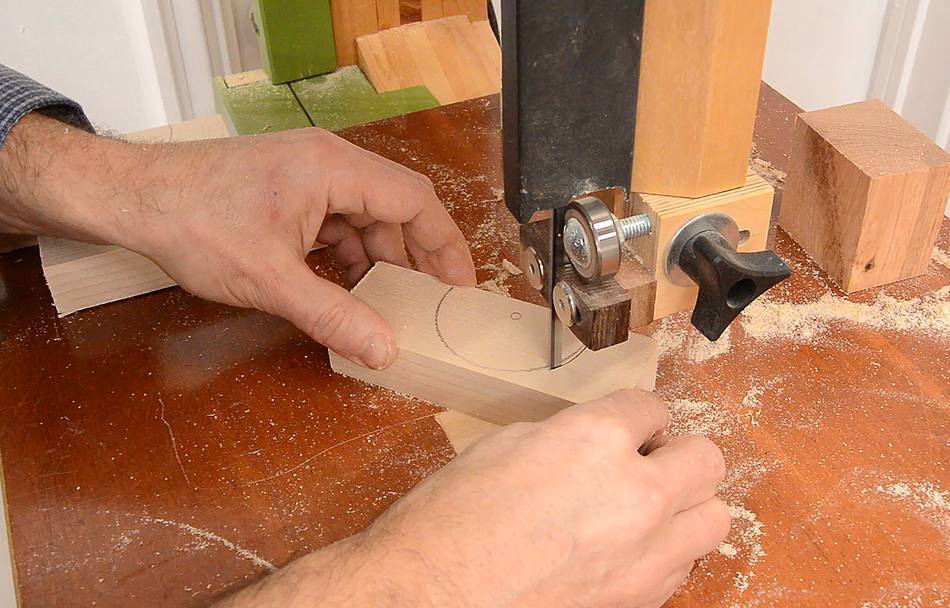
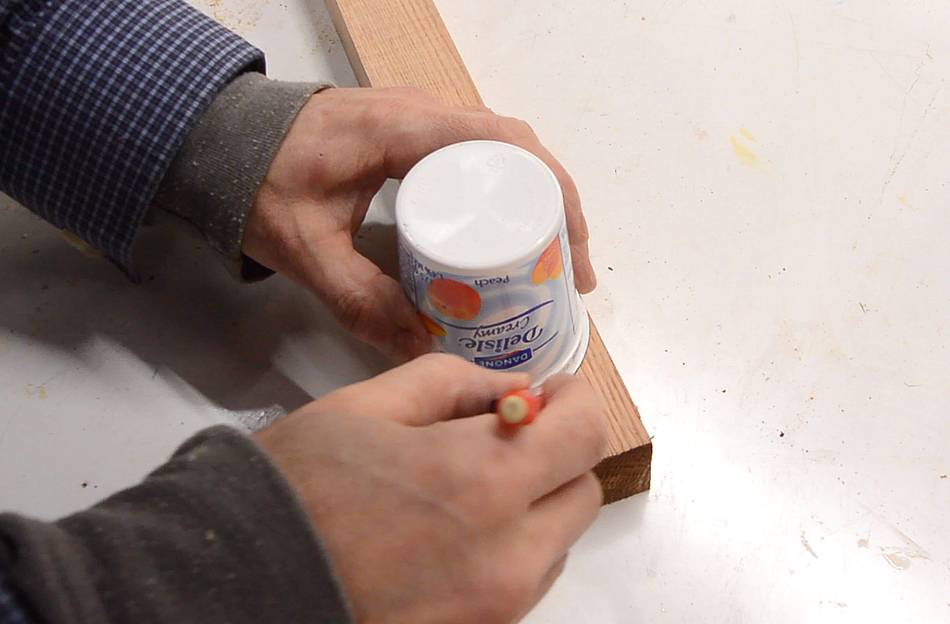 I used an empty plastic yoghurt cup to mark the round outline for the handles...
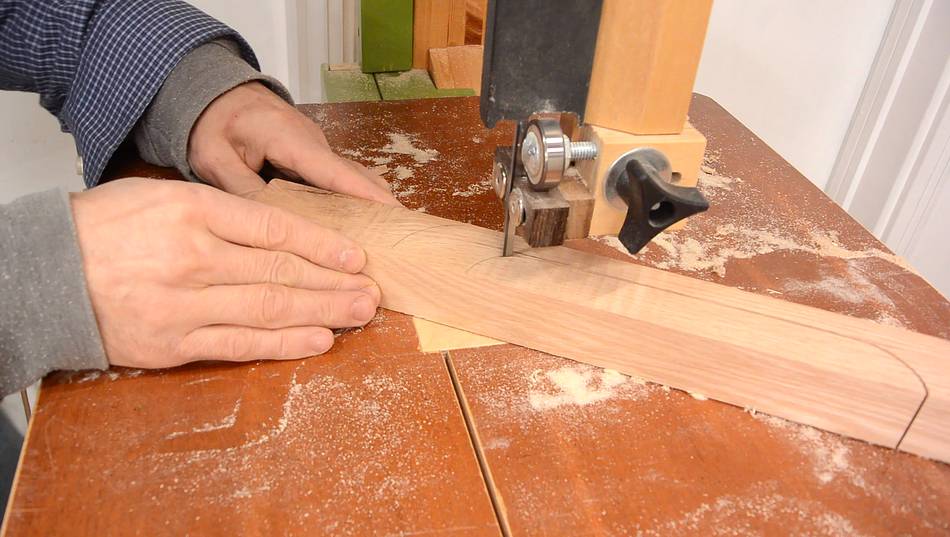 ...then cut it out on the bandsaw.
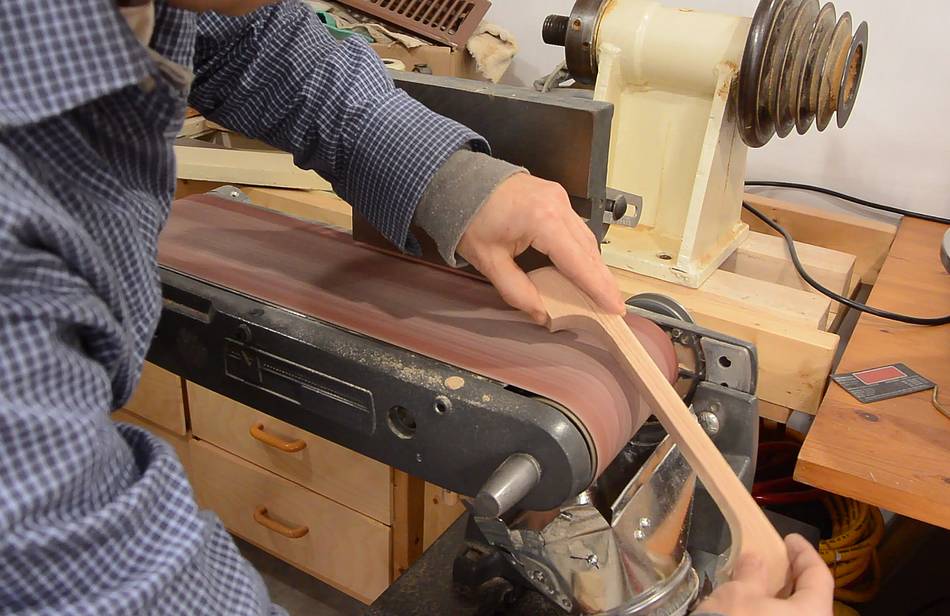 I rounded all the edges to about 1/4" round on the belt sander. A router would
make more sense but I was making just one handle and it wasn't worth the trouble
setting it up.
I rounded all the edges to about 1/4" round on the belt sander. A router would
make more sense but I was making just one handle and it wasn't worth the trouble
setting it up.
 Handle attached to
the drawer, filled with tools, rolling under the workbench.
Handle attached to
the drawer, filled with tools, rolling under the workbench.
The beauty of drawers like this is, with built-in wheels, they can take a lot of weight, and they can be pulled all the way out and rolled away from the workbench for better access or sweeping under the workbench.
Update Oct 2019
I built the drawer in Feb 2018. We ended up moving that same year, though
the move wasn't planned long in advance.
I left the workbench it fit under behind because the drawers in it
were not very deep and quite heavy, so more expensive to move. But I
used the drawer as a crate for packing, so that came along to he new house.
I eventually built another workbench that it fit
under.
Back to my Woodworking website
 Building the workbench in this video
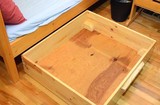 Rolling under-bed drawer
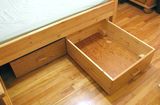
 Under bed drawer plans
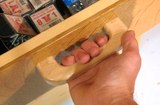 Making drawer handles
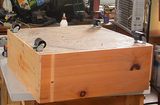 Storage box on wheels for under shelves