Lucian's bandsaw build
 Lucian, from Romania, writes:
Hello Matthias,
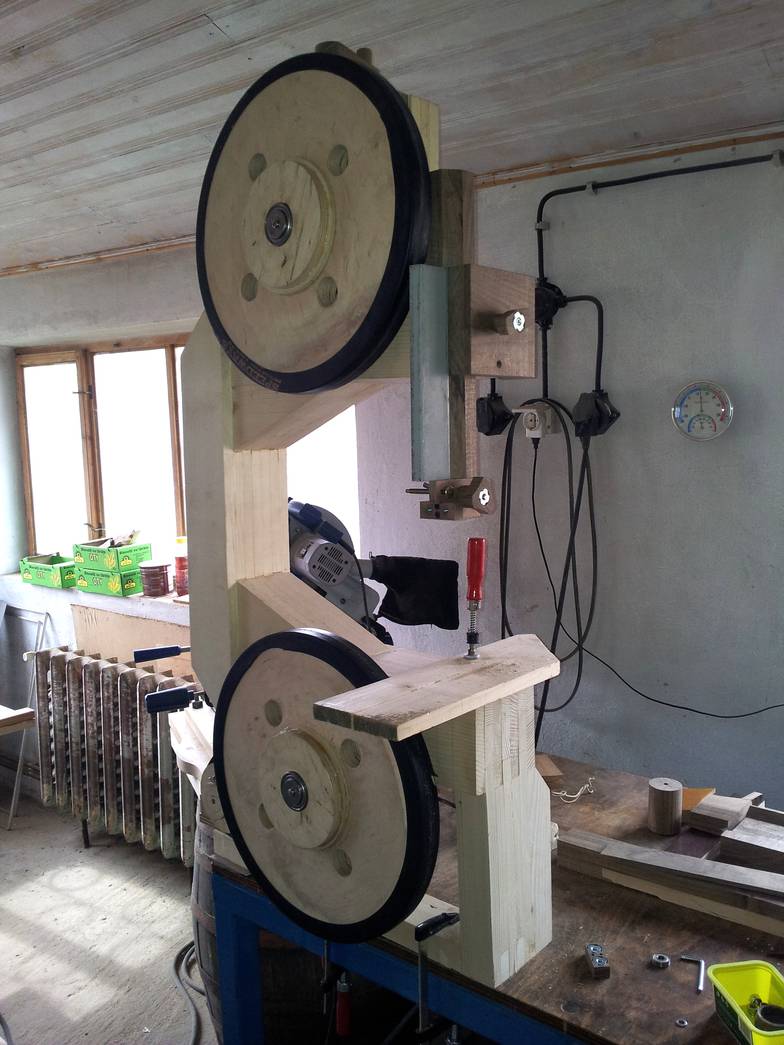
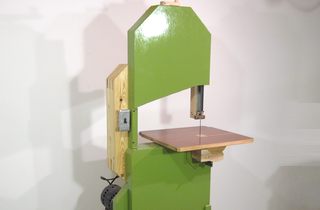
I want to tell you that I finished building my bandsaw according to the plan purchased from you in November 2013! I'm glad and grateful. Thank you!
I started to work in early December 2013 and I completed this project in the middle of September, being able to work only during week-ends.
A few words about the materials and techniques used:
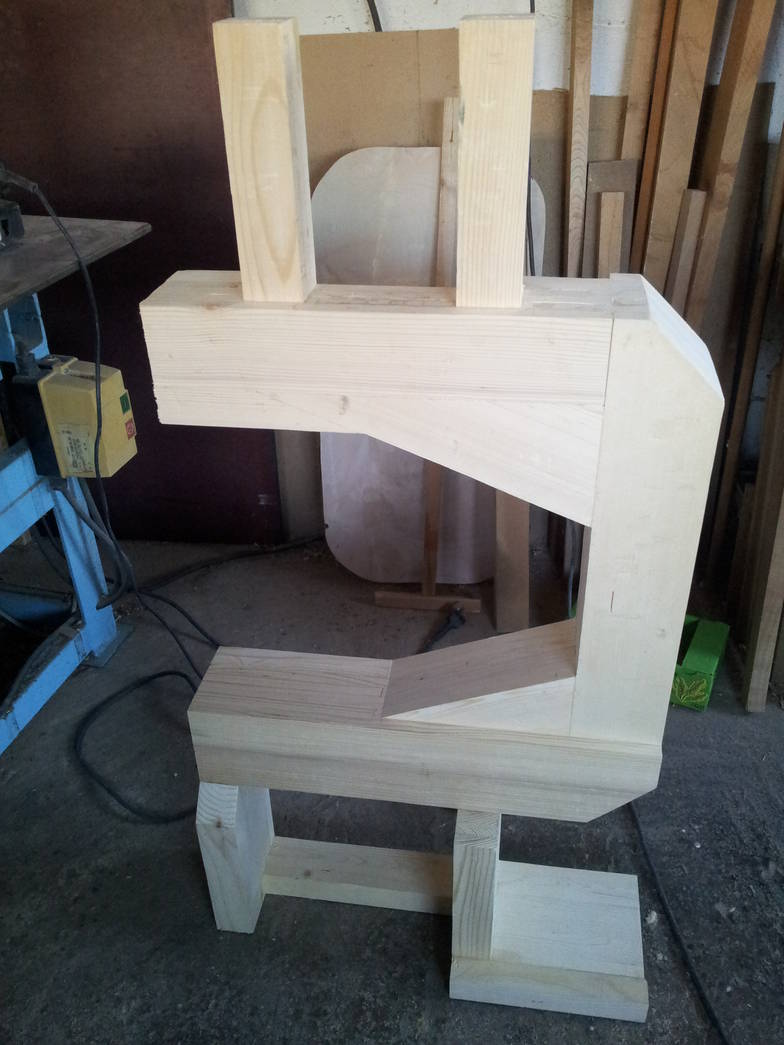
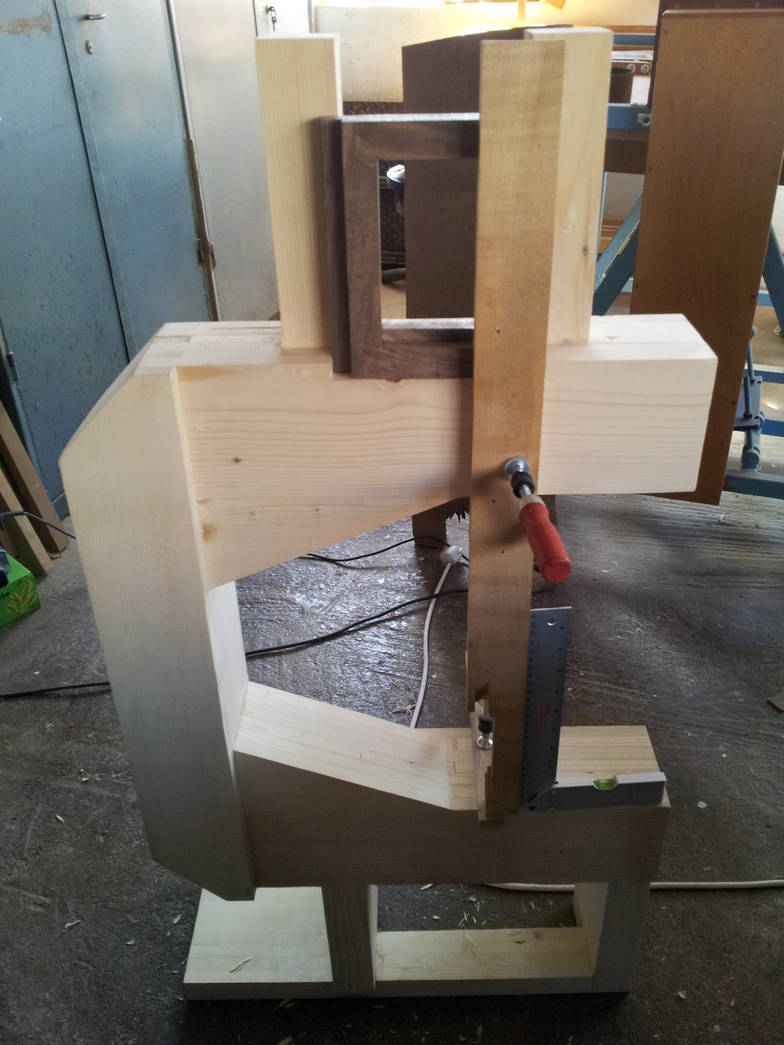
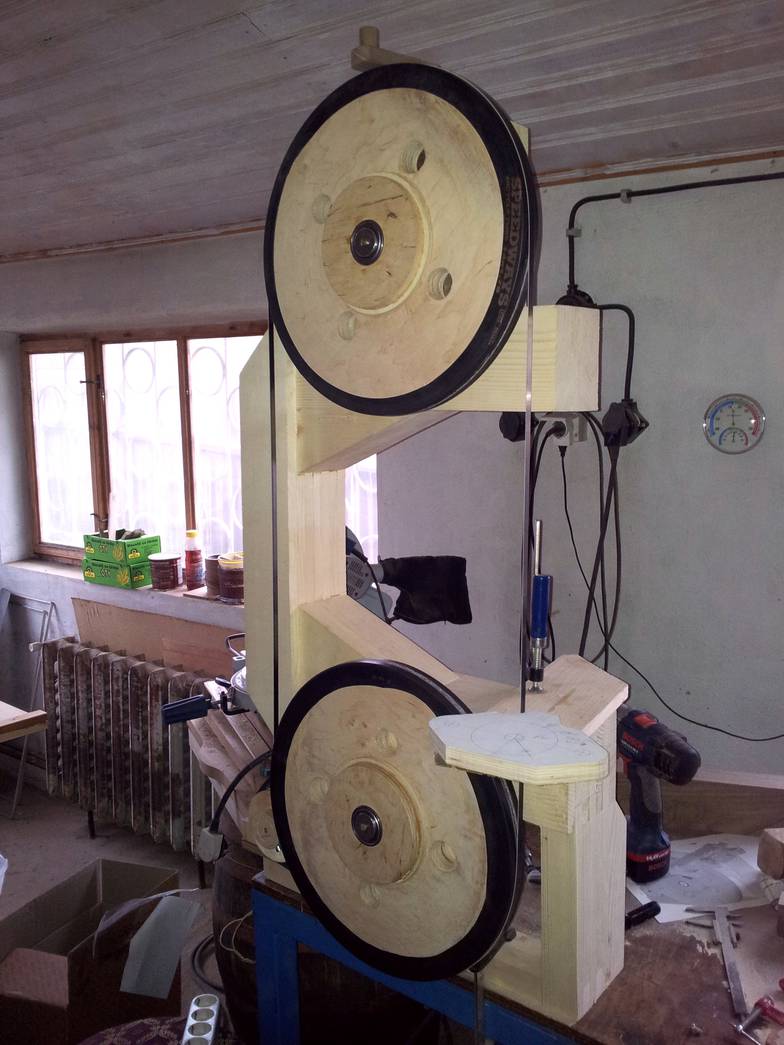
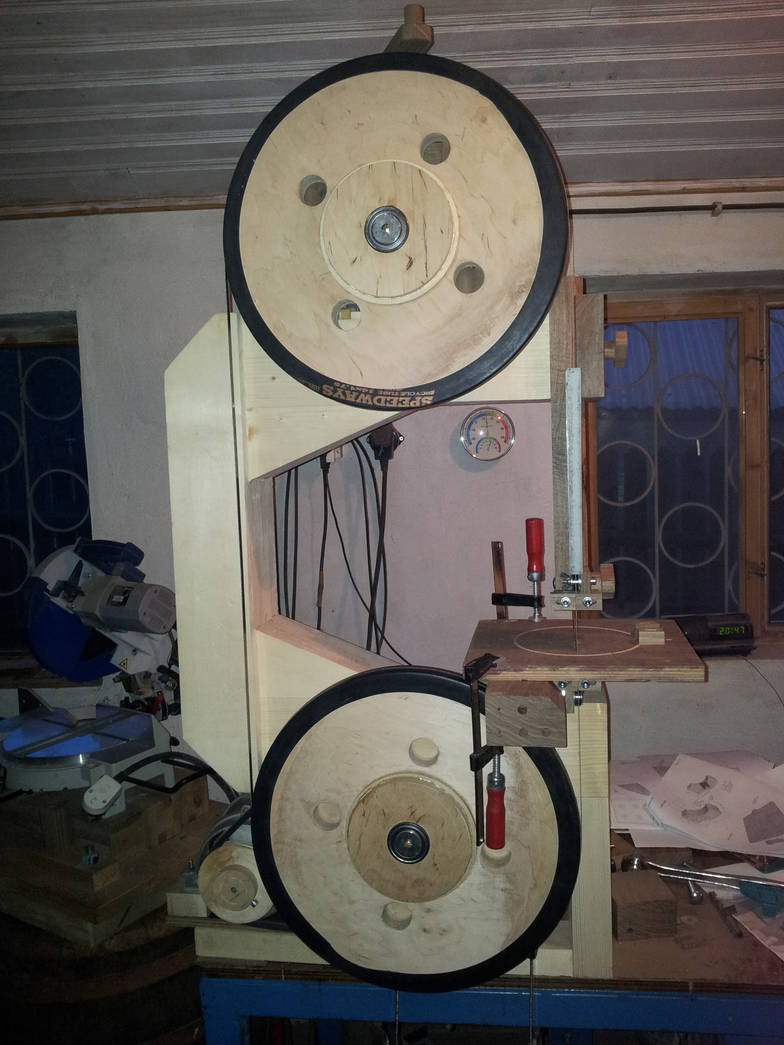
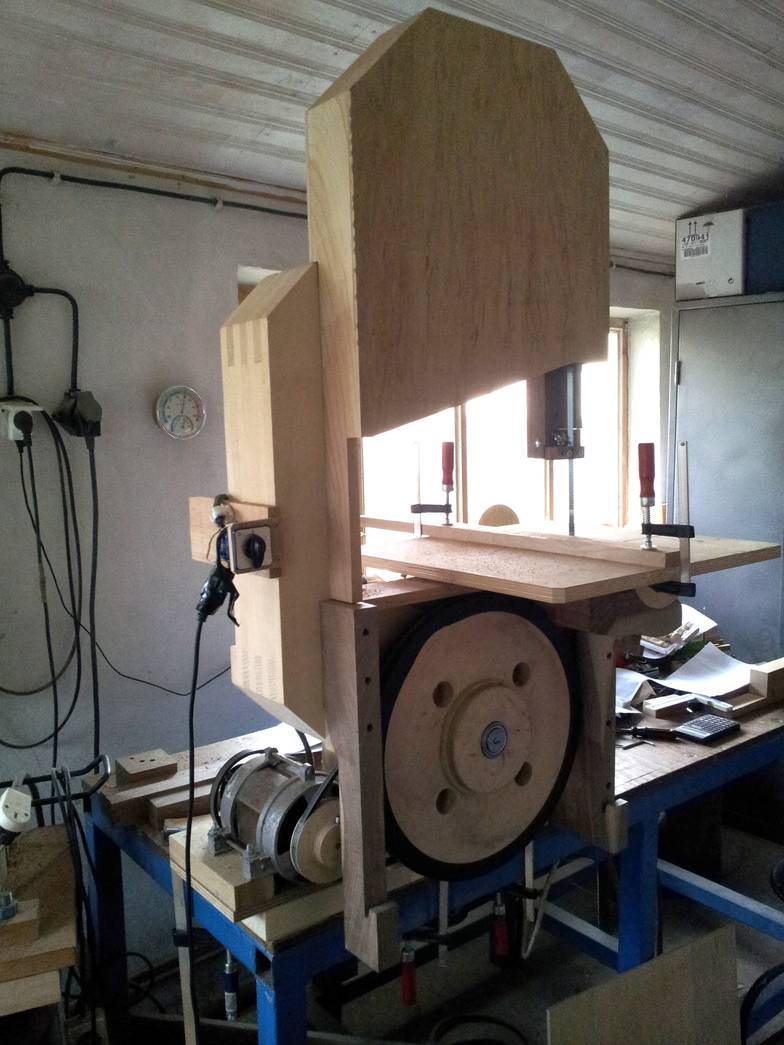
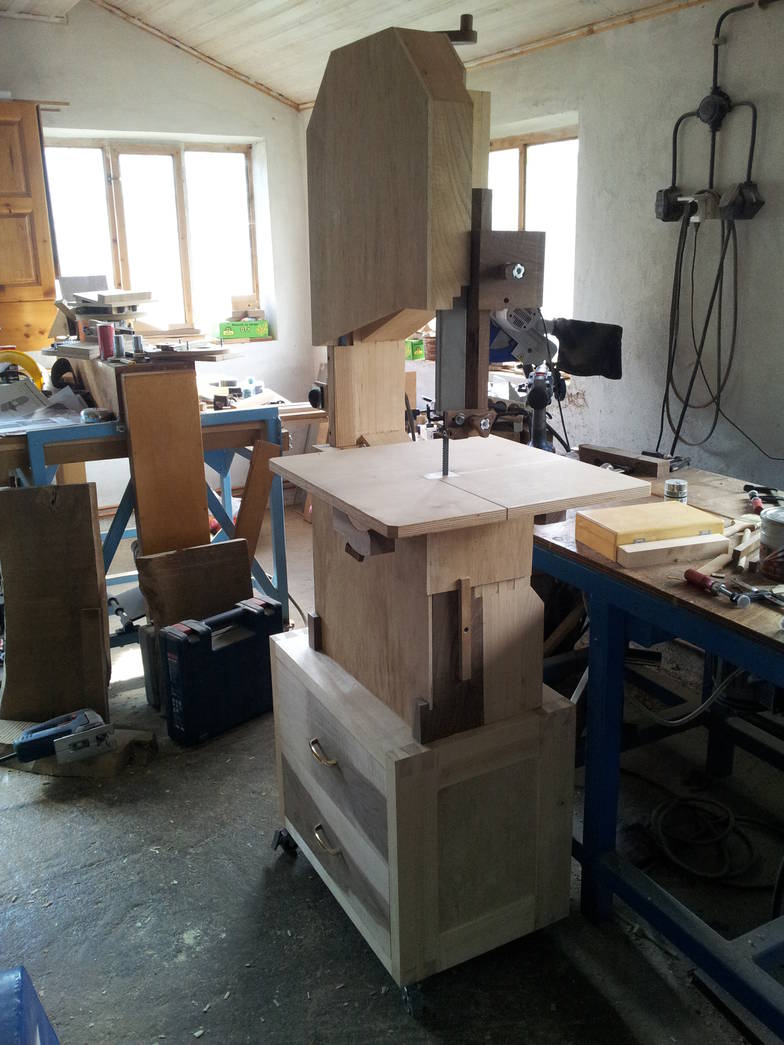
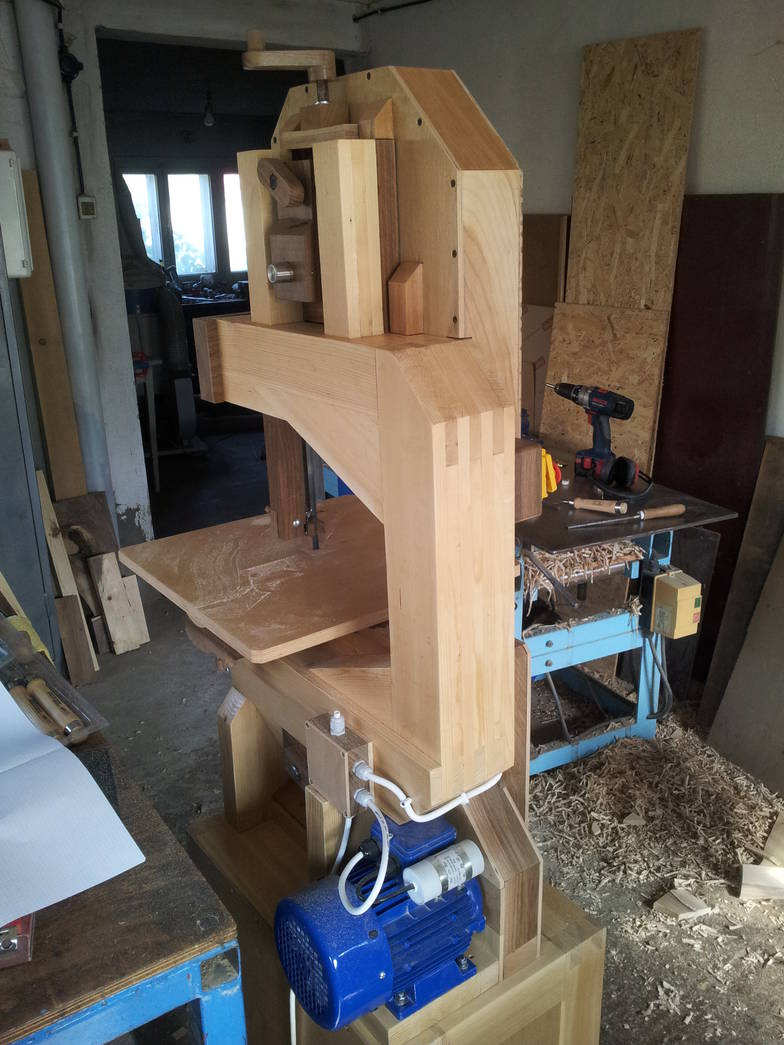
1. The bandsaw frame was made according to your plan, from spruce, thickness approx. 18mm, laminated layer by layer. Inadvertently, upper front corner disjoint, having the adhesive film too thick and it moved during gluing. When I came back to glue the last layer, I had to destroy it in order to be removed. I cleaned the place and having no backup corner brace, I quickly glued another piece that I found, but this one did not meet grain orientation parallel to hypotenuse, which can be seen in some pictures, if you look closely ... Anyway, this does not affect the bandsaw functionality.

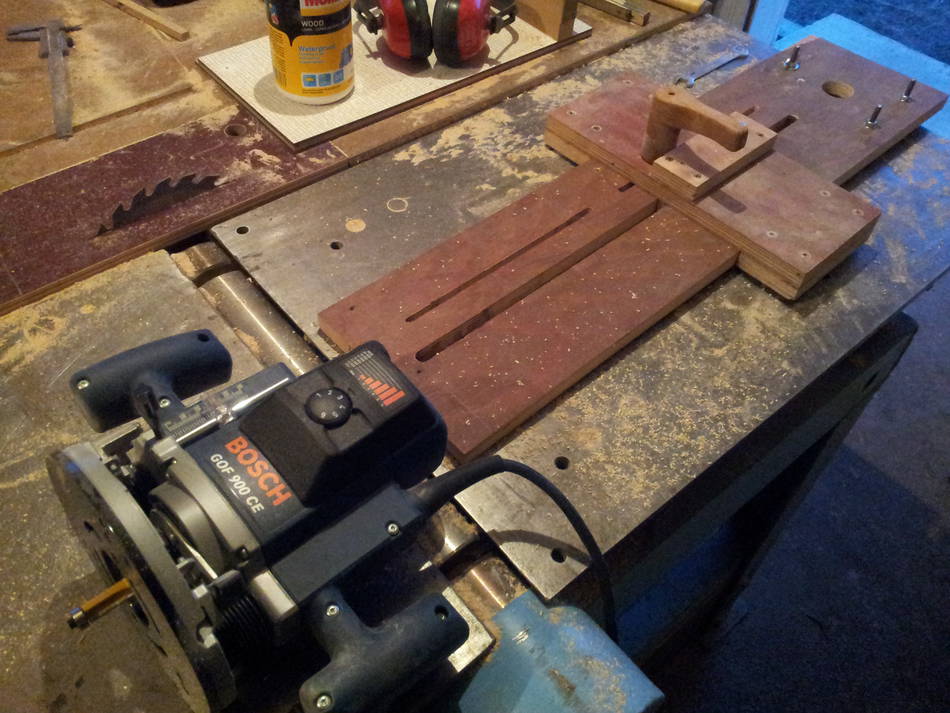
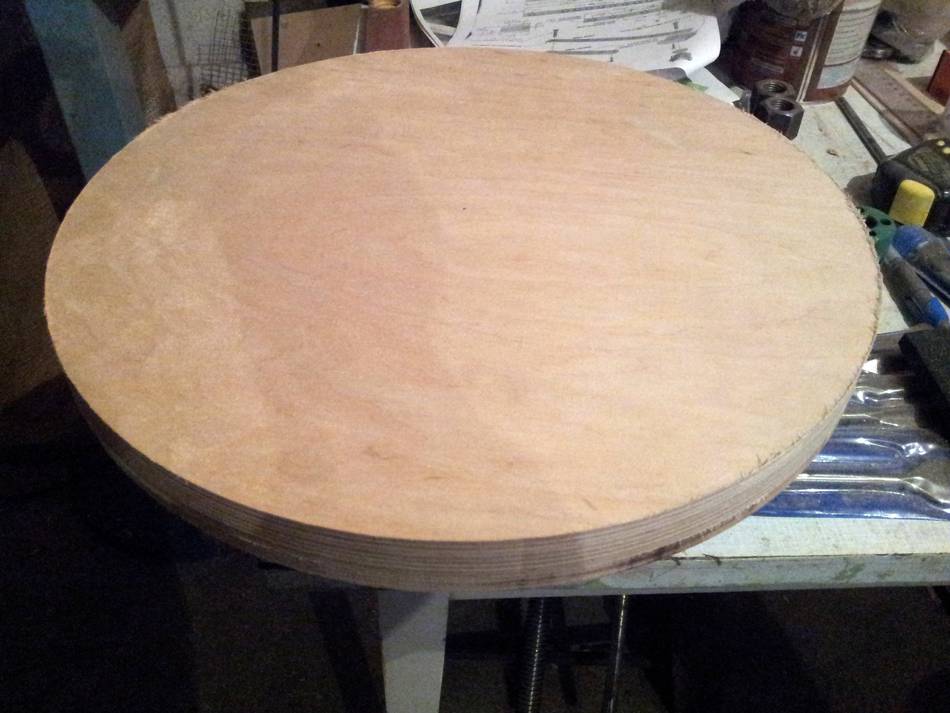
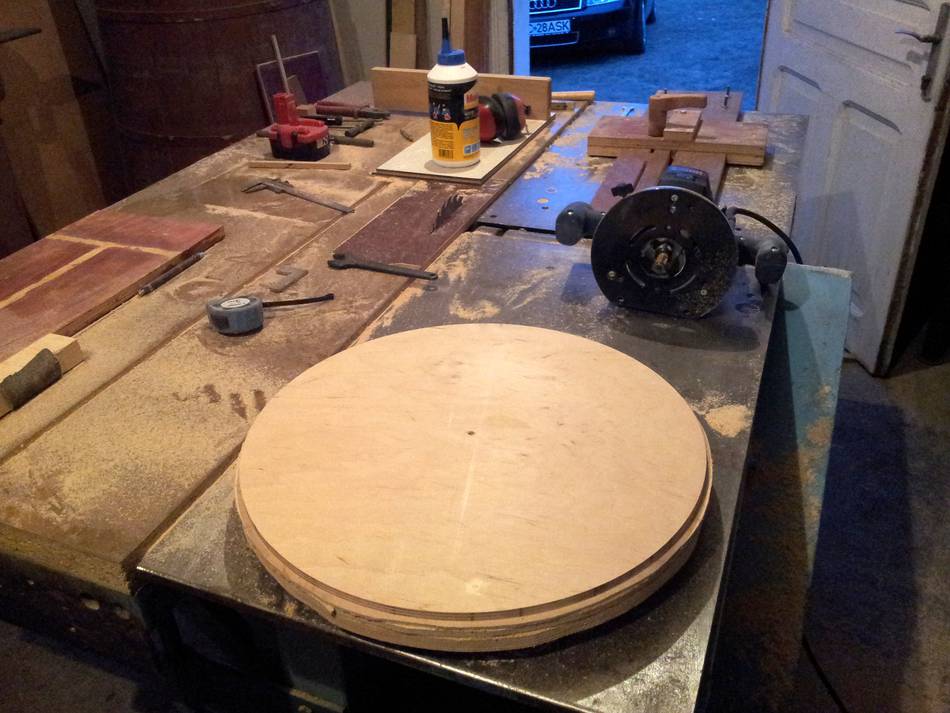

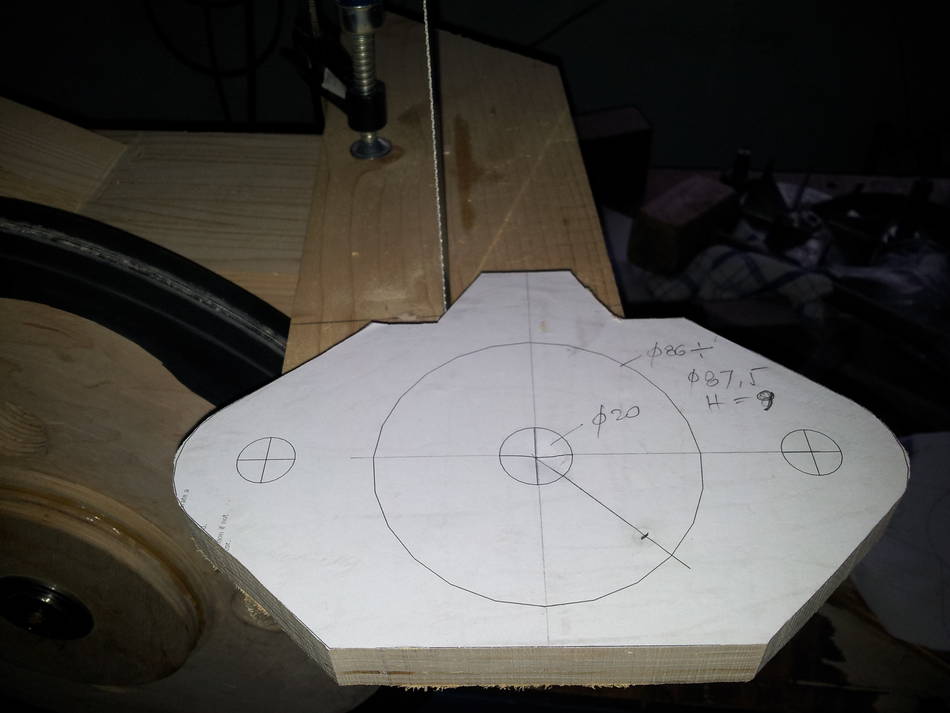
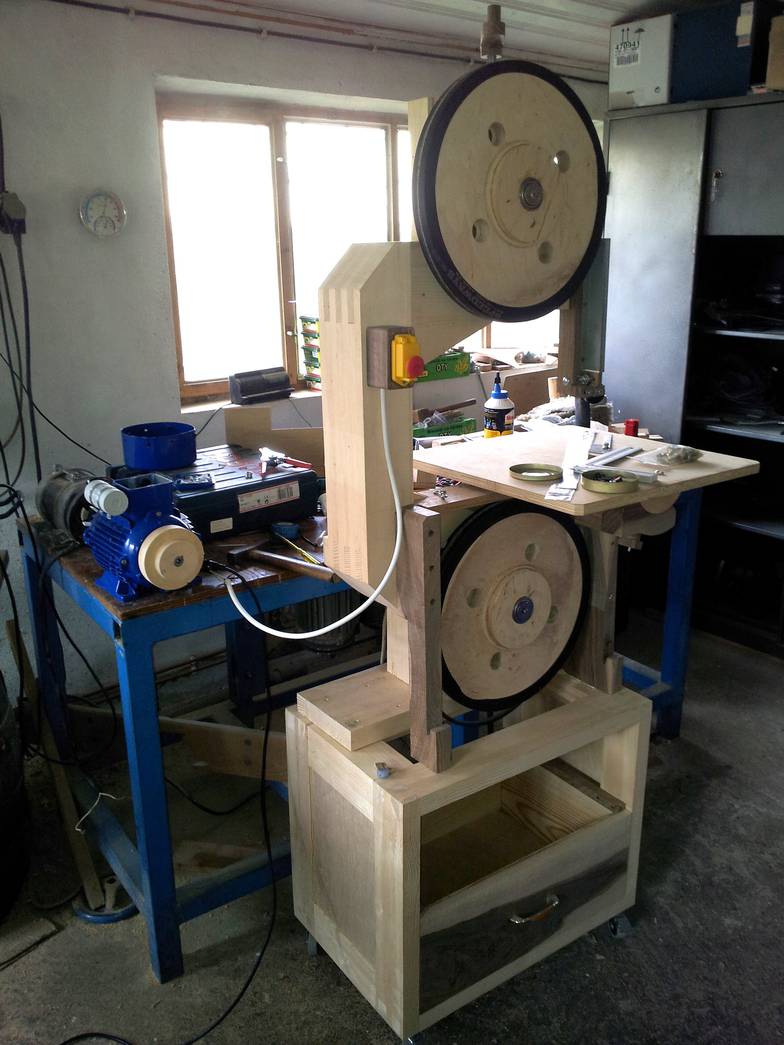
2. The wheels consist of 3 layers of birch plywood, 415mm diameter, glued together (2 layers of 12.5mm thickness by the edges and one layer of 6.35mm in the middle). After gluing, using a router circle jig (which I admit I did not possess, although it would have been useful to other previous machines, I build one big circle jig and a small one). I cut the wheels to 405mm diameter. Next, I drill a 27mm center hole and the other 4 outward holes of 35mm.

 3. The bearing flanges and intermediate plates are made in a different
way. With the small router circle jig, I cut 4 discs each from
birch plywood (12.5mm for bearings flanges, 6.35mm for plates). But, in
that moment, I had to build another jig, a self-centering plate used on
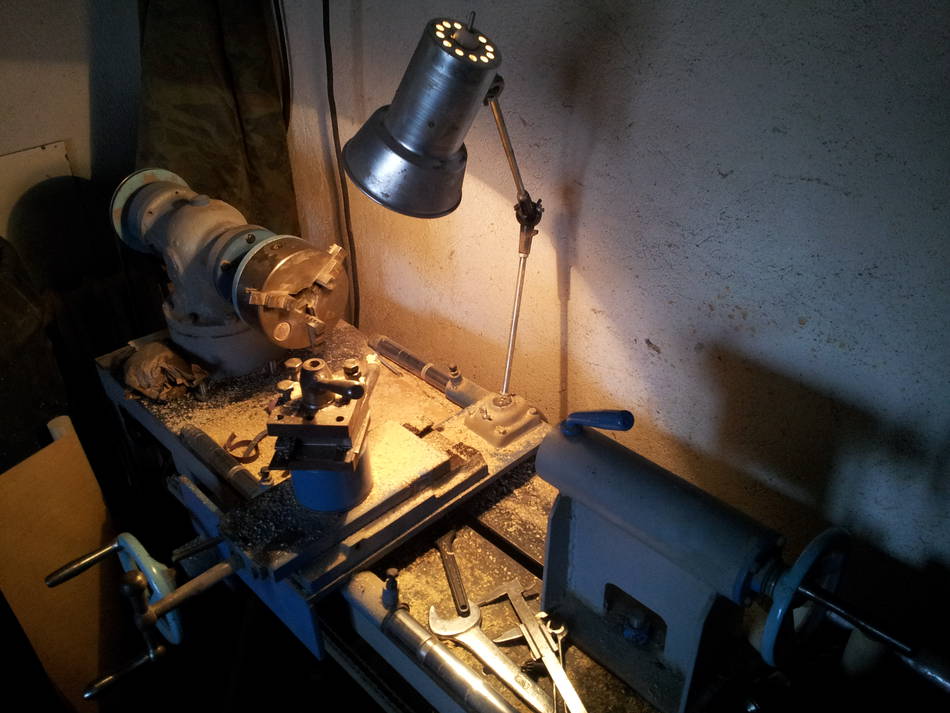
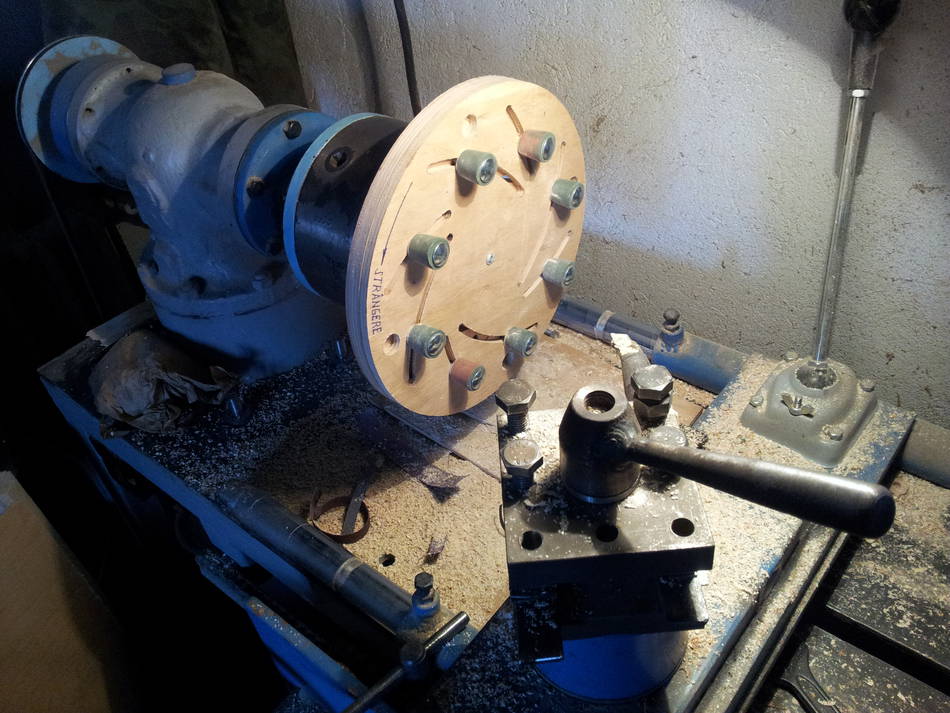
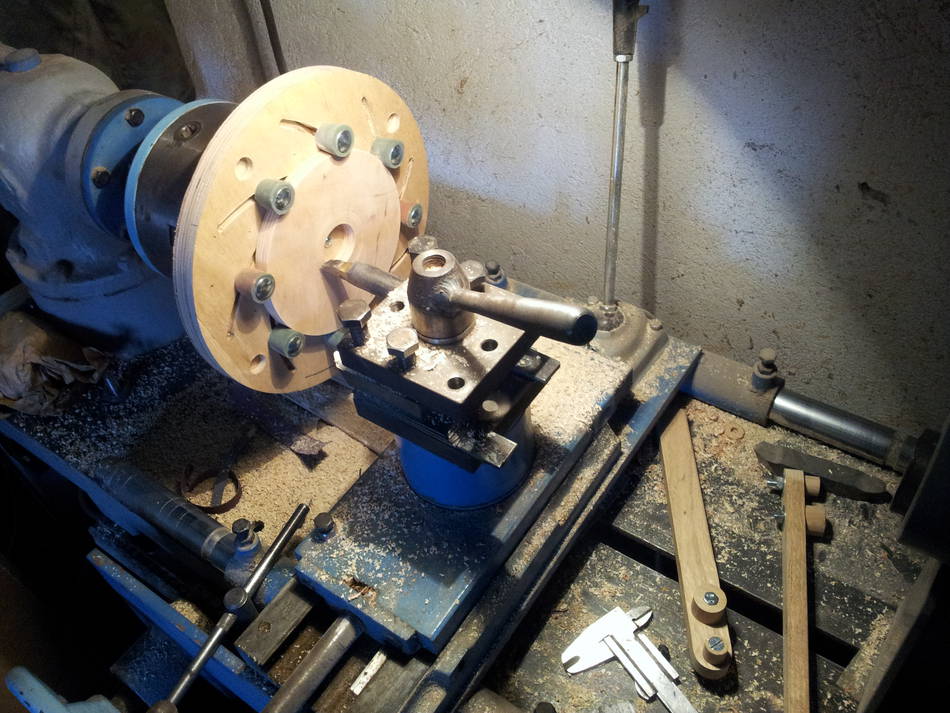
lathe, called "Longworth chuck". With this jig and with my homemade
lathe (for woodturning and soft metal turning) I was able to easily
center and precisely machine all the 6205 bearing fittings (about 0.4mm
tight fit).
3. The bearing flanges and intermediate plates are made in a different
way. With the small router circle jig, I cut 4 discs each from
birch plywood (12.5mm for bearings flanges, 6.35mm for plates). But, in
that moment, I had to build another jig, a self-centering plate used on
lathe, called "Longworth chuck". With this jig and with my homemade
lathe (for woodturning and soft metal turning) I was able to easily
center and precisely machine all the 6205 bearing fittings (about 0.4mm
tight fit).
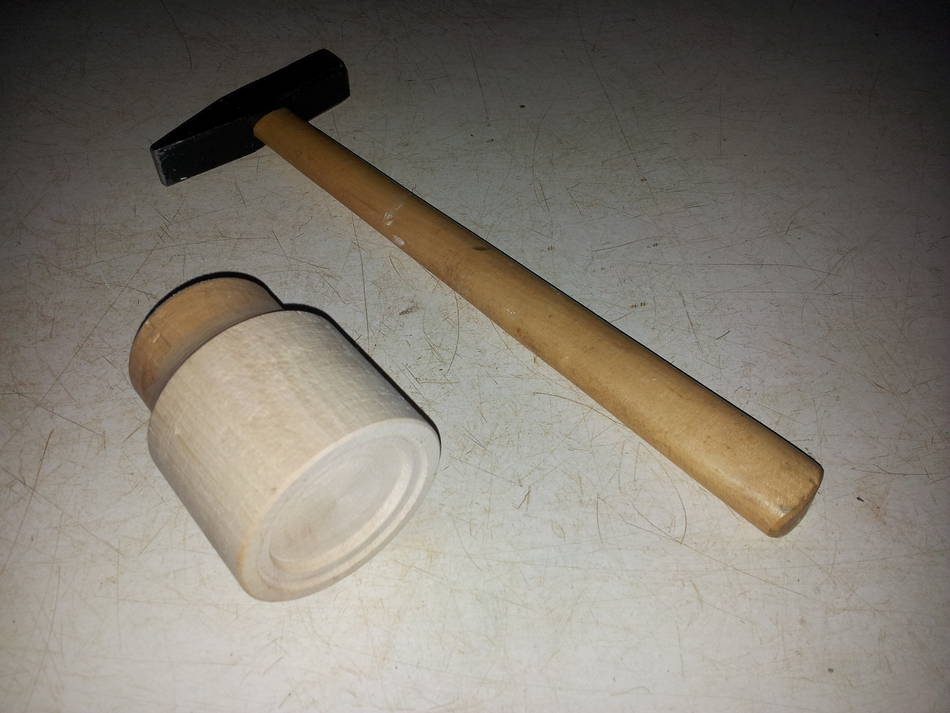
Assembling bearings in flanges was done with a
cylindrical piece of wood (profiled according with bearing geometry) and
a 0.25kg hammer.
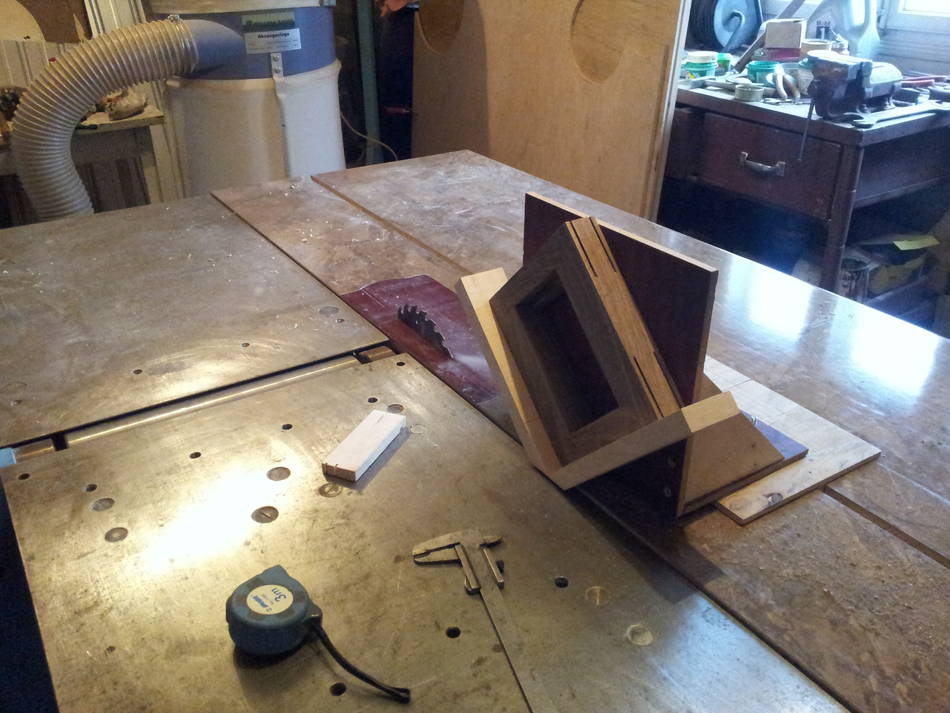

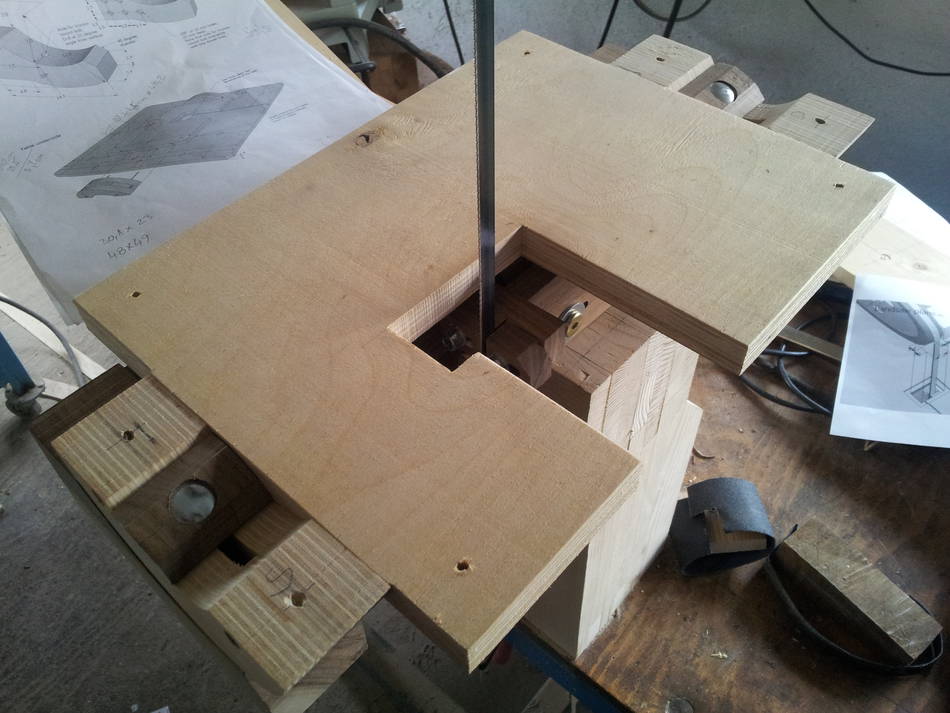
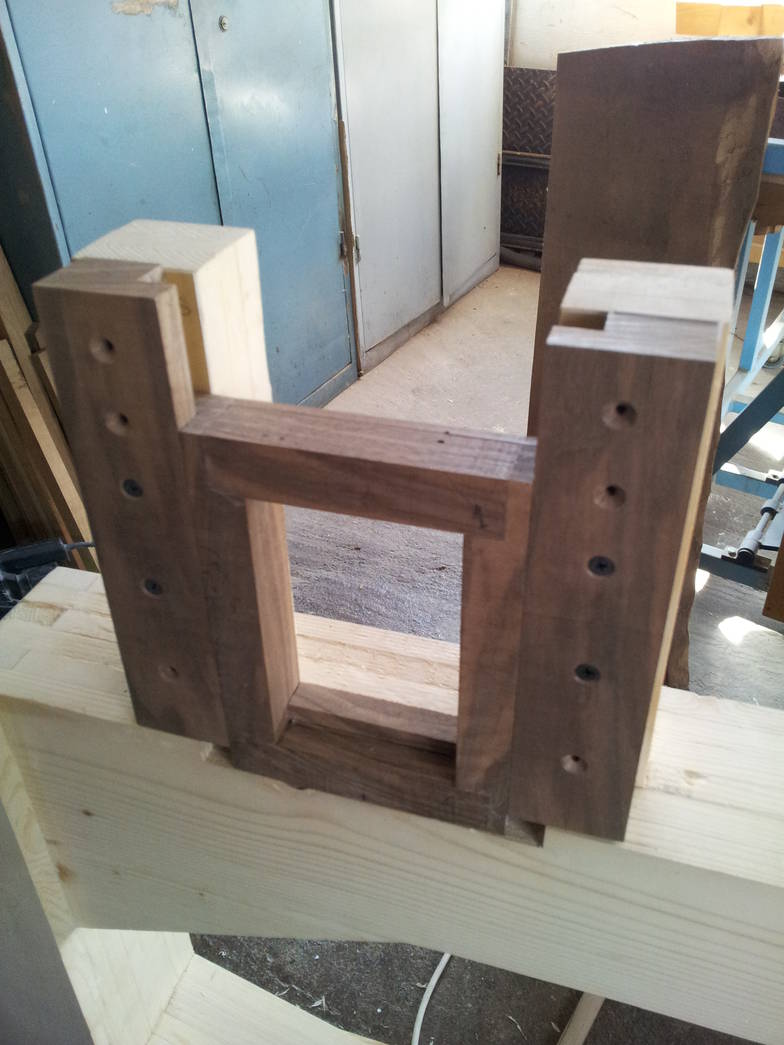 4. The top wheel mount frame/tension assembly is from walnut (Juglans
regia). Another jig was necessary to cut slots for
splines which reinforced the corners.
4. The top wheel mount frame/tension assembly is from walnut (Juglans
regia). Another jig was necessary to cut slots for
splines which reinforced the corners.
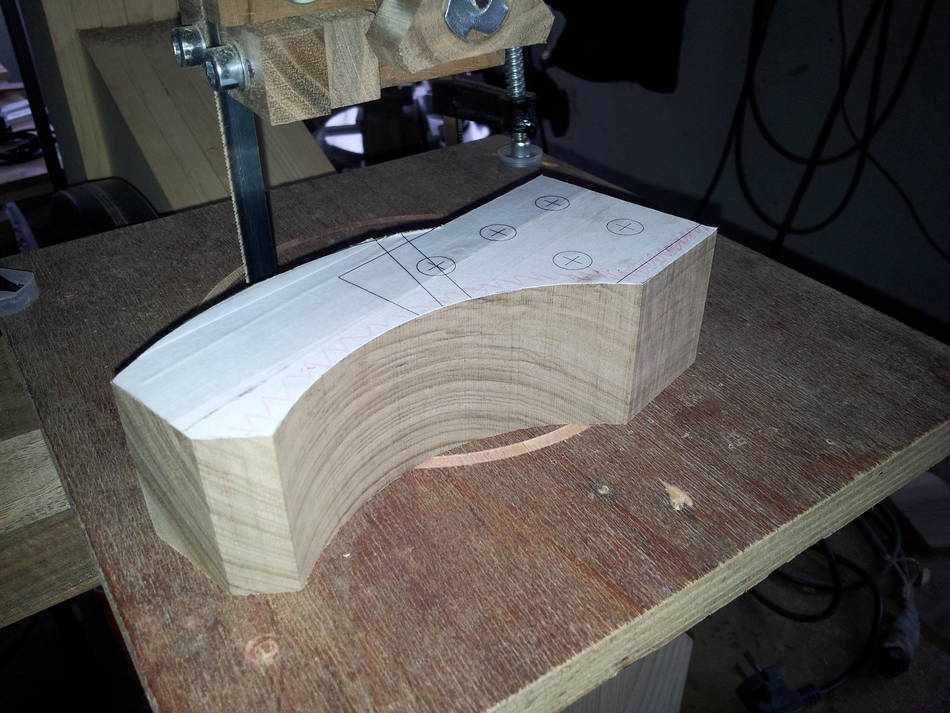
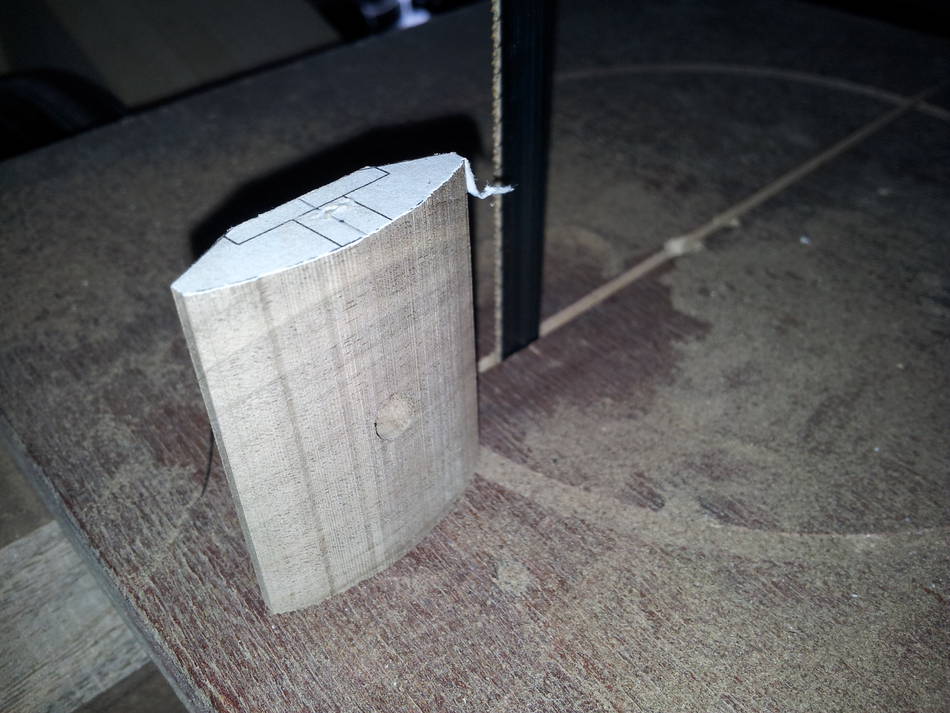
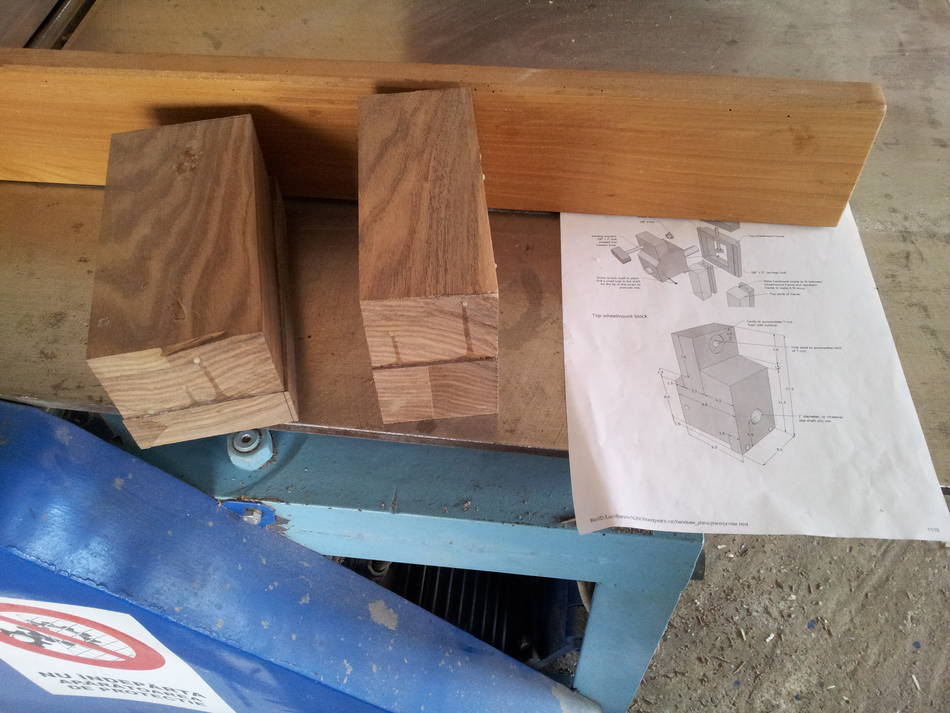 5. The top and bottom wheel mount block required gluing some walnut
boards to get the proper thickness.
5. The top and bottom wheel mount block required gluing some walnut
boards to get the proper thickness.

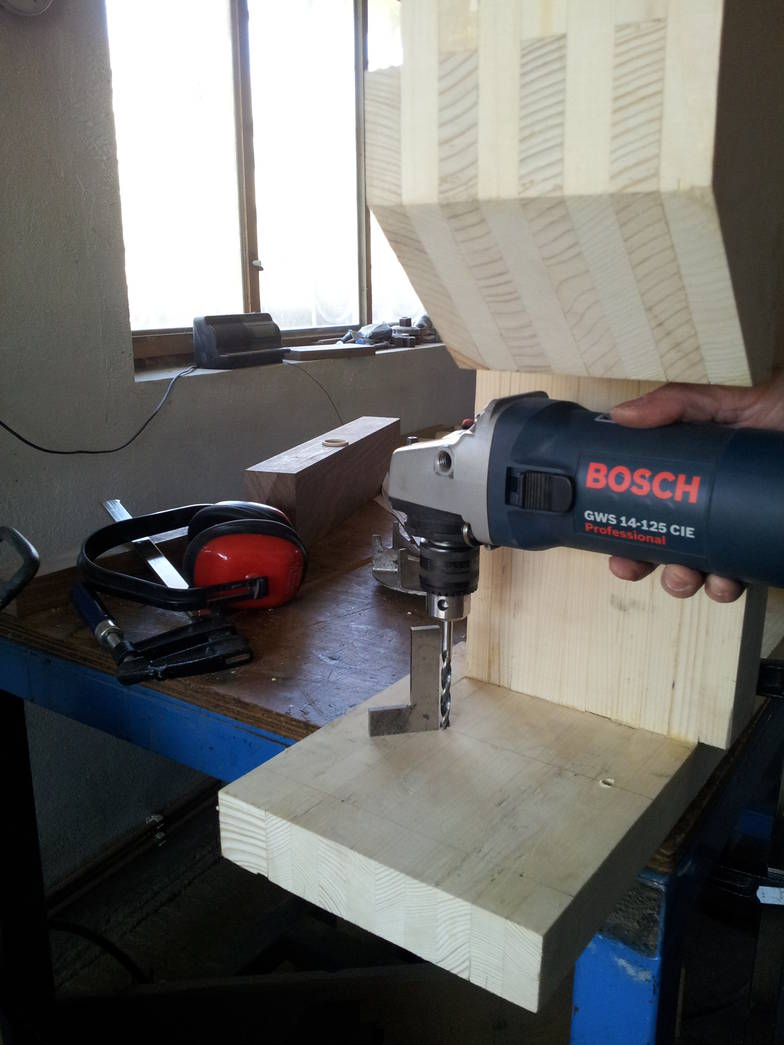 6. Because I preferred to build the bandsaw frame by gluing all items,
including those from the bottom, and because I don't have a right angle
drill for drilling the frame (pilot holes for the bottom
wheel mount block screws and then the holes for M8 screws for fixing the
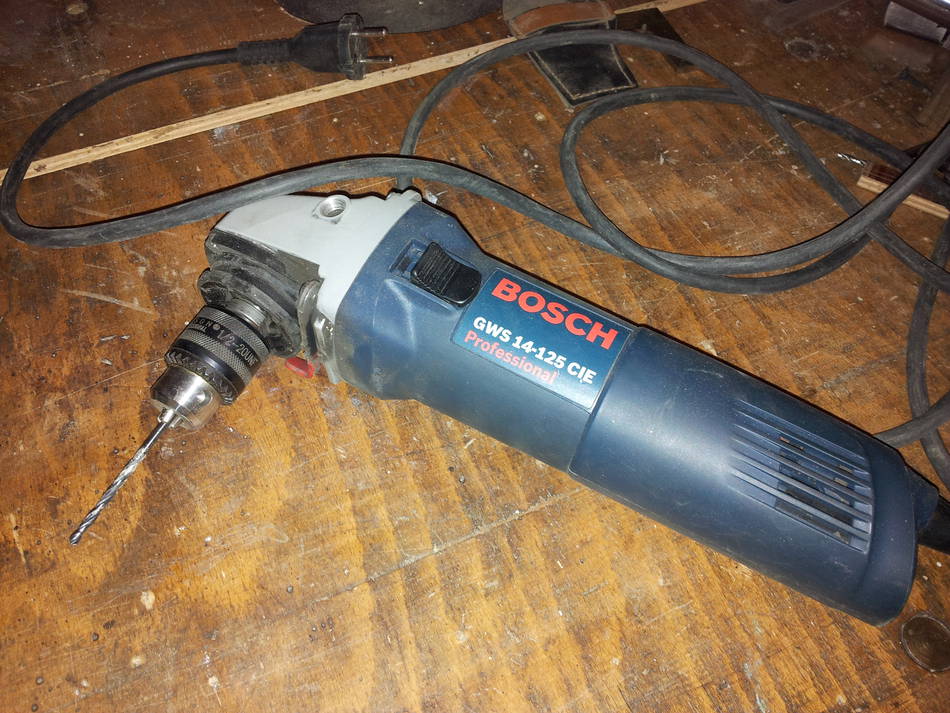
motor), I used the following trick: I adapted a small chuck to an angle
grinder (a friend has machined a M14 x 1.5 internal thread), which
allowed me to couple it to the angle grinder shaft. The grinder is
variable speed, I managed to safely perform the 8 holes drilling process
at a minimum speed.
6. Because I preferred to build the bandsaw frame by gluing all items,
including those from the bottom, and because I don't have a right angle
drill for drilling the frame (pilot holes for the bottom
wheel mount block screws and then the holes for M8 screws for fixing the
motor), I used the following trick: I adapted a small chuck to an angle
grinder (a friend has machined a M14 x 1.5 internal thread), which
allowed me to couple it to the angle grinder shaft. The grinder is
variable speed, I managed to safely perform the 8 holes drilling process
at a minimum speed.
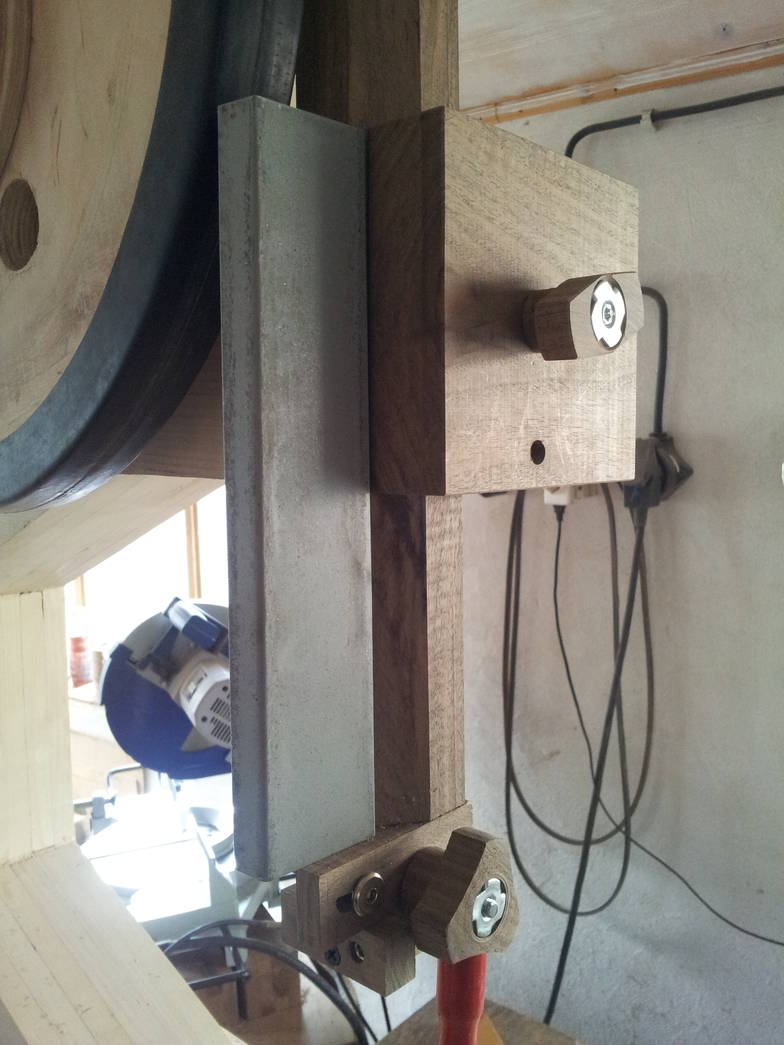
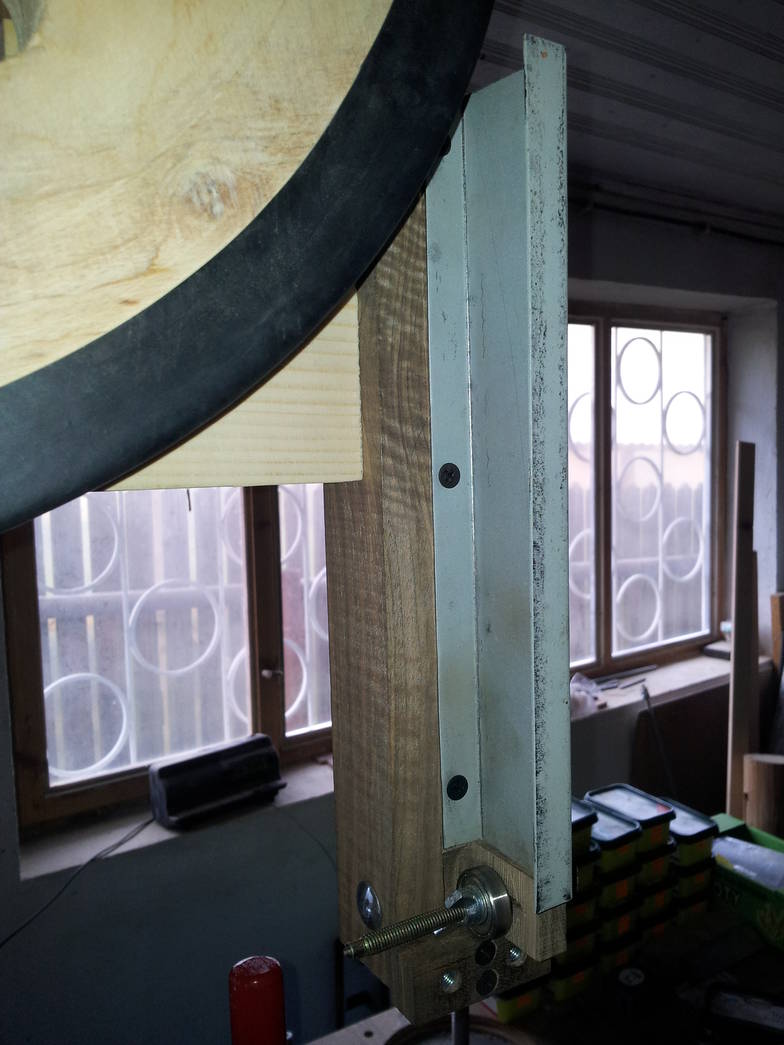
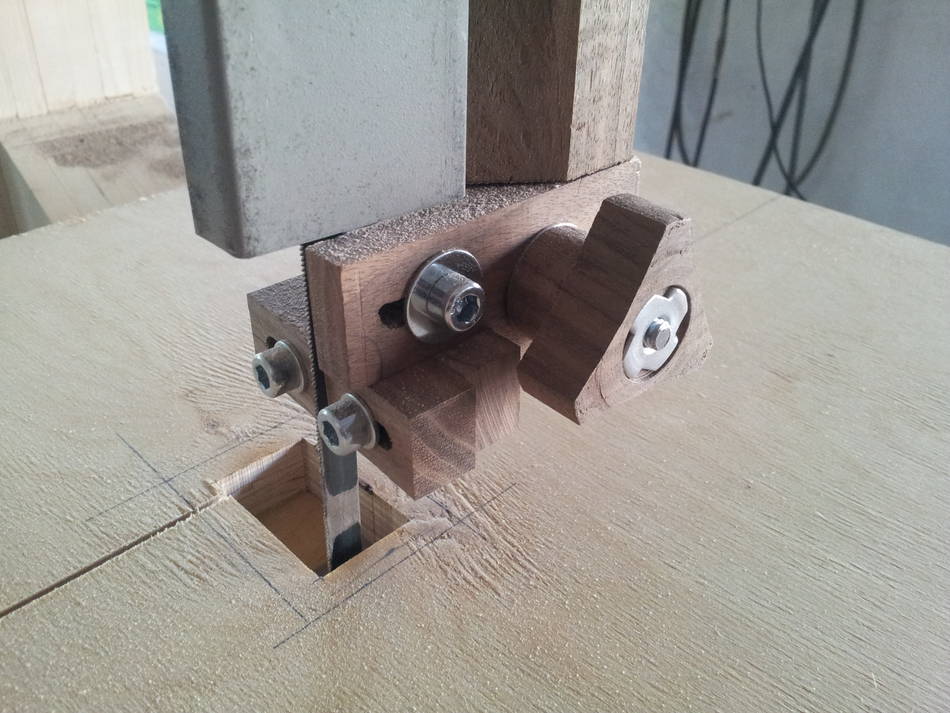
7. The guide bar and clamp, the trunnion support beam, the trunnion
cradles, the knobs etc. (hardwood) are made from walnut.
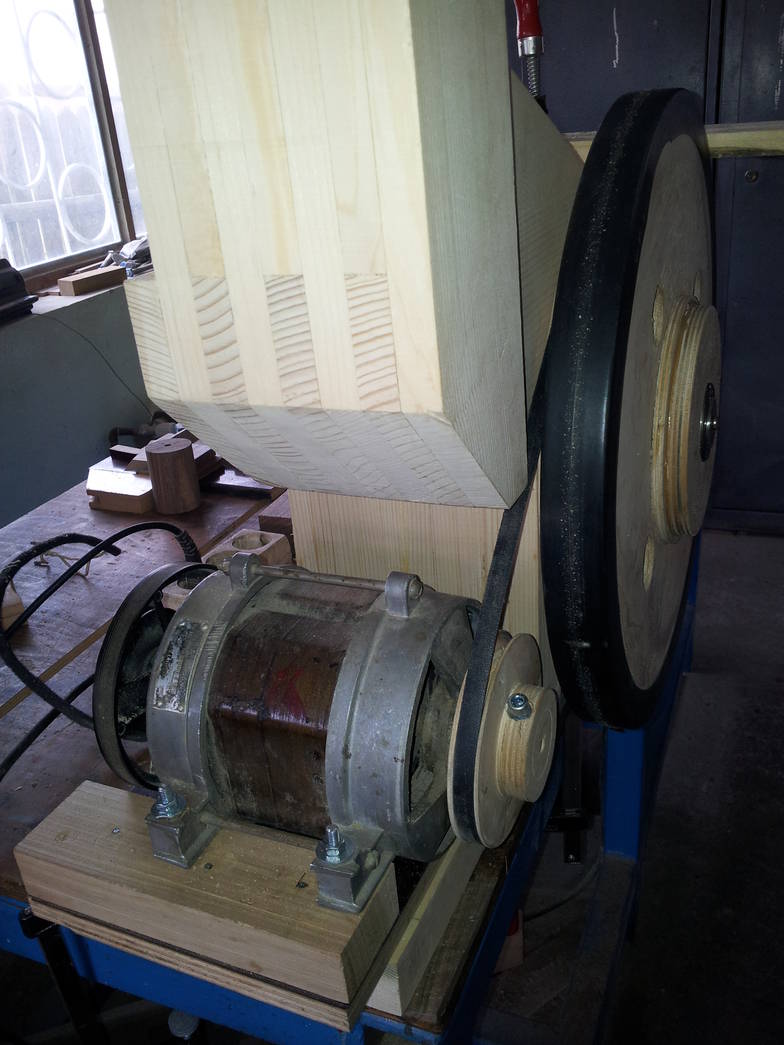
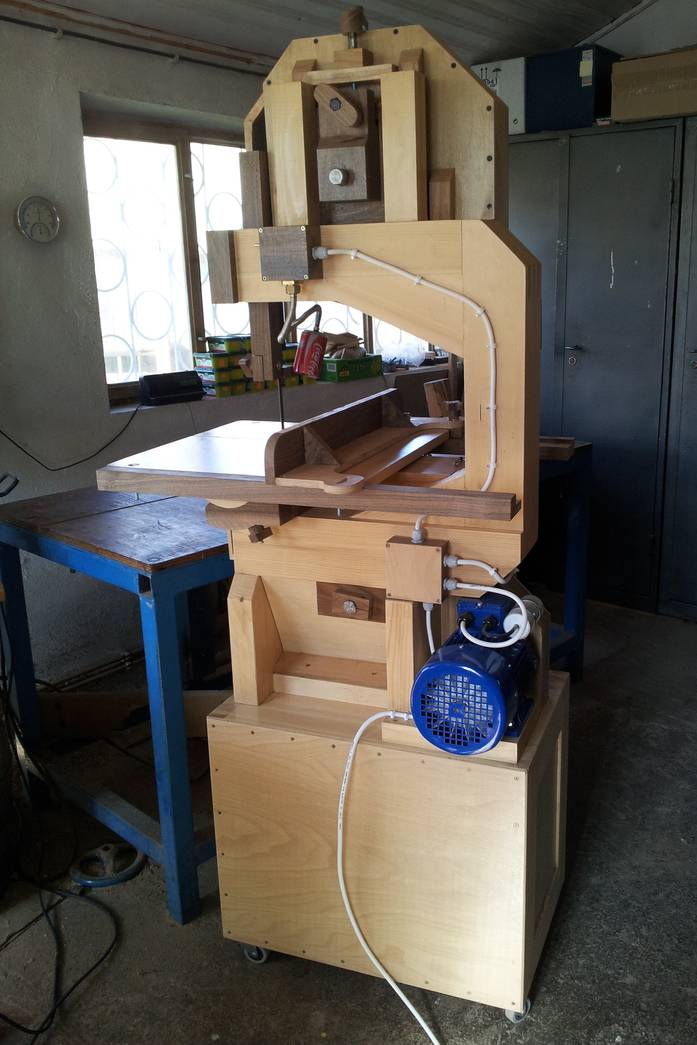
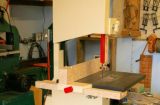
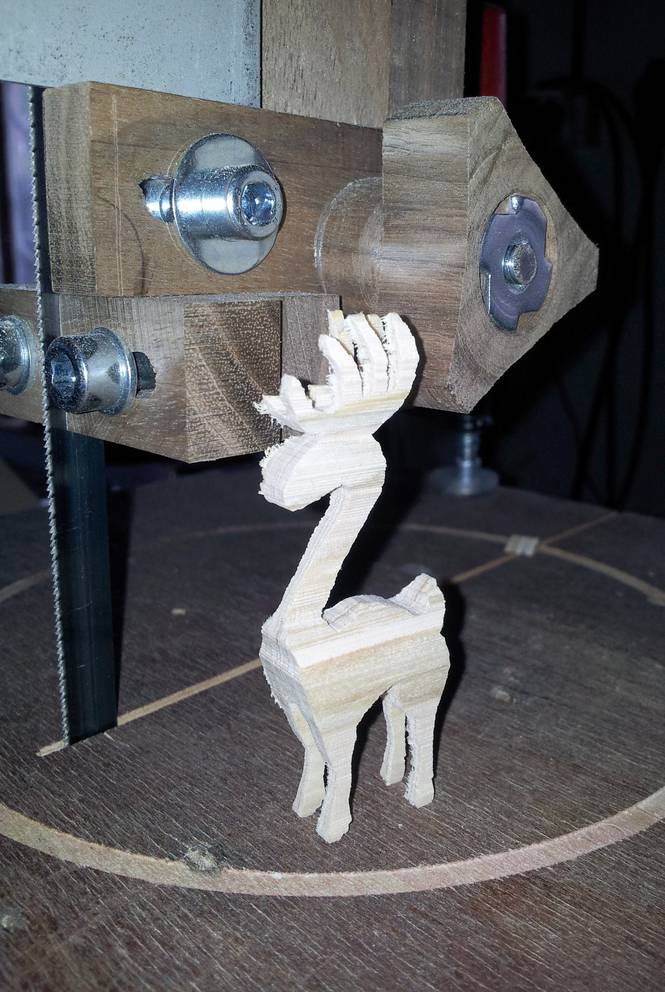 8. When starting the bandsaw build, I didn't have a new, compact and
strong enough electric motor. Thus, for these reasons, but also out of
curiosity, I used a more undersized and very old one: a motor (220V,
150W, 1400rpm) taken from a washing machine that worked 40 years without
any repair. I've made a plywood pulley for this motor and
with the only one bandsaw band I had at that time (width 9.5 mm,
thickness 0.64mm and 24 TPI) I managed to build more than half of the
bandsaw! It was amazing for me! For fun, I tried to cut a
7 cm high reindeer from 18mm
plywood but few antlers broke off.
8. When starting the bandsaw build, I didn't have a new, compact and
strong enough electric motor. Thus, for these reasons, but also out of
curiosity, I used a more undersized and very old one: a motor (220V,
150W, 1400rpm) taken from a washing machine that worked 40 years without
any repair. I've made a plywood pulley for this motor and
with the only one bandsaw band I had at that time (width 9.5 mm,
thickness 0.64mm and 24 TPI) I managed to build more than half of the
bandsaw! It was amazing for me! For fun, I tried to cut a
7 cm high reindeer from 18mm
plywood but few antlers broke off.


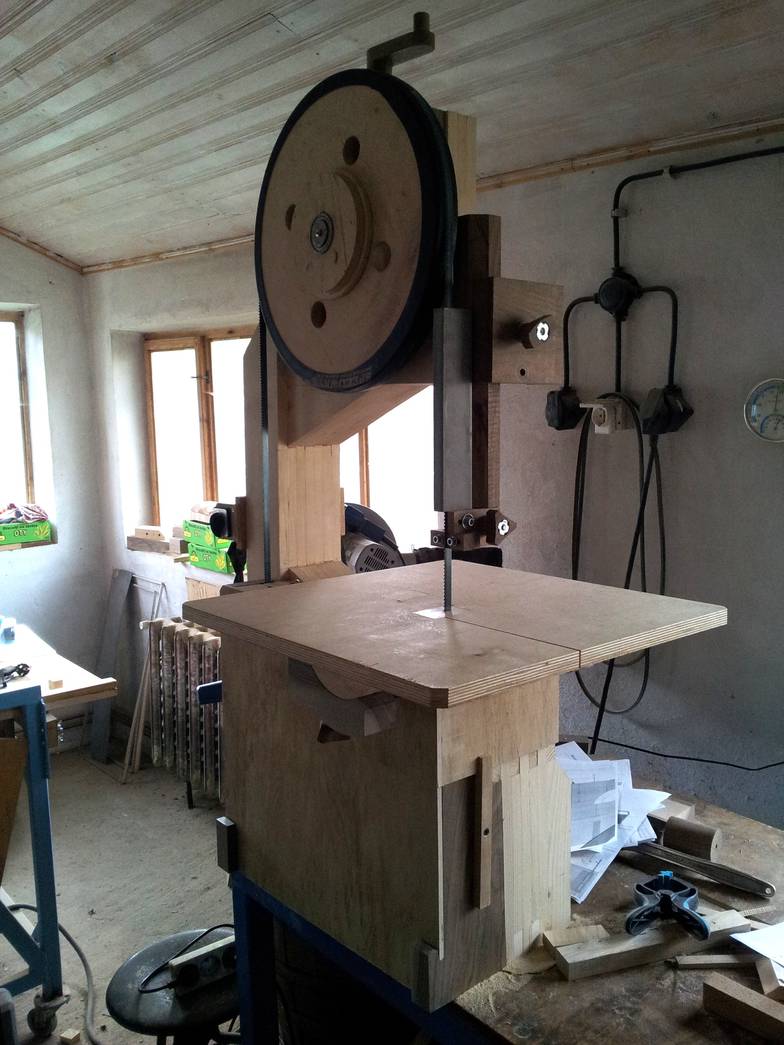
 9. The table top and sub table - 18mm birch plywood.
 10. The top and bottom enclosure was constructed from cherry and 6.35mm
birch plywood
10. The top and bottom enclosure was constructed from cherry and 6.35mm
birch plywood
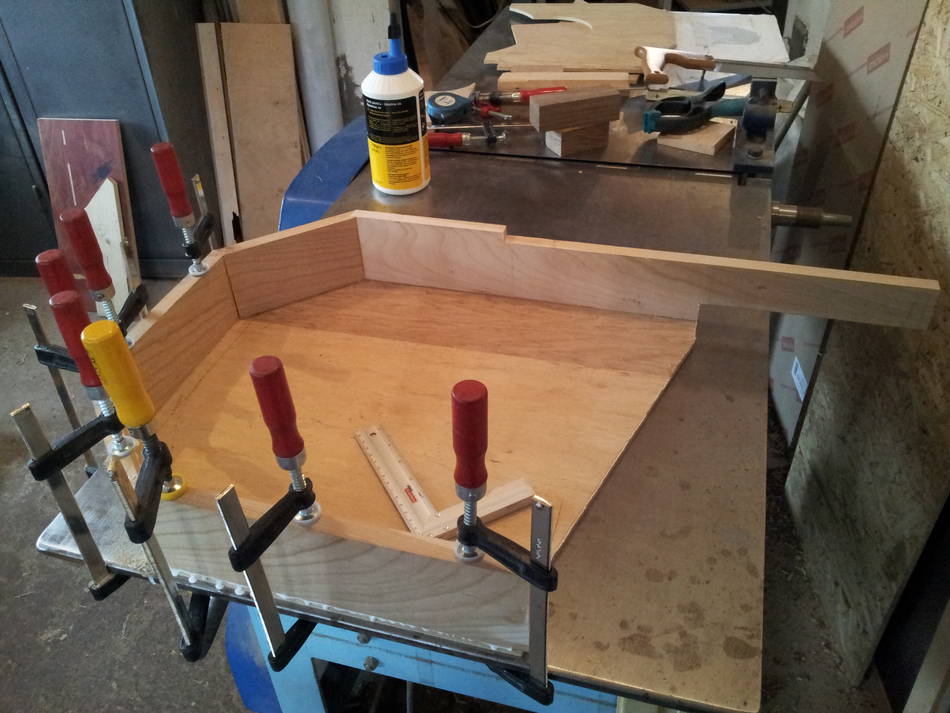
11. The bottom enclosure sides - walnut. Also, enclosure belt cover -
walnut and plywood.

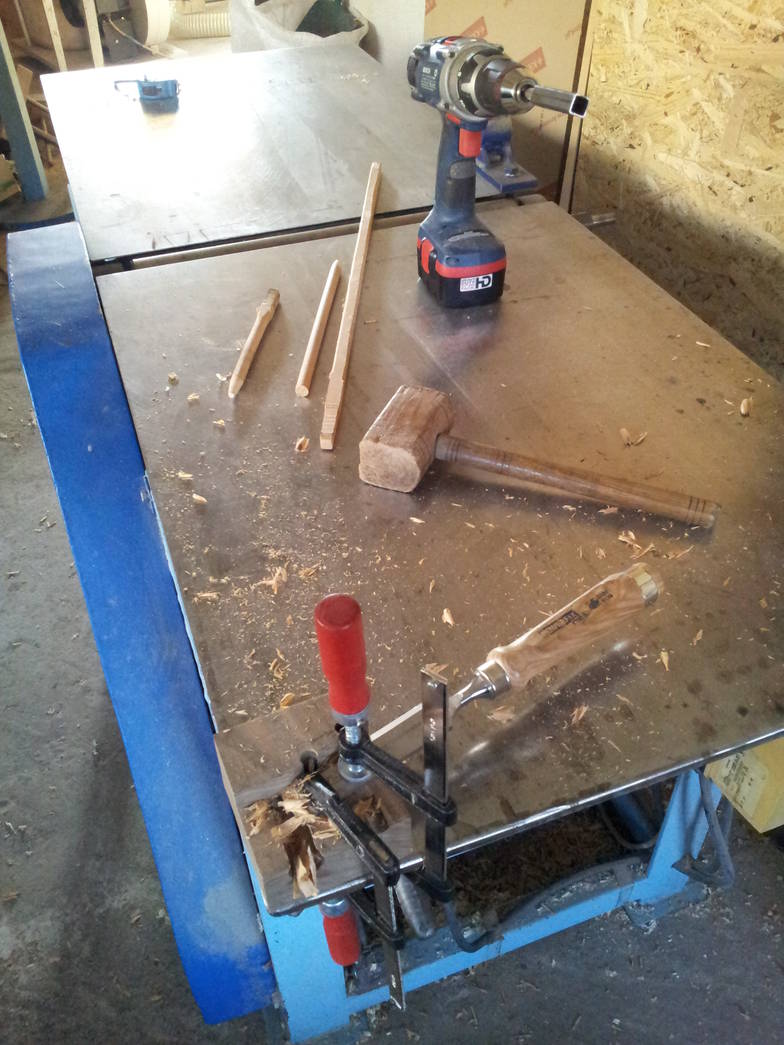


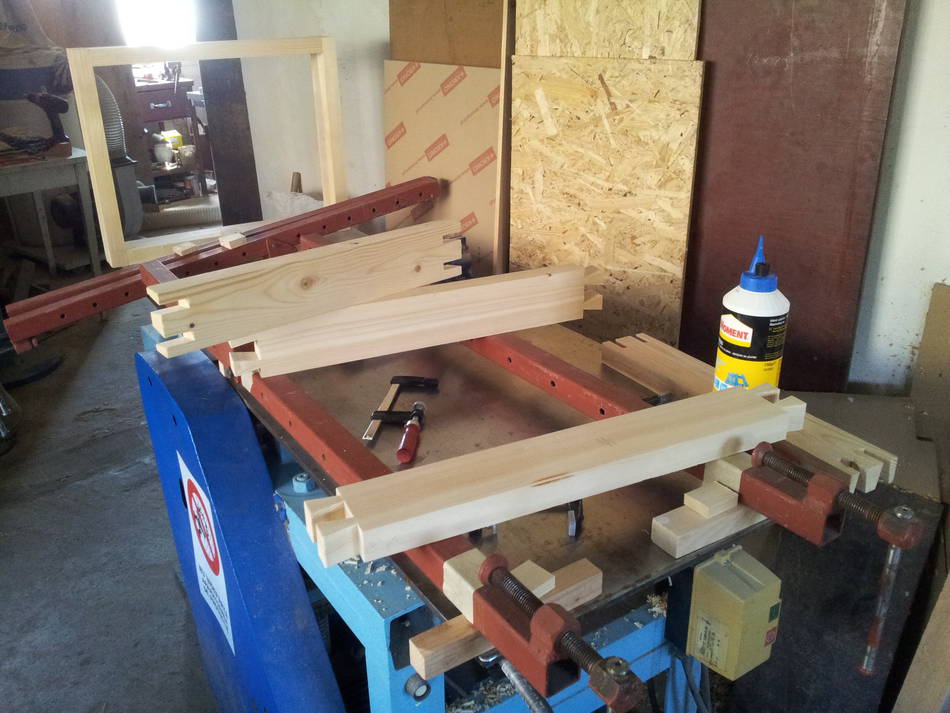
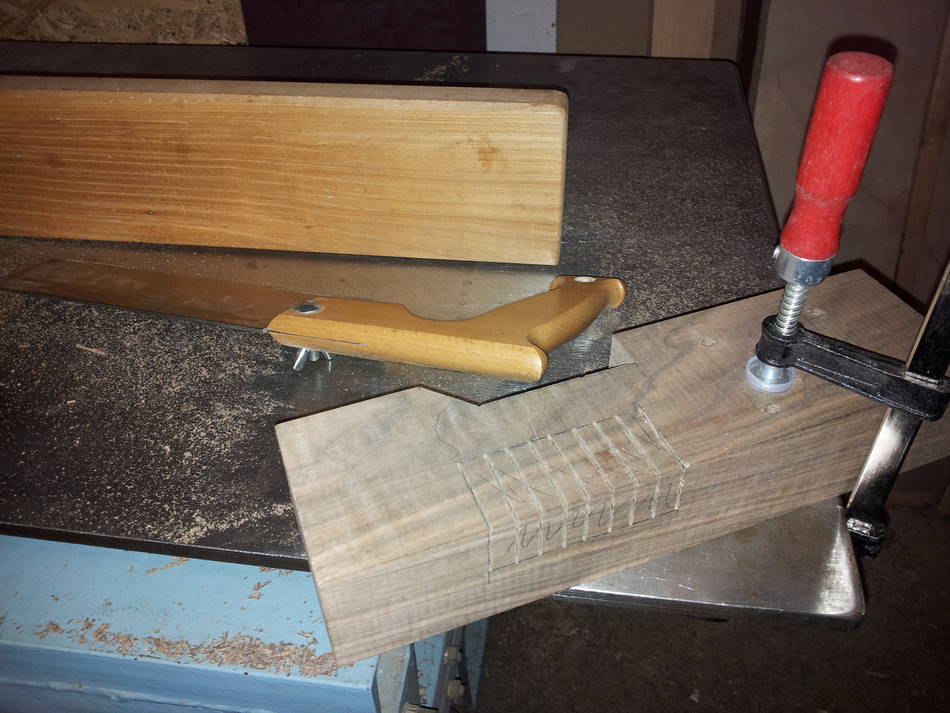
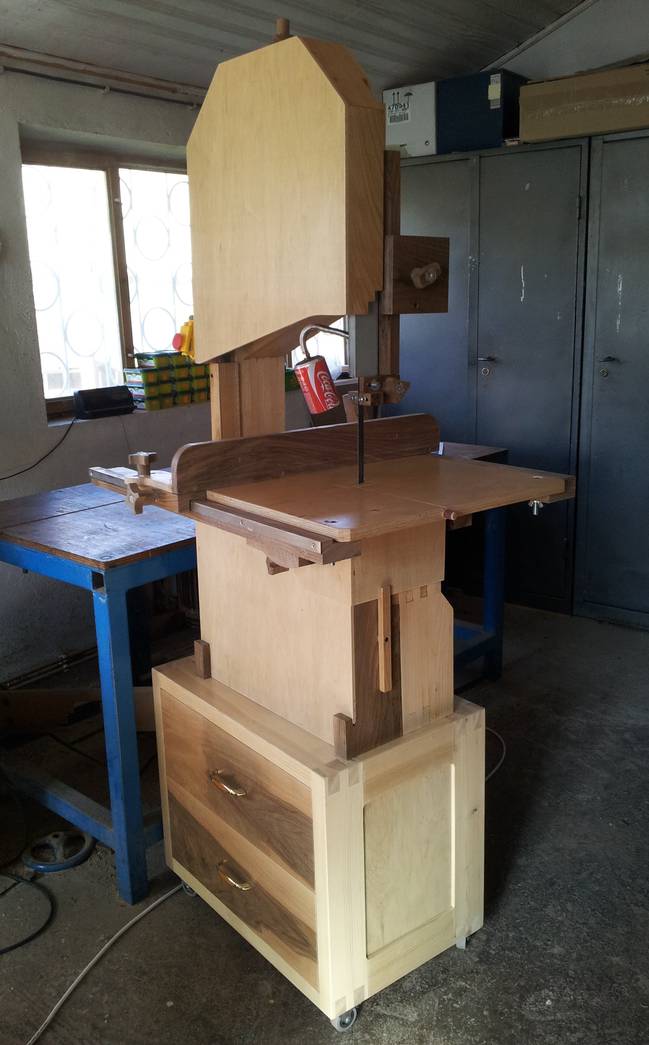
 12. The bandsaw stand is made of pine. My stand is approx. 100mm longer
than yours because I preferred the left side of frame not to exceed the
left edge of the stand. An improvement of stability also occurs. I
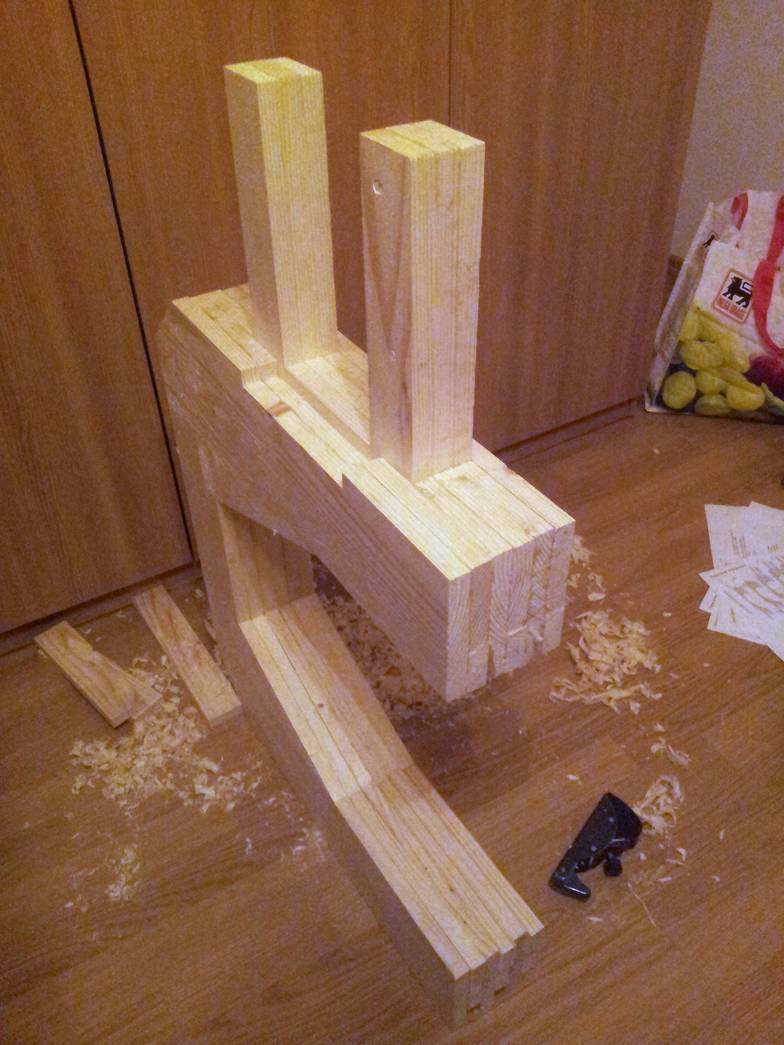
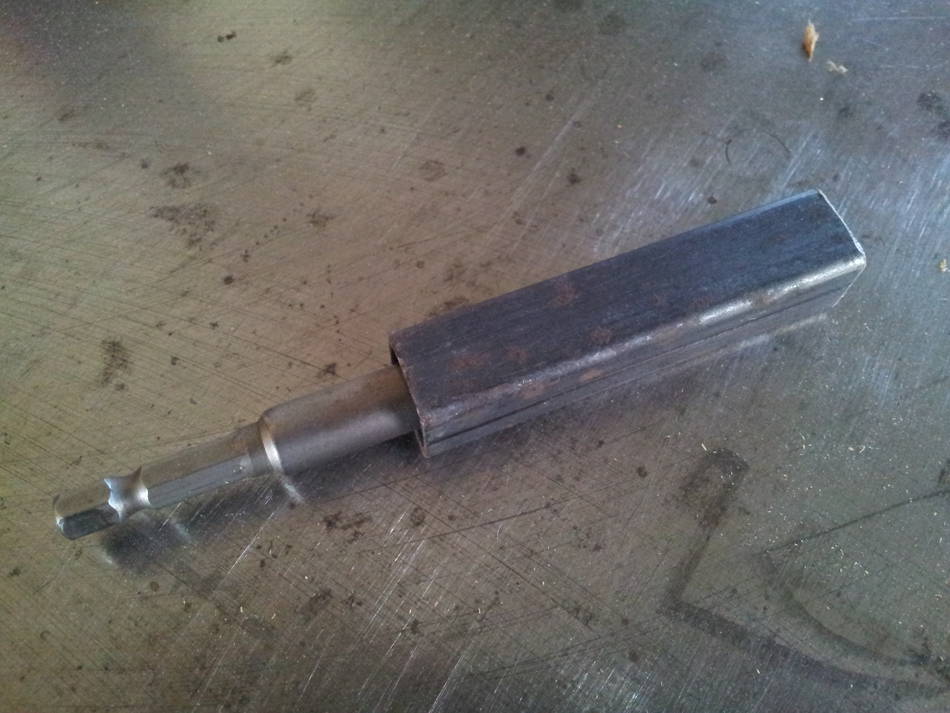
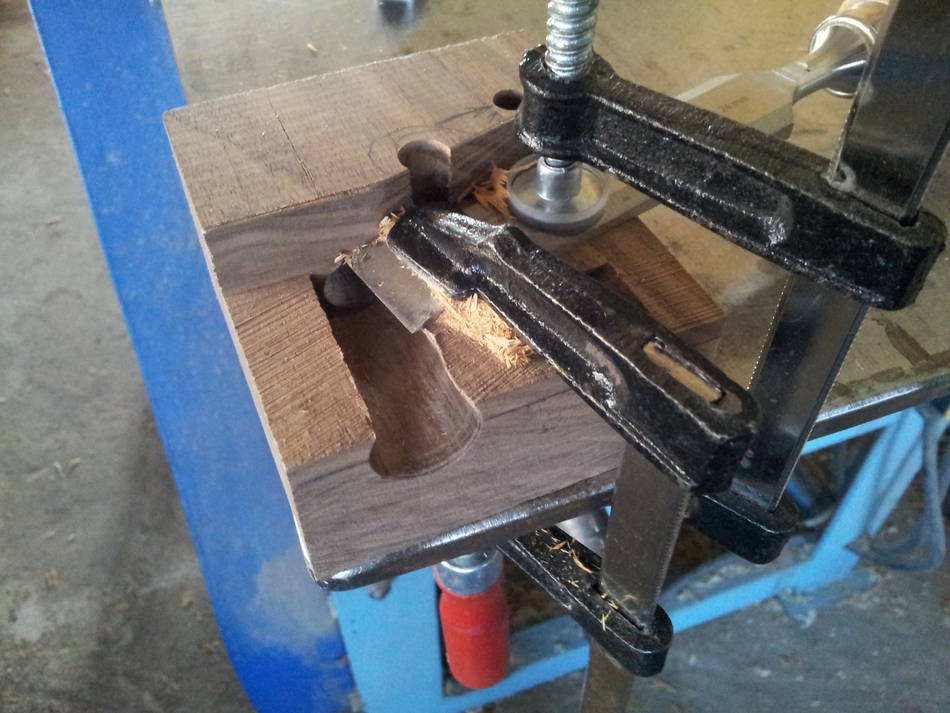
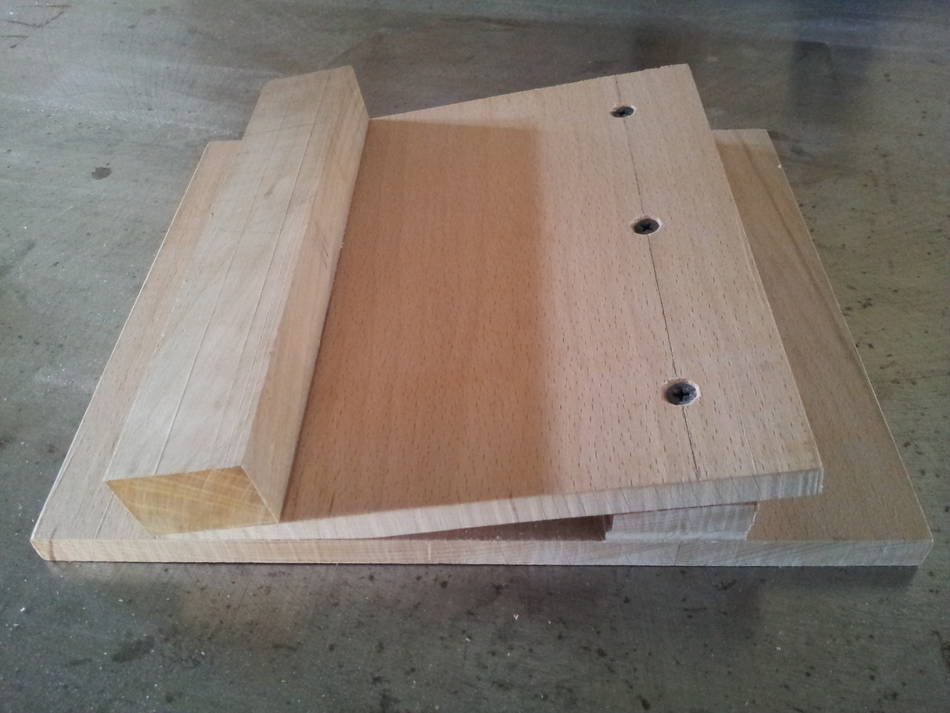
couldn't find to buy 12mm dowels, so I had to build a
dowel making jig
from a walnut scrap. After a quick search on the Internet, I found a few
models on SketchUp 3D Warehouse and on YouTube. The rotation of the
blanks (15mm square cherry wood with corners chamfered on bandsaw) was
realized based on a piece of square tube in which I pressed (tight fit,
no welding) a wrench for self-drilling screws. Cutting the dovetail
joints was made with a jig almost identical to yours.
12. The bandsaw stand is made of pine. My stand is approx. 100mm longer
than yours because I preferred the left side of frame not to exceed the
left edge of the stand. An improvement of stability also occurs. I
couldn't find to buy 12mm dowels, so I had to build a
dowel making jig
from a walnut scrap. After a quick search on the Internet, I found a few
models on SketchUp 3D Warehouse and on YouTube. The rotation of the
blanks (15mm square cherry wood with corners chamfered on bandsaw) was
realized based on a piece of square tube in which I pressed (tight fit,
no welding) a wrench for self-drilling screws. Cutting the dovetail
joints was made with a jig almost identical to yours.

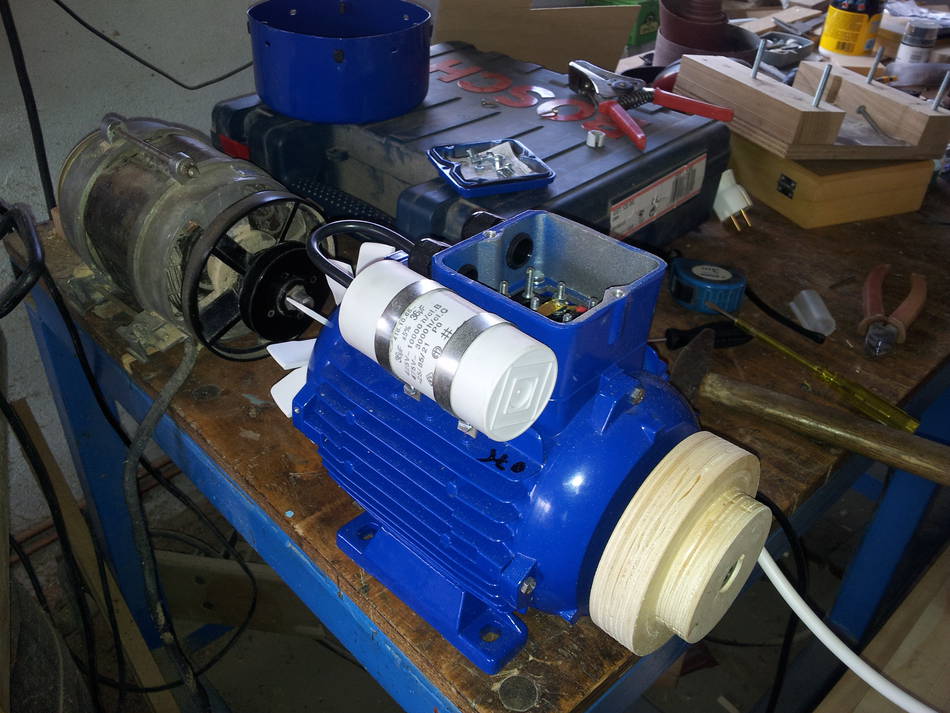
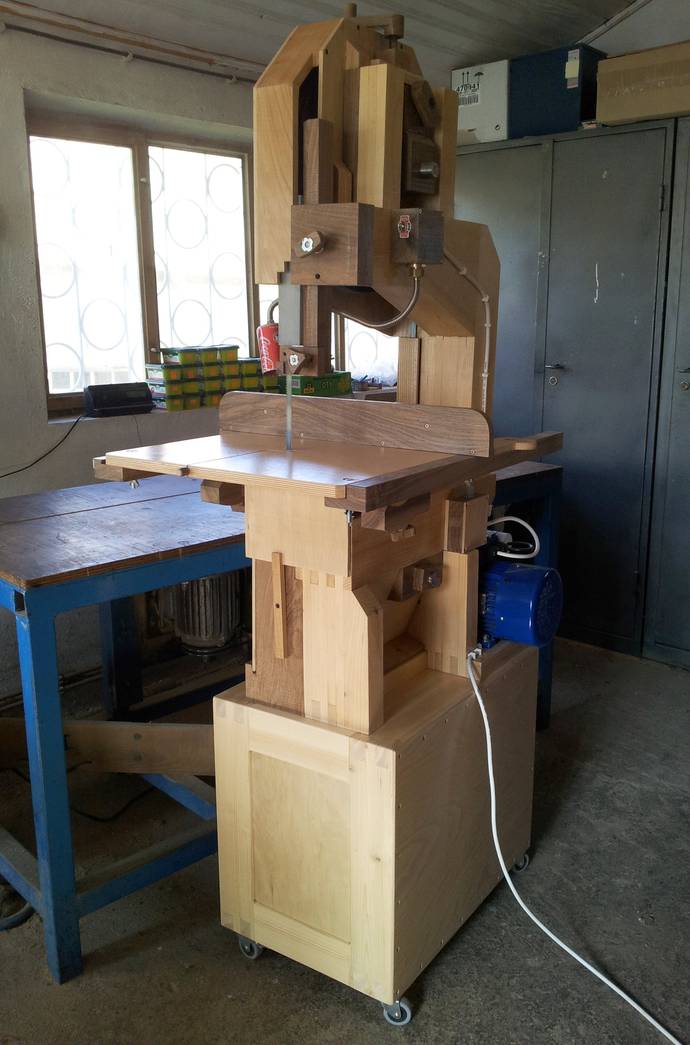
13. When everything was almost done, I purchased a new electric motor (220V, 0.75KW, 1400rpm), with almost the same dimensions as the old motor, but 5 times stronger! (in the picture below you can see the new vs. old motor).
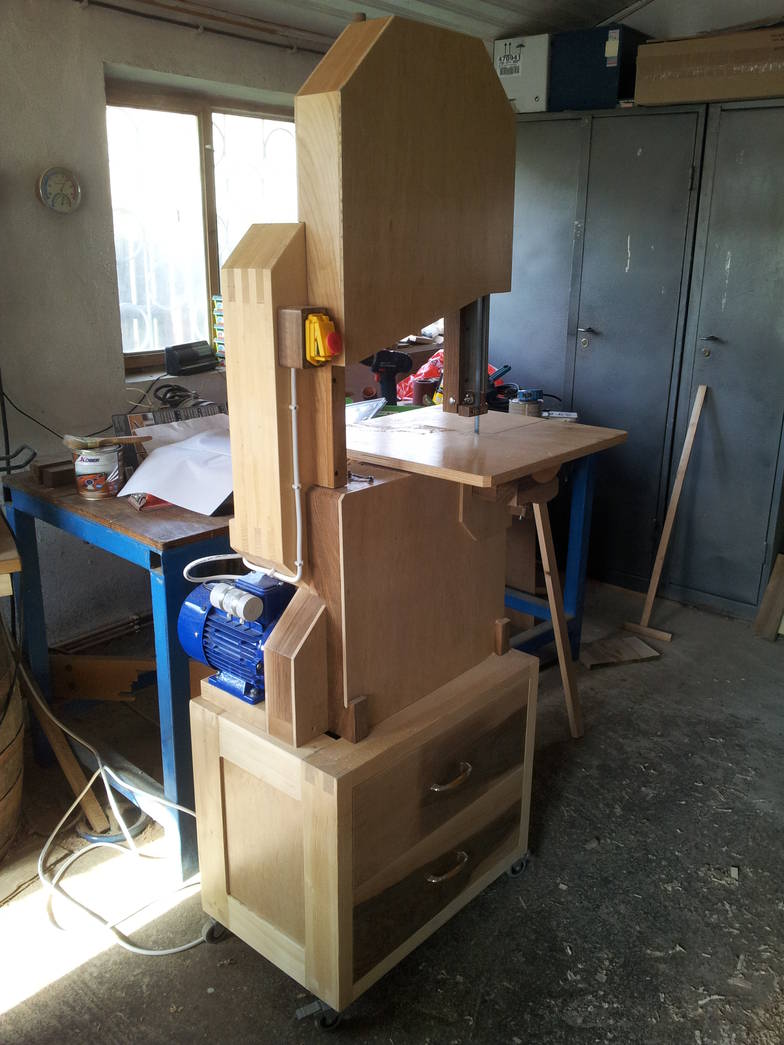
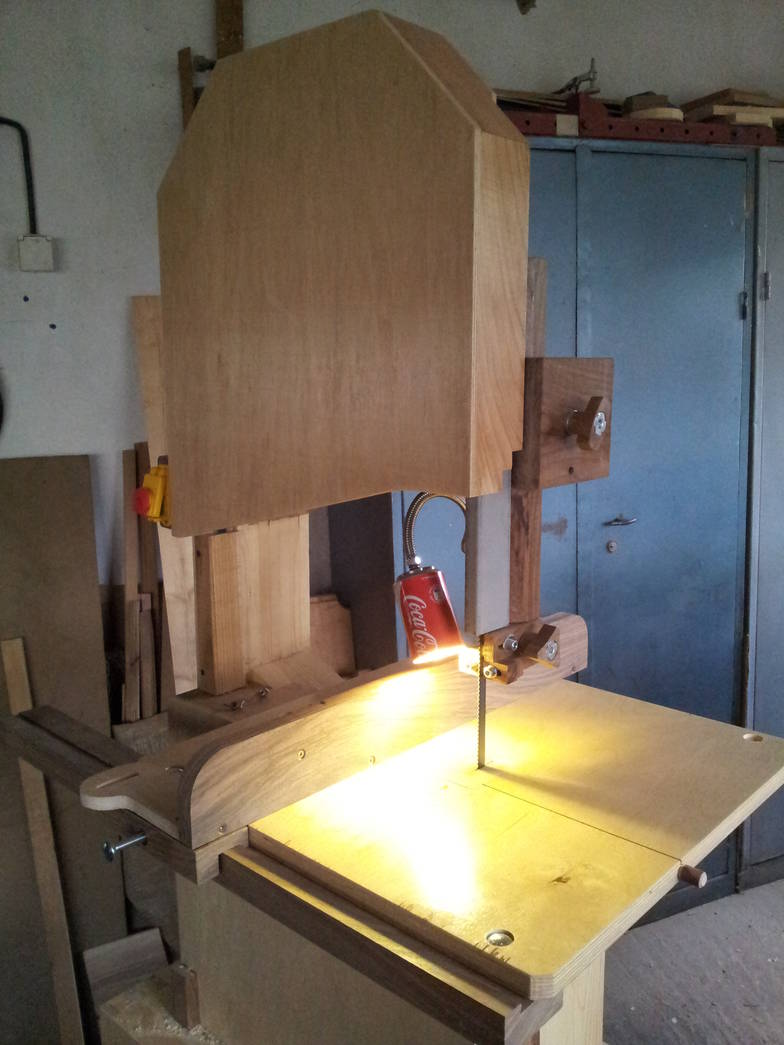

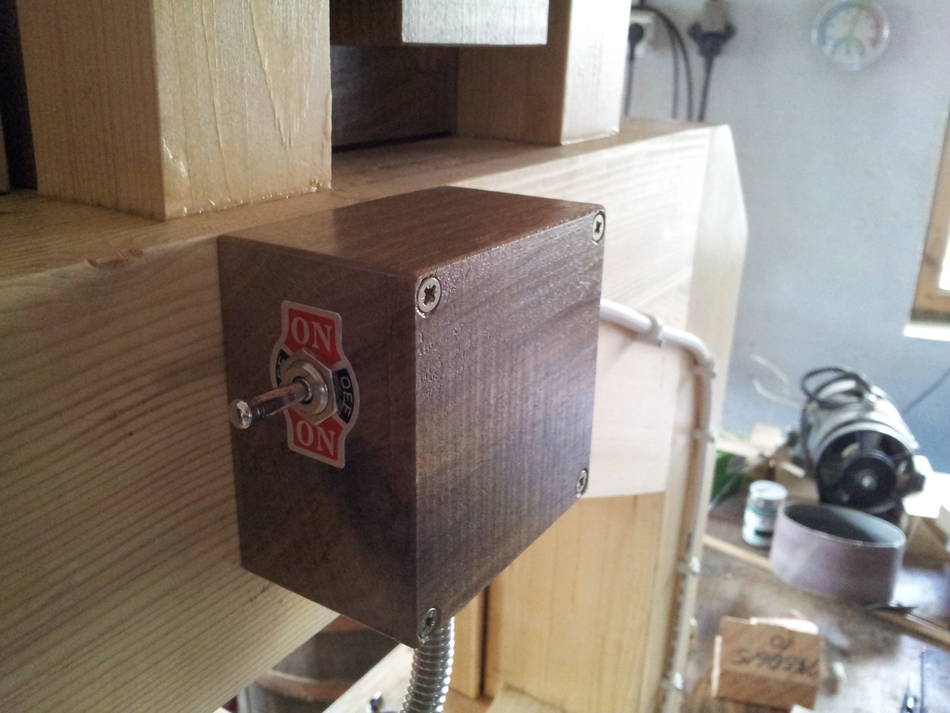 14. The power supply is equipped with an electromagnetic switch with
e-STOP. I also considered it useful to have a lighting system for the table
top. I built a lampshade from a Coca-Cola 200ml can I cut it at about
8cm long, I bent a 5mm edge inside (two successive bending) for
stiffening. The lamp is equipped with a 3W LED bulb with G9 socket,
resulting in relatively compact size. The connection of the lamp with
top junction box (with a switch ON-OFF) behind the bandsaw is made with
an electric cable, inside a stainless steel water hose, 1/2"-1/8"
connections.
14. The power supply is equipped with an electromagnetic switch with
e-STOP. I also considered it useful to have a lighting system for the table
top. I built a lampshade from a Coca-Cola 200ml can I cut it at about
8cm long, I bent a 5mm edge inside (two successive bending) for
stiffening. The lamp is equipped with a 3W LED bulb with G9 socket,
resulting in relatively compact size. The connection of the lamp with
top junction box (with a switch ON-OFF) behind the bandsaw is made with
an electric cable, inside a stainless steel water hose, 1/2"-1/8"
connections.
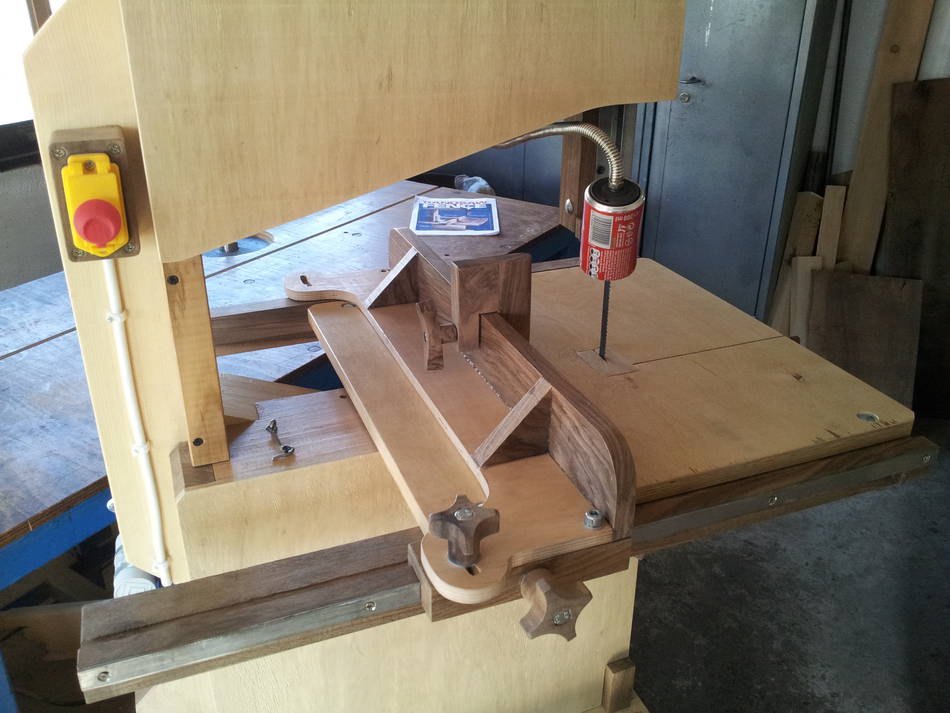
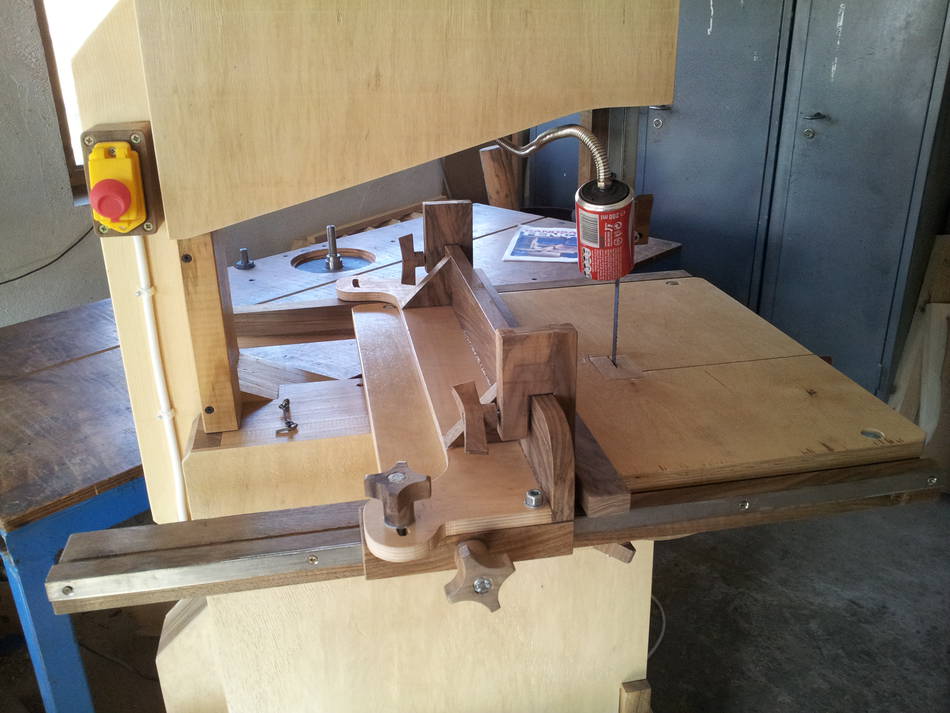
 15. Finally, I built a bandsaw fence, according to the article from
American Woodworker Magazine # 115 November 2005.
15. Finally, I built a bandsaw fence, according to the article from
American Woodworker Magazine # 115 November 2005.
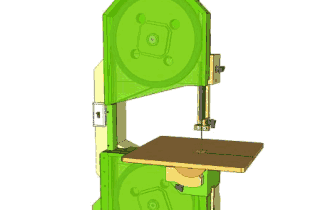
So that's the tory of the bandsaw that I built. It was an interesting project, plans well documented, and the 3D model in SketchUp is "pure gold", eliminating some misunderstandings that I have had along the way.
SketchUp 3D model allowed me to notice this (using X-Ray Top View with Face Style): the screw which prevents the upper wheel from sliding off the shaft accidentally, penetrates 4mm through plywood of top front enclosure. In my opinion, the width of enclosure should be increased by 10mm, ensuring 6mm gap between the screw head and the interior plane of the enclosure.
Building this great bandsaw (I really needed a bandsaw for a long time, but the price to buy one is very expensive in Romania) I learned interesting things, many operations being made for the first time.
Definitely other projects will follow. I would also like to build the Slot Mortising Machine, Screw Advance Box Joint Jig based on your plans that I'll buy in future.
I confess that although I really like working in my little workshop (both metal working and especially woodworking), all these things remains just hobbies, I do not earn my living from them. I am a mechanical engineer.
Thanks again for all the time and congratulations for your site with many interesting projects!
Greetings from Romania,
Lucian
More machines by Lucian:
 Jointer/planer
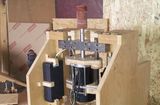 Oscillating spindle sander
See also:
 More reader built
bandsaws
 Plans for the 16" bandsaw
More about bandsaws on my woodworking website.