 What I decided to do was to make the back edge of the ladder rungs parallel to the rails, which gave me
one angled reference surface to use for cutting the tenons.
What I decided to do was to make the back edge of the ladder rungs parallel to the rails, which gave me
one angled reference surface to use for cutting the tenons.
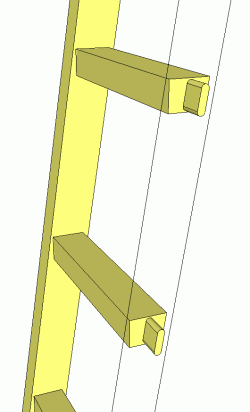 This ladder is for a bed loft, this design would work just as well
for a bunk bed. I wanted this ladder to be about 10 degrees
from vertical, with wide rungs for more comfort, and keeping the top of the
rungs horizontal. This made it slightly tricky because the rungs woudl have
to be joined at an angle.
This ladder is for a bed loft, this design would work just as well
for a bunk bed. I wanted this ladder to be about 10 degrees
from vertical, with wide rungs for more comfort, and keeping the top of the
rungs horizontal. This made it slightly tricky because the rungs woudl have
to be joined at an angle.
The obvious thing to do would have been to try to cut the mortises at an angle, but my mortising machine's large table would have made that rather difficult to jig up. I could have made a wedge to clamp against the tenon jig to angle the tenons, but that would have been finniky too.
What I decided to do was to make the back edge of the ladder rungs parallel to the rails, which gave me
one angled reference surface to use for cutting the tenons.
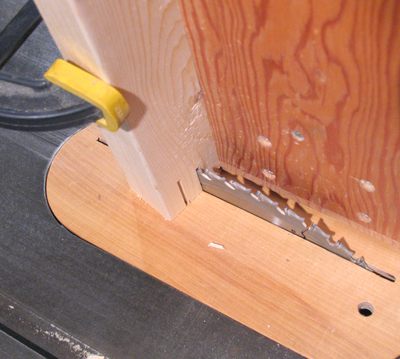
The picture at left shows cutting the tenons. The angled surface is clamped against the tenoning
jig, so the whole piece is one there at an angle.
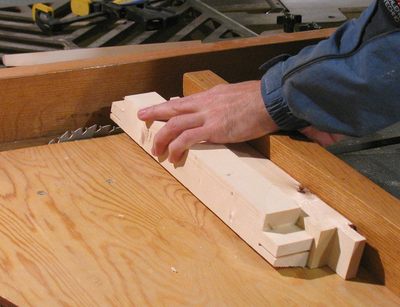 For cutting the shouldes of the tenons, on the side with the slanted face I could just put
it flat on the table saw sled.. For the other side, I had to use one of the other pieces to help
hold the rung on the sled at the right angle.
For cutting the shouldes of the tenons, on the side with the slanted face I could just put
it flat on the table saw sled.. For the other side, I had to use one of the other pieces to help
hold the rung on the sled at the right angle.
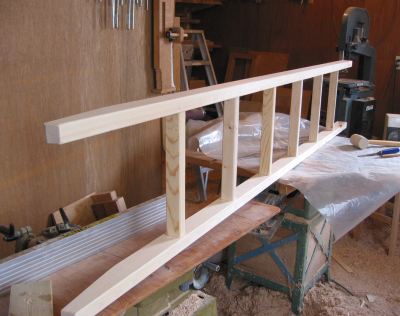
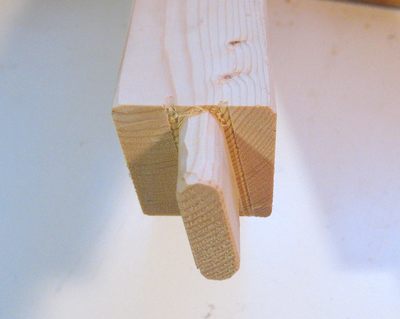 One of the finished ladder rungs with angled tenons.
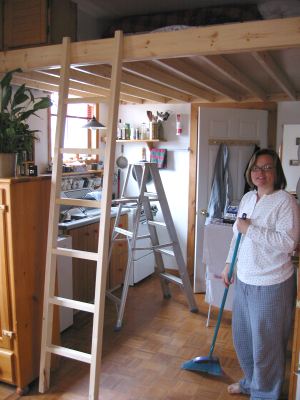
 Dry fitting the ladder parts together in my old workshop. I actually climbed the first two steps
to make sure it was ok before proceeding to glue the whole thing together.
Dry fitting the ladder parts together in my old workshop. I actually climbed the first two steps
to make sure it was ok before proceeding to glue the whole thing together.
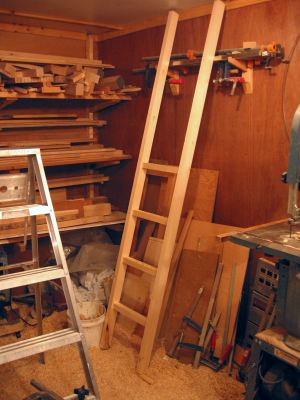
 The ladder, installed.
I screwed it into the top with several screws, and also screwed it into the parquet floor a little bit. That way, the ladder also acts as a support for the platform.
My sister pointed out that it would have been better to have the rungs extend beyond the platform. This would have made getting onto the ladder from above easier. True enough, but I wasn't going to build another one!
A year later, my sister bought a new mattress. And it was one of those new ones that is a foot thick, at which point she was no longer able to sit up on her bed.
I don't understand these thick mattresses. Having shopped for a new mattress recently, I noticed that the Salvation Army sells new mattresses (in sealed plastic bags) at a reasonable price, and not overly thick. And ironically, aside from being cheaper, it was also the mattress I liked best. Granted, I had to take it off the wall and put it down on the floor, all in its plastic, to test how it felt to lie on. On the plus side, no hovering, profit-maximizing salesman trying to up-sell me to a more expensive model. And I like shocking people by telling them I bought my mattress at the Salvation Army!
Back to Building a bed loft
 Building a bed from 2x4's
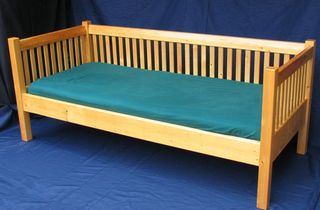 Building a daybed
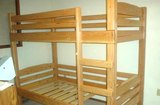 Bunk bed
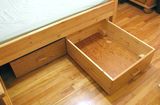 Under bed storage