Under bed storage drawers
This article also available in Spanish
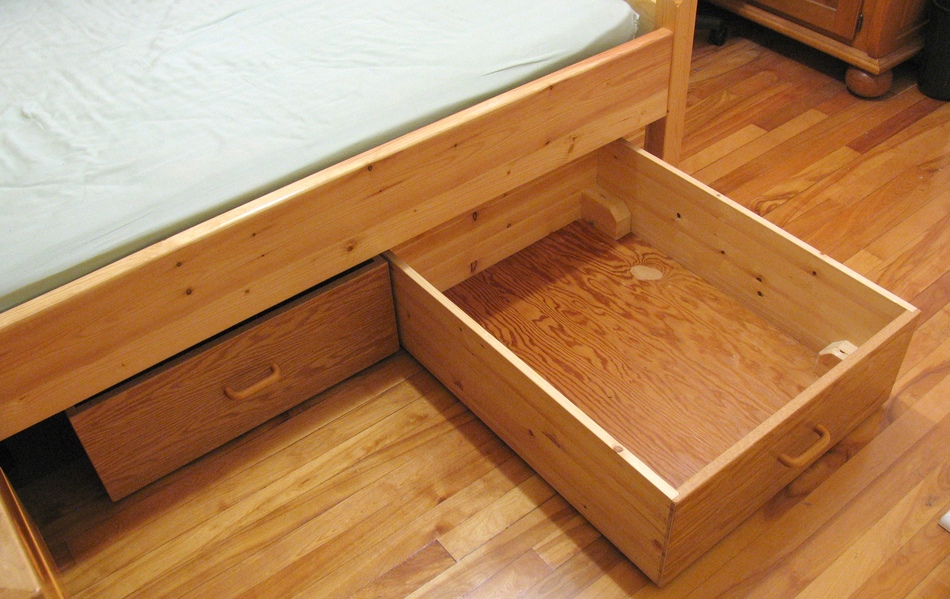
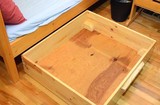
Living in a small house, I try to make the best use of space that I can. In my bedroom, I found I didn't have enough room for another dresser, so I decided to make some drawers to slide under my bed.
 When I built
this bed frame, I made sure that there was lots of room under it, as I
always used my under the bed space for storing suitcases.
When I built
this bed frame, I made sure that there was lots of room under it, as I
always used my under the bed space for storing suitcases.
These drawers I made to roll on wheels. And to keep the wheels from bumping
against each other or the legs of the bed, I decided to mount the wheels
inside, rather than outside the drawer. Roller blade wheels, with their
ball bearings and rubber outsides are ideally suited for this purpose.
I had already procured a pair of old kids roller blades for a few bucks at
a yard sale for this very purpose. A rather cheap source of wheels,
considering the price of caster wheels.
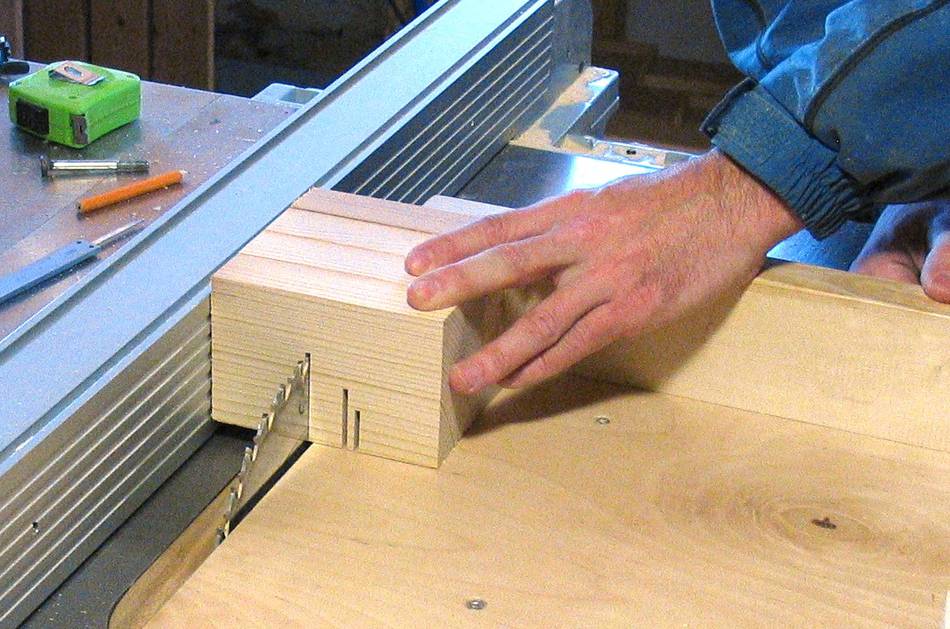
Although I had some fancy ideas about joining the corners with box joints, or even using my dovetail jig, I really didn't want to spend an inordinate amount of time on this project, and so decided to just use a rabbet joint for the corners of the box. (this was before I built my screw advance box joint jig).
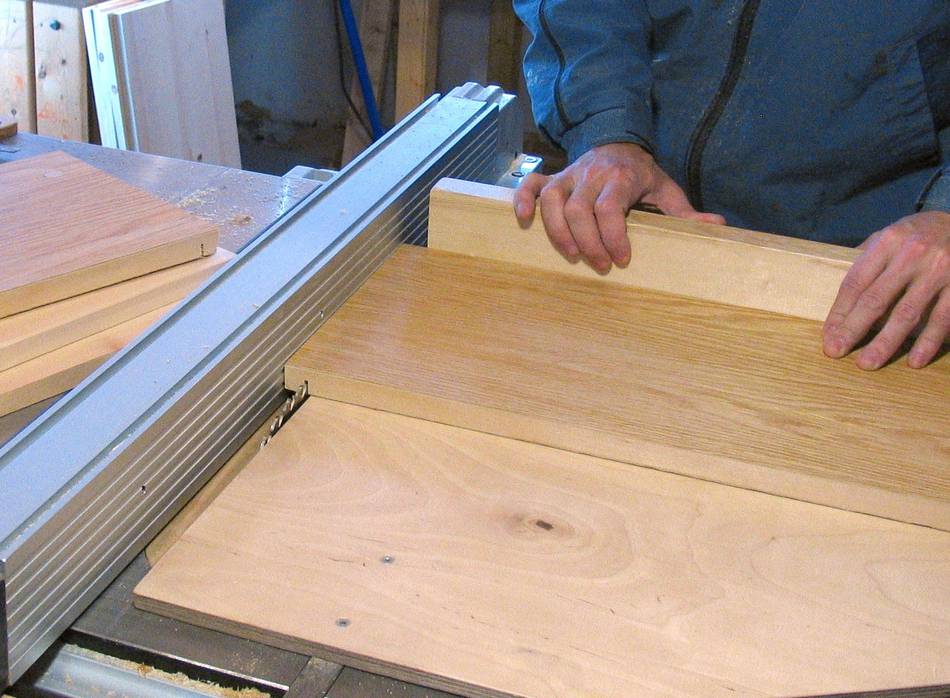
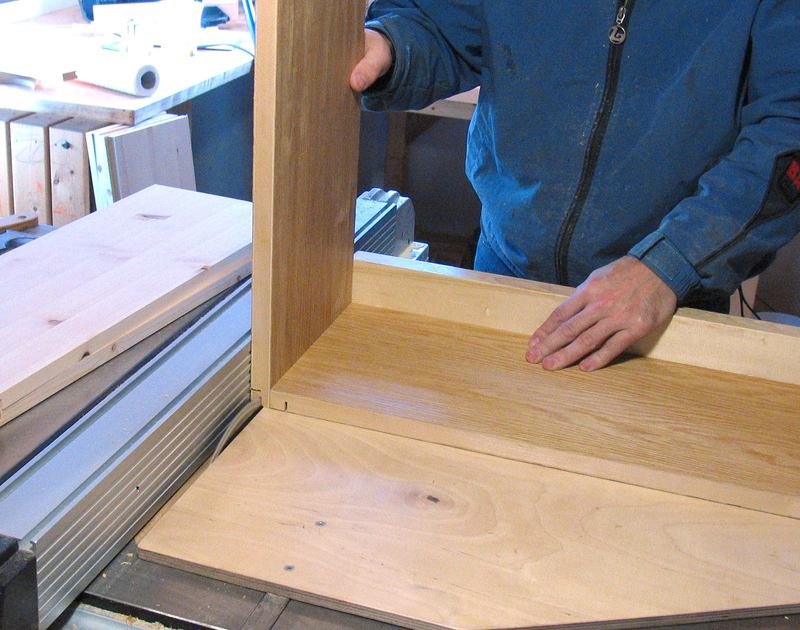
I cut the rabbet joints as two passes, one flat on my table saw sled, the other upright against the fence. I used the other piece to push the wood tightly against the fence when I did this.
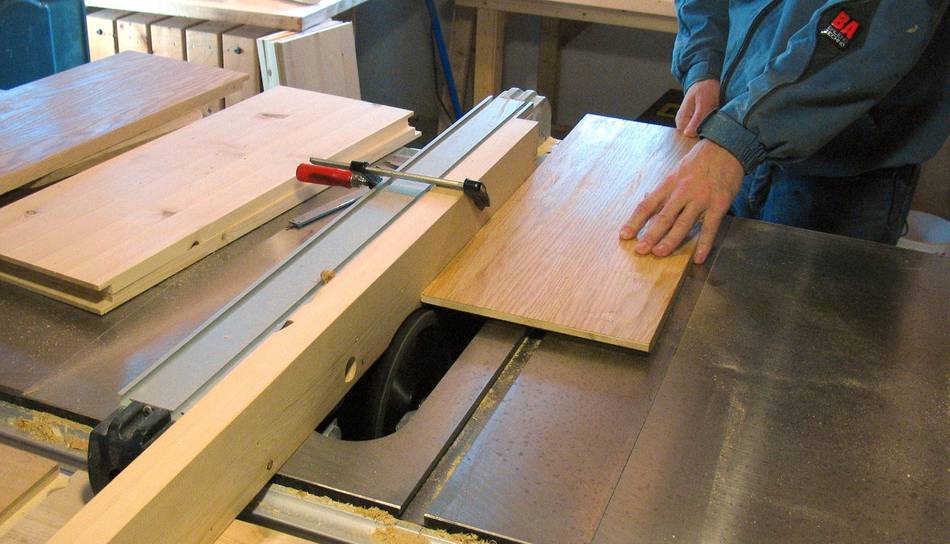 I also cut a rabbet along the bottom edge, for the plywood bottom. I used
my dado blade for this one. I haven't yet made a table saw insert for my
dado on this saw,
so I just made these cuts without an insert. As long as the work piece
is much larger than the throat opening of the saw, its not overly dangerous
to run without one.
I also cut a rabbet along the bottom edge, for the plywood bottom. I used
my dado blade for this one. I haven't yet made a table saw insert for my
dado on this saw,
so I just made these cuts without an insert. As long as the work piece
is much larger than the throat opening of the saw, its not overly dangerous
to run without one.
 I made the drawer to be 80 cm deep, 60 cm wide, and about 23 cm high. The fronts
are made of some reclaimed oak veneered doors, while the other three sides
are made of reclaimed Ikea shelves that I'd bought for a few bucks at a yard sale.
I made the drawer to be 80 cm deep, 60 cm wide, and about 23 cm high. The fronts
are made of some reclaimed oak veneered doors, while the other three sides
are made of reclaimed Ikea shelves that I'd bought for a few bucks at a yard sale.
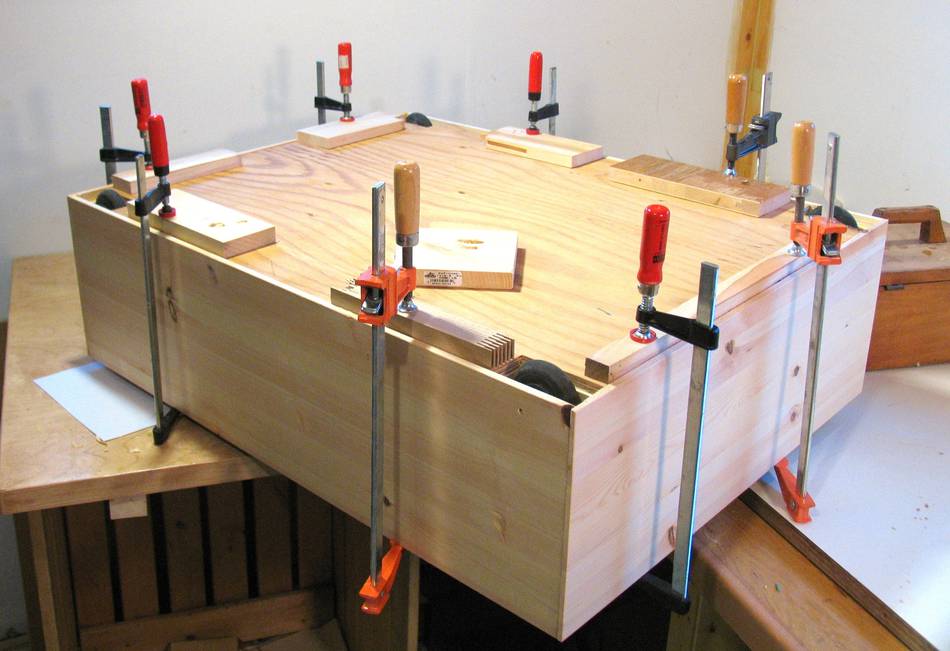
Clamping up a box this large proved to be surprisingly tricky. It inspired me to buy some cheap 3 foot long quick grip clamps, so that maybe next time, it will be easier.
I also only had enough 3 foot long clamps to glue just one drawer at a time, so I had to wait for the glue to dry on one drawer before doing the other one.
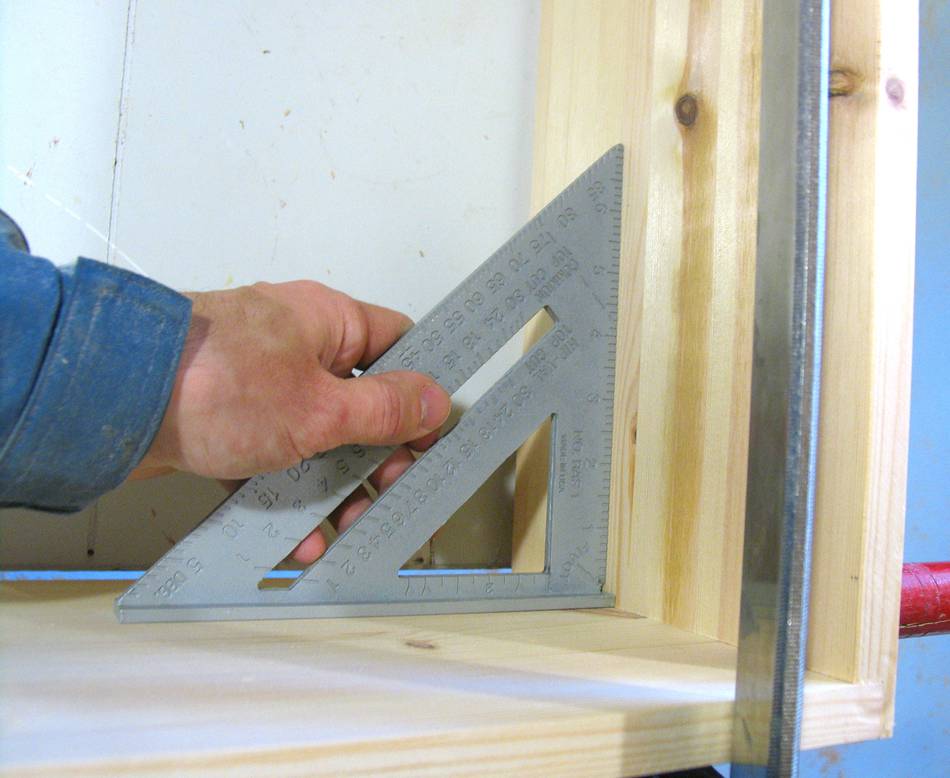 It's always important to check that the corners are square once the clamps are on.
A rafter guide
is handy for this. I actually really like using the rafter guide as a square. Its one piece
triangle design means that it will never go out of square, unlike some squares made
of two pieces. The least trustworthy squares are the sliding combination squares.
It's always important to check that the corners are square once the clamps are on.
A rafter guide
is handy for this. I actually really like using the rafter guide as a square. Its one piece
triangle design means that it will never go out of square, unlike some squares made
of two pieces. The least trustworthy squares are the sliding combination squares.
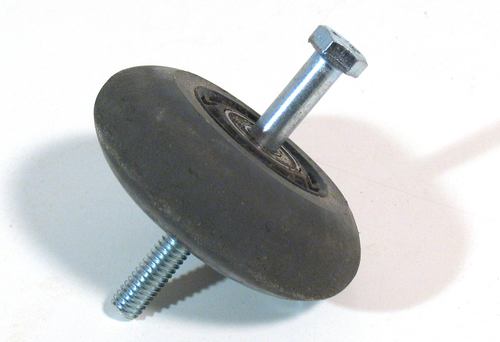 I found 5/16" bolts fit fairly closely inside the ball bearings of
the rollerblade wheel. I used these bolts as my new axles.
I ended up just screwing the bolt into a slightly under-sized
hole in the wood. That way, it will stay put, and there's no need to accommodated
a nut.
I found 5/16" bolts fit fairly closely inside the ball bearings of
the rollerblade wheel. I used these bolts as my new axles.
I ended up just screwing the bolt into a slightly under-sized
hole in the wood. That way, it will stay put, and there's no need to accommodated
a nut.
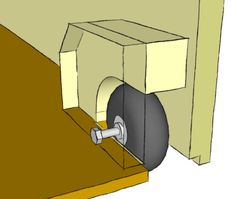
The next step was to make the wheel mounts. These serve two purposes:
To enclose the wheel, away from the contents of the drawers, and to provide a mount
for the axle.

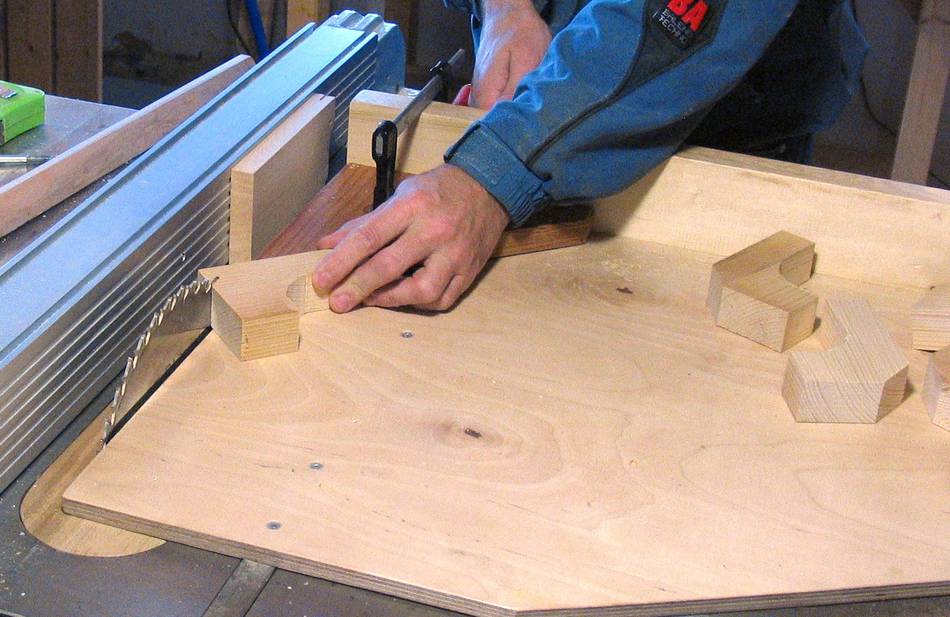 The wheel mounts are two pieces of wood sandwiched together. The inside piece is a bit thicker
than the wheel itself, and has a cut out for where the wheel goes. I didn't feel
like changing my band saw blade to a narrow one for cutting this radius,
so I just made some relief cuts on the table saw. These also served as a guide for
where to cut with the band saw afterwards.
The wheel mounts are two pieces of wood sandwiched together. The inside piece is a bit thicker
than the wheel itself, and has a cut out for where the wheel goes. I didn't feel
like changing my band saw blade to a narrow one for cutting this radius,
so I just made some relief cuts on the table saw. These also served as a guide for
where to cut with the band saw afterwards.
To make them look a little nicer from the inside, I cut the corners of the wheel wells. I clamped a 45 degree piece of plywood to my table saw sled to make these cuts.
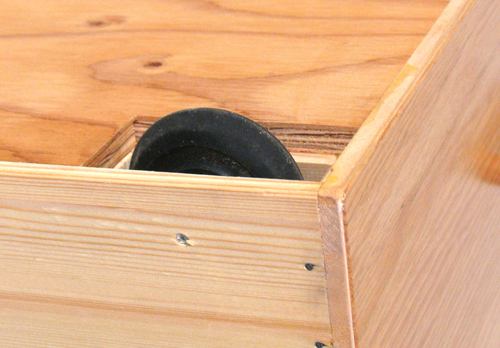
 Next was to clamp the wheel well pieces together. You can see the hole for the bolt
in the wheel well. I drilled another hole like that in the box, for the other
end of the bolt.
Next was to clamp the wheel well pieces together. You can see the hole for the bolt
in the wheel well. I drilled another hole like that in the box, for the other
end of the bolt.
 I then glued the whole wheel mount assemblies to the insides of the boxes, and inserted
the bolts. The bolts are just short enough that they don't protrude the outside
of the box.
I then glued the whole wheel mount assemblies to the insides of the boxes, and inserted
the bolts. The bolts are just short enough that they don't protrude the outside
of the box.
Vertically, the wheel is mounted such that it keeps the bottom of the drawer about 1 cm from the floor. If I had carpet in my bedroom, I would probably have mounted it to give the drawer more ground clearance.
 Next I glued the bottoms onto the drawers. The bottom is made of 3/8" plywood, also
recycled lumber. I just glued this in place, and didn't nail it. The glue should
be strong enough to hold it. I did use nails in the rabbeted corners of
the drawers though. I was tempted to use splines, but that would have messed up the visual
effect of the nice oak veneer I had on the front, and nailing was quicker.
Next I glued the bottoms onto the drawers. The bottom is made of 3/8" plywood, also
recycled lumber. I just glued this in place, and didn't nail it. The glue should
be strong enough to hold it. I did use nails in the rabbeted corners of
the drawers though. I was tempted to use splines, but that would have messed up the visual
effect of the nice oak veneer I had on the front, and nailing was quicker.
 I put two coats of varnish on the whole drawer, insides and out. After two coats,
I put the drawers
face up, and put a very generous coat of varnish on the front. Putting the varnish
on this thick is not what the instructions on the can recommend, but it works
quite nicely as long as the surface is horizontal, so the varnish won't run.
it results in quite a silky smooth surface. The photo at left is of the varnish
still wet though. It's not quite this glossy once its dry.
I put two coats of varnish on the whole drawer, insides and out. After two coats,
I put the drawers
face up, and put a very generous coat of varnish on the front. Putting the varnish
on this thick is not what the instructions on the can recommend, but it works
quite nicely as long as the surface is horizontal, so the varnish won't run.
it results in quite a silky smooth surface. The photo at left is of the varnish
still wet though. It's not quite this glossy once its dry.
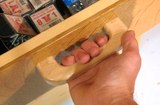
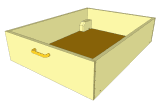
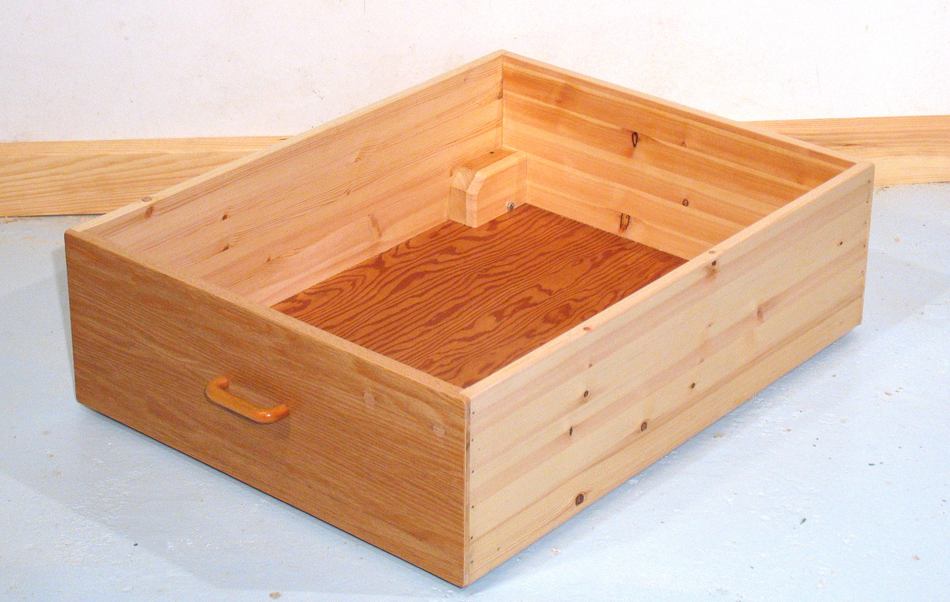 And this is what one of the drawers looks like all done. The handle is a used handle.
Except for the varnish, the bolts, and the nails, the whole drawer was
made out of recycled materials. I was out maybe $15 in total expenses for the pair of them.
And this is what one of the drawers looks like all done. The handle is a used handle.
Except for the varnish, the bolts, and the nails, the whole drawer was
made out of recycled materials. I was out maybe $15 in total expenses for the pair of them.
They roll exceedingly well. Fortunately, the floors in my house are level. If you build some drawers like that yourself, and you find them rolling when they shouldn't, a piece of carpeting under the bed so that the back wheels roll on carpet when pushed all the way in should fix that.
The interior volume of the drawers is 100 liters each. Many dresser drawers only have about 20 liters of interior volume, so these two drawers make up for a sizable dresser.
I also have plans for the storage drawers
 Plans for these drawers
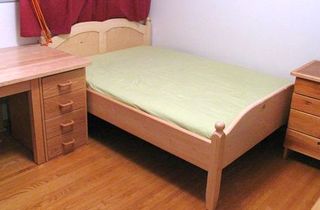 Building a bed frame
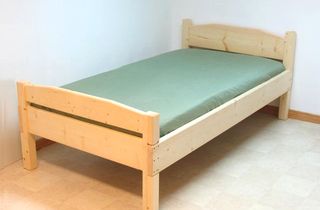 How to build a bed
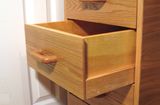 More on wooden
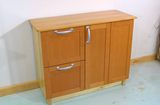 Basement storage
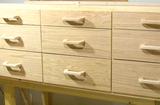 Workbench drawers