 The story of Amogla camp
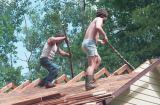 Dismantiling old cottages
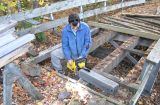 Bodging an old
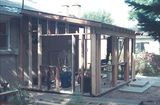 House addition
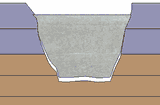 Foundation problems
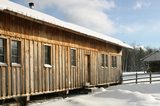 My dad's workshop
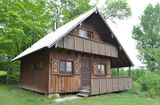 Touring cottage #2
at Amogla camp
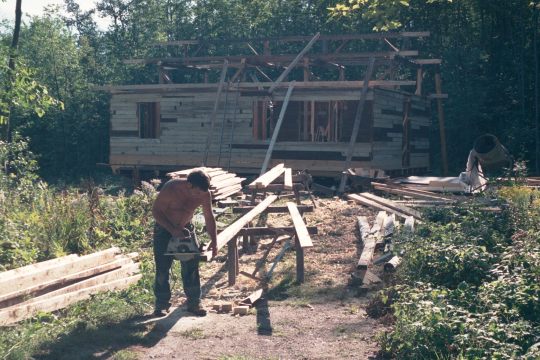
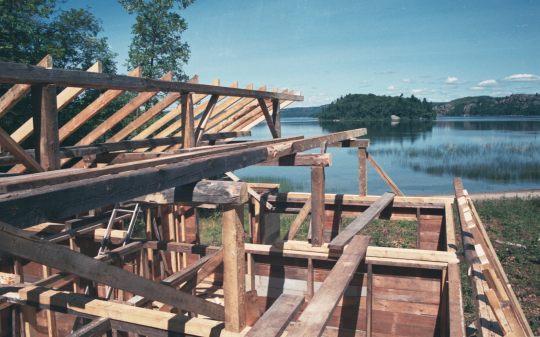
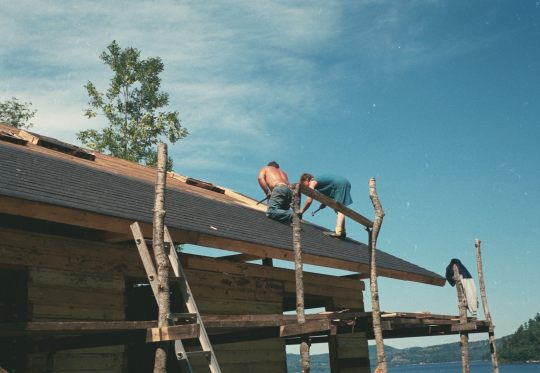
After all the rafters were installed, my dad scaffolded the west side of the cottage to start work on the roof. Once that was done, I started nailing boards onto the rafters while my dad built a scaffold on the other side. He had to go into the bush and cut down some thin and narrow trees to use as extra poles for the scaffolding.
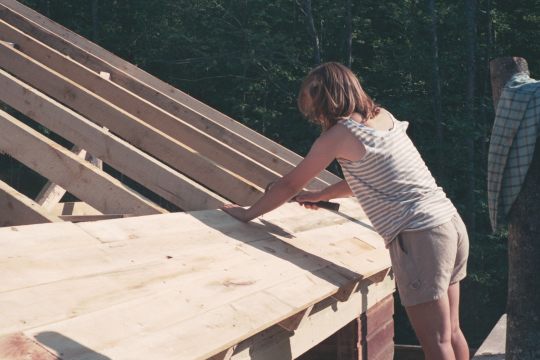
We used some of the nice boards on the edges where you could see the underside of the boards on the roof overhang.
For the part closer to the middle, we'd use the ugly recycled floor and roof
boards from an old cottage.
 Marlene had to help with the roofing. Though often reluctant at having to help,
she was very useful. My other sister had a summer job at the time, so she didn't
have to help. That contributed to tensions among us siblings at the time.
Marlene had to help with the roofing. Though often reluctant at having to help,
she was very useful. My other sister had a summer job at the time, so she didn't
have to help. That contributed to tensions among us siblings at the time.
My older brother Markus was off to university already. With the co-op program at the University of Waterloo, the summers were mostly spoken for as well, so he wasn't around to help.
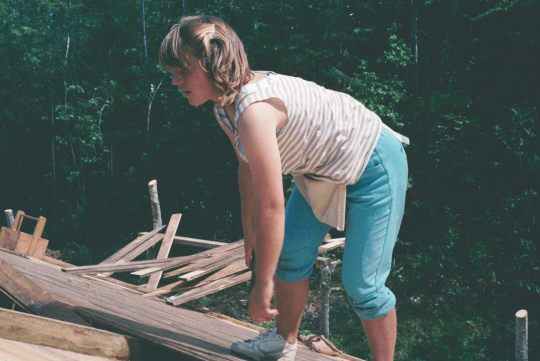
 My dad always preferred to use a bow saw to cut the boards to length. Personally, I
preferred to use a skillsaw. Although for relatively narrow boards, it was hardly
worth dealing with the extension cord and all, and I'd often use a Japanese pull
saw, which cut with surprisingly little effort. We didn't any battery powered
cordless tools.
My dad always preferred to use a bow saw to cut the boards to length. Personally, I
preferred to use a skillsaw. Although for relatively narrow boards, it was hardly
worth dealing with the extension cord and all, and I'd often use a Japanese pull
saw, which cut with surprisingly little effort. We didn't any battery powered
cordless tools.
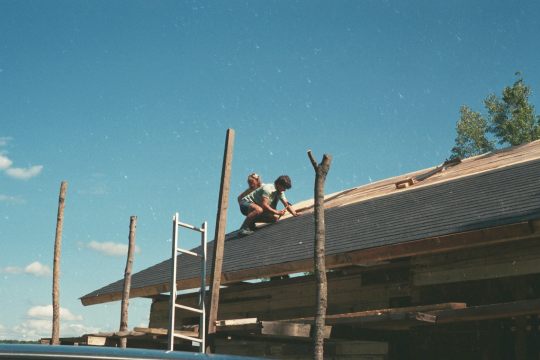
We nailed the shingles straight to the boards, without any felt paper underneath. Marlene and I started on the west side, while my mom and dad started on the east side. Marlene and I were pretty good about keeping the rows of shingles all straight, so work progressed fairly smoothly.
 My mom and dad somehow managed to be inconsistent in how they placed the
shingles, so there were a couple of times when they had to run a chalk line across and set the
shingles according to that to get the rows straight again.
They also had to work around the chimney. So work progressed
more slowly on their side. Marlene and I worked our way up to the ridge first.
We got the rest of the day off.
My mom and dad somehow managed to be inconsistent in how they placed the
shingles, so there were a couple of times when they had to run a chalk line across and set the
shingles according to that to get the rows straight again.
They also had to work around the chimney. So work progressed
more slowly on their side. Marlene and I worked our way up to the ridge first.
We got the rest of the day off.
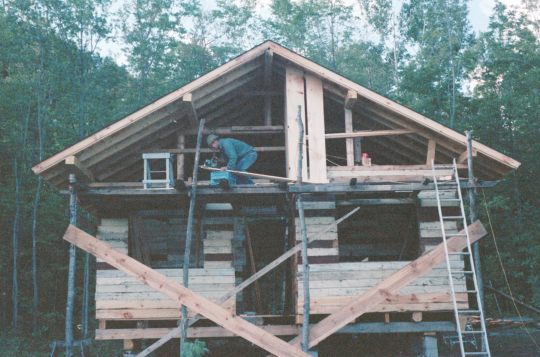
The building inspector also showed up to issue the building permit for the cottage. They were pretty easy going about that sort of thing and didn't require you to submit a plan. They knew my dad built fairly well, so the permit was just a formality.
My dad, in the meantime dug the foundation holes for the attached wood shed that would go on the south side of the cottage. I then helped with pouring the cement in the holes.
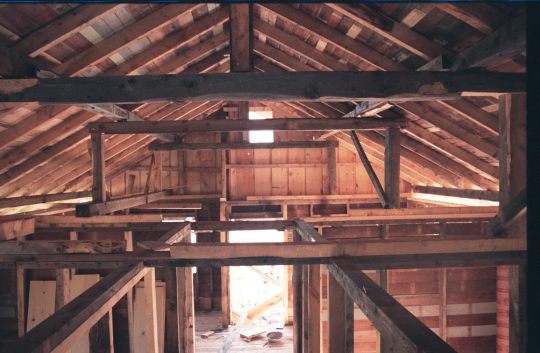 This is the inside of the attic, after my dad closed in the gable walls.
You can see how we used the "ugly" boards for the roof sheathing near the ridge, which would
never be seen from the outside.
The boards underside of the roof overhang received one coat of dark stain for a finish. This was usually my mom's job.
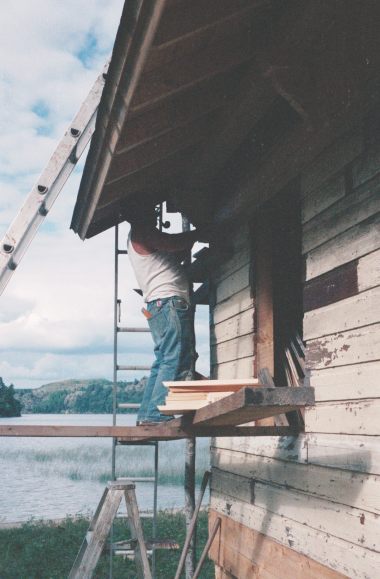
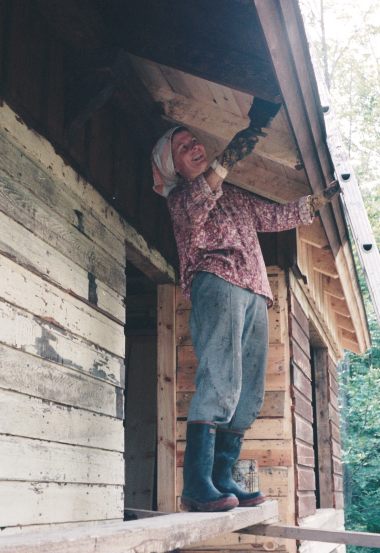
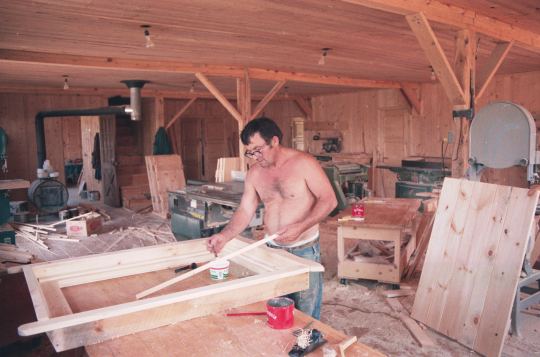 After the boards were installed, the window frames were installed.
All the windows and window frames were made by my dad before construction
of the cottage started. The photo at left is my dad putting together one of
the window frames in his workshop,
two weeks before we broke ground for the foundations. The panel in the right
of the photo is one of the window shutters.
After the boards were installed, the window frames were installed.
All the windows and window frames were made by my dad before construction
of the cottage started. The photo at left is my dad putting together one of
the window frames in his workshop,
two weeks before we broke ground for the foundations. The panel in the right
of the photo is one of the window shutters.
Over the course of the fall, we'd move back to the "farm", and my dad would work alone
to install the windows and the wood siding. Then he'd start the
paneling on the inside. My dad would construct the furniture and kitchen in his
workshop over the course of the winter.
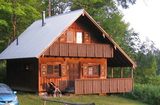
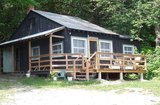
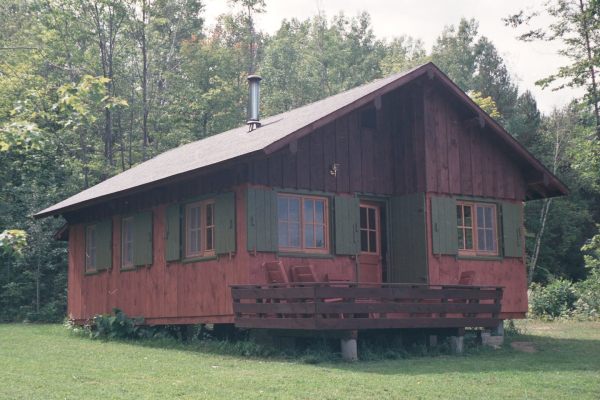 By the start of the next season in early June, the cottage
was ready to be rented out to camp customers.
By the start of the next season in early June, the cottage
was ready to be rented out to camp customers.
As it turned out, the way we did the foundations for that cottage were a poor choice for that spot. The clay would often become waterlogged in the fall, and frost heaving caused considerable shifting of the foundations.
By 2007, one side of the cottage was about 10 cm higher than the other. I spent a day with a jack and a level under the cottage and managed to get it mostly level again, but the foundations continue to shift. Digging the foundations deeper might have helped a little bit. Shaping them differently so that the frost could not lift the top part of the foundation would have helped. But with the relatively unstable soil in that location, I'm not sure if anything could be done to solve the problem permanently.
Back to Part 1 of this article
Touring cottage #2More home improvement projects on my Woodworking website
 Mackenzie cottage for rent
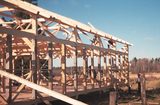 Dad's shop construction