|
|
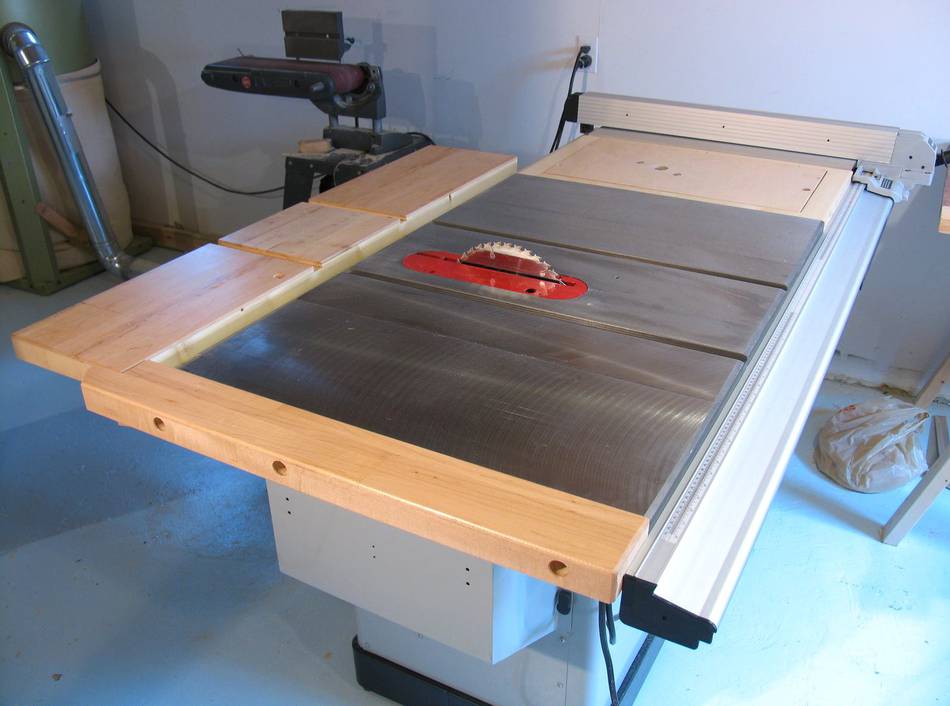
Unless you buy a very high end Euroopean style table saw, it seems the saw's table is always a bit too small by default.
I ended up extending the table of my Delta hybrid saw on three sides, nearly doubling the total table area available.
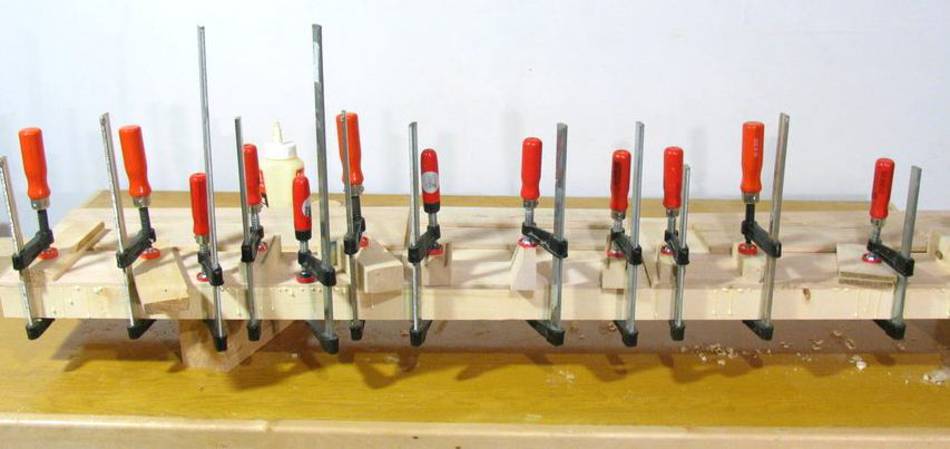
My outfeed table extension is bolted to the actual stand of the table saw. It consists of two very sturdy shelf bracket like L shaped pieces of wood. The joint in these brackets is a double lap joint, just to make sure it's sturdy enough.
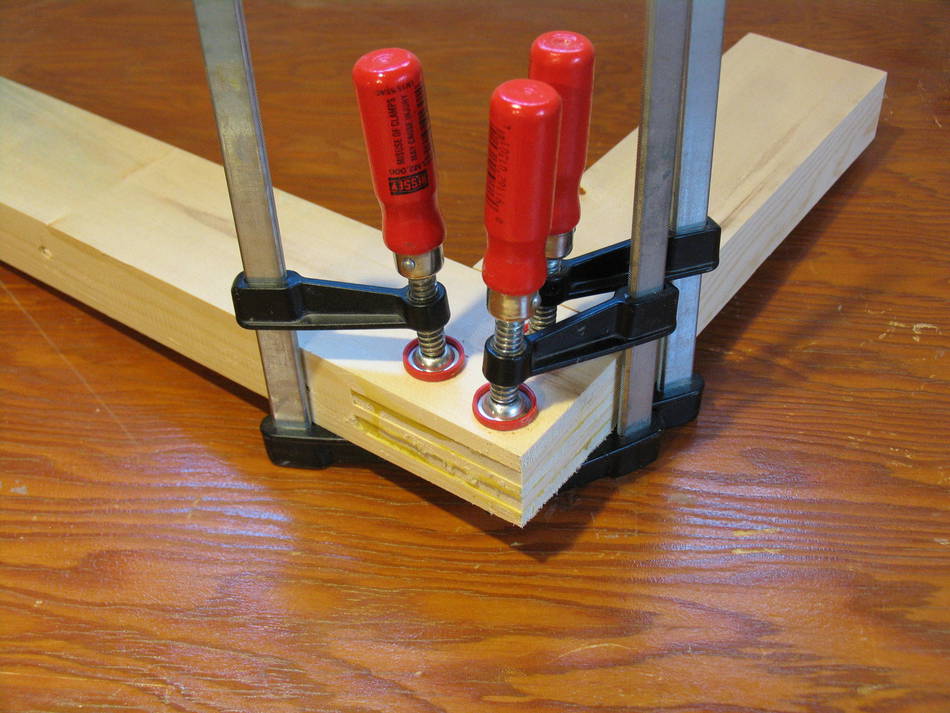
 Before I glued the L shaped pieces together though, I drilled the mounting holes for the saw,
and then drilled through the pieces into the saw's base. You can see how I clamped
two pieces to the saw, and am drilling through them, to make sure I get good alignment
for these brackets. That way, I could drill the holes just big enough for the
screws.
Before I glued the L shaped pieces together though, I drilled the mounting holes for the saw,
and then drilled through the pieces into the saw's base. You can see how I clamped
two pieces to the saw, and am drilling through them, to make sure I get good alignment
for these brackets. That way, I could drill the holes just big enough for the
screws.
 Once the brackets were glued and trimmed to precise shape, it was time to mount them on
the saw.
Once the brackets were glued and trimmed to precise shape, it was time to mount them on
the saw.
I used 1/4" bolts, about 3" long. I put large washers on the inside of the stand. If I was building this extension again, I'd just make the vertical part of the brackets extend all the way down to the base of the saw, and have the ends rest on the wider base. Really, there is no reason they shouldn't extend down that far,I just hadn't thought of it when I made them.
 I wanted a hardwood surface for the outfeed table, but didn't want to have to buy thick solid
hardwood lumber for this purpose. So I cut 5 mm thick strips off a piece of firewood,
and glued them onto some spruce lumber, similar to what I did for this
table top but with just one type of wood.
I wanted a hardwood surface for the outfeed table, but didn't want to have to buy thick solid
hardwood lumber for this purpose. So I cut 5 mm thick strips off a piece of firewood,
and glued them onto some spruce lumber, similar to what I did for this
table top but with just one type of wood.
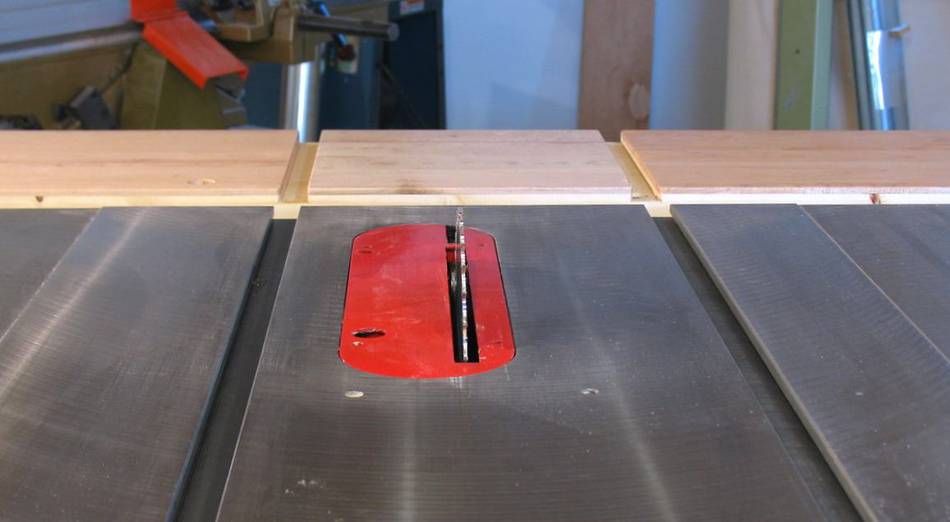 I cut extensions for the T slot in the outfeed extension. These are only a fraction of a millimeter
wider than the T slots themselves. That way, they help guide my table saw sled
as I push it past the blade.
I cut extensions for the T slot in the outfeed extension. These are only a fraction of a millimeter
wider than the T slots themselves. That way, they help guide my table saw sled
as I push it past the blade.

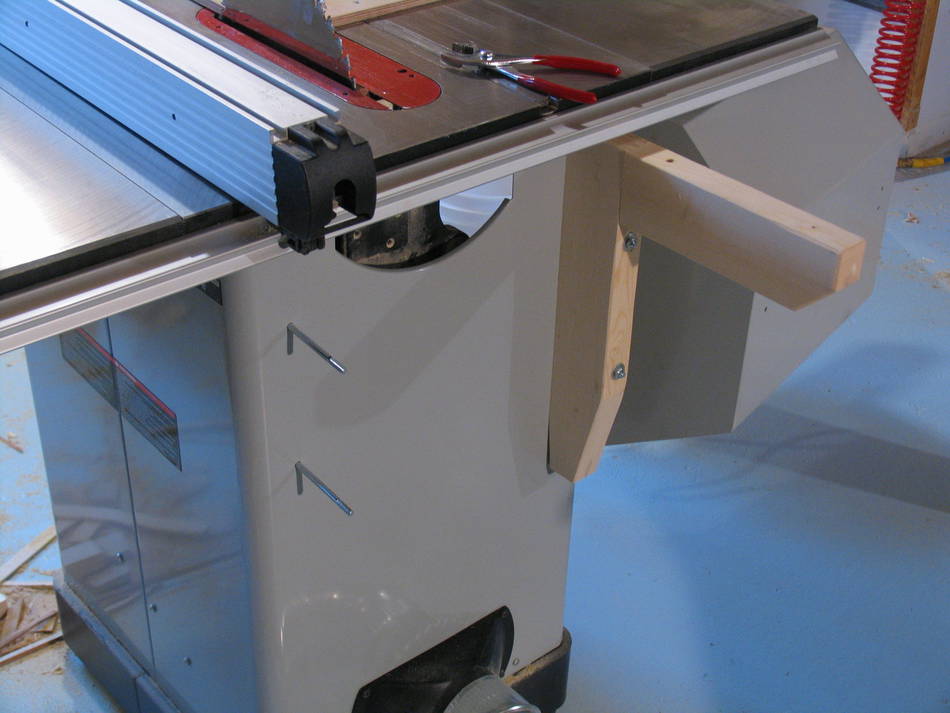
I started by drilling some holes into the left side of the left cast iron table saw wing. It turned out that there was already a few spots in the casting that were a little bit thicker, so this was an ideal place to drill and tap holes for 1/4" bolts into.\
 I wanted the left side to get a bit more support than to just hang it off the cast iron
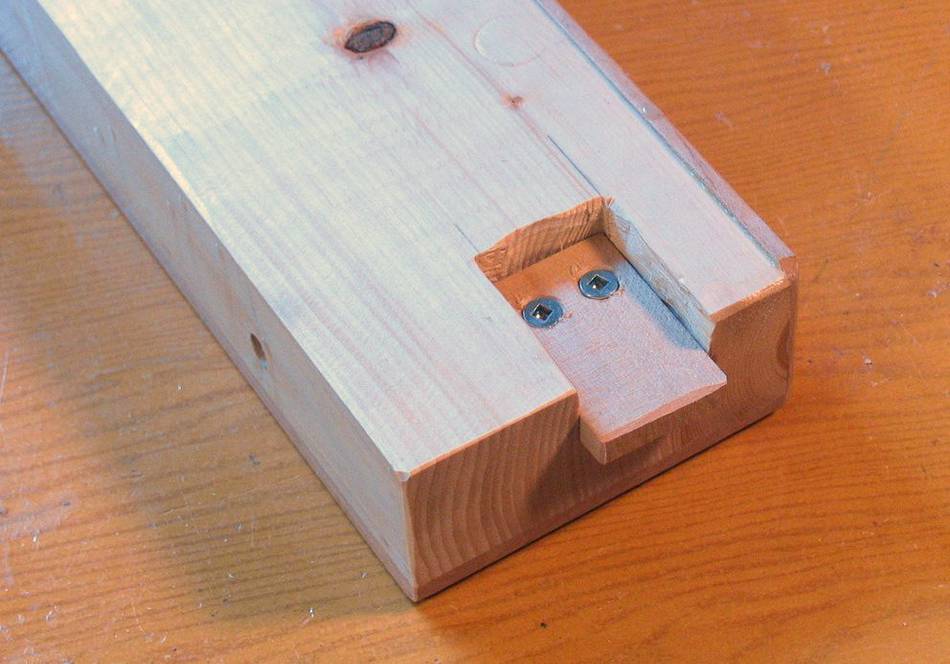
wing with some bolts. So I added this wooden tab to project into the front fence
rail.
I wanted the left side to get a bit more support than to just hang it off the cast iron
wing with some bolts. So I added this wooden tab to project into the front fence
rail.
You can also see in this shot how the extension is comprised of a piece of spruce with maple glued to the top (bottom in this view) and side. Solid maple would have been better, but I didn't have any lying around, so I just cut some maple to 5 mm thickness and glued it to a piece of spruce.
 Here you can see how this tab fits into the fence rail for more support.
I also screwed a piece of wood between the left extension and the back extension to give more support on the back (not shown).
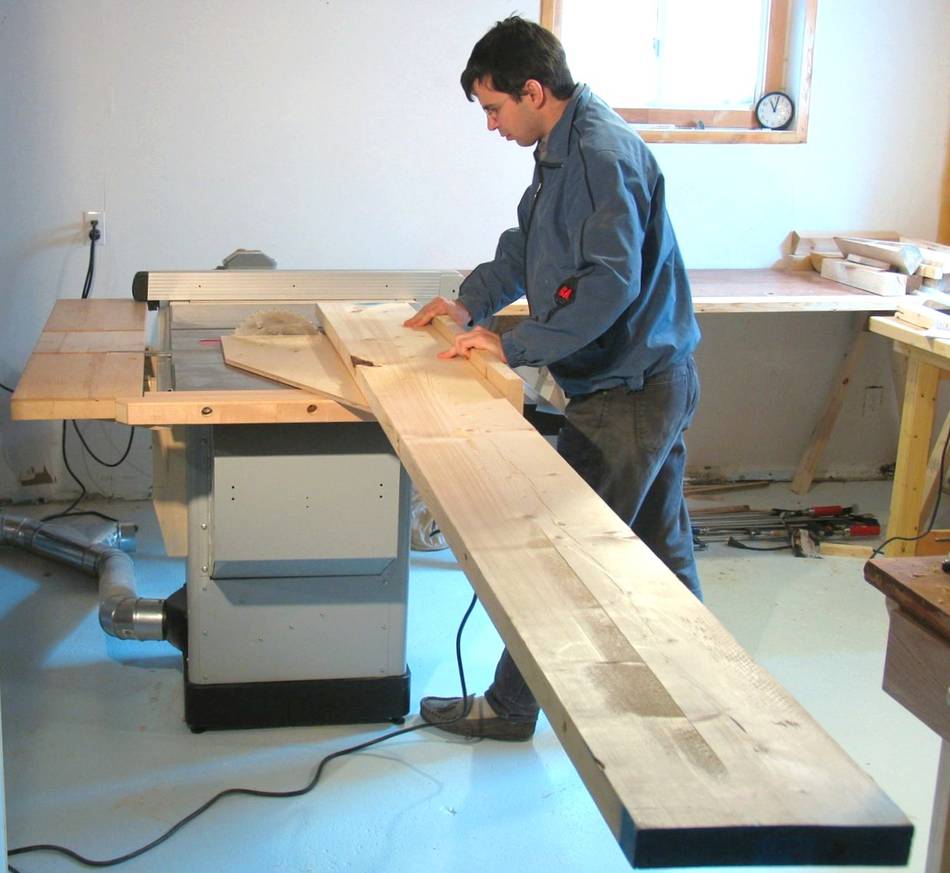 And here is why I need the left side extension. This is me cutting the end off a
8' long 2x10 with my table saw sled. Supported only by the sled. I have to press down on it to keep it
from rocking up. But I can get very precise and clean cuts that way.
And here is why I need the left side extension. This is me cutting the end off a
8' long 2x10 with my table saw sled. Supported only by the sled. I have to press down on it to keep it
from rocking up. But I can get very precise and clean cuts that way.
Back to my Woodworking website
 Table saw sled
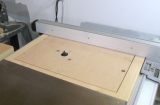 Router table
 Small table saw sled
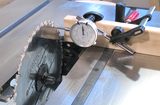 Table saw alignment
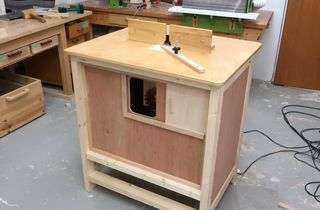 Router table with built in dust collection