I was experimenting with using a motor from a dishwasher to
make a blower for
another mini dust collector.
The motor was more powerful than the furnace exhaust blower motors
I used here, so I could
build a bigger blower with more suction.
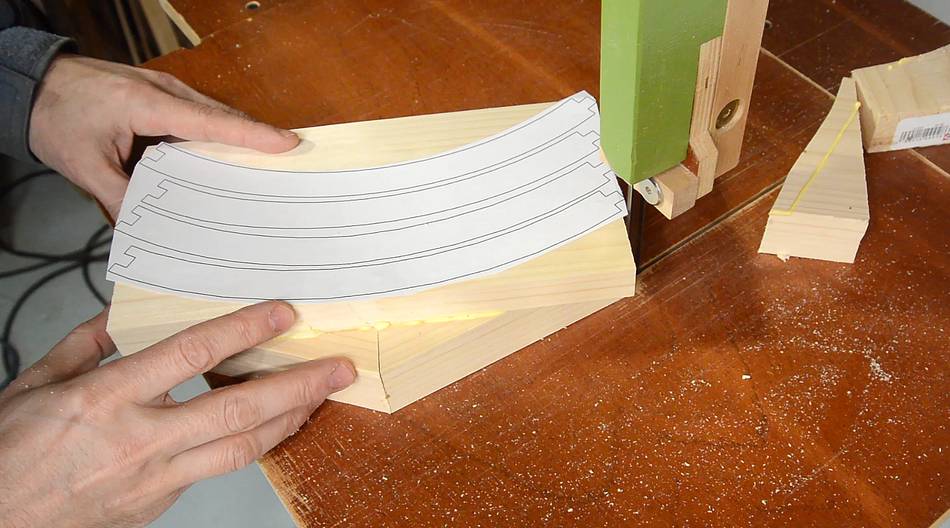
The first blower I built
didn't use all the available power of the motor, so I built a slightly
bigger one. I made a bigger impeller, using the same method as
this one. But this time I
designed the housing in CAD. That way I could
print out templates for the spiral housing, which made making
the housing much quicker if not counting design time.
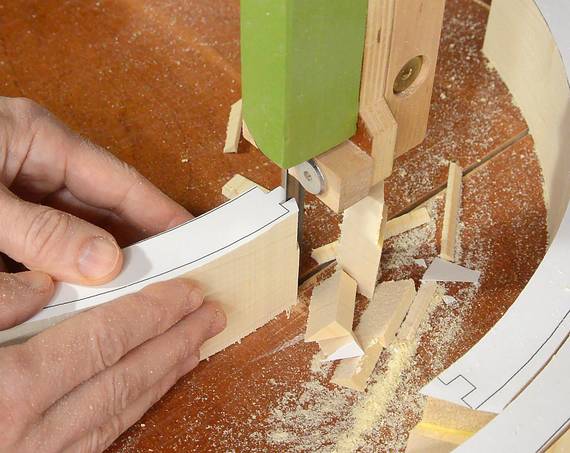
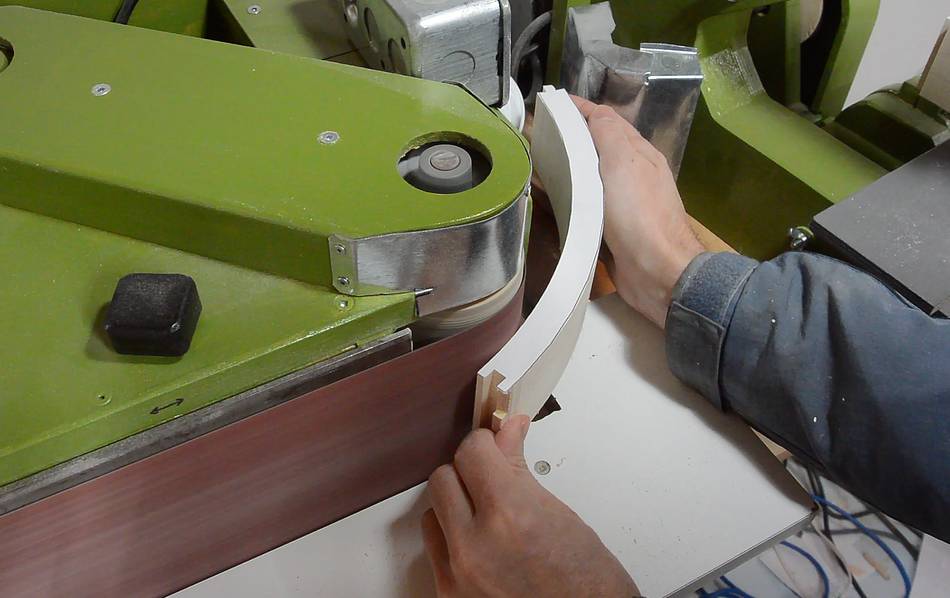
The nice thing about cutting out the segments like this was that I could sand
them one at a time on my belt sander.
I don't have a spindle sander.
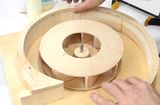
Spiral housing laid out.
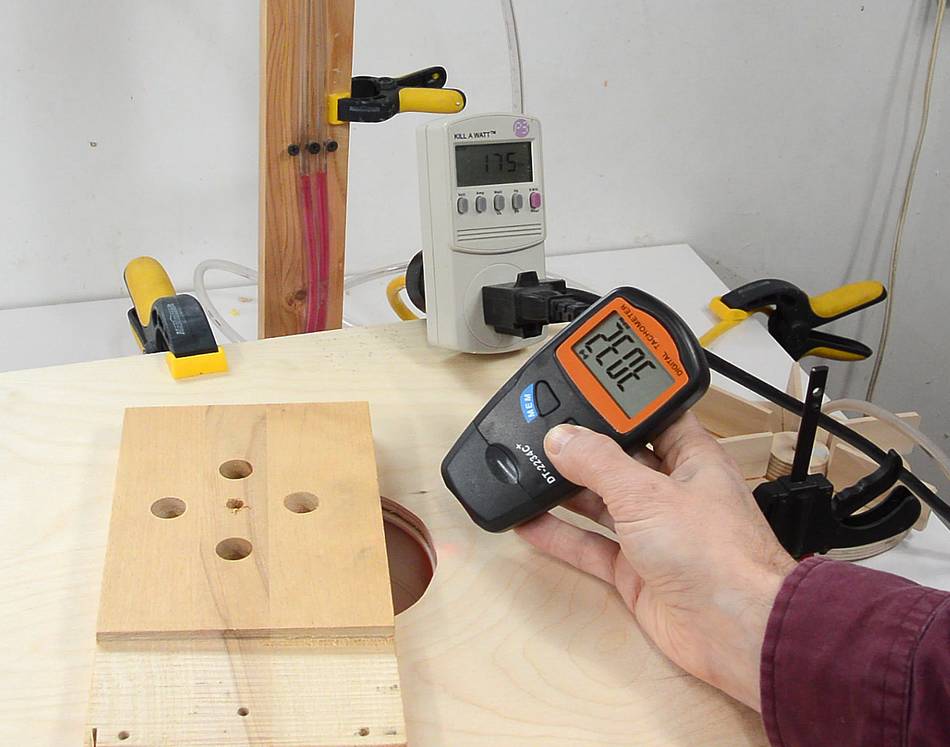
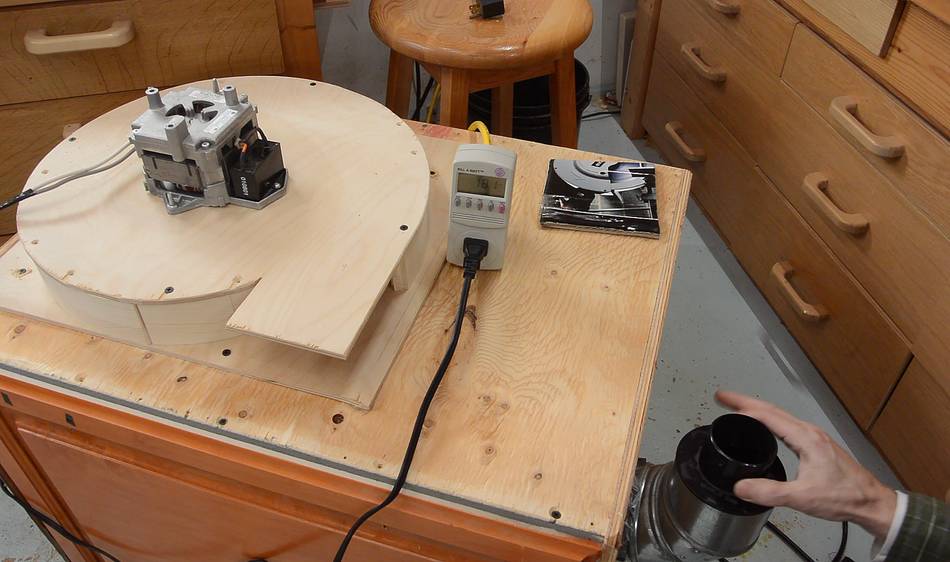
Testing it, the motor consumed 222 watts with air free flowing. That's more than
its rating, so it was overloaded. But if I constricted the air flow, the
motor's power consumption dropped below its rating and RPM was above,
so it was no longer overloaded.
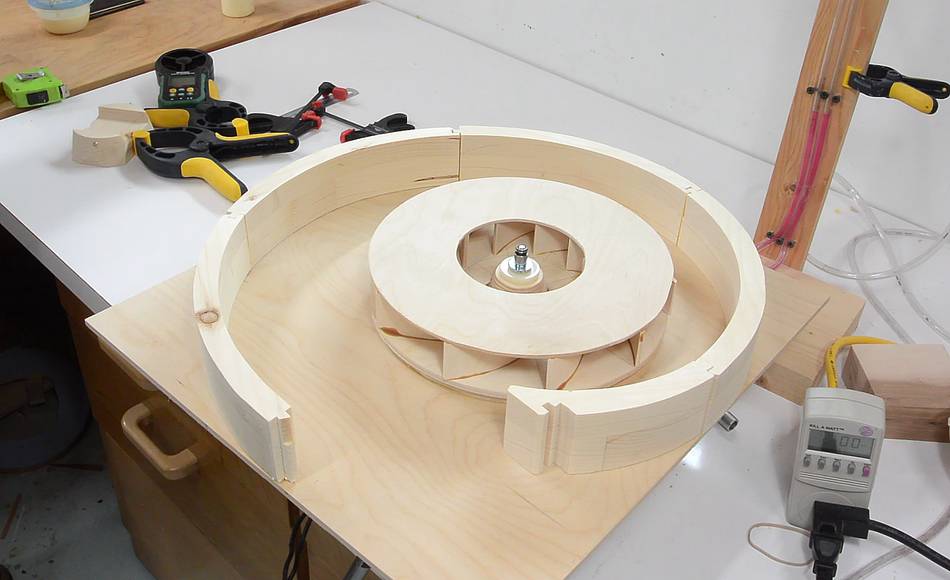
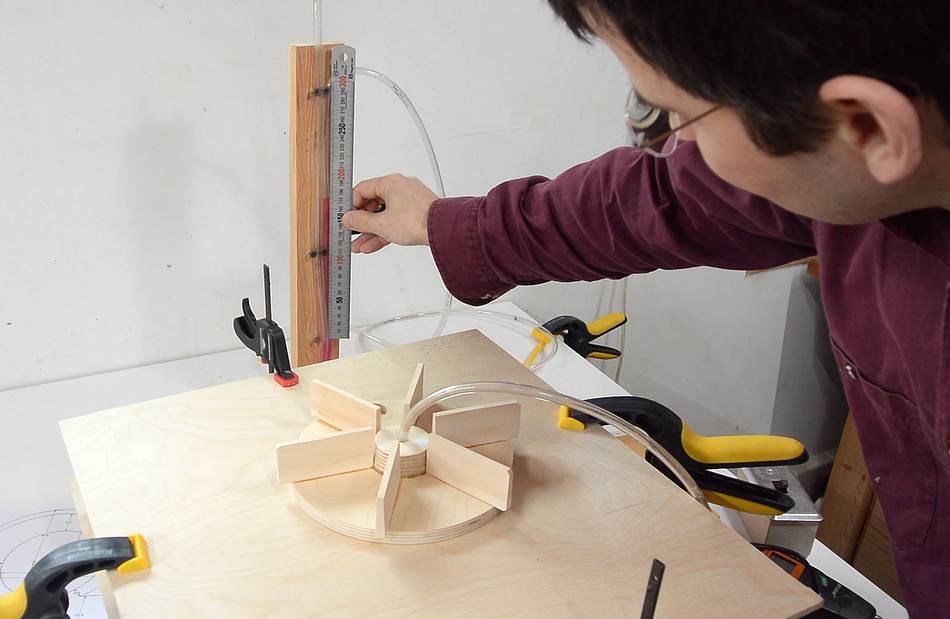
I designed the spiral with a fairly generous exit path, but if I can't put that
much air through it because of motor power limits, I might as well tighten up the
spiral so it's closer to circular. This makes the blower slightly smaller.
So I just angled the segments together slightly differently. This change increased
static suction from 170 mm to 175 mm (a more circular housing tends to produce
slightly more static pressure).
The motor was still overloaded with free air flow, but if it has to pull air
through a dust collector with hoses and filters, air flow will be more restricted,
and hopefully the motor won't be overloaded.
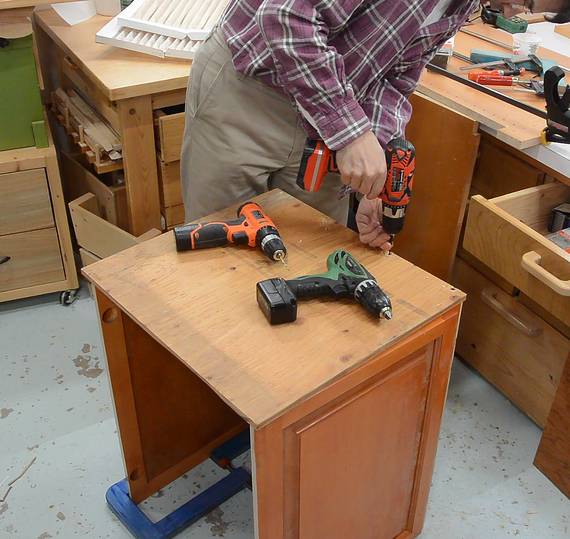
Having decided on the housing geometry, I screwed it all together.
My initial idea had been to just mount the blower onto a cardboard
box with a filter in it for a test. But at 175 mm static suction, I would have
had to reinforce the cardboard box. And then there is the question of how
to open the box to look inside and also seal it. And the box wasn't quite
the right size for my filter. So I figured it would be simpler to just
make a wooden box.
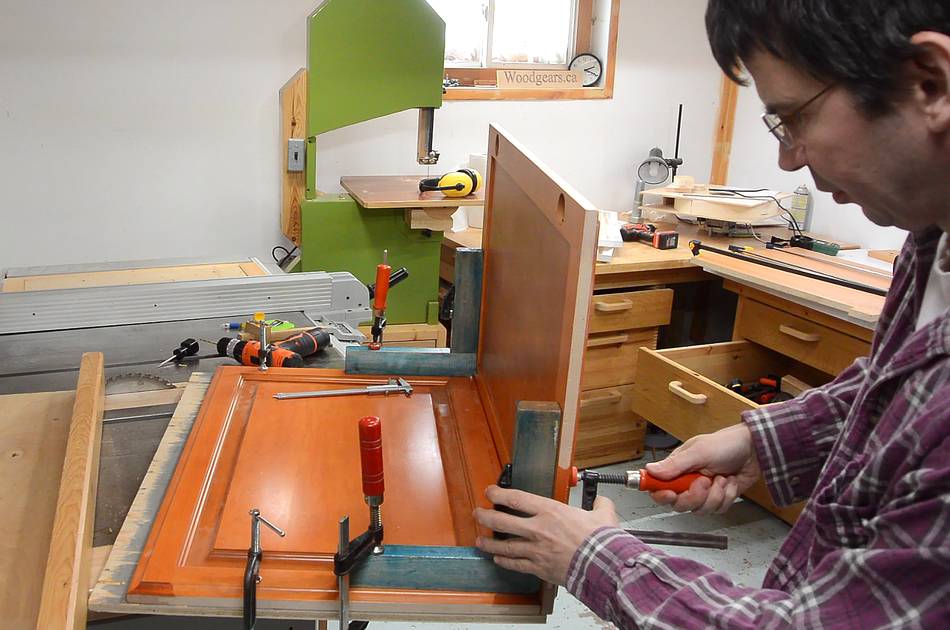
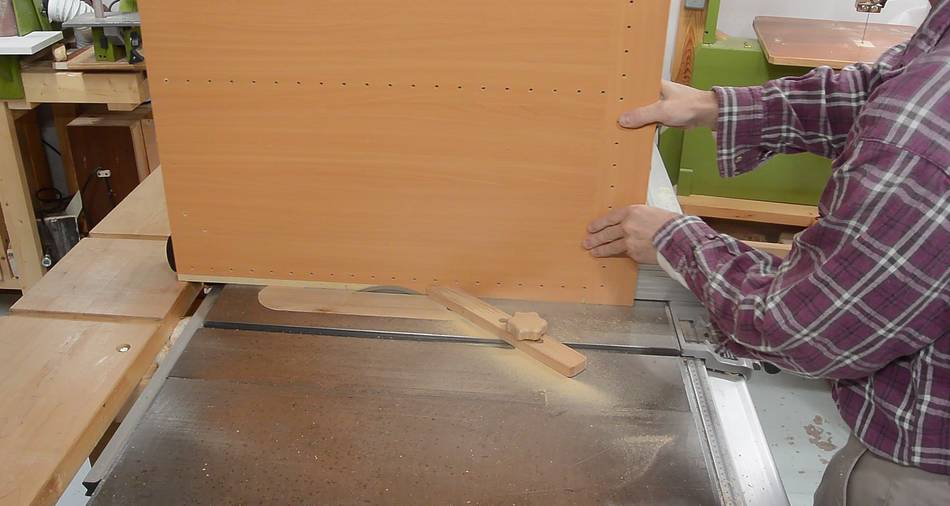
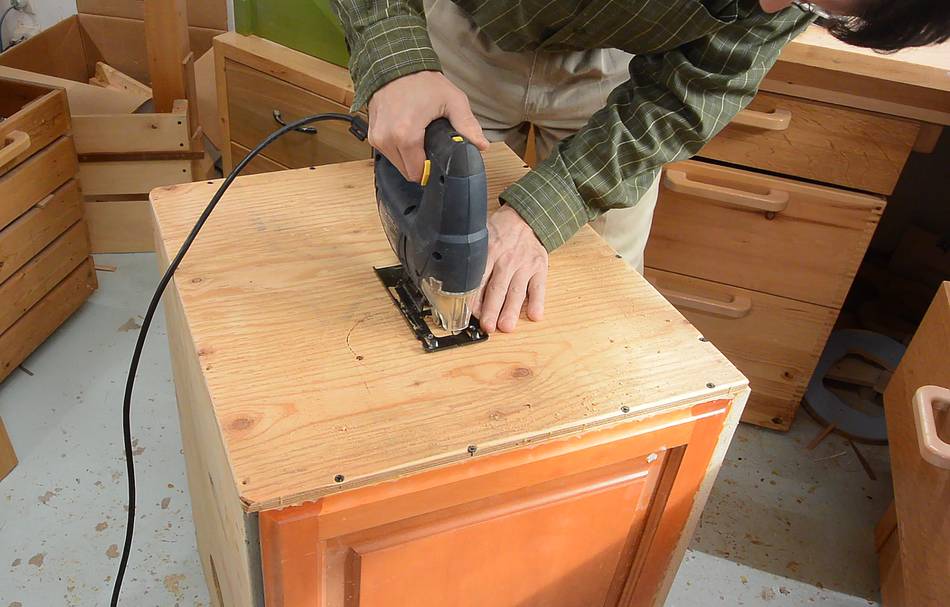
I used some scraps of plywood from the garbage, and two cabinet doors from
a yard sale. Here I'm jigging things up for screwing the pieces together.
(The door that's horizontal is just there to help jig things up temporarily)
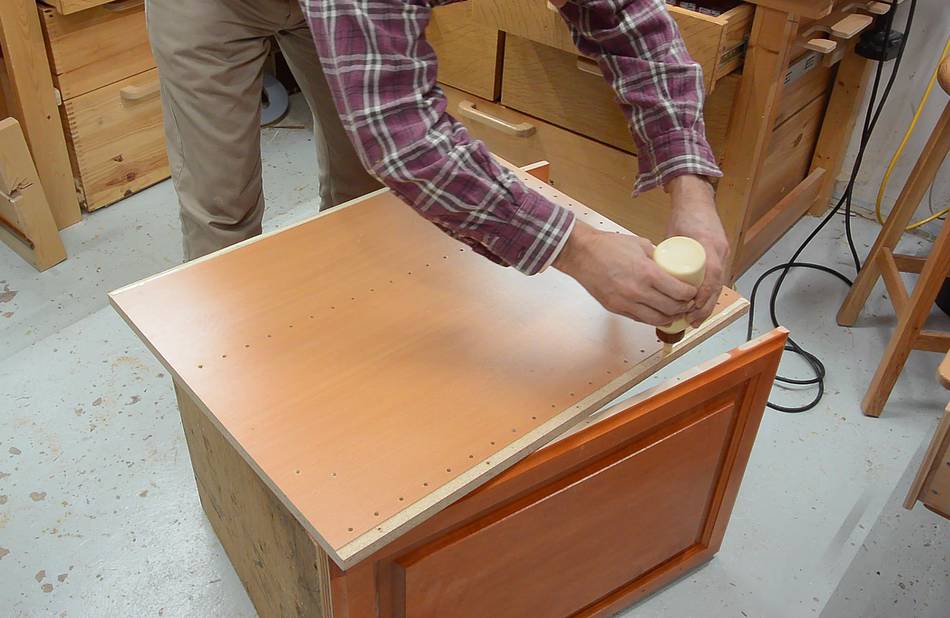
Screwing the top plywood onto the doors. The plywood only overlaps the doors
by 8 mm. Ideally, that plywood would have been wider, but this piece was
just about the right size. In fact, cutting all the pieces to size for the box,
I ended up with almost no scraps at all.
At right, screwing on what will be the "back" of the box.
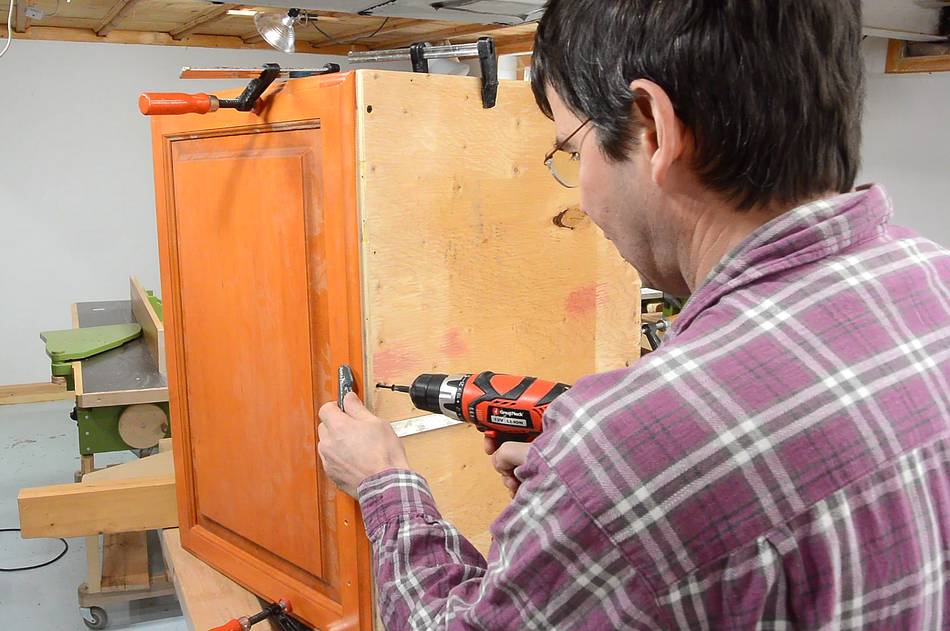
The bottom of the box is some particle board from some kitchen cabinets.
I glued most of the joints, so I cut away the melamine coating along the edges
where it joins with the kitchen cabinet doors.
Here applying a generous amount of glue before screwing on the bottom.
The glue's primary function here is to act as a sealant.
The filters I'm using are designed for use in a furnace. Furnace blowers
produce about a tenth of the static suction as my blower, so I made
a lattice to help support the filter against the pressure (for when the
filter becomes very caked with dust).
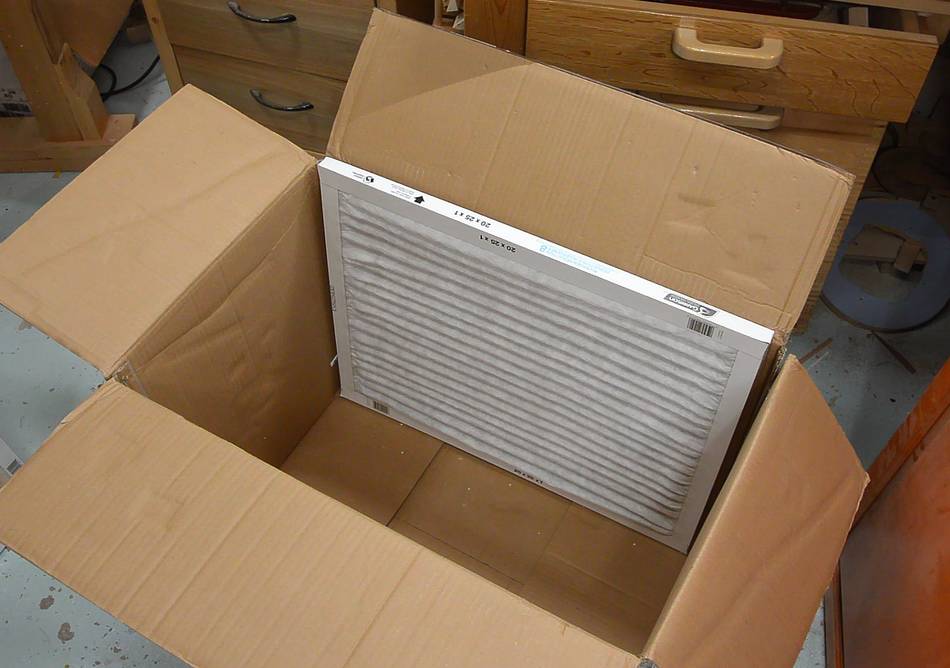
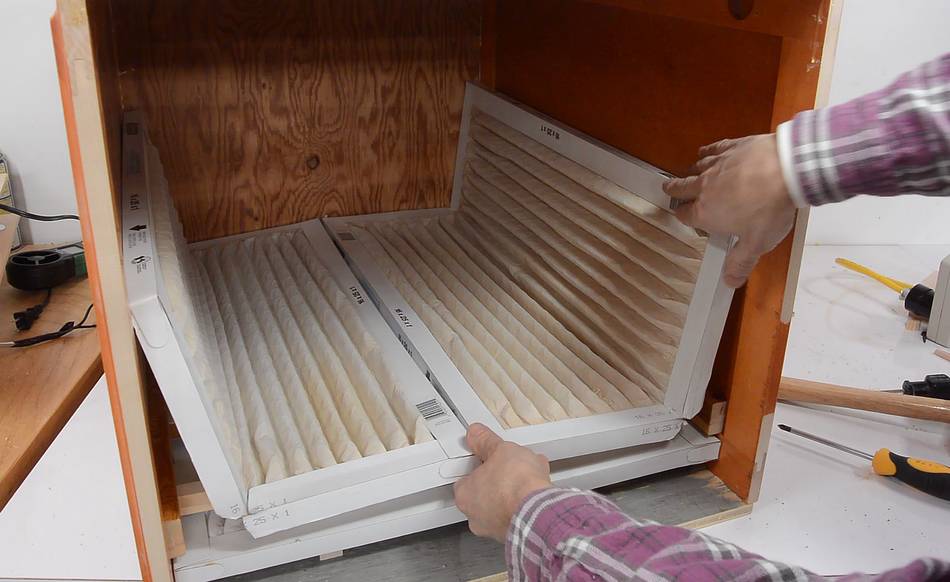
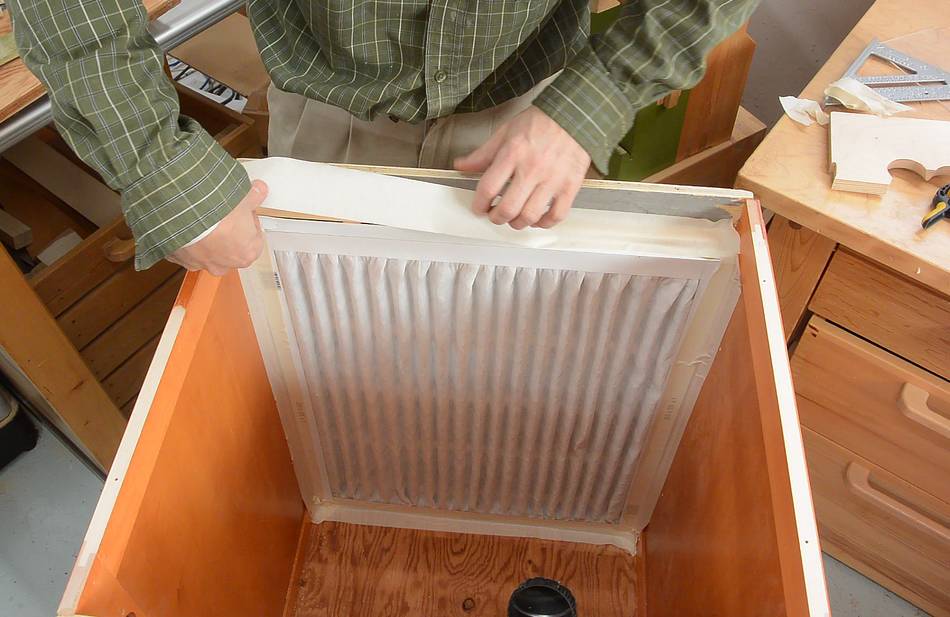
A big 24x20" filter goes against the lattice.
I wanted two layers of filtering, with the first filter folded against
the sides of the box. The first filters are actually the ones that will get
most caked up, so they need support even more.
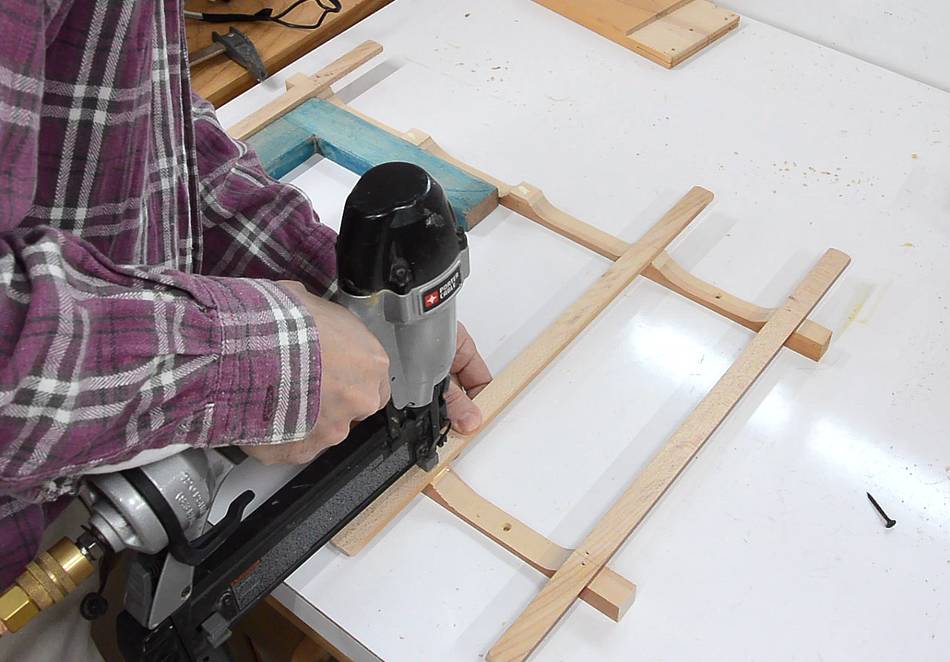
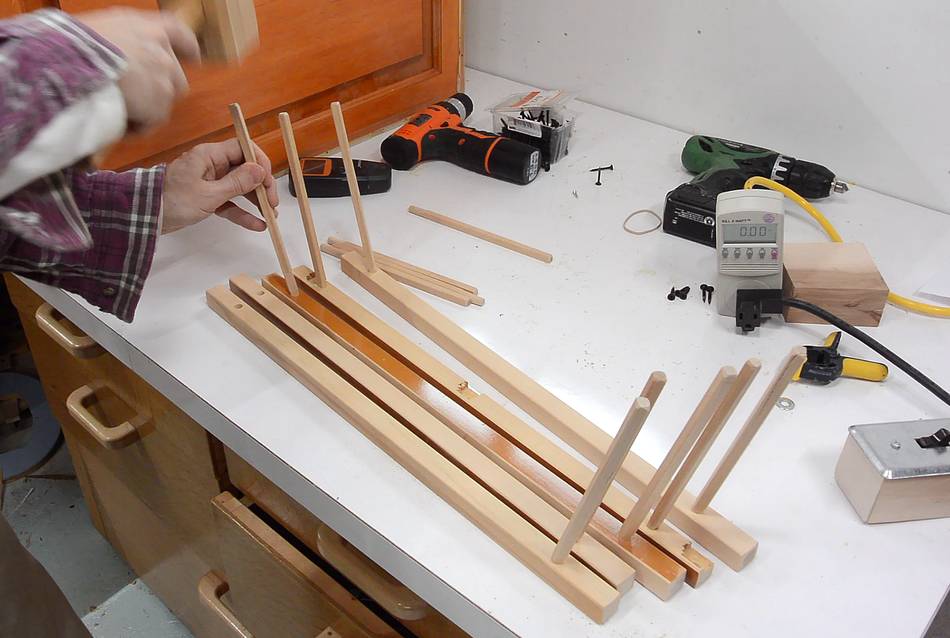
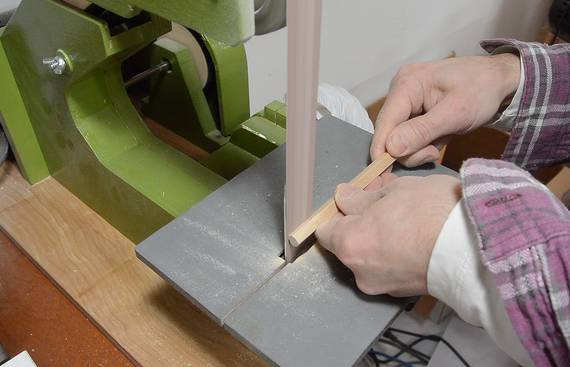
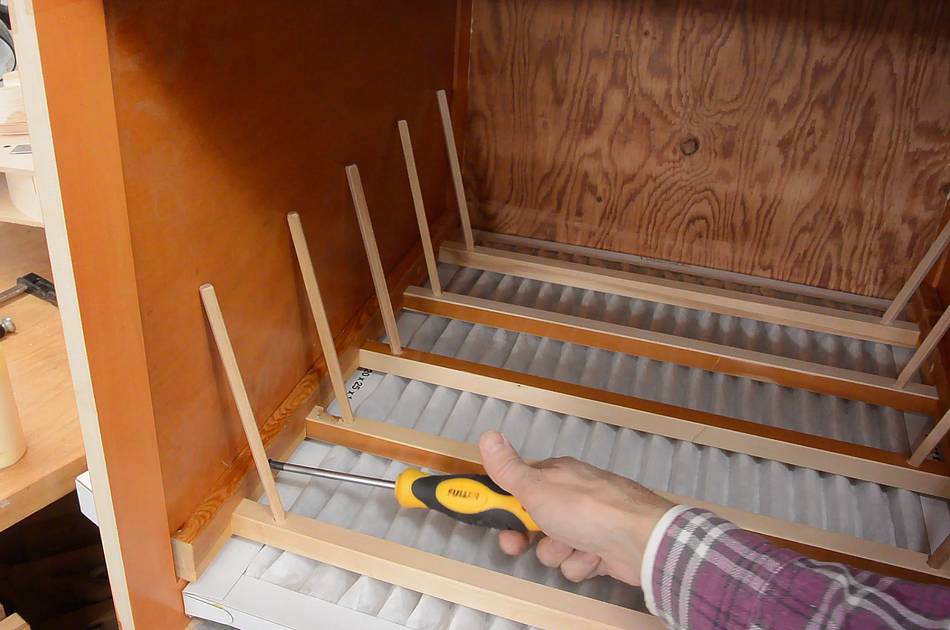
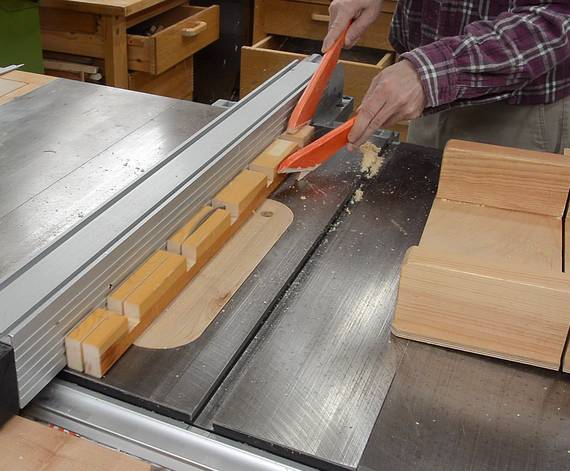
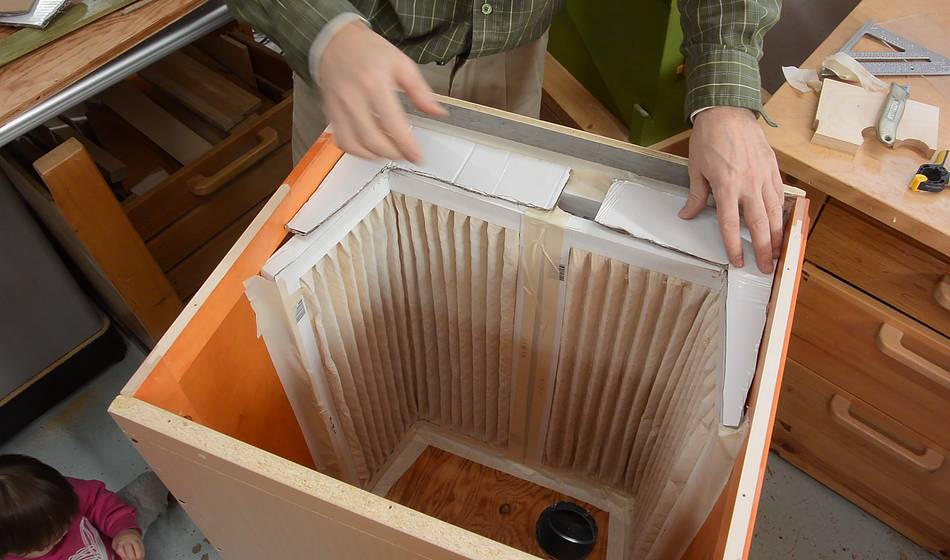
I sanded the ends of some pieces of wood round and pounded them into
angled holes on bigger pieces of wood.
These pieces in turn form brackets that fit into the box, resting against
the inside edge of the frame of the doors.
I cut a series of notches into a piece of wood, then cut that into two strips.
These strips fit around the ends of the brackets I just put into the box, and screw
into the sides to hold the brackets in place.
Then the two filters, which I kinked to make them fit. They are already dirty
from some other experiments.
In these photos, the box is upside down from how it will be in the dust collector.
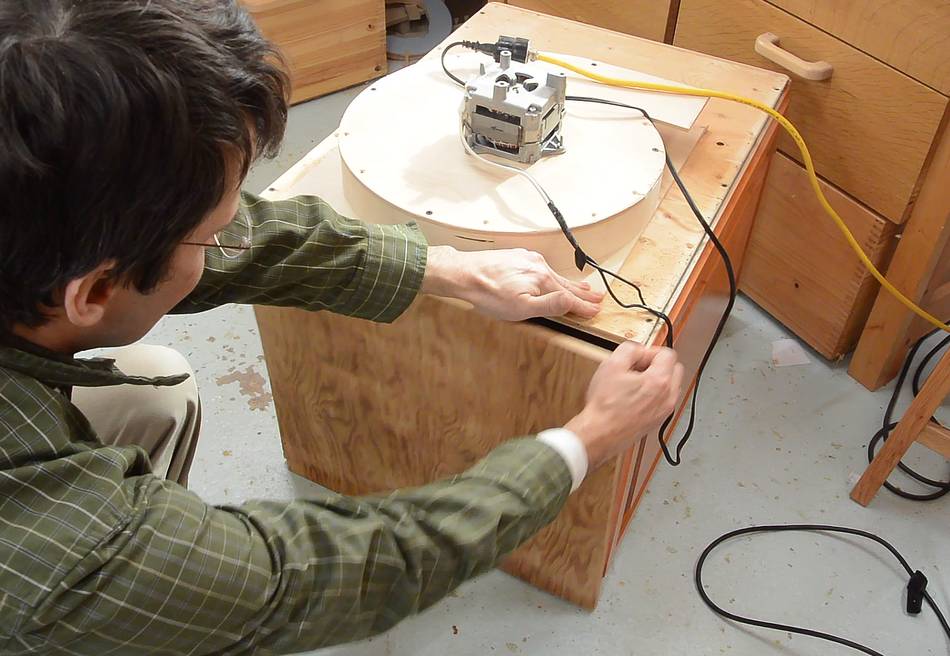
A hole cut into the top of the box allows the blower to suck air out.
With the blower sucking air out of the box, it pulled the lid on
very tight.
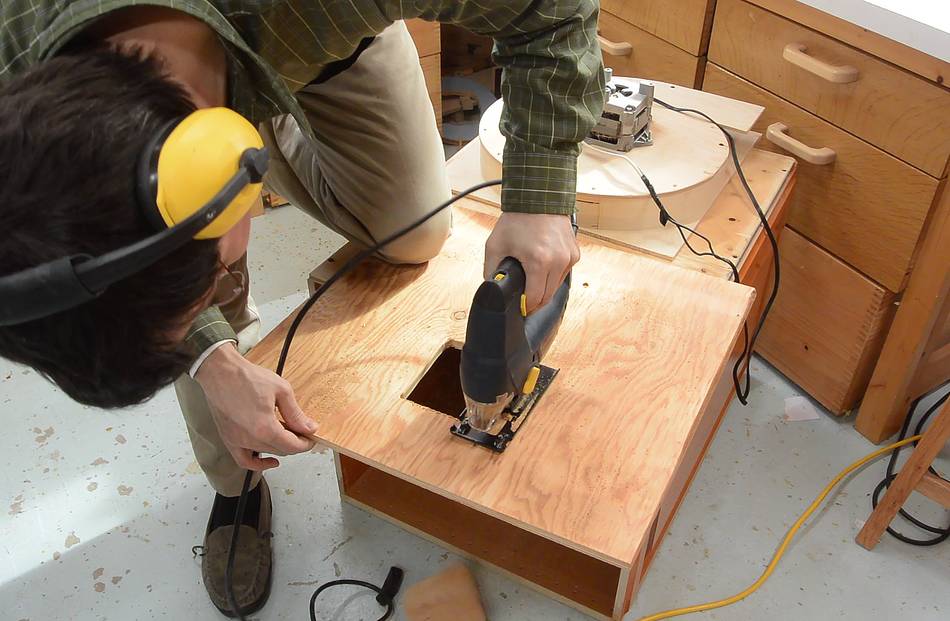
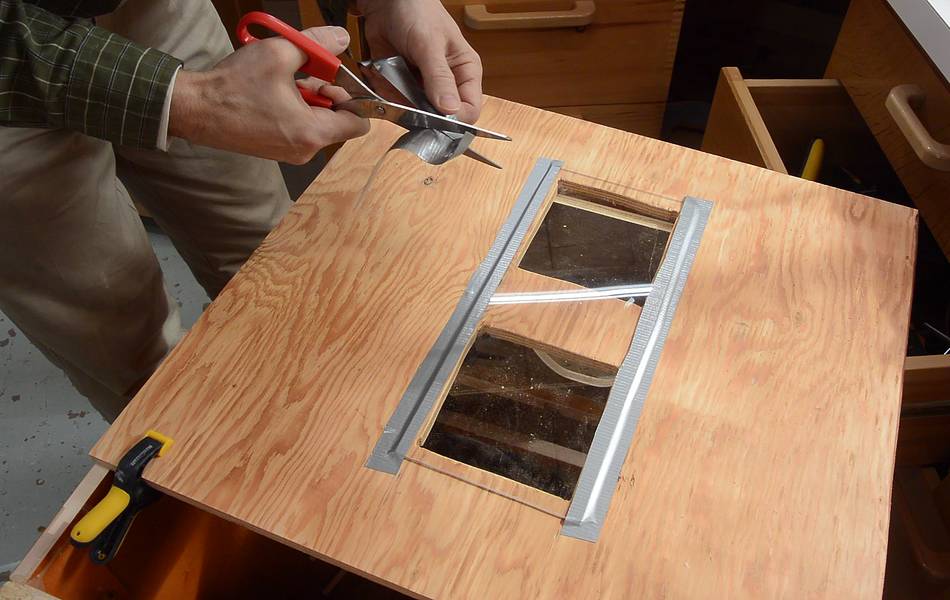
I cut two holes into the lid for a window.
My initial idea was one tall window so I could better see how high the dust
was in the box, but then decided to make it two square holes instead,
so I wouldn't be weakening the lid as much.
I used duct tape to attach and seal the Plexiglas to the box.
I then cut a hole in the back for the dust inlet.
I didn't have an appropriate flange so I just put a 4"
ducting elbow in the hole and screwed it on from the inside. I put some
duct tape around it to help seal it.
Then installing the first filter. I'm using masking tape to seal into
the box. I had some problems with filter blow-by on my
mini dust collector, so I figured
tape should solve that. I don't anticipate changing the filters
that often, and if I do, the tape is a small cost compared to the filter.
This filter is more of a back-up for the other filters. Furnace filters, when
not caked with dust, have very little air resistance, so it's not doing any harm.
Starting to install the main filters.
I taped these filters in as well. I had to make some pieces of cardboard
to seal the end of the filters.
I wanted some sort of compressible seal for the main lid. Wood chips really
stick to felt, so I figured I'd try some strips of corrugated
cardboard. I'm not sure how that will hold up over time as the lid is
removed from time to time.
The lid just screws onto the box with wood screws. The screw holes may wear
out eventually from opening and closing the box, at which point I might switch
to gluing some threaded rod into the box and using wing nuts or something like that.
But right now, I'm not sure how practical this thing is, and wood screws are quick
and don't preclude using a better solution later.
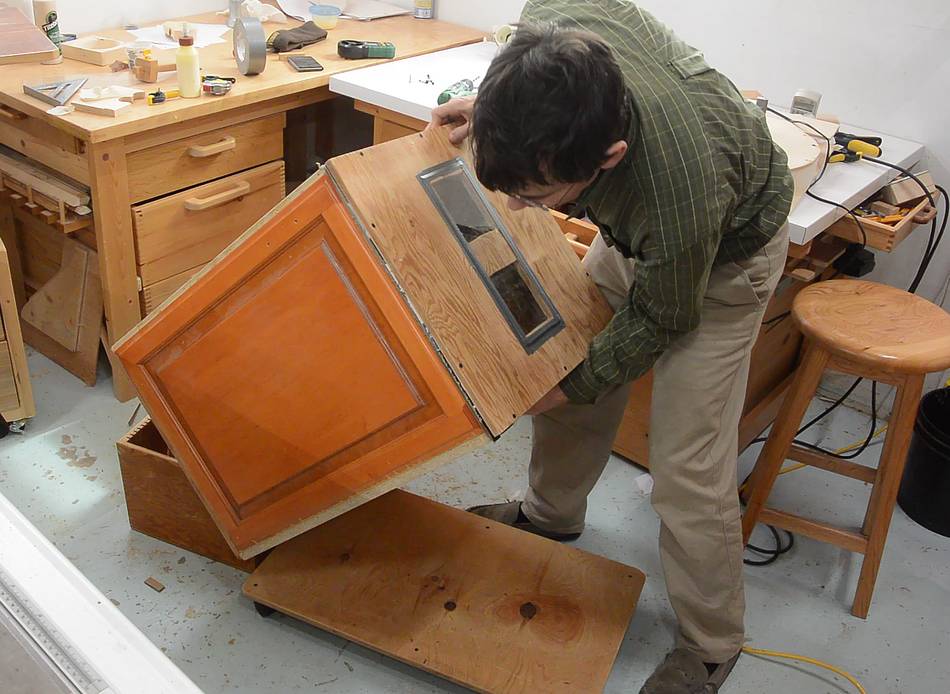
Tipping the box onto a dolly. With the hardwood side panels and particle board
bottom, it's not very light.
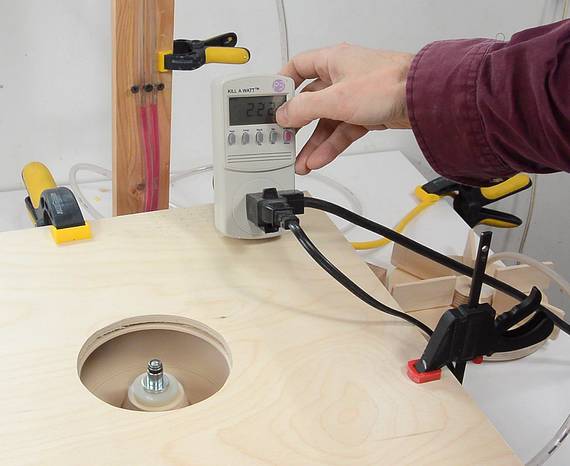
Testing it again. With this set-up, it's 222 watts, so the motor is still
overloaded, but putting just a hose adapter on the elbow cuts air flow down enough
to put the motor within its rated load.
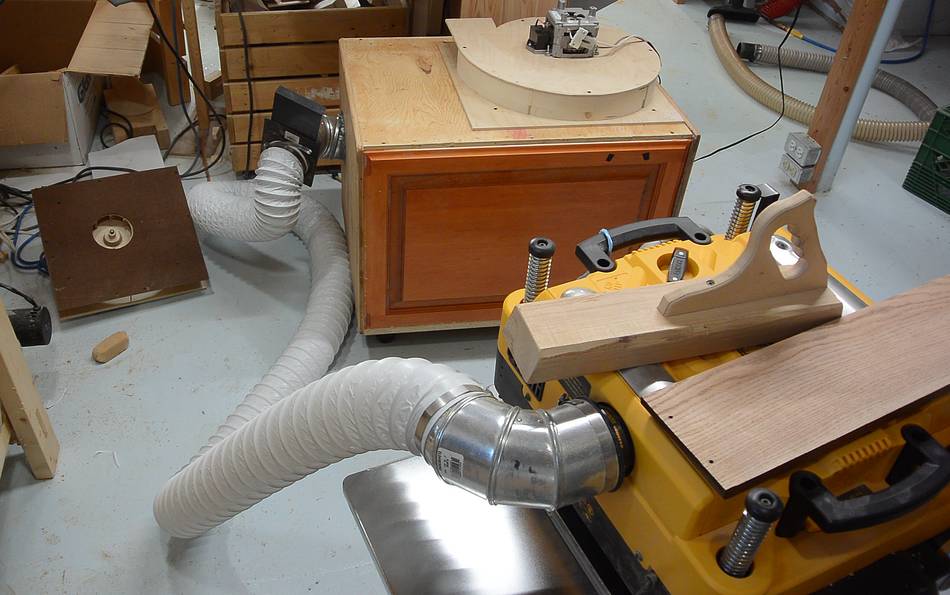
I figured a rather overloading test for this set-up was to hook it up to my
Dewalt 735 thickness planer. The blower on this planer blows so much air out
that it overwhelms a lot of dust collectors.
I hooked it up with some cheap dryer hose. Not the best hose for this job,
but it has the advantage that you can see if the hose has positive or
negative pressure in it.
The hose expanded. This means positive pressure.
The planer was pushing air into the dust collector.
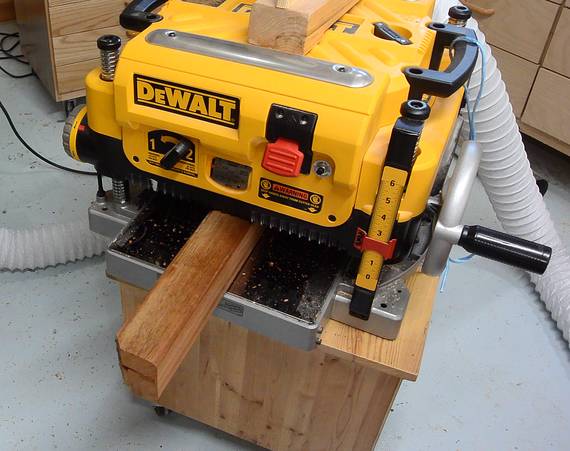
But as soon as I ran a board through the planer, it slowed it down enough that
its internal blower put out less air, and the hose started shrinking again.
So while planing, the dust collector was barely keeping up.
The planer also didn't drop a lot of chips on the table. When there isn't
enough air flow, a lot of shavings end up falling onto the table.
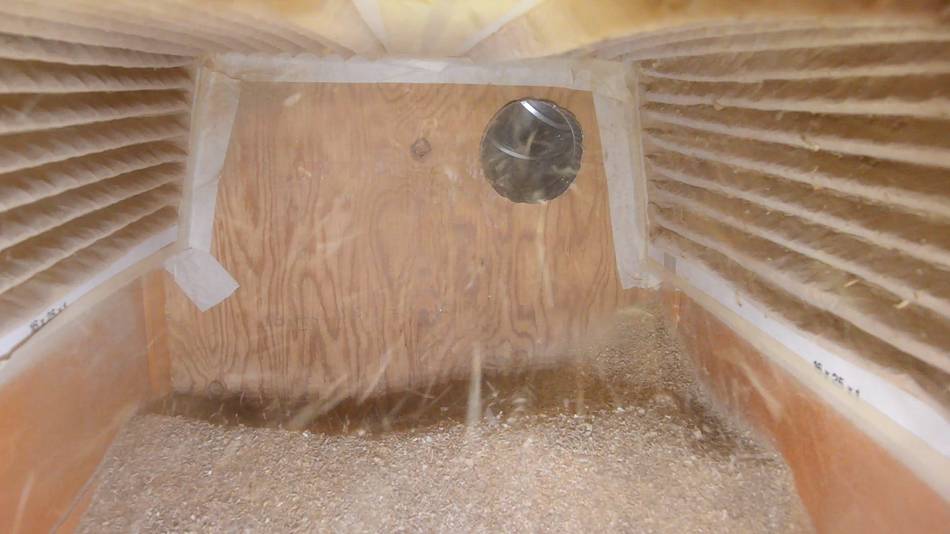
Looking in the window, while planing.
I checked the air with my Dylos particle counter.
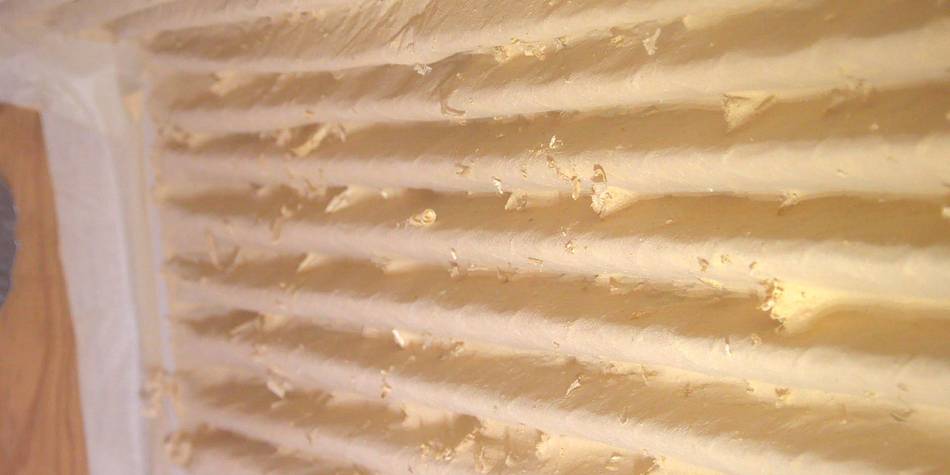
It showed that some of the very fine dust was making it through the filters.
I expect this to improve as the filters become caked with dust (a layer of fine
dust is an excellent filter). Though once it's caked with dust, air flow will
be reduced and might not be enough for the planer.
At any rate, I think this is a useful dust collector. And with a motor that is
at most 1/8 hp, it's doing pretty good. I would say, performance is very
comparable to my cheap dust collector.
Static suction is about the same, and air flow on that unit is not that great
now that the filter bag is caked with dust.
I may end up making a mount for a thickness planer to go on top of this box,
probably my cheap one (this one), which
doesn't need quite as much air flow.
Two weeks later, particle counts when using it were down substantially, so
the filters were sufficiently caked with dust. The sawdust itself actually
helps to filter (this is called "Seasoning" the filter).
Power consumption also dropped to 1.74 amperes (or about 200 watts), which tells
me air flow is down a little from extra air resistance in the filter.
It still works ok with my thickness planer and also sucks all the shavings out of my
jointer. So overall, I'll call this experiment a success. Though if I was building
it again, I'd try to find a slightly bigger motor. If you want to build one,
use a filter with wide pleats. Tightly spaced pleats end up getting the space
between the pleats filled with dust, causing unnecessary air resistance.
Update 2018(1 year after I built it)
The masking tape I used to hold up the filter really did not hold up. I replaced
it with duct tape, but that also was unable to hold up the filters over time.
I made a video about that.
I screwed some pieces of wood in to actually hold the filter (and tape) in place.
After moving to the country, set this dust collector hooked up permanently to
my homemade jointer, while using my big old dust "Startrite" collector for the planer.
The capacity is big enough, though after
making lots of baseboards I had to empty it eventually.
Emptying it is kind of annoying with all the screws that need to come out,
but it's something I have really only had to do once so far (not counting the two
times I had it open to fix the tape not holding problems). Even with all the screws,
emptying it is comparable in annoyance to emptying and reattaching the bag on
one of these.
So far I quite like this concept of dust collector, my next iteration of it is the
dust collector for my table saw. This
one is much easier to empty.
 The first blower I built
didn't use all the available power of the motor, so I built a slightly
bigger one. I made a bigger impeller, using the same method as
this one. But this time I
designed the housing in CAD. That way I could
print out templates for the spiral housing, which made making
the housing much quicker if not counting design time.
The first blower I built
didn't use all the available power of the motor, so I built a slightly
bigger one. I made a bigger impeller, using the same method as
this one. But this time I
designed the housing in CAD. That way I could
print out templates for the spiral housing, which made making
the housing much quicker if not counting design time.


 Blower impeller experiments
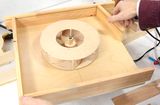 Blower housing shape experiments
 A different approach to dust collection
 Cheap dust collector
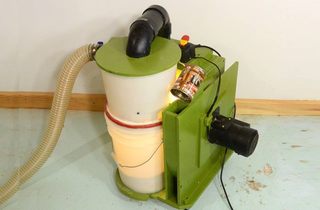
 Using a syncronous diswasher motor
for a blower
Using a syncronous diswasher motor
for a blower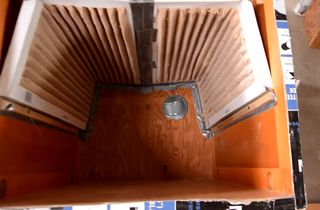 Random dust collection updates
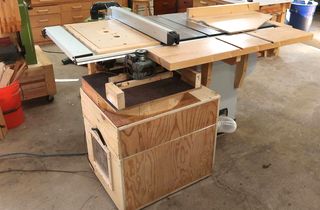 A dedicated dust collector for the table saw
 Relay box to turn on dust collector automatically