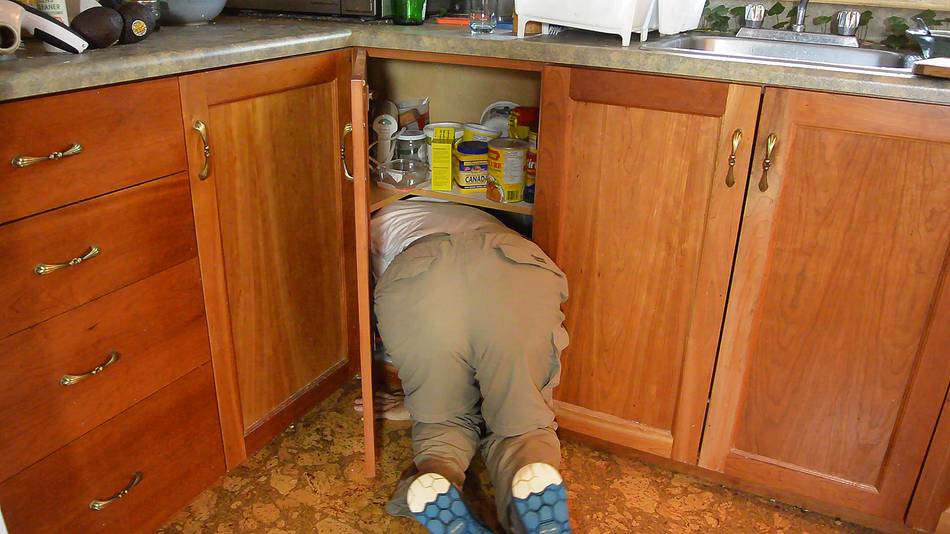
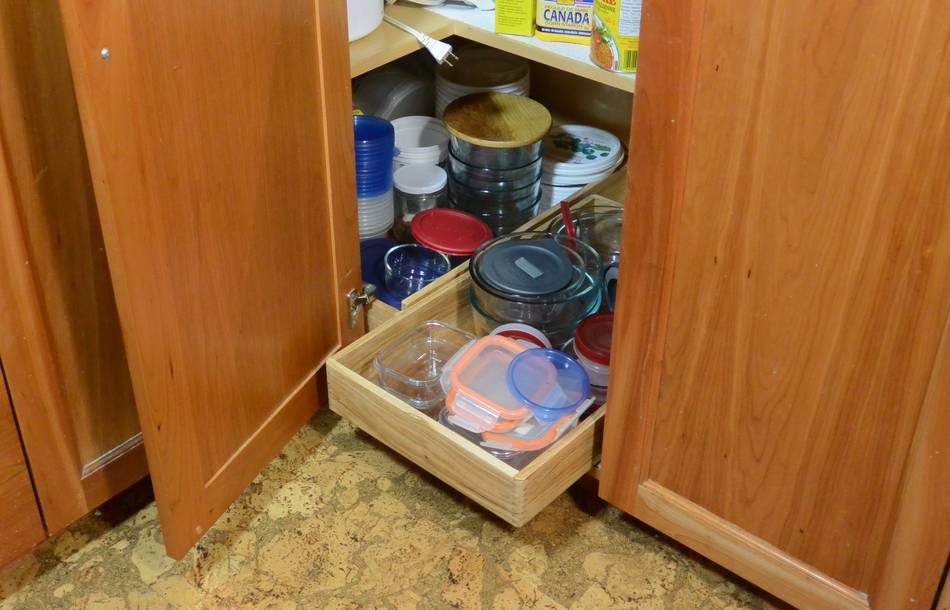
The space under a kitchen cabinet corner is a challenge to organize,
and mine always turns into a disaster. A carousel might help, but
carousels themselves make very inefficient use of space. That,
and I'd have to rebuild the cabinets to add one to this corner.
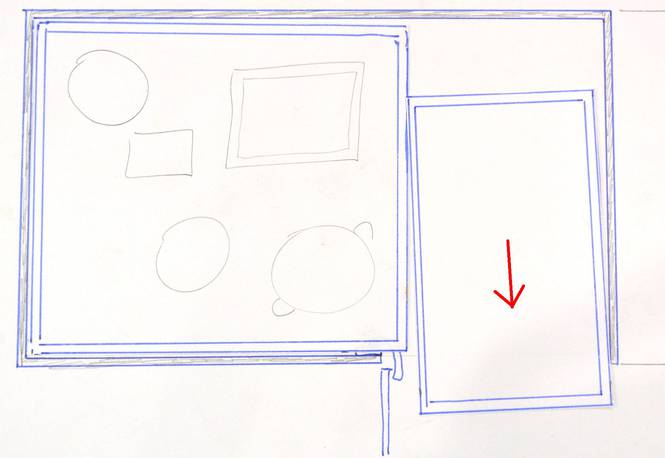
Rachel wanted a better solution for under the counter. A solution I
thought of was to have the junk in two boxes, with the first box sliding
out, and then the second box sliding nearer for better access to its
contents.
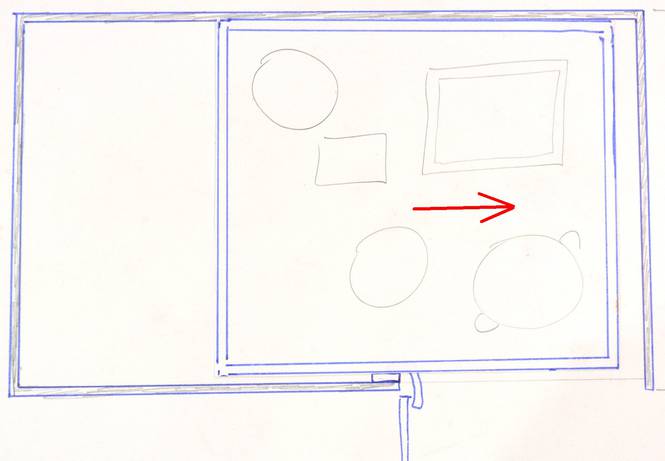
But the problem with that scheme is that the larger box would have to be
larger would fit through the cabinet door, even at an angle. I thought
about assembling the box in place, but that would no doubt involve
a lot of cursing!
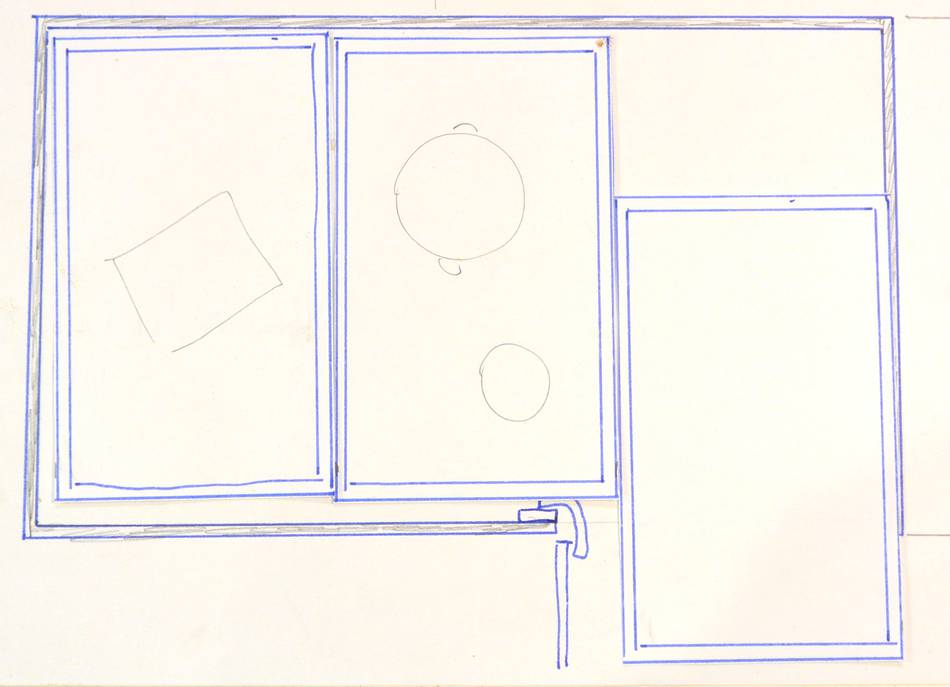
Rachel then had the idea of making it three boxes, with the boxes
somehow hooked together. When the first box is pulled out, pulling the
second box to the right will pull the other box with it.
So I cut the pieces for the boxes from some oak boards that I had
sawmilled out of part of
one of my neighbour's oak trees.
I resawed it on my table saw, similar to how I cut the wood
for my ramekin serving tray.
I had resawed the planks into two layers. Boxes are always limited
by the strength of the joints, not the boards. So with very fine box joints,
I'd be fine with the thinner wood. I used my
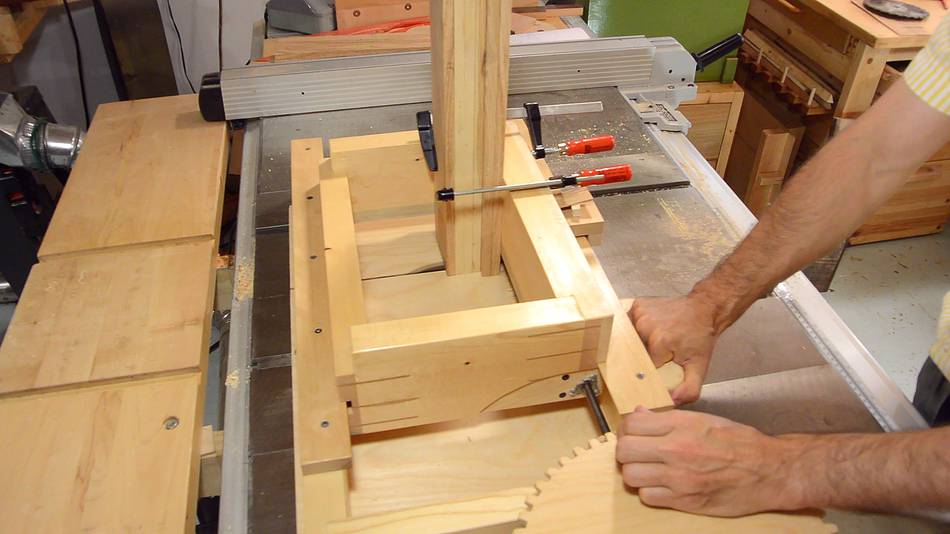
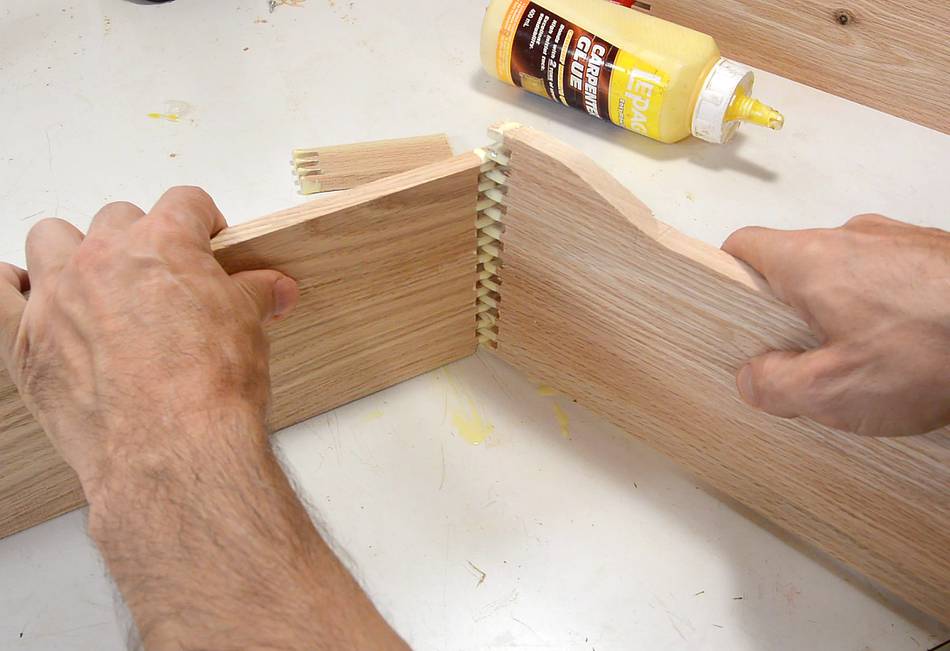
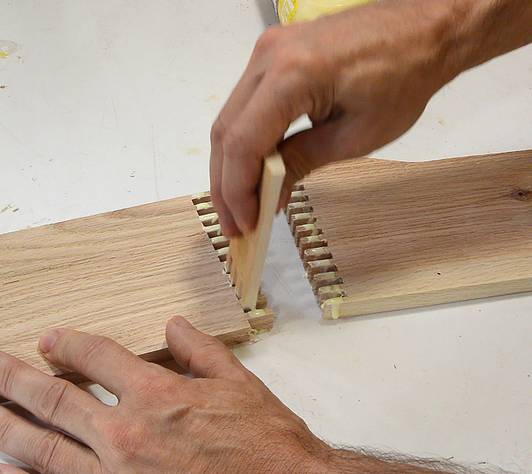
screw advance box joint jig to cut joints with fingers 3/16" (4.8 mm) wide.
I made a comb with four fingers on it to speed up spreading the glue on the
joints.
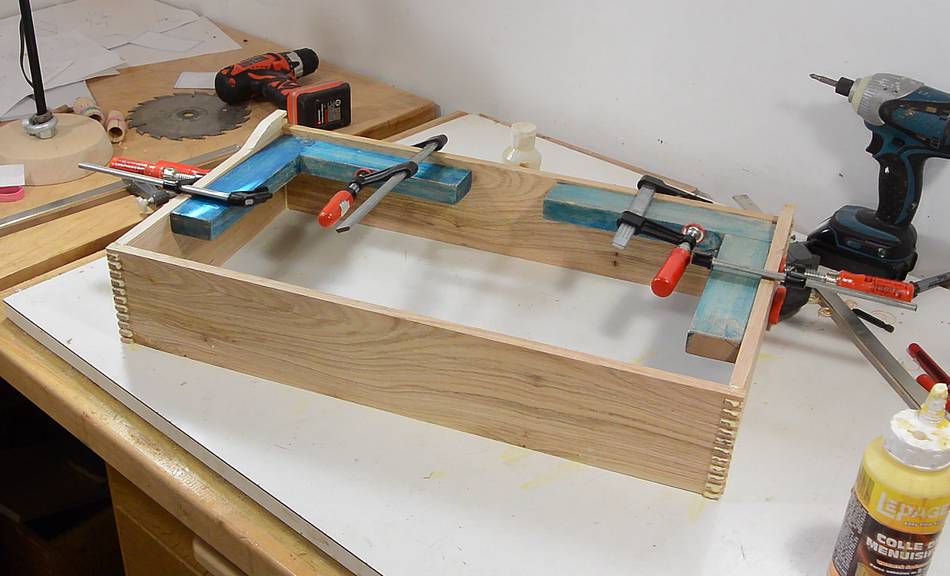
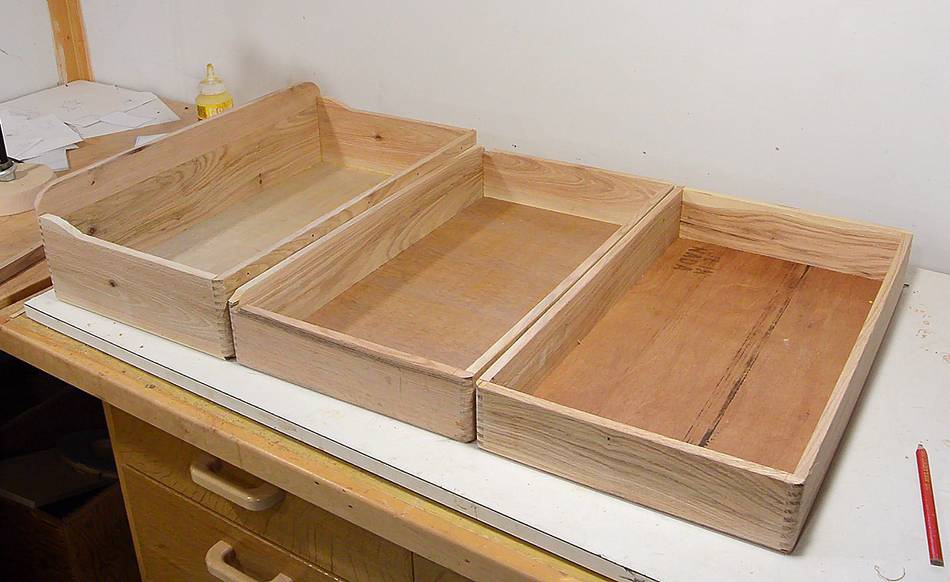
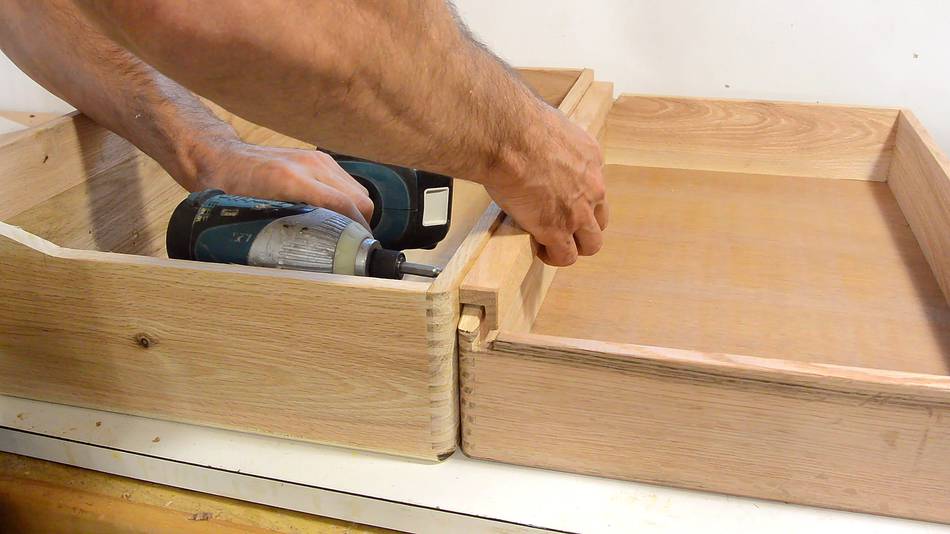
Gluing up the box that will be furthest in the back.
This box has taller sides than the other boxes.
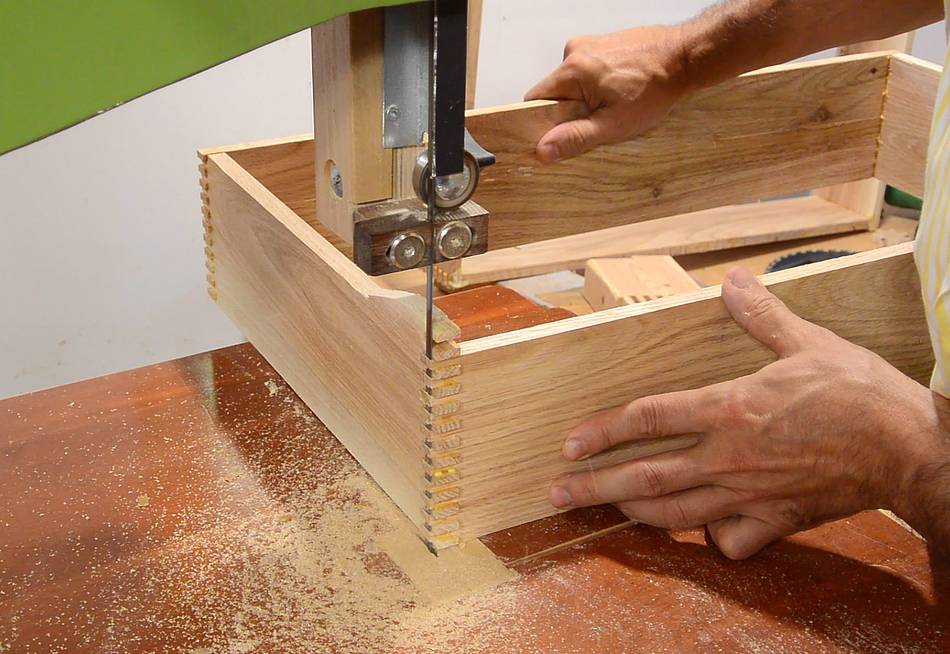
I cut the joints a bit deeper than I should have, so there was about
2 mm of excess to cut off the ends. The bandsaw was the most
expedient tool for that.
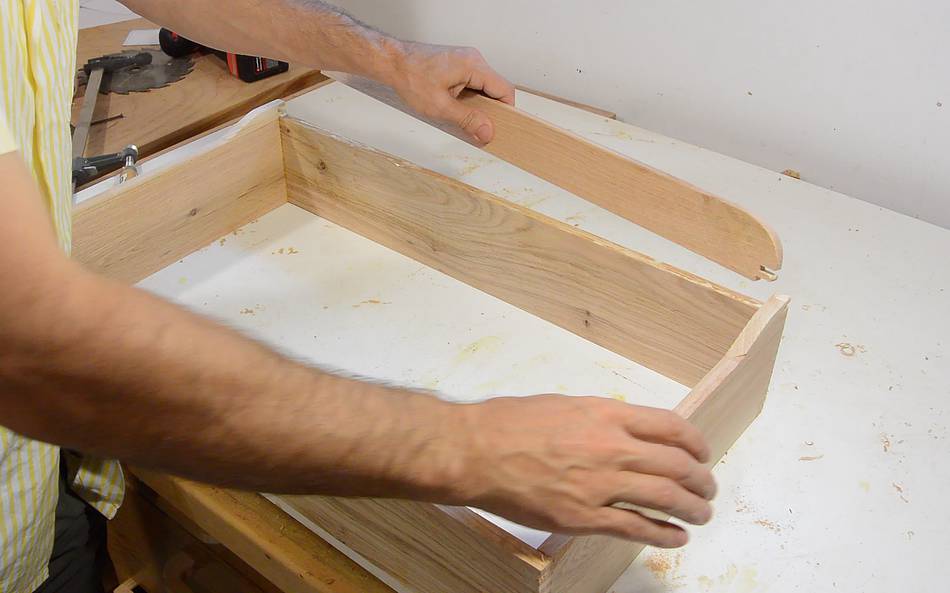
I figured it would be very annoying if things fell off the back of the
box way in the back, so I added an extra piece to make the far wall of
that box a bit higher.
I hadn't cut all the pieces to their final width when I glued
the other two boxes, so I cut them afterwards.
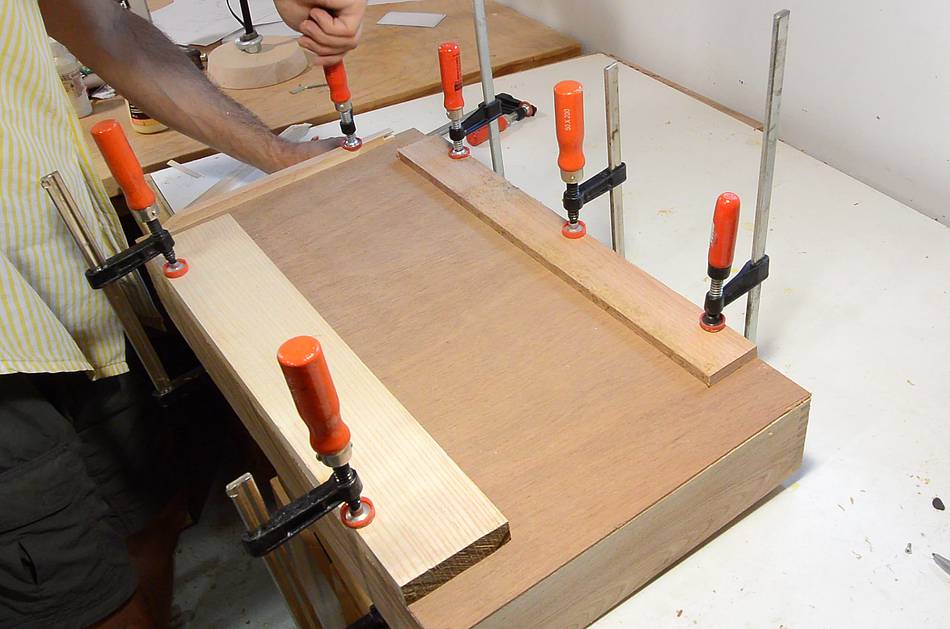
The bottom is just glued flat on. In my experience, this is the
quickest and strongest way to attach a bottom. Though it's not the
prettiest, because you can see the bottom from the side.
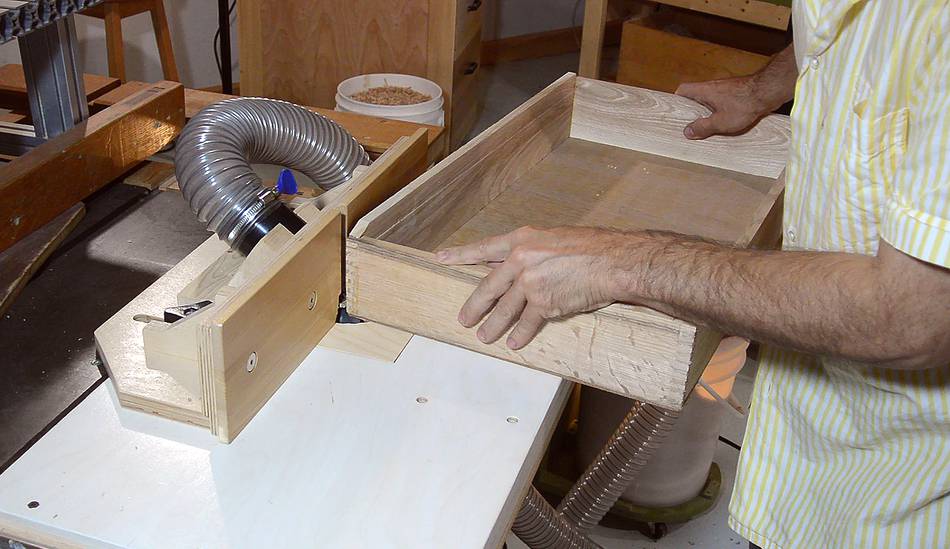
Routing a roundover on the bottom edges. I'm not using the full height of the bit.
Really, I'm more using the top part of the bit to do flush trimming, with a slight
curve towards the bottom.
Next I used the full height of the 1/2" roundover bit to round the corners of the boxes.
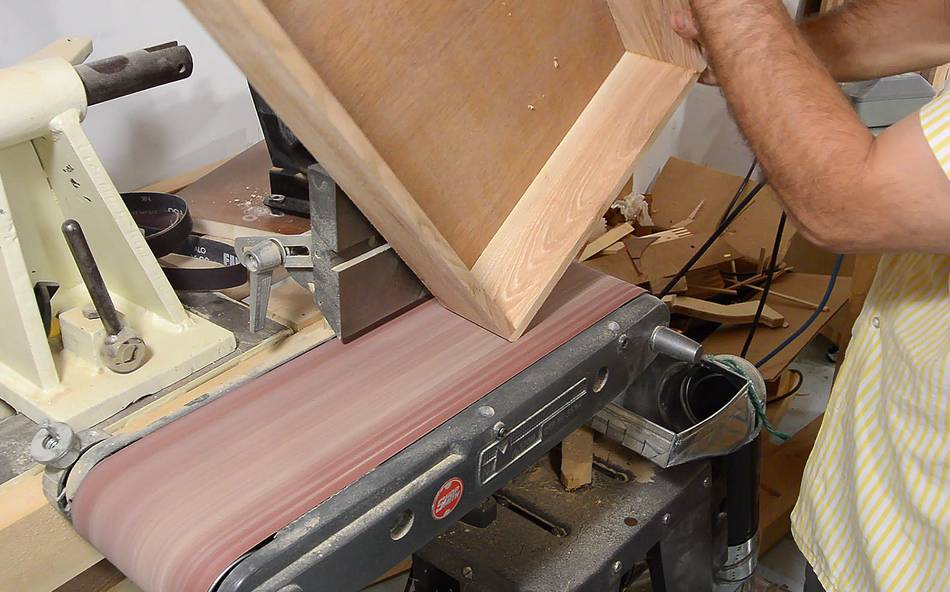
Cleaning up the routed edges on the belt sander. The router didn't cut terribly
smoothly on the box joints or the plywood.
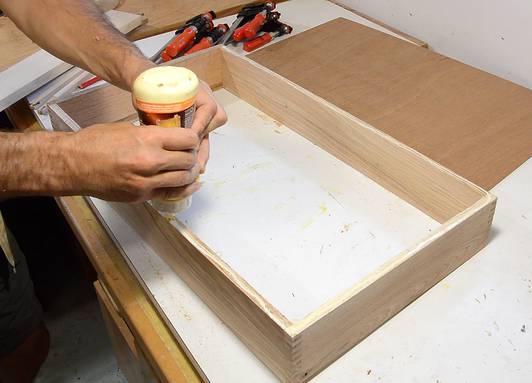
Three boxes built.
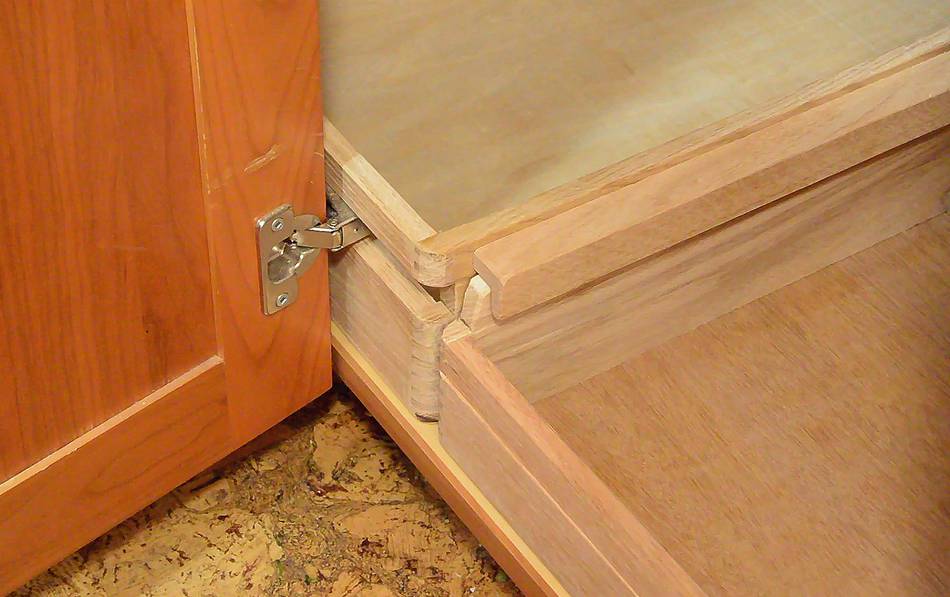
This part is hopefully the "clever bit". A hook on the rear-most box connects
it to the middle box. That way, when the middle box is pulled forward, the rear box
comes with it. The front-most box doesn't need to connect with the middle box
because the front-most box needs to be removed before the middle box
can be pulled forward.
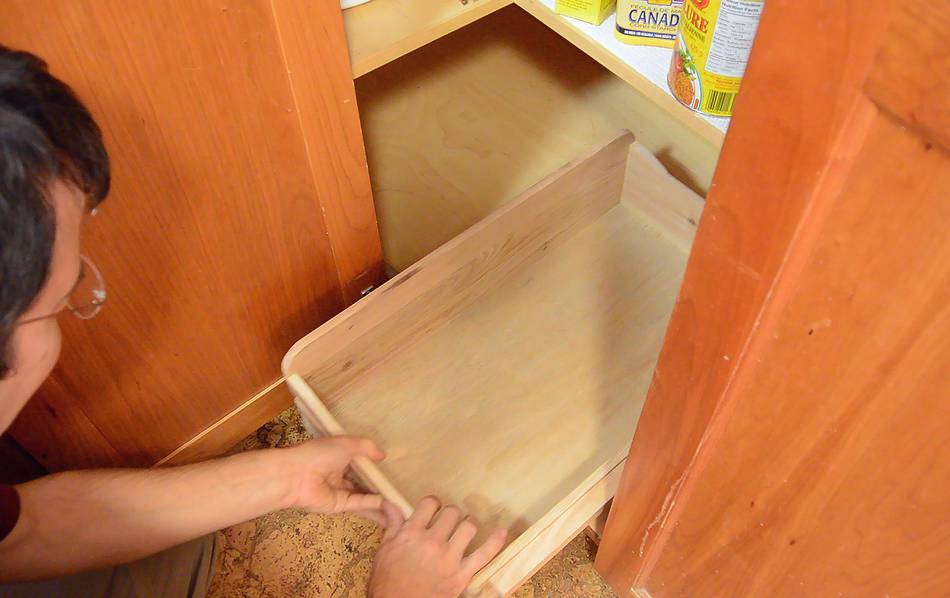
Checking the fit of the boxes.
I screwed up a bit. I measured the depth of the cabinet, but
also measured how much room I had behind the hinge. But when I built
the boxes, I used the wrong measurement. Oops!
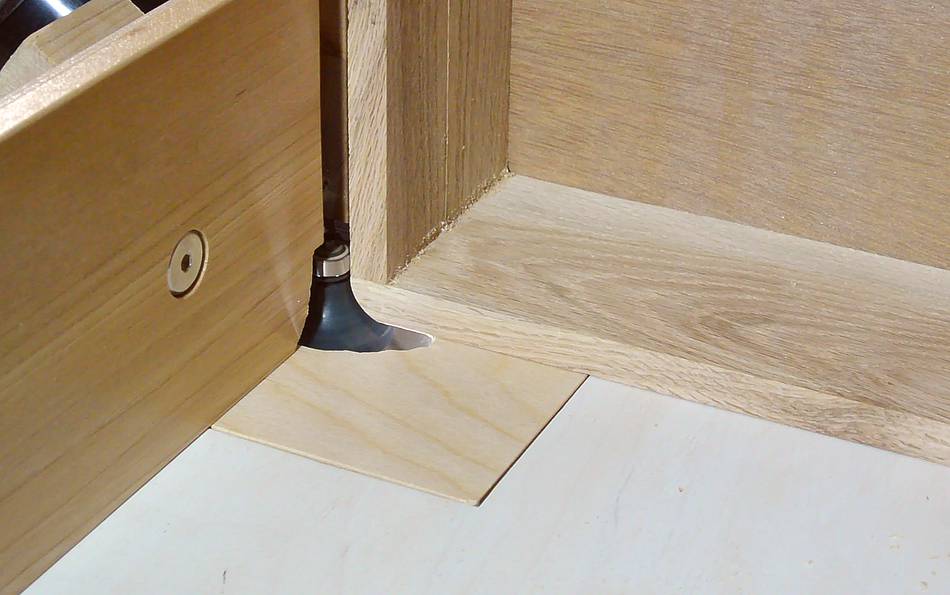
Fortunately, I was able to correct the situation by cutting a slot out
of the rear-most box to let it pass around the hinge. For the other
boxes, I just cut the front edge a bit lower to pass under it.
With this mistake, my boxes ended up a bit bigger, so I could pretend it
was intentional.
I coated the drawers with two coats of Varathane diamond floor varnish, which is
fairly slippery. I also added some pieces of UHMW tape to the bottom of the boxes
to allow them to slide more easily.
Wheels on the bottom of the boxes, maybe like
this drawer, would be even better but they
take up a lot of space and are a lot of work to add. That, and the boxes need
to slide sideways and in and out.
I organized all the various containers into the boxes.
Now the question is, how long will this stay organized? At least, if it turns into
a disaster again, it will be easier to get everything out and reorganize.
 The space under a kitchen cabinet corner is a challenge to organize,
and mine always turns into a disaster. A carousel might help, but
carousels themselves make very inefficient use of space. That,
and I'd have to rebuild the cabinets to add one to this corner.
The space under a kitchen cabinet corner is a challenge to organize,
and mine always turns into a disaster. A carousel might help, but
carousels themselves make very inefficient use of space. That,
and I'd have to rebuild the cabinets to add one to this corner.


 Building some overly complicated boxes
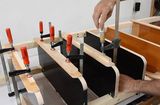 Pantry closet shelves
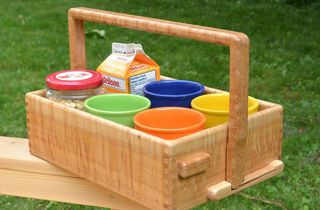 Ramekin serving tray
 Paper towel roll holder
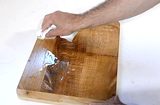 Warp-free cutting board
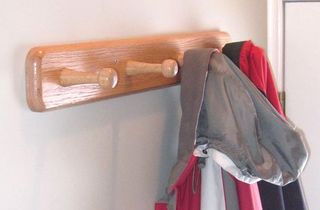 Coat hooks
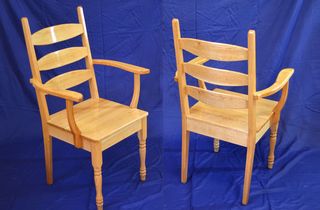 Kitchen chairs
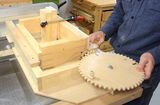 Box joints without a
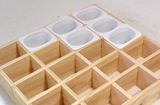 Sorting tray from old yoghurt cups
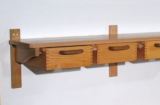 Shelf with drawers
 Small corner shelf
 Storage box from