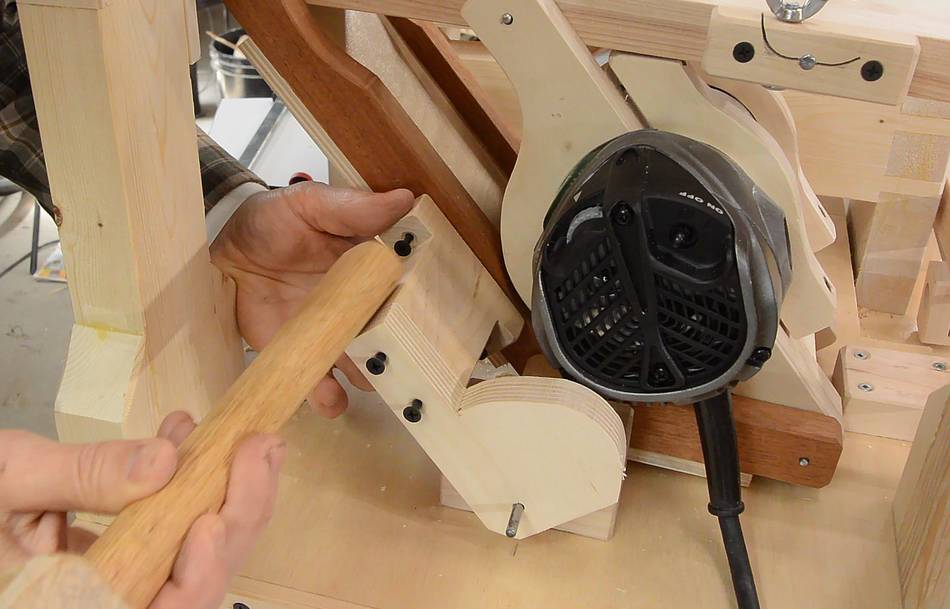
 Gravity pulls the router down. With the pantograph reducing 2:1, it's
necessary to lift only half the weight of the router by the operating
handle, but even that gets tiring over time.
Gravity pulls the router down. With the pantograph reducing 2:1, it's
necessary to lift only half the weight of the router by the operating
handle, but even that gets tiring over time.
Gravity pulls the router down. With the pantograph reducing 2:1, it's
necessary to lift only half the weight of the router by the operating
handle, but even that gets tiring over time.
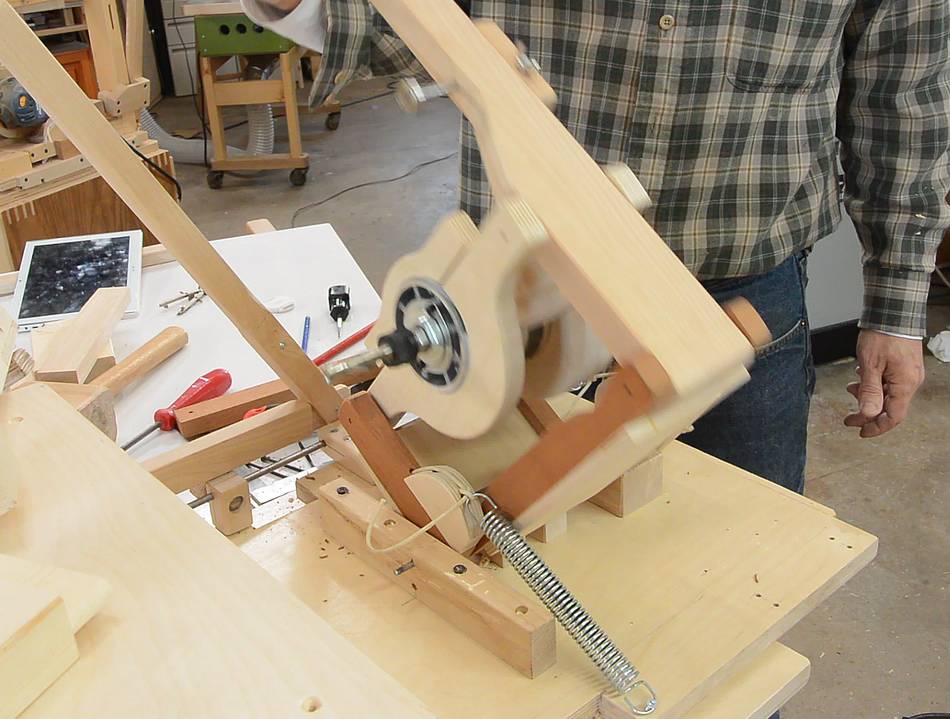
This is why I have a spring balance on the pantorouter to help lift up the router.
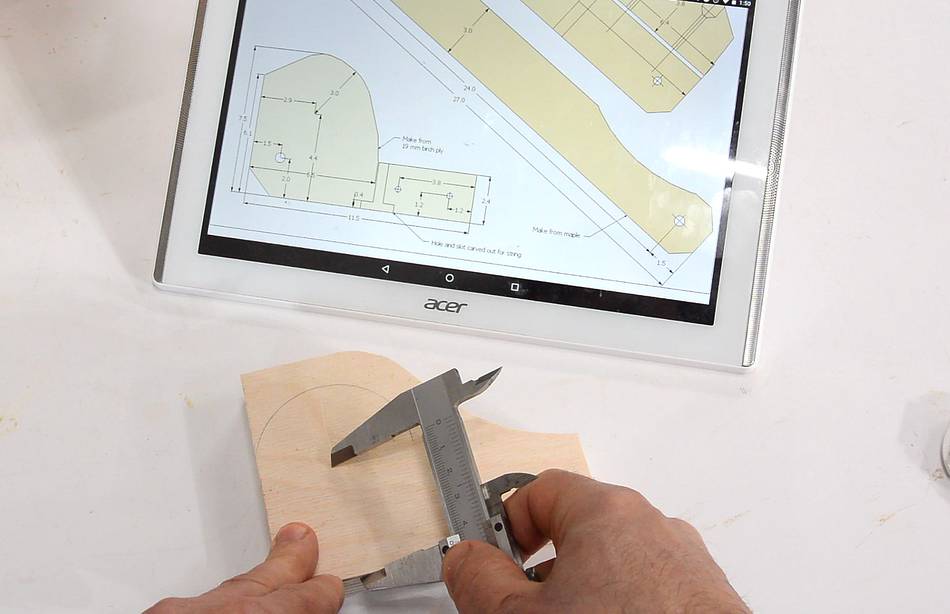
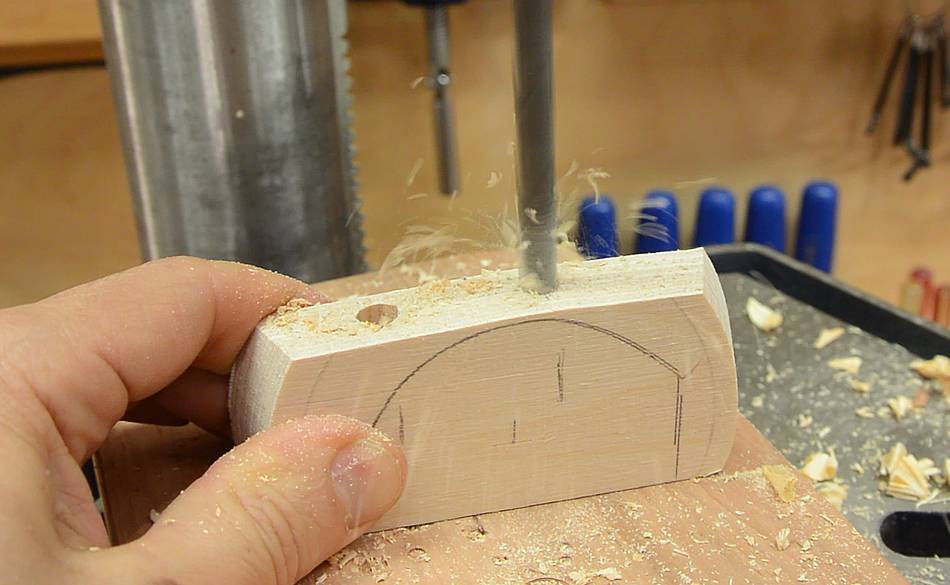
I arrived at this shape a long time ago, and in the past always made it using paper templates, but having built this one so far without printing anything, I drew the spring cam from dimensions as well. I approximated the main lobe of the cam as a circular arc.
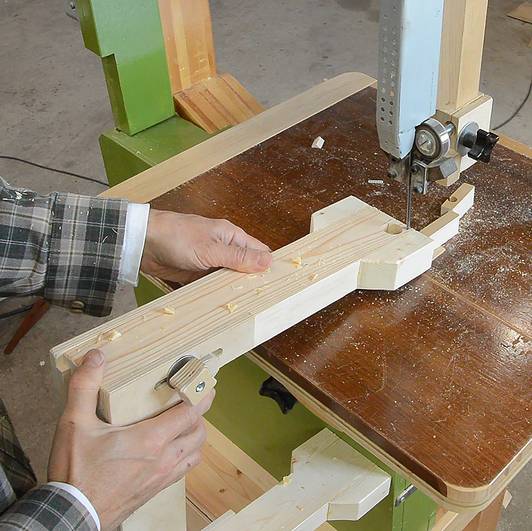
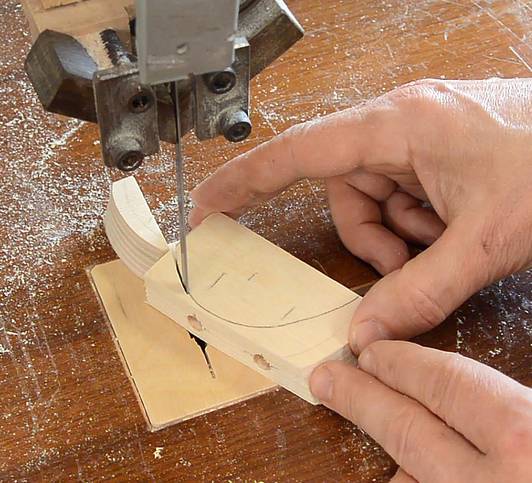
 I then cut it out on the bandsaw.
I compared it to the cam on my old pantorouter and was satisfied that these were sufficiently similar.
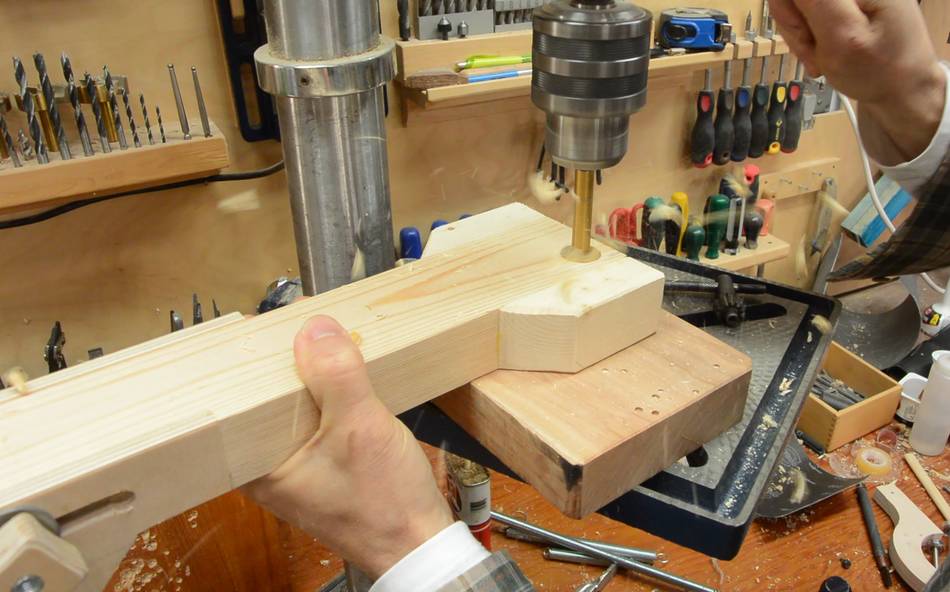
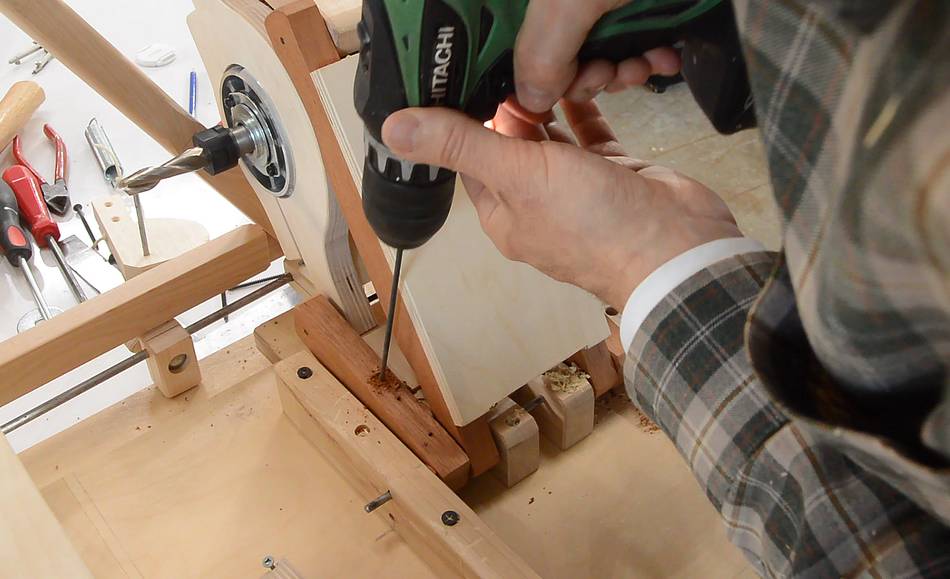
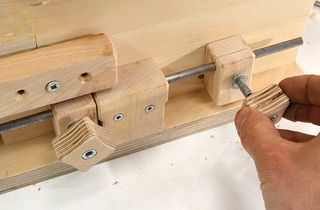
 The cam is attached to the long pantorouter link with a wooden offset or spacer,
which I'm drilling the holes in here. I had to slightly angle the screw holes
to be able to drill them with my drill press. I guess I could have just drilled
them from the other side too.
The cam is attached to the long pantorouter link with a wooden offset or spacer,
which I'm drilling the holes in here. I had to slightly angle the screw holes
to be able to drill them with my drill press. I guess I could have just drilled
them from the other side too.
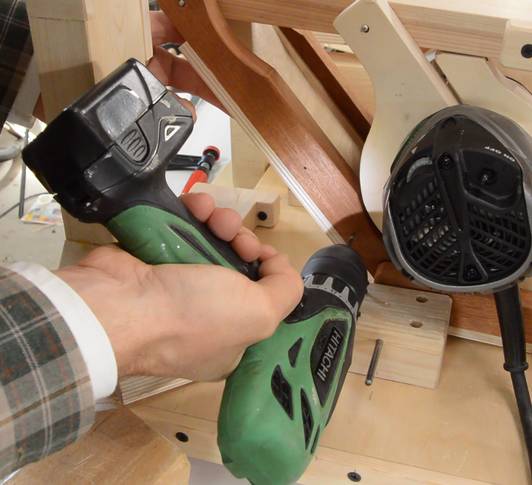 Then with screws in the holes I tap the screw heads to mark where the pilot
holes need to go, then drilled the pilot holes in place because I didn't
want to take the pantograph apart.
Then with screws in the holes I tap the screw heads to mark where the pilot
holes need to go, then drilled the pilot holes in place because I didn't
want to take the pantograph apart.
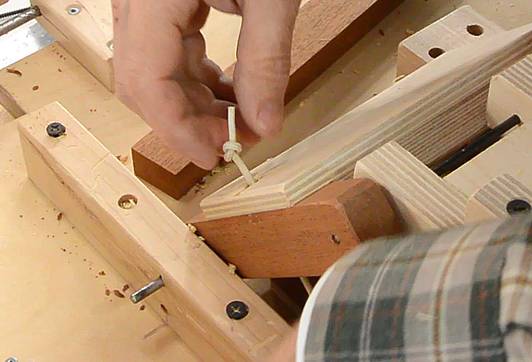
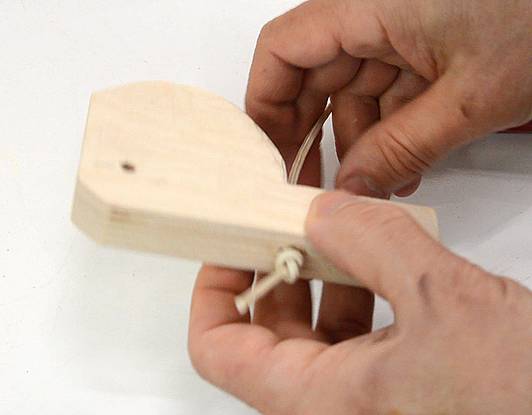 The cam has a string attached to it, which goes through a hole with a knot
on the other side to hold it in place. The spring attaches to the
edge of the sliding base, but it attaches right where the template holder
goes.
The cam has a string attached to it, which goes through a hole with a knot
on the other side to hold it in place. The spring attaches to the
edge of the sliding base, but it attaches right where the template holder
goes.
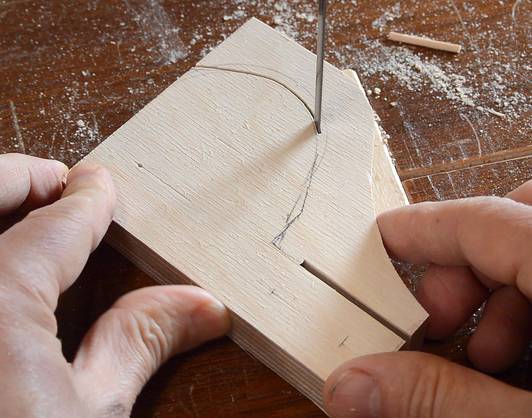
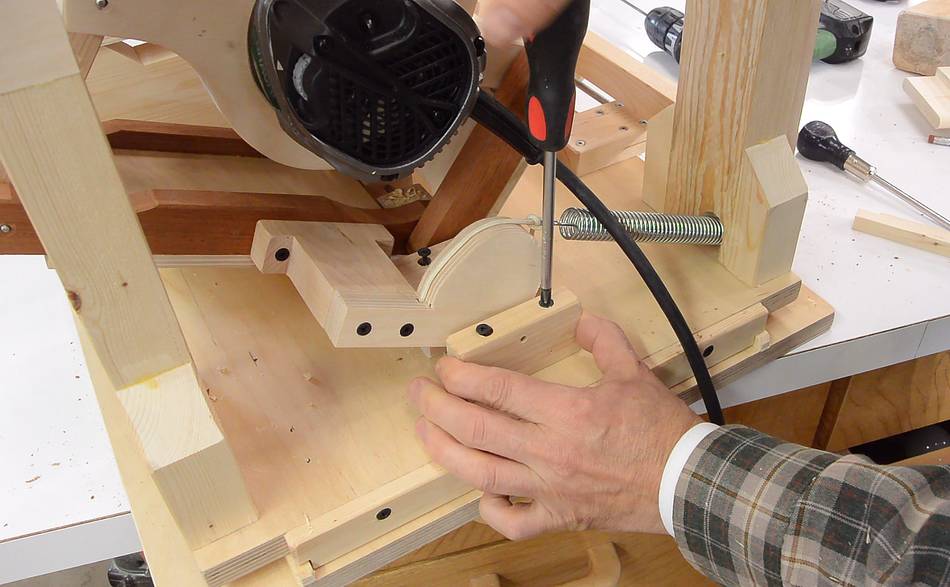
 So I took the template holder off, drilled a hole and finished
the cuts with a bandsaw. I knew I needed to put the spring there all
along, but I was too keen on trying it out to bother cutting that
slot earlier.
So I took the template holder off, drilled a hole and finished
the cuts with a bandsaw. I knew I needed to put the spring there all
along, but I was too keen on trying it out to bother cutting that
slot earlier.
 Now the template holder fits nicely over the spring and I can still unhook
the spring from the screw under the template holder.
Now the template holder fits nicely over the spring and I can still unhook
the spring from the screw under the template holder.
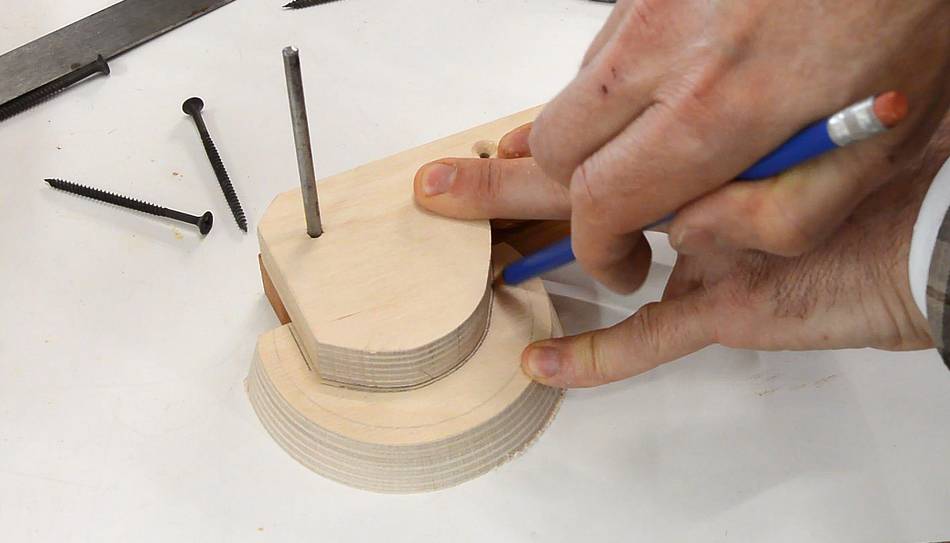 Another cam attaches directly to the short link. Rather than drawing that shape
again, I used the cam I already made to trace the shape onto the new part,
which I'm making from a scrap piece from cutting out the pantograph.
Another cam attaches directly to the short link. Rather than drawing that shape
again, I used the cam I already made to trace the shape onto the new part,
which I'm making from a scrap piece from cutting out the pantograph.
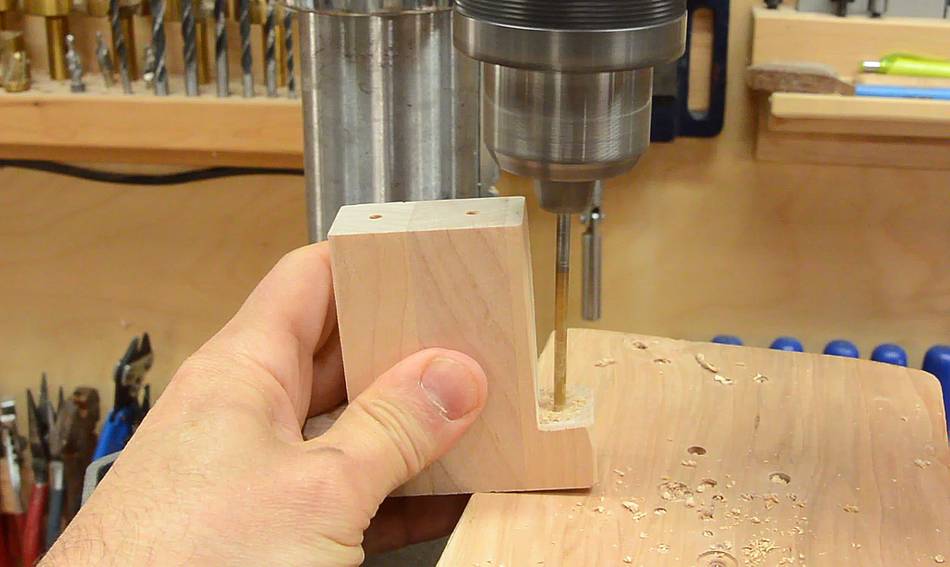
 I cut it if flat on one side to allow drilling deep holes for the screw heads,
then cut the actual curve on it. That way I didn't have to try to drill into
an angled surface.
I cut it if flat on one side to allow drilling deep holes for the screw heads,
then cut the actual curve on it. That way I didn't have to try to drill into
an angled surface.
 I marked where the pilot holes go, then used a long drill bit to mark them
on the long link without taking the pantograph apart.
I marked where the pilot holes go, then used a long drill bit to mark them
on the long link without taking the pantograph apart.

 I then flipped the pantograph to the other side to drill a bigger hole for
the knot that holds the string in place on the other side.
I then flipped the pantograph to the other side to drill a bigger hole for
the knot that holds the string in place on the other side.
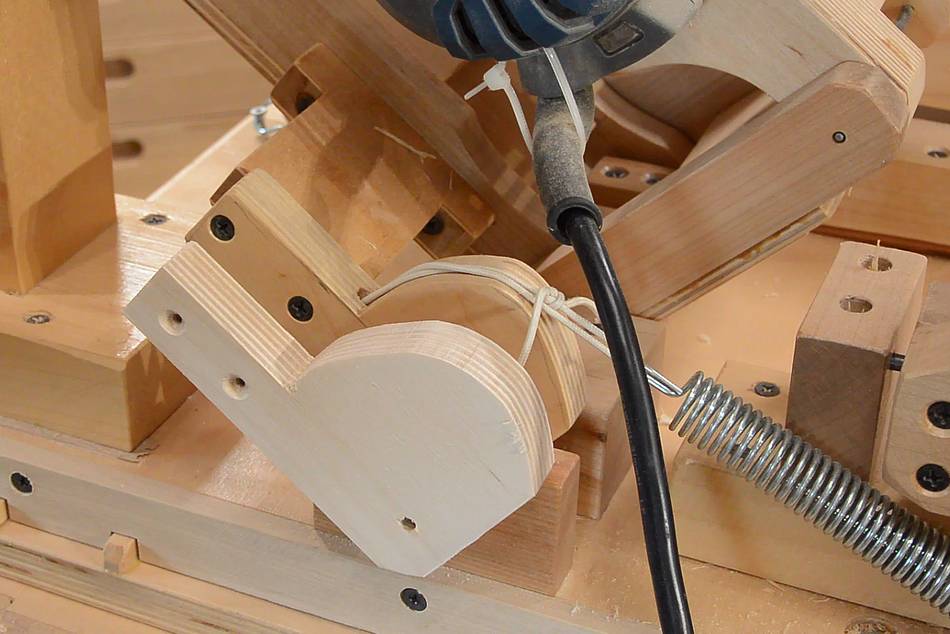
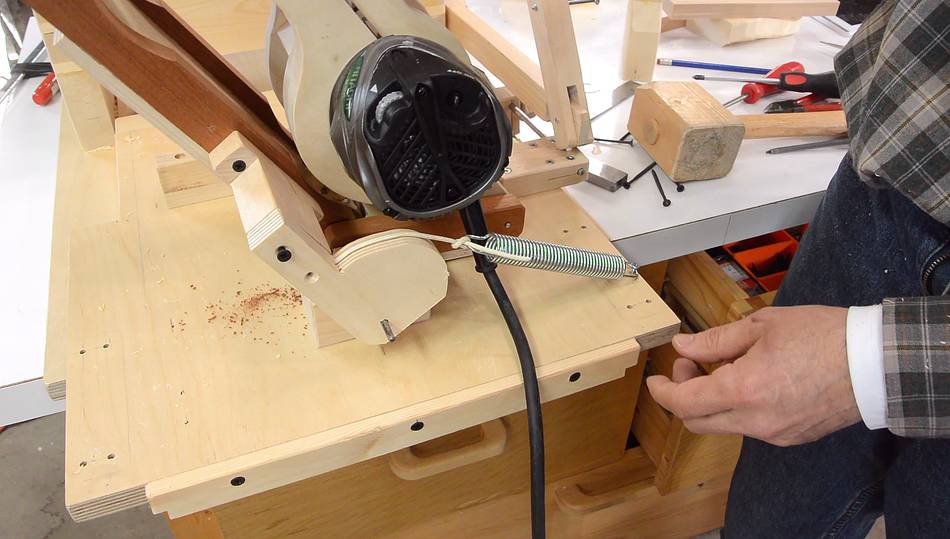
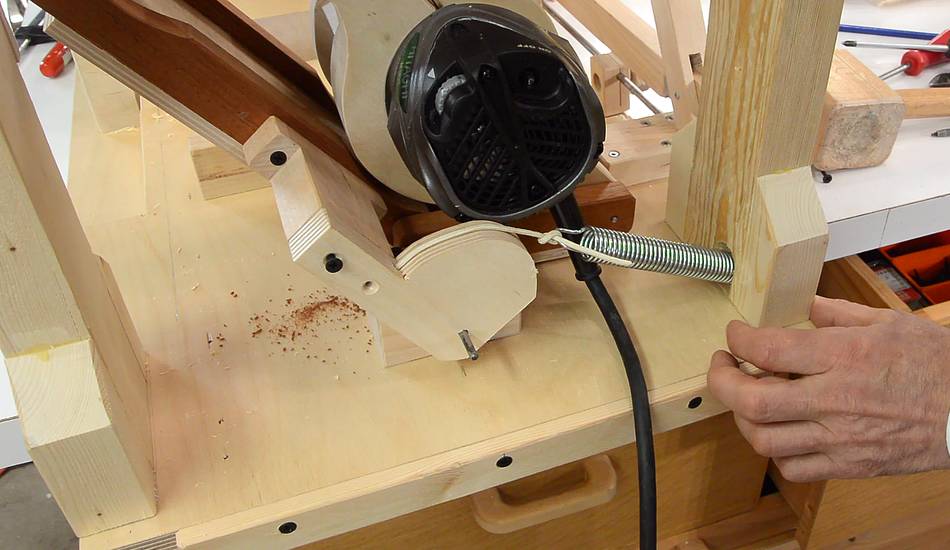
 With both springs attached, the pantograph compensates for most, but not
all of the weight of the router. It makes it much more comfortable to operate.
It's also nice when the pantograph comes to rest with the router in the bottom
position, whereas, on the metal pantorouter the springs are strong enough that
the router comes up when you let go of the handle.
With both springs attached, the pantograph compensates for most, but not
all of the weight of the router. It makes it much more comfortable to operate.
It's also nice when the pantograph comes to rest with the router in the bottom
position, whereas, on the metal pantorouter the springs are strong enough that
the router comes up when you let go of the handle.
That said, if the springs were to over-compensate for the weight of the router, you would always have to push down on the operator handle a little, and that would be more comfortable than pulling it up, even if you have to pull very little.
 Finally, another block on the back to hold the other end of the shaft.
The cam part is on its own shorter piece of shaft. I used a separate piece of shaft to make it easier to put the whole thing together.
Next: Holddown clamp and fence
 Pantorouter XL plunge lever and stops
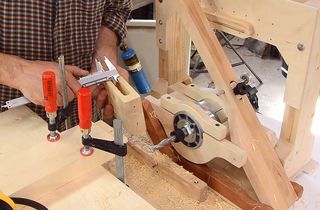 First cut and adjusting for accuracy
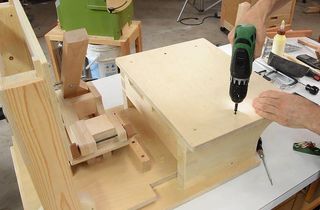 Table for this pantorouter
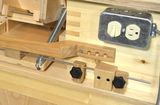 Springs on the pantorouter XL