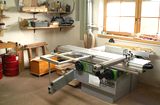
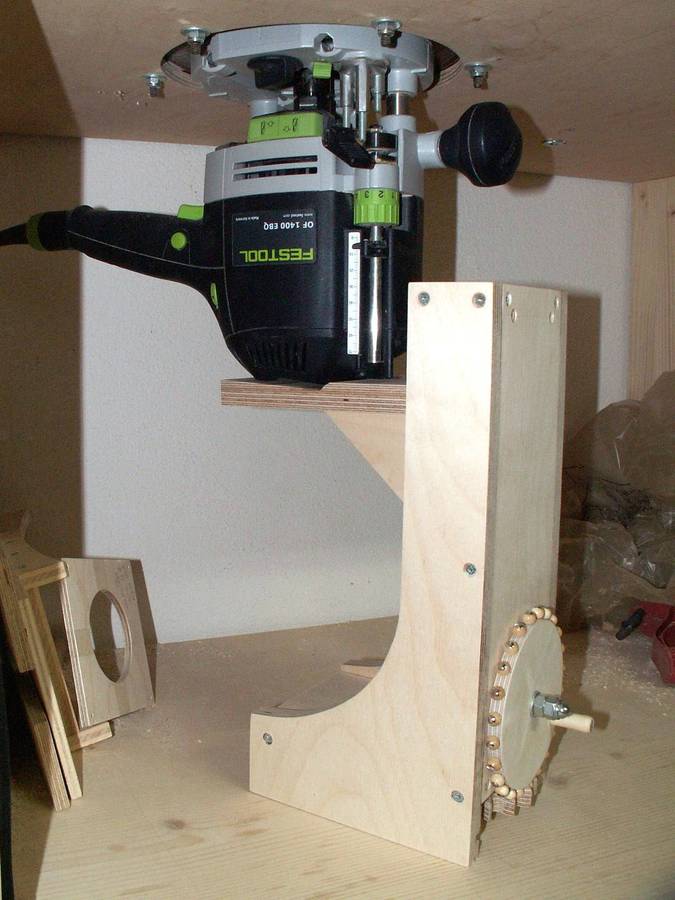
 I saw Mario Zimmermann's router lift
and thought I could use one of those too.
I saw Mario Zimmermann's router lift
and thought I could use one of those too.
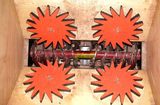
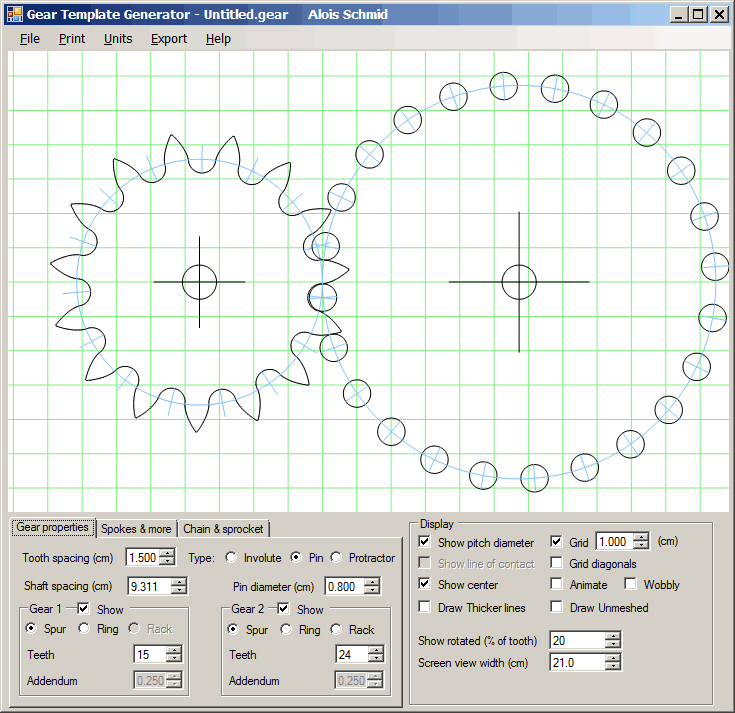 I made a pin-gear using Matthias`s "gear generator".
I had the idea of using round balls for the teeth of
a right angle gear.
I made a pin-gear using Matthias`s "gear generator".
I had the idea of using round balls for the teeth of
a right angle gear.
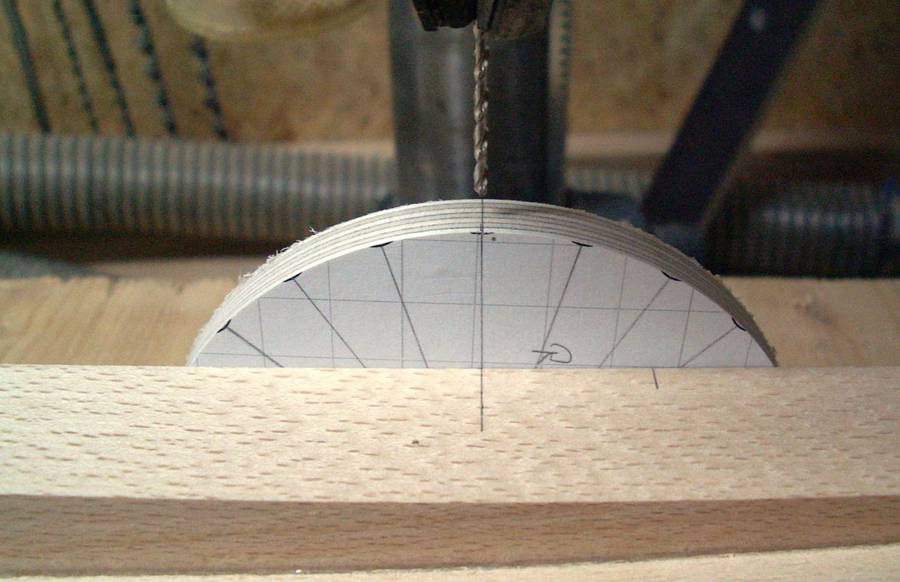
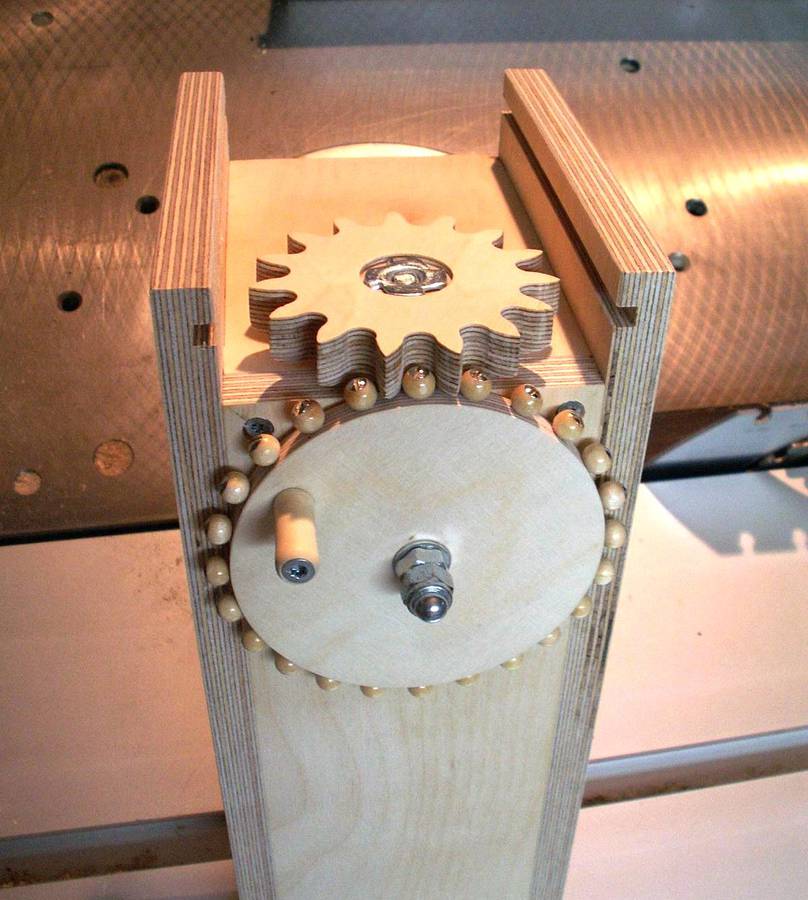
I used a piece of plywood for the gear with the balls.
I glued the "pin" template onto the wood. I then drilled an 8
mm hole in the center, and with a metal pin as center
shaft, cut it out on the bandsaw. I then used the disk
sander to sand it perfectly round.
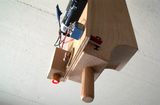
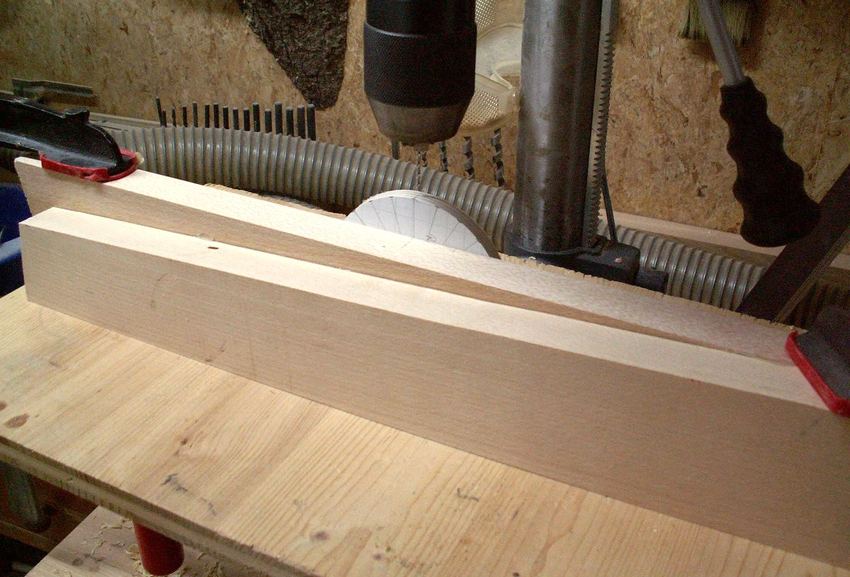
I made a jig to help drill the holes accurately. The lines on the paper template are lined up with a line on the jig.
Unfortunately, I didn't have a brad point drill, so the drill wandered to the side for some of the holes.
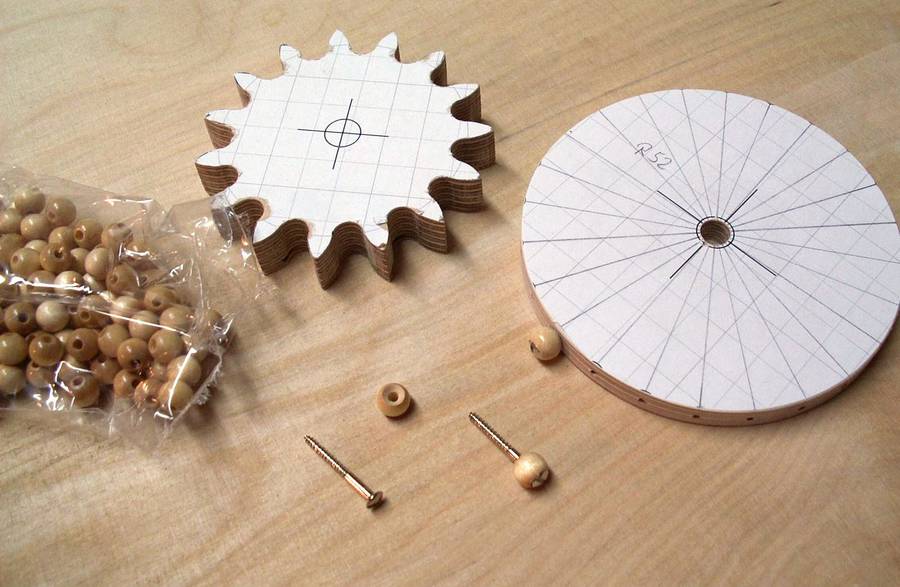
I ordered 8 mm diameter wooden balls over the internet, for 1.50 Euros.
They already had a 2.5 mm holes, so I just had to add countersinks
for the screw heads.
The balls sit firmly on the screws and unfortunately won't turn. I didn't want to re-work all the balls. This may result in them wearing on some spots more quickly.
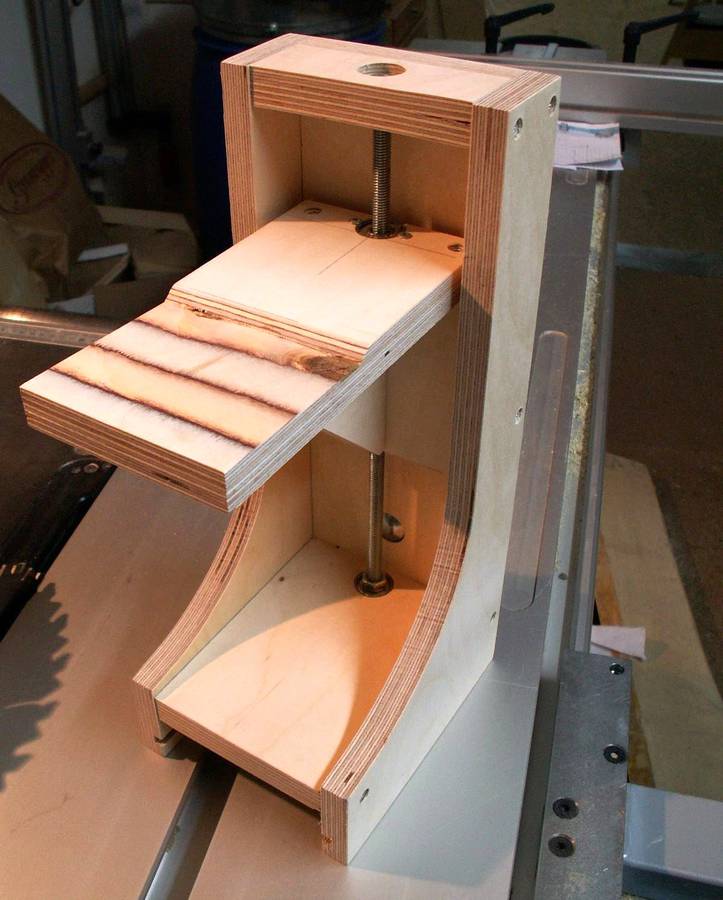
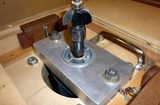
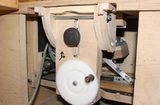
The lifting table is guided by a ball bearing at the top and
a T-nut on the bottom moves it up and down. The threaded rod also
has a ball bearing on both ends.
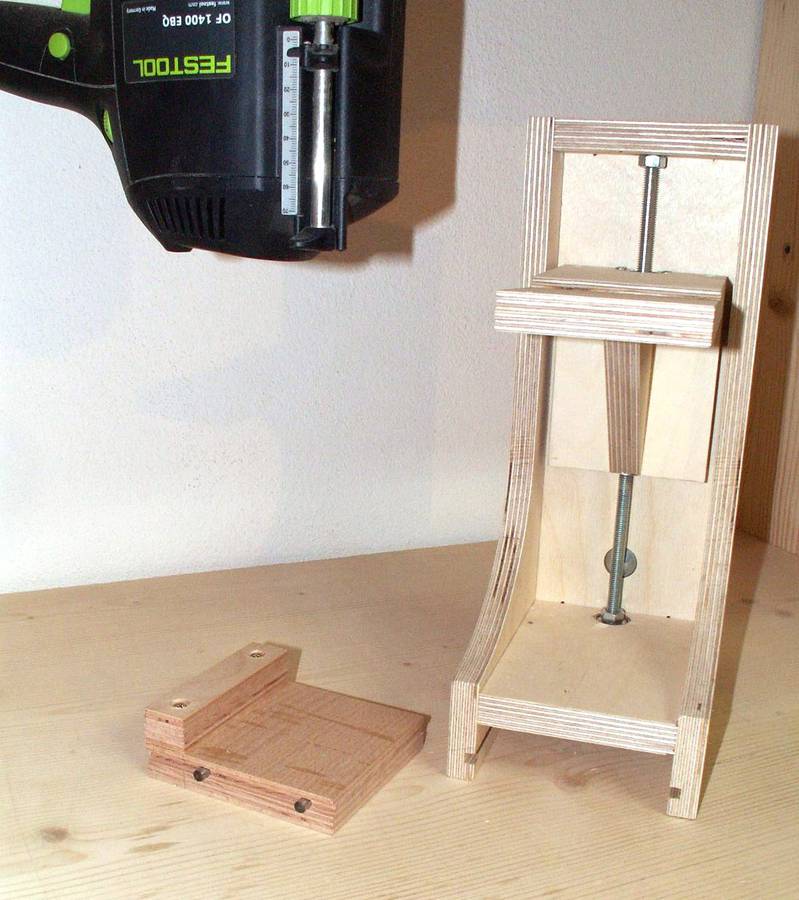
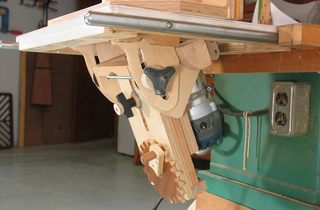
I cut two dadoes on the bottom for attaching it to my router table.
A small base for holding the lift has four metal pins on the sides. This base is screwed to the table under the router. This allows me to remove the lift at any time without undoing any screws.


Like Mario Zimmermann's lift, I used a 24:15 gear ratio.
With the 1.25 mm thread pitch of the threaded rod, each crank turn
lifts the router by 2 mm.
The gearing runs easily and consistently, and even under load it still runs ok. But it's not suited for heavy loads, because the bearing surface on the balls is only on one point. Conventional gearing would be more suited for that.