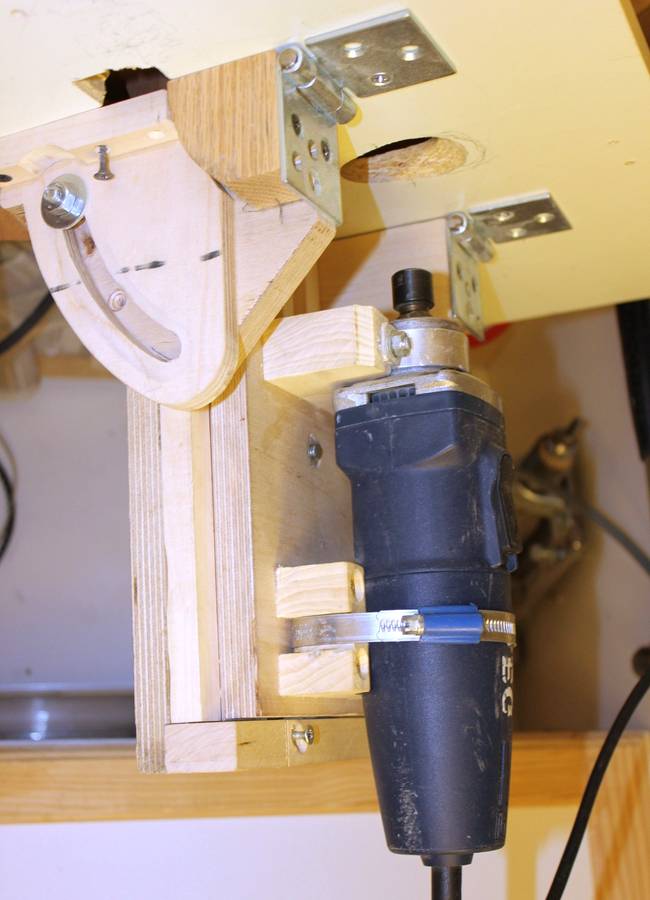
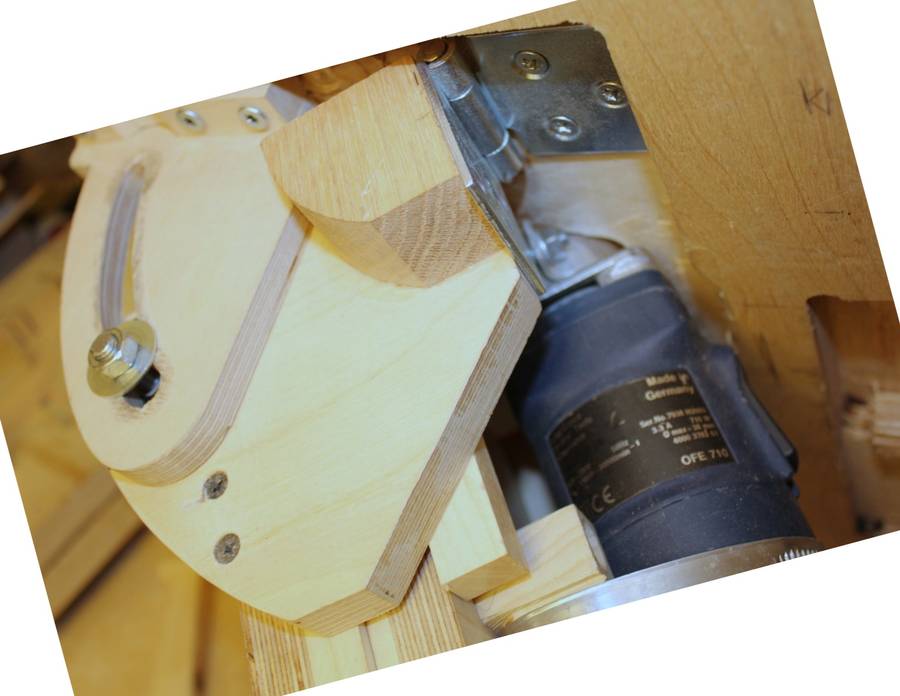
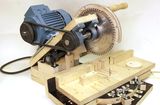
The router's center line is installed at the same 53 mm distance from the
sliding plate as in Matthias's drawings. The tilting mechanism is the same as in the
drawings, but the router mounting pieces are different.
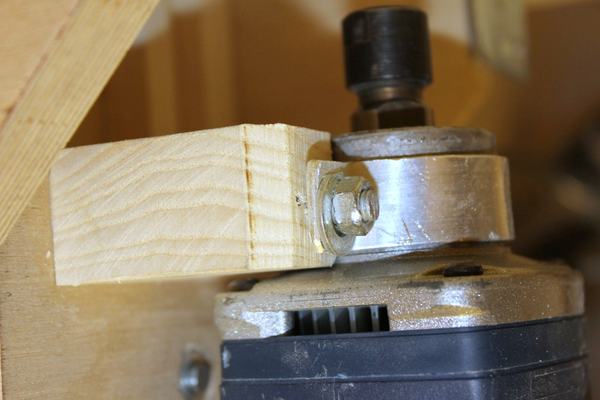
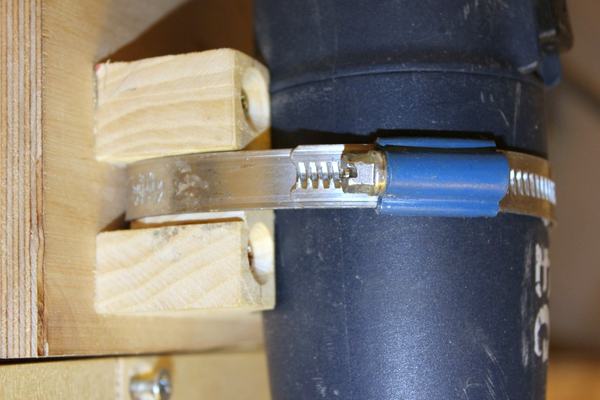
Near the collet I used a bent piece of aluminium, and the body is fastened with a
hose clamp.
The router can be lifted rather high when tilted and it is not necessary to make a big hole in the table. I did not make an insert piece for the table. I can fasten router bits from the underside by lifting the table top.
 I installed the router lift on a scrap piece to test where the hole comes and how big it needs to be. |
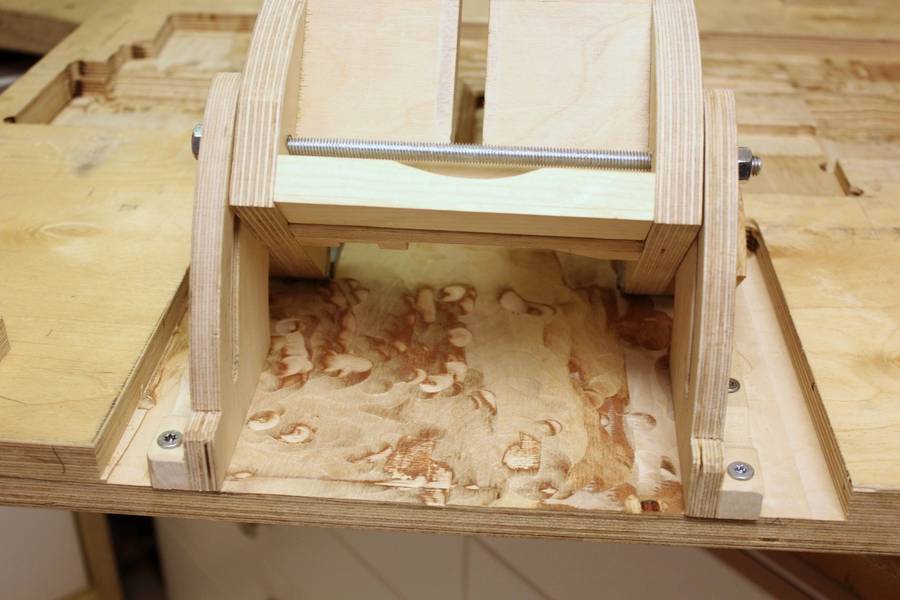 The table top is made of 35 mm plywood so I had to route a recess on the underside. |
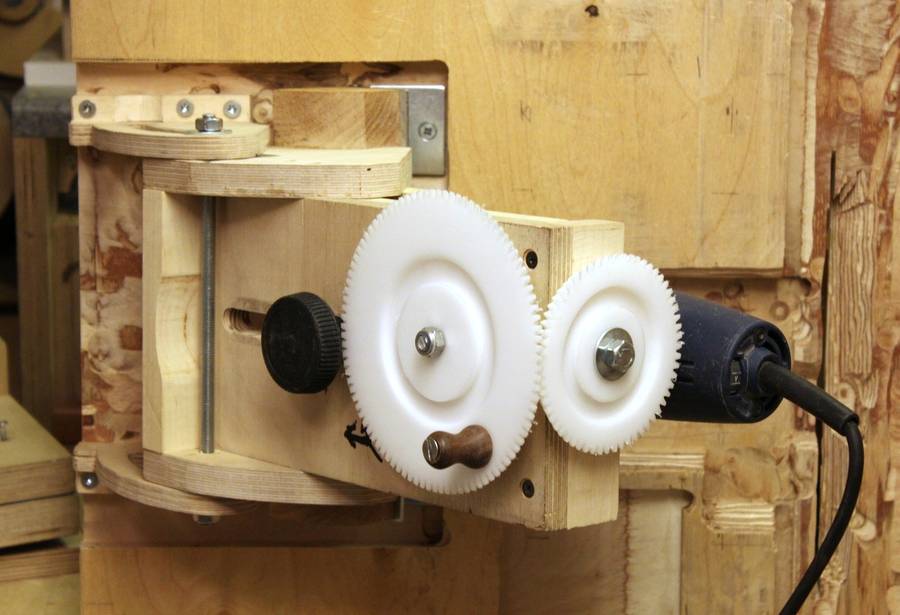
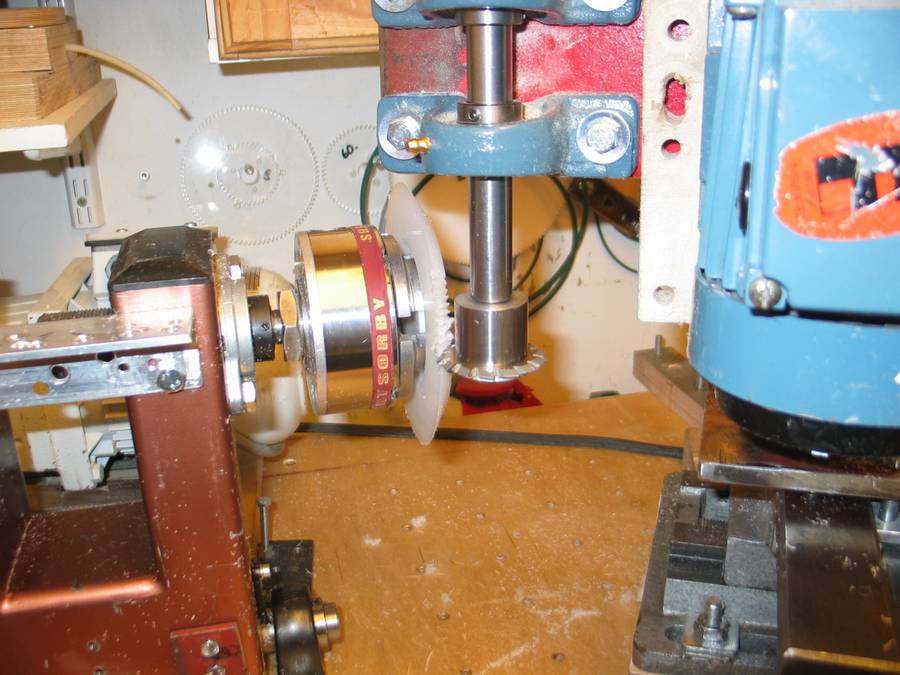
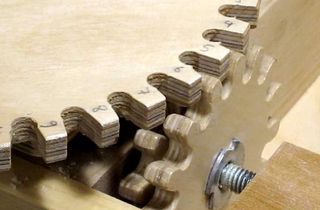
Here the router is tilted. The gears are made of nylon plastic with my homemade rose engine,
with a dividing plate.
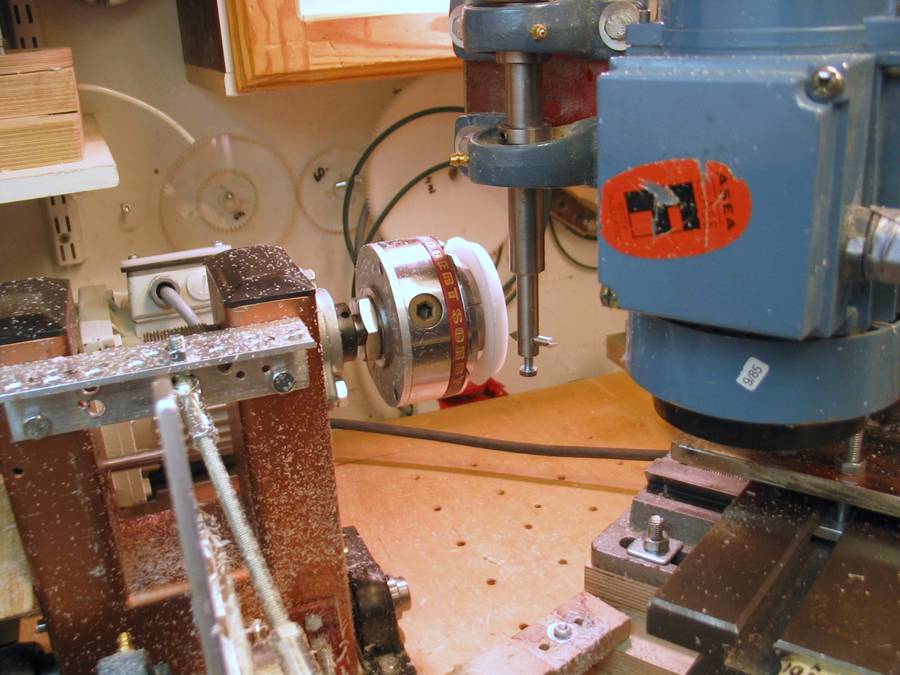
Cutting gears on my home made rose engine lathe. First the disc is
turned round by running the lathe at 1 rpm, with the cutter spinning.
The XY-vise is moved with small intervals to form a cone. Then the spindle is
locked at each tooth position with the dividing disk. Each tooth is routed by moving
the spinning gear cutter, at an angle in this case.
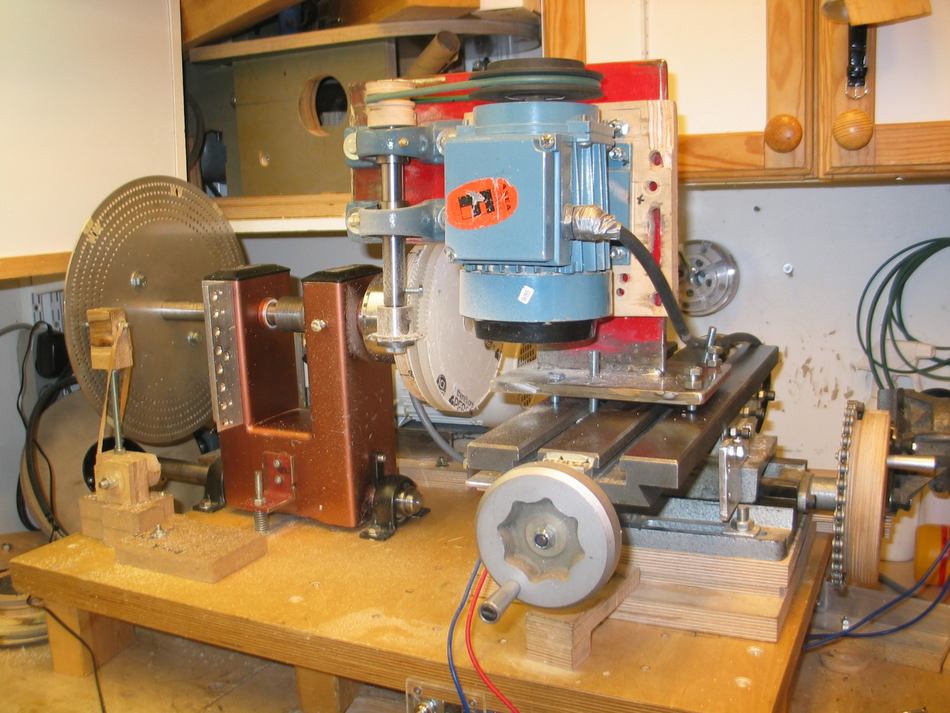 Another picture of the homemade rose engine, cutting a gear for use on the rose engine itself.
Matthias comments:
Wow, that's a cool way to make fine gears!
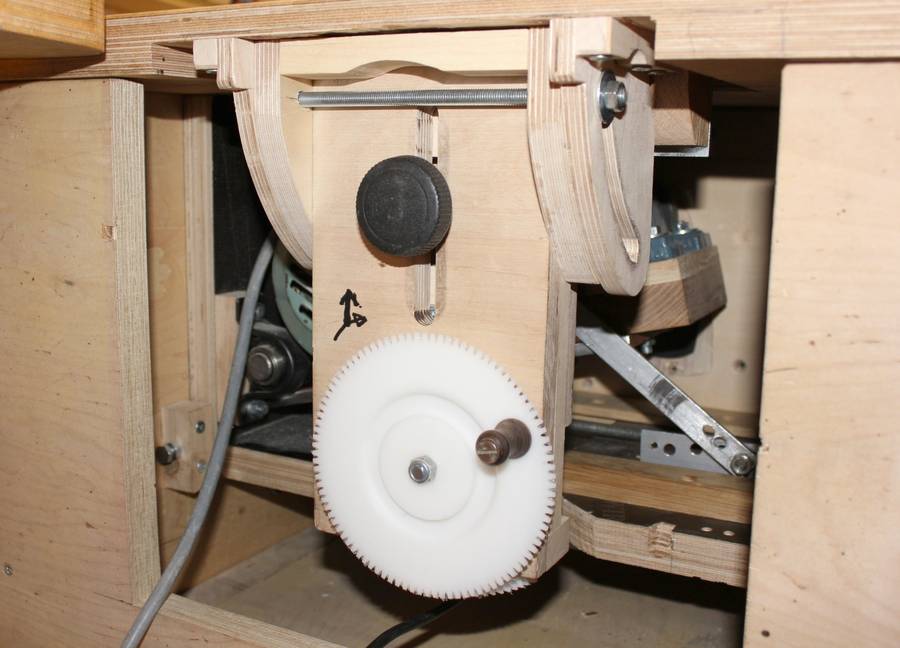
But simple wooden gears made on the bandsaw can also be used for the router lift.
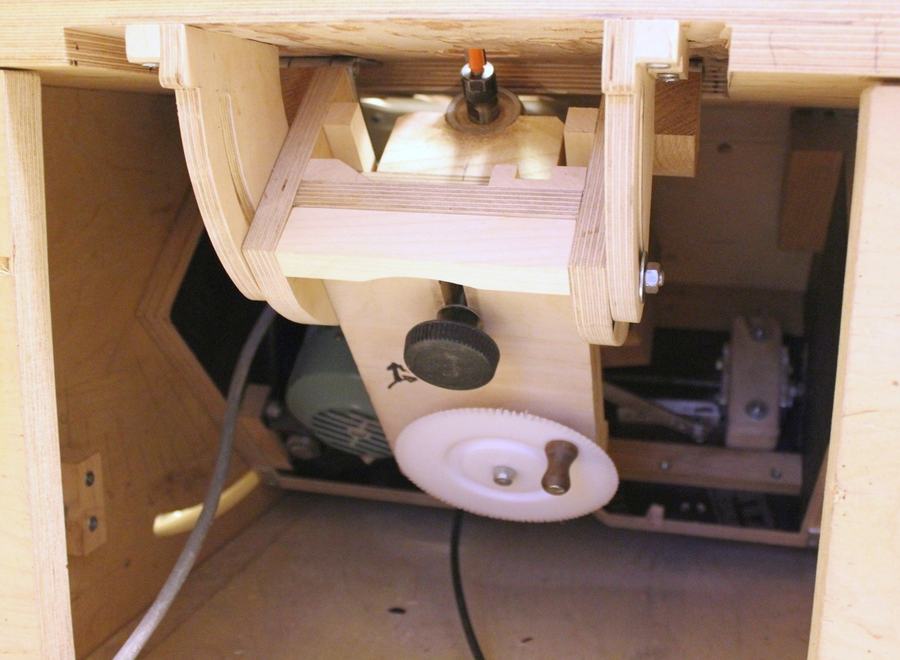
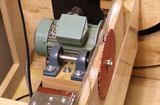
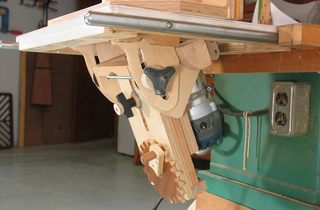
The router is installed in my homemade table saw frame. I have to tilt the saw
to make room for tilting the router lift, but can leave the saw in the upright
position when the router is not tilted.

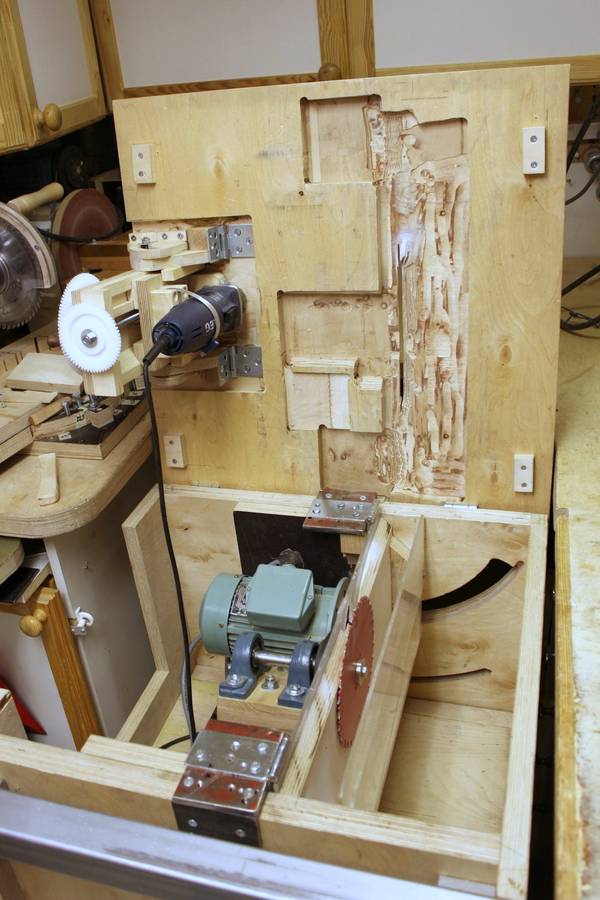
Inside the homemade table saw. The router lift mounts to the table top.
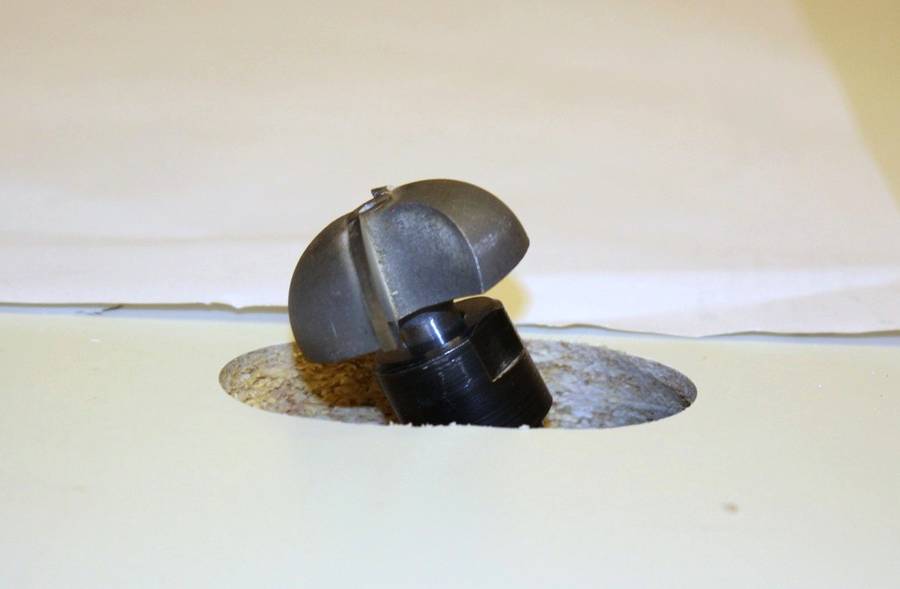
 Here the router collect is in upright position |
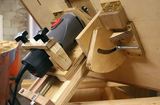
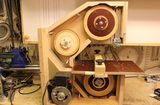
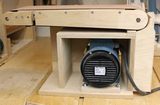
 My homemade table saw, pushed partway under my work area. My workshop is very small. |
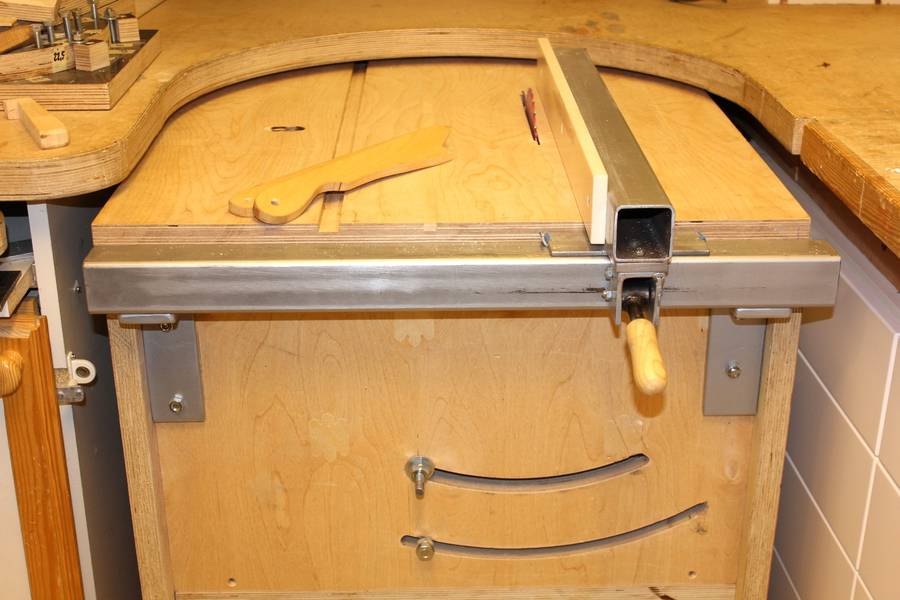
 I tried to make a dust hood under the table for dado-like cutting,
but it was not very effective. Shavings are thrown to the side along the
groove and not to my dust hood.
I tried to make a dust hood under the table for dado-like cutting,
but it was not very effective. Shavings are thrown to the side along the
groove and not to my dust hood.
But the dust port behind the fence works fine when cutting on the side of board.
Pekka Svinhufvud, Finland
Back to woodgears.ca

 Tilting router lift