 Next, it's time to attach the table legs to the short pieces of rail that connect
them. This is done by putting a dowel through both pieces.
Next, it's time to attach the table legs to the short pieces of rail that connect
them. This is done by putting a dowel through both pieces.
Next, it's time to attach the table legs to the short pieces of rail that connect
them. This is done by putting a dowel through both pieces.
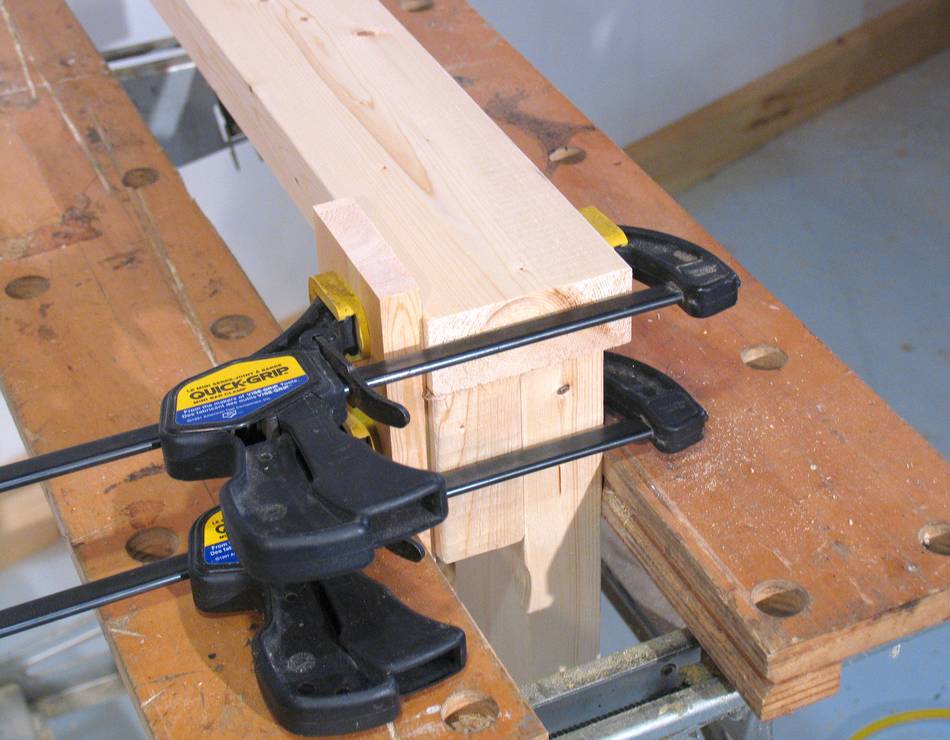
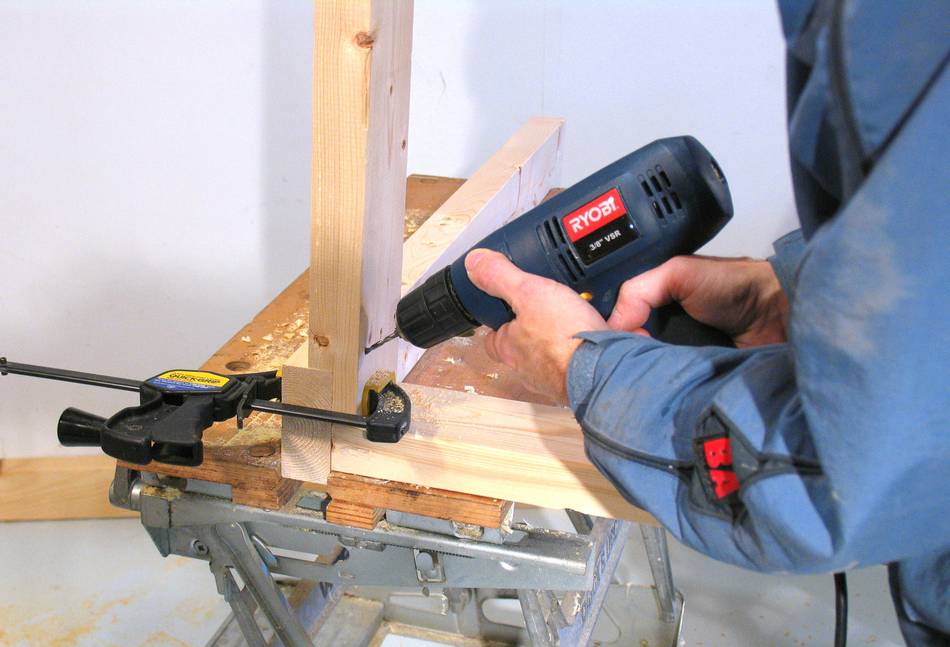
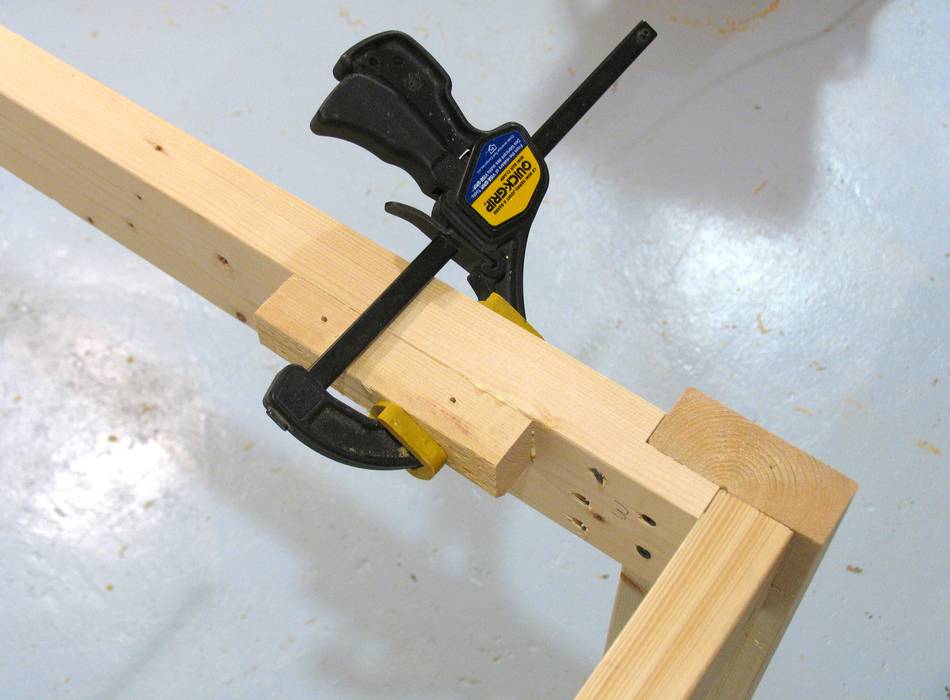
To ensure the holes line up, its best to just jig the pieces up together, so that you can drill through both parts at once. That way, even if the holes are not exactly bang on, the dowels will still line up.
Drilling the holes does involve a fair bit of force from the hand drill, so clamp the pieces together really tightly. If you have more clamps, it might be a good idea to double the number of clamps.
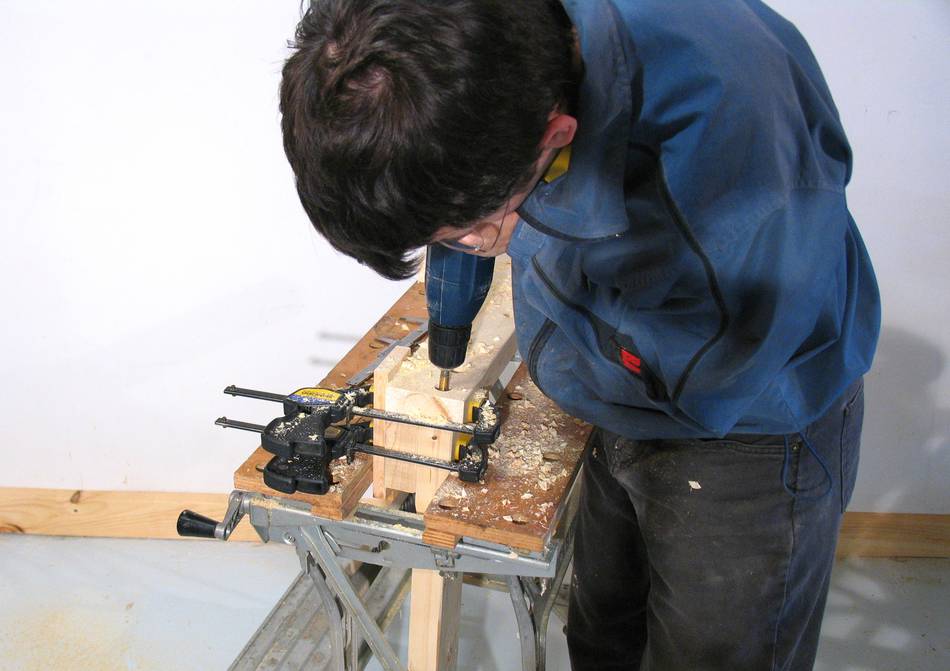 Drilling the holes. I'm really leaning down on that drill. I'm using a 3/4"
forstner bit. I resharpened it after that and it went in much easier.
3/4" is a bit large for this, 5/8" dowels should hold just as well.
Drilling the holes. I'm really leaning down on that drill. I'm using a 3/4"
forstner bit. I resharpened it after that and it went in much easier.
3/4" is a bit large for this, 5/8" dowels should hold just as well.
Drill these holes 4" deep, or as far as your drill will allow.
 After drilling both holes, take the top piece off, and clean out any sawdust that
may have accumulated between the pieces, then clamp it back together.
After drilling both holes, take the top piece off, and clean out any sawdust that
may have accumulated between the pieces, then clamp it back together.
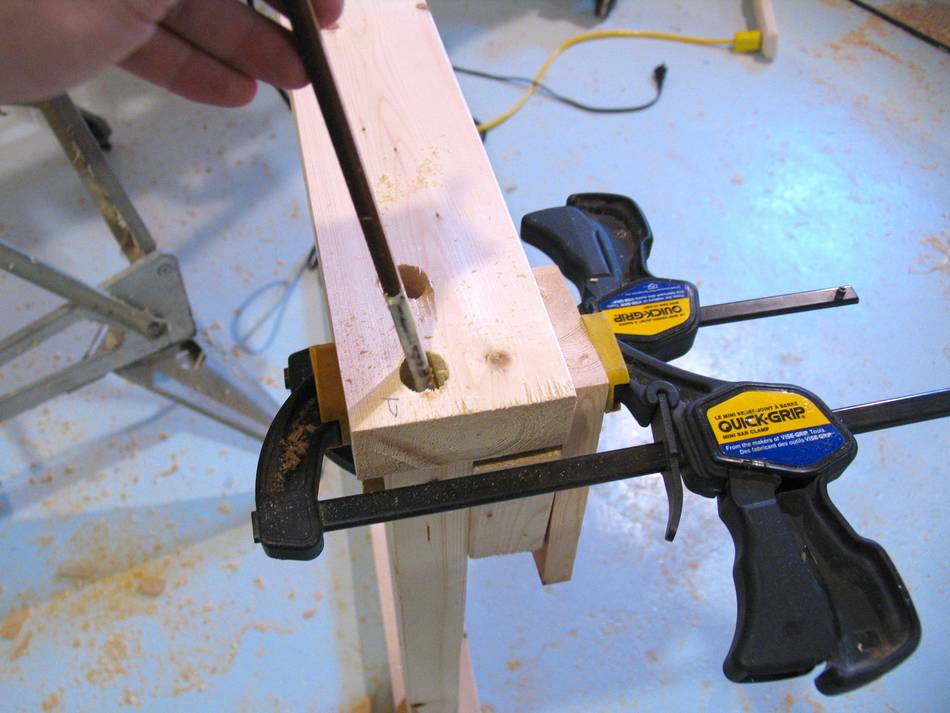
Use a thin piece of wood to spread glue all around the insides of the hole all the way down. Also, spread a thin layer of glue all around the piece of dowel, and tap it in with a hammer. Your piece of doweling should be slightly longer than the hole is deep.
 What may happen as you drive the dowel in is that the pieces of wood separate a little,
and there is a gap in between. This is why it's best to just put one dowel in at first,
so it's easier to close this gap.
What may happen as you drive the dowel in is that the pieces of wood separate a little,
and there is a gap in between. This is why it's best to just put one dowel in at first,
so it's easier to close this gap.
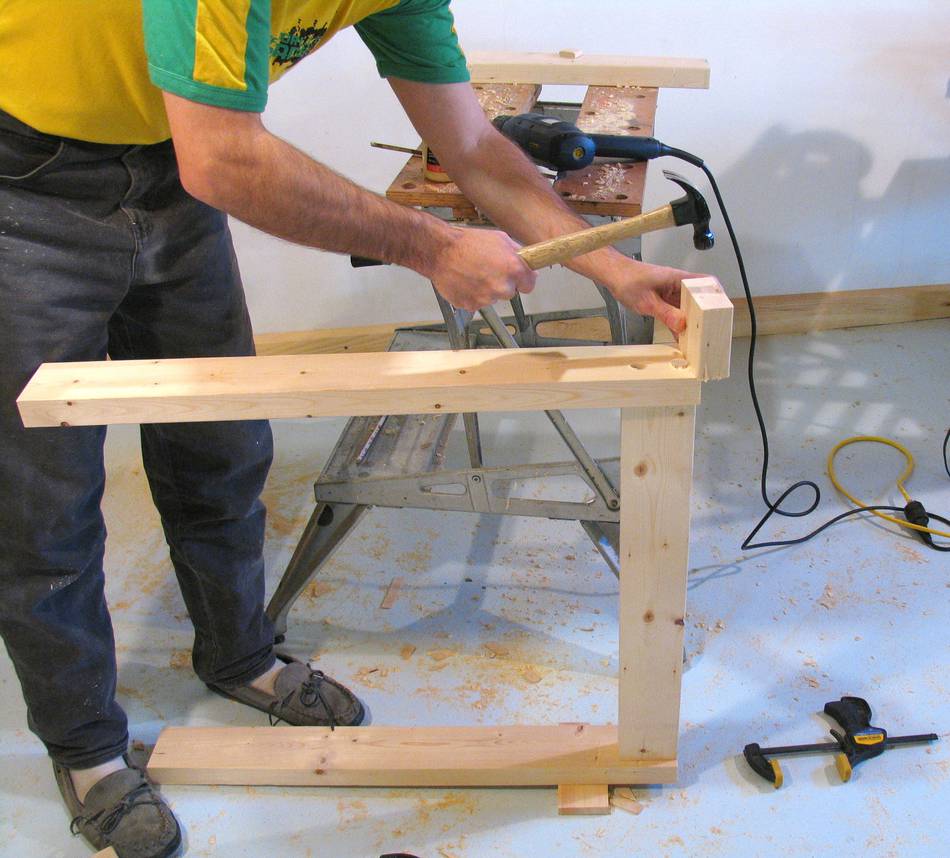 You don't have much time to close this gap, as glue in a tight joint will become
impossible to move within a minute. Hold a block of wood against the parts and pound
it together as shown at left. It may help to lift the other end of the leg so that
the gap becomes parallel while doing this.
You don't have much time to close this gap, as glue in a tight joint will become
impossible to move within a minute. Hold a block of wood against the parts and pound
it together as shown at left. It may help to lift the other end of the leg so that
the gap becomes parallel while doing this.
Make sure the other hole is still aligned while you do this. Once everything is
aligned and the gap is closed, proceed to glue the second dowel in.
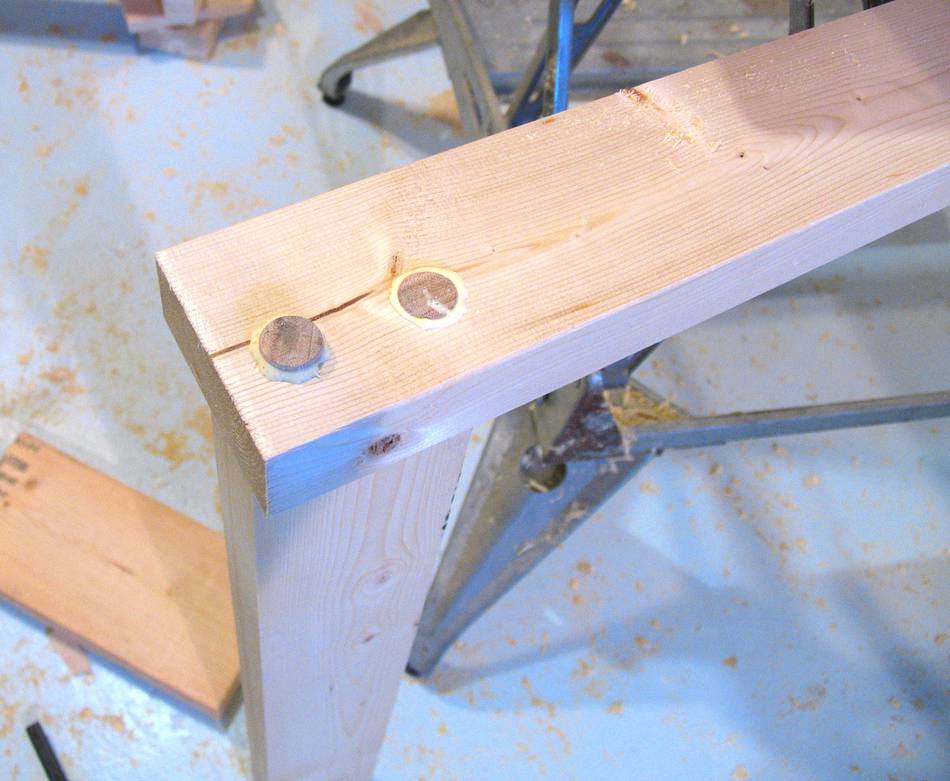 Both dowels are glued. Ideally, these should stick out from the surface, but by no
more than 1/16".
Both dowels are glued. Ideally, these should stick out from the surface, but by no
more than 1/16".
 If the dowels stick out by 1/4" or more, you can use a hack saw to cut them nearly
flush, being careful not to mark up the wood around them though.
If the dowels stick out by 1/4" or more, you can use a hack saw to cut them nearly
flush, being careful not to mark up the wood around them though.
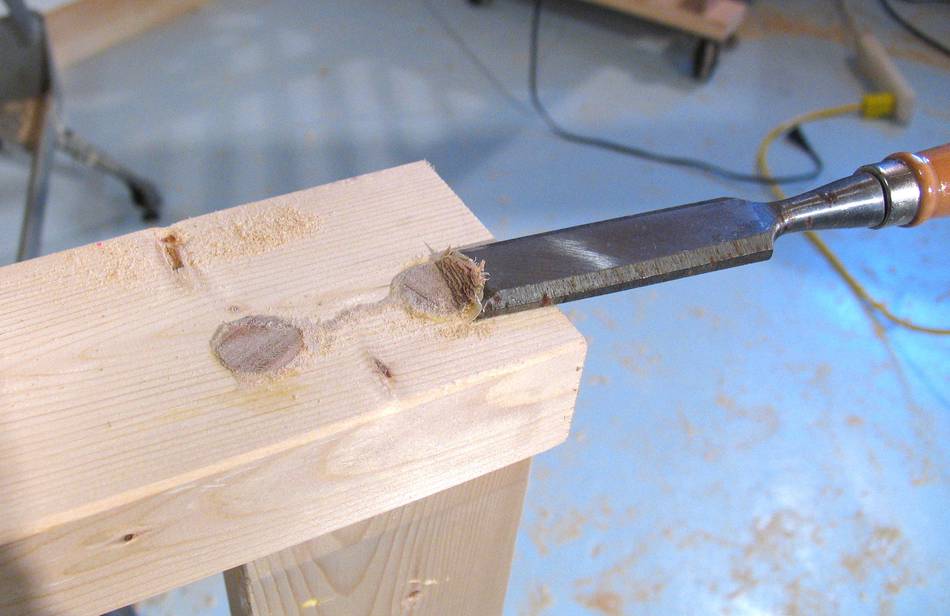
 The next step is to
cut the dowels flat with a chisel. With a sharp chisel,
cutting no more than about a millimeter (or 1/32") at a time, it's possible to cut
the dowels smooth and flush.
The next step is to
cut the dowels flat with a chisel. With a sharp chisel,
cutting no more than about a millimeter (or 1/32") at a time, it's possible to cut
the dowels smooth and flush.
I used the same technique when I was building this workbench
If you have a doweling jig, there are also many other options for
joining table legs
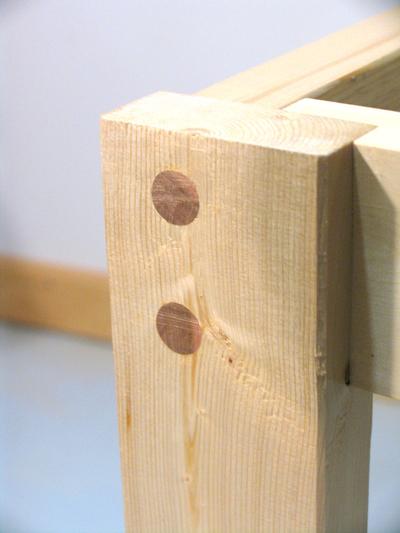
 Attaching the legs to the horizontal rail with the two pieces of dowel makes for
a very rigid connection. It would be tempting to use a similar method to connect
the other rail to the legs, but that would make for a table that is impossible
to disassemble for moving.
Attaching the legs to the horizontal rail with the two pieces of dowel makes for
a very rigid connection. It would be tempting to use a similar method to connect
the other rail to the legs, but that would make for a table that is impossible
to disassemble for moving.
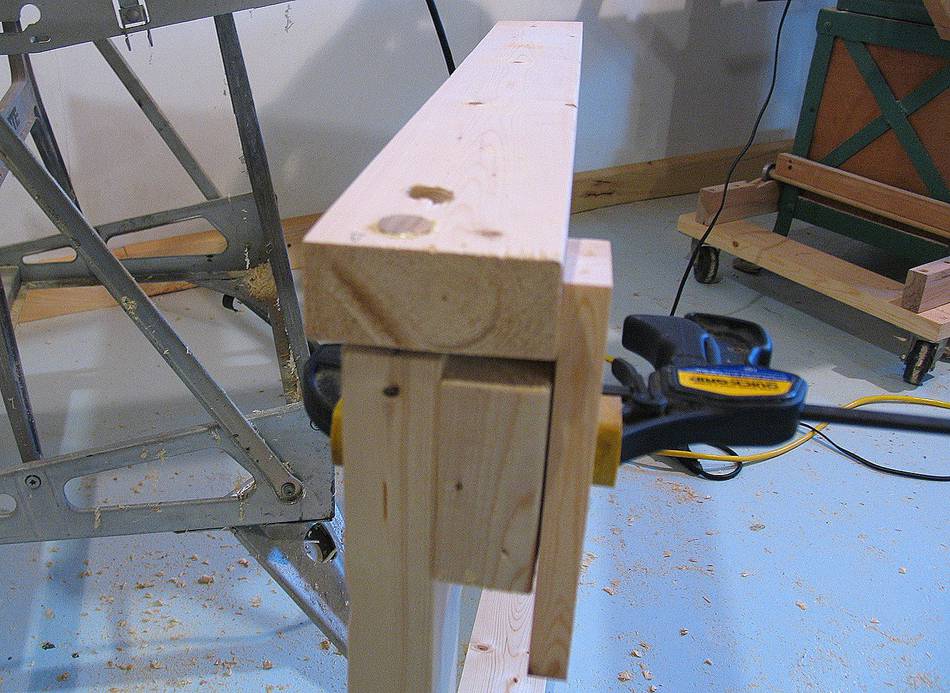
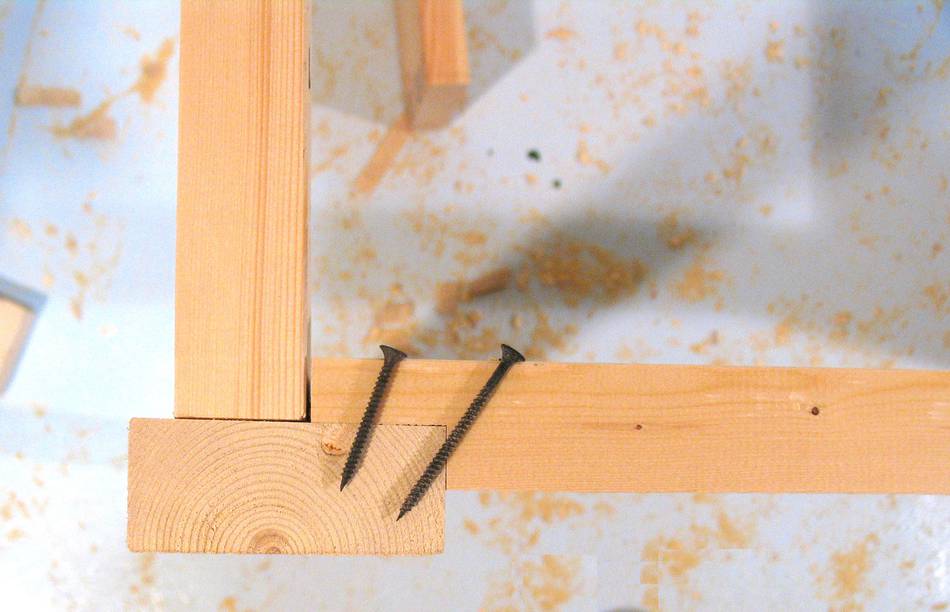
For this reason, I chose to screw the other rail to the legs. That way, if the screws are taken out, the whole frame of the table becomes just the two long rails, and two pairs of legs attached with the piece of rail in between.
Some drywall screws positioned as shown at left are enough to really hold the frame together.
I used drywall screws because they are cheap, and because their relatively flat heads are good at pulling things together. The downside of drywall screws is that they are kind of ugly, but they end up hidden in this application.
 For the longer of the screws that are close to a 45 degree angle, I pre-drilled
the part of the hole that goes in the rail with a 3/16" drill, being careful
not to drill into the actual leg. You can screw
drywall screws straight into the wood without pre-drilling, but I pre drilled
the part of the rail, so that the screws thread would engage only in the leg part.
That way, when the diagonal screws are tightened,
they really pull the two pieces of wood together. Without this pre-drilling,
if the two pieces of wood were not already tight against each other when the screw
is screwed in, the thread engaging the top piece would prevent the pieces
from moving towards each other.
For the longer of the screws that are close to a 45 degree angle, I pre-drilled
the part of the hole that goes in the rail with a 3/16" drill, being careful
not to drill into the actual leg. You can screw
drywall screws straight into the wood without pre-drilling, but I pre drilled
the part of the rail, so that the screws thread would engage only in the leg part.
That way, when the diagonal screws are tightened,
they really pull the two pieces of wood together. Without this pre-drilling,
if the two pieces of wood were not already tight against each other when the screw
is screwed in, the thread engaging the top piece would prevent the pieces
from moving towards each other.
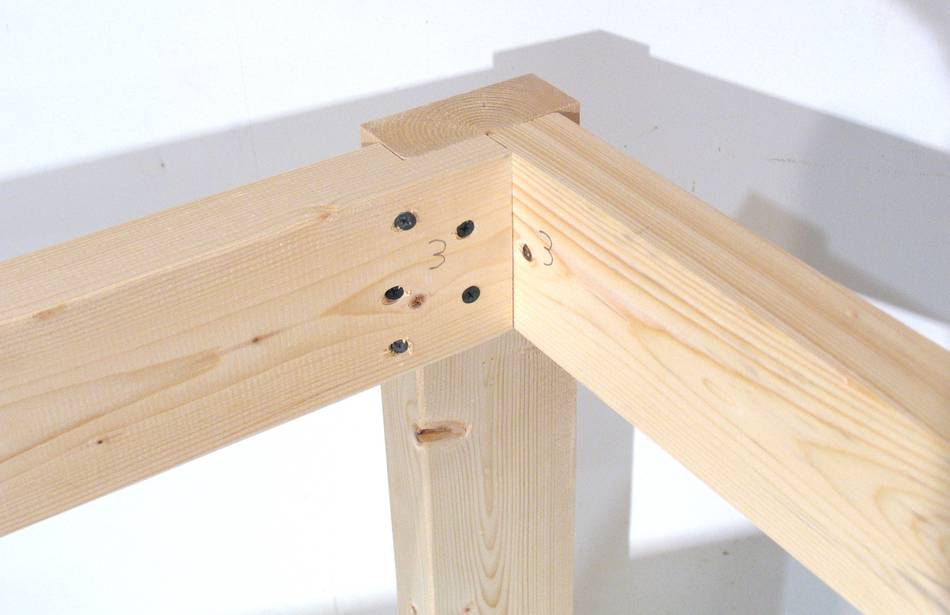 I put a total of five screws in each corner. Three longer screws at a steeper angle,
and two more further in. This made for an adequately rigid joint, and stronger
than how legs are typically joined in a table one might buy from a store.
I put a total of five screws in each corner. Three longer screws at a steeper angle,
and two more further in. This made for an adequately rigid joint, and stronger
than how legs are typically joined in a table one might buy from a store.
Note also the number '3' on the parts. Because I just drilled all the screw holes freehand, its important to mate the same pieces again if it ever gets taken apart, or the screw holes would not line up with the other part.
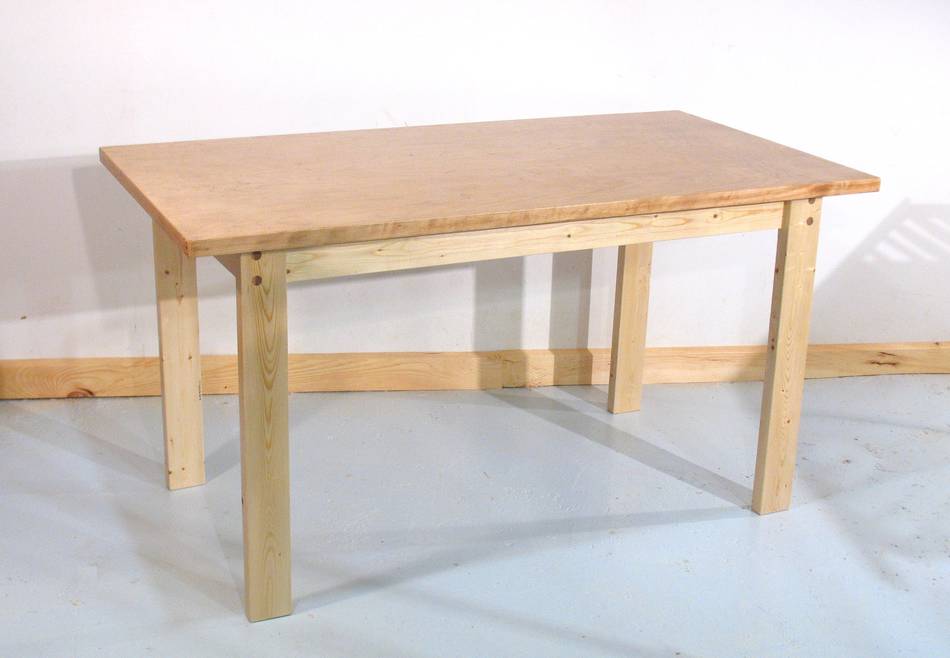
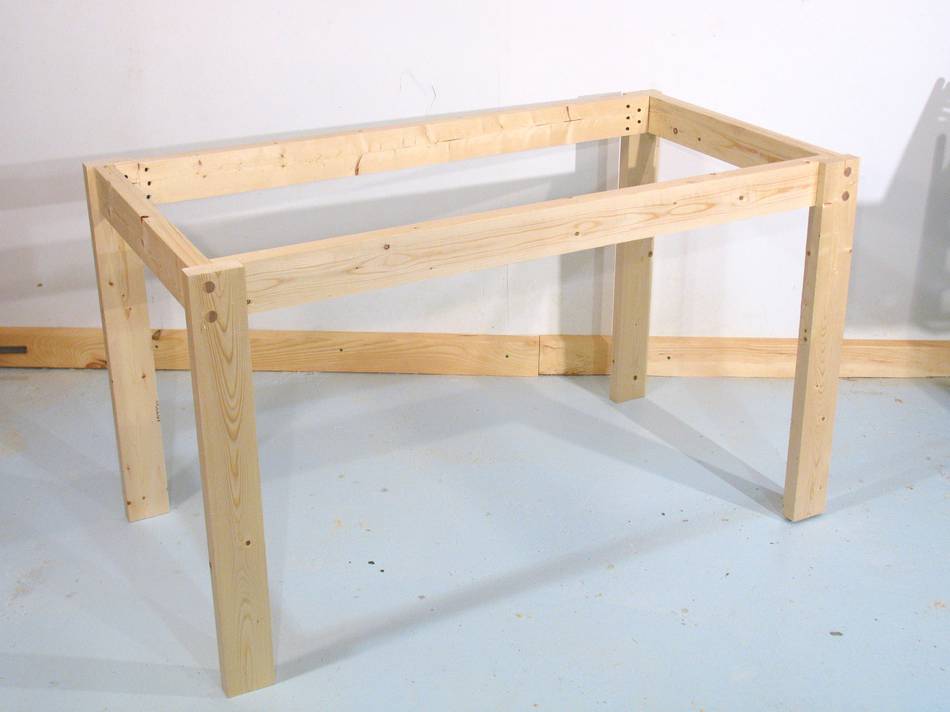 This is what the whole frame looked like. Next was time to attach the table top.
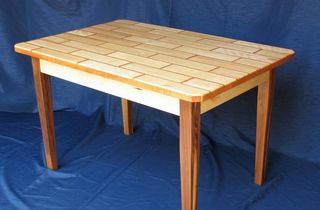
 For a table top, a piece of veneered 3/4" plywood would do the job. For this table,
I used an 1.25" thick slab of wood that was from a 1970's government desk, which
made for a very sturdy table top, perfect for a table for the workshop. It was originally
stained dark brown, but I refinished it
For a table top, a piece of veneered 3/4" plywood would do the job. For this table,
I used an 1.25" thick slab of wood that was from a 1970's government desk, which
made for a very sturdy table top, perfect for a table for the workshop. It was originally
stained dark brown, but I refinished it
To make it easy to screw the table frame to the table top, I glued some blocks to the longer rails. These have 3/8" holes in them so that screws can be screwed through them from the bottom, and into the table top.
They are positioned to be near the corners, but not so near as to interfere with being able to unscrew the screws that hold the corners together.
 I simply glued them to the longer rails with wood glue. These parts won't be under
a lot of load, so glue alone is quite adequate.
I simply glued them to the longer rails with wood glue. These parts won't be under
a lot of load, so glue alone is quite adequate.
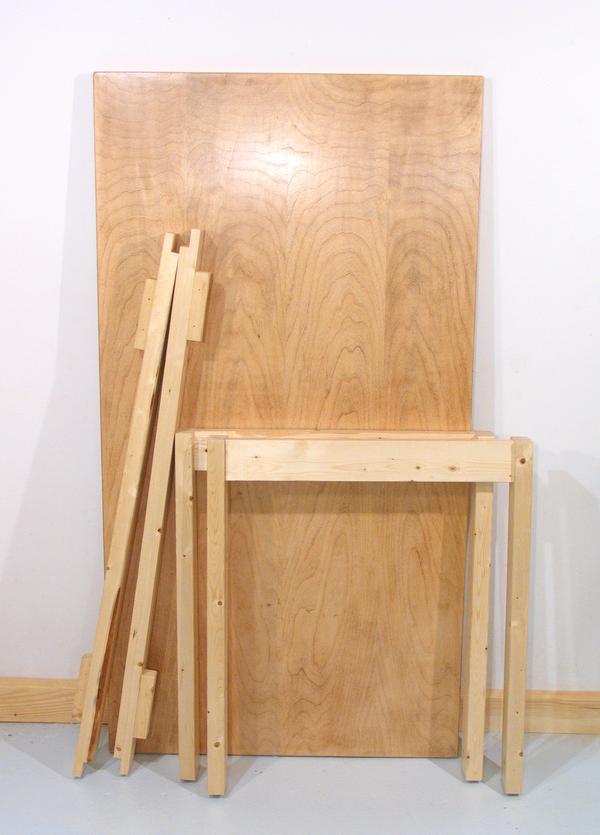
For moving, the idea is to unscrew the screws in the corners, and take the legs, along
with the rail that connects them off. Even without unscrewing the longer rails
from the table top, the table disassembles into relatively flat pieces
that are easy to move.
See the free Plans for this table
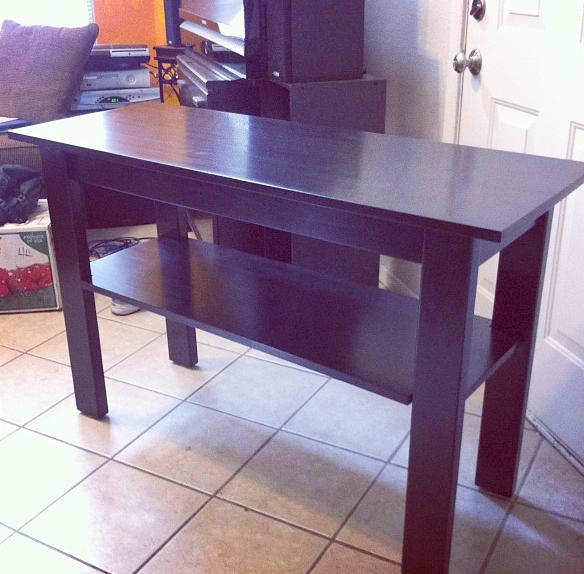
It doesn't have to look like it's made from 2x4's
Burgane sent me a photo of a table he built:
"My wife and I recently moved to a new city and our old TV stand didn't
fit in the new location. I found your plans
and walkthrough via Google.
I used the SketchUp
model to modify the dimensions a little to suit
our needs and dimensions.
It was our first major furniture construction and we only had basic tools
(hand held circular saw and drill). Your instructions were perfect
for what we were looking for!"
See the Plans for this table
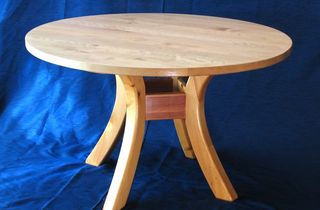 Building a round
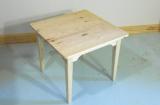 More about building
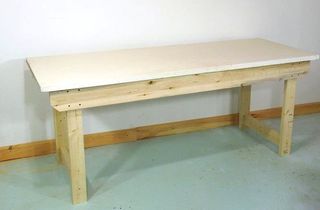 Simple Workbench
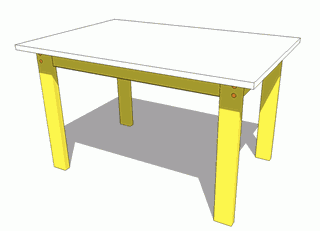 Free plans for this table
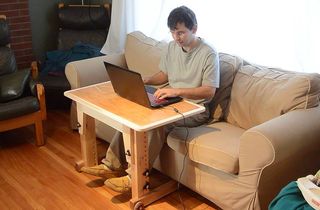 Knock down laptop
 Refinishing this table top