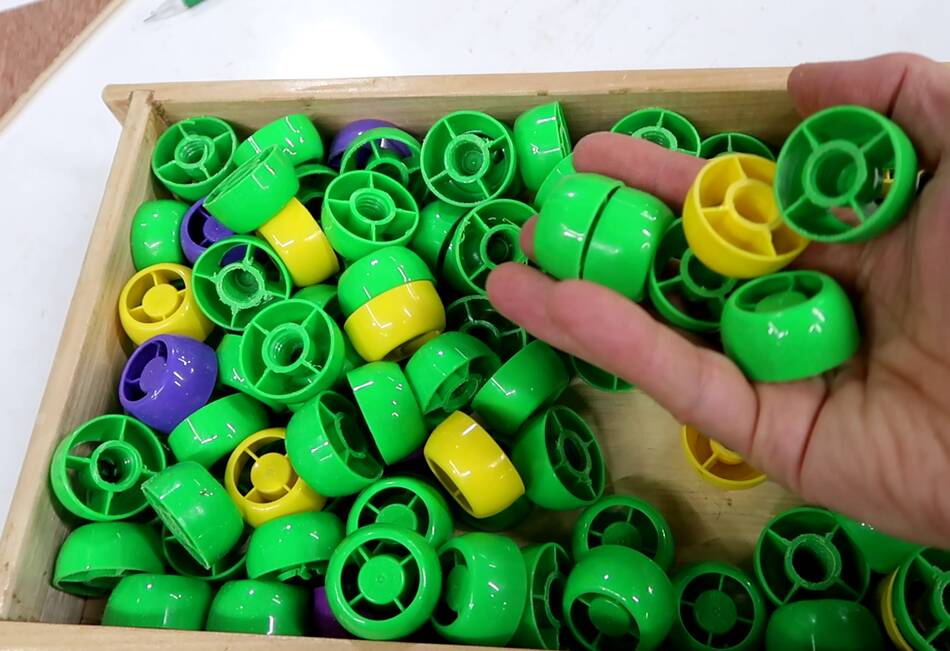
 With a new baby comes more baby food pouches. So I was again
inspired to find a use for the caps from these.
With a new baby comes more baby food pouches. So I was again
inspired to find a use for the caps from these.
With a new baby comes more baby food pouches. So I was again
inspired to find a use for the caps from these.
Previously I built a machine catapult and a computer controlled crossbow, But both of these contraptions required carefully loading the caps into a vertical magazine. I wanted to try building an easy to load hopper fed shooter.
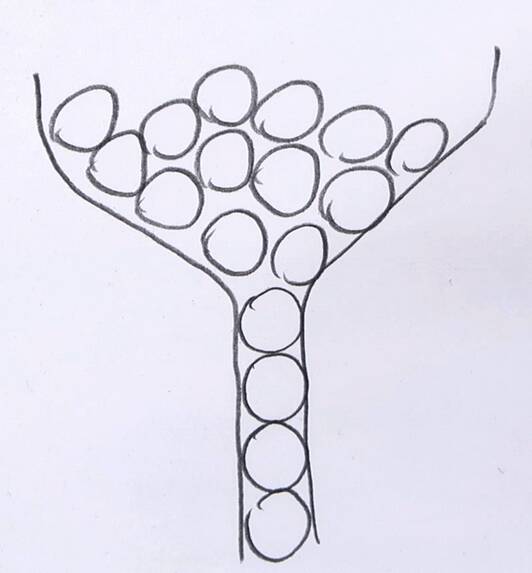 I sometimes get emails asking me what shape to make a funnel
so the marbles come out the bottom single file without jamming.
If only it were that simple!
I sometimes get emails asking me what shape to make a funnel
so the marbles come out the bottom single file without jamming.
If only it were that simple!
 And these caps are more complicated to feed than marbles, especially
because I wanted all the cap to come out the same orientation.
And these caps are more complicated to feed than marbles, especially
because I wanted all the cap to come out the same orientation.
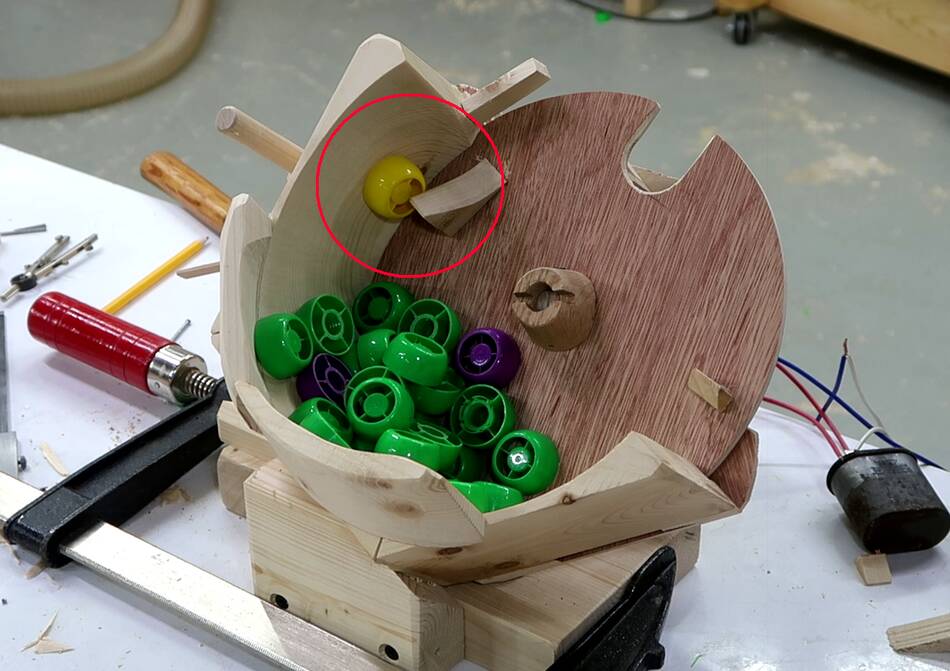
My first experiment was a disk with a notch in it, rotating through a pile of caps. Any cap with the flat side down would get caught in the notch and get brought up by the disk.
This sort of worked, but the notch often failed to pick up a cap because none had the flat side down. And when it did bring one up, it would often drag a few extra ones ahead of it.
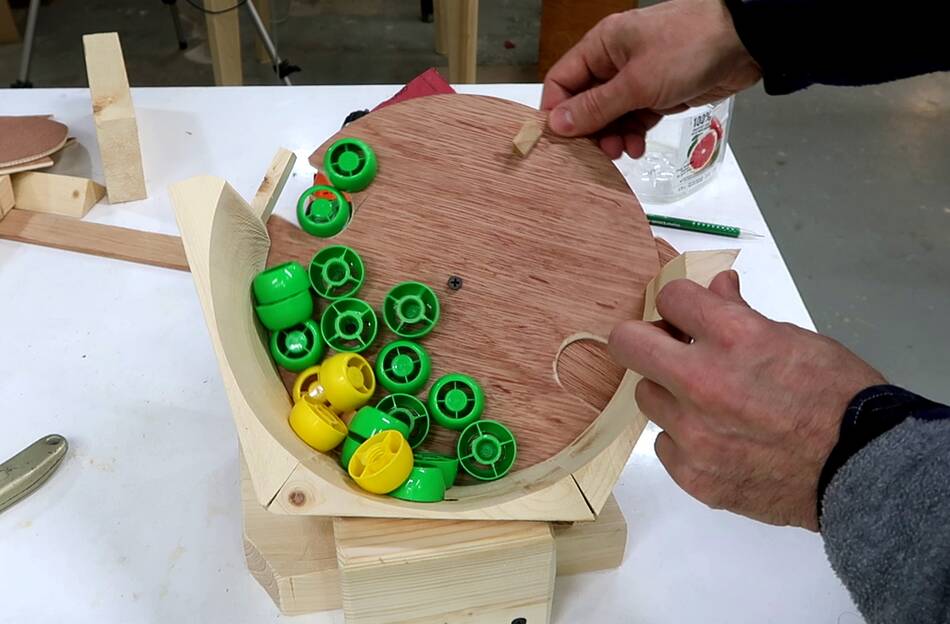 My second experiment was to make a larger disc. This worked
better, but I was still sometimes getting extra caps lifted up.
My second experiment was to make a larger disc. This worked
better, but I was still sometimes getting extra caps lifted up.
I originally thought of building this machine out of Lego so it would be easy to modify as I experiment, but thinking of the shapes I needed to make, it was faster to just build it out of wood.
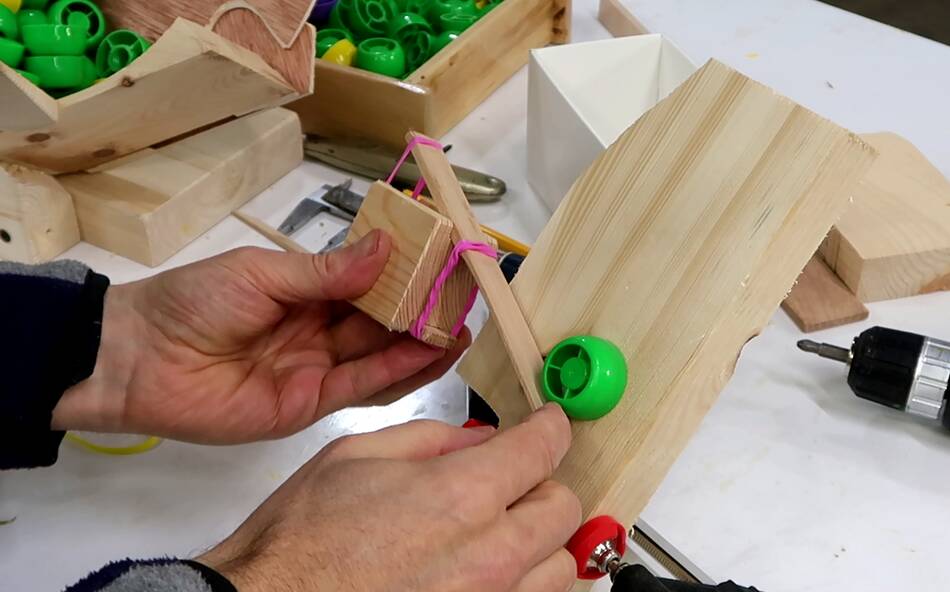
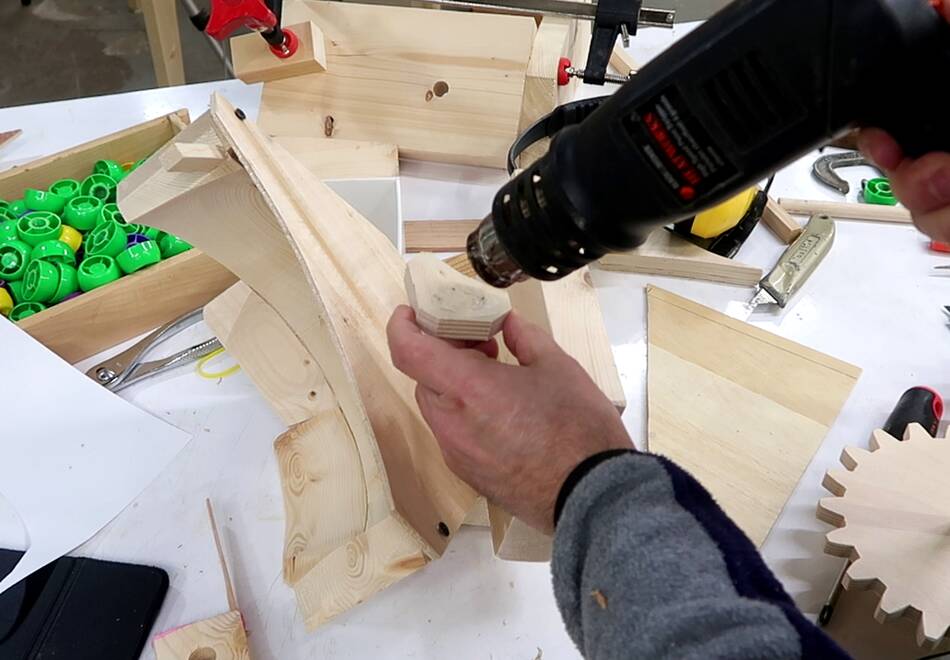
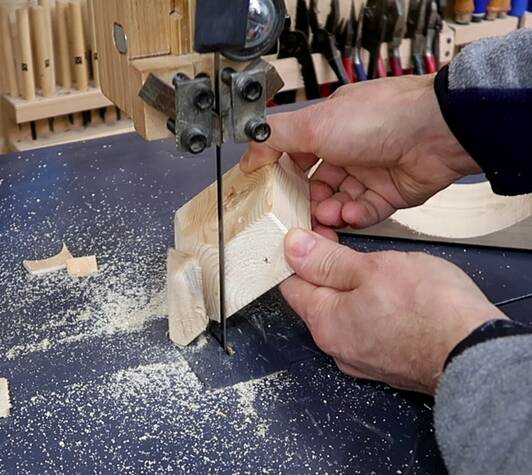 I figured angling the disk closer to vertical, and turning
it so the release point was near the top of the rotation would allow
whatever extra caps the cap in the notch dragged with it to fall back down
before the cap was released.
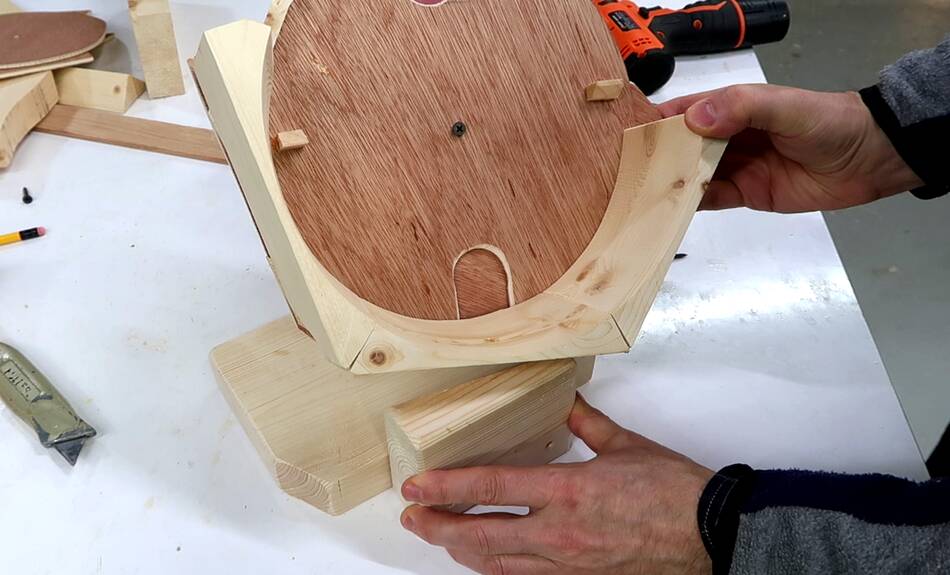
Here I'm figuring out how how I want to orient it, then cutting the support
to that angle, free hand on the bandsaw. This project involved a lot of
free hand bandsaw cuts as I tried this and that. These odd angles would also
be more challenging with Lego.
I figured angling the disk closer to vertical, and turning
it so the release point was near the top of the rotation would allow
whatever extra caps the cap in the notch dragged with it to fall back down
before the cap was released.
Here I'm figuring out how how I want to orient it, then cutting the support
to that angle, free hand on the bandsaw. This project involved a lot of
free hand bandsaw cuts as I tried this and that. These odd angles would also
be more challenging with Lego.
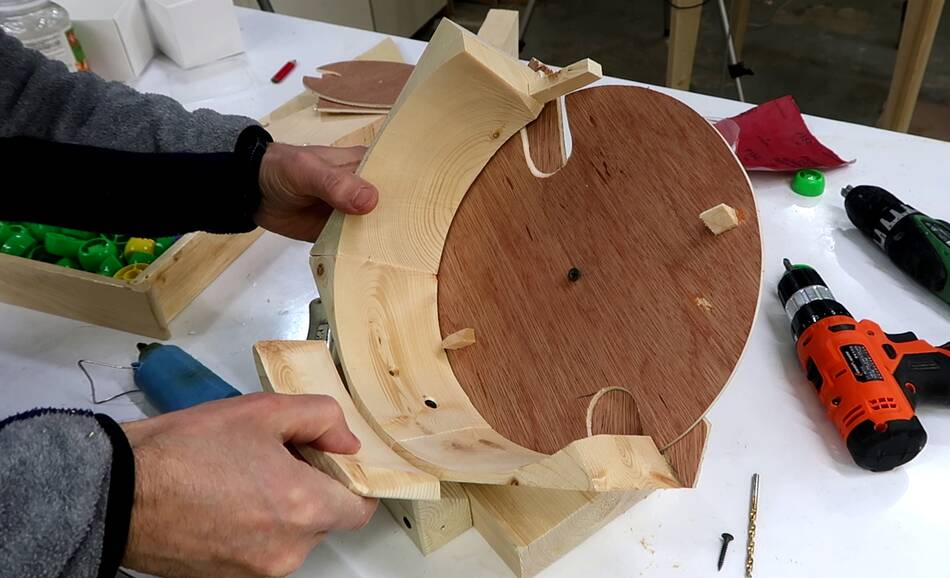
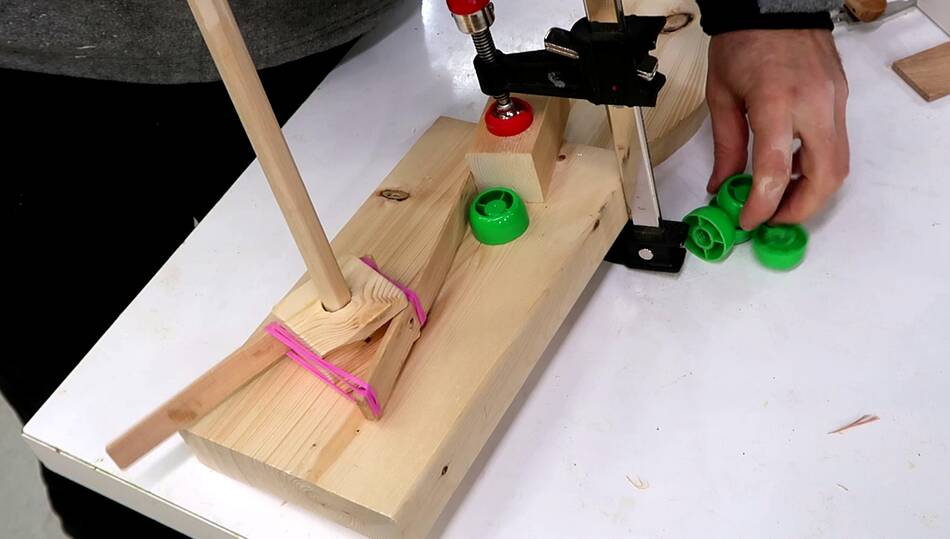
 Mounting the cradle with the disk back on the stand.
 But with this steeper orientation, caps were getting pushed out of the
cradle on the bottom, so I extended it buy gluing some extra bits onto it
— with hot glue.
But with this steeper orientation, caps were getting pushed out of the
cradle on the bottom, so I extended it buy gluing some extra bits onto it
— with hot glue.
 Once all the flat side down caps were picked up by the disk, the rest
just stayed in their orientations and didn't get picked up. So I added some
tabs to the disk to churn it up and flip some of the caps.
Once all the flat side down caps were picked up by the disk, the rest
just stayed in their orientations and didn't get picked up. So I added some
tabs to the disk to churn it up and flip some of the caps.
 I also needed a more consistent way of turning the disk for better testing, so I
made a hub to go in the middle of the disk to turn it with a drill.
I also needed a more consistent way of turning the disk for better testing, so I
made a hub to go in the middle of the disk to turn it with a drill.
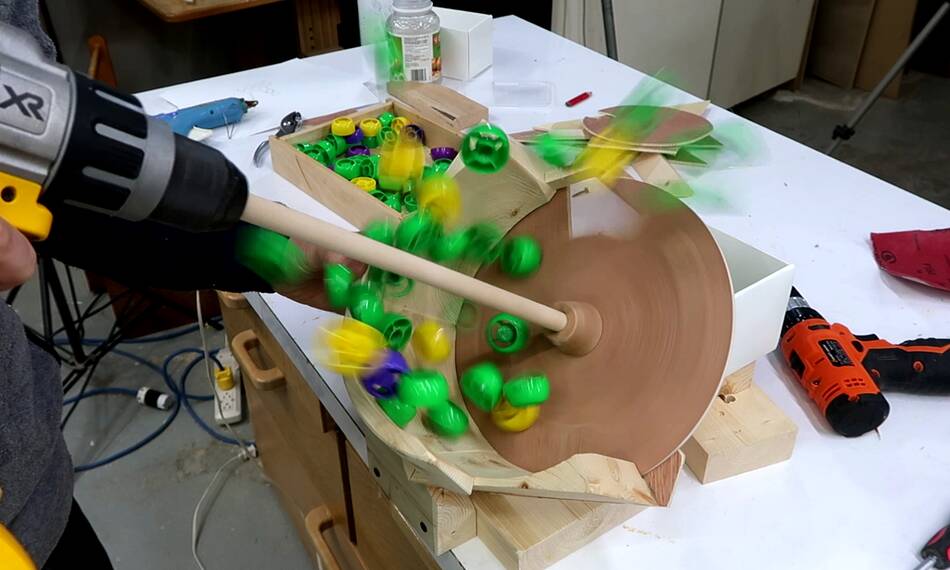 The big DeWalt drill I have can go very slow in first gear, but I had it in
the wrong gear initially, so stuff just went flying. That would work too,
but I wanted something that shoots them one at a time!
The big DeWalt drill I have can go very slow in first gear, but I had it in
the wrong gear initially, so stuff just went flying. That would work too,
but I wanted something that shoots them one at a time!
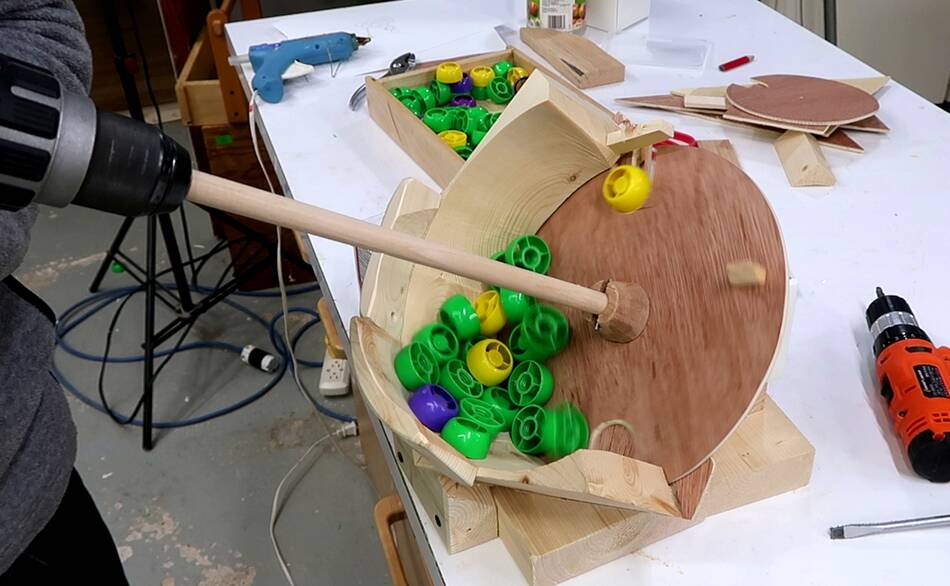 With the drill in the right gear, it worked well enough, though sometimes as much
as a third of the time the slots came up empty, especially when the hopper
was getting low on caps.
With the drill in the right gear, it worked well enough, though sometimes as much
as a third of the time the slots came up empty, especially when the hopper
was getting low on caps.
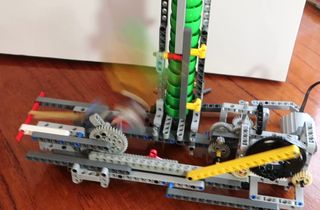
 The next challenge was making a catapult that shoots the caps.
I had an idea for a "rotary" catapult, with paddles that would get pulled
back by a fixed stop, then snap past it to shoot the caps. Here the first test.
The next challenge was making a catapult that shoots the caps.
I had an idea for a "rotary" catapult, with paddles that would get pulled
back by a fixed stop, then snap past it to shoot the caps. Here the first test.
 Next test, spinning the rotary catapult with a drill and manually loading it.
It worked perfectly.
Next test, spinning the rotary catapult with a drill and manually loading it.
It worked perfectly.
 But how to get the caps from the hopper mechanism to the rotary catapult?
It would be easiest if both turned on the same axle, but I'd need some sort
of chute to get the caps from the disc to the catapult.
But how to get the caps from the hopper mechanism to the rotary catapult?
It would be easiest if both turned on the same axle, but I'd need some sort
of chute to get the caps from the disc to the catapult.
I started to experiment with how to accomplish this, but eventually I decided it would be best to have the catapult shoot the caps from close to where they fall through the disc. And that requires that the catapult turn on its own shaft.
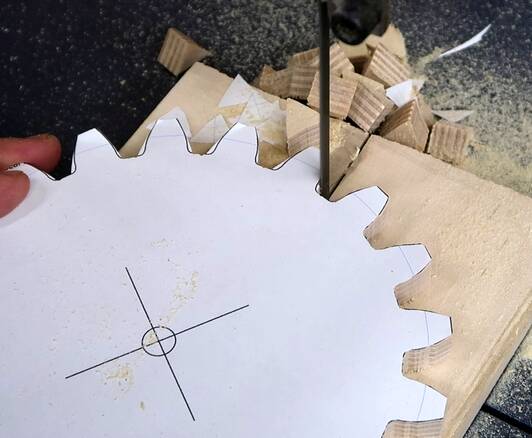
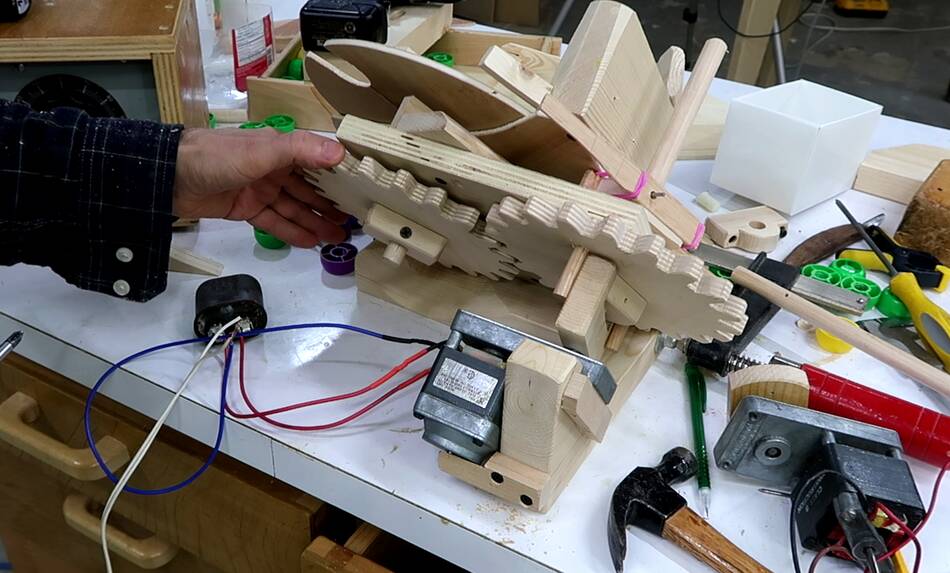
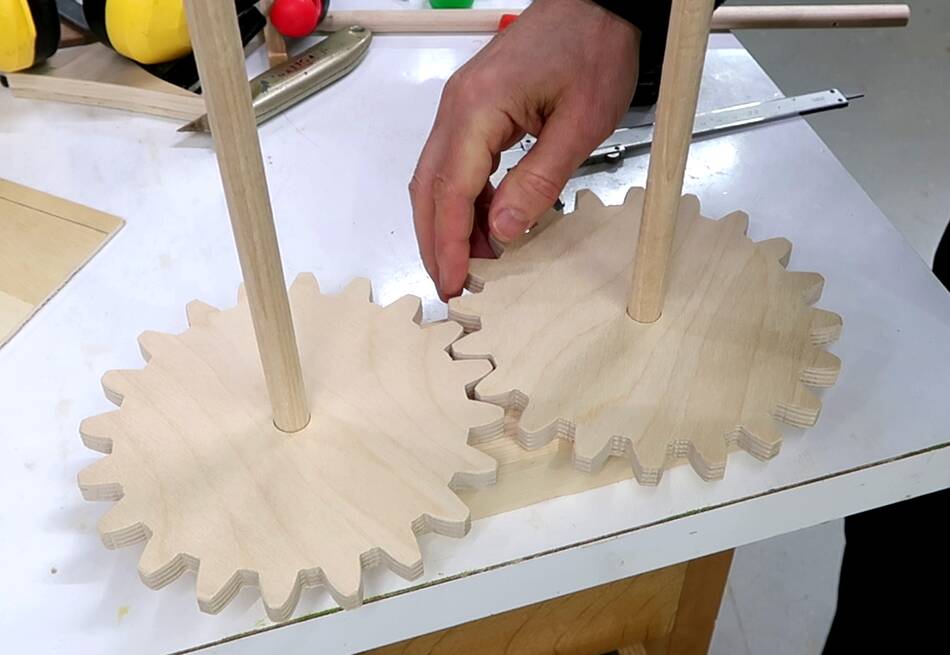 So I cut out some 20-tooth gears, sized for a 16 cm shaft spacing. I designed
these using my gear generator program
So I cut out some 20-tooth gears, sized for a 16 cm shaft spacing. I designed
these using my gear generator program
 I needed the back of the hopper to have a thicker section for the axle to go
through, to act as a bearing block. So I glued another piece of plywood on,
with hot glue. I didn't have the patience to wait for the glue gun to warm up,
so I just warmed up both pieces with a heat gun (which usually do anyway),
warmed up the end of the glue stick, smeared it on one of
the pieces, warmed the pieces some more, then pressed them together.
I needed the back of the hopper to have a thicker section for the axle to go
through, to act as a bearing block. So I glued another piece of plywood on,
with hot glue. I didn't have the patience to wait for the glue gun to warm up,
so I just warmed up both pieces with a heat gun (which usually do anyway),
warmed up the end of the glue stick, smeared it on one of
the pieces, warmed the pieces some more, then pressed them together.
Hot glue works much better on pre-warmed surfaces.
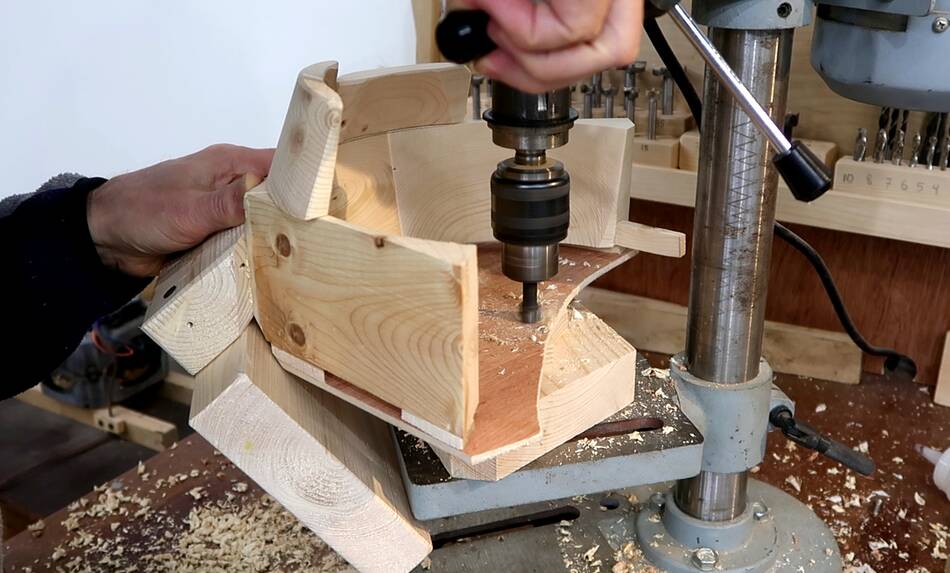 Drilling the axle hole. I used 14 mm dowels, left over from
this table build
Drilling the axle hole. I used 14 mm dowels, left over from
this table build
 Trying to figure out how this works out with the gears
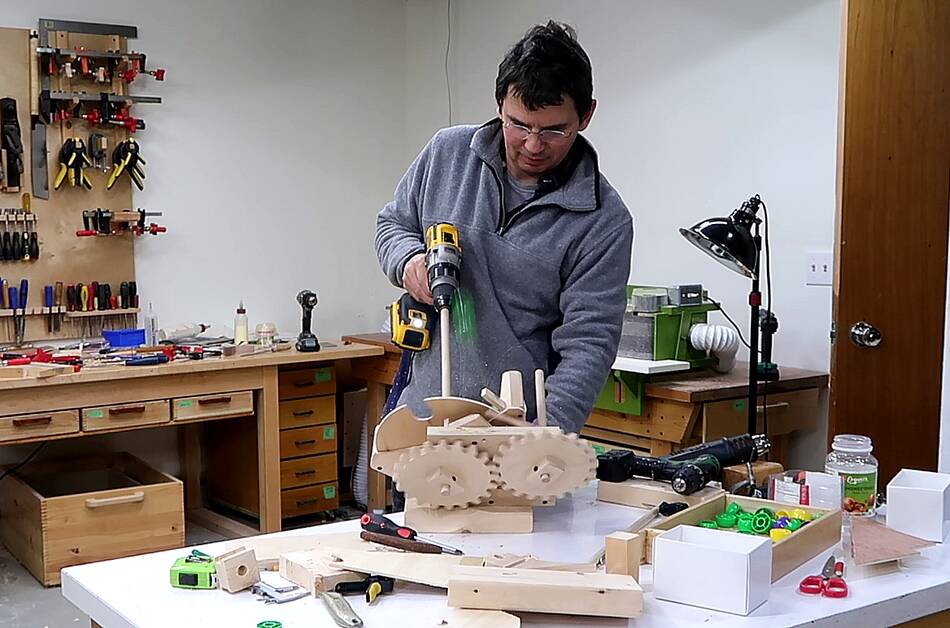
 I then got too much into building to film much for a few hours, but
here are the two gears mounted with the catapult behind the hopper.
Turning the gears manually makes it shoot.
I then got too much into building to film much for a few hours, but
here are the two gears mounted with the catapult behind the hopper.
Turning the gears manually makes it shoot.
 Then testing it out, spinning the hopper with the drill again
and relying on the gears to turn the catapult.
Then testing it out, spinning the hopper with the drill again
and relying on the gears to turn the catapult.
 Then trying it with a gear head motor. This first gear head motor
I tried spun too fast for my hopper to effectively pick
up the caps.
Then trying it with a gear head motor. This first gear head motor
I tried spun too fast for my hopper to effectively pick
up the caps.
 But I had another, nearly identical gear head motor that spun just
a little slower, 40 RPM. That speed was just right.
But I had another, nearly identical gear head motor that spun just
a little slower, 40 RPM. That speed was just right.
I had to get creative making a mount for that motor, because its position was well beyond the base I made for the cap shooter and I didn't feel like making a new base.
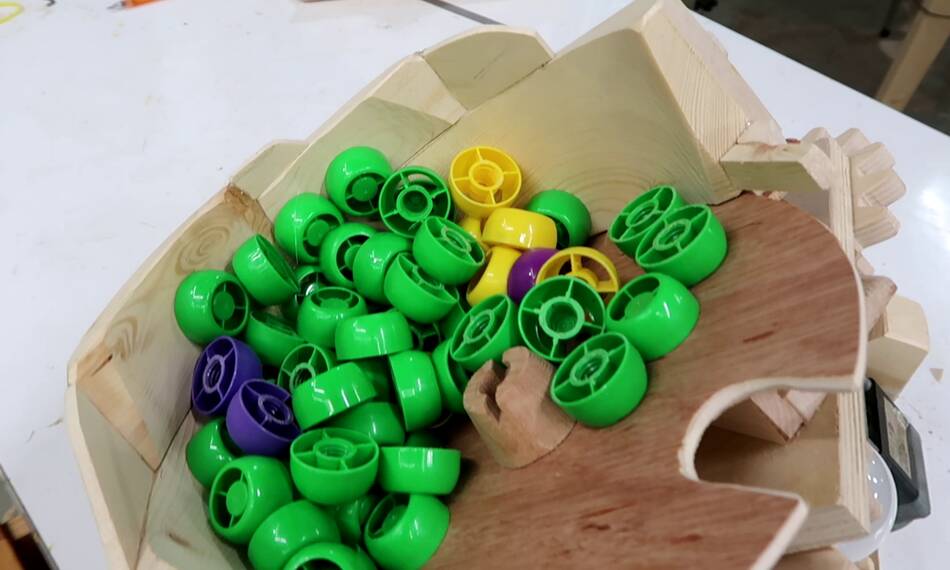
 I wasn't happy with how often the slots in the disk came up empty.
I needed a better way to agitate the caps so I wouldn't end up with
a layer of caps all in the wrong orientation. So I added this ramp to more
effectively lift them, except I put this just the wrong distance from the edge
so a cap could get wedged between it and the edge of the hopper. I had
to pry the ramp off again and glue it closer to the edge so caps wouldn't
fit in the gap.
I wasn't happy with how often the slots in the disk came up empty.
I needed a better way to agitate the caps so I wouldn't end up with
a layer of caps all in the wrong orientation. So I added this ramp to more
effectively lift them, except I put this just the wrong distance from the edge
so a cap could get wedged between it and the edge of the hopper. I had
to pry the ramp off again and glue it closer to the edge so caps wouldn't
fit in the gap.
I could have made a disk that picks up in other orientations as well instead, but I figured that might be more likely to lead to jams of the catapult, or accidentally picking up more than one cap. Part of the challenge to myself was to make something that fed caps all in the same orientation.
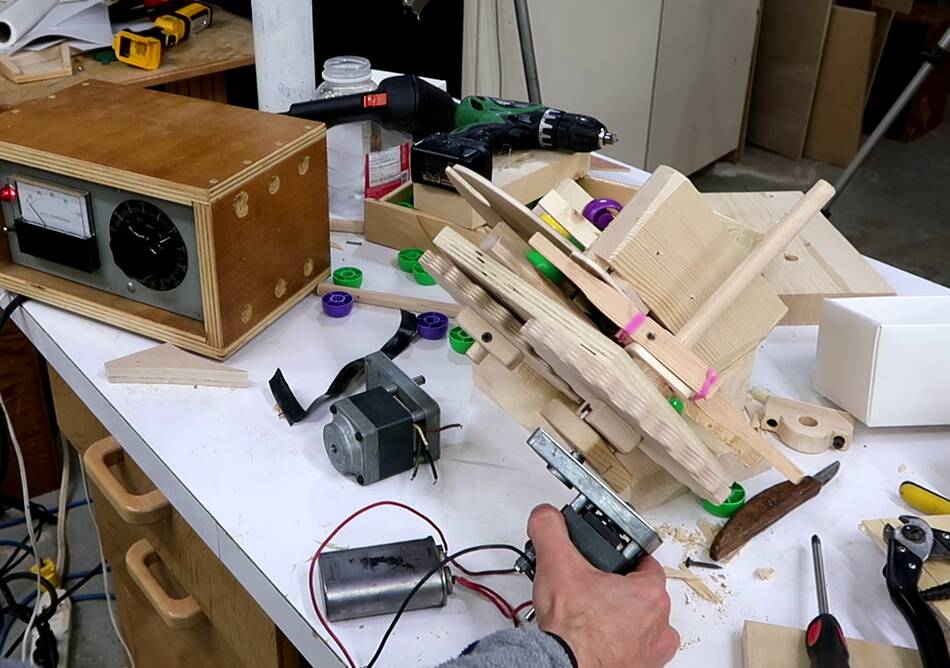
 I mounted the motor's run capacitor so that its contacts aren't exposed,
and added a light bulb in series with the motor to limit it's power to protect
the machine if it jams. This will also prevent fingers from getting crushed
if they get caught in the gears.
I mounted the motor's run capacitor so that its contacts aren't exposed,
and added a light bulb in series with the motor to limit it's power to protect
the machine if it jams. This will also prevent fingers from getting crushed
if they get caught in the gears.
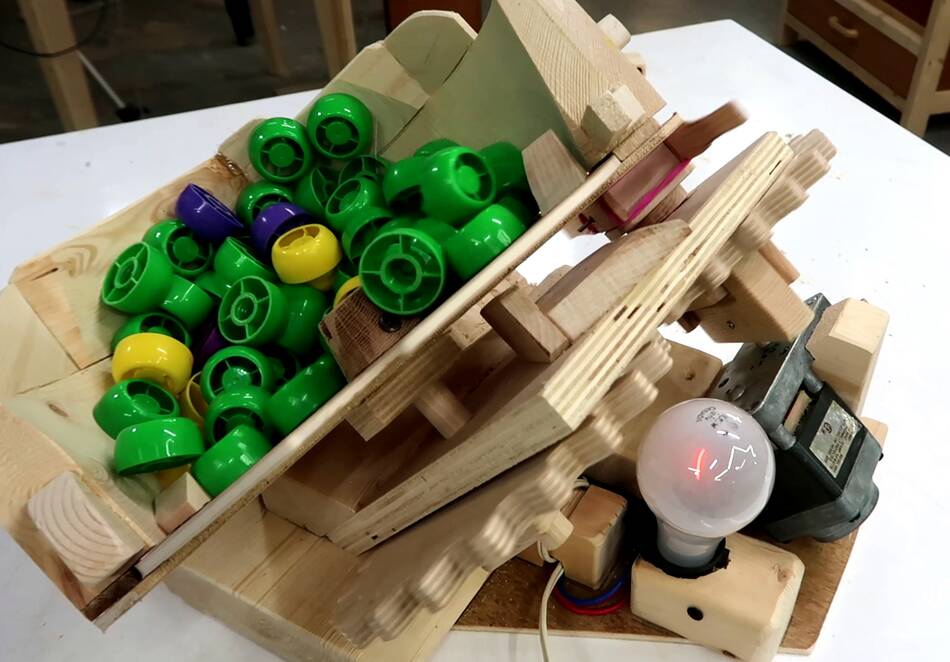
 I also added a bit more to the hopper to prevent the caps from getting
thrown out the back, and then it was ready for testing with the kids.
I also added a bit more to the hopper to prevent the caps from getting
thrown out the back, and then it was ready for testing with the kids.

 At first the kids (aged 3 and 5) had a lackluster response to this mess
making machine, but then they really got into picking up the caps and keeping the
machine fed, crawling under and behind couches to retrieve a constant stream
of caps shot out of the machine.
At first the kids (aged 3 and 5) had a lackluster response to this mess
making machine, but then they really got into picking up the caps and keeping the
machine fed, crawling under and behind couches to retrieve a constant stream
of caps shot out of the machine.
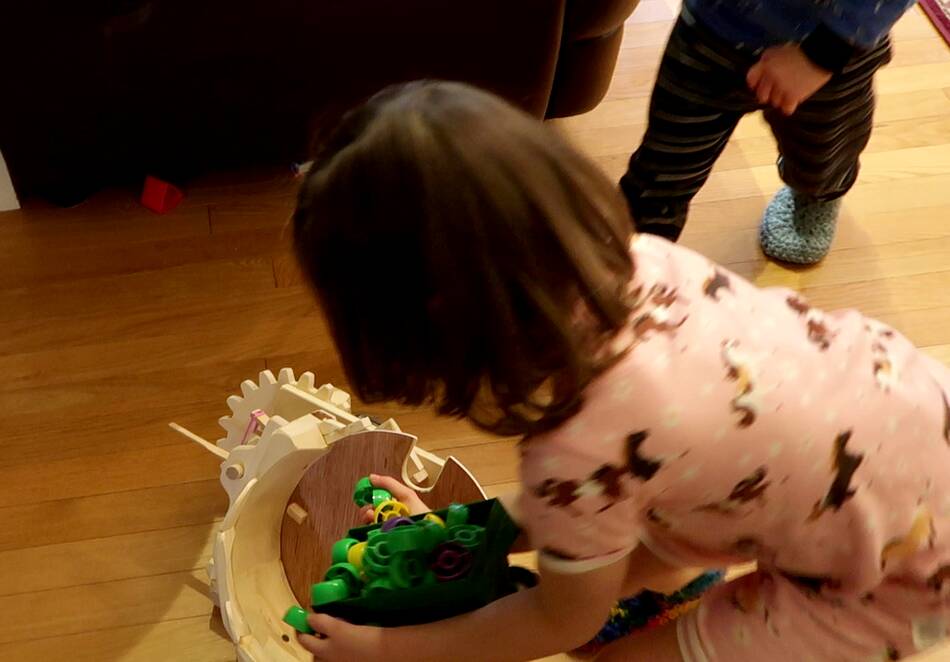 Pictures, unfortunately, don't show the enthusiasm. So do watch the video!
It would be fun to iterate on this concept to make the hopper feeder work
more consistently, but I have no real use for it, and having it come up empty about 20%
of the time is adequate for a fundamentally useless contraption. But I've always
had a fascination with industrial parts feeders, like vibrating
bowl feeders that
just by their shape and motion manage to reliably feed complex parts out of a hopper
all in the correct orientation.
 Building the Lego machine-catapult
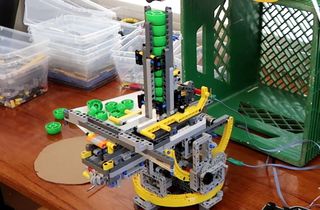 Computer controlled cap shooter aimer
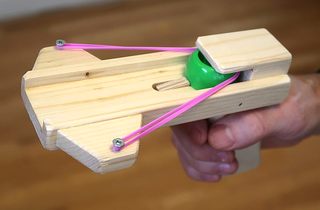 Wooden plastic cap shooter
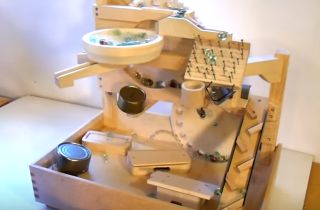 Marble machine 2
 The slinky machine
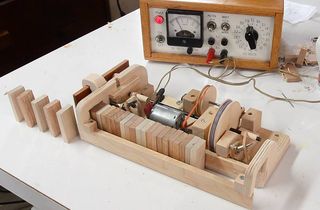 Wooden domino row building machine
 Stomp catapult