 Time to make another curtain rod, for this window.
I previously wrote about making curtian rods in 2007,
2017 and 2018. But
I need to make another one, this one different from the last ones, so
might as well write about it again.
Time to make another curtain rod, for this window.
I previously wrote about making curtian rods in 2007,
2017 and 2018. But
I need to make another one, this one different from the last ones, so
might as well write about it again.
Time to make another curtain rod, for this window.
I previously wrote about making curtian rods in 2007,
2017 and 2018. But
I need to make another one, this one different from the last ones, so
might as well write about it again.
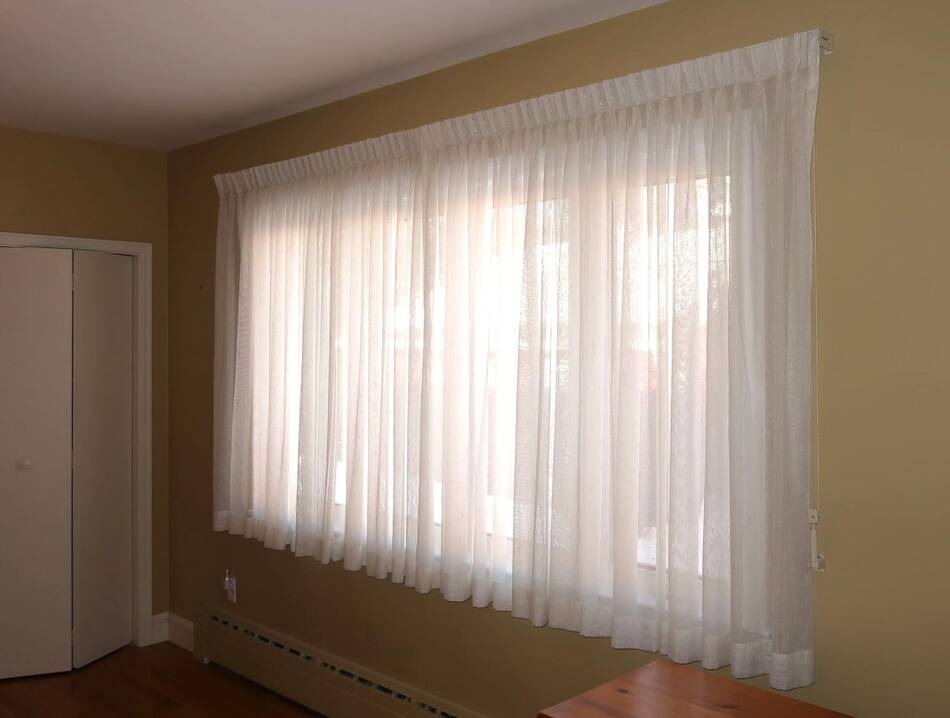
The idea is to have some darker curtains to go in front of the sheer curtains on this window. The window is wider than the longest piece of hardwood I had.
 So this called for splicing some wood end to end.
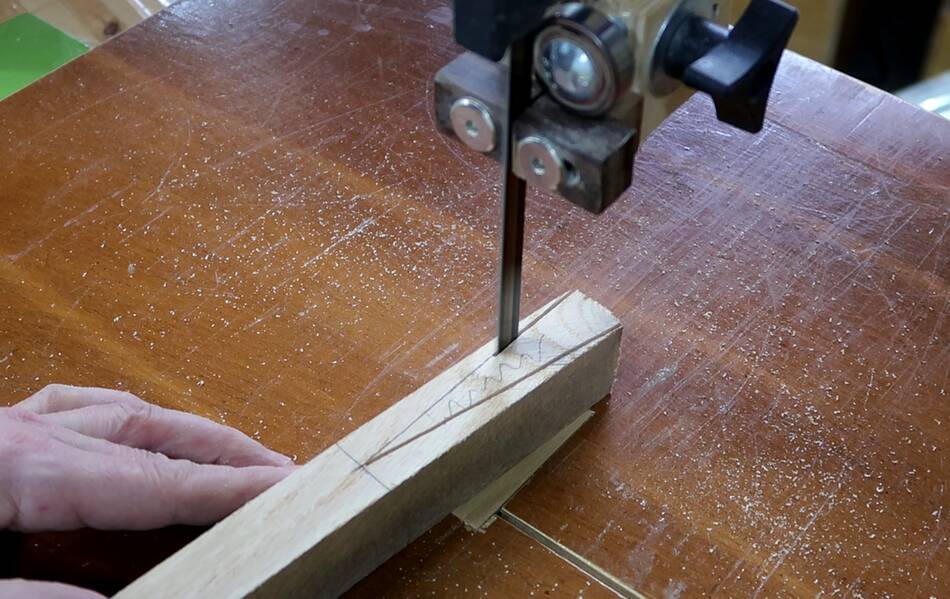
My first thought was with finger joints cut with my box joint jig, but the ceiling is too low to clamp an 8' (2.4m) long piece of wood in that jig.
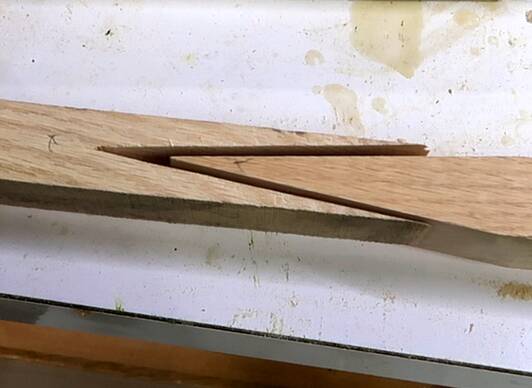
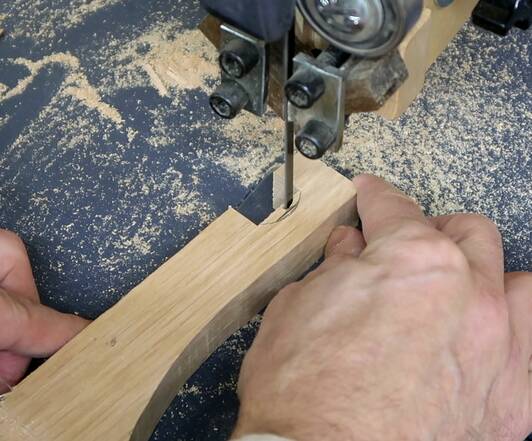
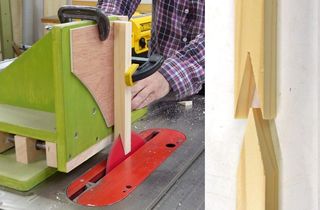
My next thought was a scarf joint, but I'd lose too much length with the overlap on that, so I cut a V-shaped notch in the end instead, and cut the other piece to a point to fit in that.
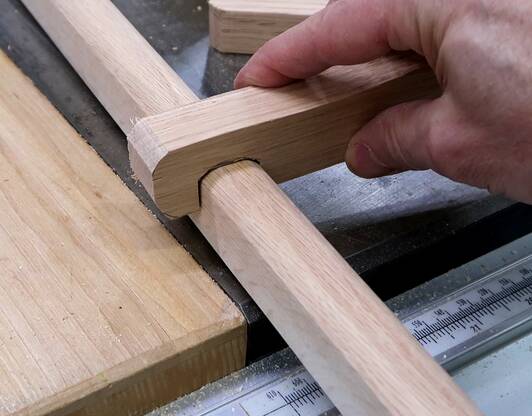
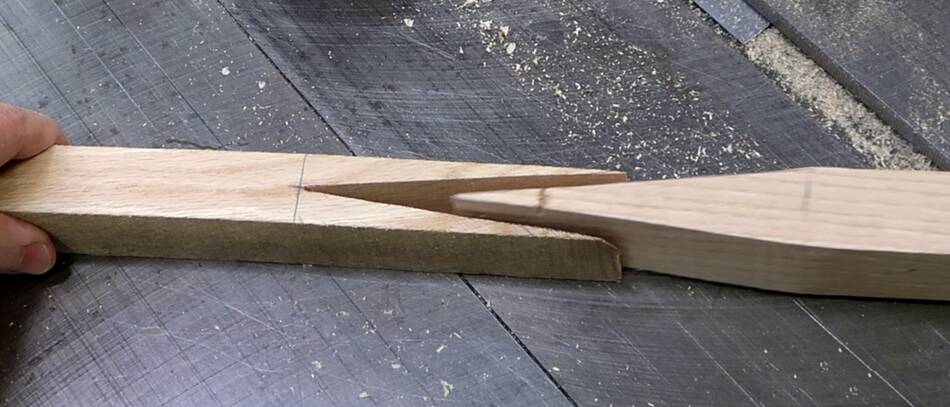 The pieces then fit together like this. Except, coming off the
bandsaw, they didn't fit perfectly.
The pieces then fit together like this. Except, coming off the
bandsaw, they didn't fit perfectly.
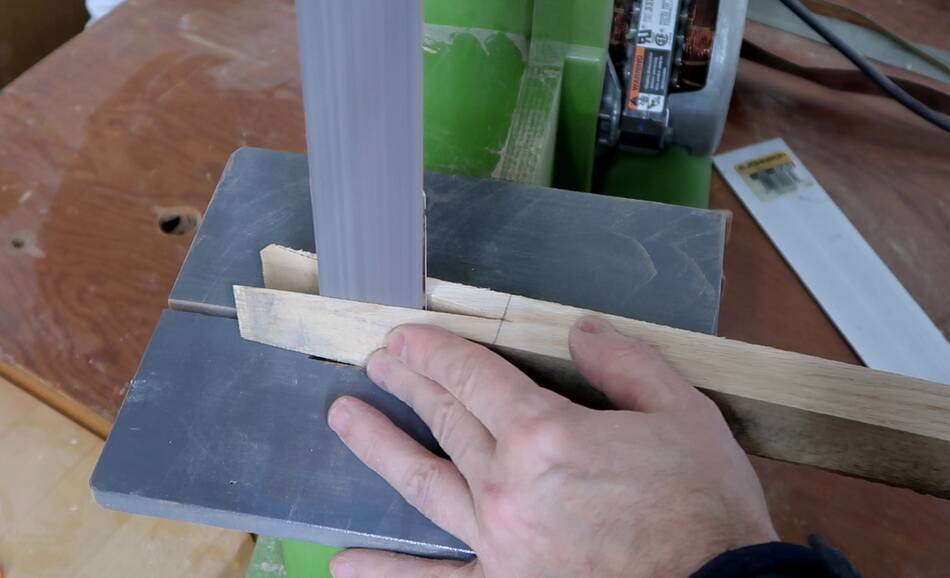
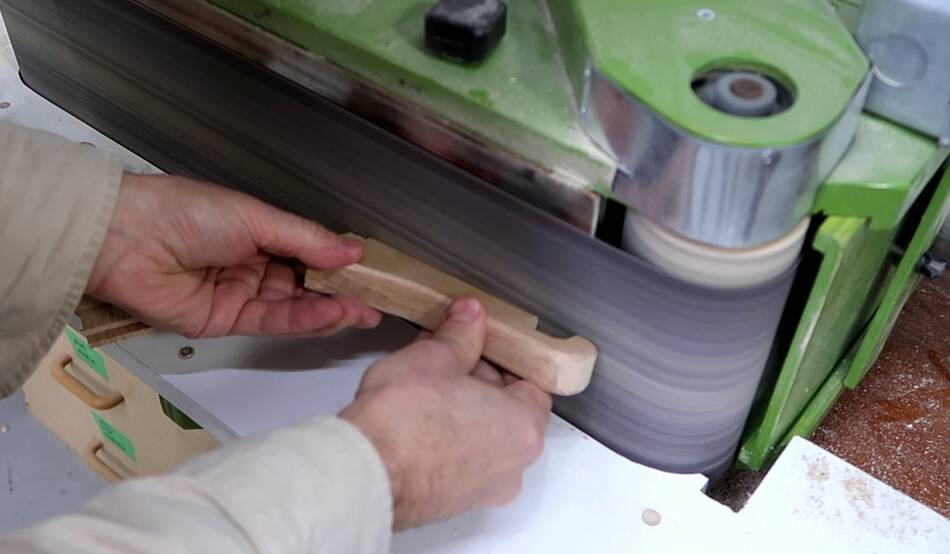
 I kept tweaking the joint with my belt sander and
my strip sander XL until I called it "close enough"
I kept tweaking the joint with my belt sander and
my strip sander XL until I called it "close enough"
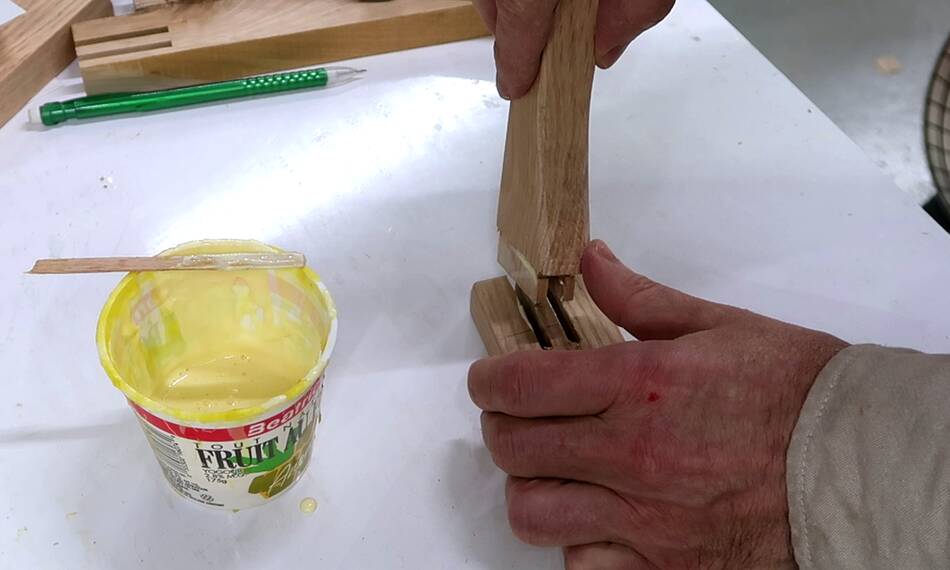
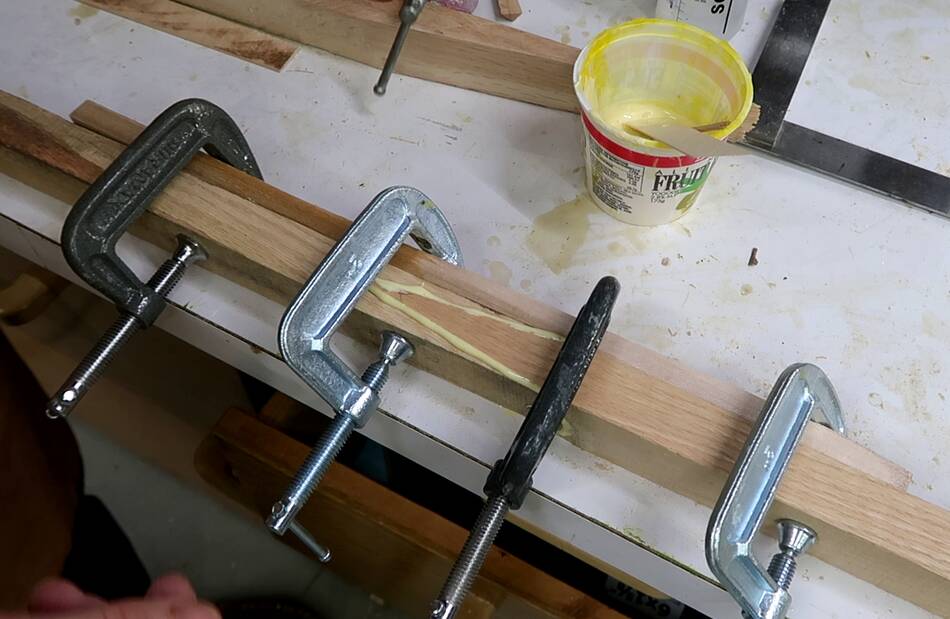 The glue in this yoghurt cup already lost some of it's moisture content,
so it was quite thick. I wanted the glue thick for this, but I still
had to add a bit of water to it to get it to the right consistency.
The glue in this yoghurt cup already lost some of it's moisture content,
so it was quite thick. I wanted the glue thick for this, but I still
had to add a bit of water to it to get it to the right consistency.
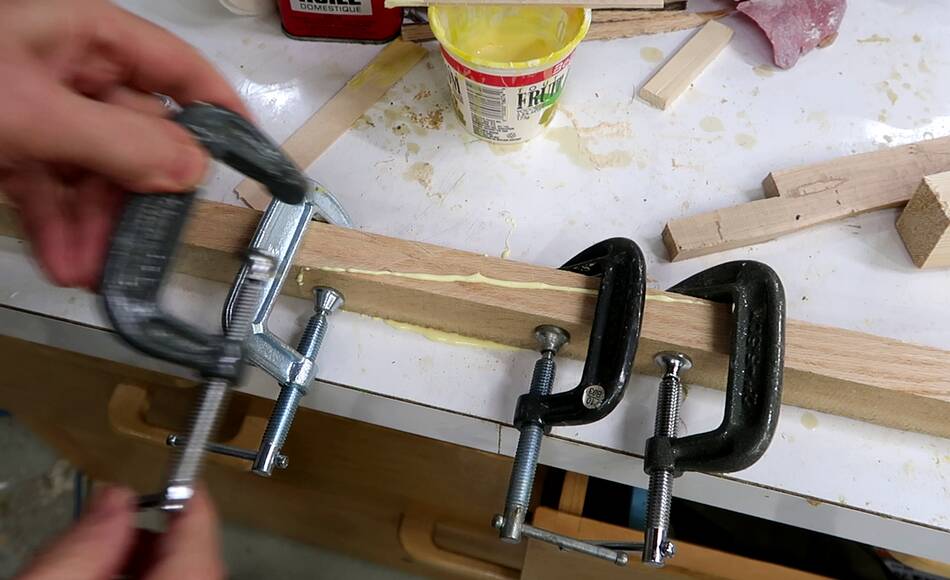
When I first applied clamps, the pressure just caused the two pieces to slide apart. So I clamped a piece of wood to the side of both pieces before clamping the joint itself to prevent that.
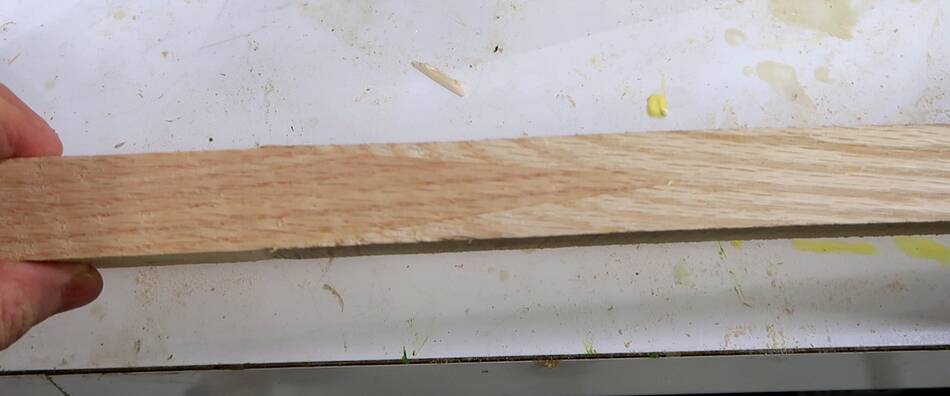 The joint came out quite nice — on this side. On the other side, the joint
is more noticeable.
The joint came out quite nice — on this side. On the other side, the joint
is more noticeable.
 But then I realized the board I cut it from wasn't quite flat, so the curtain
rod wasn't quite straight. To straighten it, I needed to cut and re-joing
it near the middle. This time I cut through
it diagonally on the table saw. then used my belt sander to adjust the ends
so they'd join to something straight.
But then I realized the board I cut it from wasn't quite flat, so the curtain
rod wasn't quite straight. To straighten it, I needed to cut and re-joing
it near the middle. This time I cut through
it diagonally on the table saw. then used my belt sander to adjust the ends
so they'd join to something straight.
I clamped it to either side of my workbench to keep the pieces aligned and straight, then clamped it together in the middle.
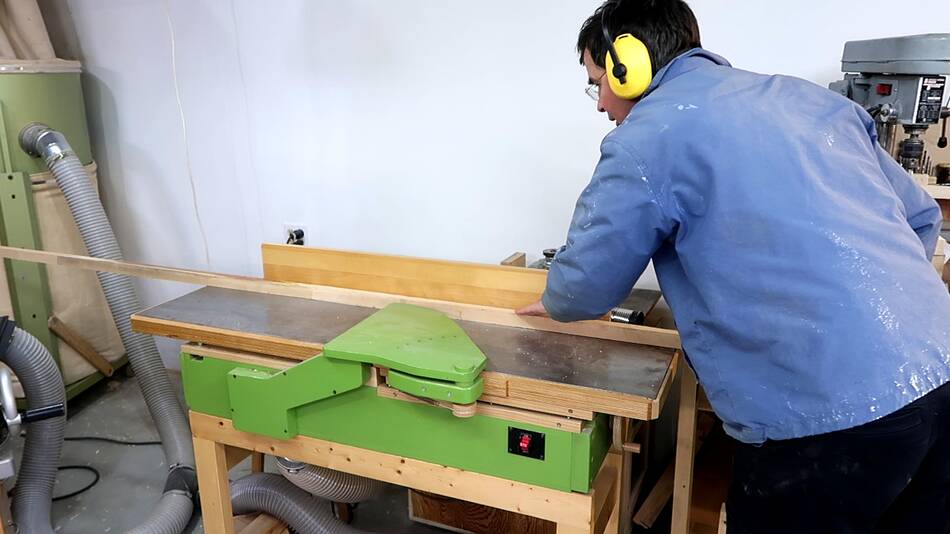 I then took care of any remaining minor non-straightness the jointer.
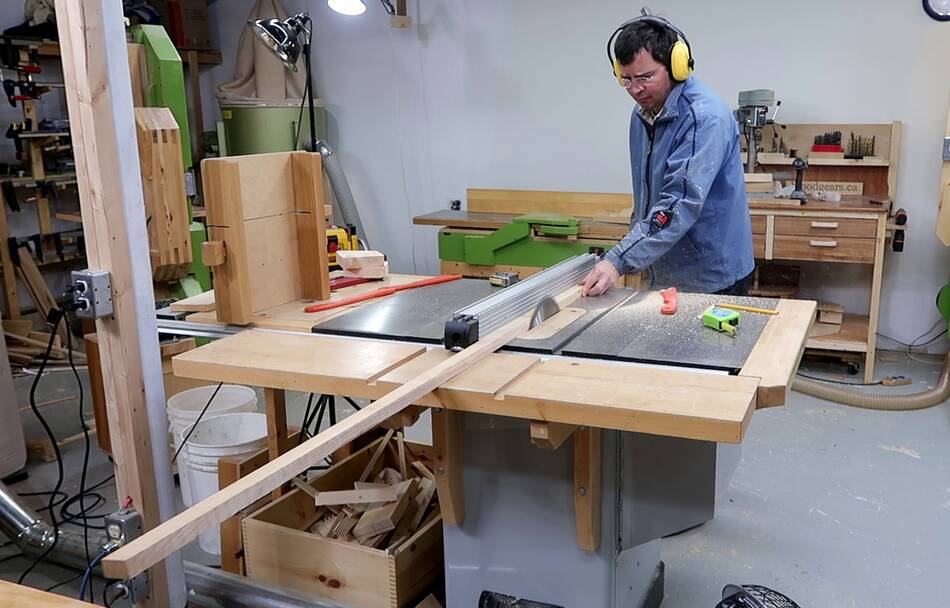
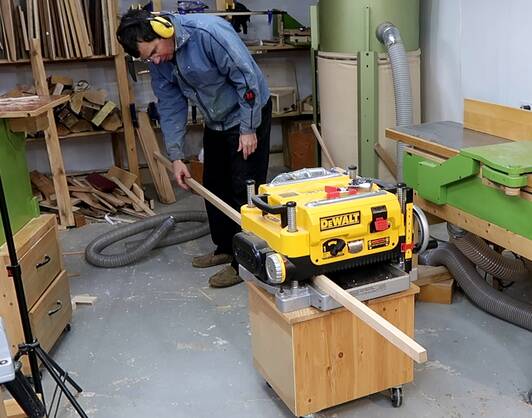 And sized it to consistent dimensions on the table saw and thickens planer.
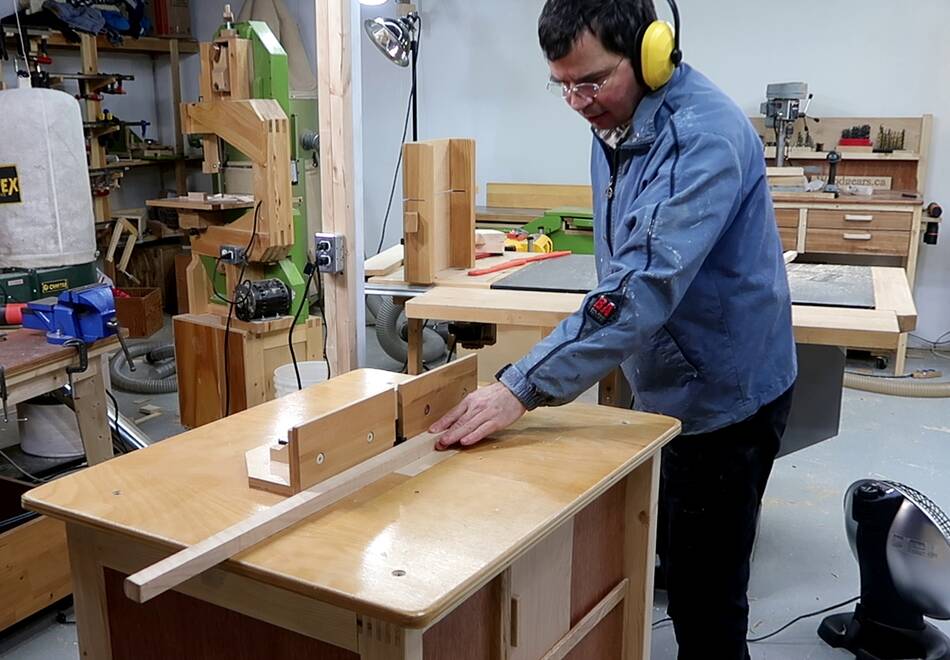 Then adding a 1/2" round-over on the corners on the
router table, though the bit isn't fully raised
flush with the table so it's only a partial roundover.
Then adding a 1/2" round-over on the corners on the
router table, though the bit isn't fully raised
flush with the table so it's only a partial roundover.
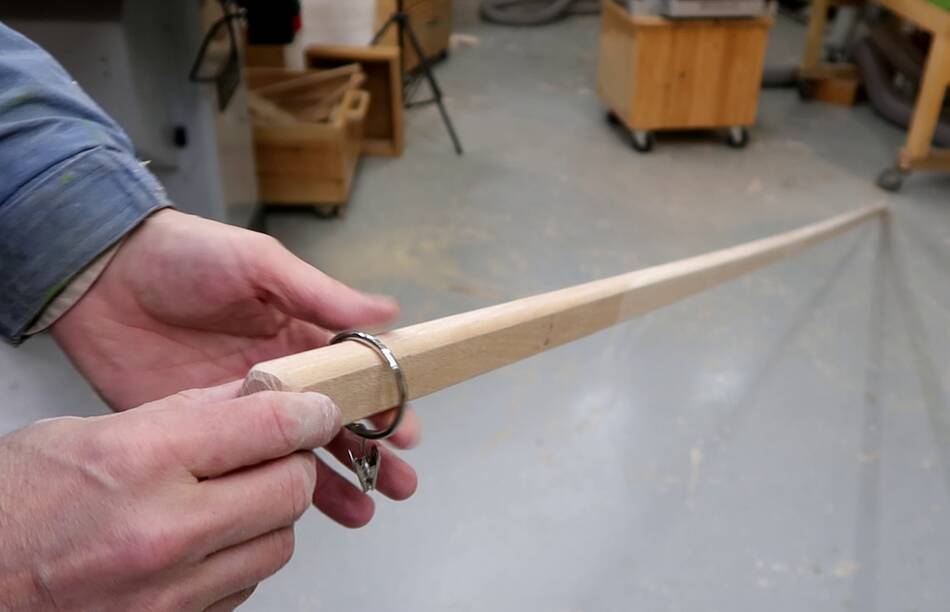 Testing it with a 1.5" curtain ring, making sure it slides smoothly along.
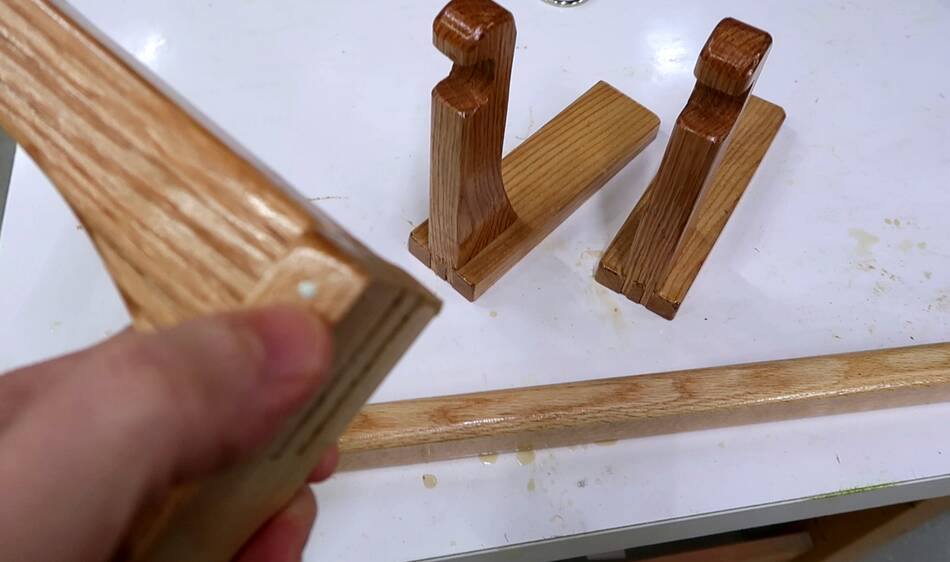
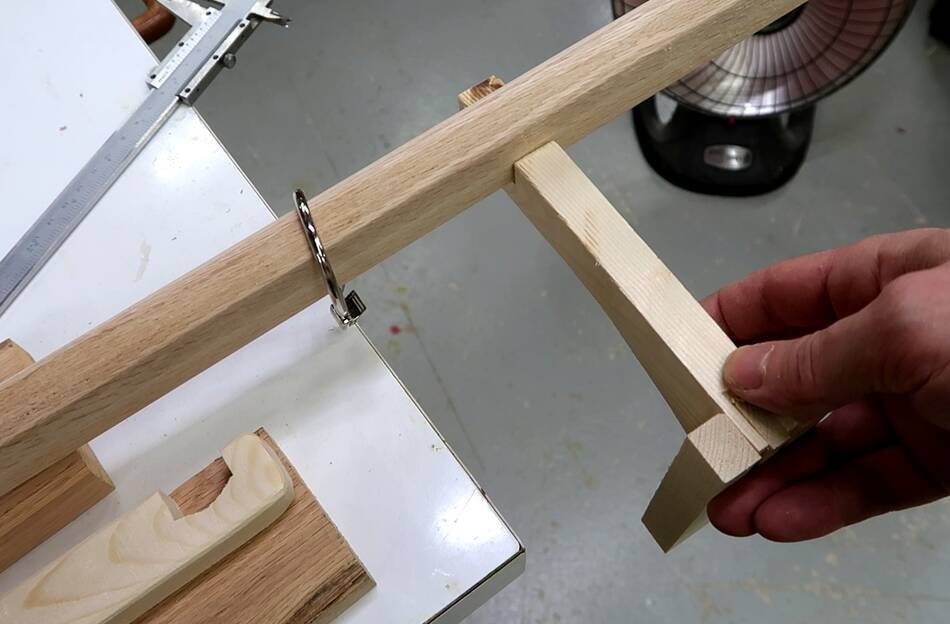 I still needed mounts, or hangers for this curtain rod. I cut a prototype out of
pine just to try it out. This piece is joined with a double mortise and
tenon joint.
I still needed mounts, or hangers for this curtain rod. I cut a prototype out of
pine just to try it out. This piece is joined with a double mortise and
tenon joint.
The mount is quite long because this curtain rod needs to go in front of the existing curtains.
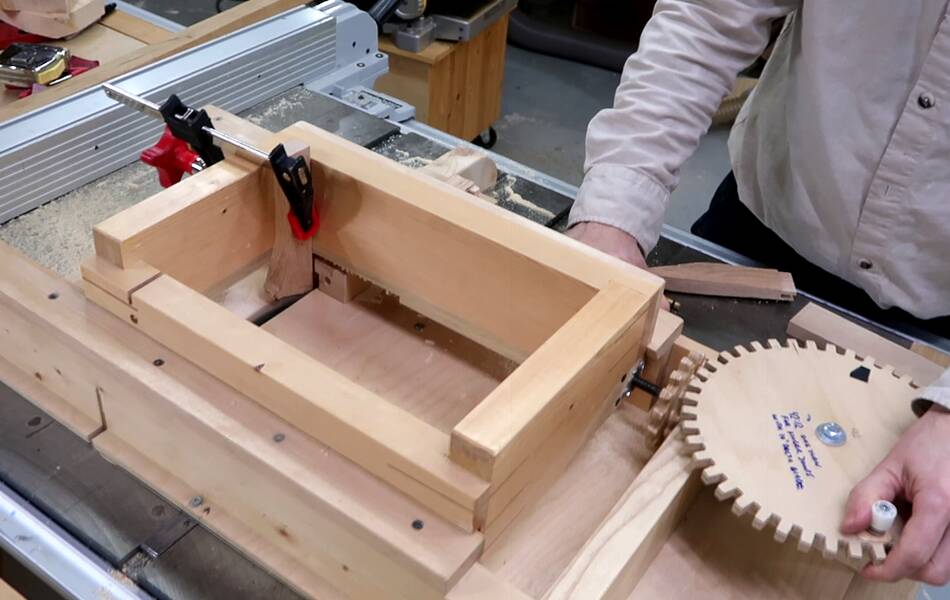 I cut the double tenon with my screw advance box joint jig. Think of the
double mortise and tenon joint as two fingers of a box joint. Except that one
side has narrower fingers than the other.
I cut the double tenon with my screw advance box joint jig. Think of the
double mortise and tenon joint as two fingers of a box joint. Except that one
side has narrower fingers than the other.
 Cutting the complementing mortise in the wall part of the mount. Actually, the
mortises are open on one end, so I'm not sure if that qualifies as a mortise.
Cutting the complementing mortise in the wall part of the mount. Actually, the
mortises are open on one end, so I'm not sure if that qualifies as a mortise.
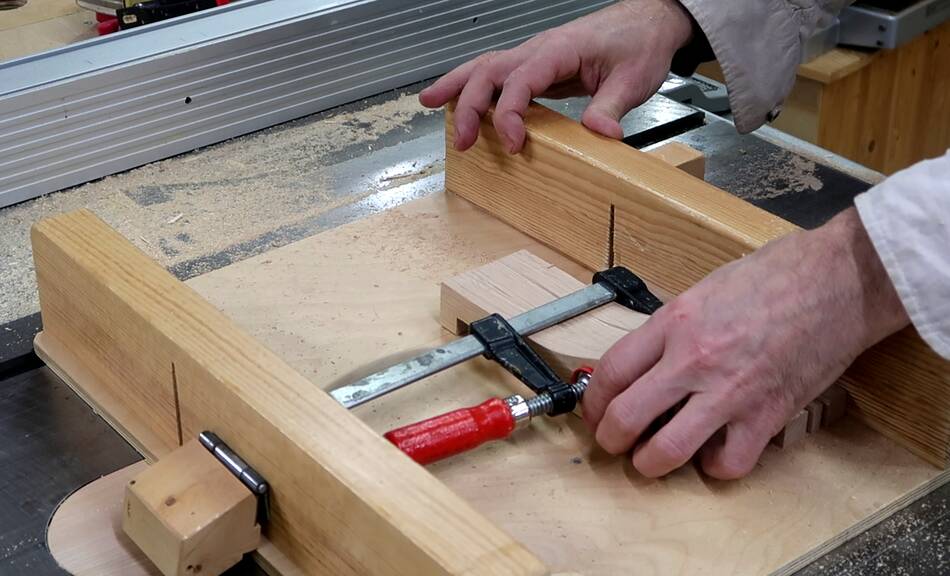
 Then I cut the notches for where the curtain rod sits. I clamped all three
mounts together and cut those on the table saw.
Then I cut the notches for where the curtain rod sits. I clamped all three
mounts together and cut those on the table saw.
I then cut the bottom of the notch round to match the curtain rod.
 I sanded all the corners round. If I was making a lot of these, I would have
set up the router table to add roundovers to the edges.
I sanded all the corners round. If I was making a lot of these, I would have
set up the router table to add roundovers to the edges.
 Finally gluing the mounts together.
 Then I put three coats of varnish on everything, off camera. I also put a pin
(a nail) through the top of the joint, just for good measure.
Then I put three coats of varnish on everything, off camera. I also put a pin
(a nail) through the top of the joint, just for good measure.

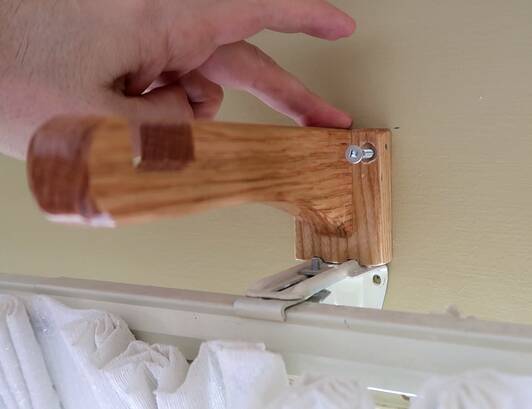 I had to notch the mounts a bit to better fit round the existing mounts
so I could get them in position to also be able to screw them into the
studs.
I had to notch the mounts a bit to better fit round the existing mounts
so I could get them in position to also be able to screw them into the
studs.
I had to cut the bottom off the middle mount to put it right above the existing mount.
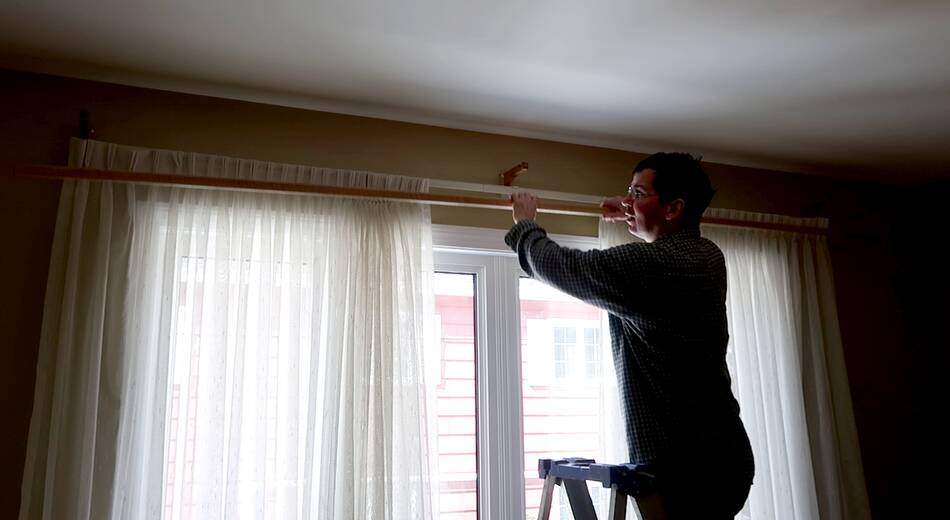 Then hooking the curtain rod in.
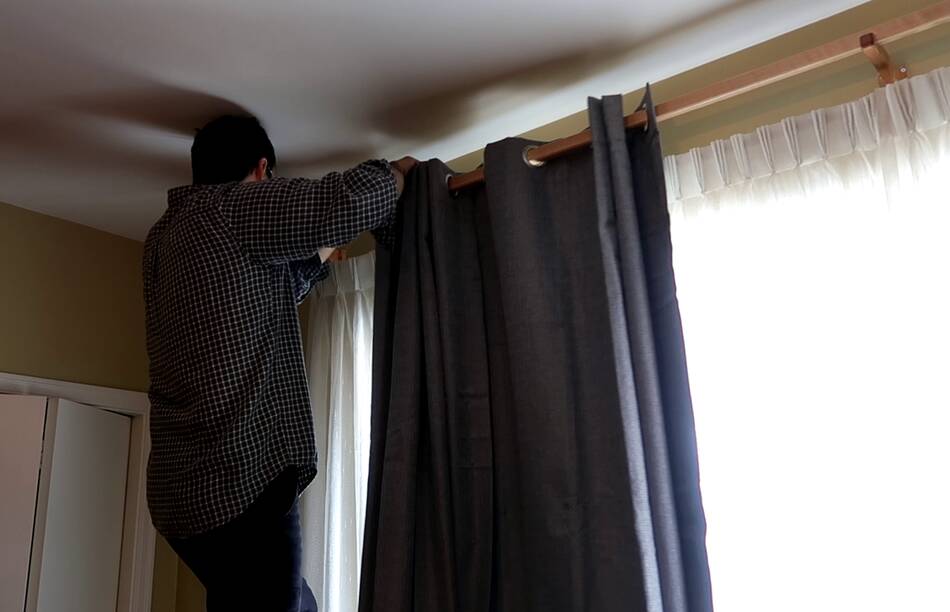 Adding the curtains. Each half is two pieces, and I just overlapped
them by one ring.
Adding the curtains. Each half is two pieces, and I just overlapped
them by one ring.
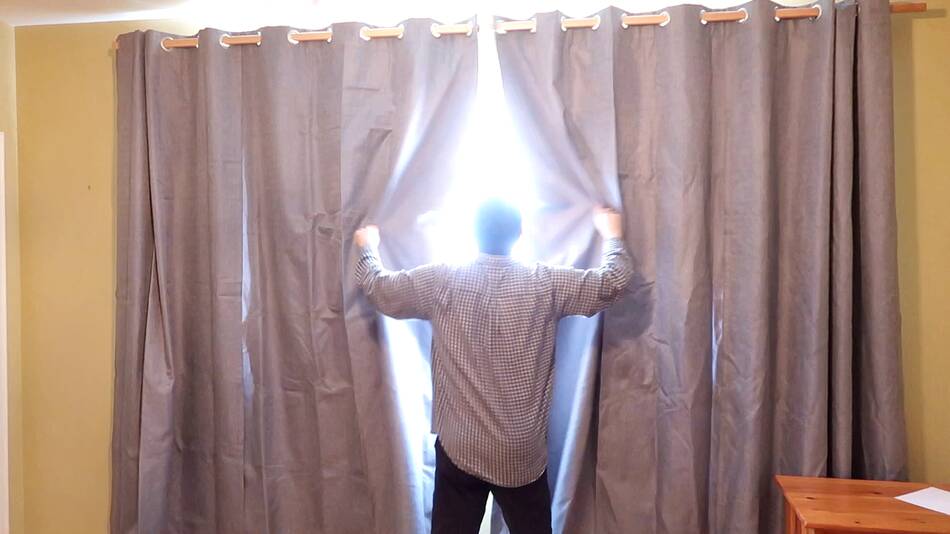 These curtains are quite effective at blocking the light. The idea is to be
able to close them so the kids won't wake up so early in the summer.
These curtains are quite effective at blocking the light. The idea is to be
able to close them so the kids won't wake up so early in the summer.
Back to my woodworking website
 End-to-end V-joint strength test
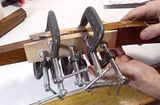 Scarf joint wood splice chair repair
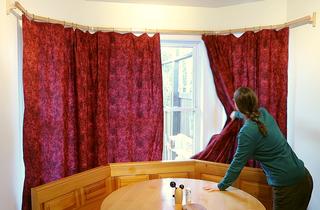 Around the corner curtain rod
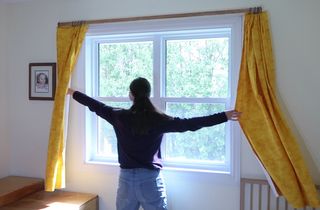 More curtain rods
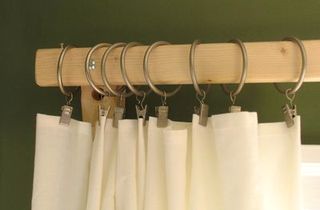 Making simple cheap curtain rods
 Hooks for hanging coat hangers in a door frame
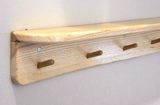 Coat hooks and shelf