Knock down dresser

I built two identical knock down dressers during my Christmas holidays from university back in 1991. I had built a knock down desk the year before, so the logical companion to that was some knock down dressers. Being a co-op student at the time, I had to move every 4 months, so easy to move furniture had some very practical justification.
Like the desk, I designed the dresser so it could be disassembled without any tools. But unlike the desk, the dresser does not rely on gravity to hold it together. You can lift the whole dresser by its top when it's put together.
This was years before digital photography, or the web, so I didn't photograph the building process. But my brother briefly came in my dad's shop and snpapped a few black and white photos while I was working on it.
 Cutting the ends of the cross pieces round |
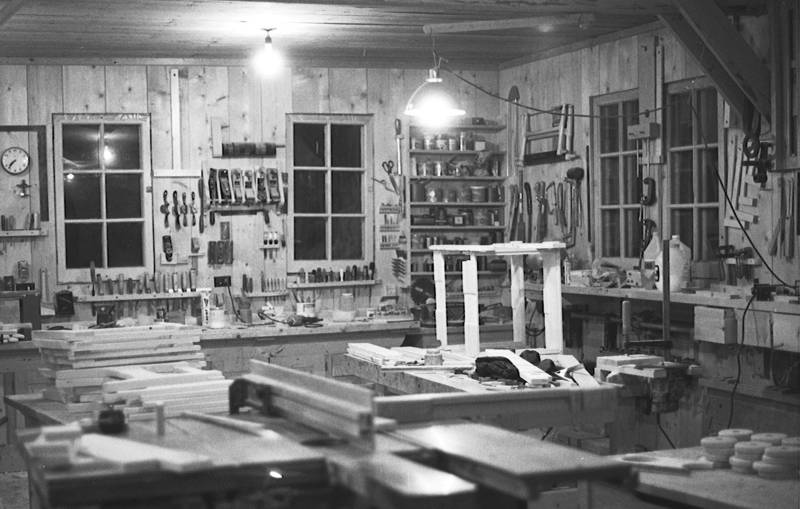 Some assembled drawers on the bench, without bottoms |
 Sanding the round ends of the cross pieces |
 Routing a roundover on the crosspiece ends |
The dresser body
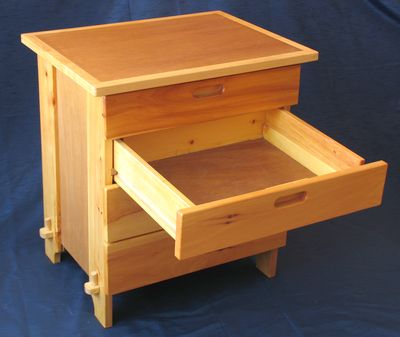
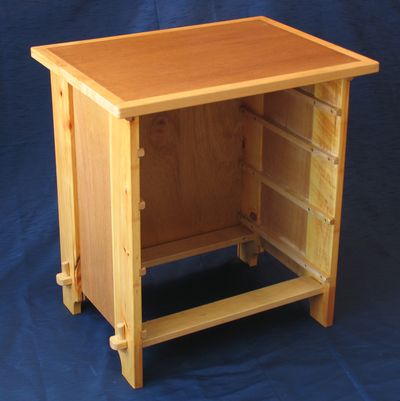 The dresser really has no front side. With the drawers out, it's just a big opening. One fewer part that way,
although personally, I don't like having a dividers between the drawers that much anyway.
A dividers would take up vertical space, which would leave less space for the drawers.
The dresser really has no front side. With the drawers out, it's just a big opening. One fewer part that way,
although personally, I don't like having a dividers between the drawers that much anyway.
A dividers would take up vertical space, which would leave less space for the drawers.
I made the bottom two drawers higher (deeper) than the top two. It just seemed logical that way.

The dresser's back is a piece of 6 mm underlay plywood. It is held in with two pegs near the bottom. It slides in grooves in the side pieces, and buts up against the dresser's top. Being wedged in like that gives the back of the dresser some rigidity.
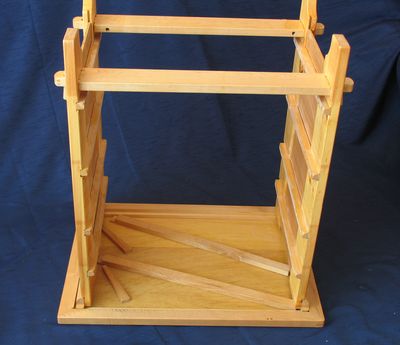 When disassembling it, after sliding out the back panel, the dresser is best flipped upside down.
This allows easy removal of the wedges and braces from underneath the dresser's top. In this photo, the
wedges and braces are already loosened. When tightened, the braces run side to side, and the wedges holding
them in are hidden from view.
When disassembling it, after sliding out the back panel, the dresser is best flipped upside down.
This allows easy removal of the wedges and braces from underneath the dresser's top. In this photo, the
wedges and braces are already loosened. When tightened, the braces run side to side, and the wedges holding
them in are hidden from view.
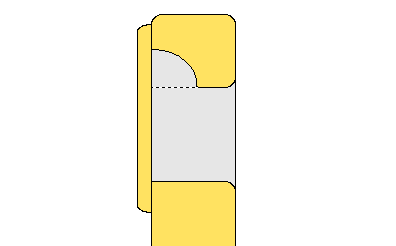
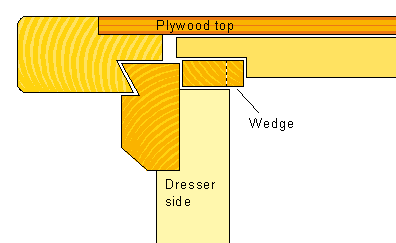 This diagram better shows how the top is attached. The braces push the half-dovetails at the top of the
dresser's sides apart, which forces them into the half dovetails on the inside edge of the dresser's top.
This diagram better shows how the top is attached. The braces push the half-dovetails at the top of the
dresser's sides apart, which forces them into the half dovetails on the inside edge of the dresser's top.
The dresser's top consists of a maple frame 26 mm thick, but the middle of it is only a piece of underlay plywood 6 mm thick. Nevertheless, with the underlay plywood attached to a maple frame all around, it's still strong enough to sit on it.
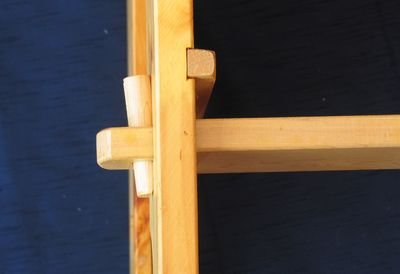 On the bottom, the sides are held in with two wedges on either side. The wedges hold the cross pieces at the
bottom of the dresser in.
On the bottom, the sides are held in with two wedges on either side. The wedges hold the cross pieces at the
bottom of the dresser in.
The wedges themselves are wedges cut from pieces of 3/4" dowel. The wedges slide into holes of the same diameter in the cross pieces. The holes are angled at the same angle as the wedge, so that the round part of the dowel wedge is against the hole, and the flat part against the side of the dresser.
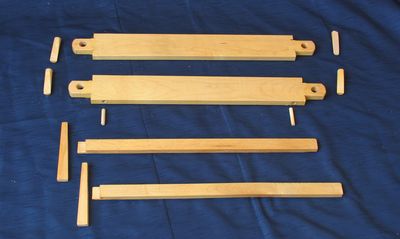 When all disassembled, there is very little to the dresser body. Shown at left are the smaller pieces,
consisting of the cross pieces and wedges, and the braces for the top, and wedges to wedge these in.
When all disassembled, there is very little to the dresser body. Shown at left are the smaller pieces,
consisting of the cross pieces and wedges, and the braces for the top, and wedges to wedge these in.
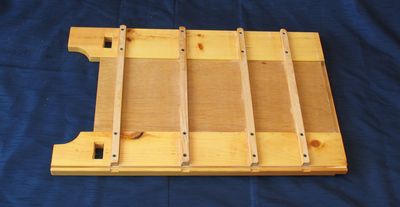 The dresser sides themselves are fairly flat. The runners for the drawers are integral to the dresser's sides.
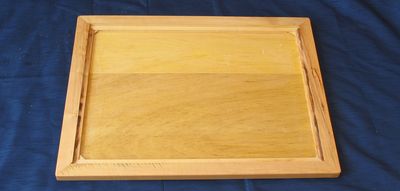 And the dresser top.
You can barely see the corner splines I added. Basically, identical to what I describe on this page. I reinforced the corners, so that there would be no risk of the top coming apart when the dresser's sides are wedged into the half dovetails.
The nesting dresser drawers
What made me actually decide to build the knock down dresser was the clever idea I had for quasi-nesting the dresser's drawers.Without being able to nest the drawers somehow, they wouldn't take up any less volume when packed. And without a reduction in volume taken by the drawers, there wouldn't be much point in collapsing the dresser's body.
 What I came up with was a clever way of having two same sized drawers nest half inside each other,
and half outside one another.
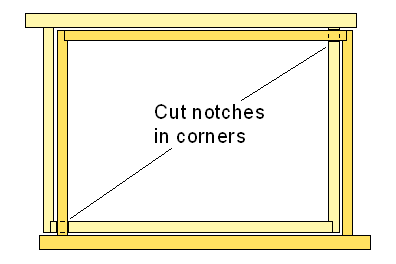
The key to this is to cut a notch in opposite corners of the drawers. The two drawers are identical, except
mirror images of each other.
What I came up with was a clever way of having two same sized drawers nest half inside each other,
and half outside one another.
The key to this is to cut a notch in opposite corners of the drawers. The two drawers are identical, except
mirror images of each other.
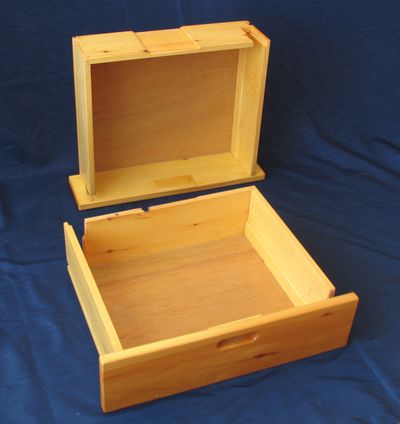 Shown at left, the drawer standing behind is flipped forward and slid into
the drawer on the floor. The notches line up, and allow the drawer sides to cross each other.
Shown at left, the drawer standing behind is flipped forward and slid into
the drawer on the floor. The notches line up, and allow the drawer sides to cross each other.
There's a notch in both drawers where they cross. The notch that is closer to the back is cut deeper, so that the notch on the piece attaching to the dresser front did not have to be as deep.
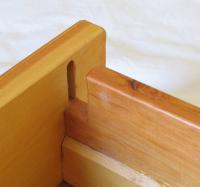
Shown here is the notch near the front of the drawer. I joined the sides by mortising them into the front. I didn't have the foresight to cut the mortise next to the notch shorter, so you can see part of it where the notch is.
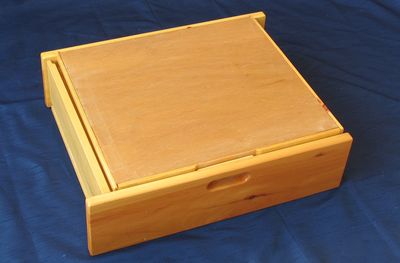 And here the two drawers are nested together.
Note how the handle of the drawers are recessed. This wasn't necessary for the nesting part, but I figured recessed handles would be less likely to get broken during moves. The way I cut them out, I cut them all the way through the wood, and then glued a thin piece of wood on the inside so that the handle hole would not make for an opening all the way into the drawer. But this piece of wood interfered slightly with the back of the drawers, so I had to cut a part away from that to make room for it. You can see this cut out at the top of the standing drawer in the back on the previous photo.
 The drawer handle consists of a 25x95 mm hole. The hole is really a cut out between two holes drilled with
a 1" forstner bit. The edges on the front are rounded with a 1/4" router bit. Using a 1/2" cove bit,
I cut away another part from the inside, and then glued the plate on the back. That way, on reaching in,
there is a ledge for the fingers to grab, so it's easy to pull on the handle.
The drawer handle consists of a 25x95 mm hole. The hole is really a cut out between two holes drilled with
a 1" forstner bit. The edges on the front are rounded with a 1/4" router bit. Using a 1/2" cove bit,
I cut away another part from the inside, and then glued the plate on the back. That way, on reaching in,
there is a ledge for the fingers to grab, so it's easy to pull on the handle.
More drawers with recessed handles
 And the dresser back together.
In this photo, you can see I put a bit of reinforcement on the inside sides of the drawers on the bottom. With the notch cut from the outside for the runners, I decided to reinforce the sides a bit to prevent the drawers from possibly getting split apart from being levered up and down.
|
And what better way to show it off than with a YouTube video! |
See also:
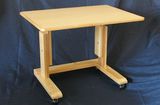 Laptop table
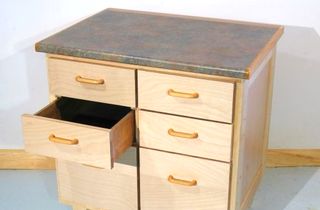 Building a dresser
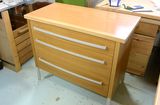 Dresser from junk
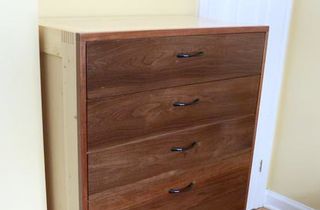 Seven drawer dresser
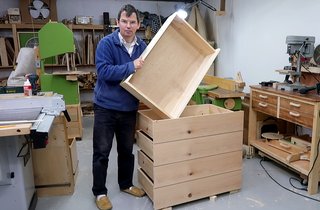 Making dresser drawers
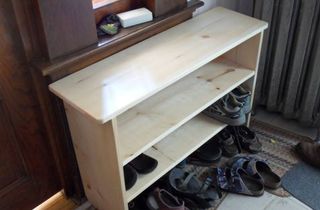 Shoe rack
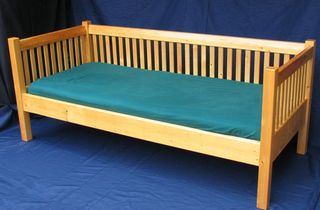 Daybed
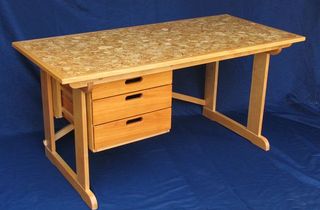 Knock down student desk
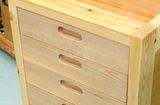 Drawers with recessed handles
Back to my Woodworking website