 The best tool for cutting out plywood gears is a a bandsaw,
but if you don't have one of those, a jigsaw can be used.
The best tool for cutting out plywood gears is a a bandsaw,
but if you don't have one of those, a jigsaw can be used.
The best tool for cutting out plywood gears is a a bandsaw,
but if you don't have one of those, a jigsaw can be used.
But the problem with jigsaws is that it's hard to see where you are cutting and the bade can flex to the side, even on expensive models.
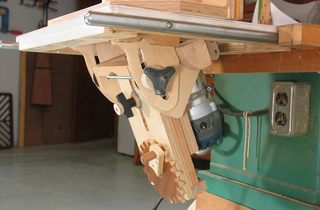
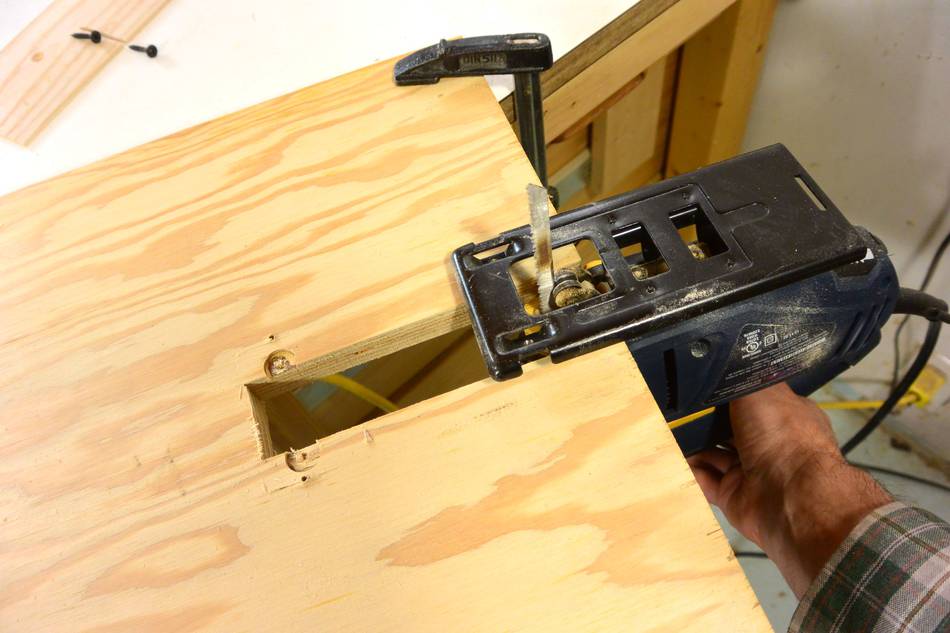 A solution to the visibility problem is to mount the saw upside down.
But rather than mount it on the bottom of a piece of plywood,
I'm sliding it into a slot cut into a piece of plywood. That way,
the saw is not as far from the workpiece. This gives me more stability.
A solution to the visibility problem is to mount the saw upside down.
But rather than mount it on the bottom of a piece of plywood,
I'm sliding it into a slot cut into a piece of plywood. That way,
the saw is not as far from the workpiece. This gives me more stability.
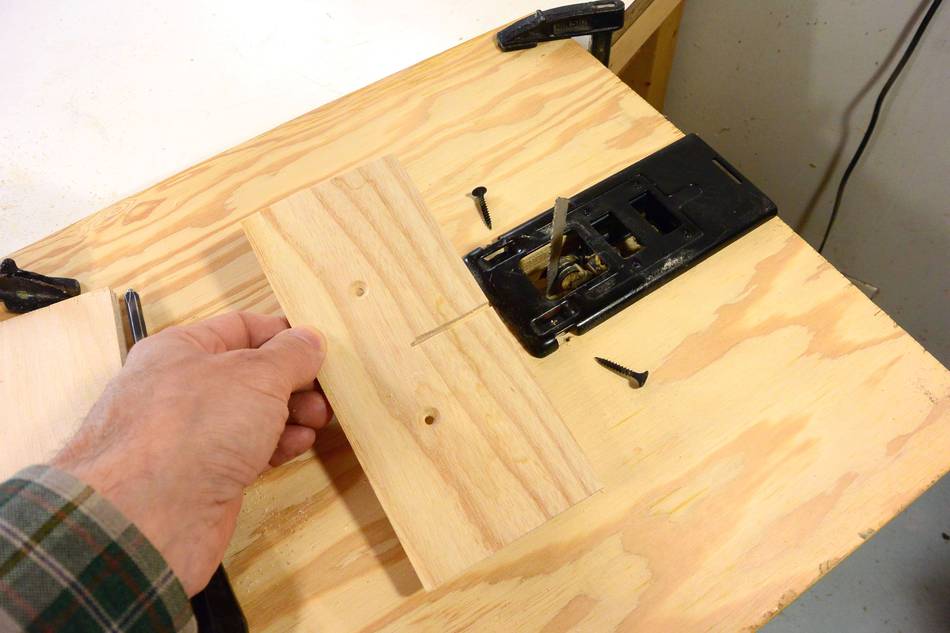 I could fasten the saw by putting some drywall screws near the edges of the
saw's base. But I also want to cover the hole around the blade to keep debris from
falling in, so I'm using a piece of wood (about 5 mm thick) with
a slot in it, screwed down to clamp the saw's base in place.
I could fasten the saw by putting some drywall screws near the edges of the
saw's base. But I also want to cover the hole around the blade to keep debris from
falling in, so I'm using a piece of wood (about 5 mm thick) with
a slot in it, screwed down to clamp the saw's base in place.
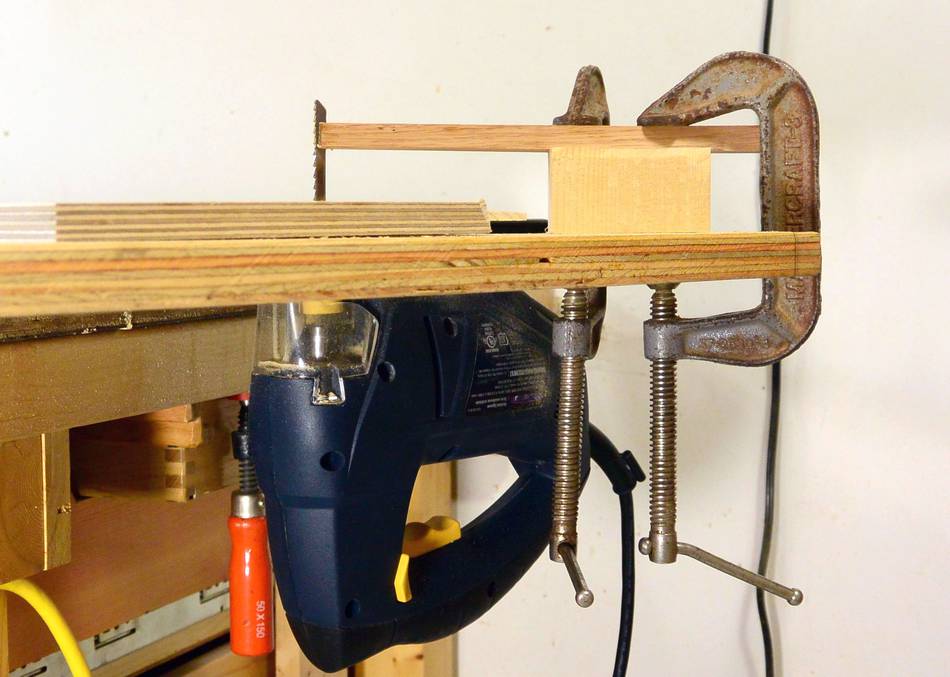
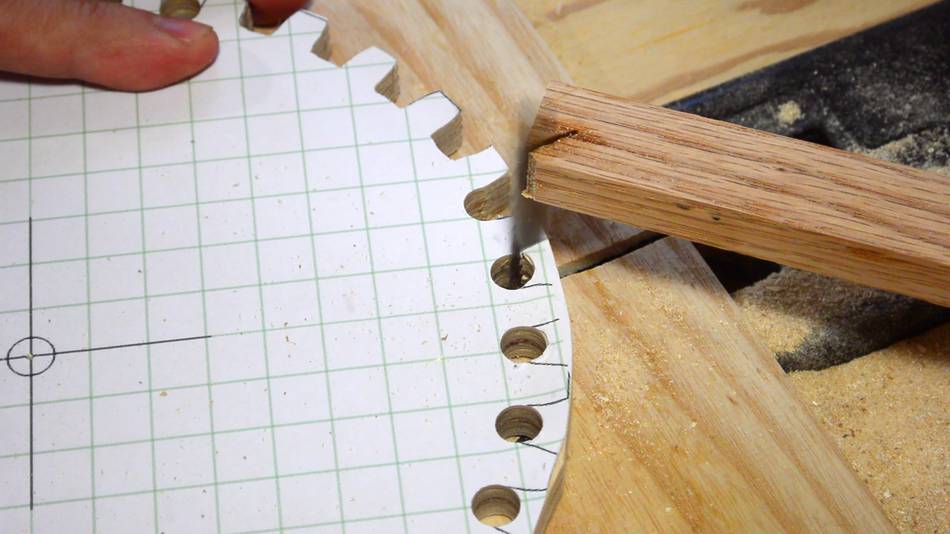
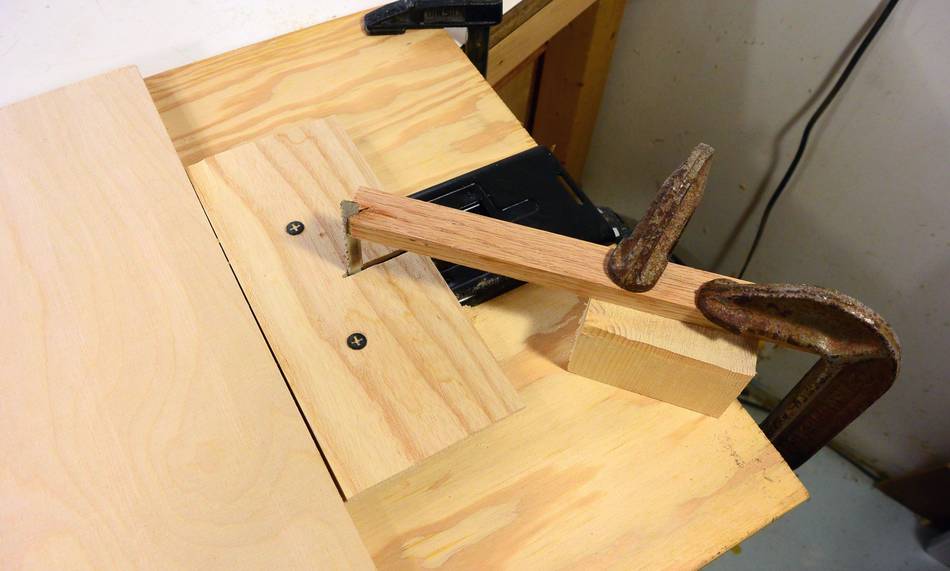 A piece of hardwood (oak) with a slot cut near the tip helps to stabilize
sideways deflection of the blade. I also put a few drops of
oil in the slot to let it slide more easily.
A piece of hardwood (oak) with a slot cut near the tip helps to stabilize
sideways deflection of the blade. I also put a few drops of
oil in the slot to let it slide more easily.
I put a scrap of plywood in front of the saw to bring the height of the "table" up to the same height as the piece of wood holding down the saw.
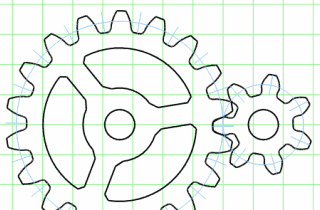
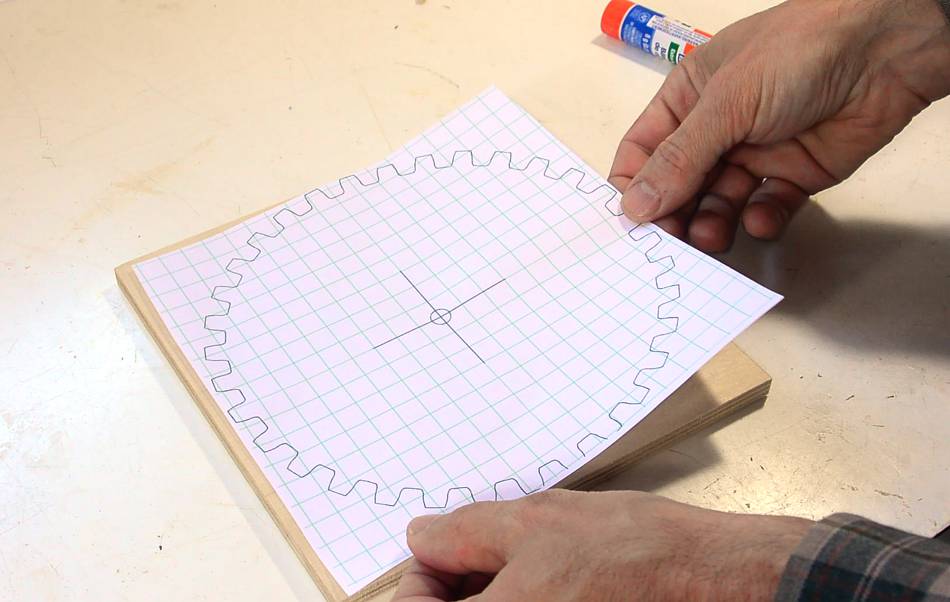 I'm making another gear for my box joint jig,
so I'm, using a printout of one of the templates from the
plans.
You can also make templates using my free online
gear template generator
or my gear generator program
I'm making another gear for my box joint jig,
so I'm, using a printout of one of the templates from the
plans.
You can also make templates using my free online
gear template generator
or my gear generator program
I'm gluing it on with glue stick, but I only apply glue where the teeth are, plus a dab in the middle. I put the glue on the paper, not the wood. This makes for less glue residue on the wood later.
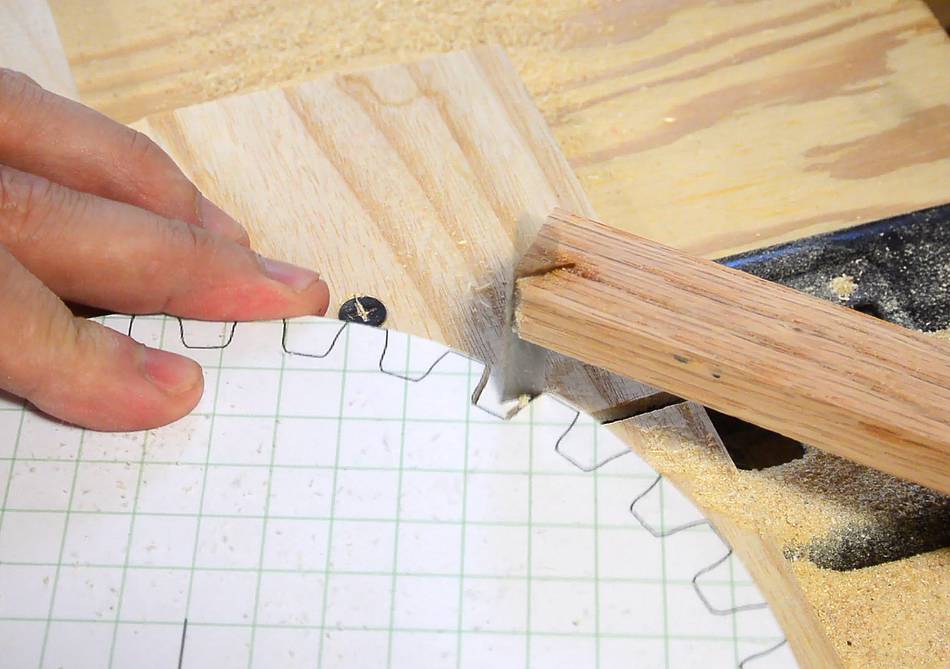 Cutting out the gears. I have to firmly hold the workpiece down, and
not try to cut any curves, or the workpiece really jumps. I cut on
either side of each space between teeth, then two diagonal cuts to
remove most of the material. I then graze the bottom of the gap with
the front of the blade to flatten it out.
Cutting out the gears. I have to firmly hold the workpiece down, and
not try to cut any curves, or the workpiece really jumps. I cut on
either side of each space between teeth, then two diagonal cuts to
remove most of the material. I then graze the bottom of the gap with
the front of the blade to flatten it out.
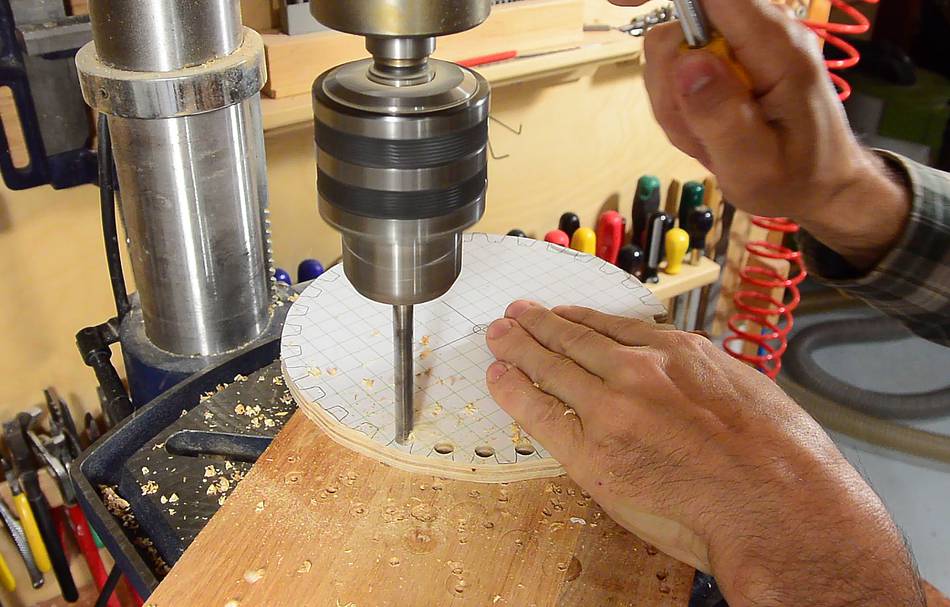
 The process can be sped up by drilling a hole in each space between teeth.
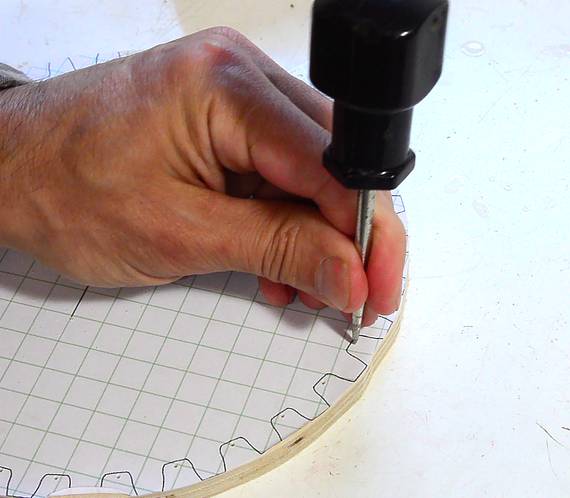
It helps to pre-punch the centers before drilling. The point of a brad point drill bit naturally follows the divot, and it's easier to line up the awl than a spinning drill. Use a brad point drill bit. Regular drill bits would make too much of a mess of the wood and the template.
 With the drilled holes, just two cuts are needed for each space.
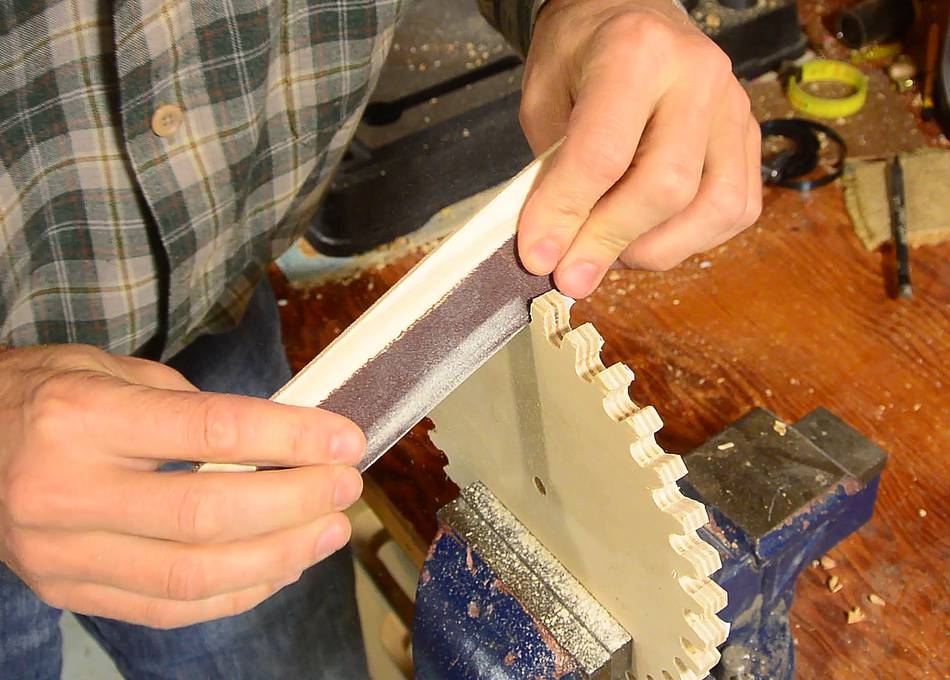 Because the gears on my box joint jig need to run at a right angle, it helps
to slightly bevel the bottom edges of the teeth. I could have tilted the jigsaw,
but it would be a hassle to keep changing the angles for straight, right,
and left tilt.
Because the gears on my box joint jig need to run at a right angle, it helps
to slightly bevel the bottom edges of the teeth. I could have tilted the jigsaw,
but it would be a hassle to keep changing the angles for straight, right,
and left tilt.
A strip sander is really good for tweaking the teeth, but if you don't have one, a coarse piece of sandpaper wrapped around a strip of wood does a fairly quick job of it too.
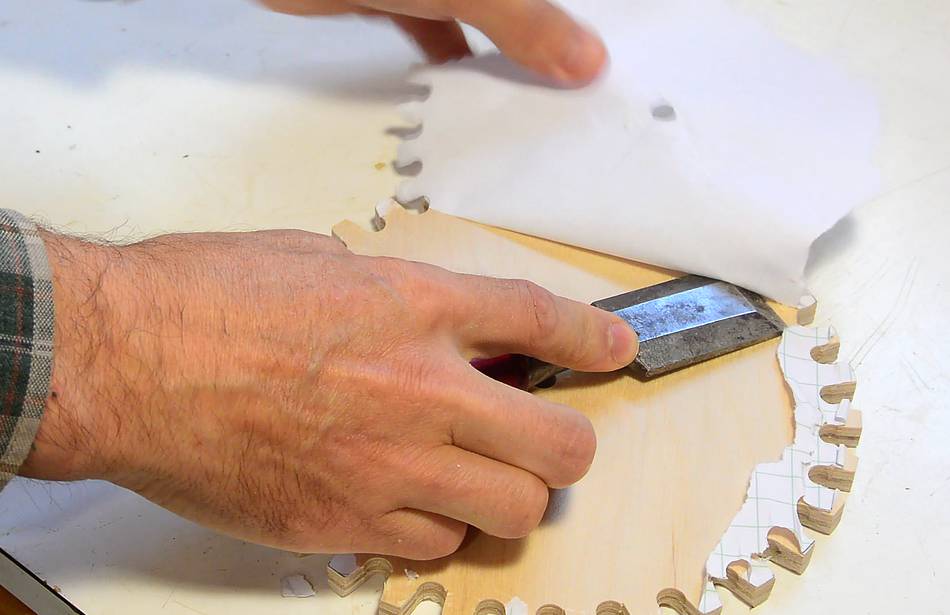 Finally, removing the template. It comes off quite easily because I only
used glue stick.
People tell me I should use spray adhesive all the time, but I think it's too
much hassle, with overspray, plugged up nozzles, etc. Glue stick is very
convenient.
Finally, removing the template. It comes off quite easily because I only
used glue stick.
People tell me I should use spray adhesive all the time, but I think it's too
much hassle, with overspray, plugged up nozzles, etc. Glue stick is very
convenient.
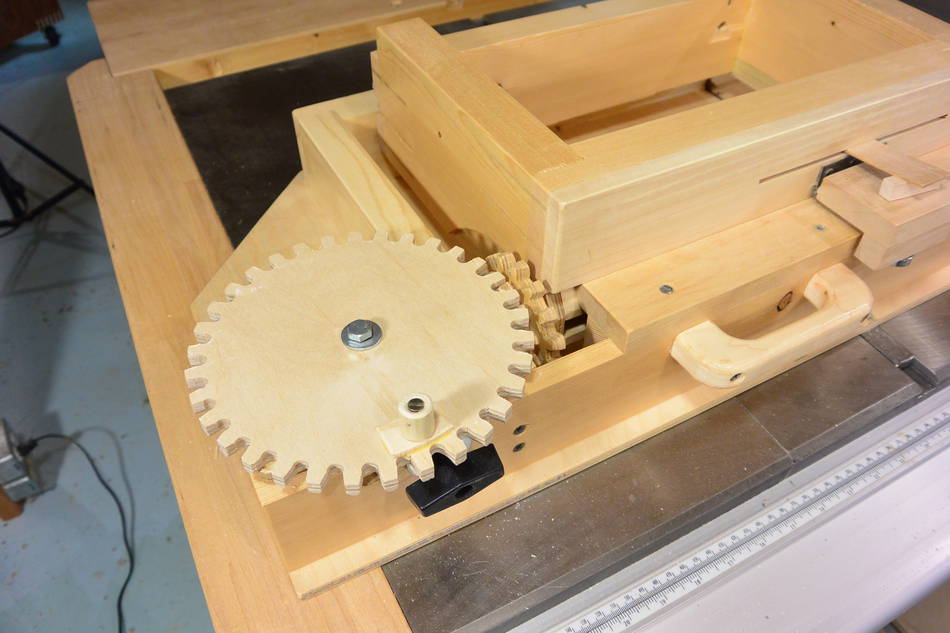 And here's the new gear on my jig. This one is 33 teeth. I didn't have a 33-tooth
gear yet, so this means I can achieve slightly more spacing combinations.
And here's the new gear on my jig. This one is 33 teeth. I didn't have a 33-tooth
gear yet, so this means I can achieve slightly more spacing combinations.
 Four years after demonstrating cutting gears with a jigsaw, I was making another
gear, and after cutting the edges of the teeth with a bandsaw, I had the idea
of trying to use the table saw to hog out the space between the teeth.
Four years after demonstrating cutting gears with a jigsaw, I was making another
gear, and after cutting the edges of the teeth with a bandsaw, I had the idea
of trying to use the table saw to hog out the space between the teeth.
That worked quite well, and then I had the idea of making the whole gear using the table saw.
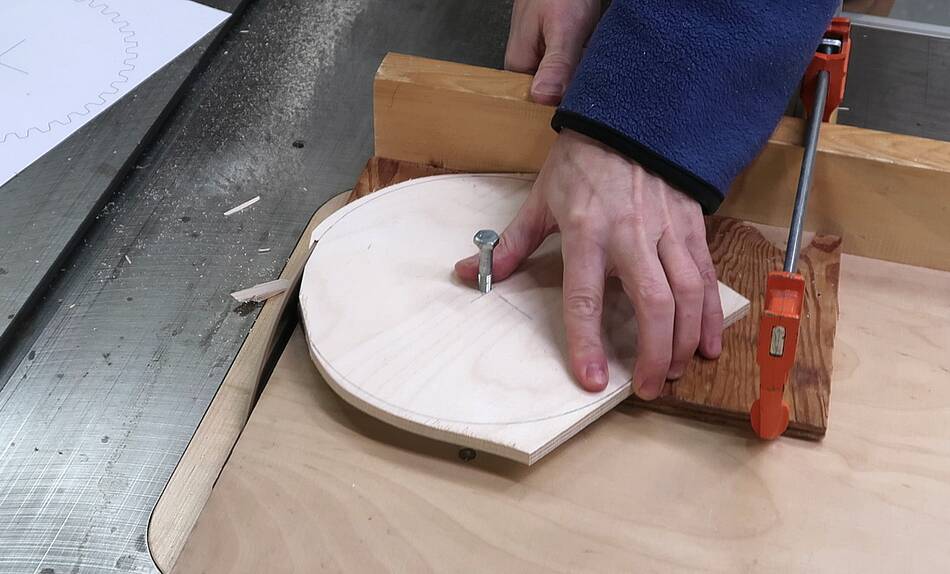
The first thing I did was to cut a circular disk of the right diameter by rotating it around the center hole while sliding it back and forth to cut slices off the edges with the table saw. After that, I rotated the disk while it was against the saw blade to make it perfectly round.
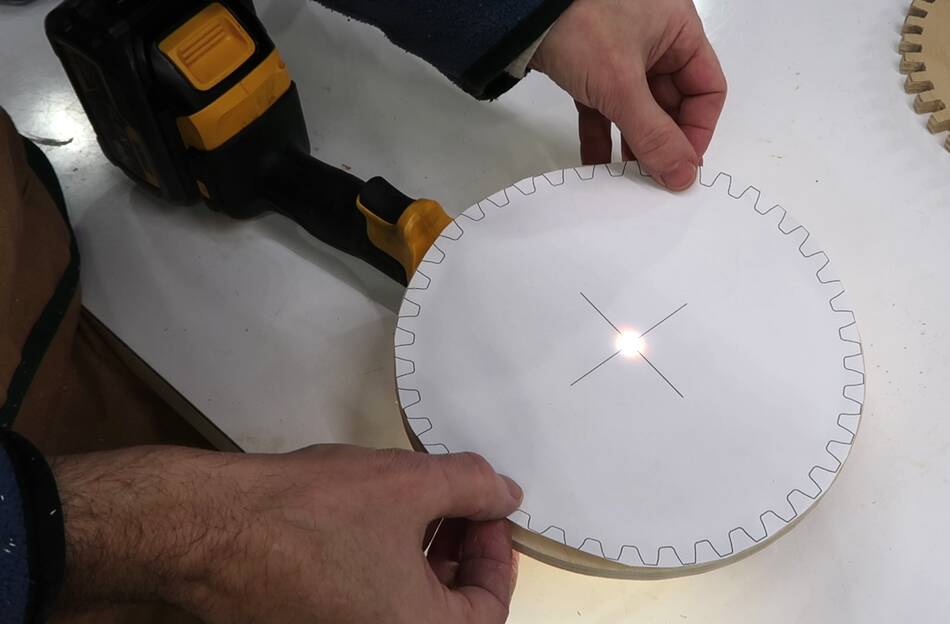 Next I glued on the template. I lined it up with the center hole by shining
a light through the hole from the bottom and lining it up with the crosshair
printed on the template.
Next I glued on the template. I lined it up with the center hole by shining
a light through the hole from the bottom and lining it up with the crosshair
printed on the template.
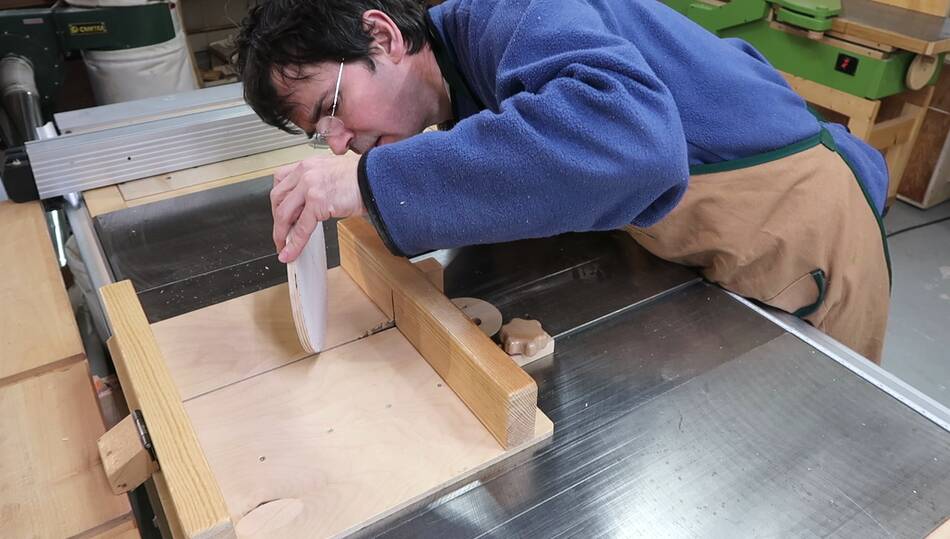 I then loked my small table saw sled so that the top of the blade is
just ahead of the back fence, and setting the blade height to the depth
of the space between the teeth.
I then loked my small table saw sled so that the top of the blade is
just ahead of the back fence, and setting the blade height to the depth
of the space between the teeth.
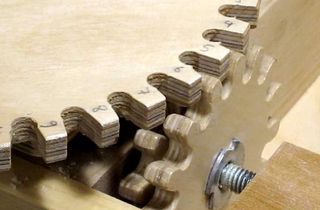
 I then made two straight cuts to carve out the deepest part of the space
between the teeth, then slowly guide the gear so the edge of the blade
cuts the curve along the side of the gear.
I then made two straight cuts to carve out the deepest part of the space
between the teeth, then slowly guide the gear so the edge of the blade
cuts the curve along the side of the gear.
The method works well. The main drawback is the blade cuts so fast and with so little little force that it can be easy to just slip up and cut beyond the teeth.
There is also a similar table saw method that consists of adding a disk to he back of the gear that is the size of the involute gear's "base radius", and just roll it along a fence so that the blade traces an involute shape. But this method is very finiky, and I don't think it's worthwhile most of the time, certainly not for gears for my box joint jig.
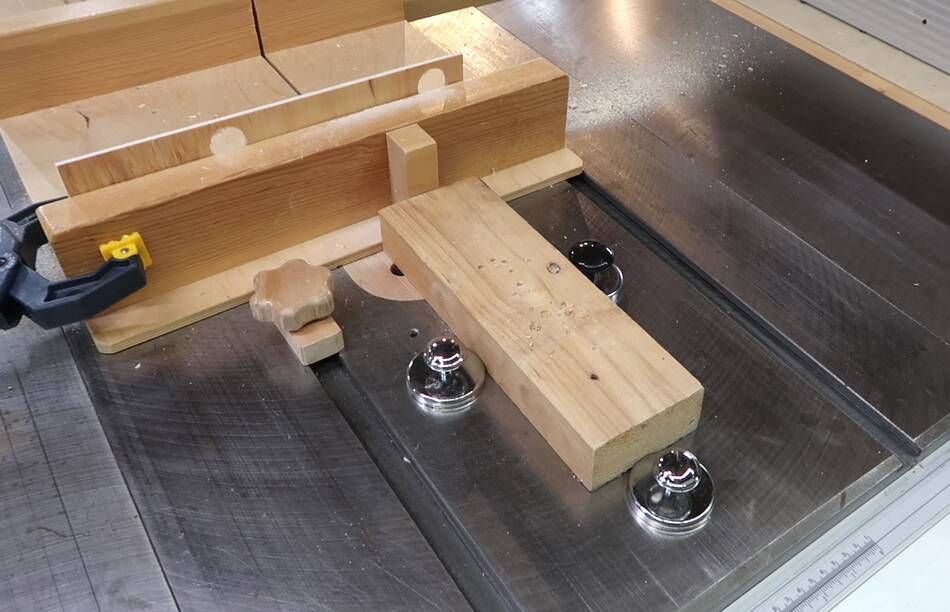 I also put down a piece of wood behind the sled, held in place with a few
cheap magnets. This piece of wood kept the sawdust from shooting out the back,
forcing it to go down into the saw instead.
I also put down a piece of wood behind the sled, held in place with a few
cheap magnets. This piece of wood kept the sawdust from shooting out the back,
forcing it to go down into the saw instead.
With this gear, I made the mistake of forgetting to set the tooth spacing (or pitch).
For the box joint jig, the tooth spacing needs to be 1.6 cm, but I forgot to change it
from the default 1.5 cm that my gear generator program has. Though the gear still works,
and even though the whole right angle thing is a bit of a kludge, getting the tooth
spacing just right makes the gears run much smoother!
 How to make gears
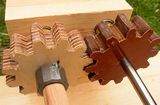 Wood gear wear test
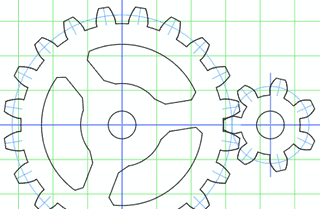 Interactive gear
 Bandsaw vs CNC
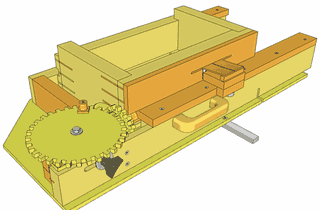 Improved screw advance
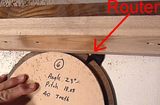
 Gear design and gear
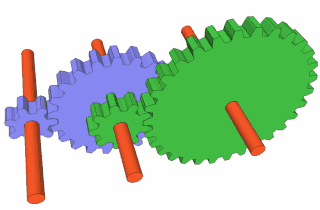 Working out compound
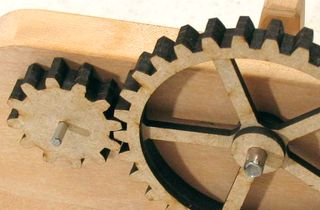 Cutting gears
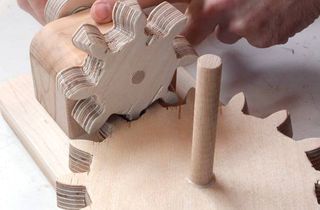 Making right angle gears