Homemade tablesaw: Alignment, and miter slots

 Once I made the fence, I could count on it to be
square to the table and didn't need to line a temporary fence up with the blade
each time. Unfortunately, it turned out that the blade wasn't always square to
the table, resulting in messy cuts.
Once I made the fence, I could count on it to be
square to the table and didn't need to line a temporary fence up with the blade
each time. Unfortunately, it turned out that the blade wasn't always square to
the table, resulting in messy cuts.
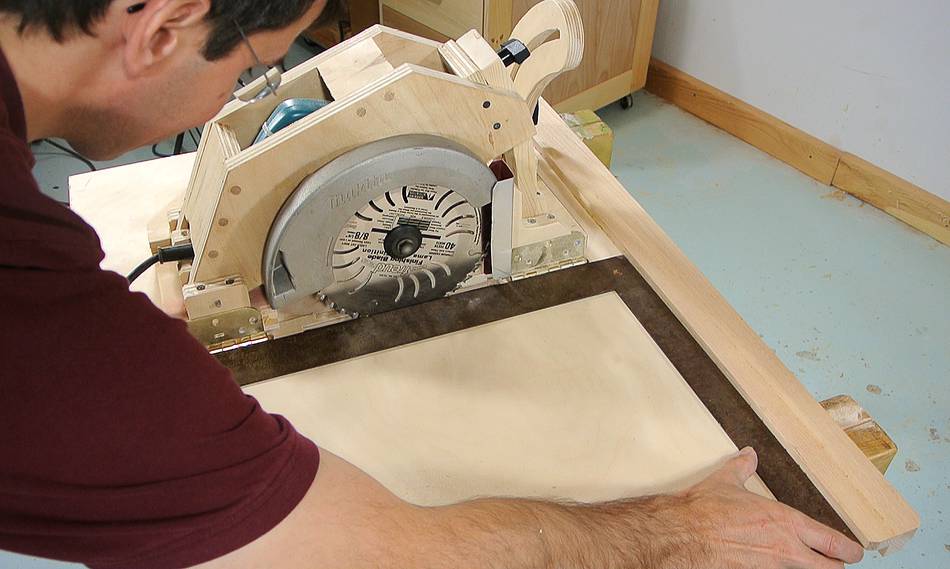
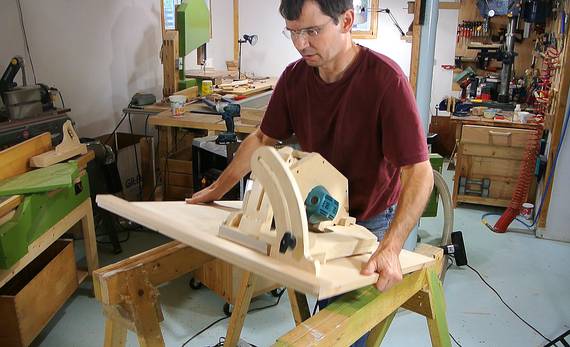 Time to go over the alignment again. Fortunately,
with the saw so light, and no cabinet, it's easy to flip over the top
to get at the bottom. Much easier than it was on my
Delta hybrid table saw
Time to go over the alignment again. Fortunately,
with the saw so light, and no cabinet, it's easy to flip over the top
to get at the bottom. Much easier than it was on my
Delta hybrid table saw
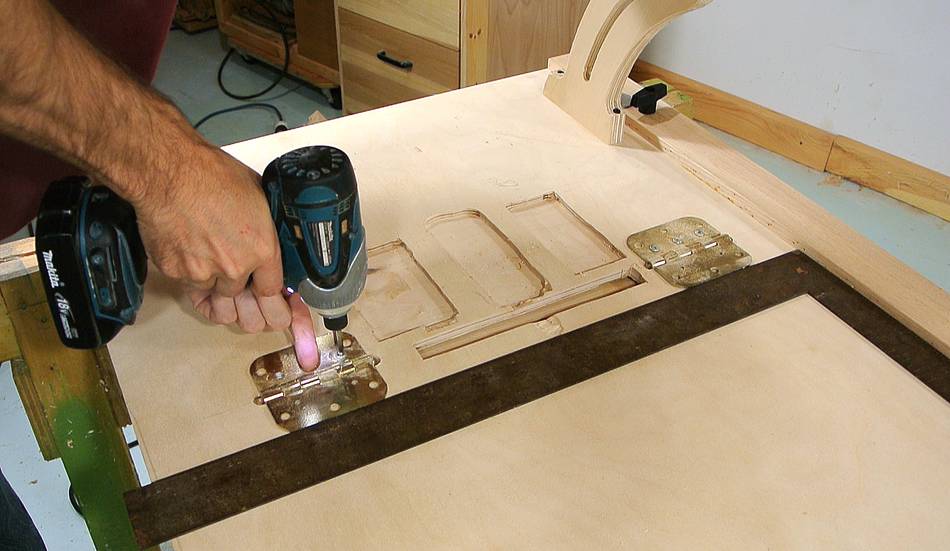
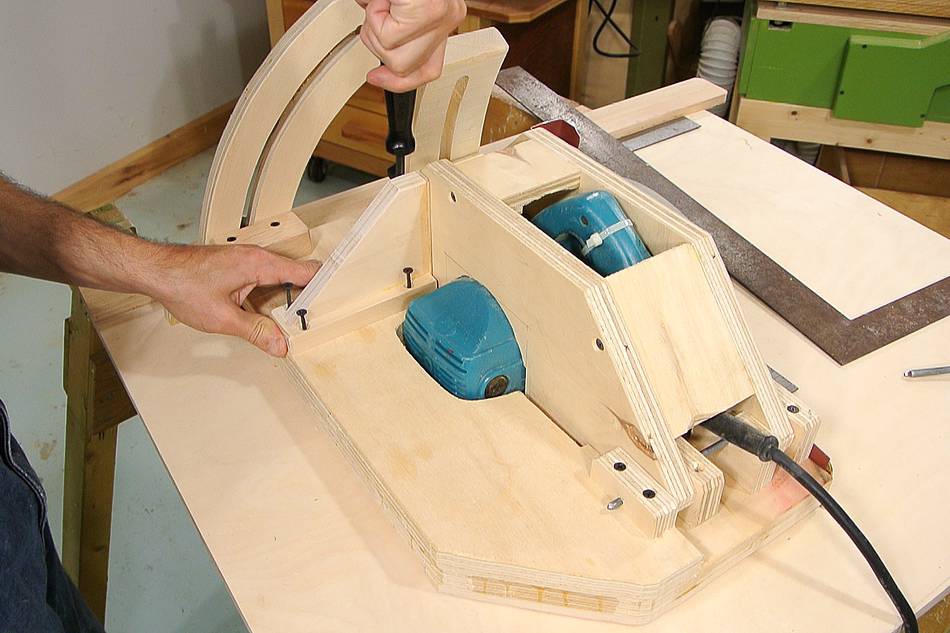
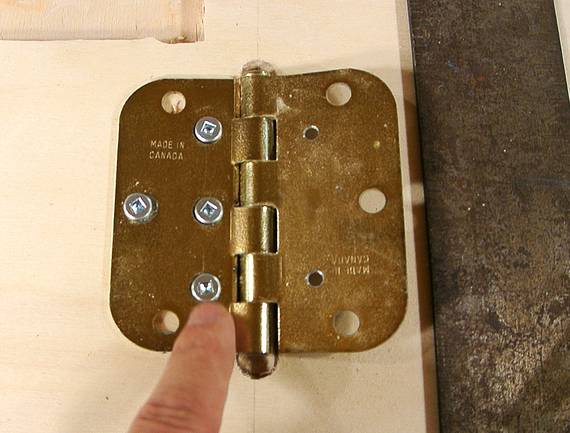 Checking the hinge locations with a square, I realized one of them needed to be
moved slightly. With holes already drilled, this is tricky. But I was able
to mill out the countersinks in the metal hinge to the side a bit by
using the tip of a larger drill at an angle.
I also added an extra screw to help pull the hinge over to the side.
Checking the hinge locations with a square, I realized one of them needed to be
moved slightly. With holes already drilled, this is tricky. But I was able
to mill out the countersinks in the metal hinge to the side a bit by
using the tip of a larger drill at an angle.
I also added an extra screw to help pull the hinge over to the side.
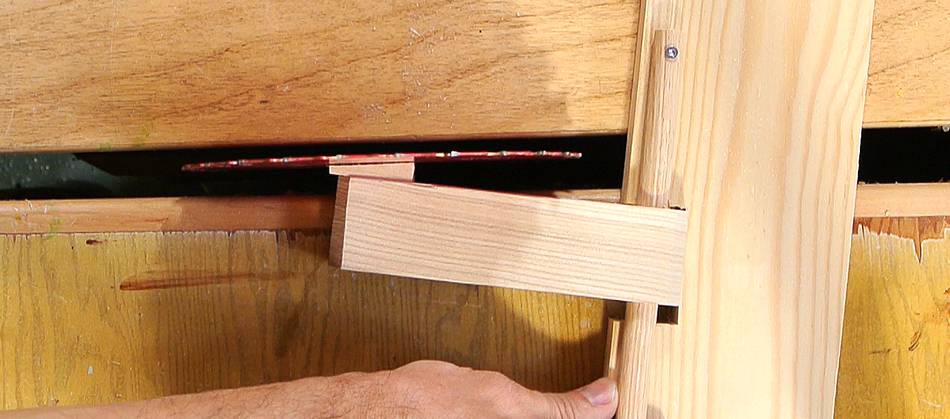 But alignment is more than just aligning the blade with the slot.
With a homemade saw, there is so much more that can be out of alignment.
For example, if the pivot that adjusts depth of cut is not parallel to the
blade's axis, as shown in the rigged up example at left, ...
But alignment is more than just aligning the blade with the slot.
With a homemade saw, there is so much more that can be out of alignment.
For example, if the pivot that adjusts depth of cut is not parallel to the
blade's axis, as shown in the rigged up example at left, ...
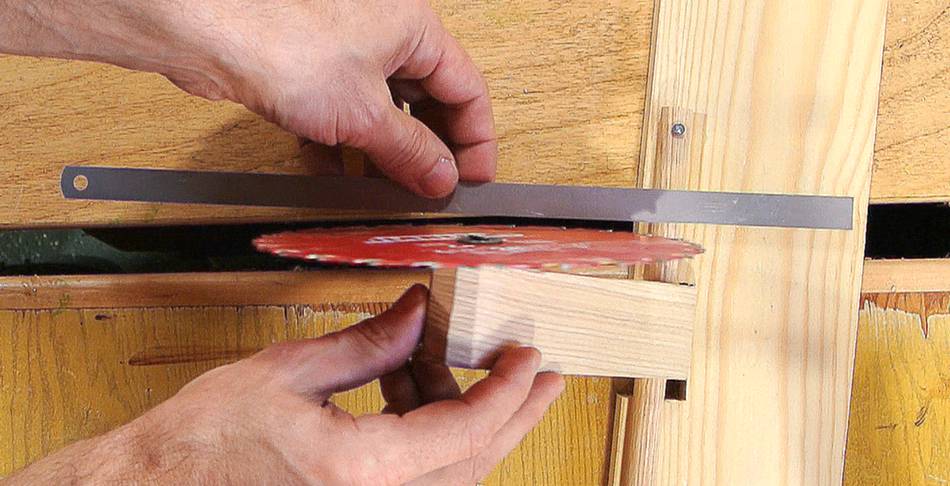 ... then adjusting the blade raising/lowering mechanism will cause the blade's
axis to also change, causing changes in blade tilt and runout.
... then adjusting the blade raising/lowering mechanism will cause the blade's
axis to also change, causing changes in blade tilt and runout.
So there are a lot of alignment factors to consider. On commercial saws, the tilt axis and blade axis are not adjustable with respect to each other, but they are (usually) made precisely enough not to not to need adjustment.
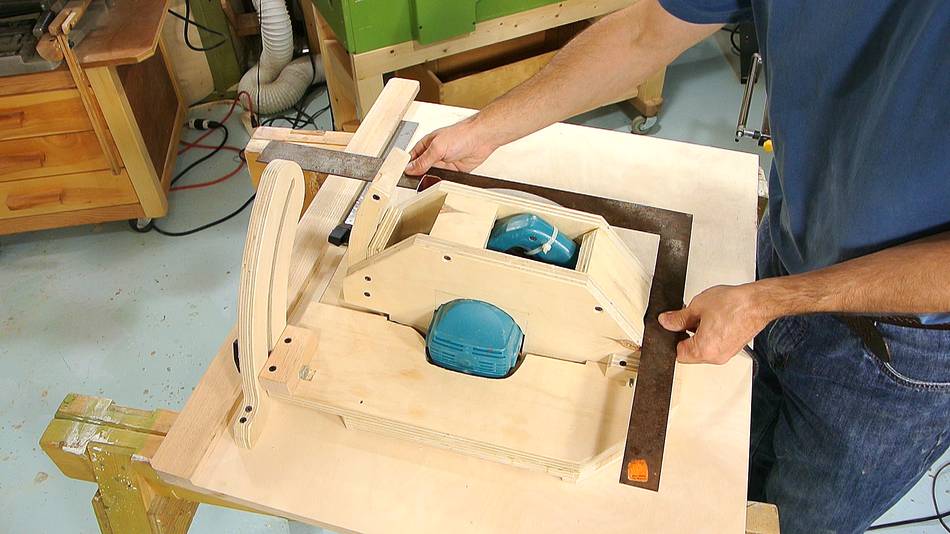 Here's using a square to eyeball that the pin used for depth adjustment is
aligned right. I'm holding one square just above the pin, and checking that
it lines up with another square that's laid against the front edge of the saw.
Here's using a square to eyeball that the pin used for depth adjustment is
aligned right. I'm holding one square just above the pin, and checking that
it lines up with another square that's laid against the front edge of the saw.
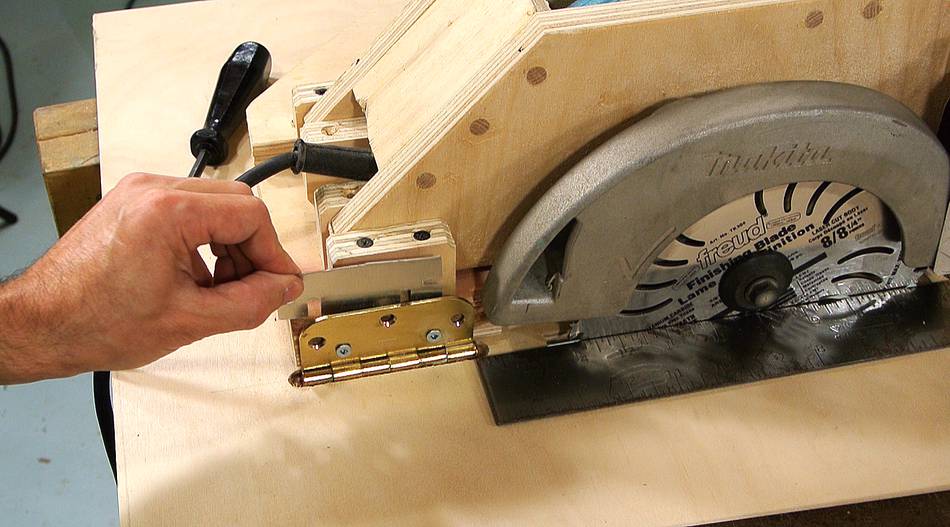 Shimming behind one of the hinges.
The two hinges also need to pivot across an axis perpendicular to the front edge of the saw, and that axis in turn must be perpendicular to the depth adjustment axis and the arbour's axis.
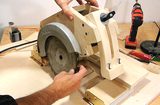
 The shaft that the saw pivots on for depth adjustment is on the short
side, which makes it less stiff than ideal. So I added a block
to help guide the front side of the pivot mechanism.
The shaft that the saw pivots on for depth adjustment is on the short
side, which makes it less stiff than ideal. So I added a block
to help guide the front side of the pivot mechanism.
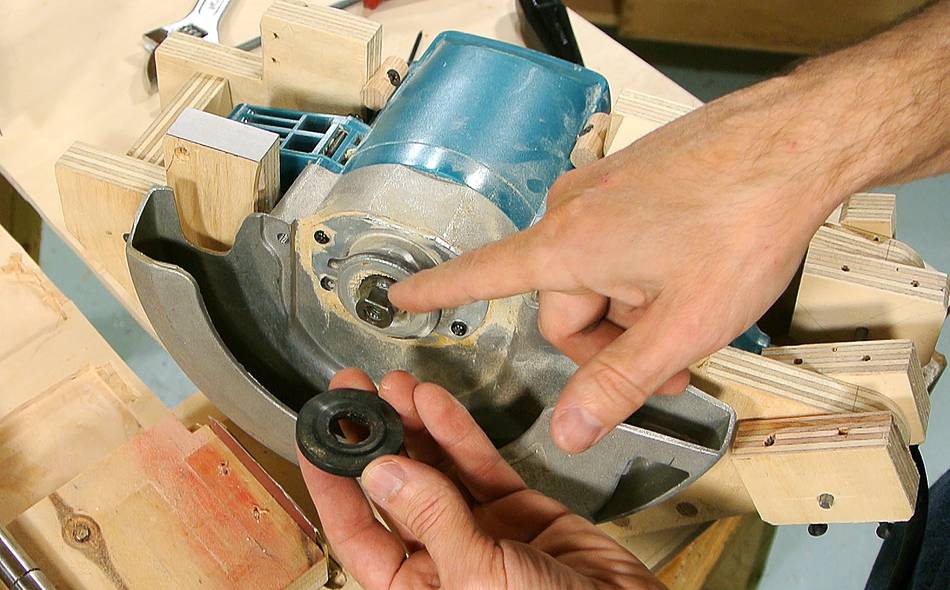 But regardless of how precisely you tweak a saw like this,
a hand held circular saw will never be as good
as a contractor style saw. A major problem is that
on these hand held saws, the arbour flange is always a removable piece that
rests against a narrow shoulder on the saw's arbour. On proper table
saws, the arbour flange is press fit onto the arbour, making for an extremely
rigid connection.
But regardless of how precisely you tweak a saw like this,
a hand held circular saw will never be as good
as a contractor style saw. A major problem is that
on these hand held saws, the arbour flange is always a removable piece that
rests against a narrow shoulder on the saw's arbour. On proper table
saws, the arbour flange is press fit onto the arbour, making for an extremely
rigid connection.
That said, cheap table saws for under $200 usually have similar style arbour flanges to hand held saws, so they aren't necessarily any better.
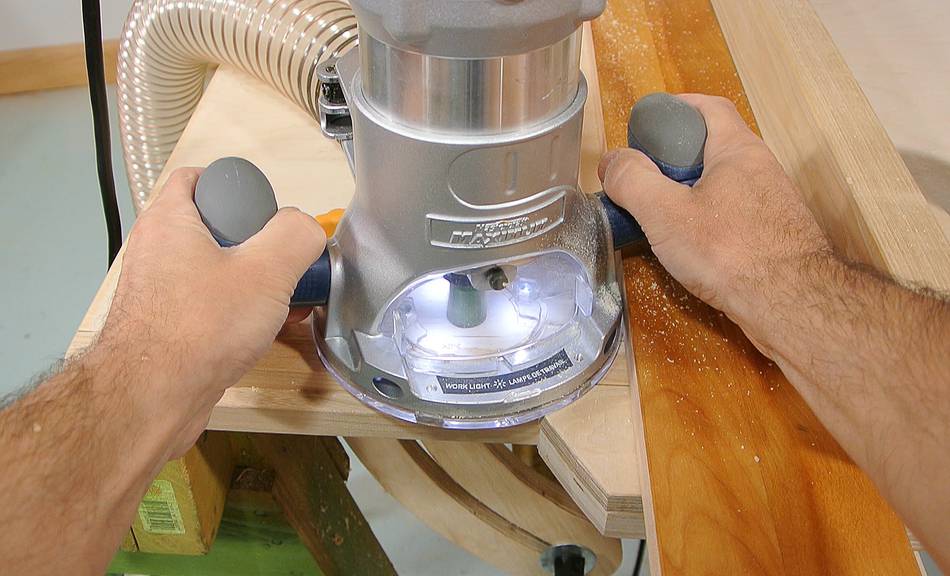
Adding miter slots
I'm using my small dust collector to pull the dust out of the router. Surprisingly, it has enough suction to keep up, even though the router's fitting is sized more for a shopvac hose. Shopvacs tend to have much higher suction.
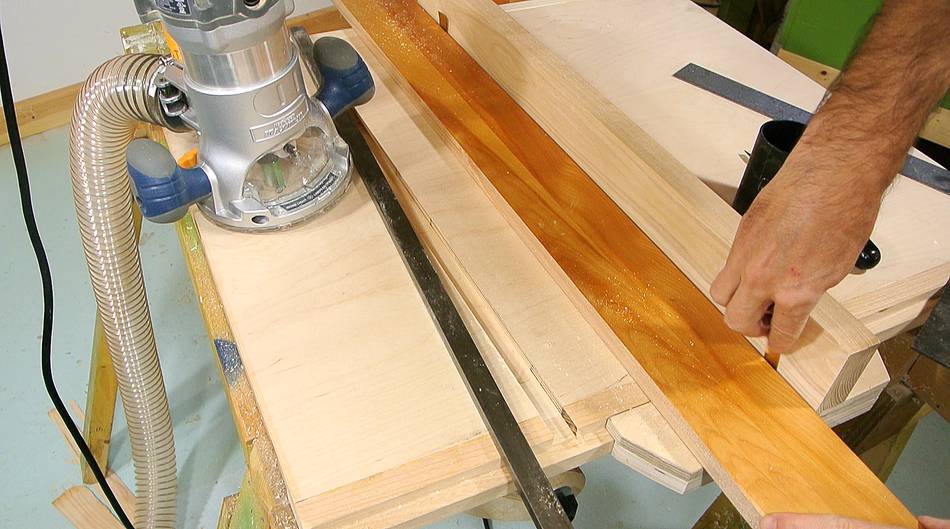
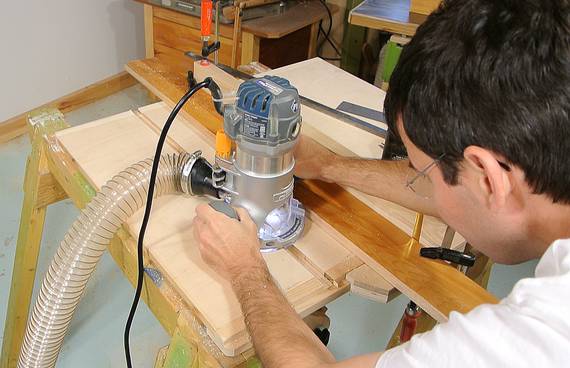 Having milled the slot with a 3/4" (19 mm) bit, my 3/4" x 3/8"
flat bar was a tight fit in the slot.
Having milled the slot with a 3/4" (19 mm) bit, my 3/4" x 3/8"
flat bar was a tight fit in the slot.
So I needed to widen the slot to allow it to slide. I did this by putting shims behind the piece of wood I used to guide the router, basically, offsetting it from the previous cut. I then milled the slot again, and the bar now slid freely.
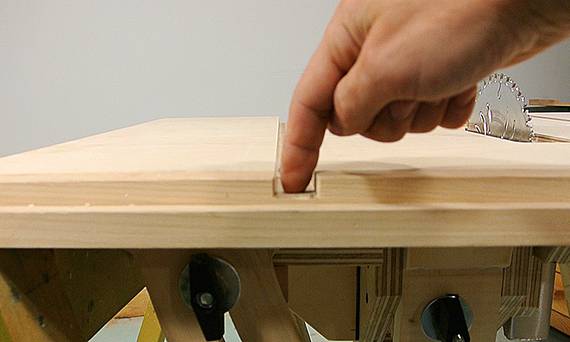 But the slot, 3/8" (9.5 mm) deep, is more than half way through my
18 mm thick table top. So now it was time to add some reinforcement
to the bottom.
But the slot, 3/8" (9.5 mm) deep, is more than half way through my
18 mm thick table top. So now it was time to add some reinforcement
to the bottom.
I'm sure people will suggest using use aluminium track inserts for the slots, but that would require milling the slots even deeper, further weakening the table. That, and aluminium is really not that hard, and the extrusions are relatively expensive.
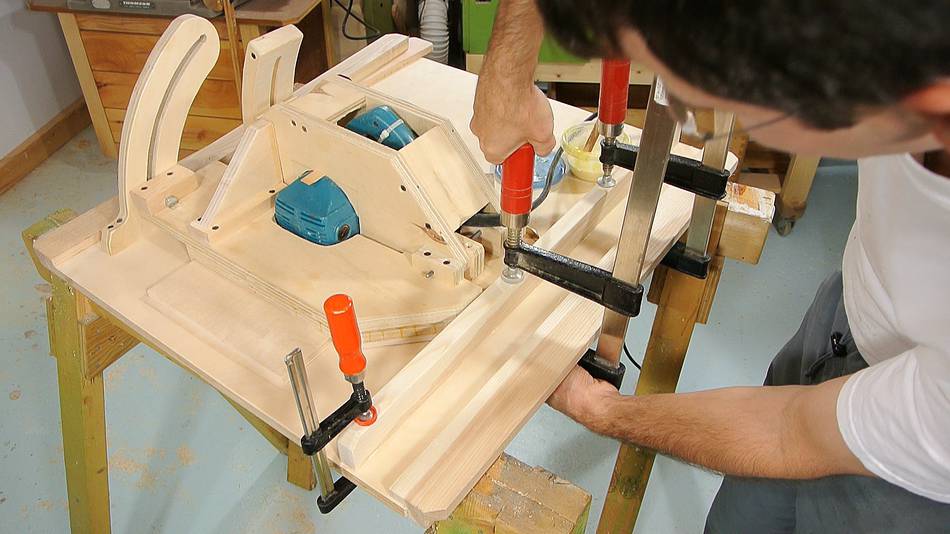
 My long reach clamps came in handy for adding an extra piece of plywood that
fit under part of the saw mount.
My long reach clamps came in handy for adding an extra piece of plywood that
fit under part of the saw mount.
Next: Table saw stand
See also:
 Homemade tablesaw
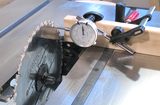 Table saw alignment
 Fixing wobble in a
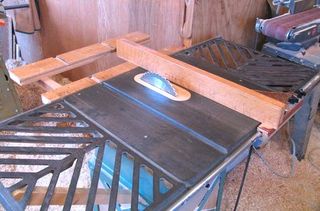 Fixing my old table saw
 Fixing depth adjustment
Back to my Woodworking website.