Pip Temple's jointer build
 Pip Temple writes:
Hi Matthias,
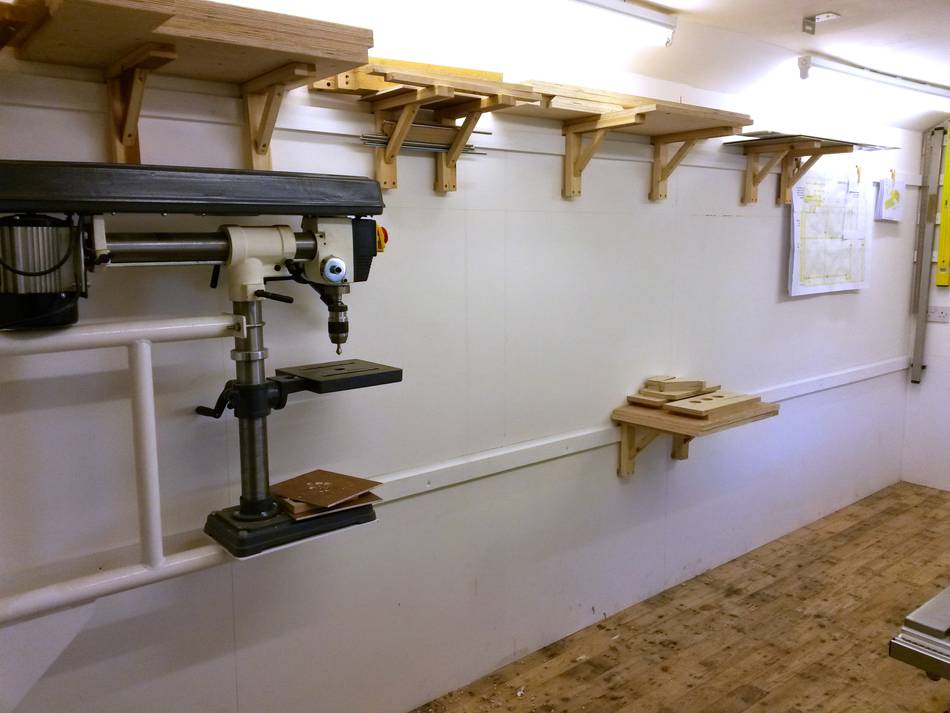
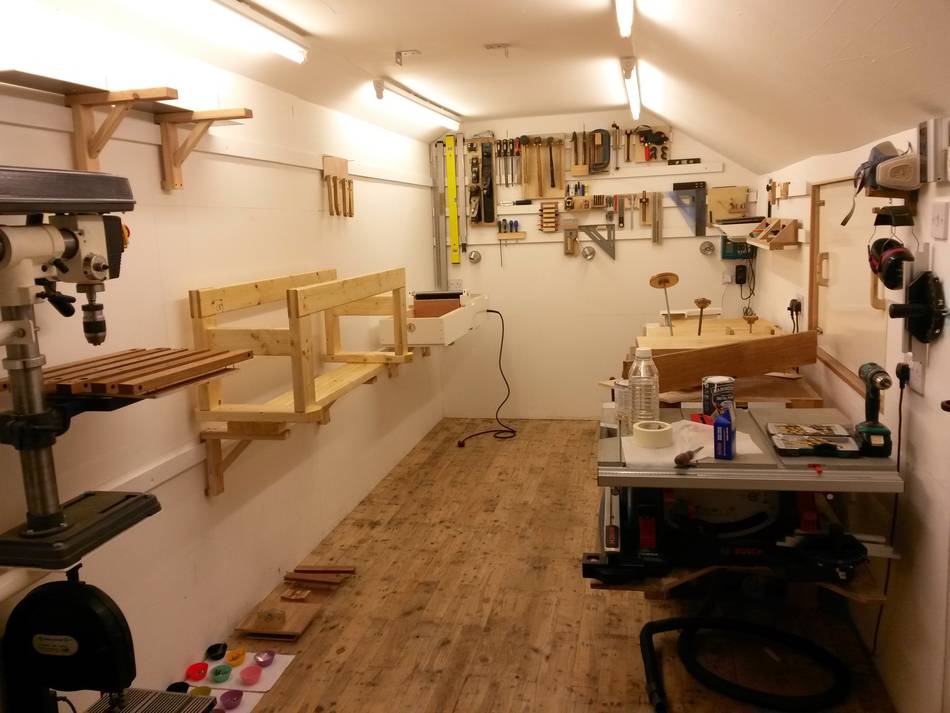
My name is Pip, I live in the UK and have a small woodshop (7x19ft)
which I renovated from an old tin shed.
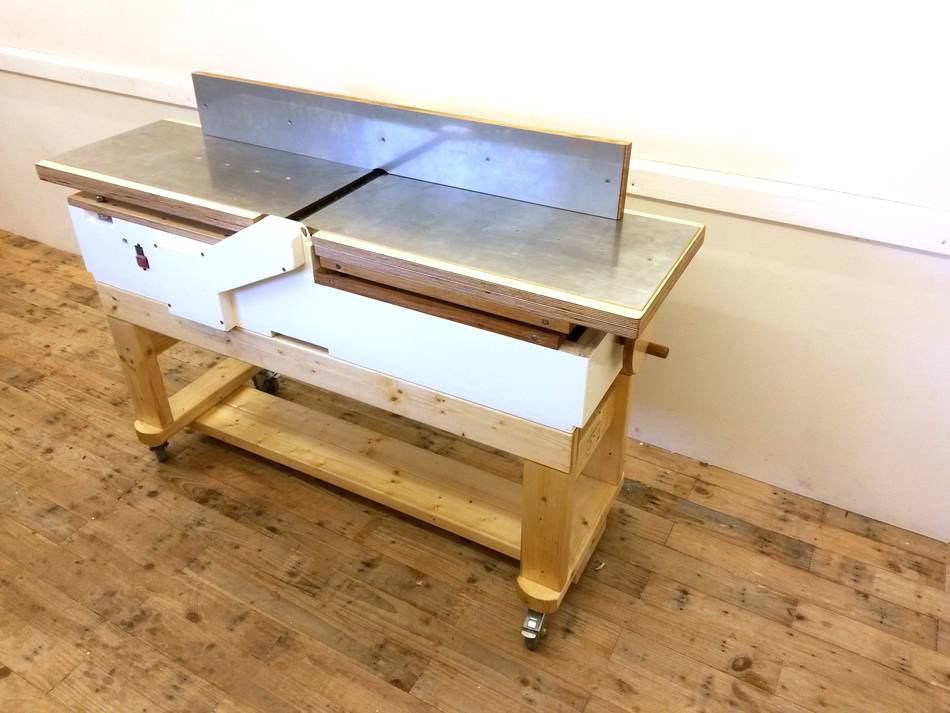
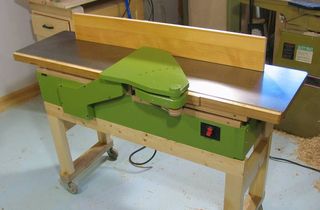
I just thought you might be interested in the jointer I've just
finished using your plans.
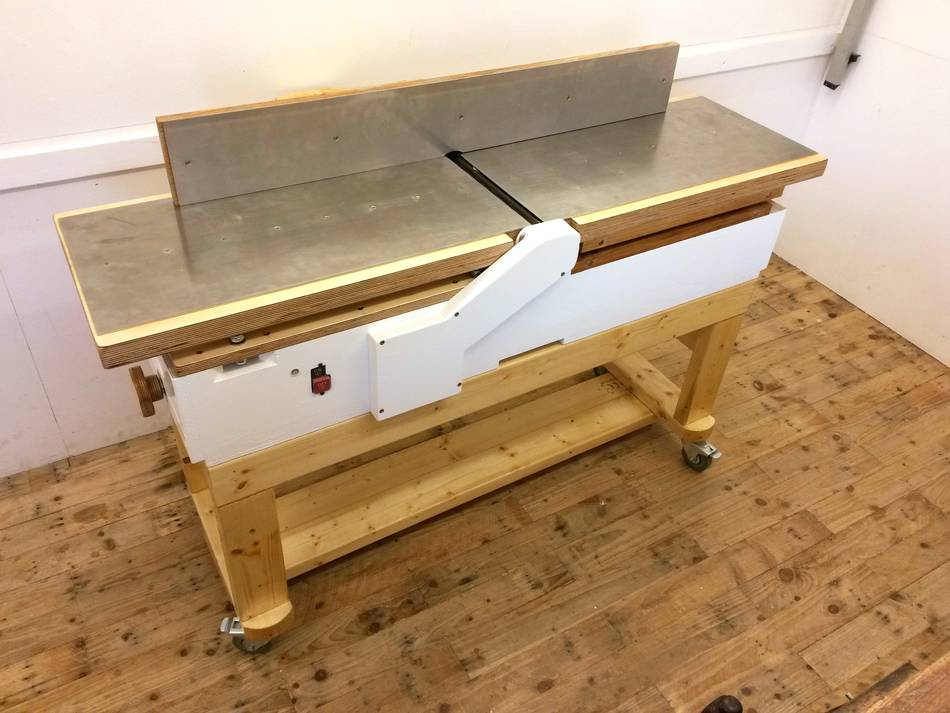
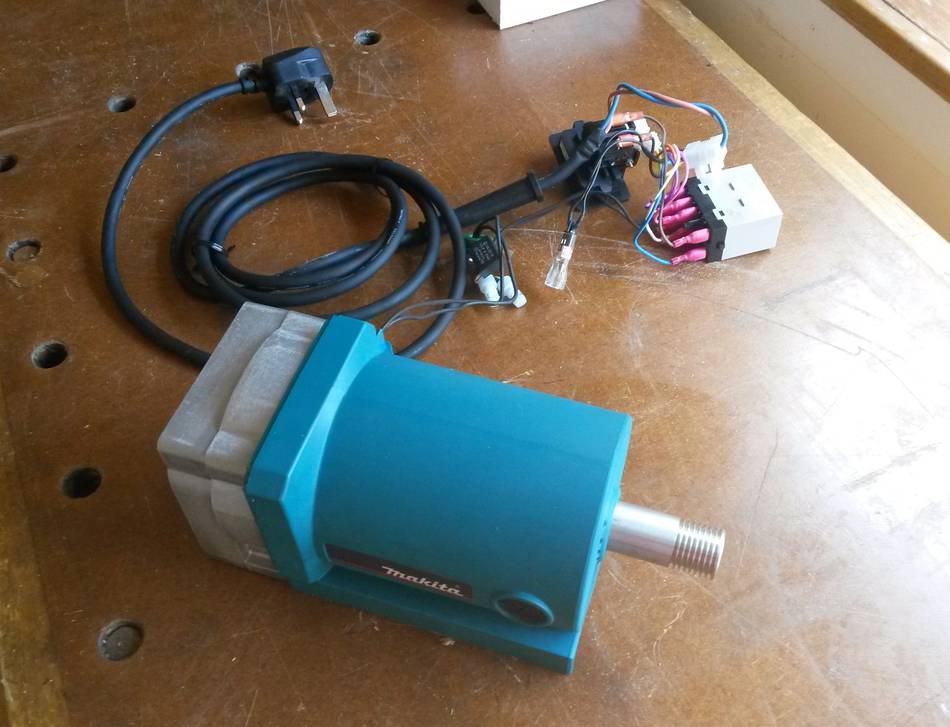
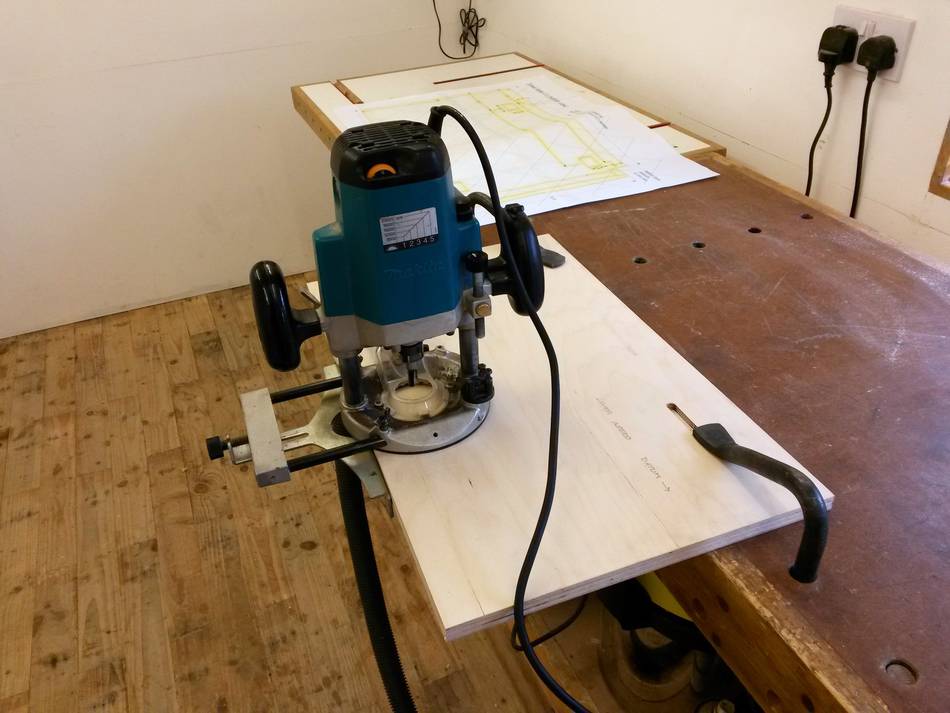
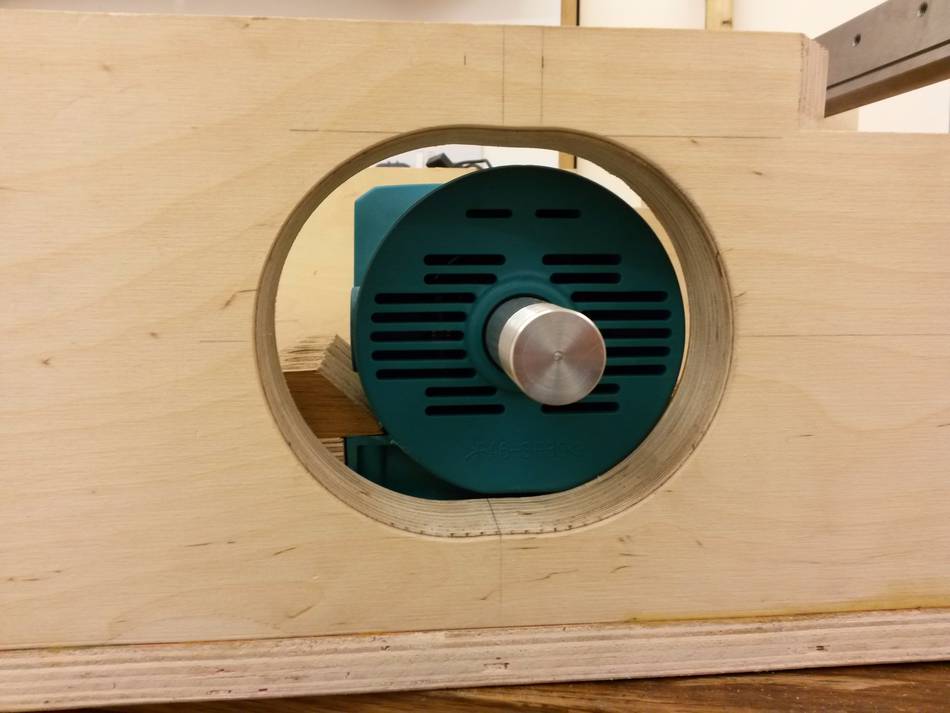
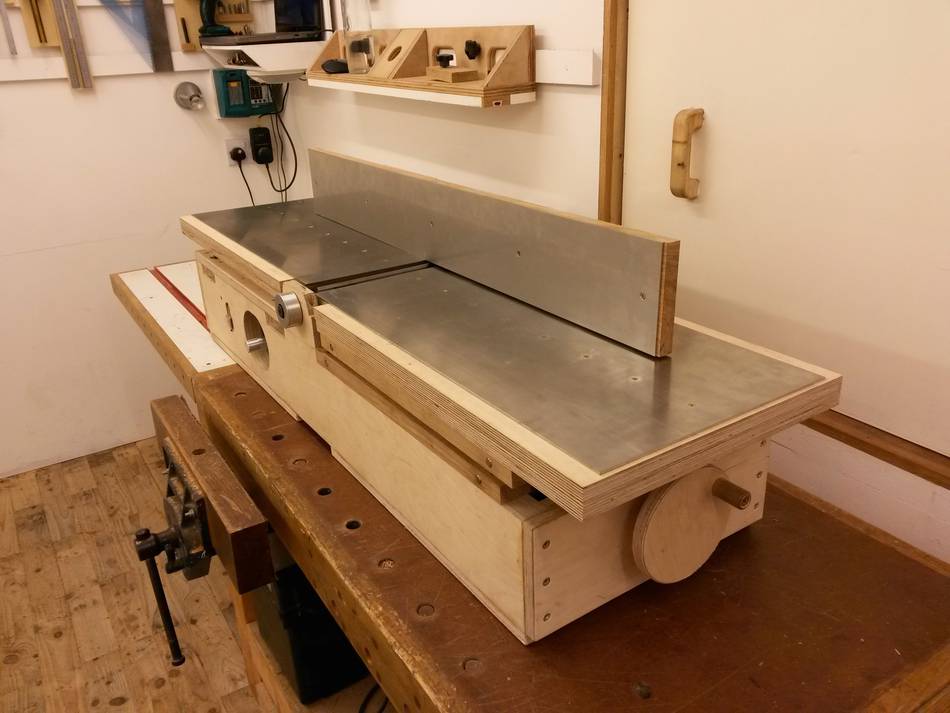
I used a Makita 2012nb thicknesser for the donor parts. Living in the UK, Delta isn't a make we can get hold of. I really like Makita tools for their quality and as I already have a thicknesser from them I thought I could use the rest of the parts as spares if I ever needed them. Having spent months waiting for one to come up on eBay with no luck, I bought a new one which cost me Ł420. I know there are cheaper donor makes out there but I figured that if I was going to spend such a lot of time and effort making a jointer, I may as well make it using the best possible components. That model of thicknesser is also known for being reasonably quiet which appealed to me too. Stripping down a brand new machine of that cost just the for motor and the cutter head hurt a little at the time but definitely worth it now.
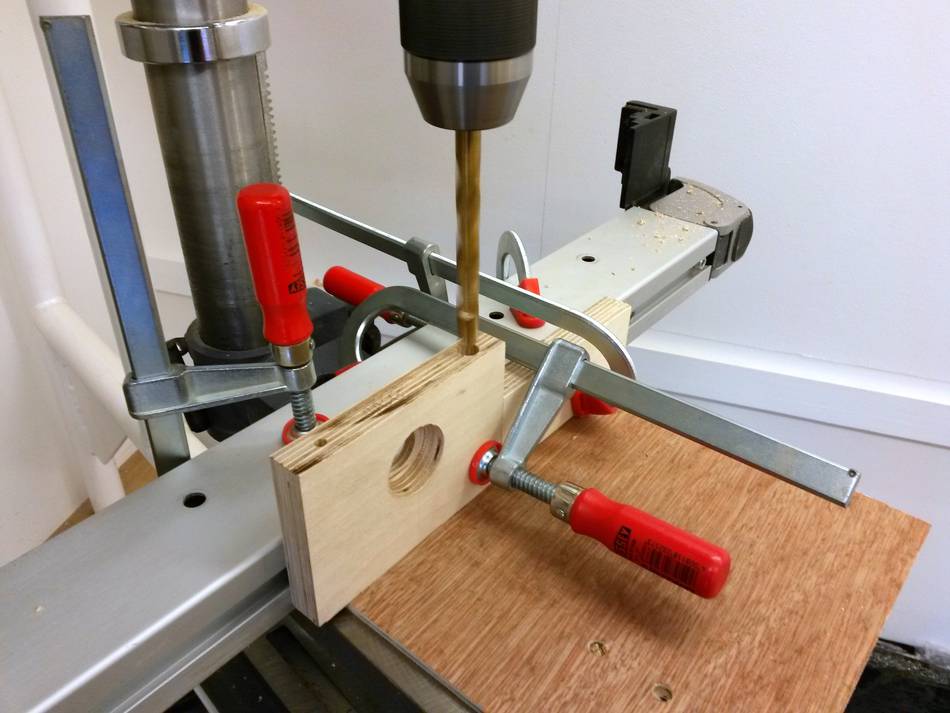
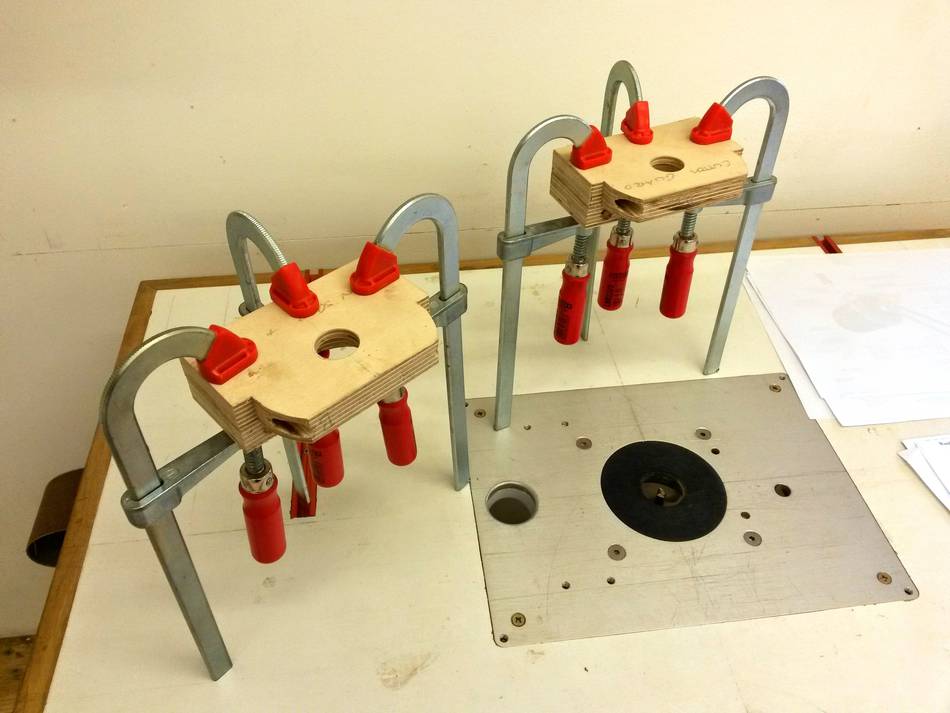
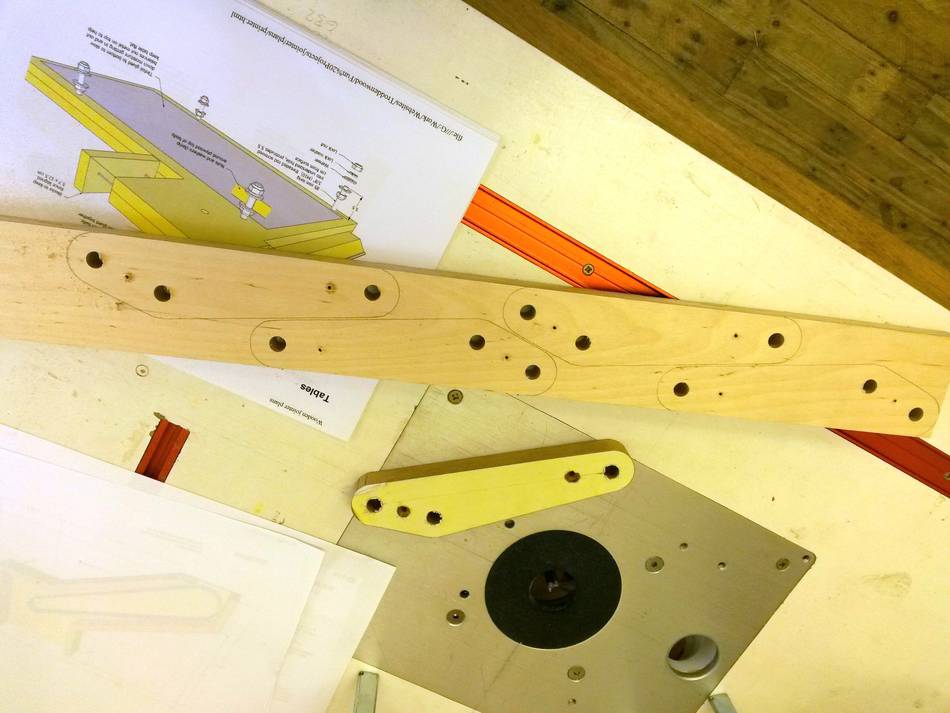
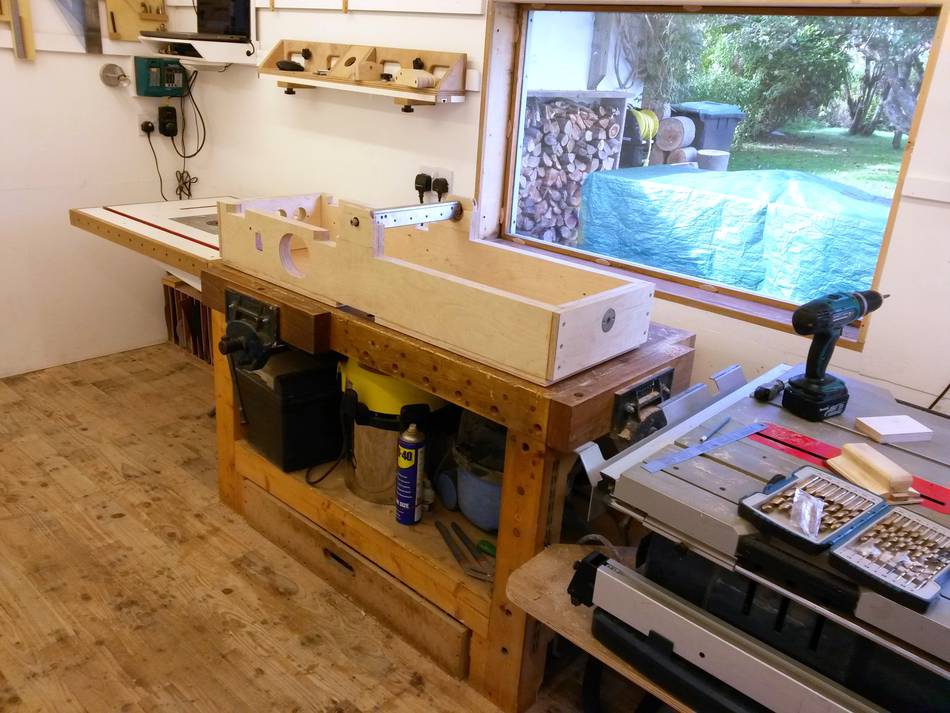
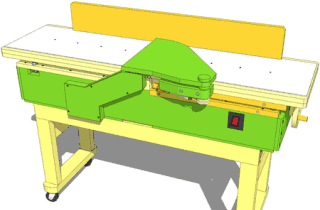
I really enjoyed the build and I found myself working almost exclusively
from the CAD model from the plans rather than the drawings. I was able
to get the whole build out of a 4x8 birch ply sheet reasonably comfortably


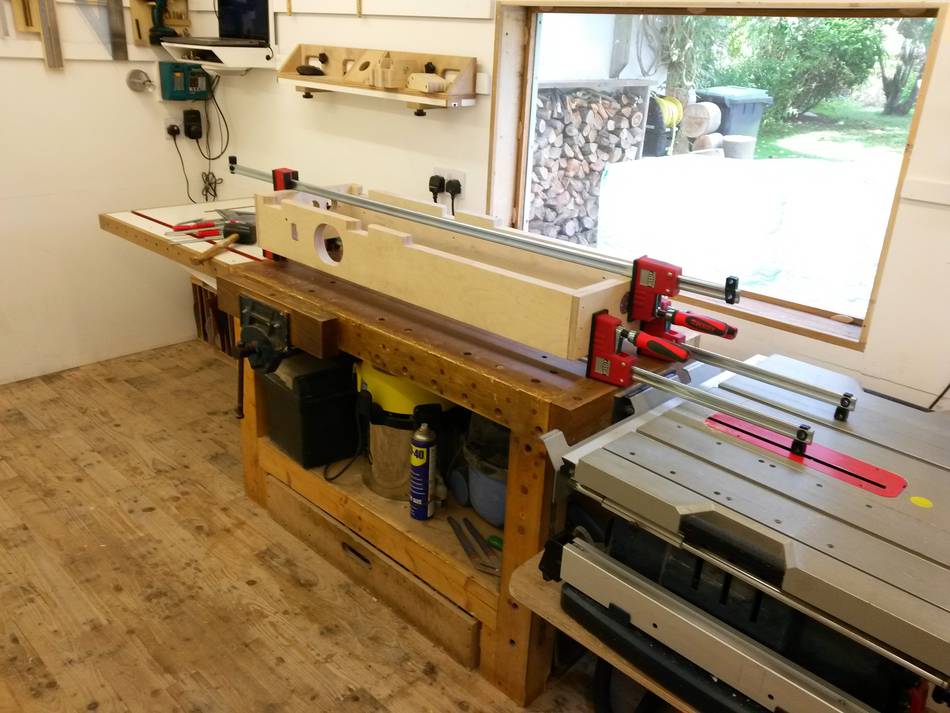
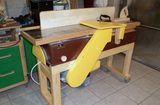
I also made the chip collection box as big as I possibly could so save
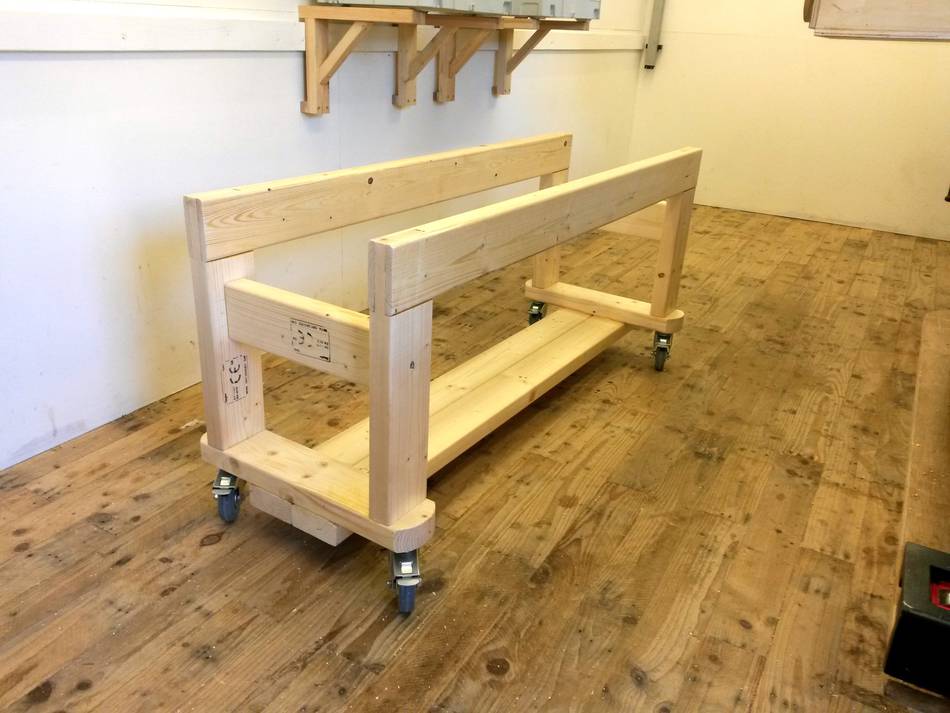
on the number of times I'd have to empty it. I extended the length of
the base very slightly and also put the 'box shelf' underneath the leg
braces rather than on top to give me as much room for the collector as I
could.
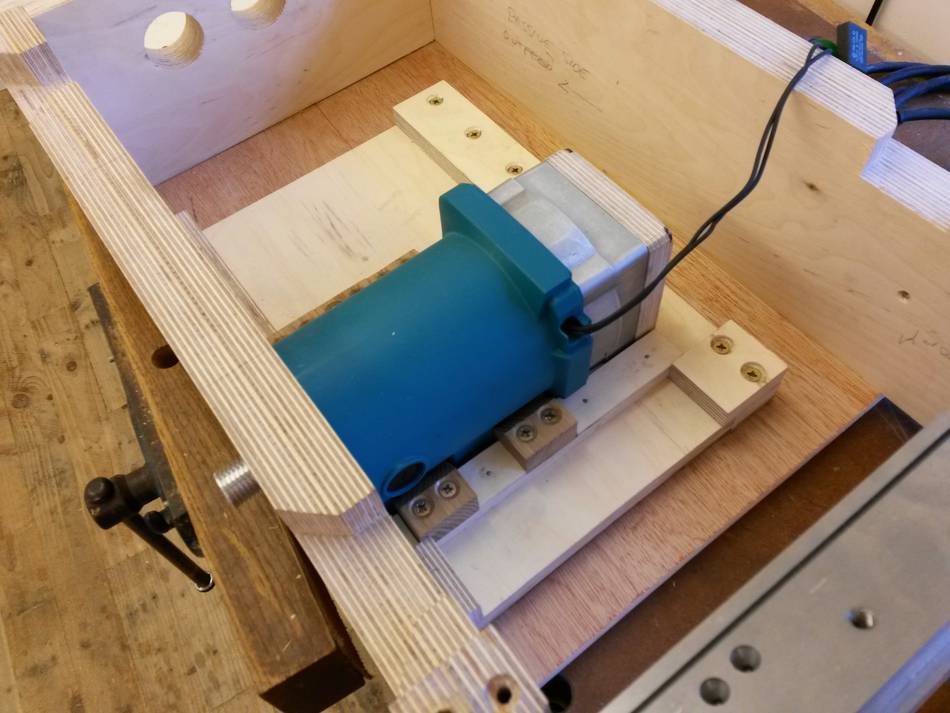
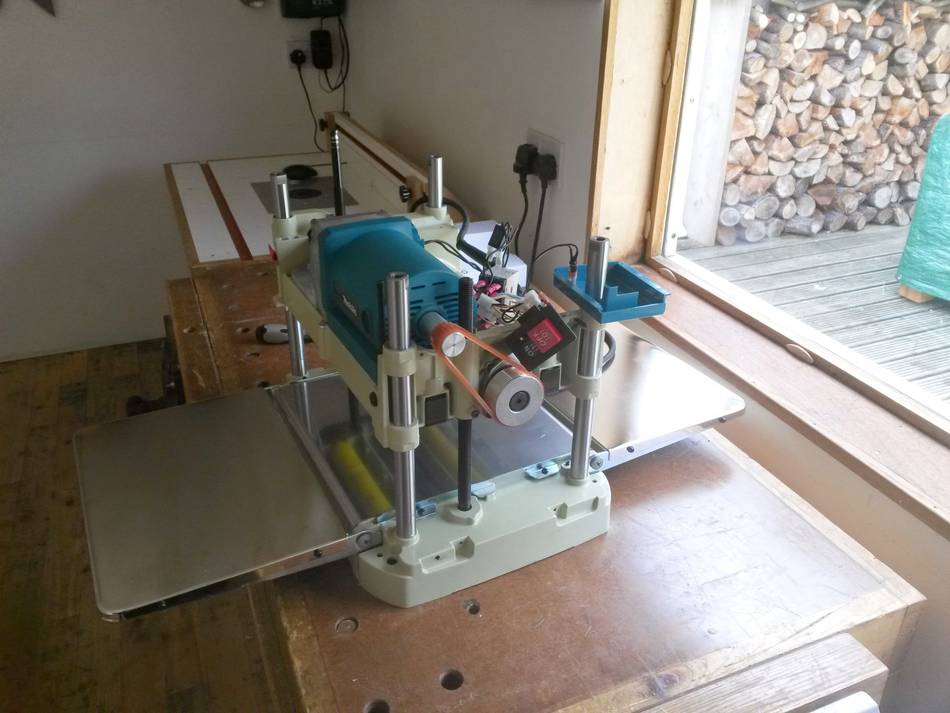
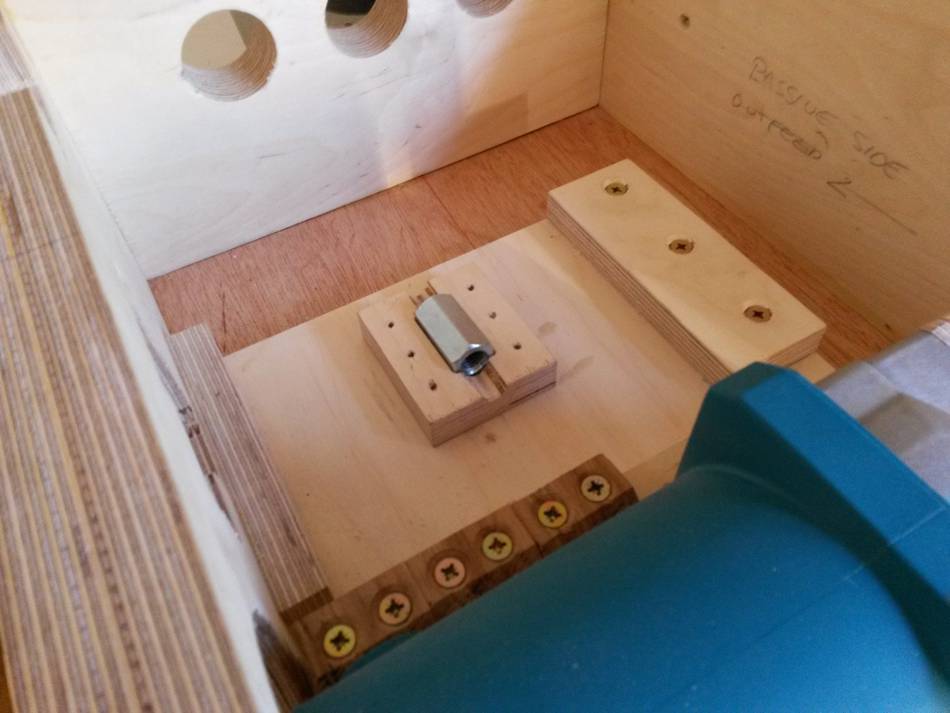
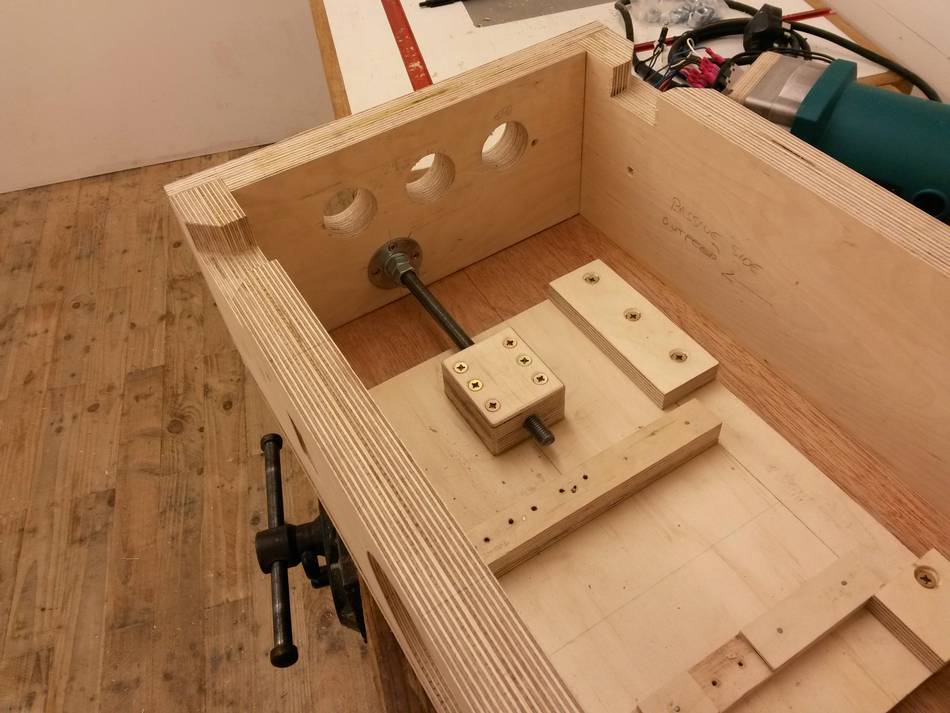
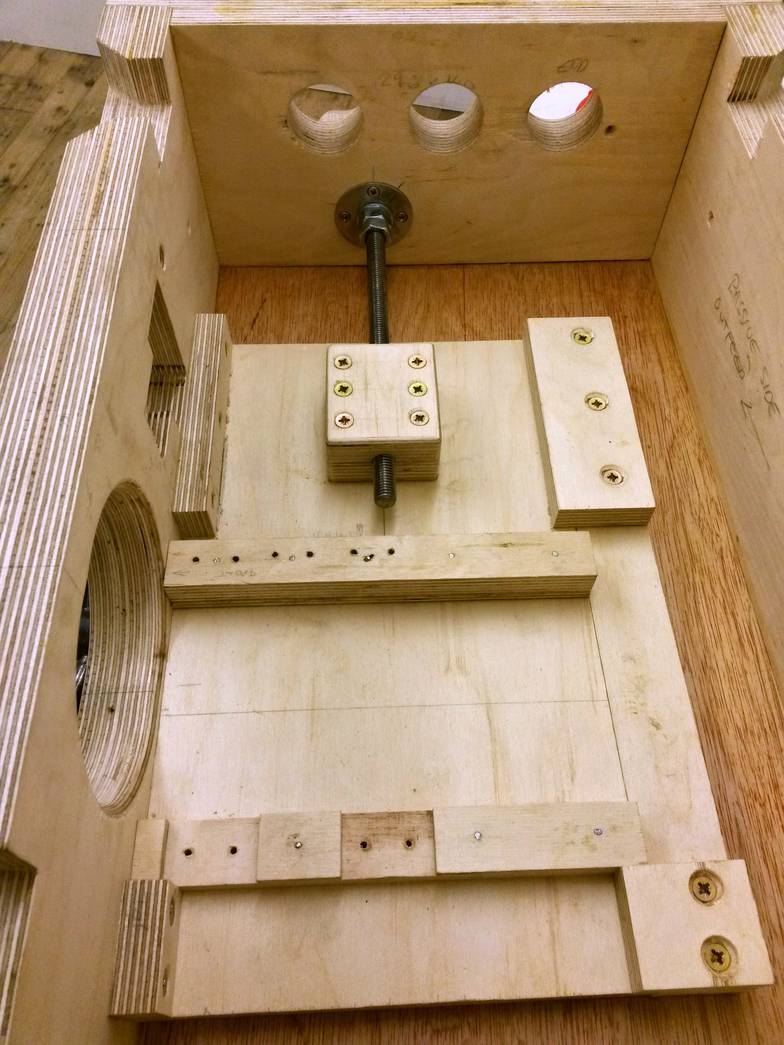
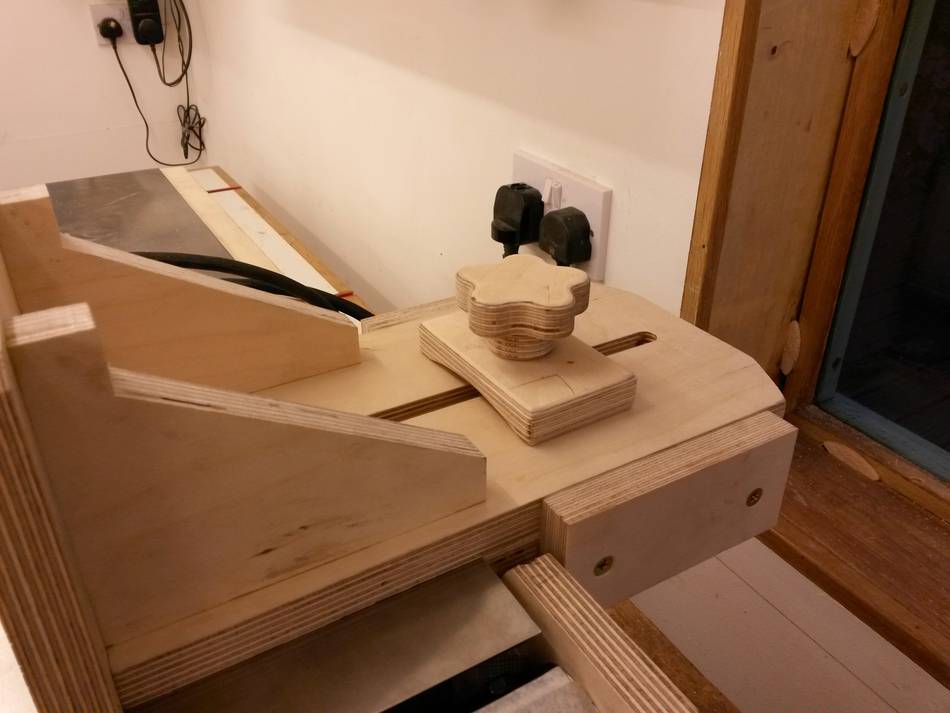
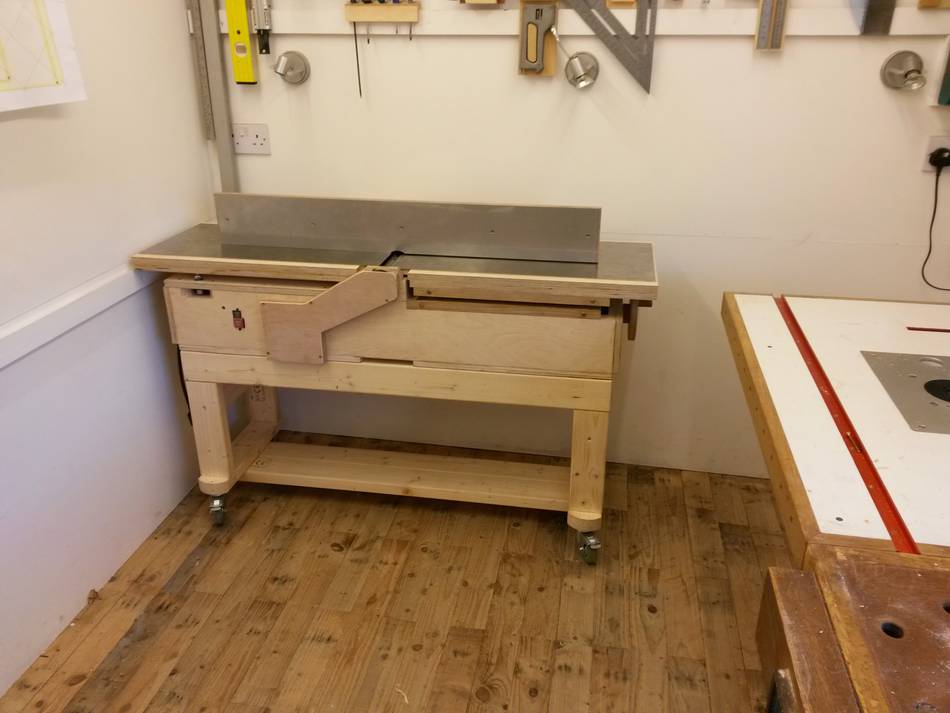
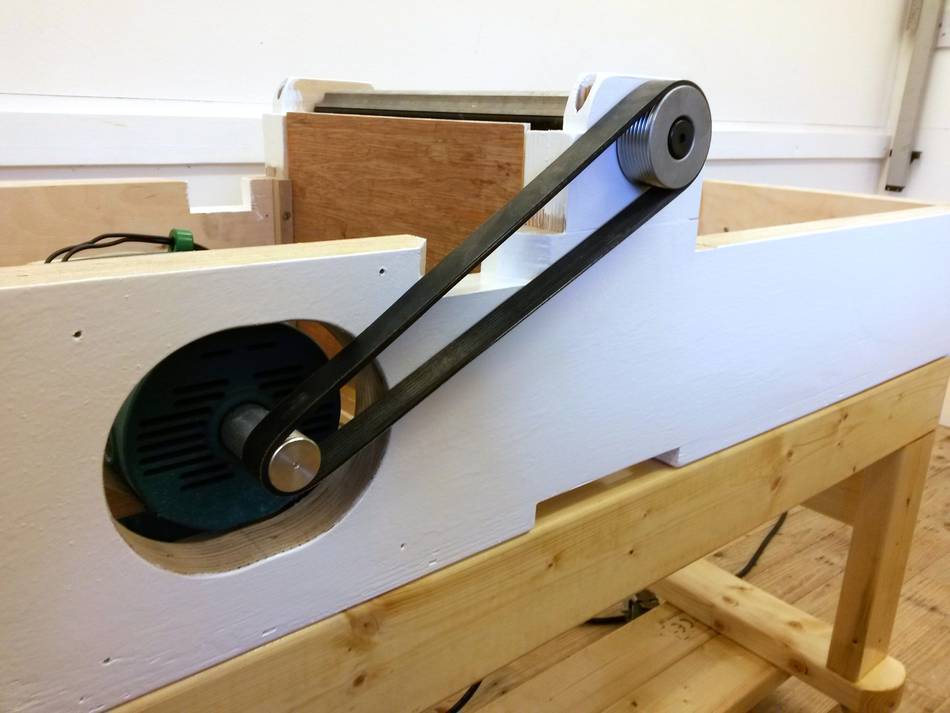
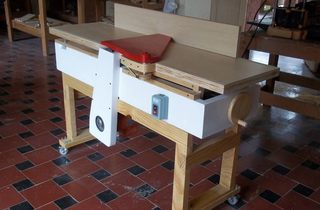
As the Makita motor mounts differently to the Delta model you used, I
had to come up with a different belt tensioning arrangement. As you can
see from the photos, I mounted the motor to a large piece of birch ply
which is then held against the base of the jointer in such a way that it
can ONLY move forwards and backwards. A little like a sled I guess. That
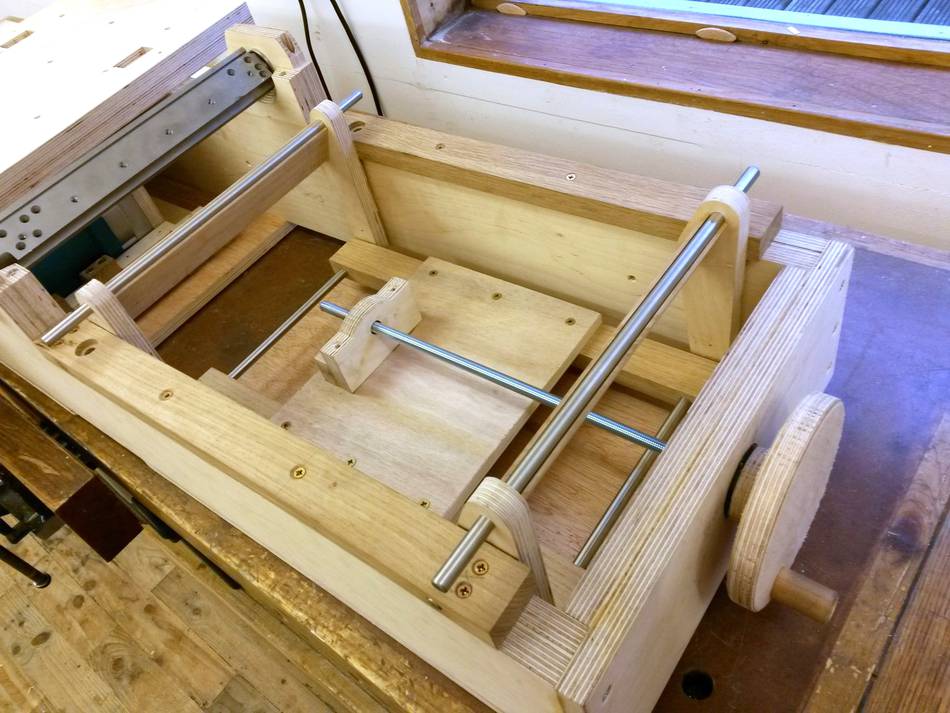
'sled' is then moved using an M12 threaded rod, much in the same way
that the parallelogram mechanism is moved at the other end of the table.
It works beautifully and tensions the belt within just a few turns.


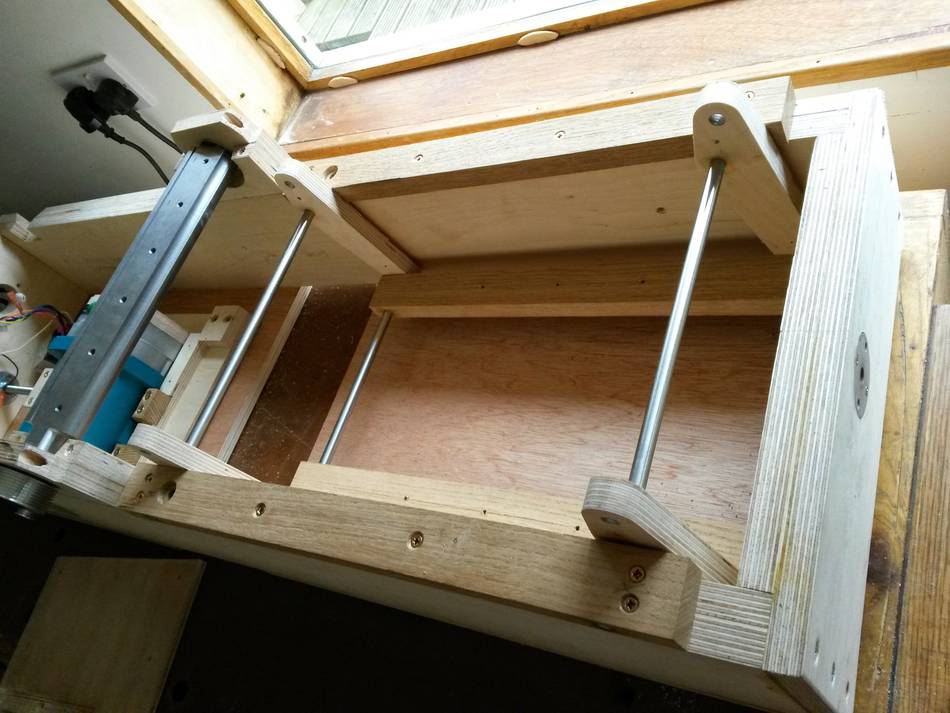
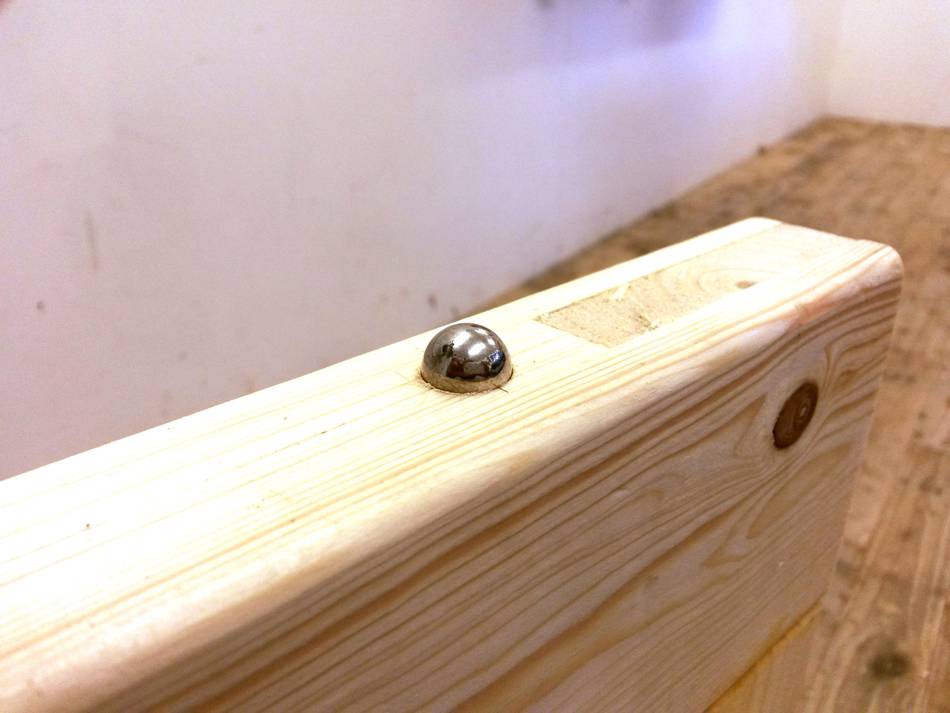
The parallelogram pivot rods are stainless. Living here in the UK it
can be pretty wet at lot of the time and I didn't want parts to start
rusting if I could help it.

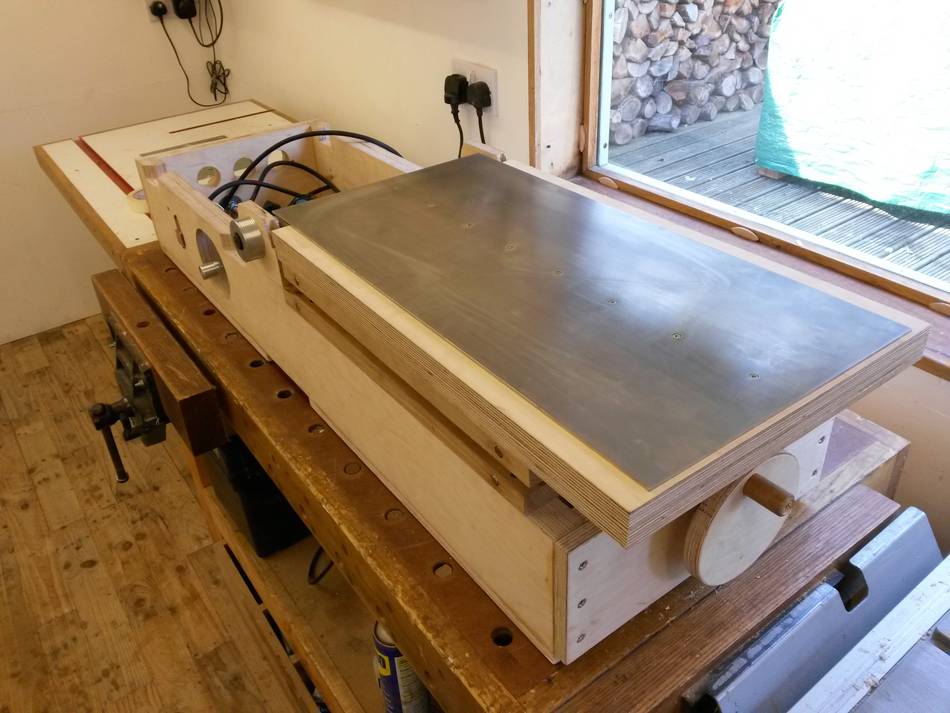
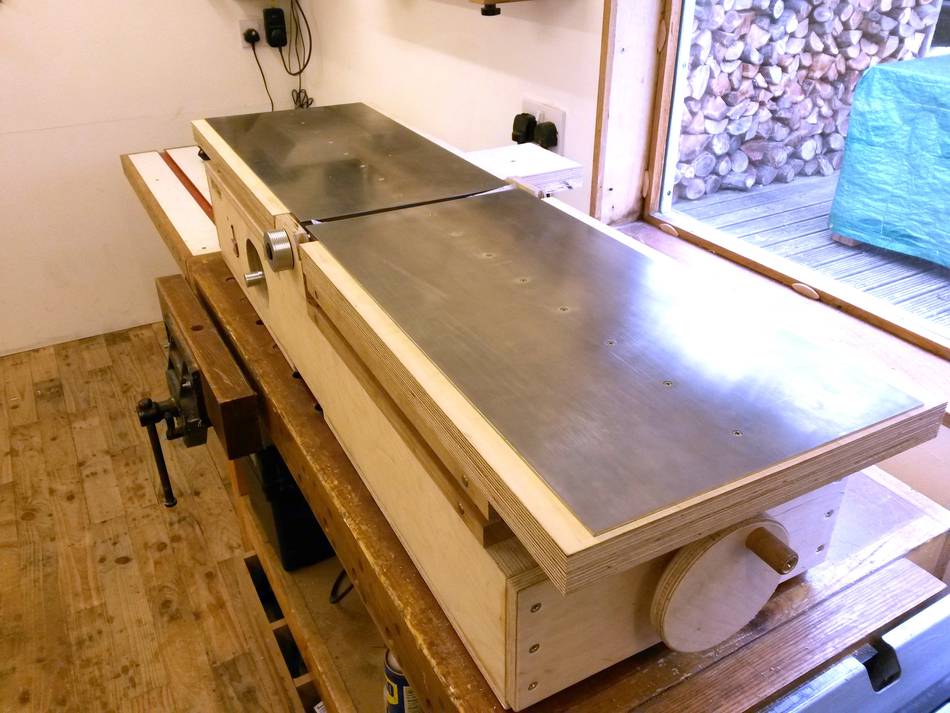
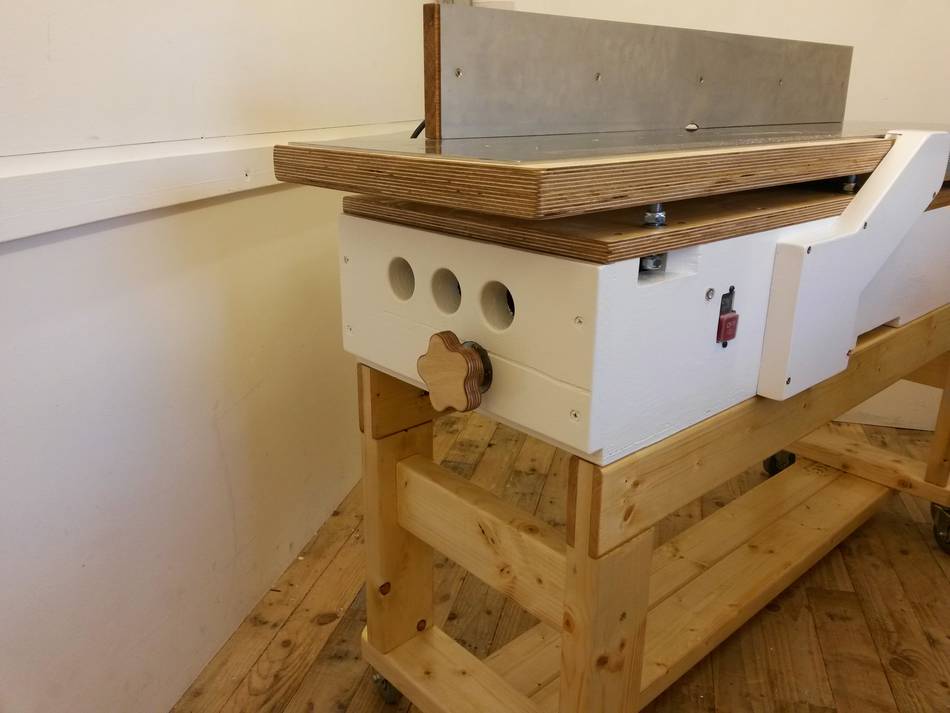
The jointer table faces are also made from Stainless steel. Again, if I was
going to make this then I wanted it to be as good as it could possibly
be.
The fence is also stainless steel. I am very grateful to you for
pointing out that I need to put a cut out in it for cutter head
clearance. I probably would have found that out the hard way.

The castors on the bottom of base are all of the locking type with
rubber wheels as I know you and some others have had their jointers move
about a bit. Given the weight of it, when all four wheels are locked,
it's very difficult to get it to move and definitely not under normal
use.

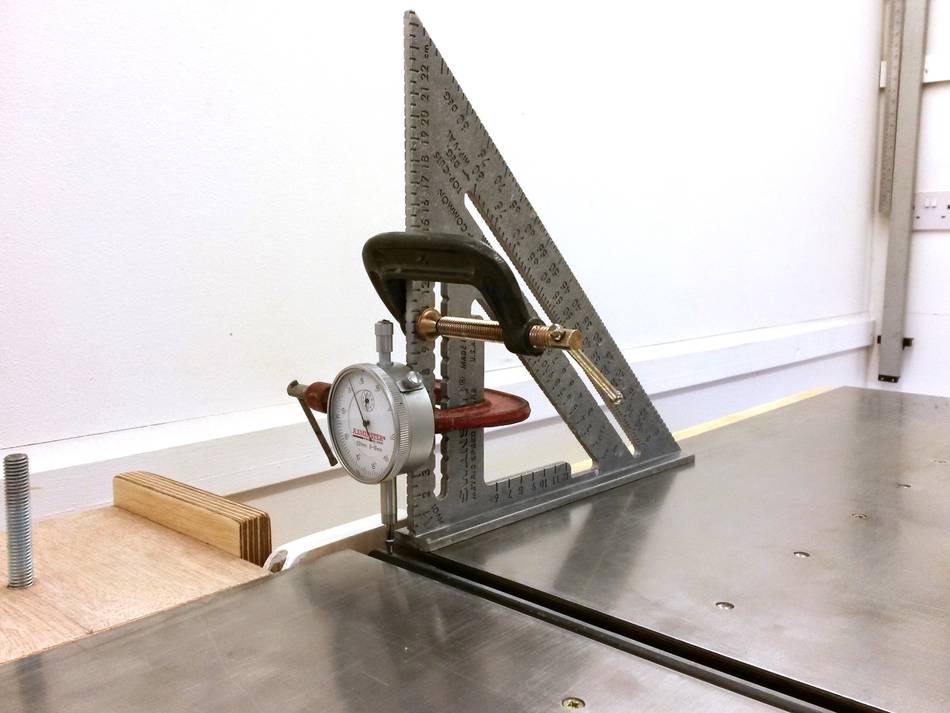
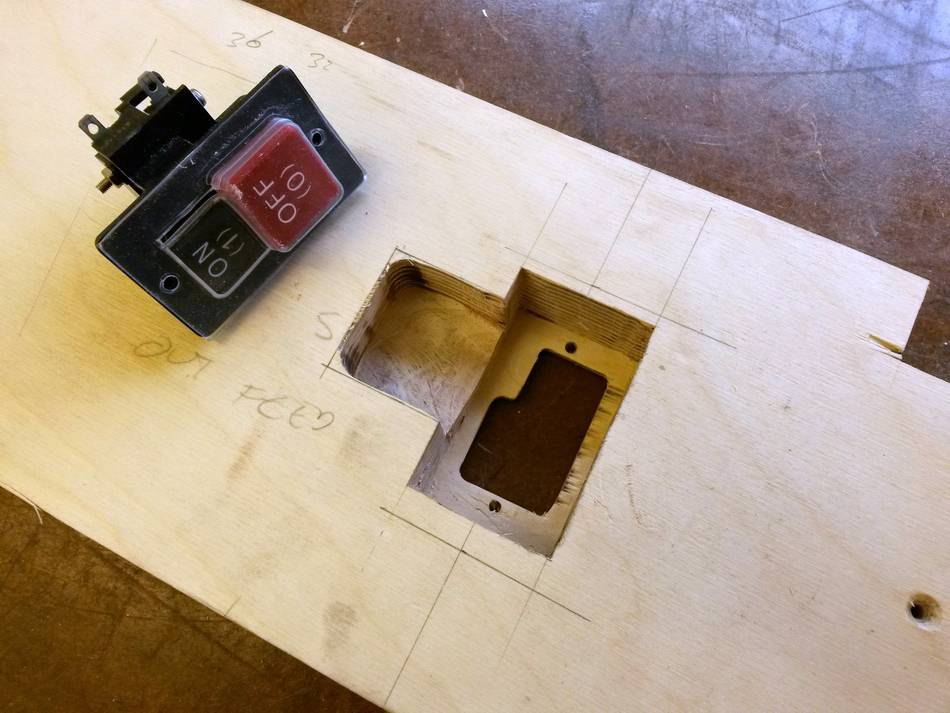
Setting up the jointer was interesting as it's not possible to adjust
the blades on this model of cutter head. They slot into holders in the
head in one position and that's where they stay. I therefore had the to
set the infeed table using shims with reference to the knives and then
set the outfeed table with reference to the infeed table. It took me a
fair amount to time to get it right but it works brilliantly now. I'm
really pleased with it.
I haven't put a cutter guard on it as I'm reasonably comfortable using
it by sliding the fence over to cover any unused cutter head. As a
result I've put a little cap over the top of the cutter head pulley to
tidy that up a bit.

I use my shop mainly for making furniture and although I started with
reclaimed wood, I now make a lot of bespoke dining tables, primarily
from oak. I buy a lot of my lumber as rough sawn live edge boards
as this is the most cost effective way to buy it and
also allows me to get the most 'wood' out of my purchase. Before having
a jointer I would hand plane everything flat and square which was
incredibly time consuming and sometimes a frustrating process. I know
there are people that love the process of hand planes and I can see why
but there is a limit to how much time I want to spend processing lumber
that way! Running it over the jointer a few times for a flat square
piece of wood is so quick it almost feels like cheating.
I did think about buying a used jointer before making this one but there were a couple of reasons I went this route. As my shop is relatively small I like to be able to move my tools to give me a flexible workspace. Having a commercial jointer with a 12" bed in a shop this size would be impractical, too big and too heavy to move. Also the door to my shop is 2' 3" wide and 5' high so I'm not even sure how I'd get a commercial tool in there! I'm pleased I went this route - it's already proving to be a very valuable addition to my shop.
Thank you so much for making these plans available. I know everyone says
this but they are clear and comprehensive and very very good value for
money.
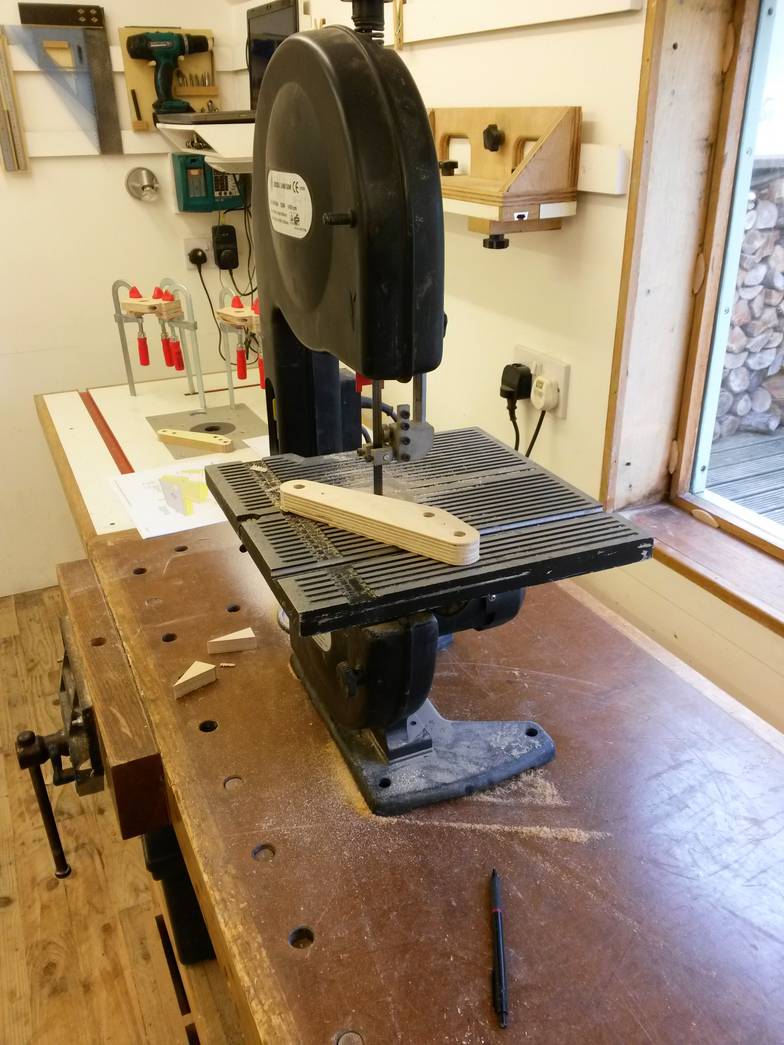
The bandsaw will be my next project and I'm looking forward to it. My current bandsaw is almost identical to the one you tuned up here and it's what I used to make this jointer. That small bandsaw is a pretty frustrating machine for cutting 18mm birch ply due to the amount of blade drift but when it's all you have you can make it work, kind of!
I'm presently using the jointer to make a beautiful oak dining table. Thank you once again - and thank you for your support along the way.
Kind regards,
Pip
More about jointers and homemade jointers:
 Homemade jointer
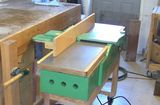
 Plans for the jointer
 More about jointers